
You are using an out of date browser. It may not display this or other websites correctly.
You should upgrade or use an alternative browser.
You should upgrade or use an alternative browser.
BlackAck's 5th Gen 4Runner thread
- Thread starter 97BlackAckCL
- Start date


97BlackAckCL
Elite Member
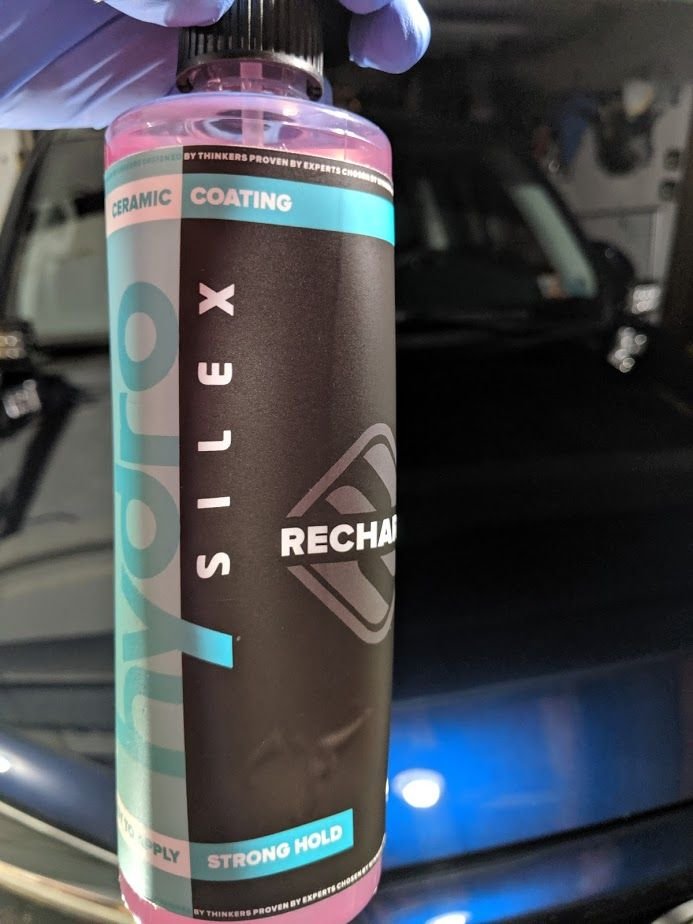
Just a small update, I went ahead and threw some ceramic silica spray on over my nicely coated shiny ceramic coating, this just adds an additional layer of protection and gloss. May add another one before winter, but this stuff's supposed to last 6 months. I only took 1 pic because I was trying to coat and buff each panel as quick as I could, and it was super humid so I was sweating my sack off

97BlackAckCL
Elite Member
Paint looks incredible - like new. As a fellow detailer, lots of appreciation for this level of time and work. Nicely done.
Definitely a lot of work, thanks for appreciating
97BlackAckCL
Elite Member
Blue candy paint Maaco job. You gone pro dude with all that wrist twisting.
Thanks bro, it's crazy how bright this paint shines
97BlackAckCL
Elite Member
Couple small updates, nice and shiny truck
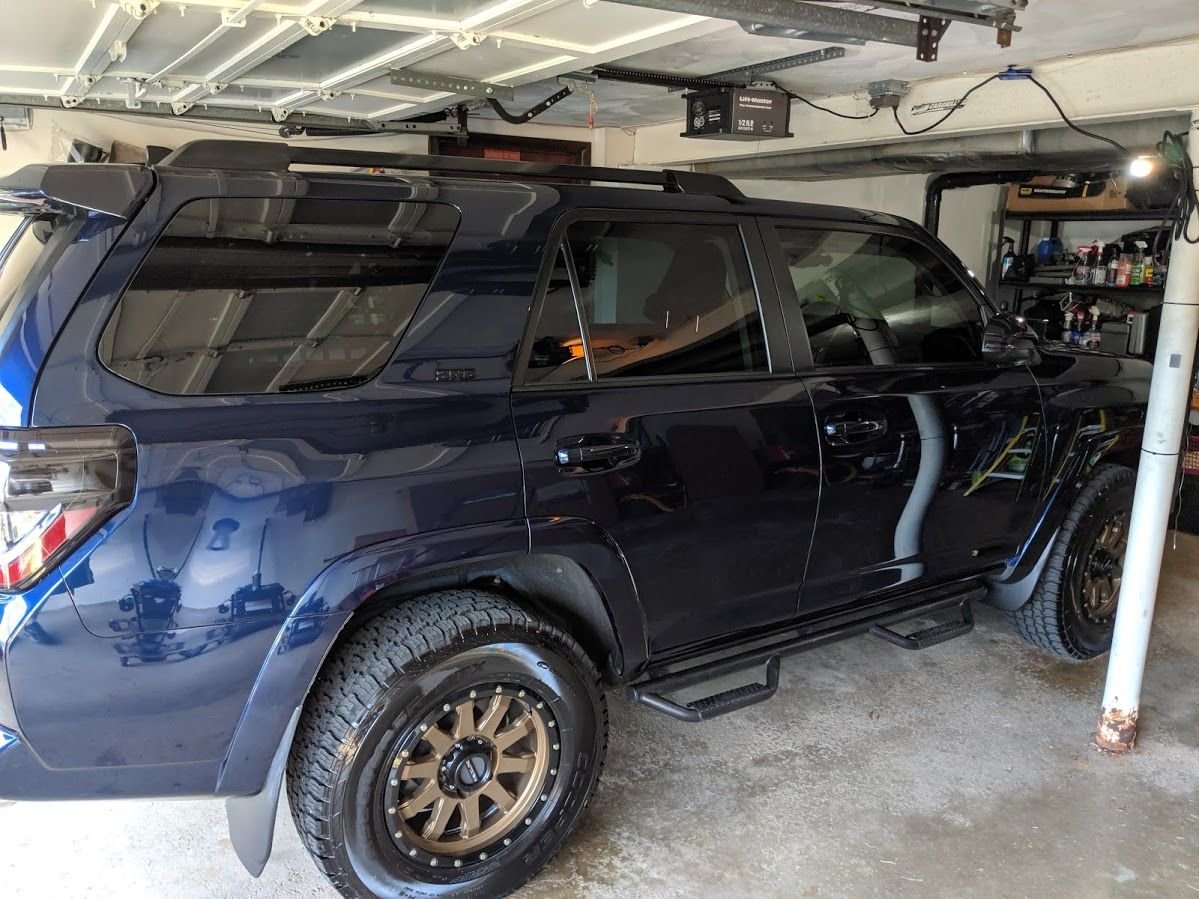
:rockstar:
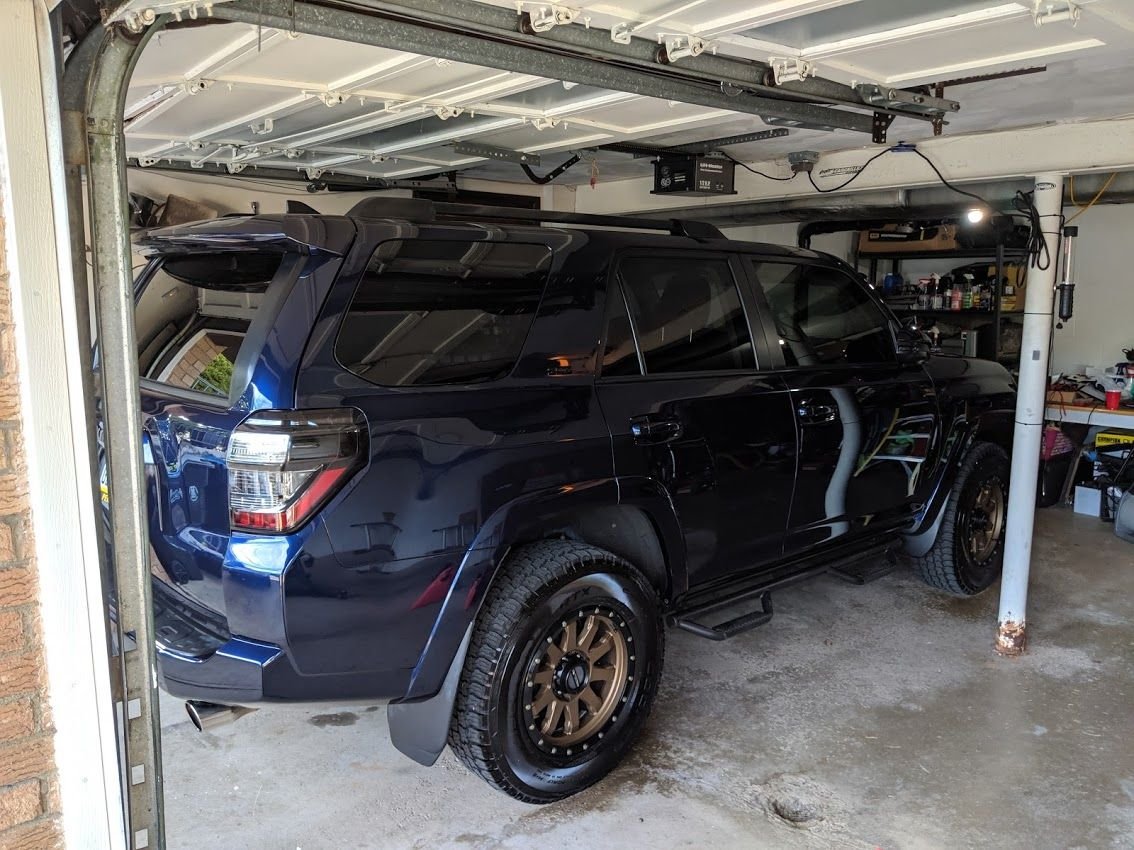
A little before of the roof
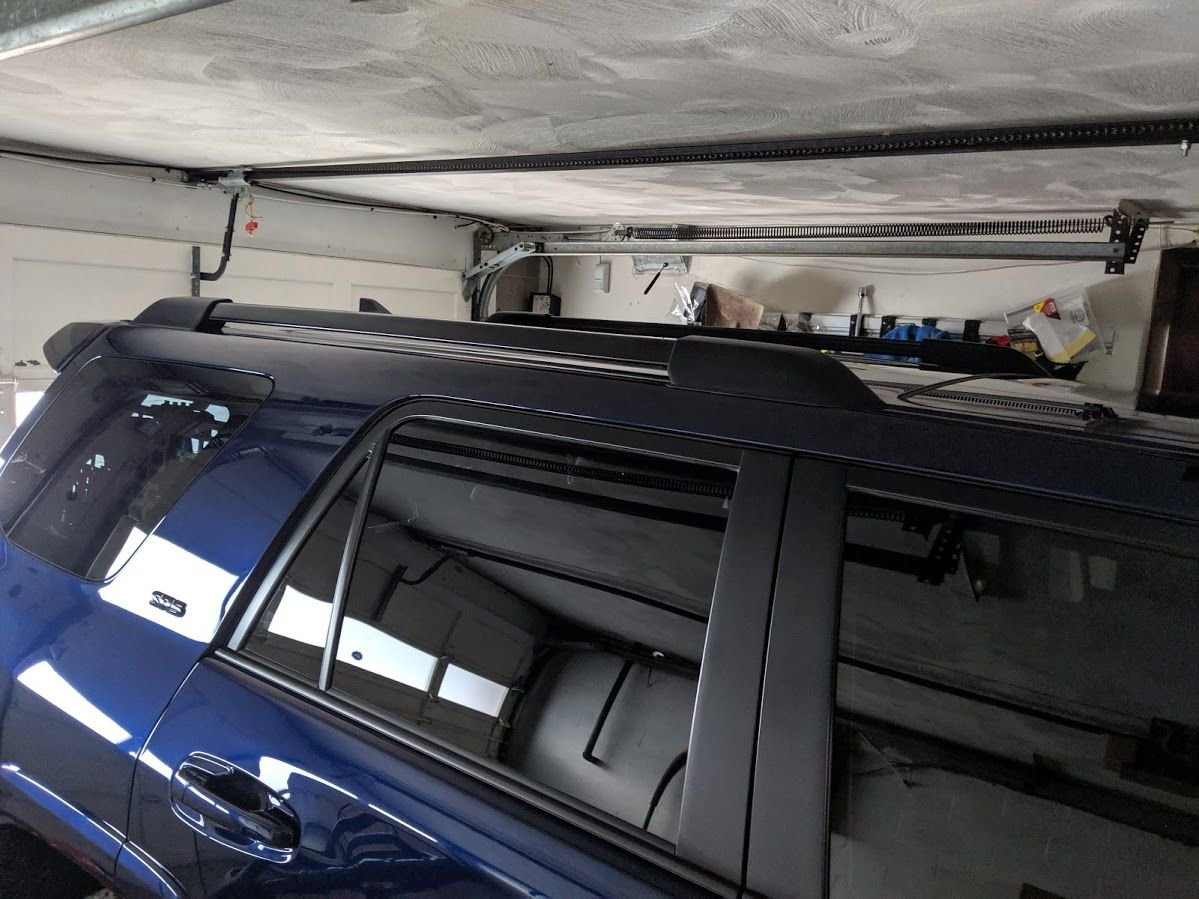
What's in the box?

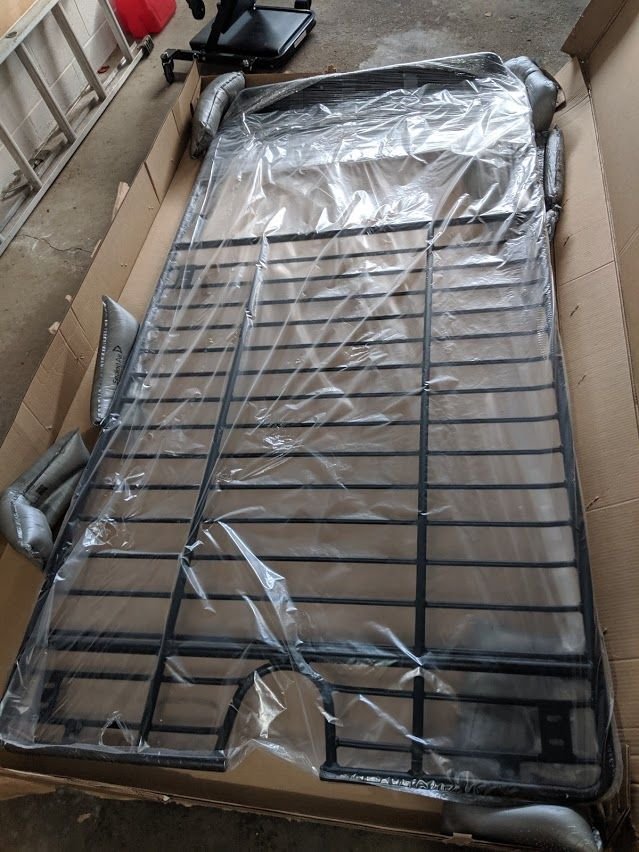
All roof rails removed... SO smooth
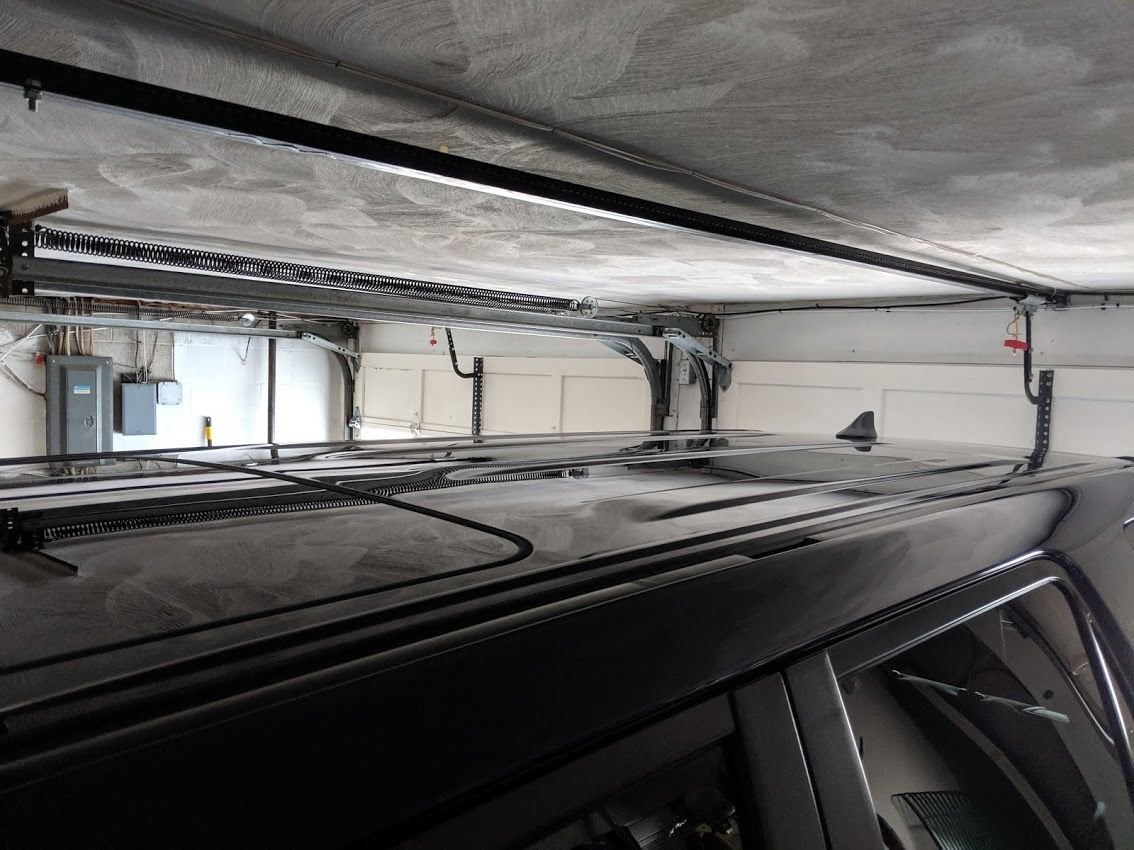
I went ahead and cleaned out the roof channels
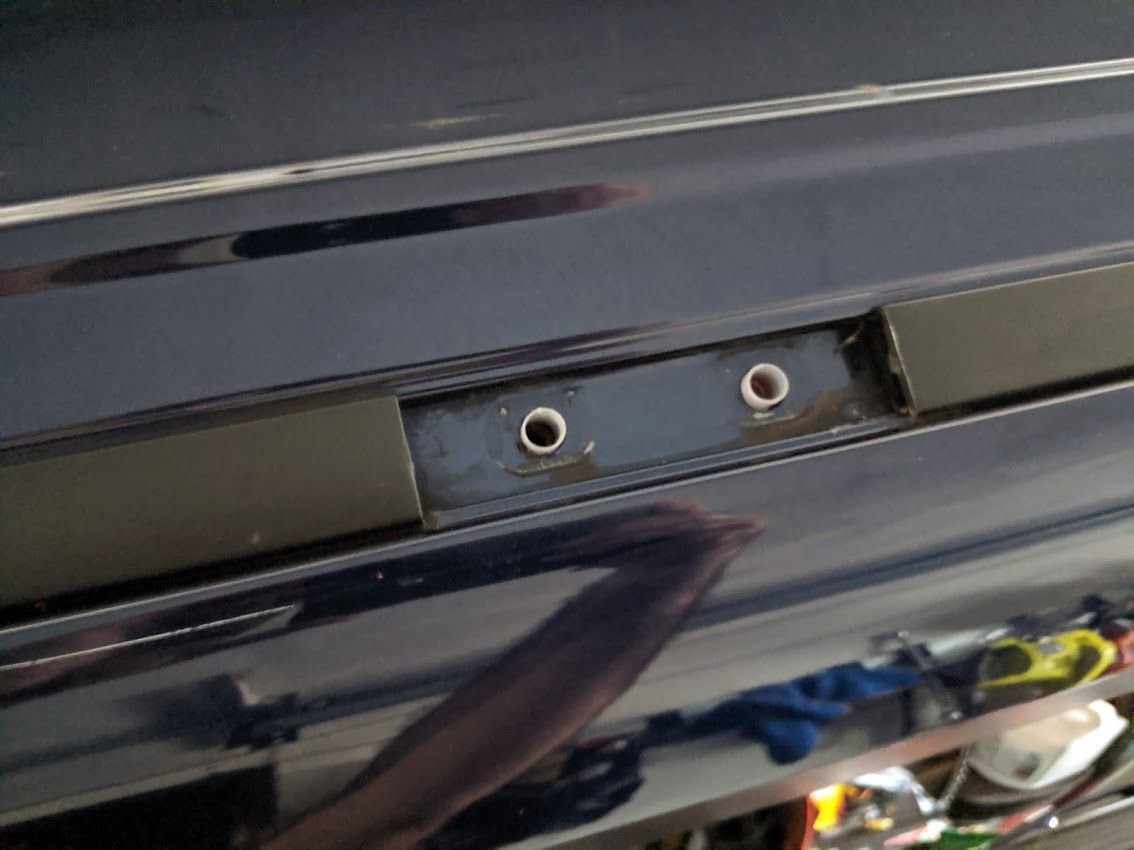
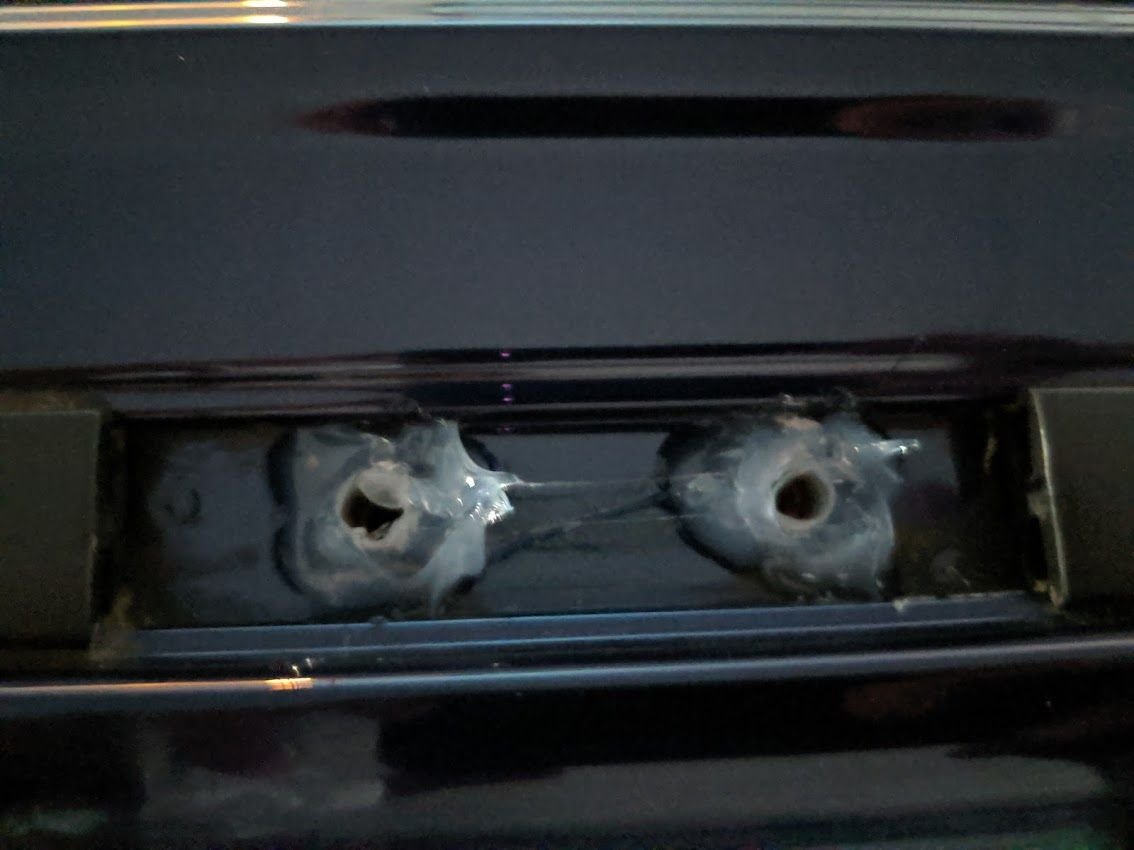
I went ahead and sealed all the gaps around the bolt tubes with RTV silicone
And added the support brackets
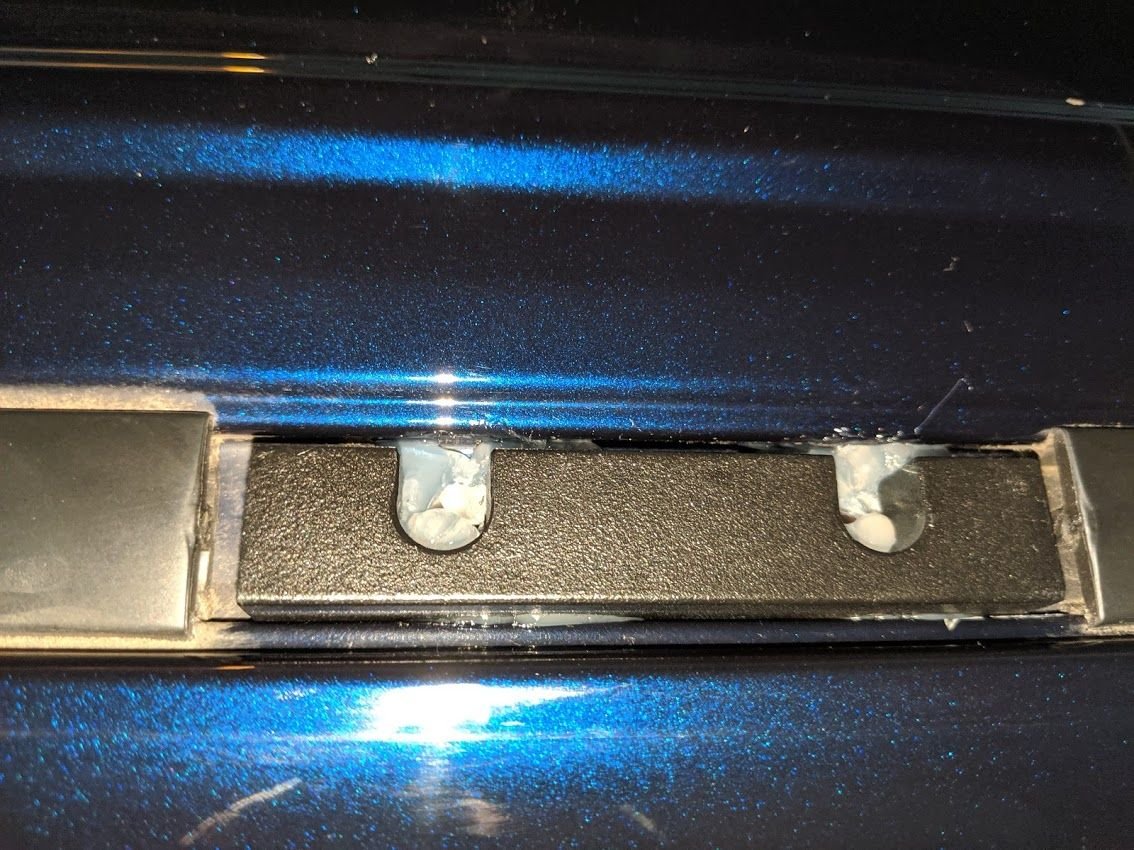
Here's the first bracket installed
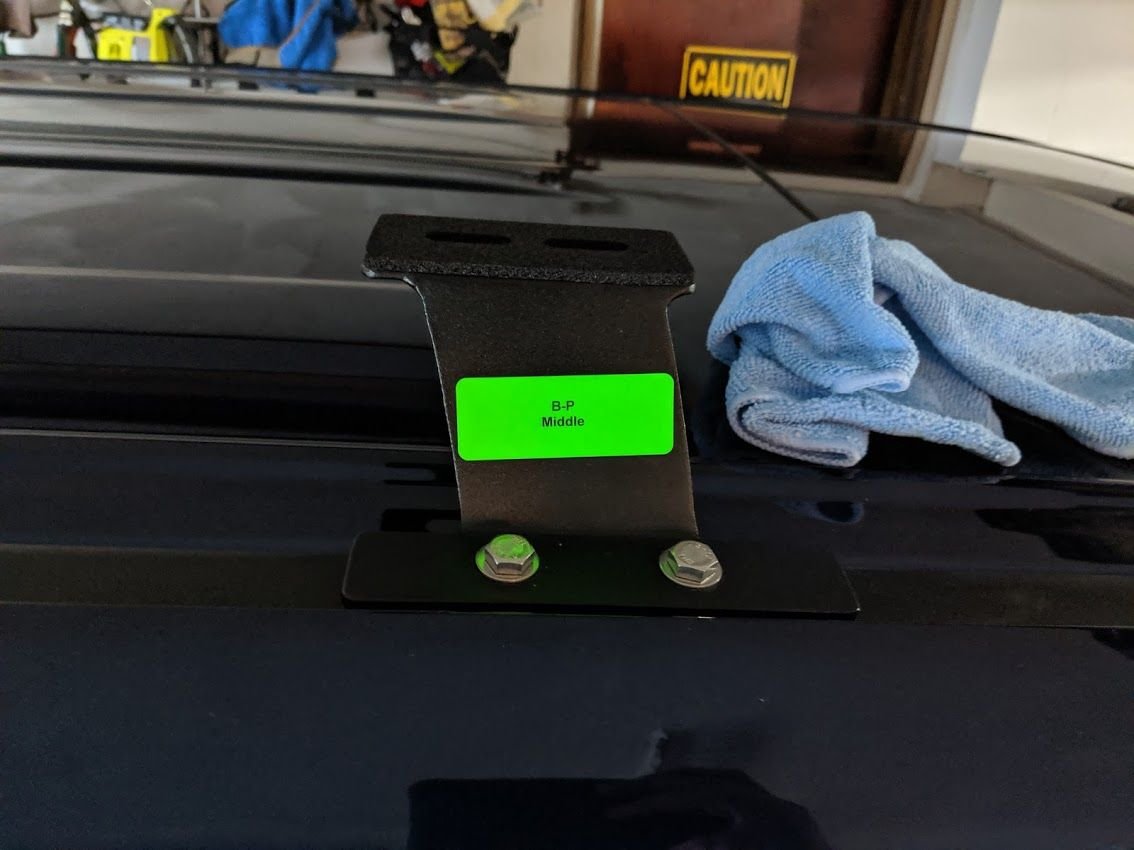
And here's all 4 brackets installed.
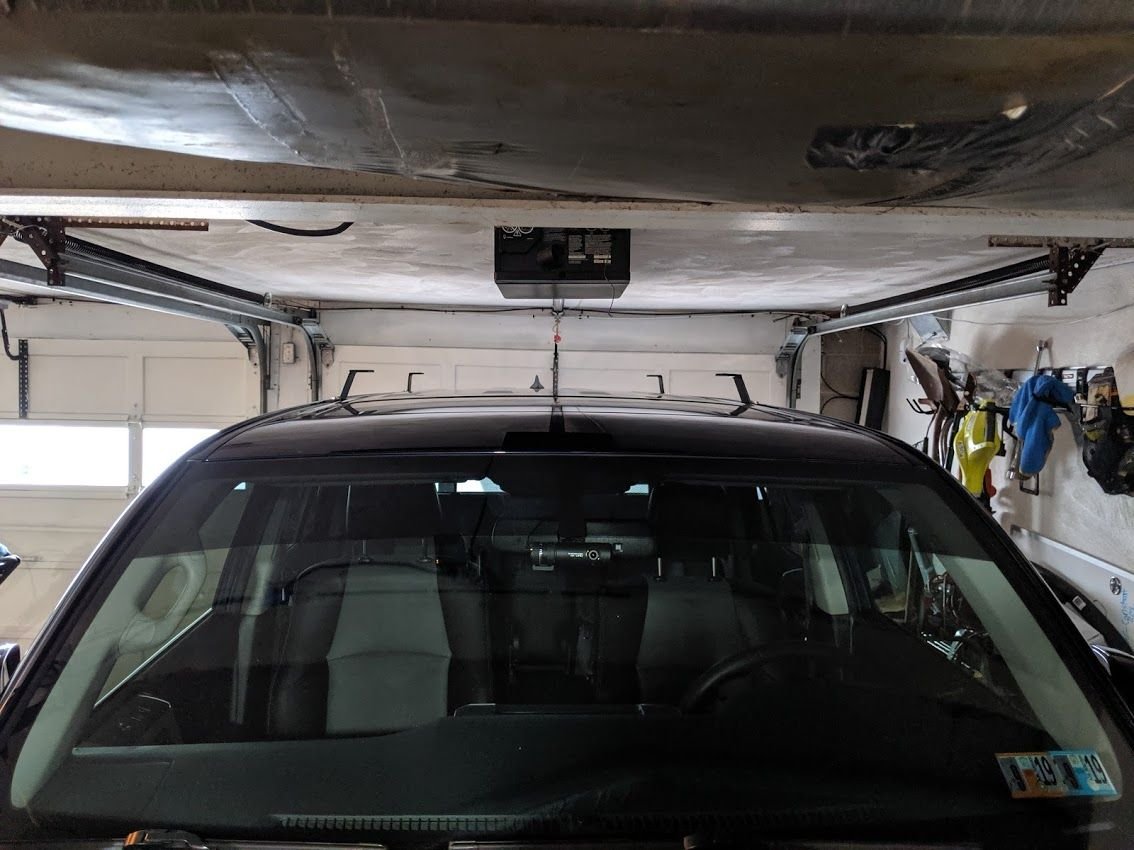
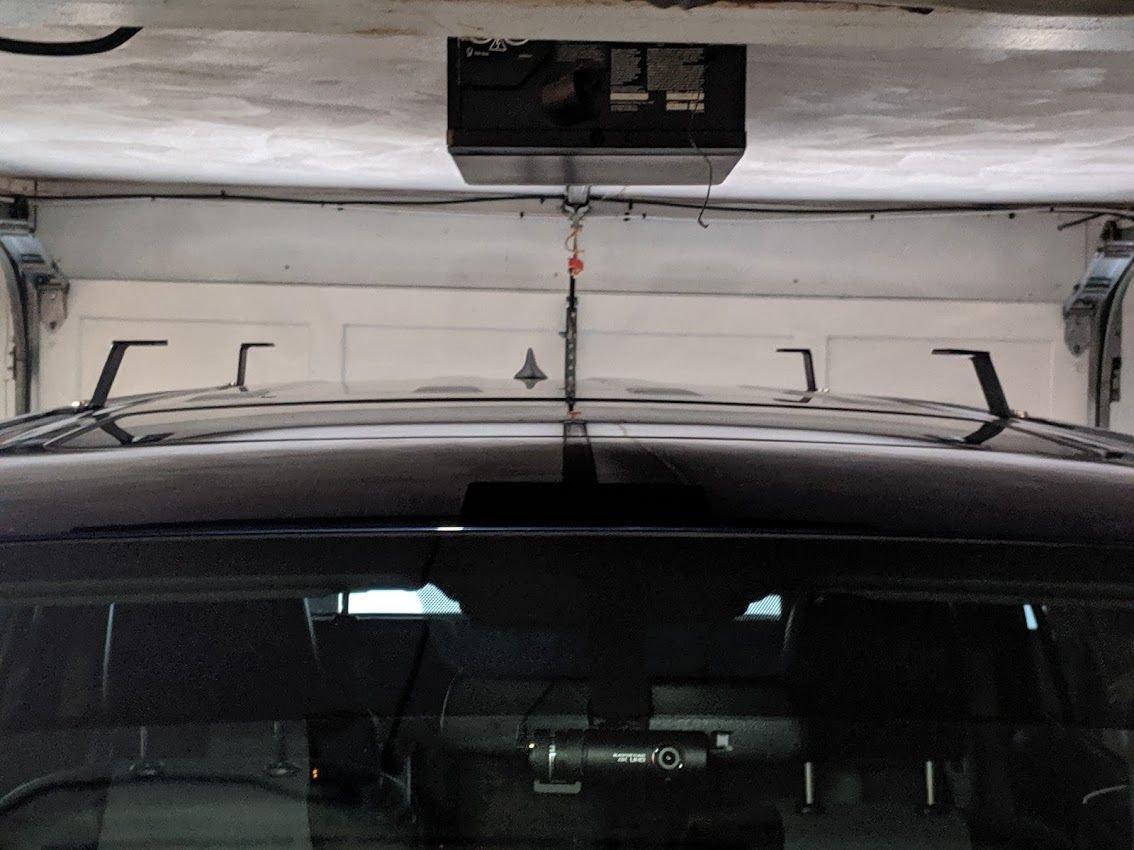
And...

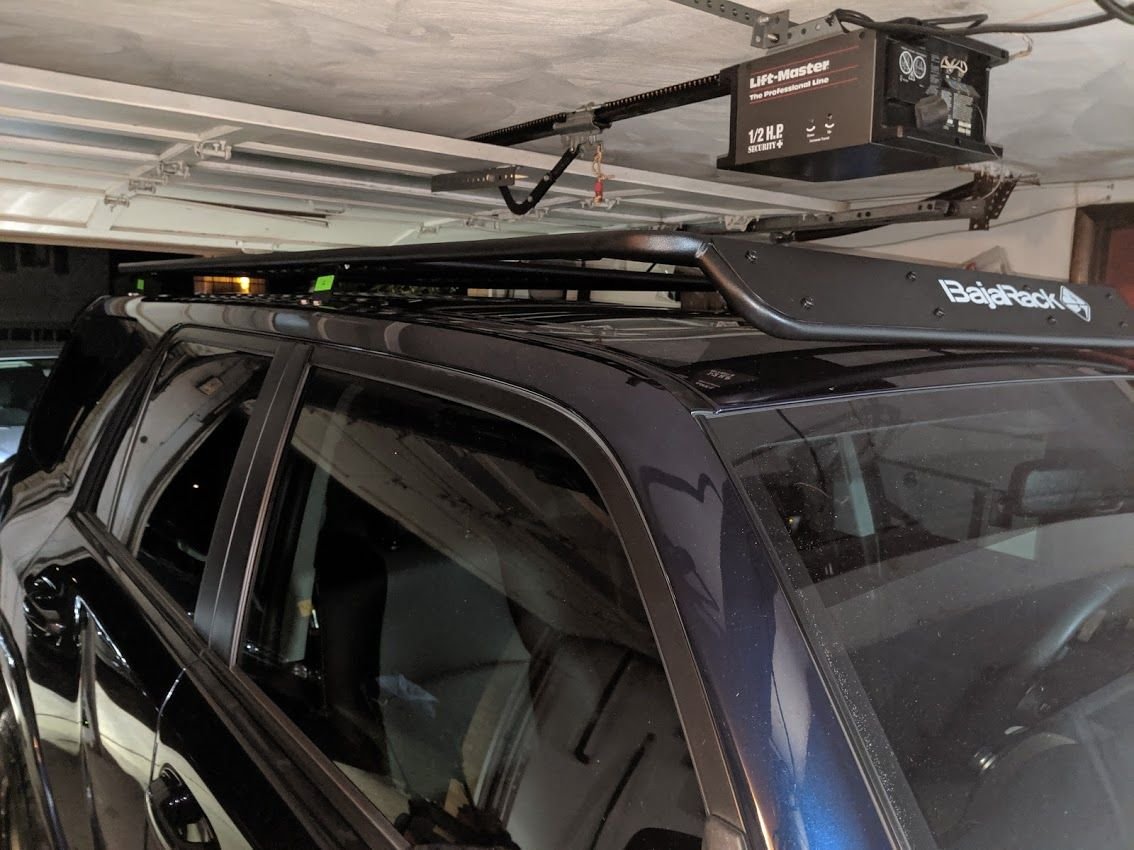
Installed!
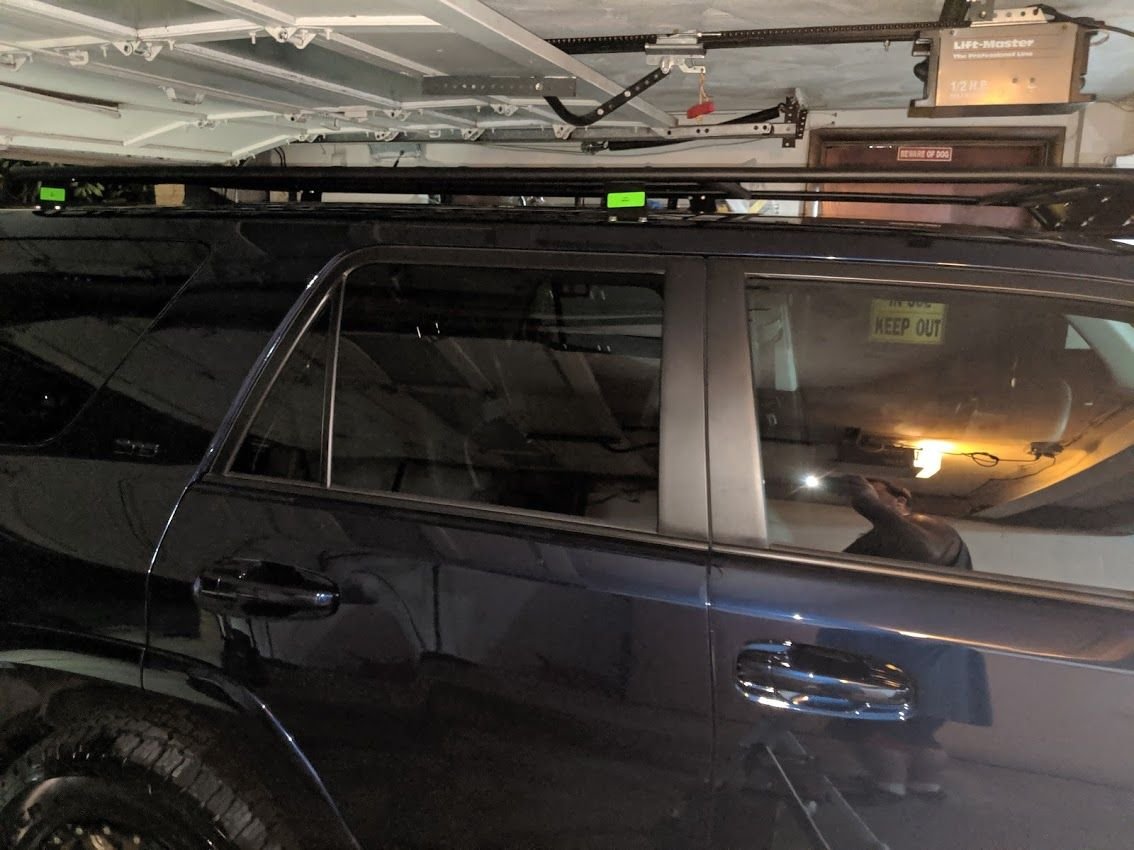
:rockstar:
A little before of the roof
What's in the box?
All roof rails removed... SO smooth
I went ahead and cleaned out the roof channels
I went ahead and sealed all the gaps around the bolt tubes with RTV silicone
And added the support brackets
Here's the first bracket installed
And here's all 4 brackets installed.
And...
Installed!
97BlackAckCL
Elite Member
Got the roof rack completely mounted last night, still needs a little adjustment but I needed to drive the truck to work for once. Haven't driven it in almost 3 weeks lol. Grabbed some sun shots, will have more proper shots later today hopefully
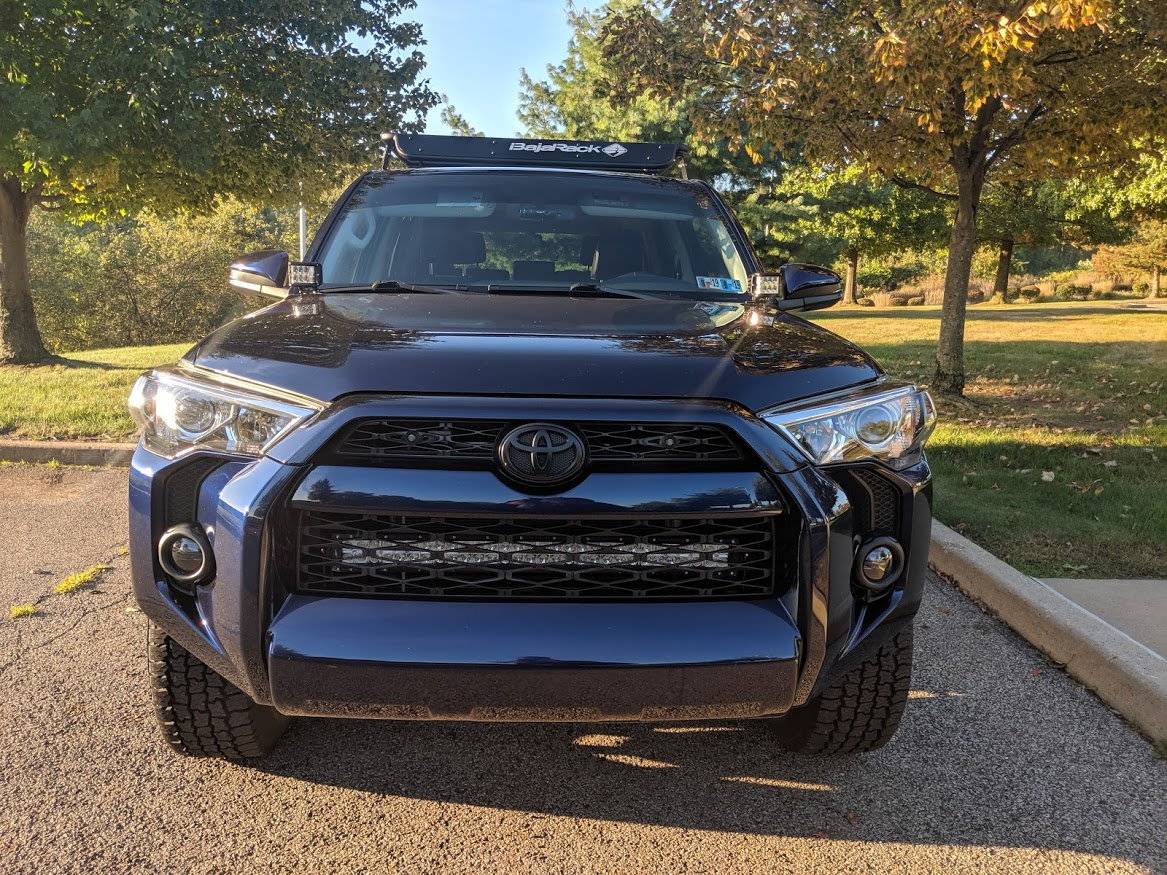
The truck is so shiny that I actually was watching other cars on the highway in the reflections on the hood lol
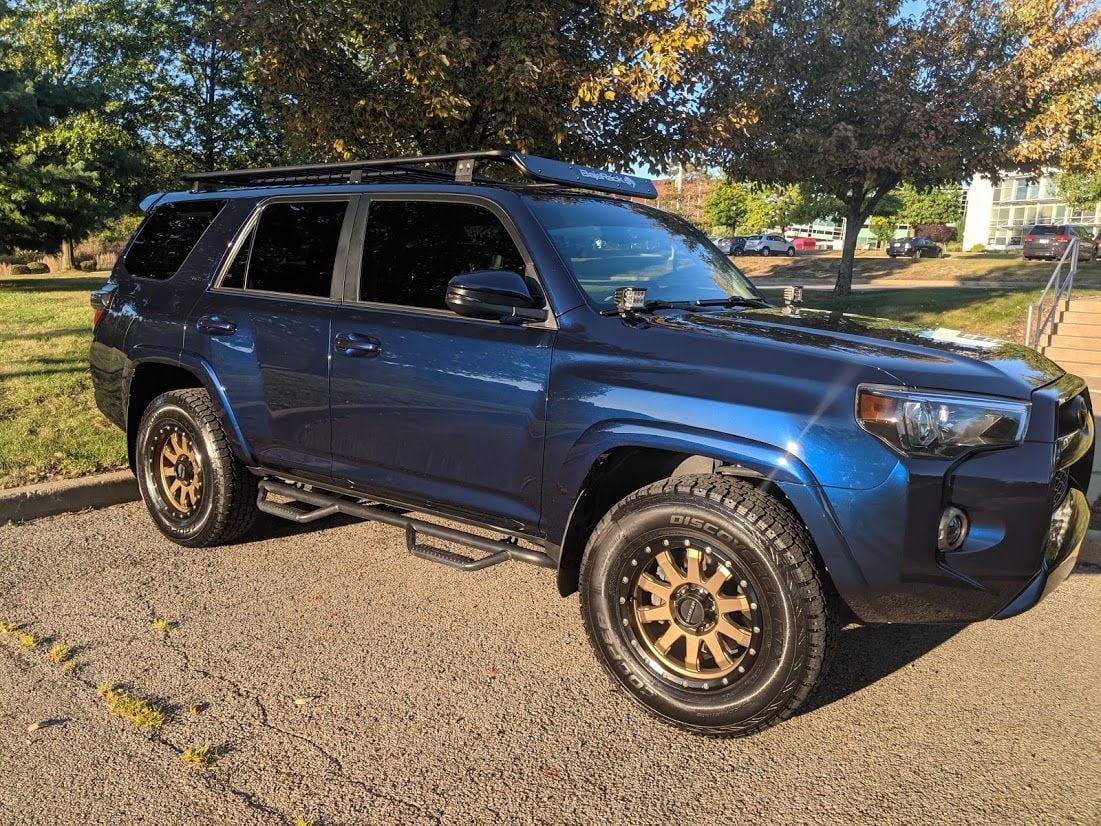
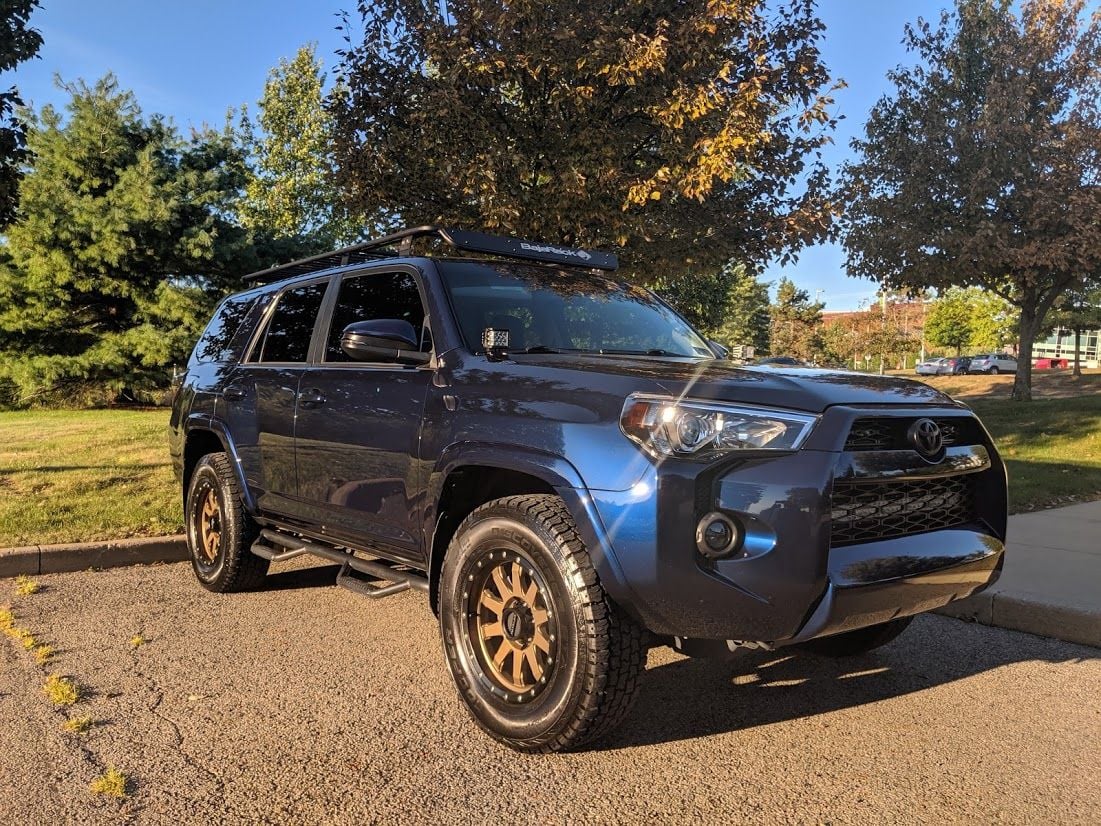
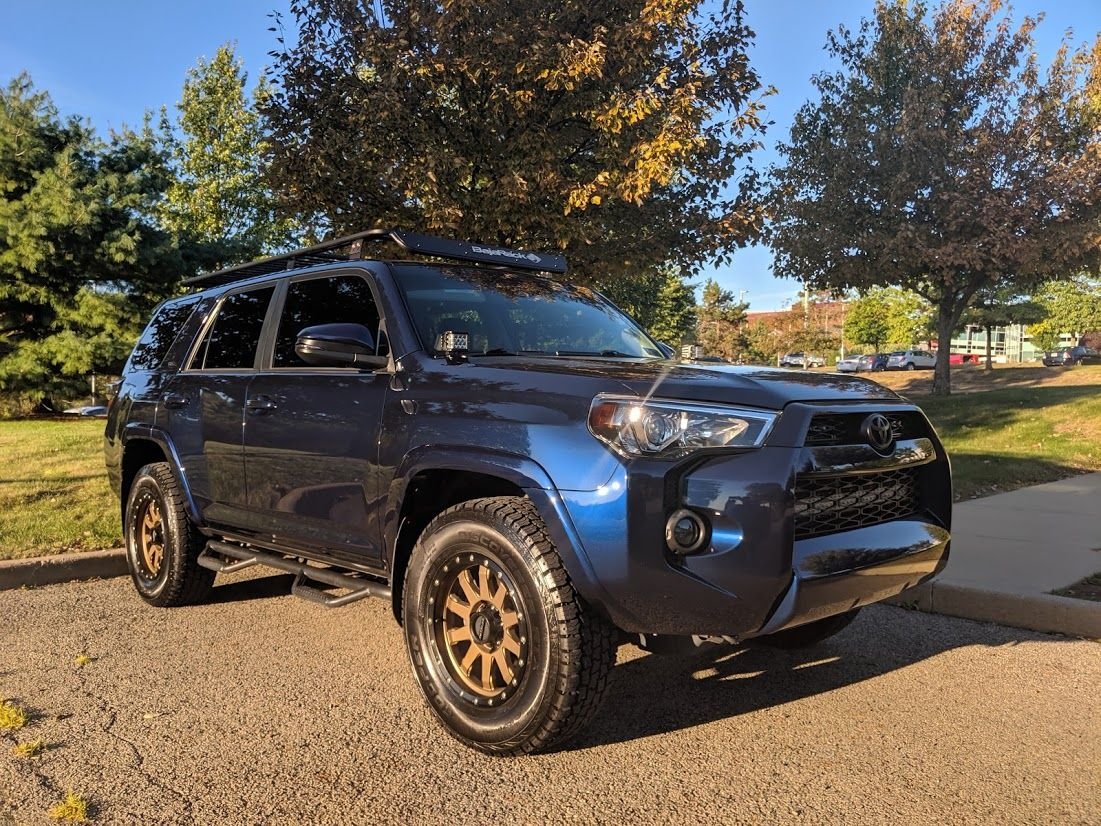
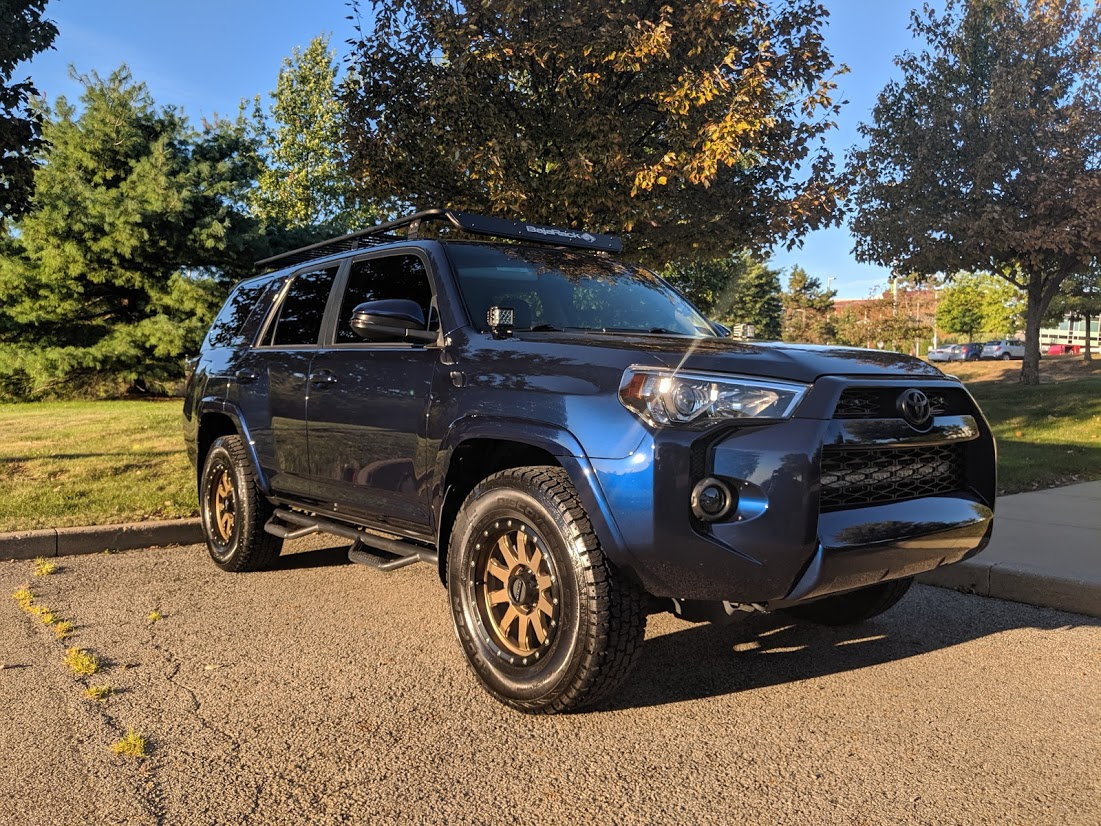
The truck is so shiny that I actually was watching other cars on the highway in the reflections on the hood lol
97BlackAckCL
Elite Member
Took a little trip to a park near my office for some sunshine shots. Let me know what you think
Dat refelction :thumb3:
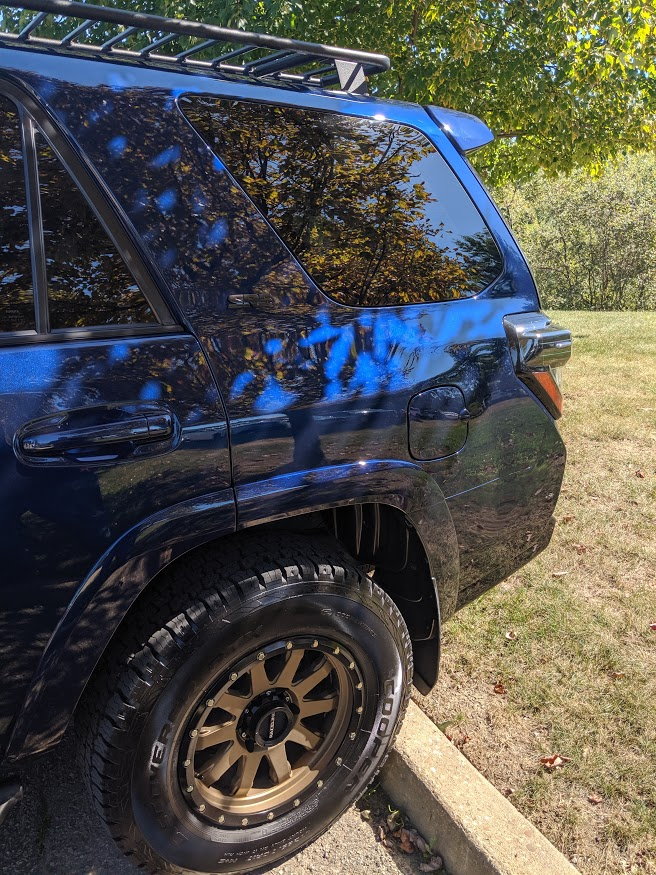
That glitter
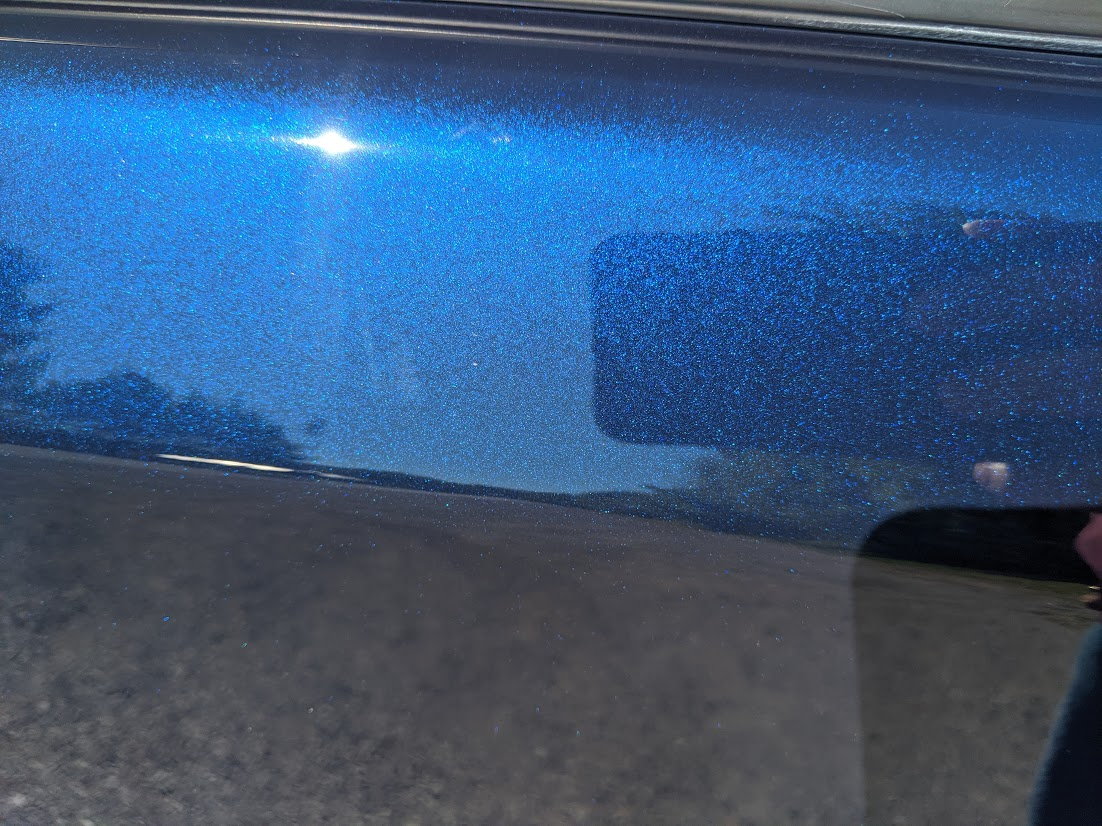
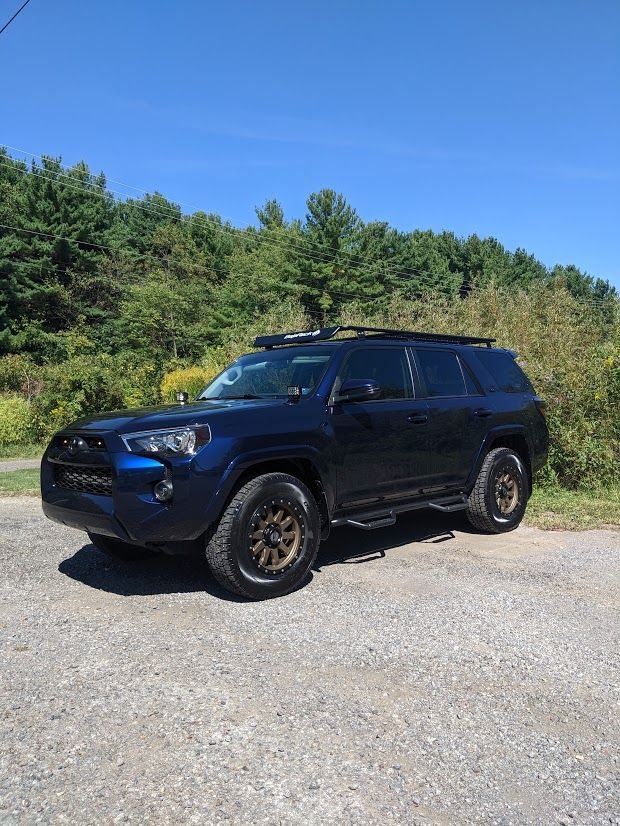
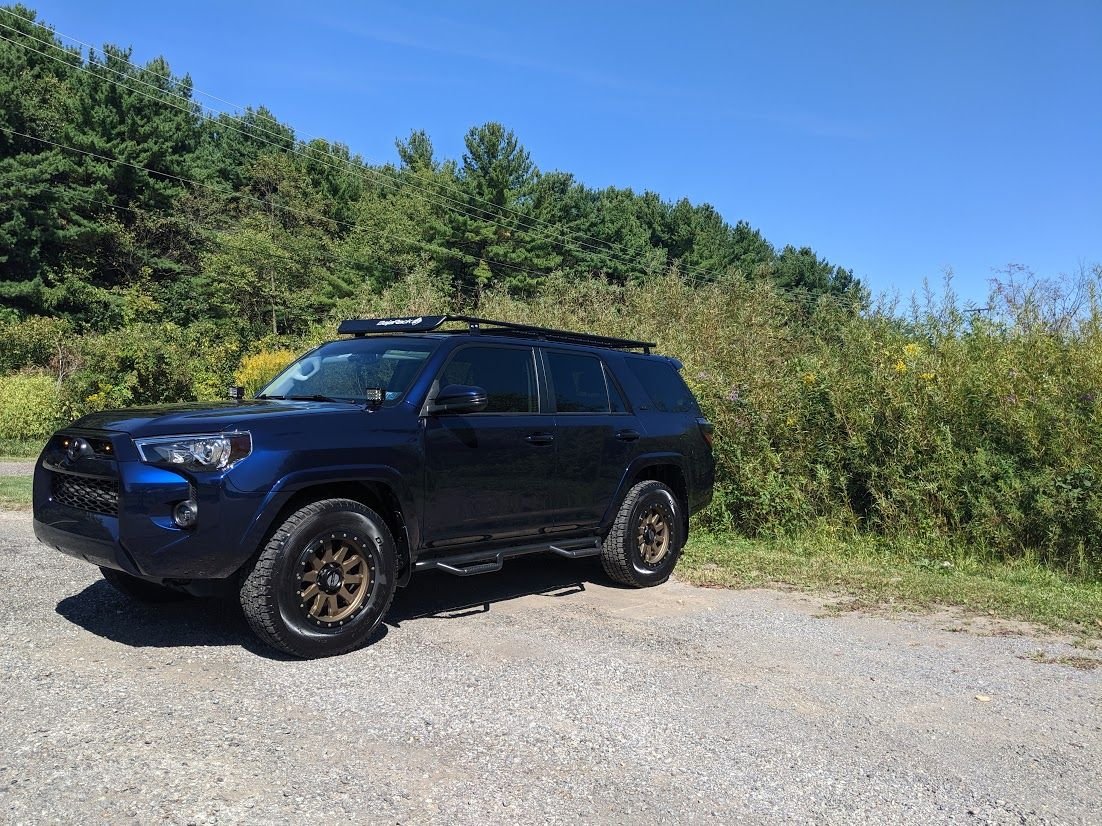
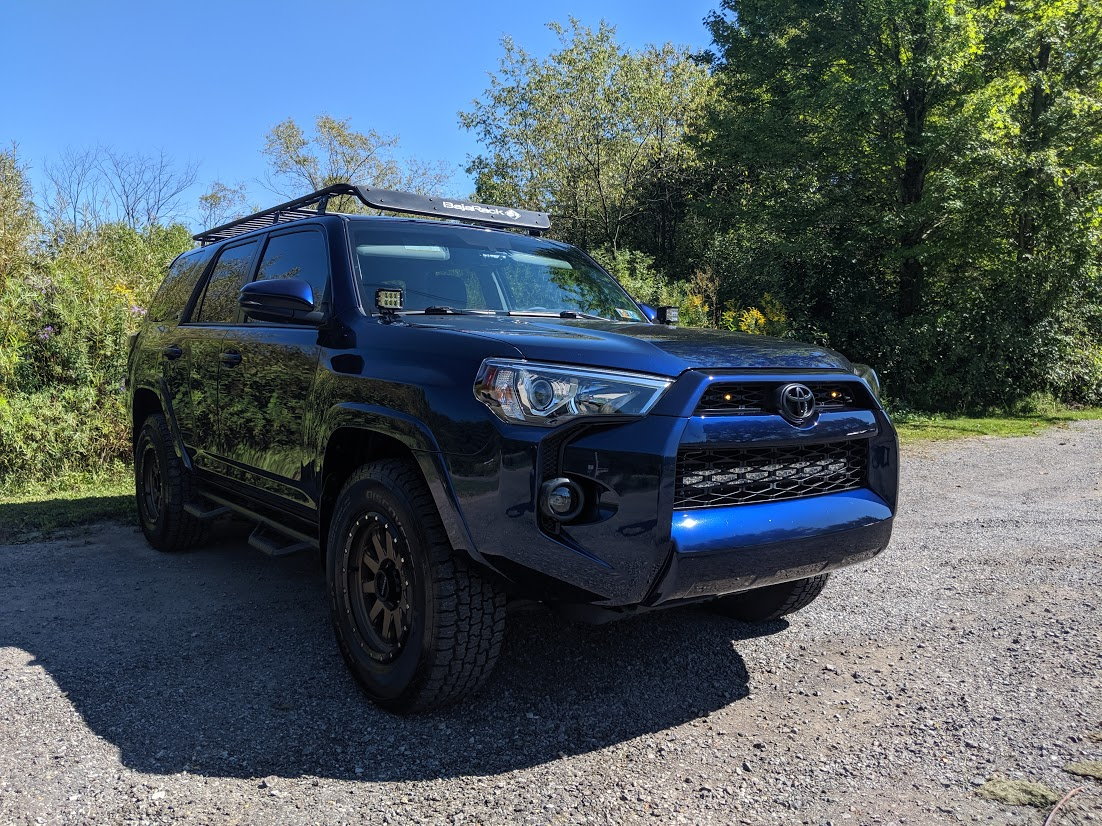
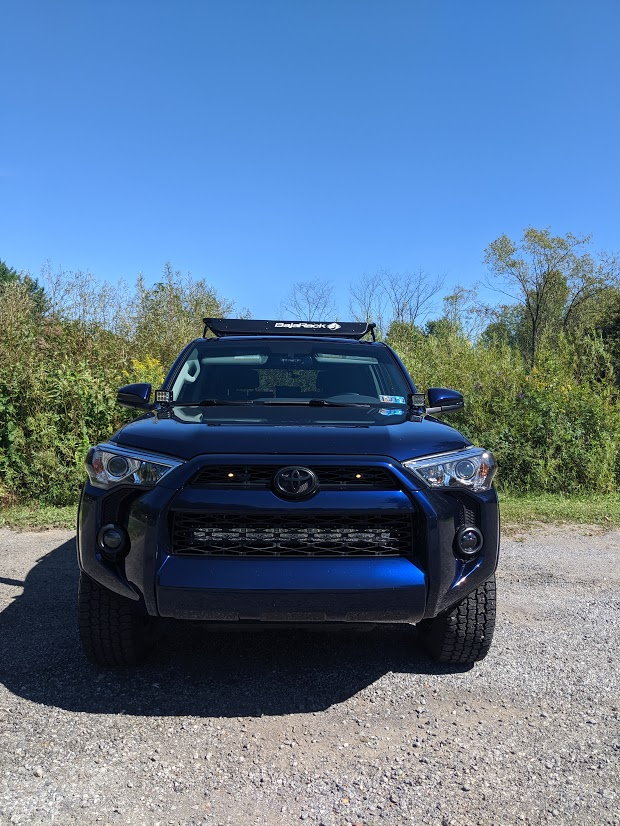
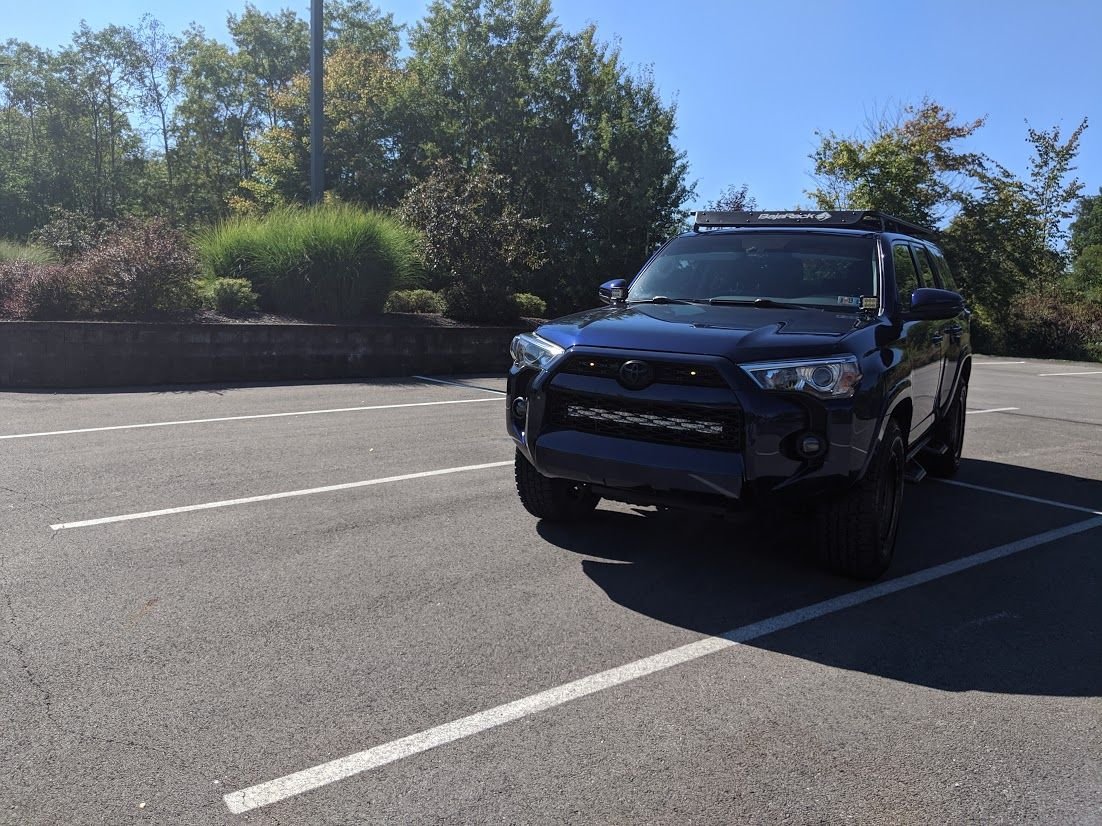
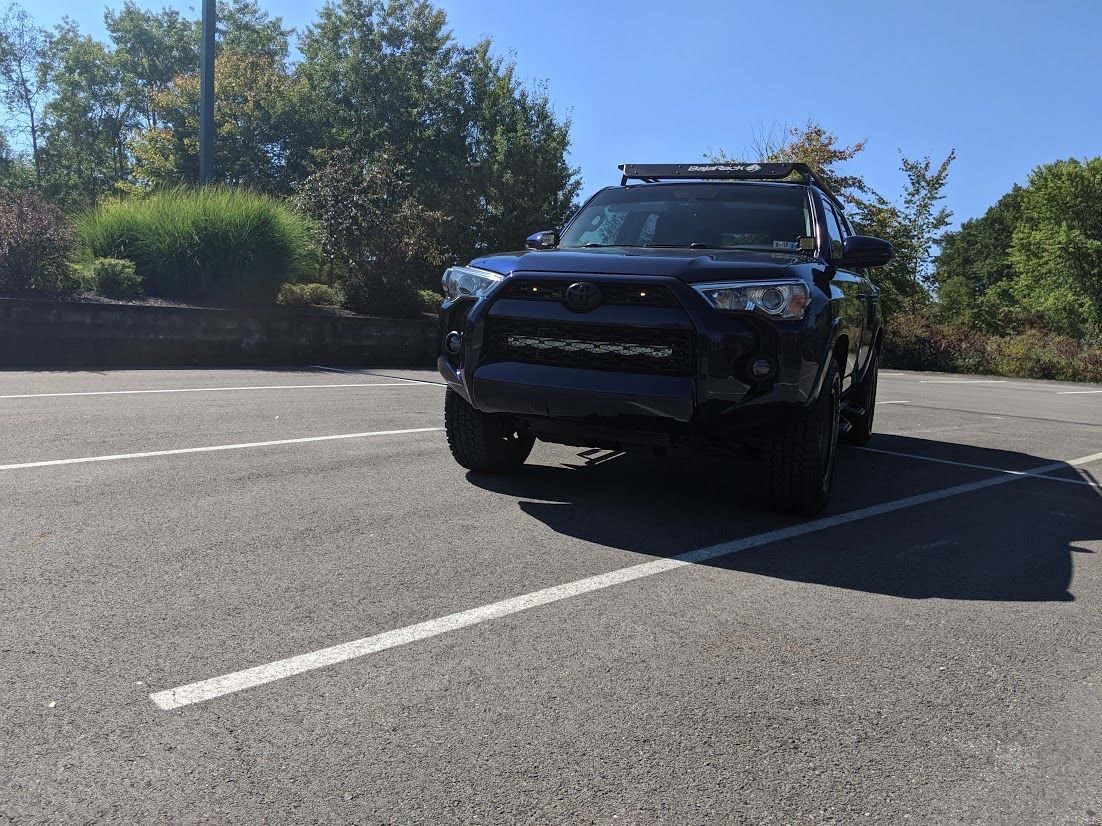
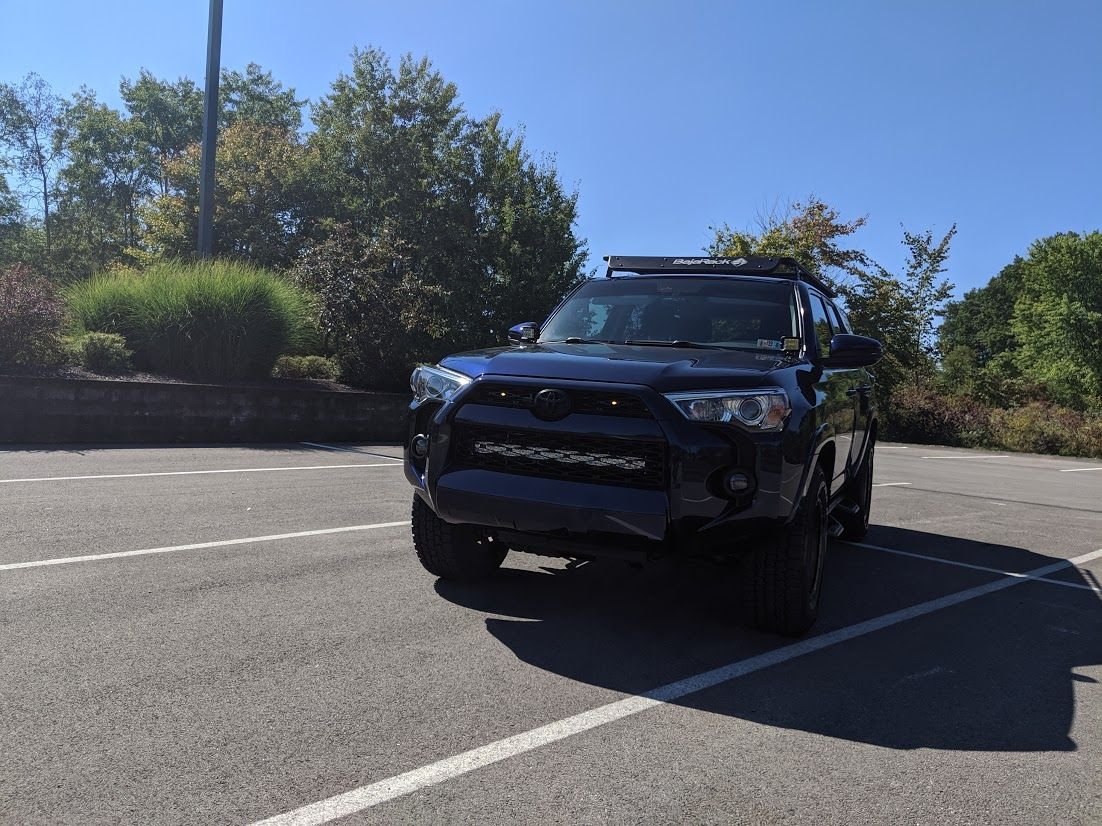
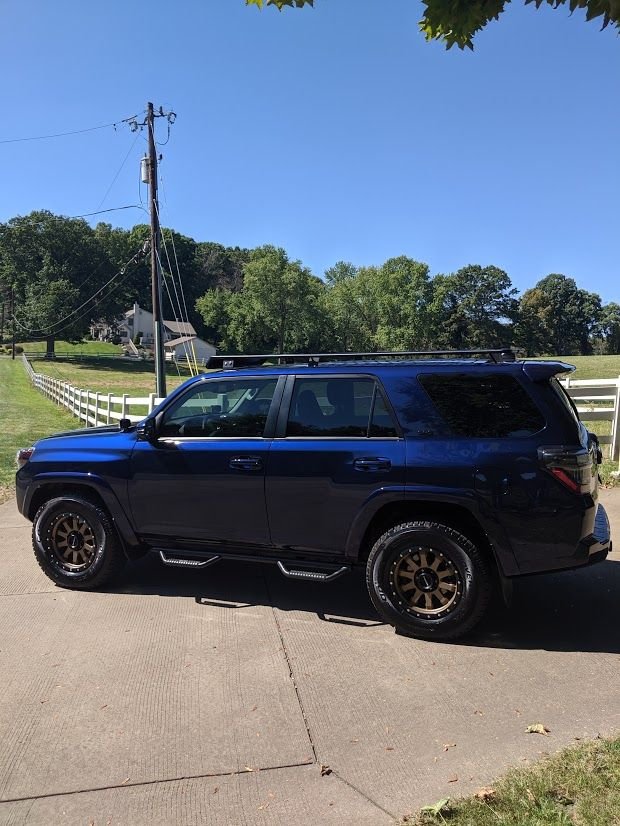
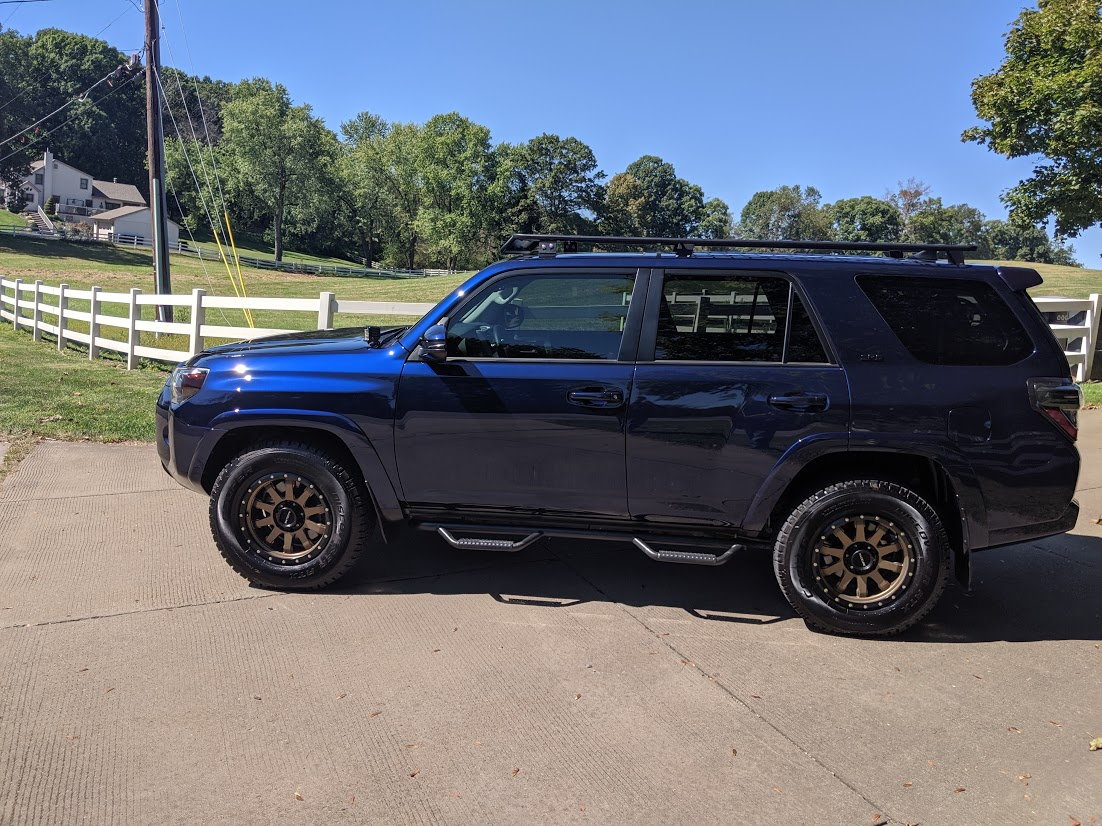

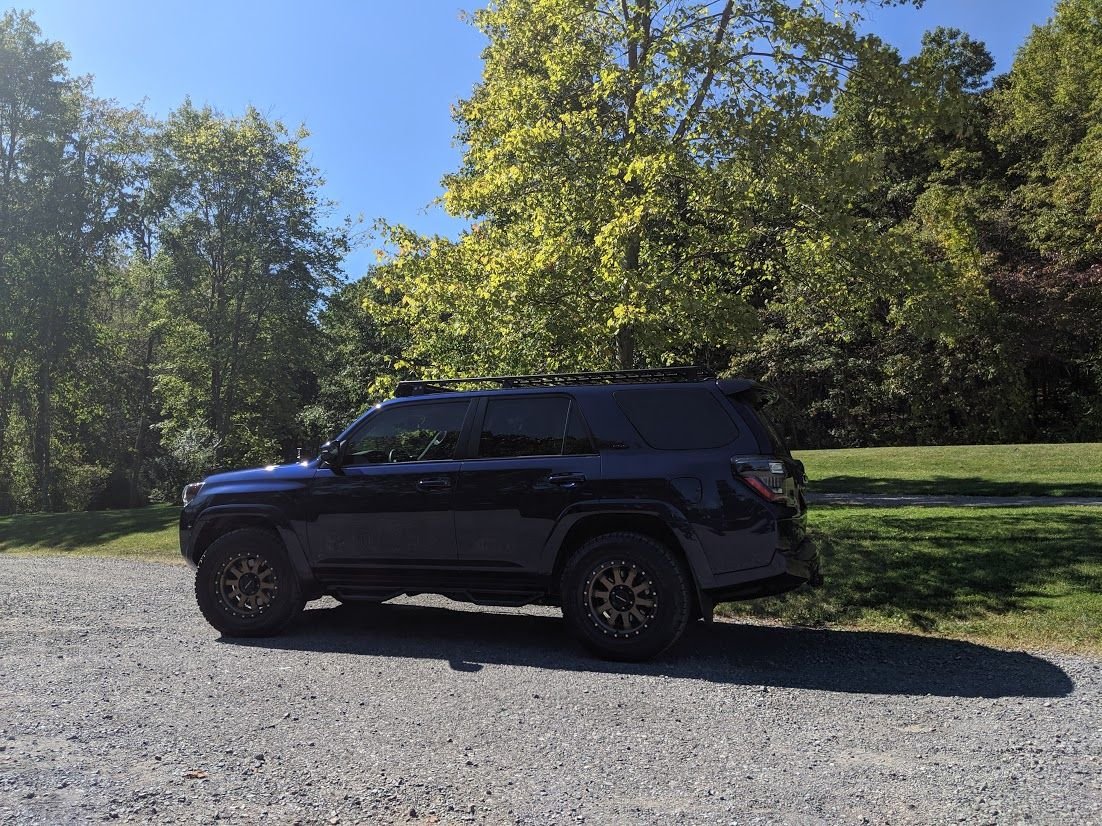
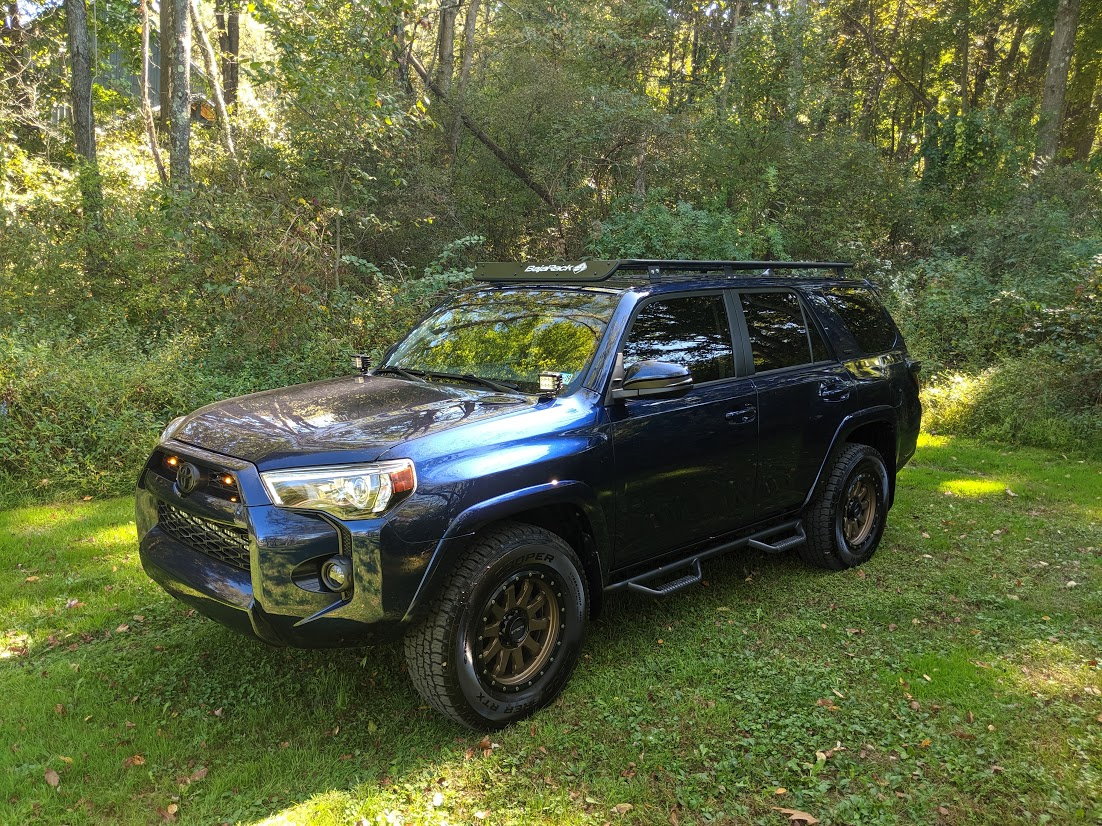
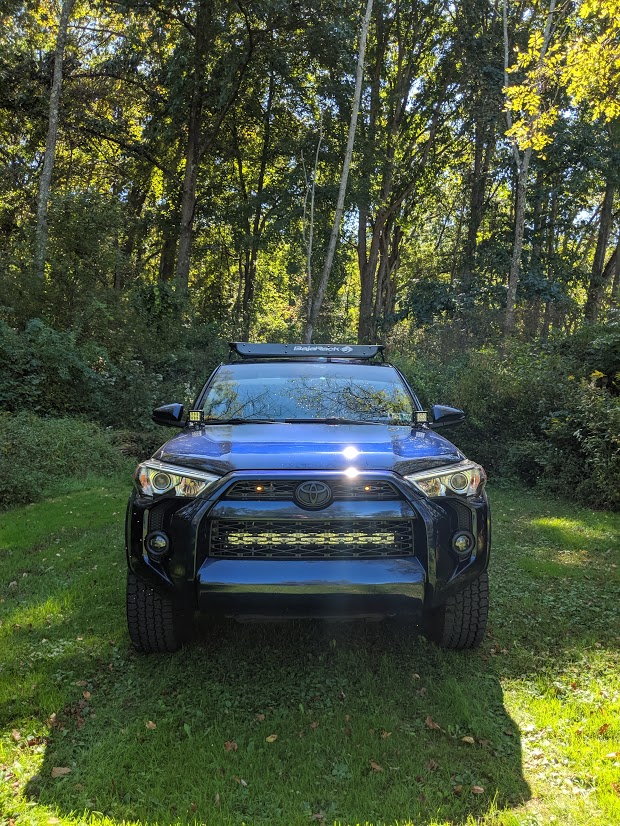
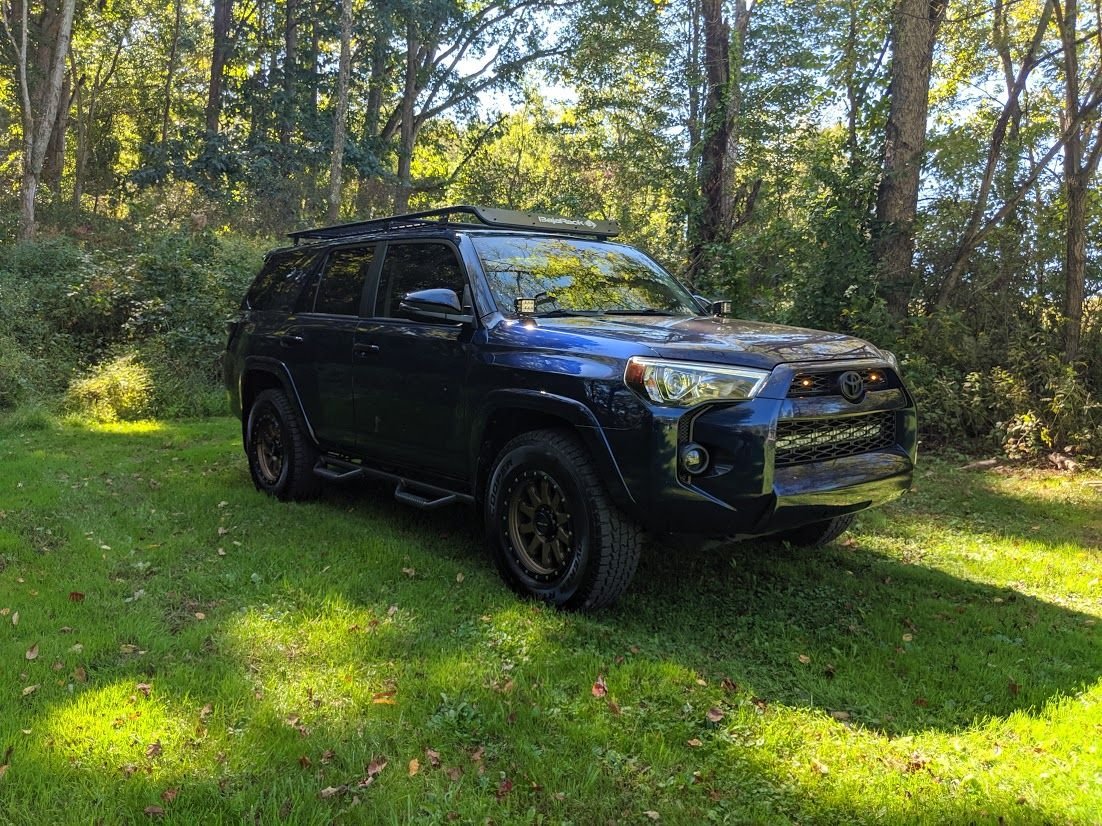
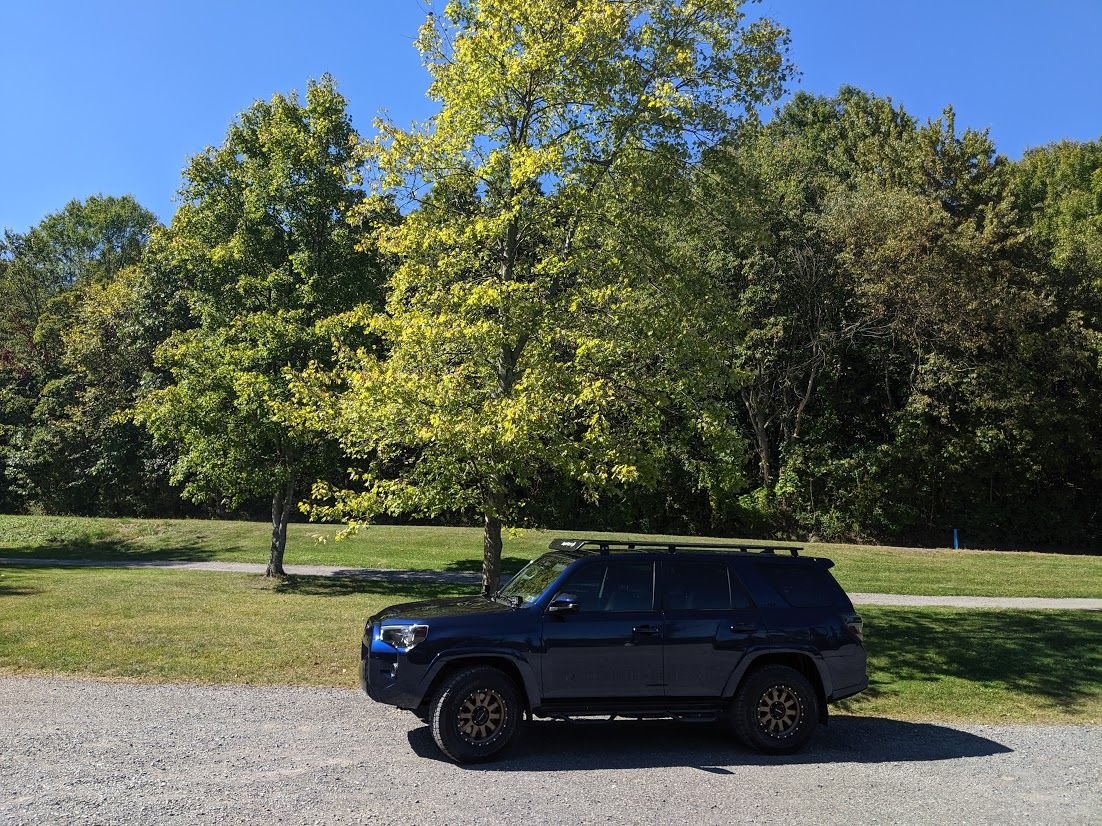

Dat refelction :thumb3:
That glitter
97BlackAckCL
Elite Member
Got some work done on the retrofit last night. Got the MLED projectors out and started taking them apart. Would be nice if Morimoto used 1 freaking screw head for all it's parts instead of like 4 different ones, but whatever
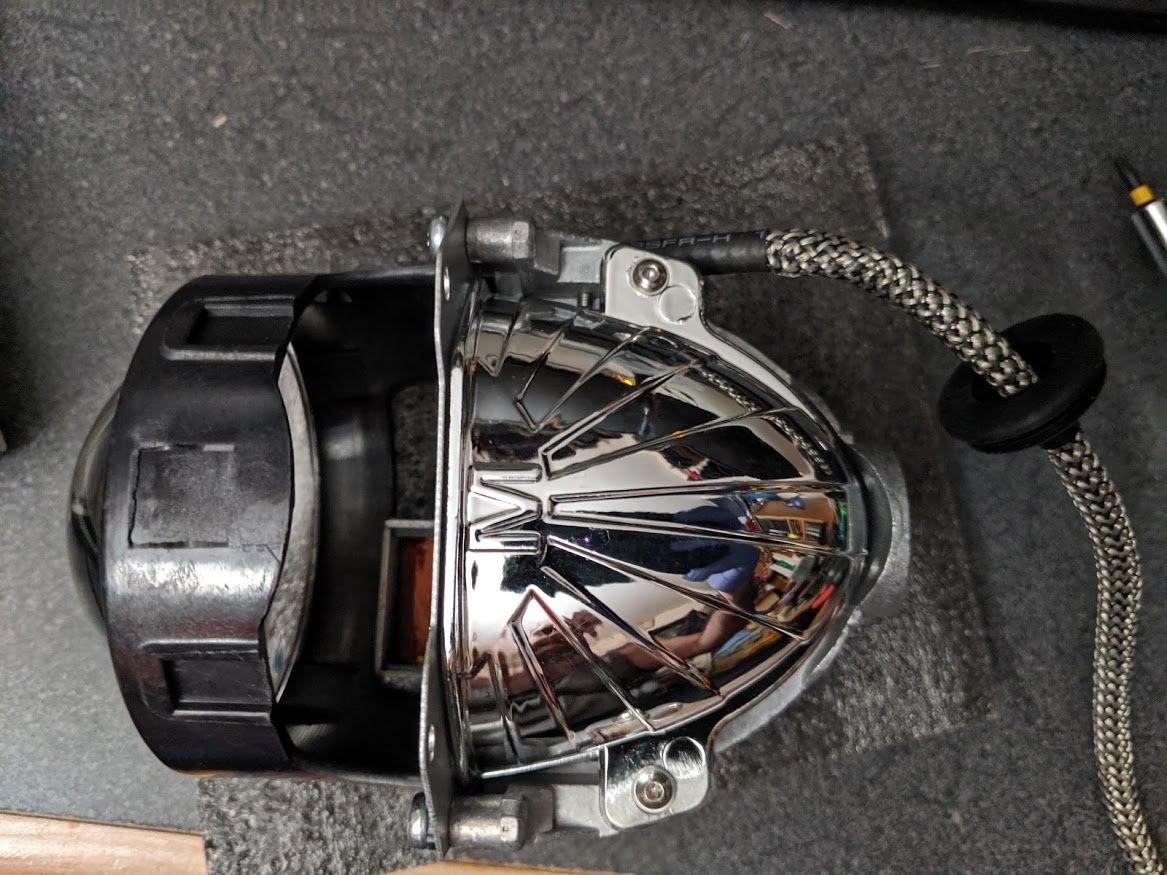
I opened them up only to surprise myself and find that I actually did the chip flip mod back in November when I bought these things and forgot that I did it.
Chip Flip Mod
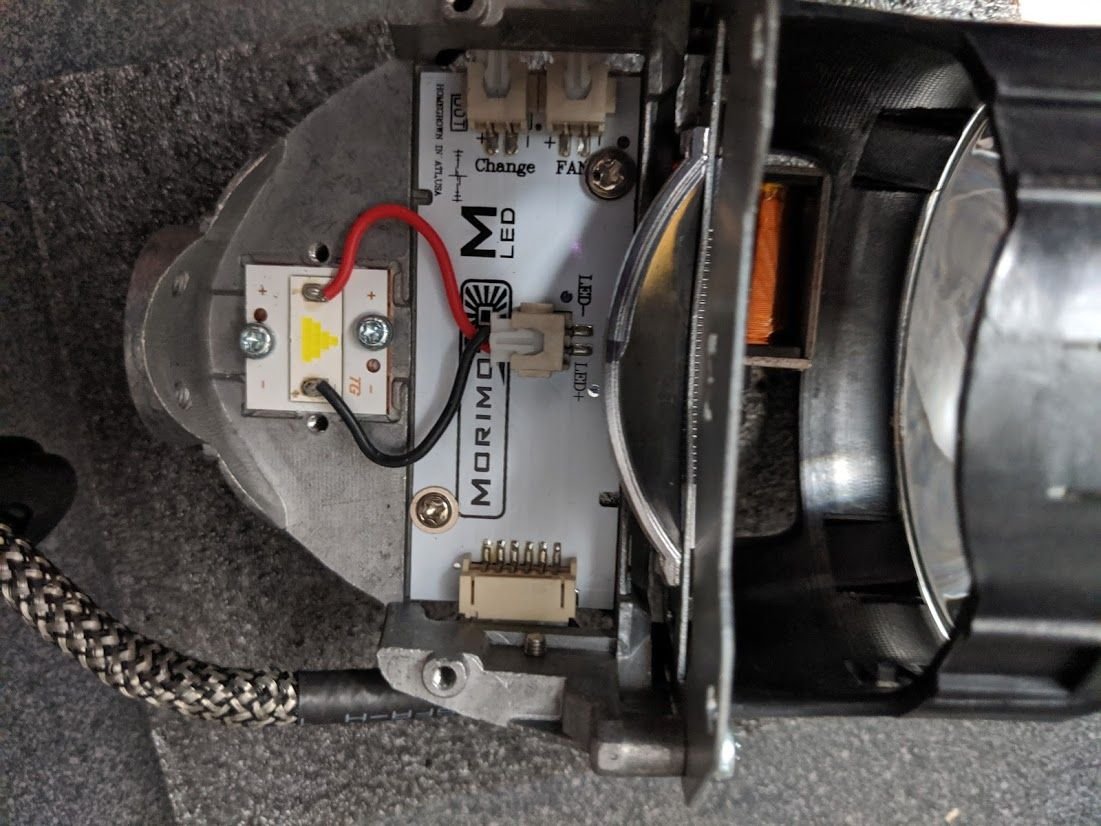
So then it was time to take the whole things apart
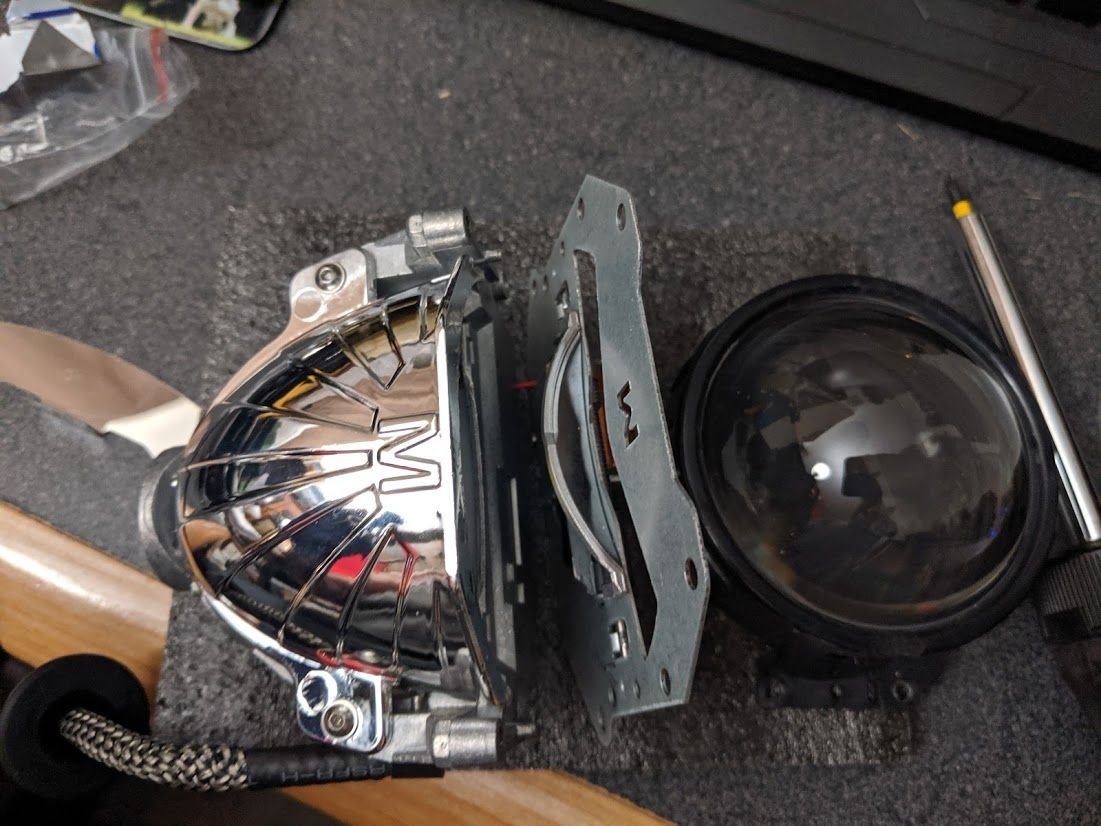
Took some work to figure out how I was going to mount the demon eyes that I bought for these projectors, I had already attempted this twice. But thankfully I found some brackets that lined up and were able to make it work. Here's me lining up the brackets.
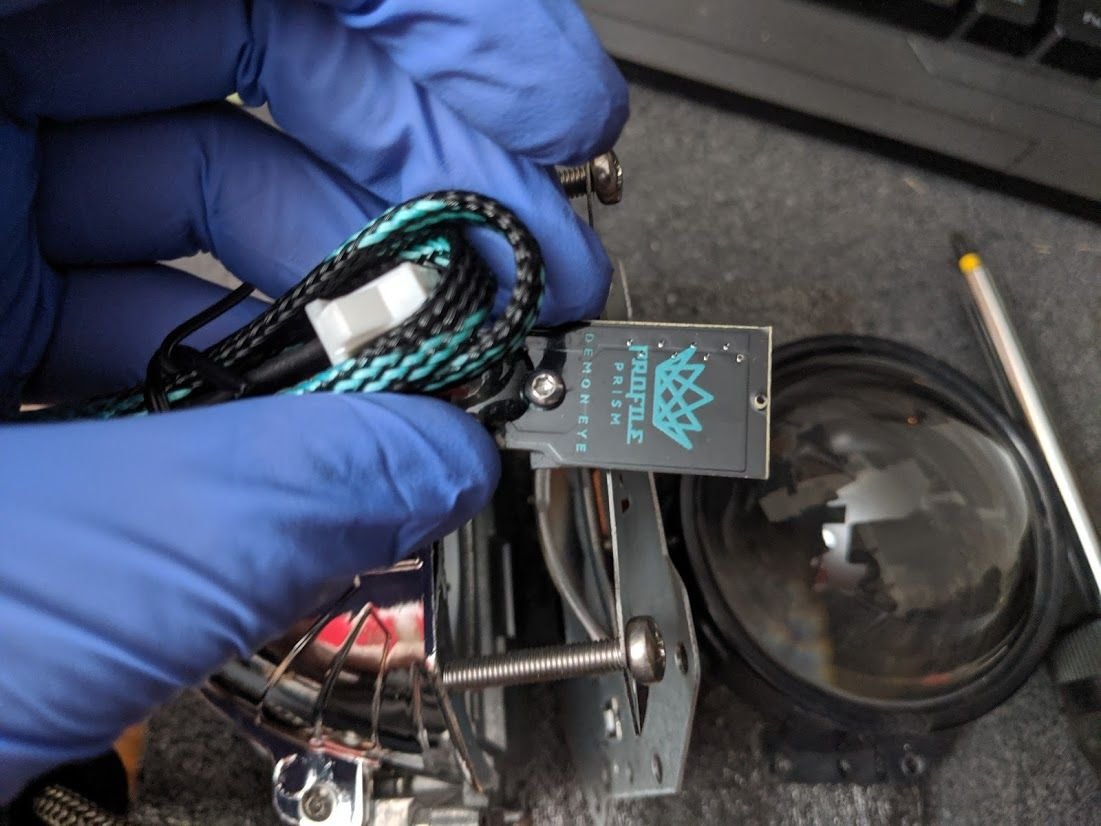
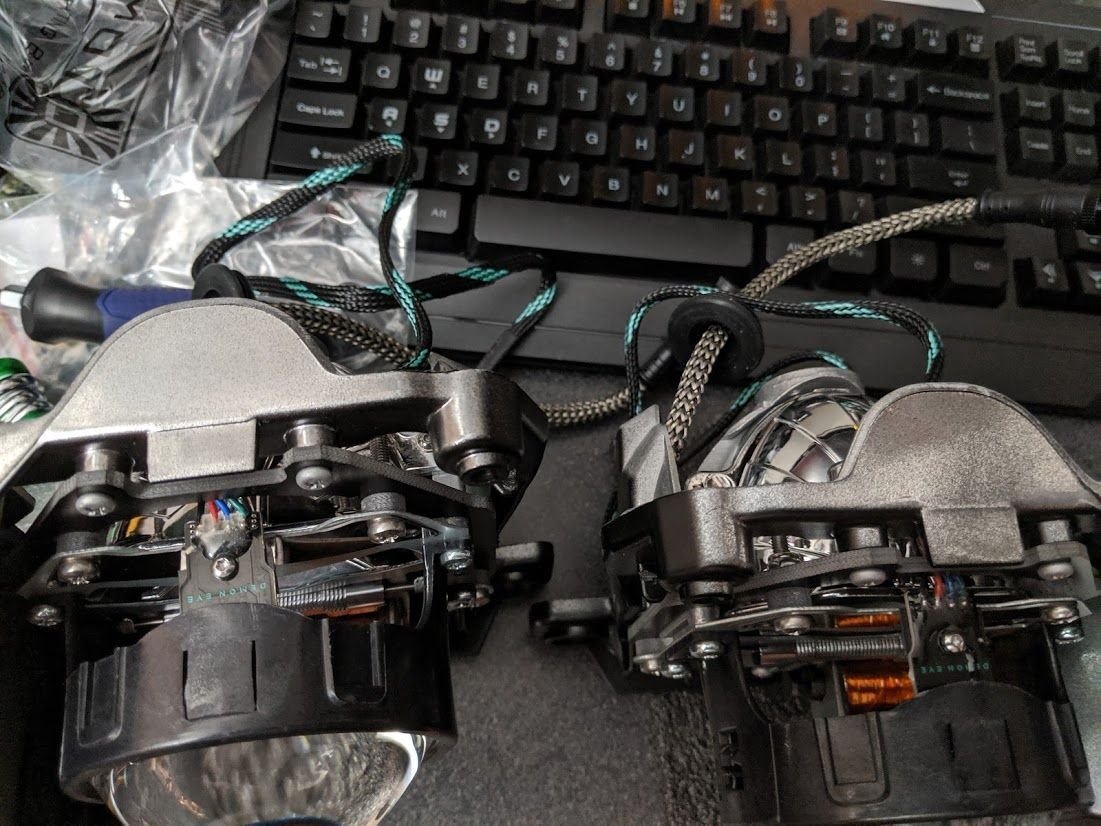
And here's the projectors all reassembled with the 4Runner brackets and nylon washers, with the demon eyes installed.
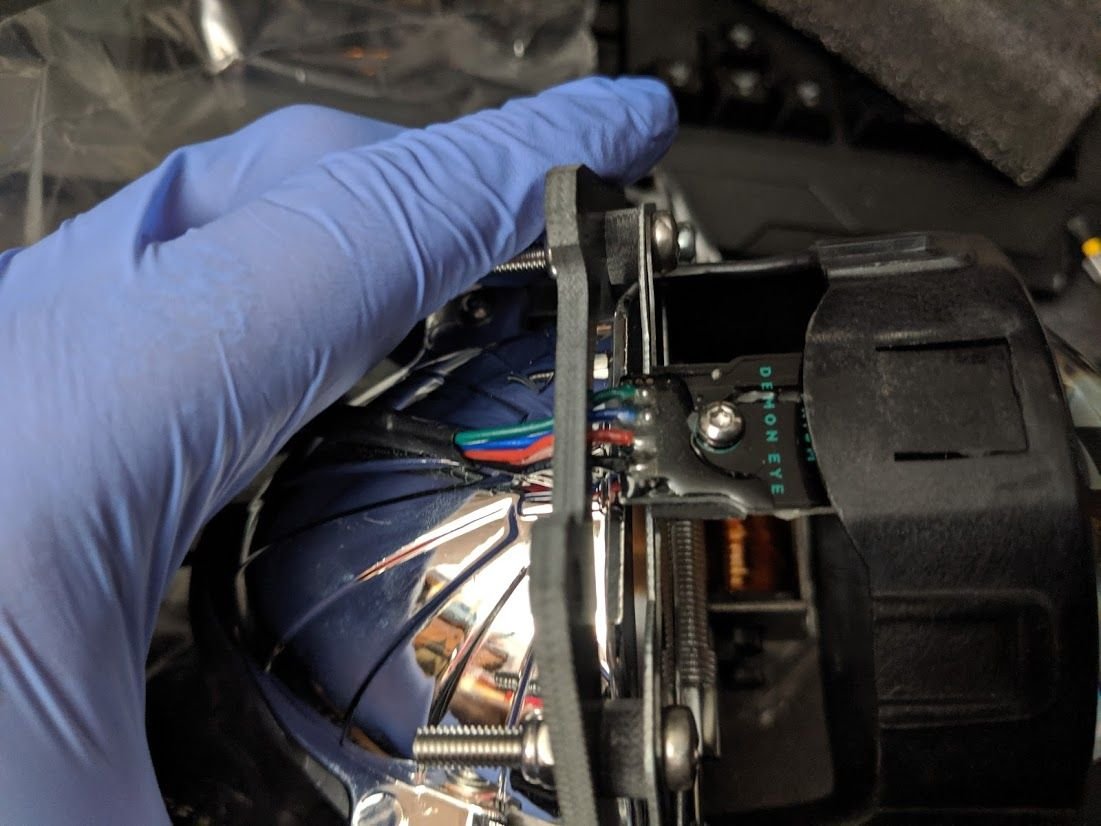
And here's the finished product all ready to bolt into the headlight housings :thumb3:
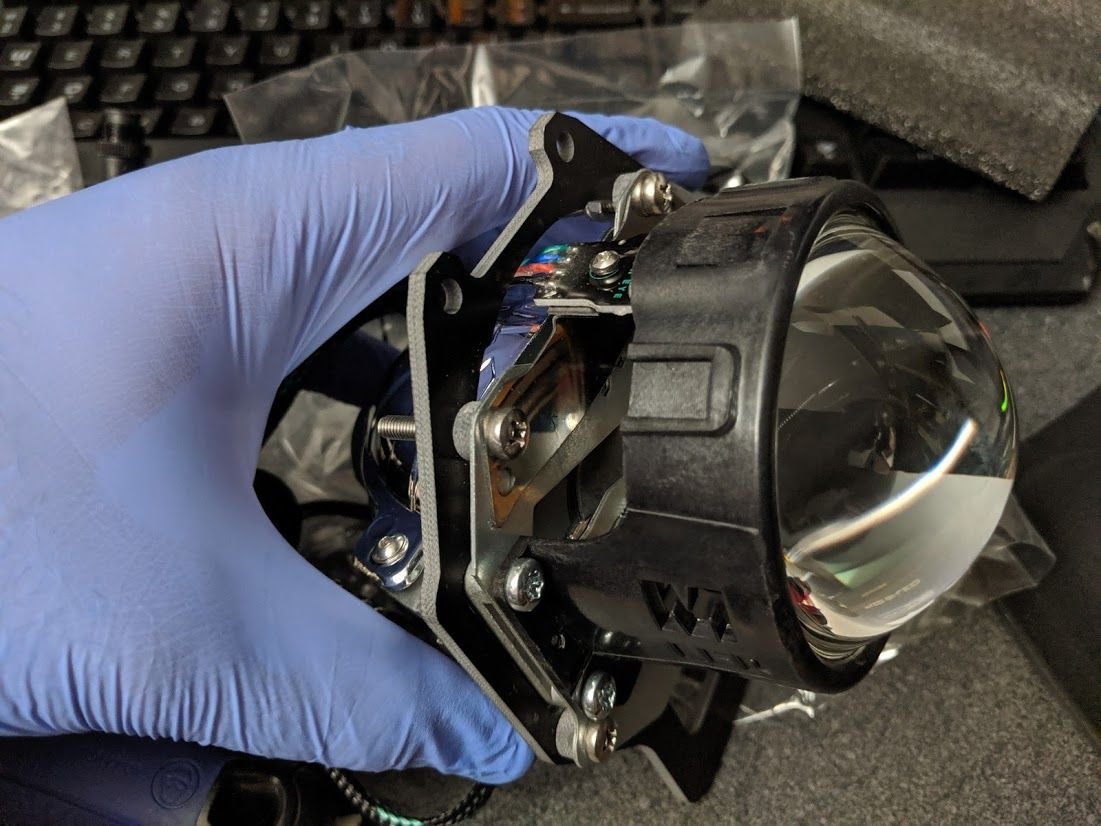
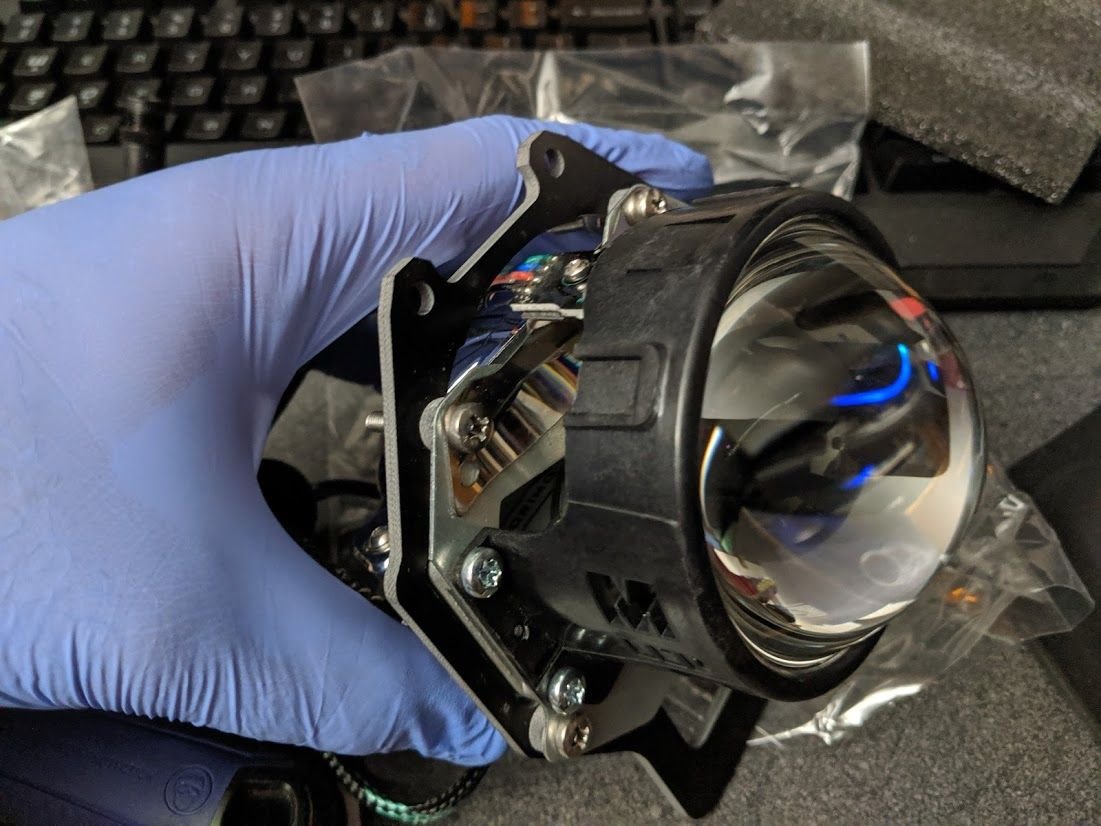
I opened them up only to surprise myself and find that I actually did the chip flip mod back in November when I bought these things and forgot that I did it.
Chip Flip Mod
So then it was time to take the whole things apart
Took some work to figure out how I was going to mount the demon eyes that I bought for these projectors, I had already attempted this twice. But thankfully I found some brackets that lined up and were able to make it work. Here's me lining up the brackets.
And here's the projectors all reassembled with the 4Runner brackets and nylon washers, with the demon eyes installed.
And here's the finished product all ready to bolt into the headlight housings :thumb3:
97BlackAckCL
Elite Member
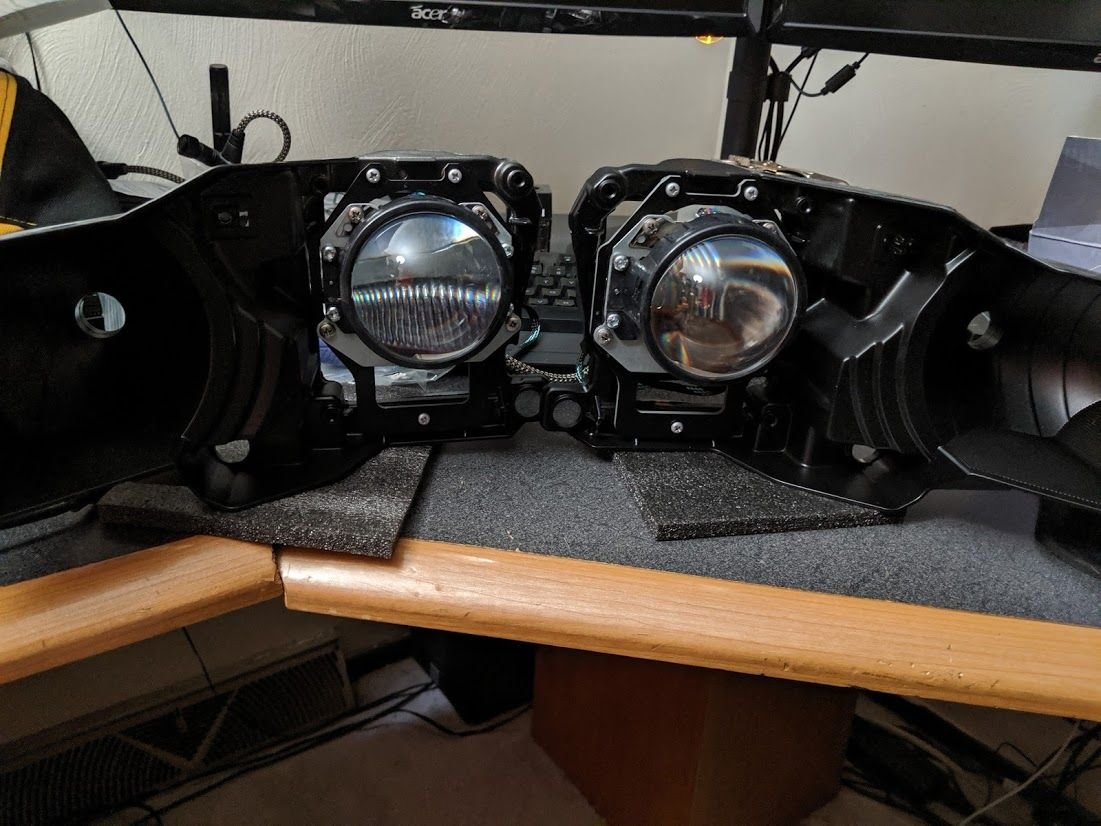
Got the LED projectors mounted with the demon eyes, everything looking good so far for the retro with the black housings
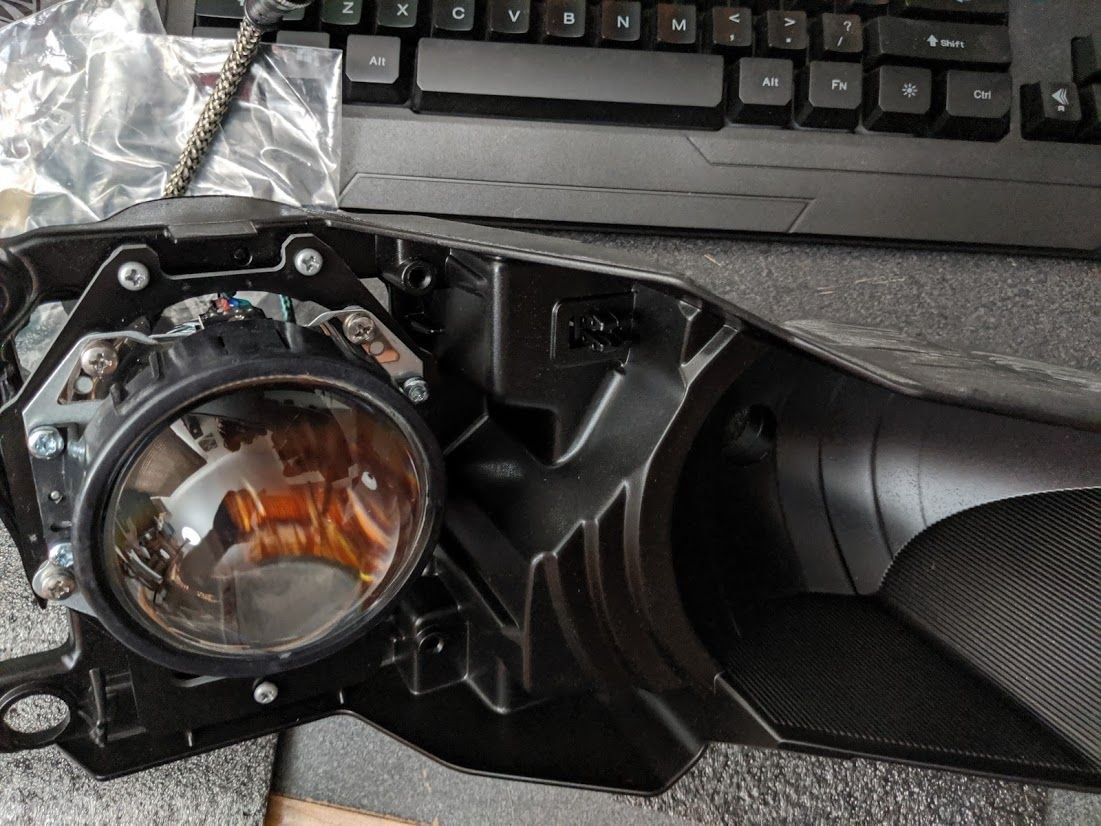
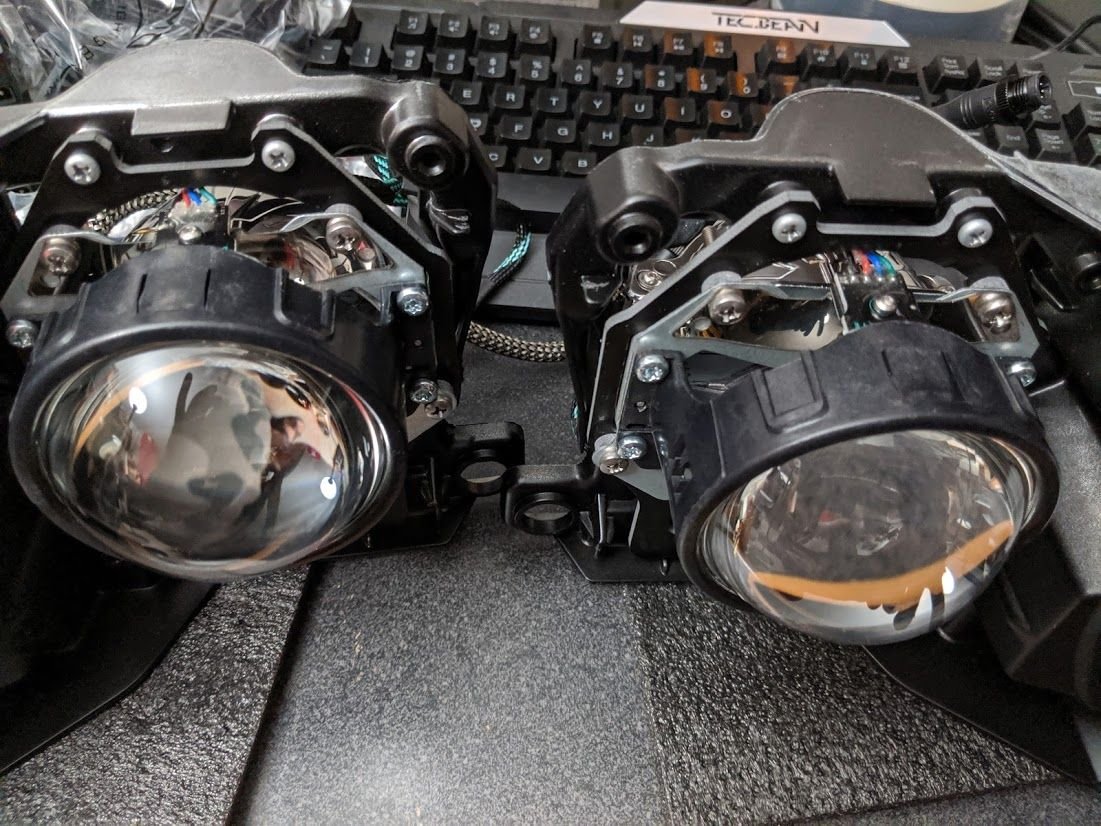
97BlackAckCL
Elite Member
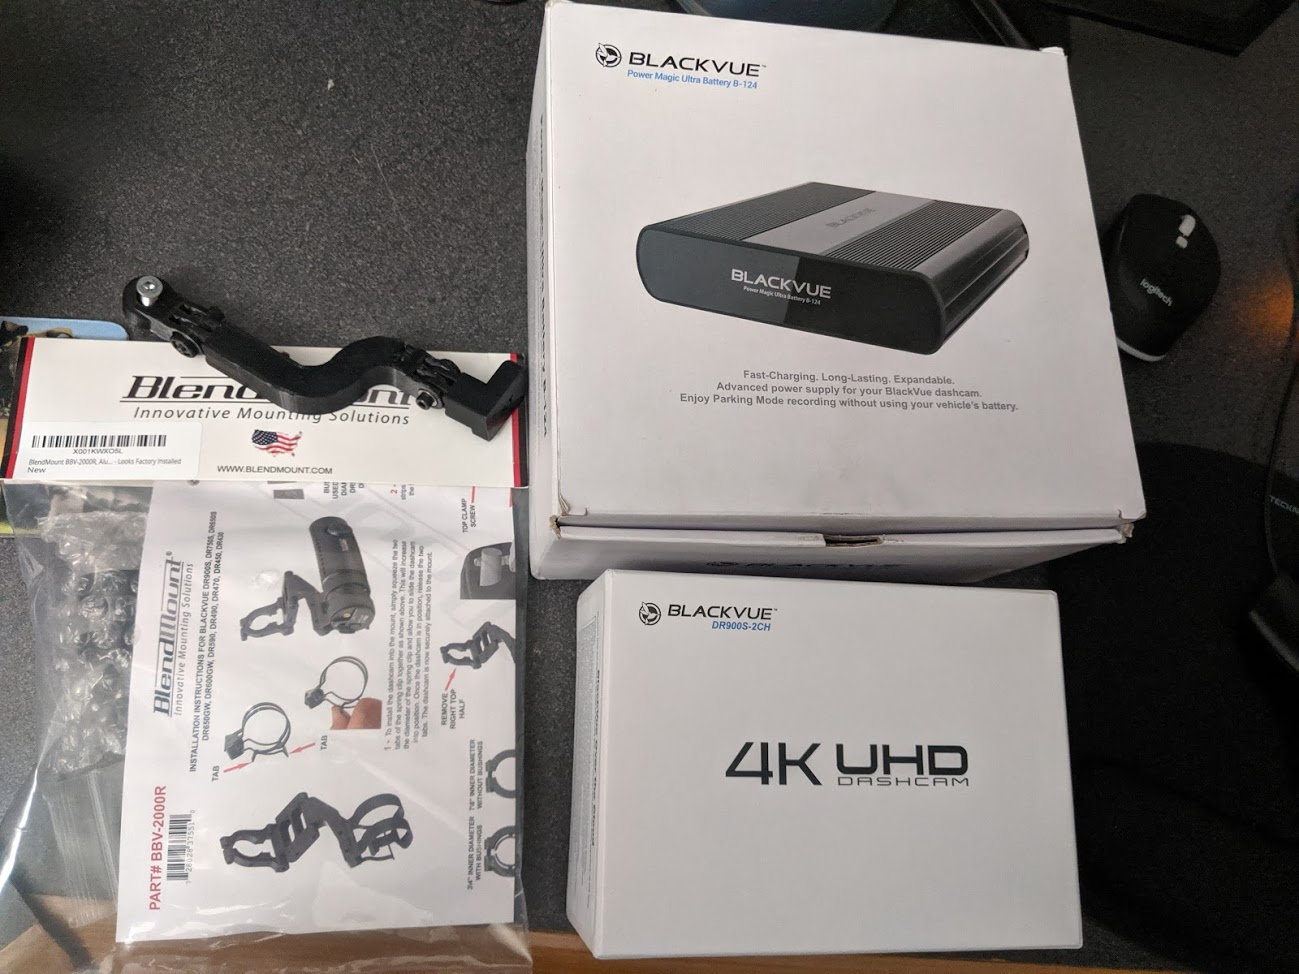
Here's another project that I actually started Labor Day weekend before the detail, but didn't finish until last night. I got most of the hard stuff done back then but had a few things that needed to be finished up. I got a front and rear dash camera, and installed them before I started my marathon detailing, polishing, ceramic coating extravaganza. I got the Blackvue 2 channel 4K dash cam with the backup battery.
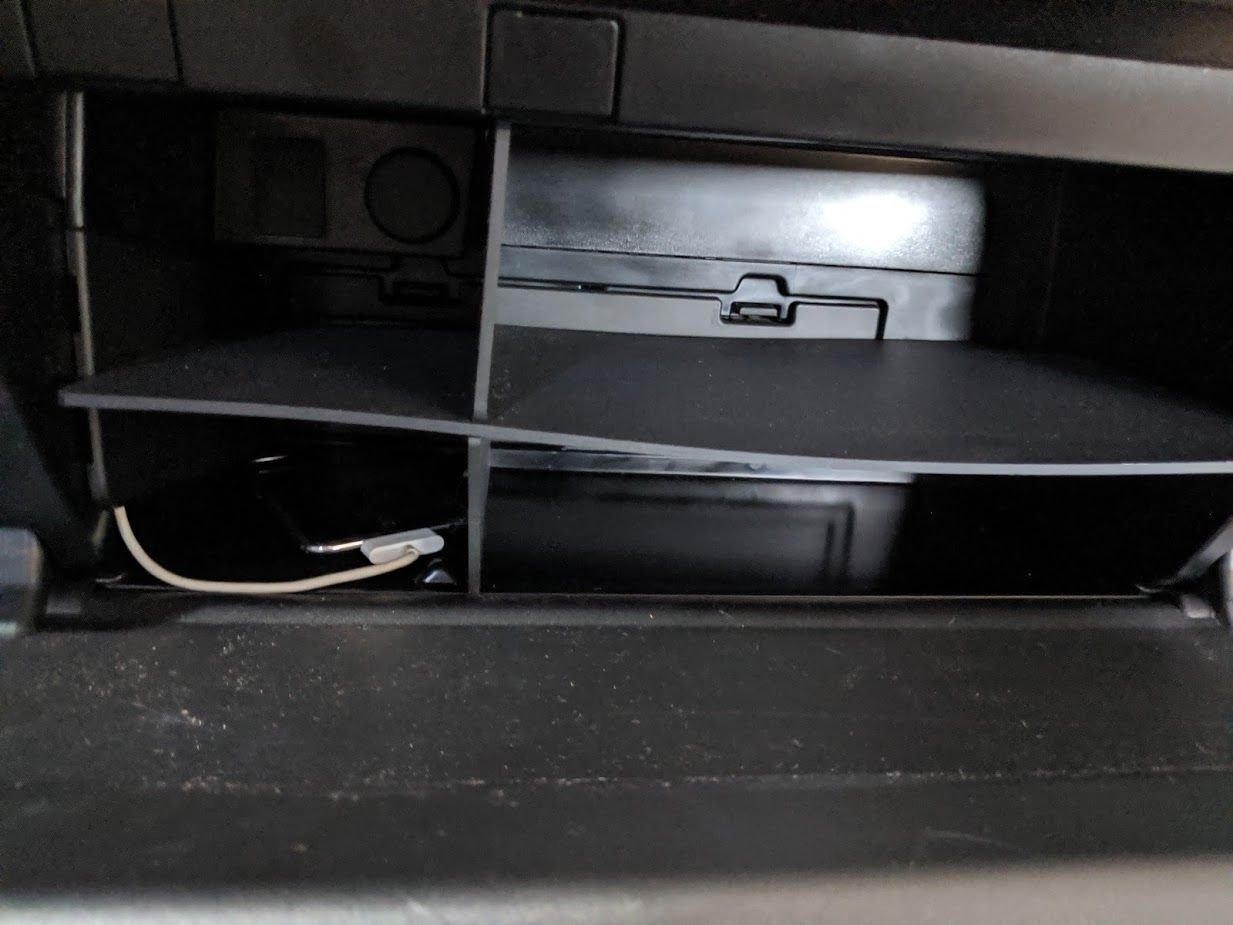
I didn't want to mount the battery under the seat so the glovebox was the most logical. Here's a before.
I also spent big money on a blend mount for the rear view mirror. This thing was a HUGE pain in the ass to install, but so worth it to stealthily hide the dash cam. The rear mount was 3D printed by a member on here
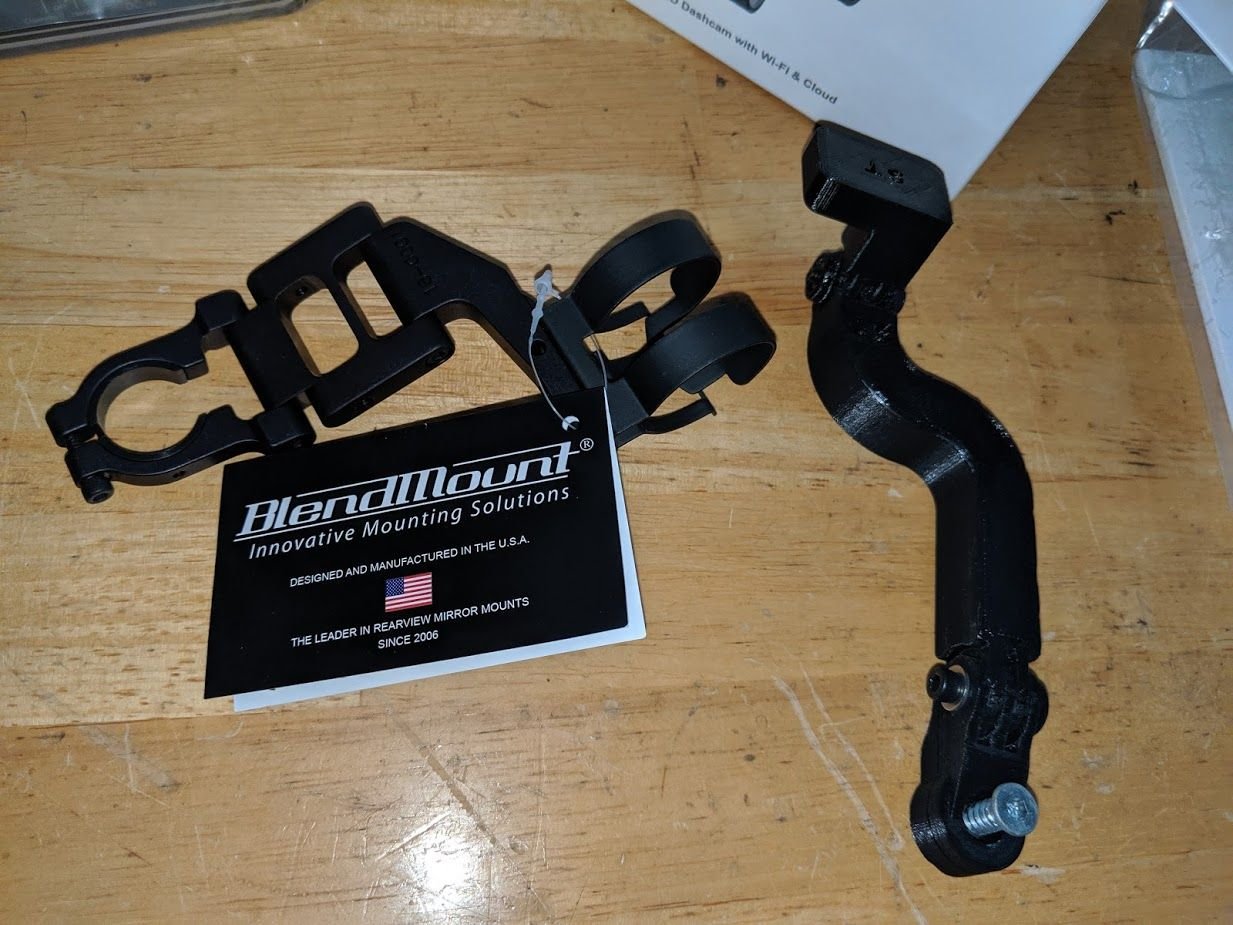
And here's the new fancy camera
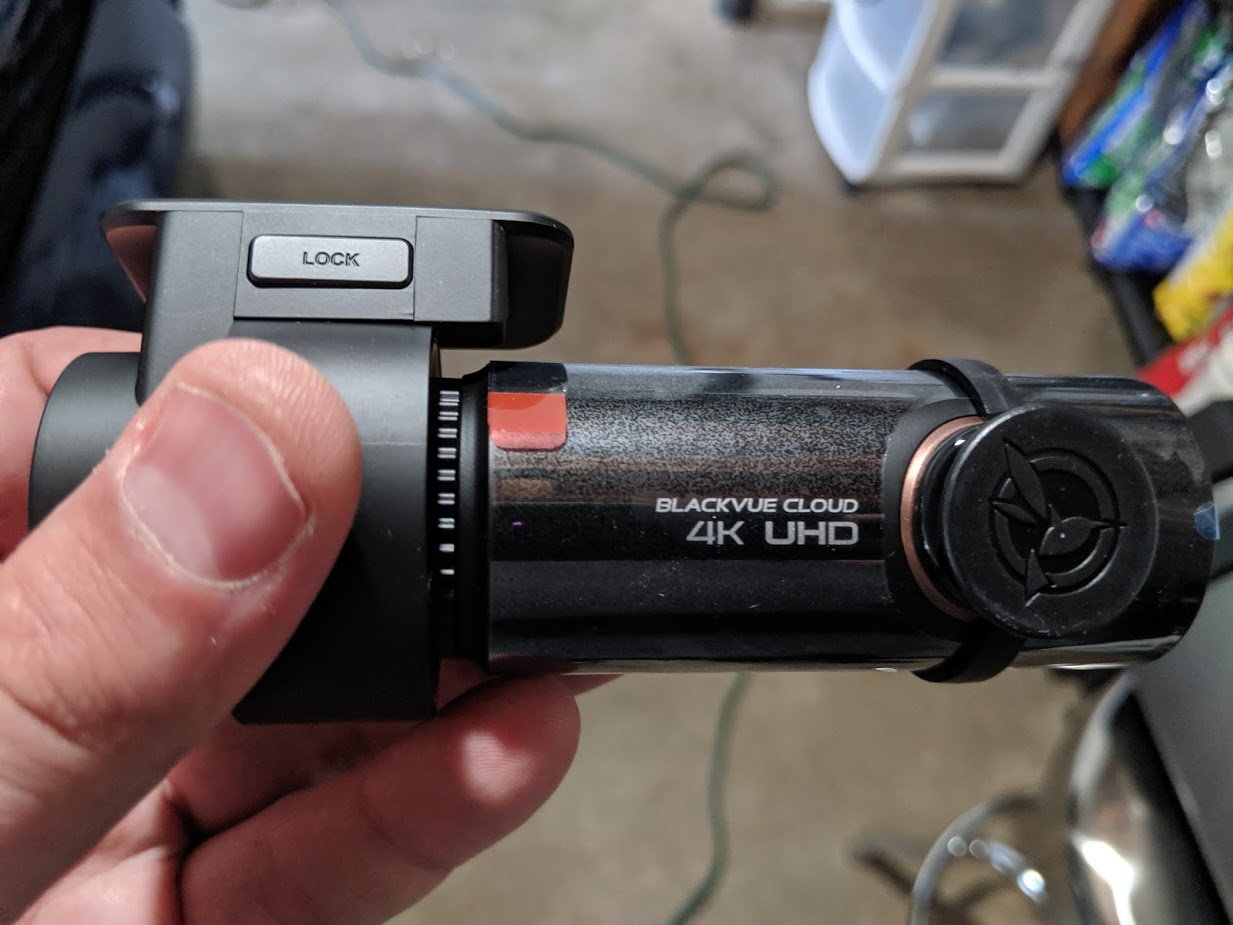
Here's the camera mounted up to the rear view mirror. I didn't like how low the camera hung down with the middle piece in the bracket so I removed it to raise the camera up more behind the mirror.
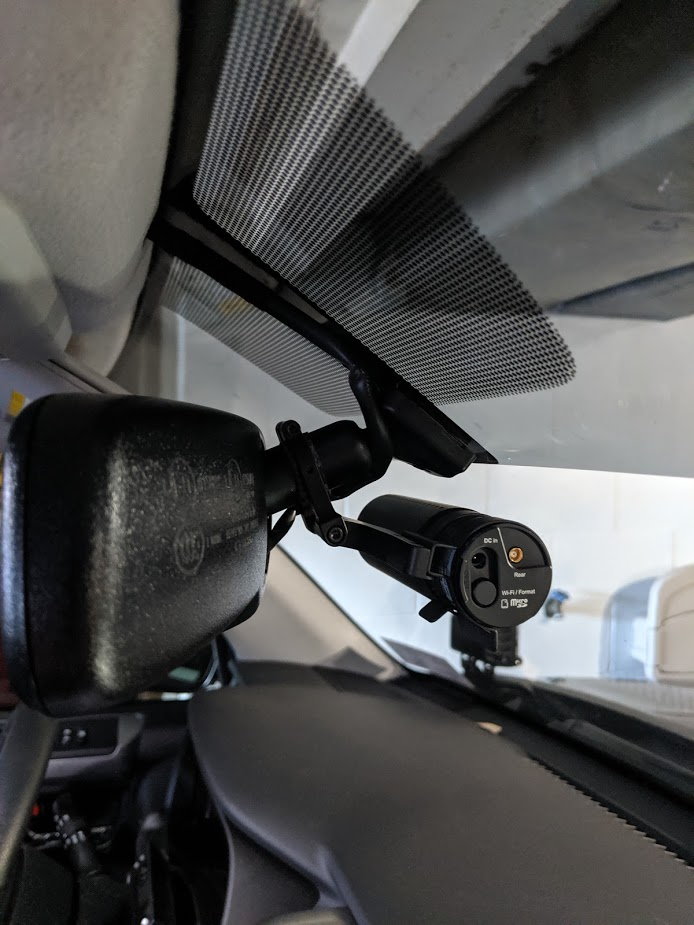
And here's the camera all installed. It took me an hour and a half of fighting with the blend mount to get it where I wanted, but I had never worked with one before.
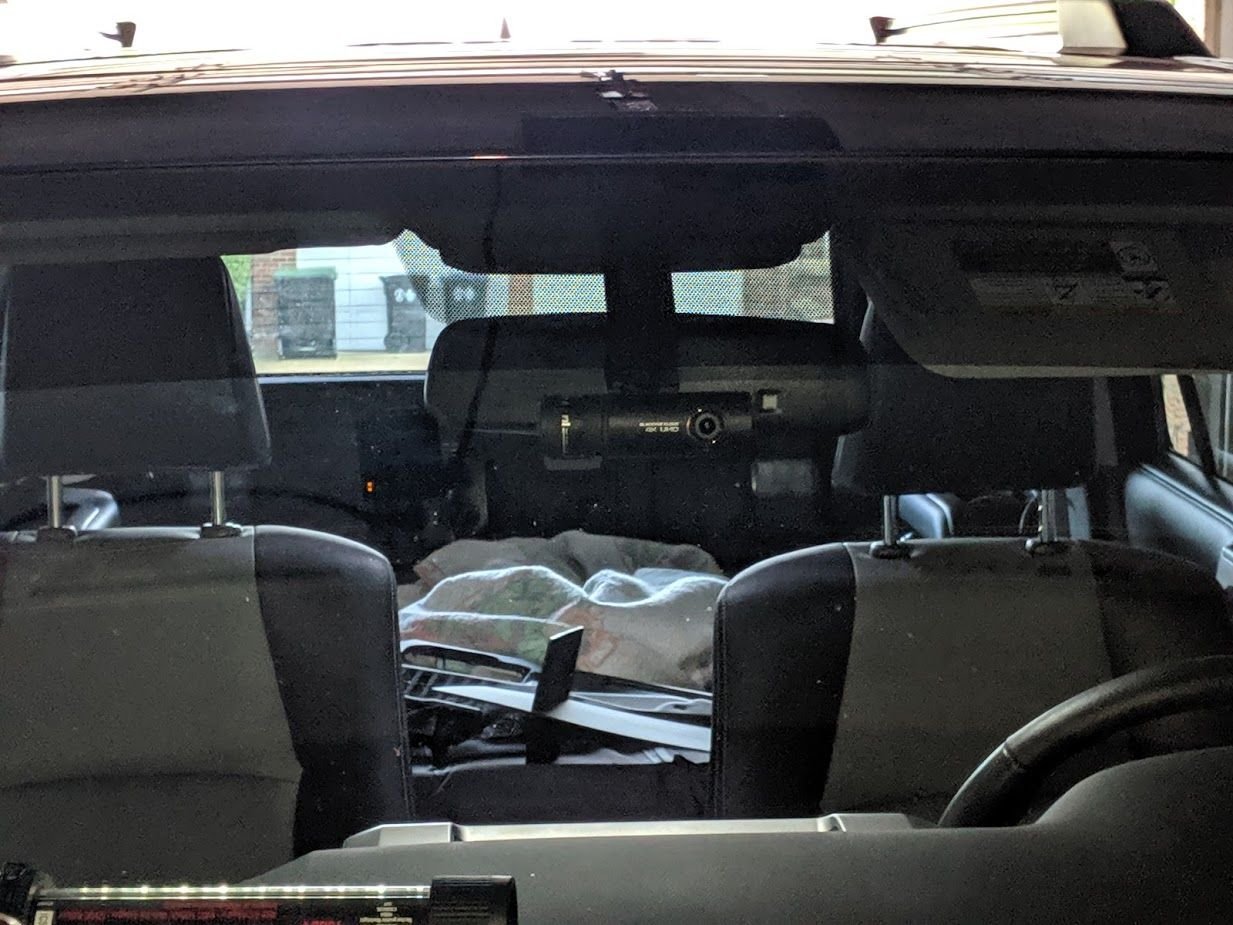
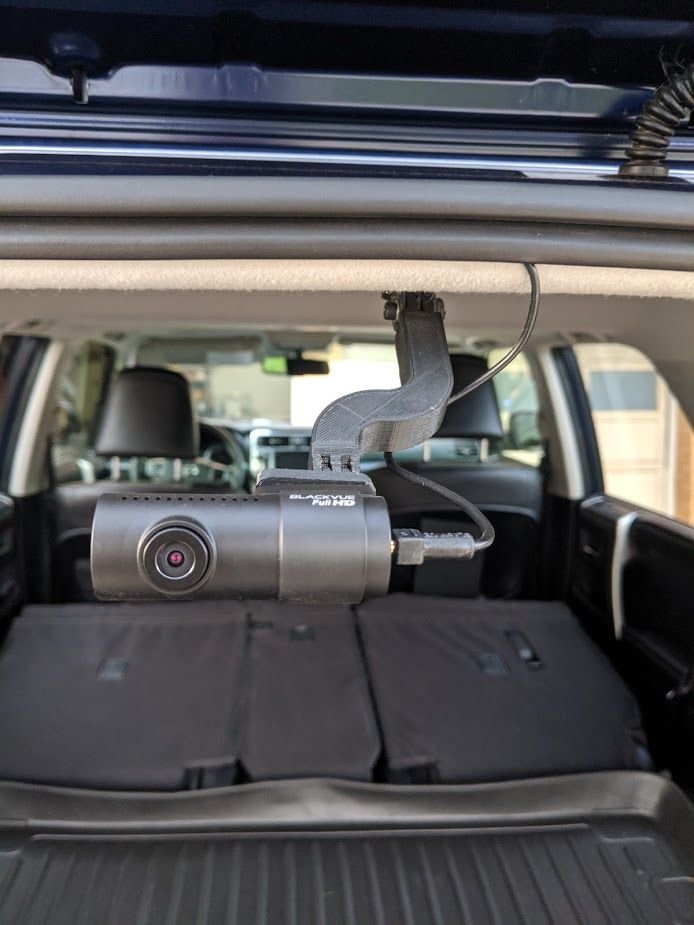
I didn't take any pics of fishing the wire back, but it was actually very quick and easy. Here's the rear camera all mounted up.
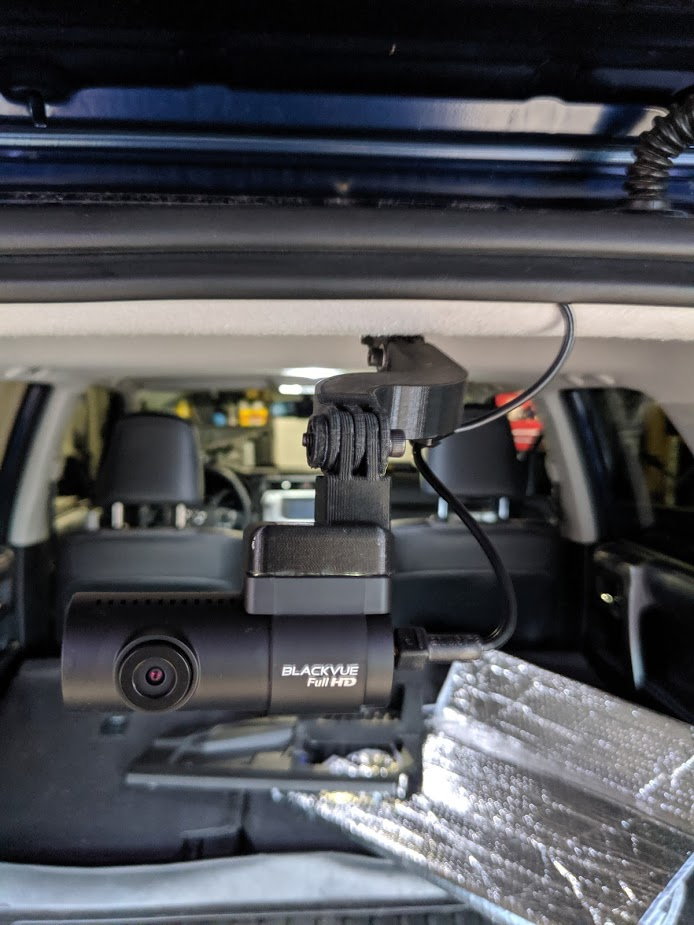
After playing with it I got it situated to where it should go
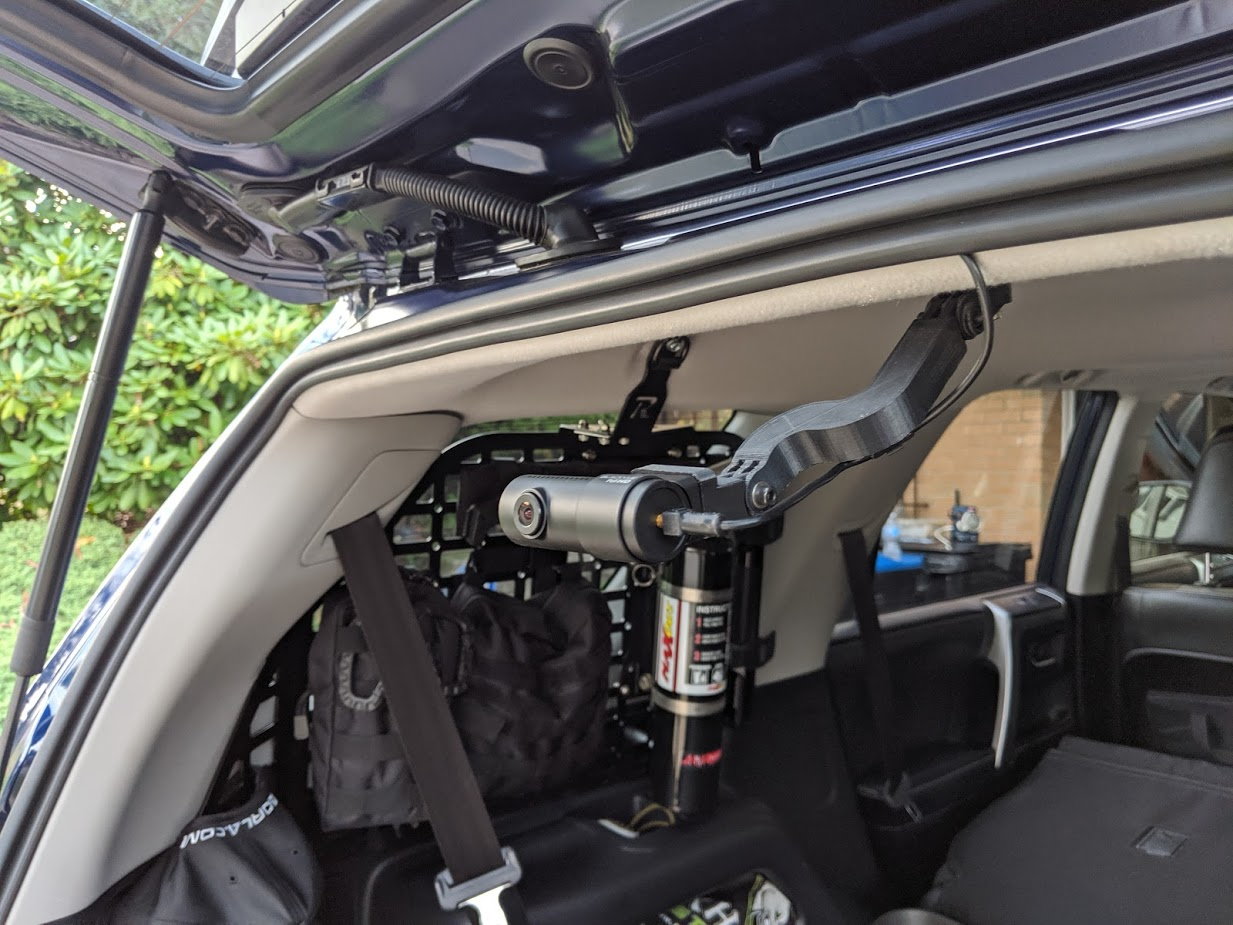
I also bought this fancy backup battery so that the camera can record in parking mode without having to draw on the car's battery.
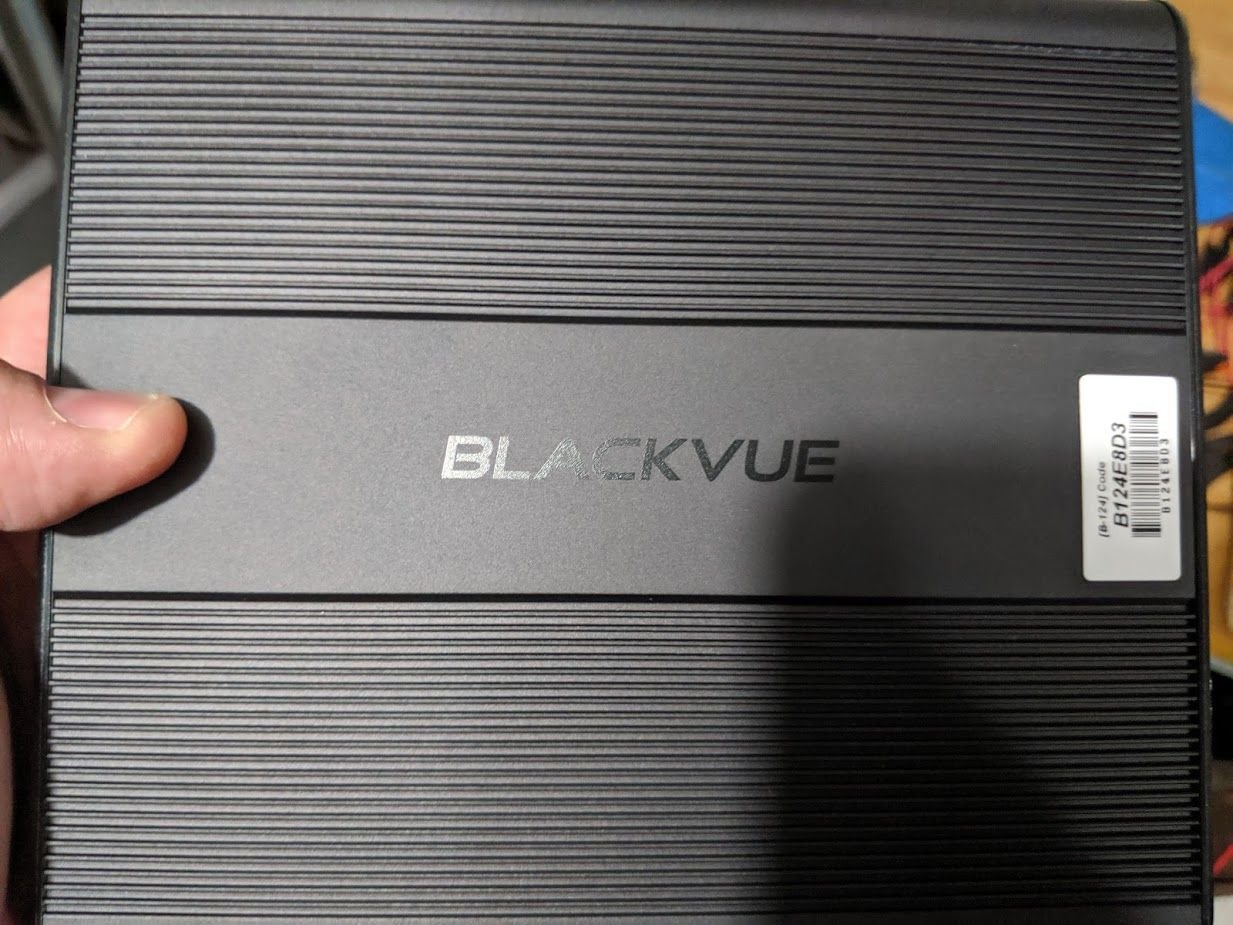
One thing that set back my install was they provided 3 types of fuse taps, but not the kind I need for my truck. My truck uses the low profile blade fuses, I had the same problem when I tried to install my amber grille lights back in the day.
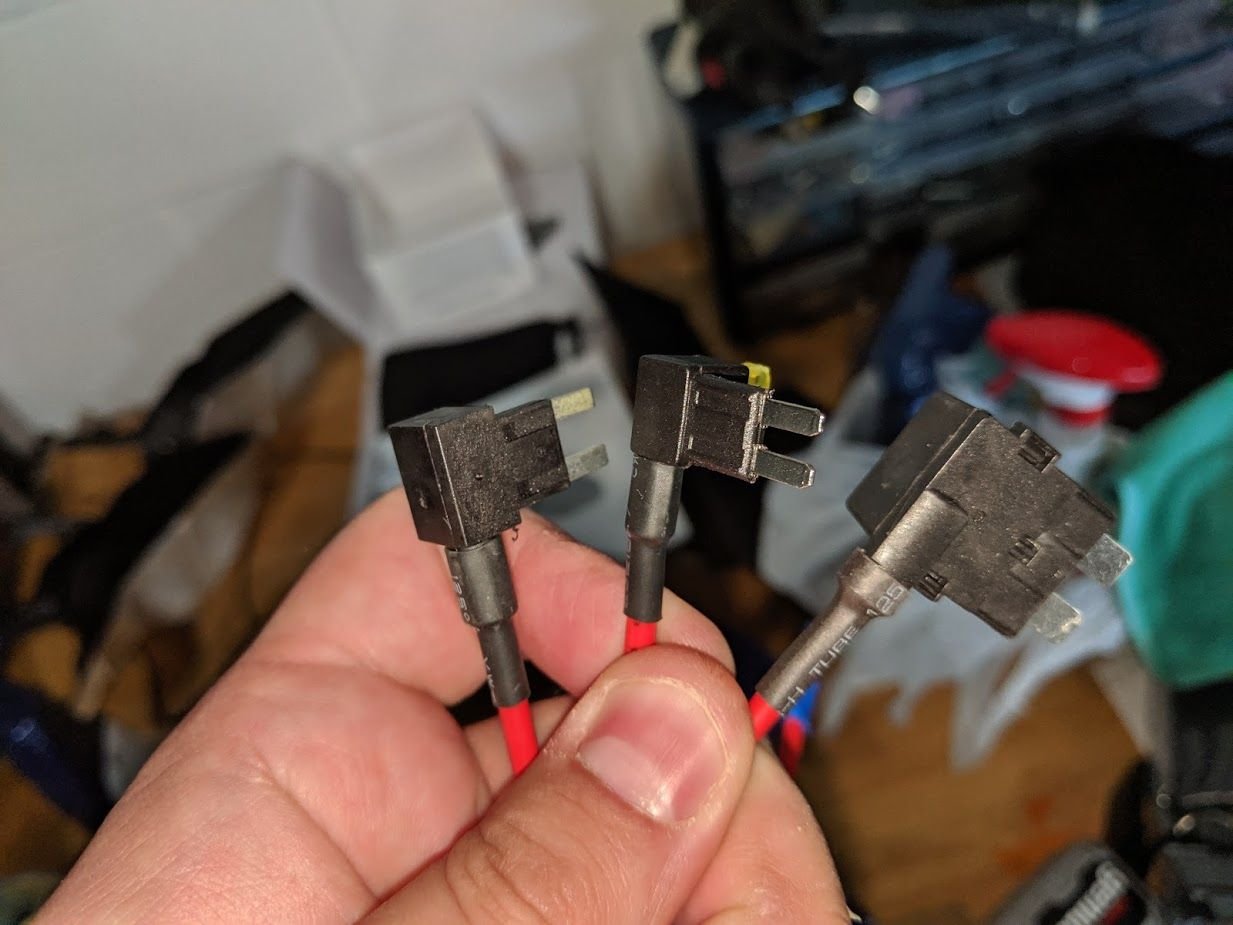
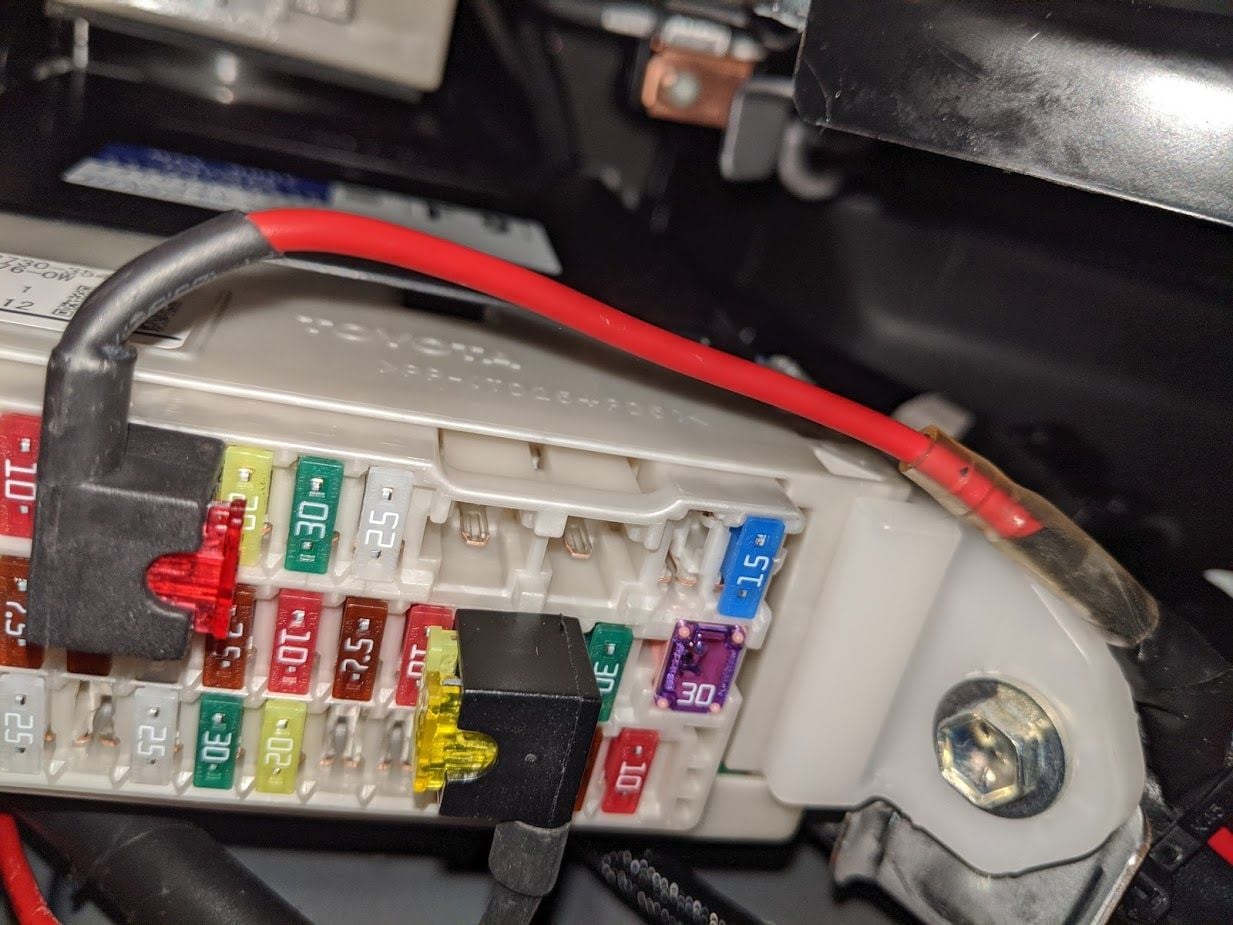
Here's the fuse tap all installed, it's the one to the right with the yellow fuses. I needed a 20 amp circuit that only came on when the key/ACC was on, so I tapped the heated seats circuit. I was able to fish the wires up behind the dash and get the positive and negative completely out of the way of my foot when I hit the e-brake. This is the hardwire for the battery power to charge and activate when the car is started.
The dash cam power comes from cigarette lighter plugs, male on the camera power and this female connector coming out of the battery unit.
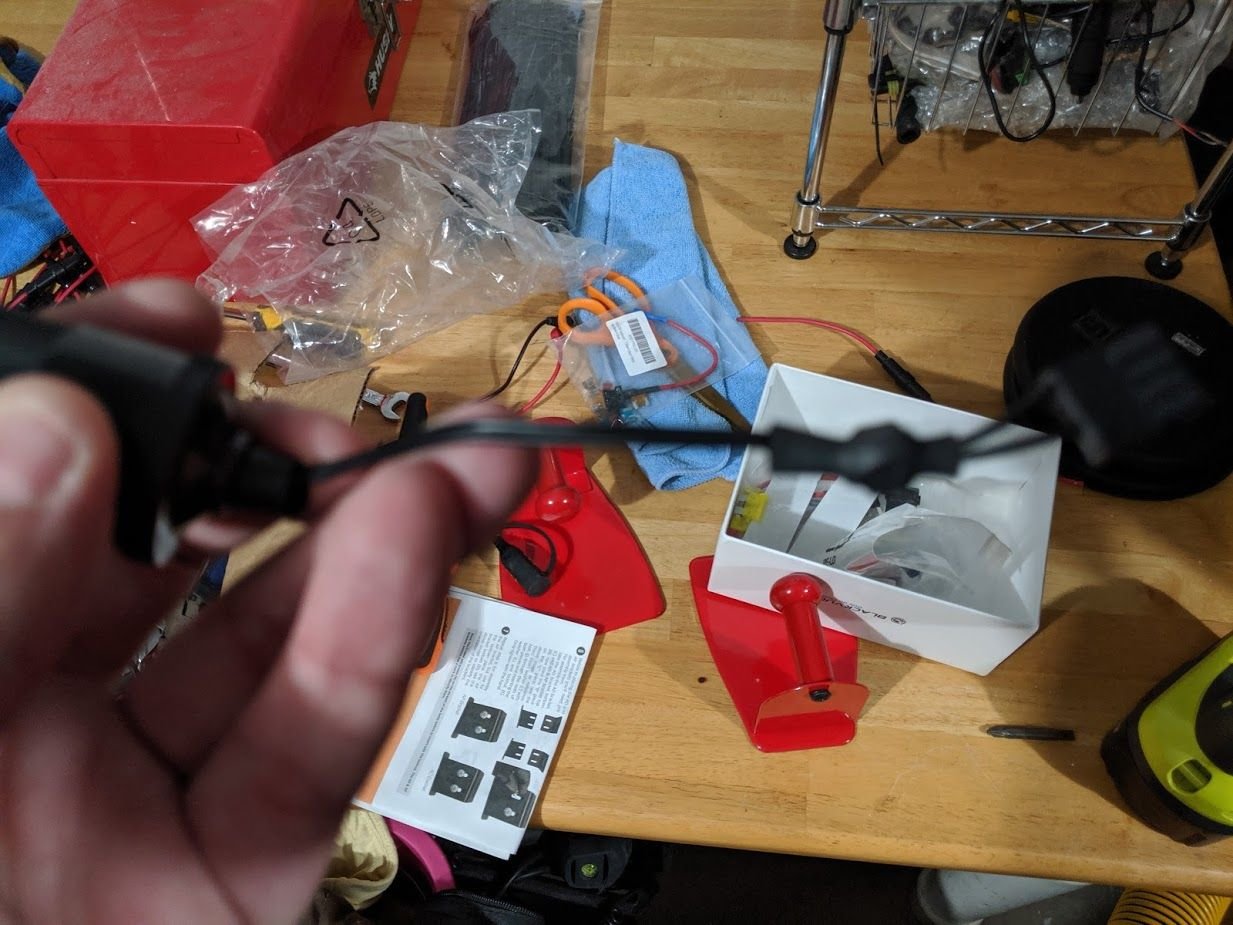
I didn't want to have to hide the bulky cigarette lighter plugs, so I hacked them up.I tested which wire was positive and negative and then I cut the plugs up.
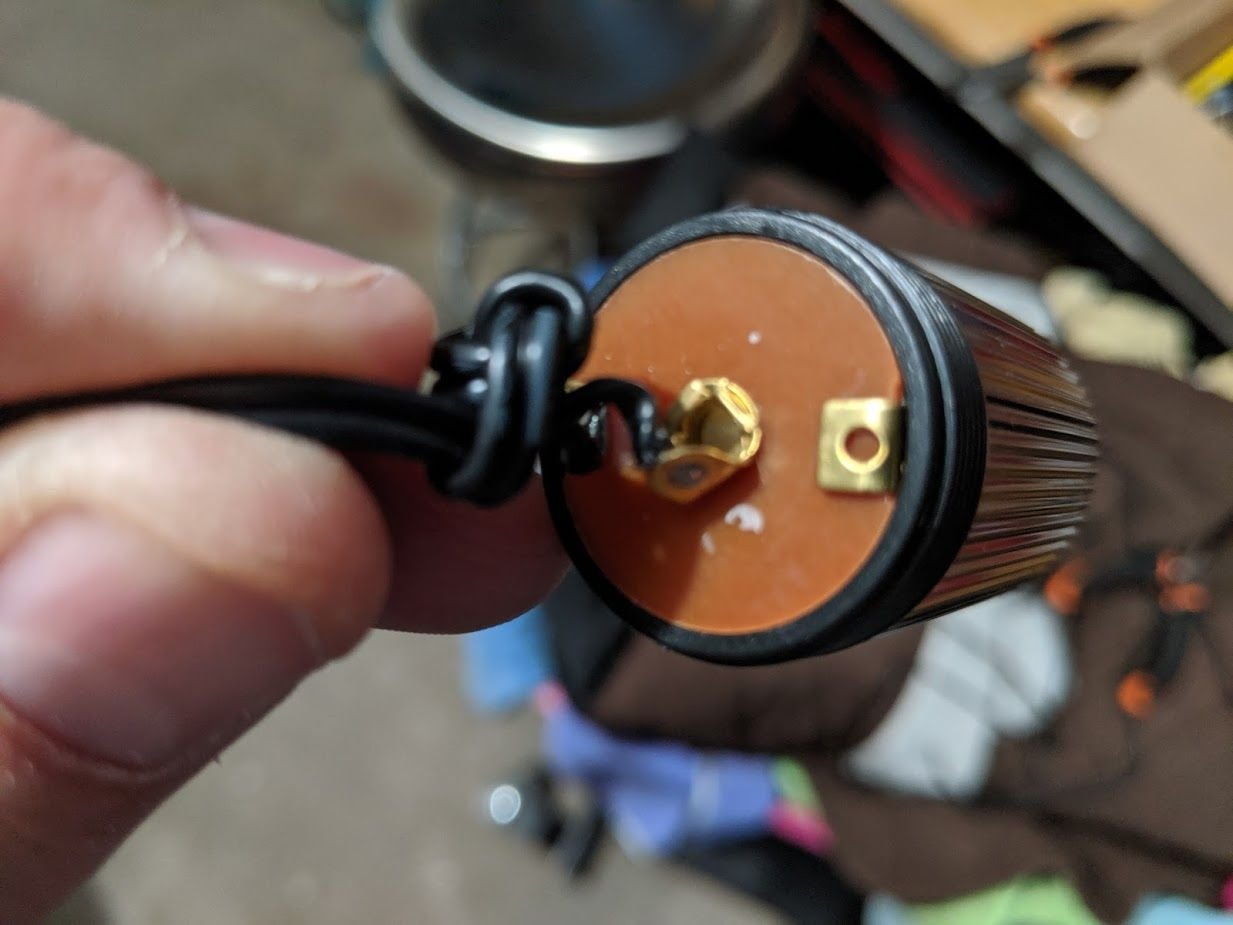
The 12v cigarette lighter plug had a built in glass fuse, so I got a fuse holder to take care of that. Here I spliced that into the positive wire.
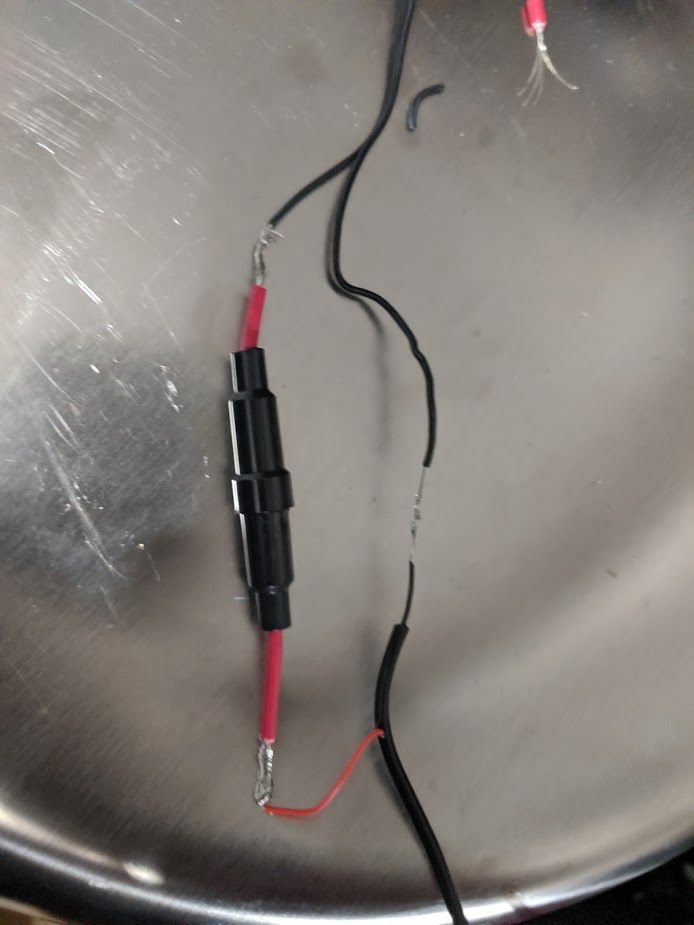
Then I soldered it up.
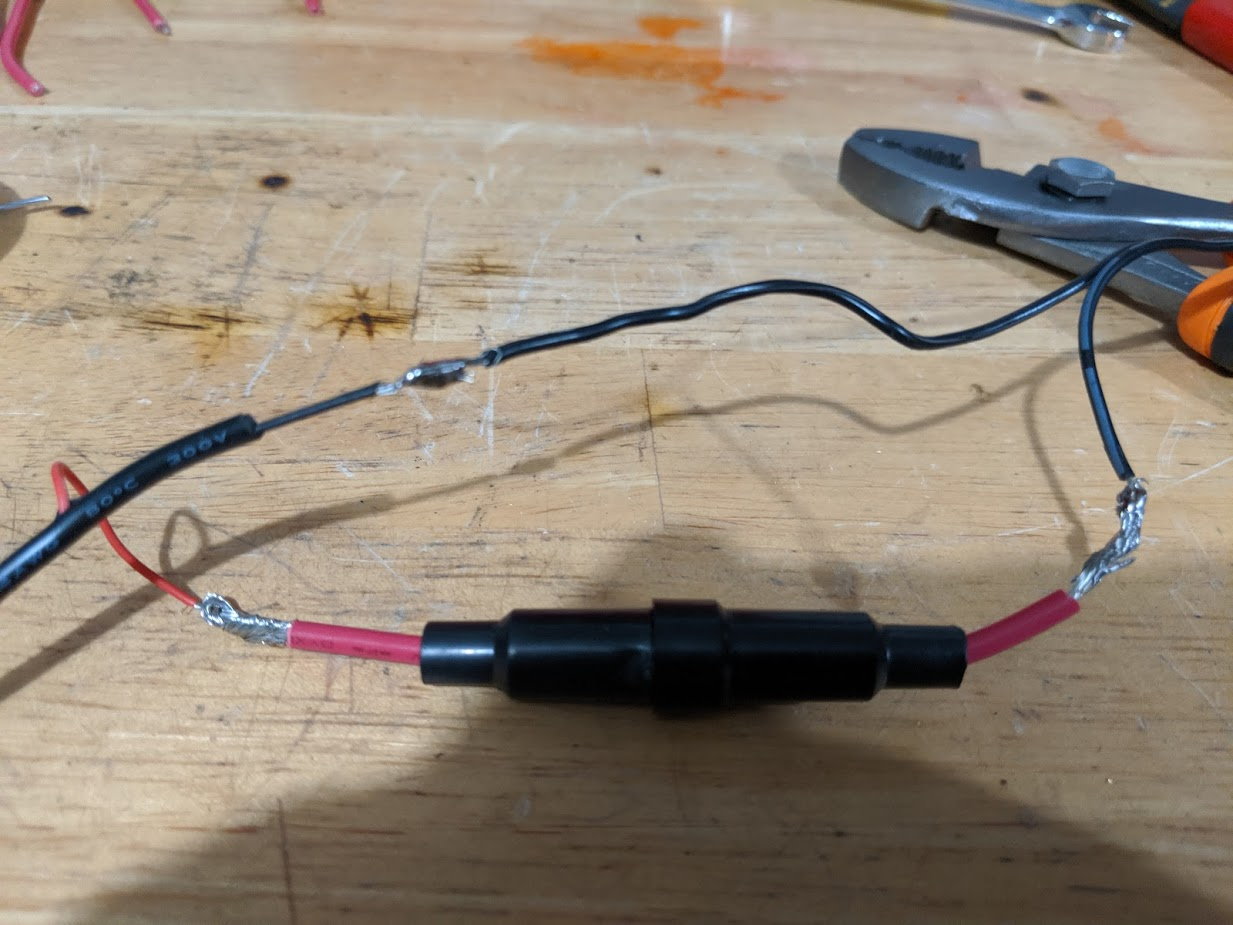
And here's the fuse all ready to be installed. I hooked everything
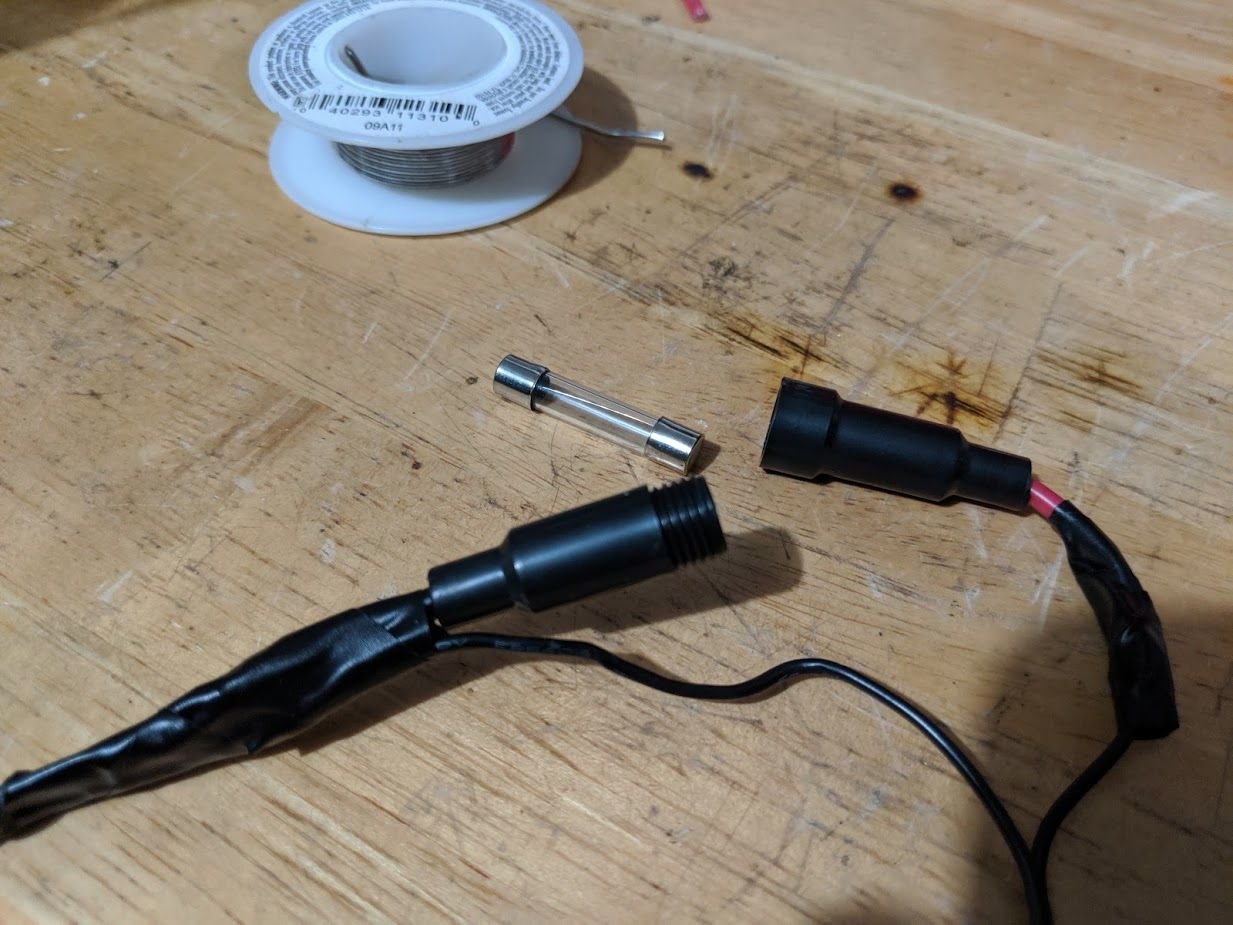
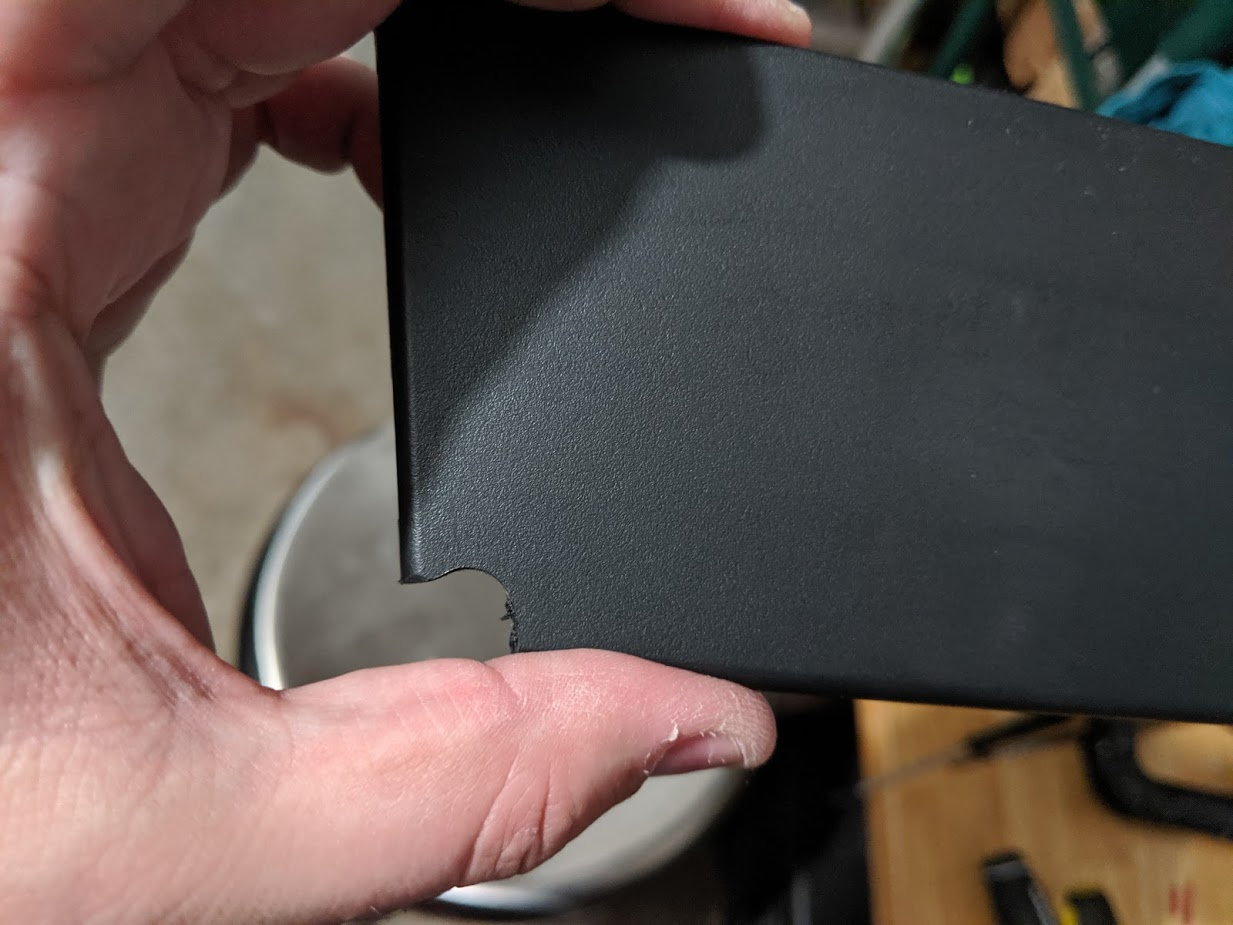
In order to hide the wires I tucked the excess in behind the dash, and trimmed a corner of the glove box panel to better feed the wires. I had my iPod wire running through here and it was being pinched.
Here's the battery all installed. I plan to reroute the wires through the cigarette plug grommet to the left, but I will have to take the glove box out to do that. I wanted to try everything out before completely burying the wires. Still came out pretty clean
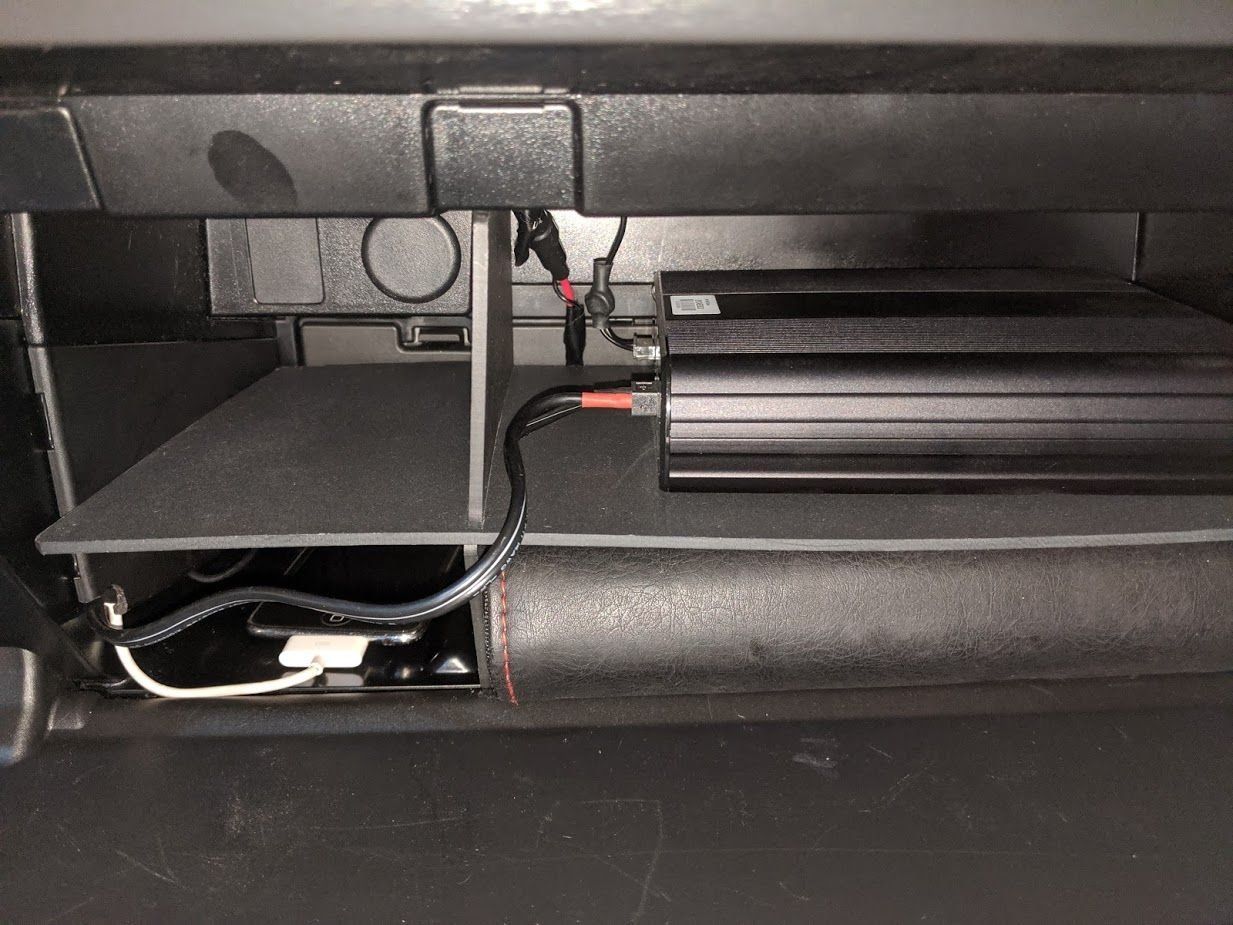
And here's the glovebox closed, you can't see any wires sticking out anywhere.
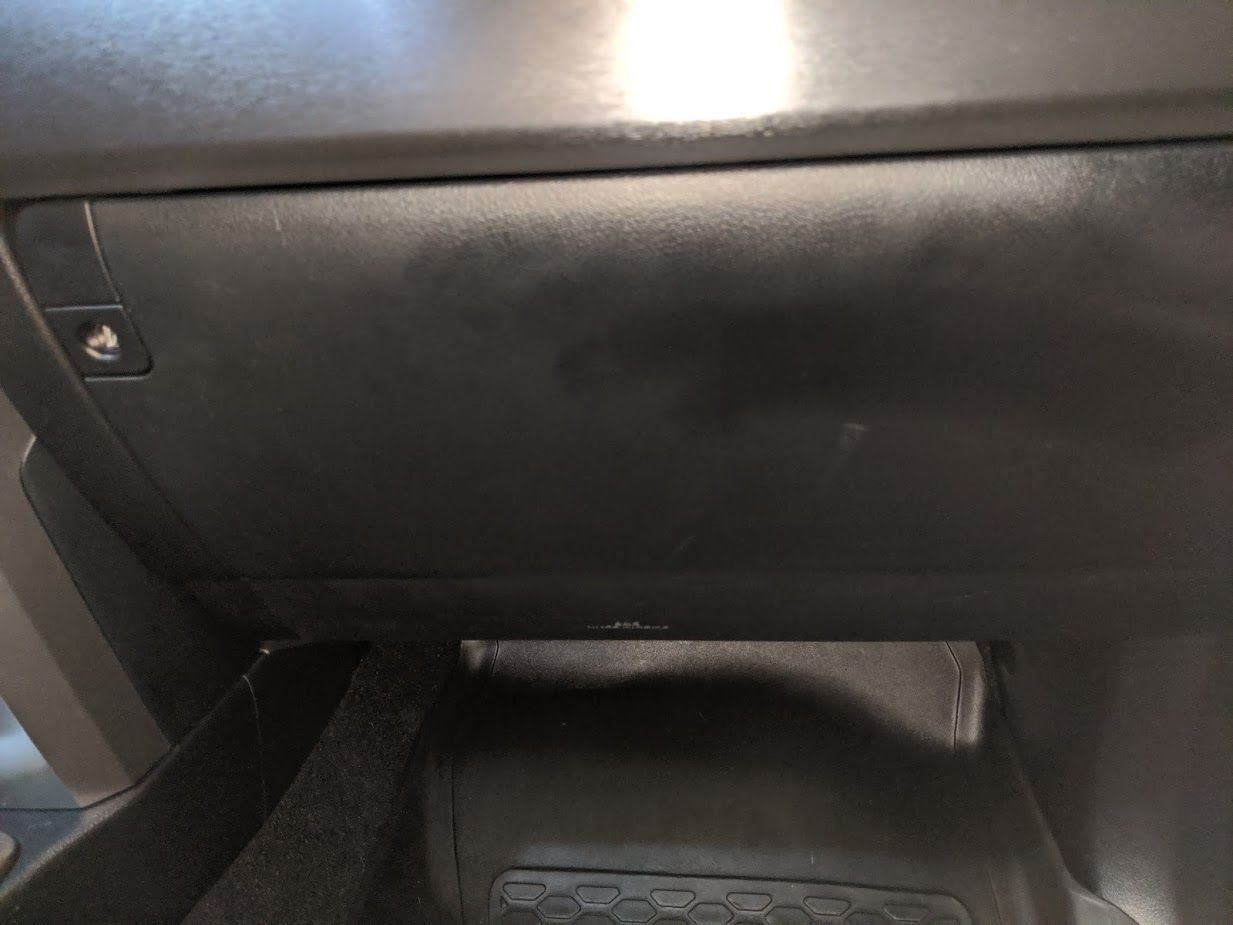
I didn't want to mount the battery under the seat so the glovebox was the most logical. Here's a before.
I also spent big money on a blend mount for the rear view mirror. This thing was a HUGE pain in the ass to install, but so worth it to stealthily hide the dash cam. The rear mount was 3D printed by a member on here
And here's the new fancy camera
Here's the camera mounted up to the rear view mirror. I didn't like how low the camera hung down with the middle piece in the bracket so I removed it to raise the camera up more behind the mirror.
And here's the camera all installed. It took me an hour and a half of fighting with the blend mount to get it where I wanted, but I had never worked with one before.
I didn't take any pics of fishing the wire back, but it was actually very quick and easy. Here's the rear camera all mounted up.
After playing with it I got it situated to where it should go
I also bought this fancy backup battery so that the camera can record in parking mode without having to draw on the car's battery.
One thing that set back my install was they provided 3 types of fuse taps, but not the kind I need for my truck. My truck uses the low profile blade fuses, I had the same problem when I tried to install my amber grille lights back in the day.
Here's the fuse tap all installed, it's the one to the right with the yellow fuses. I needed a 20 amp circuit that only came on when the key/ACC was on, so I tapped the heated seats circuit. I was able to fish the wires up behind the dash and get the positive and negative completely out of the way of my foot when I hit the e-brake. This is the hardwire for the battery power to charge and activate when the car is started.
The dash cam power comes from cigarette lighter plugs, male on the camera power and this female connector coming out of the battery unit.
I didn't want to have to hide the bulky cigarette lighter plugs, so I hacked them up.I tested which wire was positive and negative and then I cut the plugs up.
The 12v cigarette lighter plug had a built in glass fuse, so I got a fuse holder to take care of that. Here I spliced that into the positive wire.
Then I soldered it up.
And here's the fuse all ready to be installed. I hooked everything
In order to hide the wires I tucked the excess in behind the dash, and trimmed a corner of the glove box panel to better feed the wires. I had my iPod wire running through here and it was being pinched.
Here's the battery all installed. I plan to reroute the wires through the cigarette plug grommet to the left, but I will have to take the glove box out to do that. I wanted to try everything out before completely burying the wires. Still came out pretty clean
And here's the glovebox closed, you can't see any wires sticking out anywhere.
97BlackAckCL
Elite Member
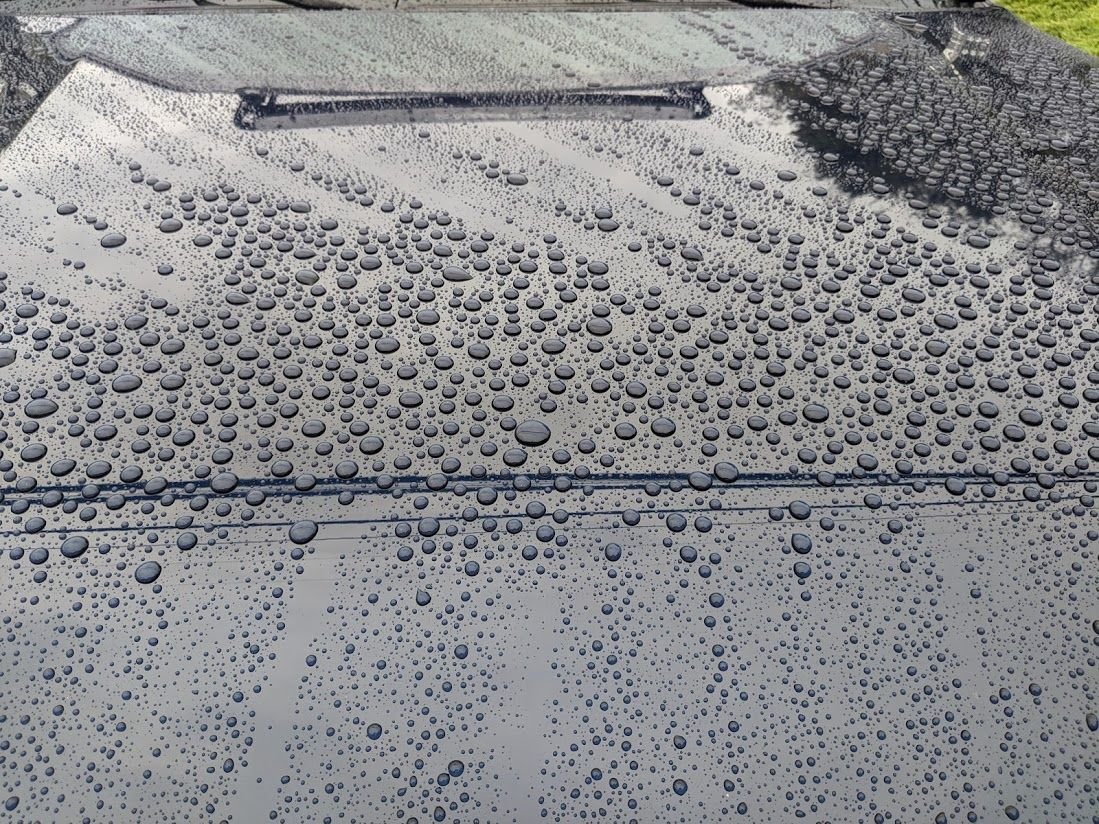
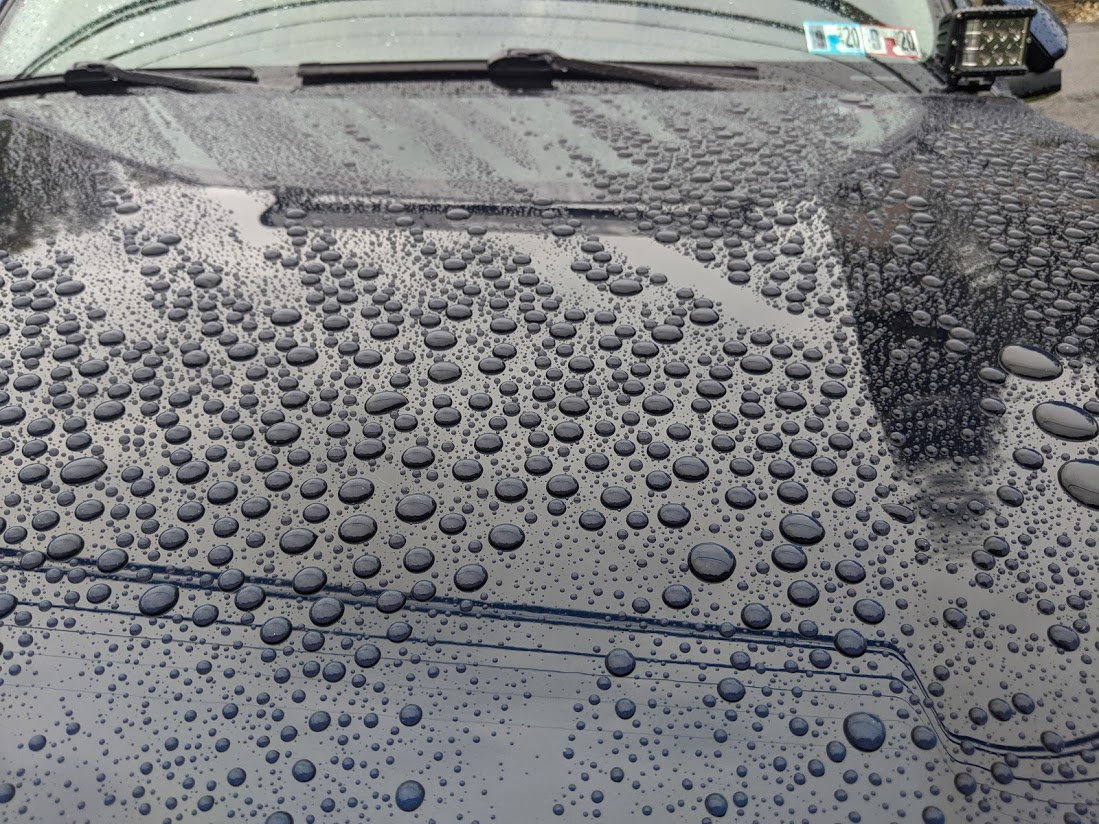
Couple small updates.... beads!!!! I never get tired of seeing this
Also I installed the Kurgo rear seat bridge for the dogs. I didn't like the drop off between the rear seats and the front seats. Always was worried one of the dogs would fall into the gap. Had a few close calls. Not a big fan of where the straps go on my seats, but I can always adapt.
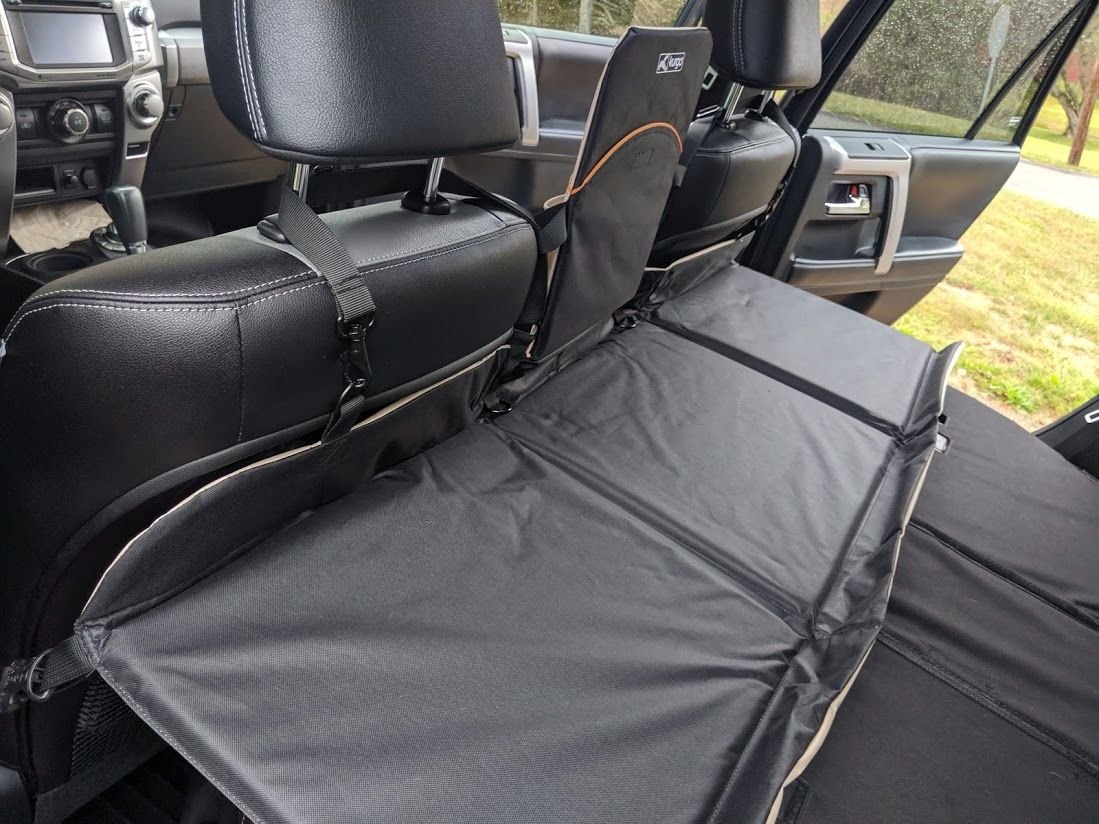
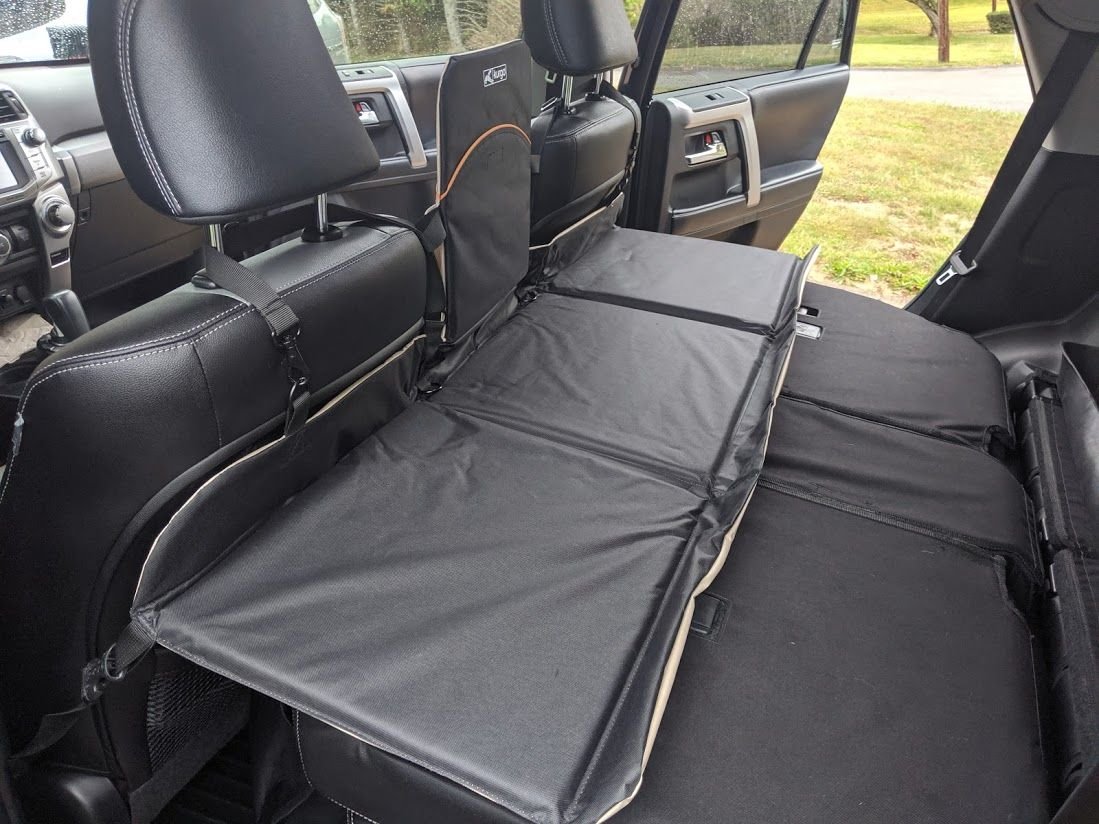
Also I installed the Kurgo rear seat bridge for the dogs. I didn't like the drop off between the rear seats and the front seats. Always was worried one of the dogs would fall into the gap. Had a few close calls. Not a big fan of where the straps go on my seats, but I can always adapt.
97BlackAckCL
Elite Member
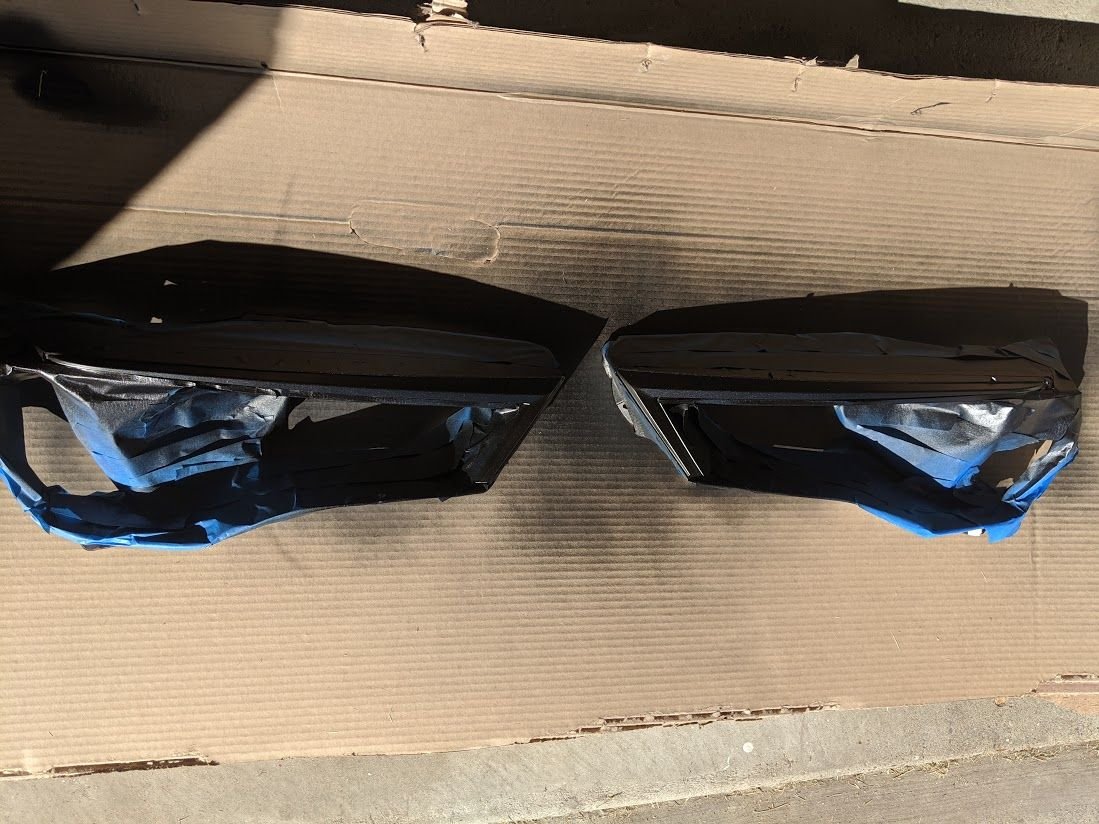
Oh yeah, and those light things... I blacked out the big chrome eyebrows
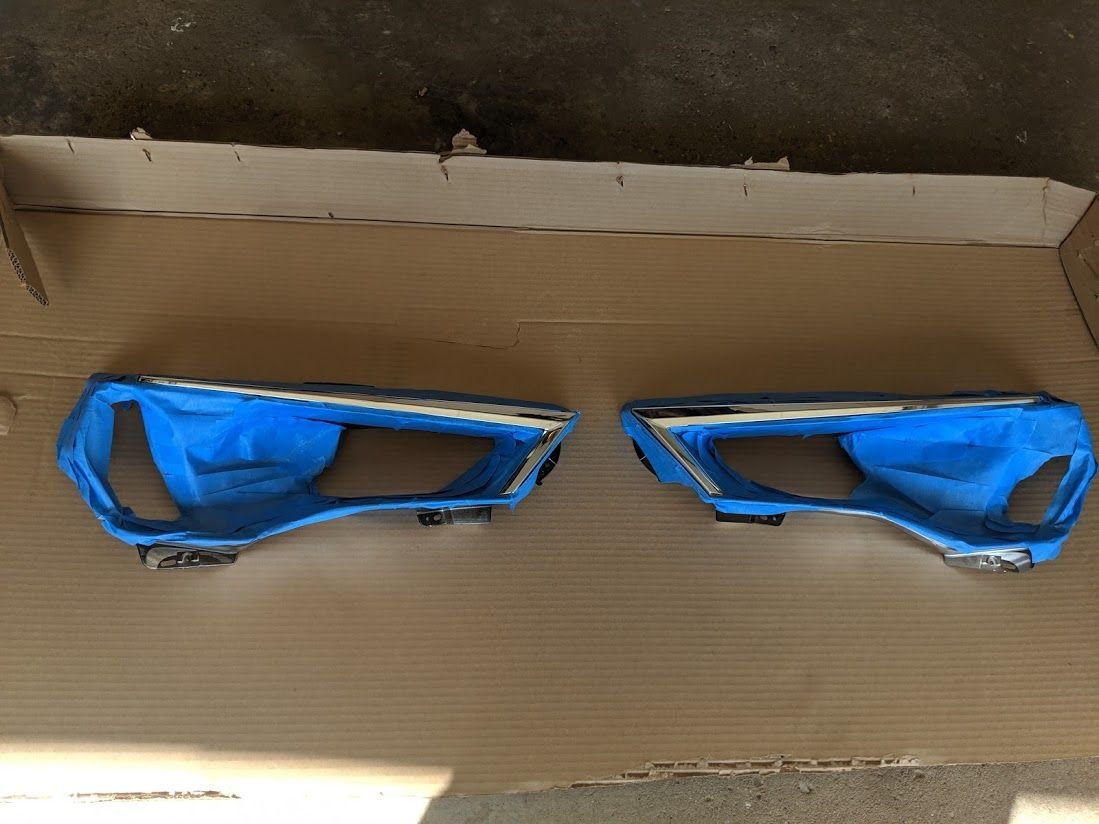
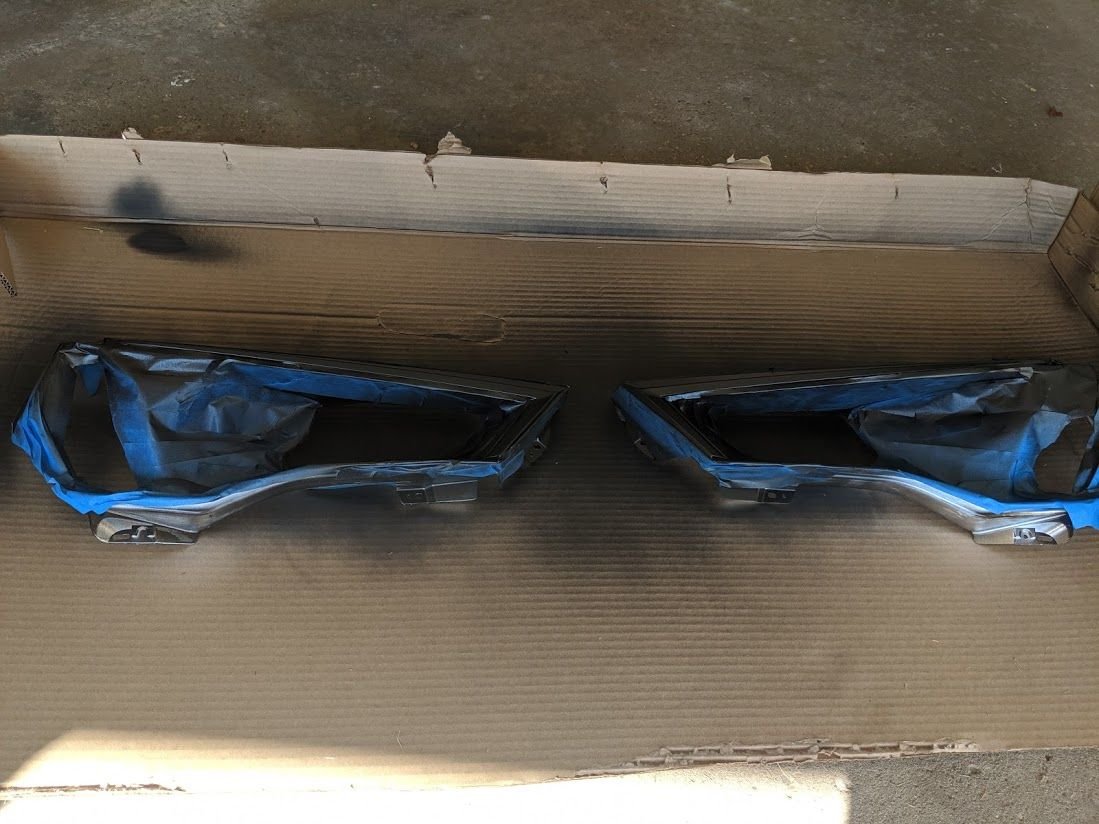
I left the center projector shroud chrome, going to try and mock everything up to see how it looks before I decide for sure. I think it gives a Johnny 5 eye kind of look
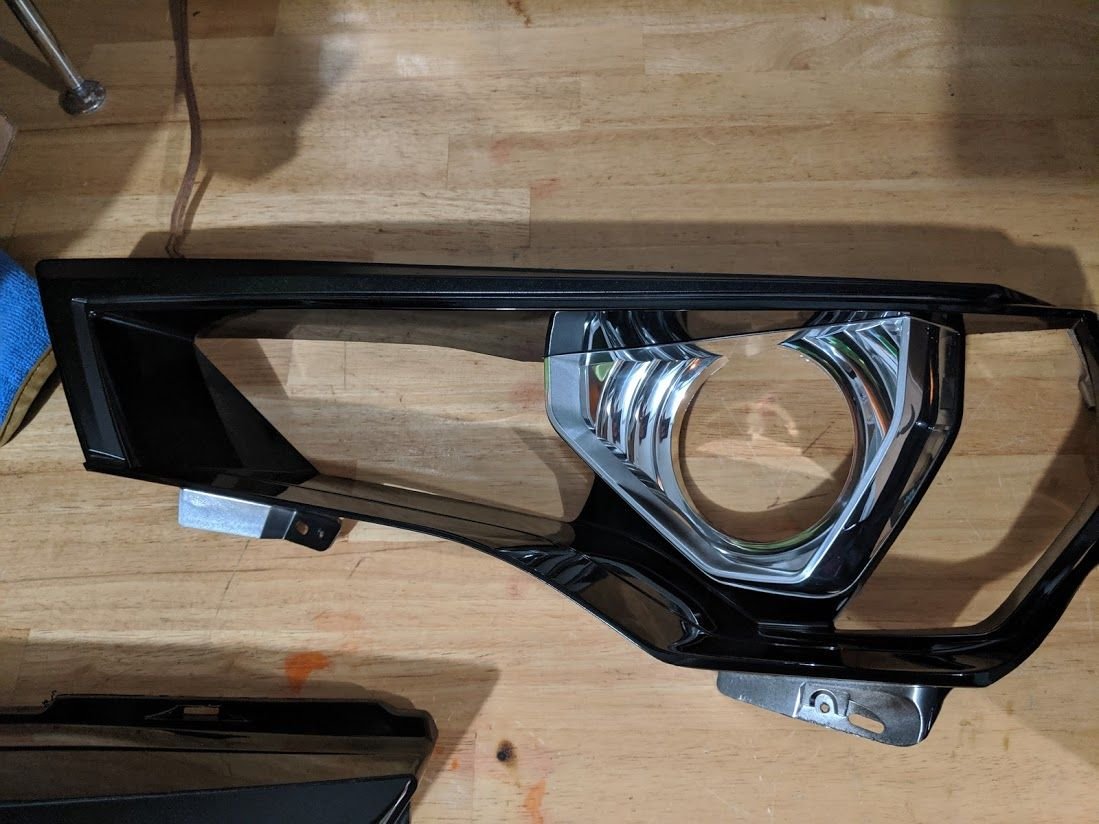
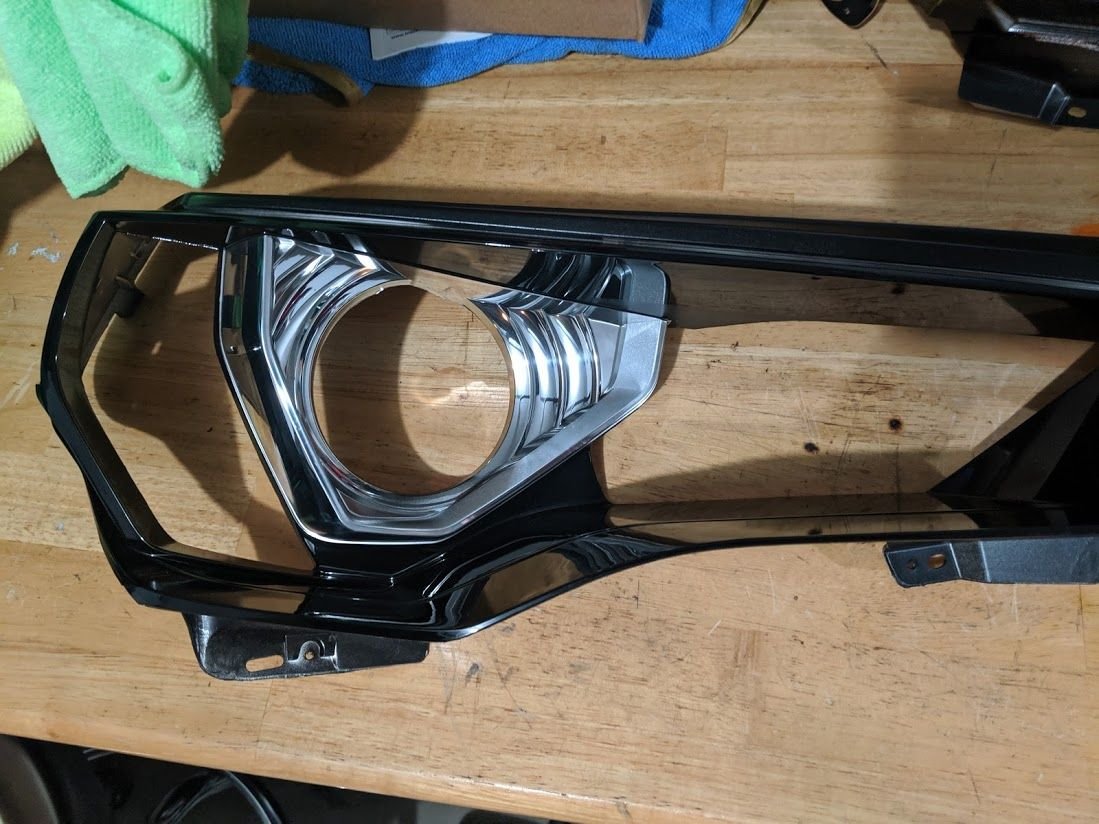
I left the center projector shroud chrome, going to try and mock everything up to see how it looks before I decide for sure. I think it gives a Johnny 5 eye kind of look

16RedRunner
New member
Paint that center shroud body color.
97BlackAckCL
Elite Member
Paint that center shroud body color.
Interesting idea, I have other plans but I'm not sure how it's going to turn out yet
97BlackAckCL
Elite Member
So here's a small update, I picked up a new set of brighter sequential turn signals for the side mirrors. I then gave them the Black Ack treatment.
Unlike the stock ones that I painted before, these ones are white and not chrome
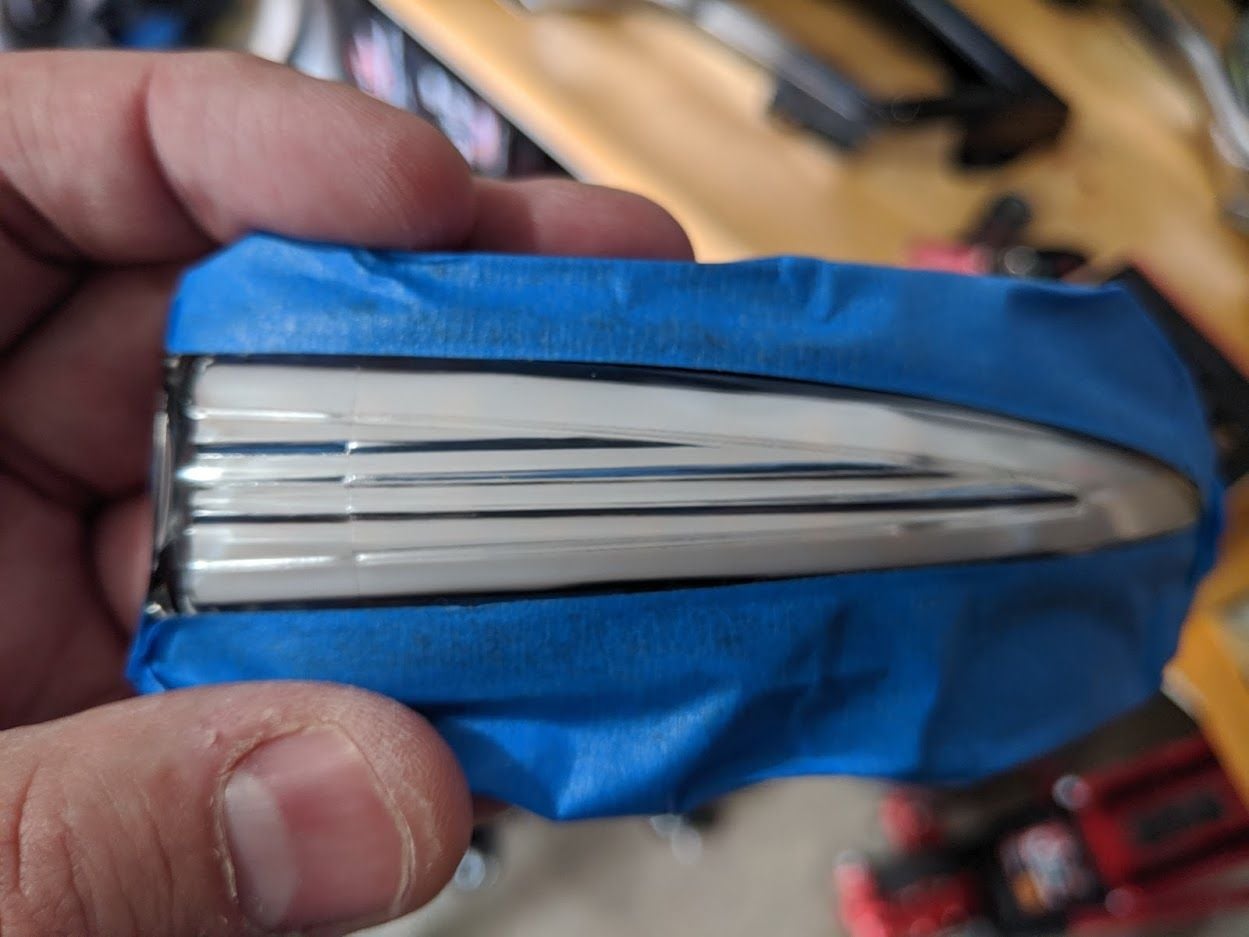
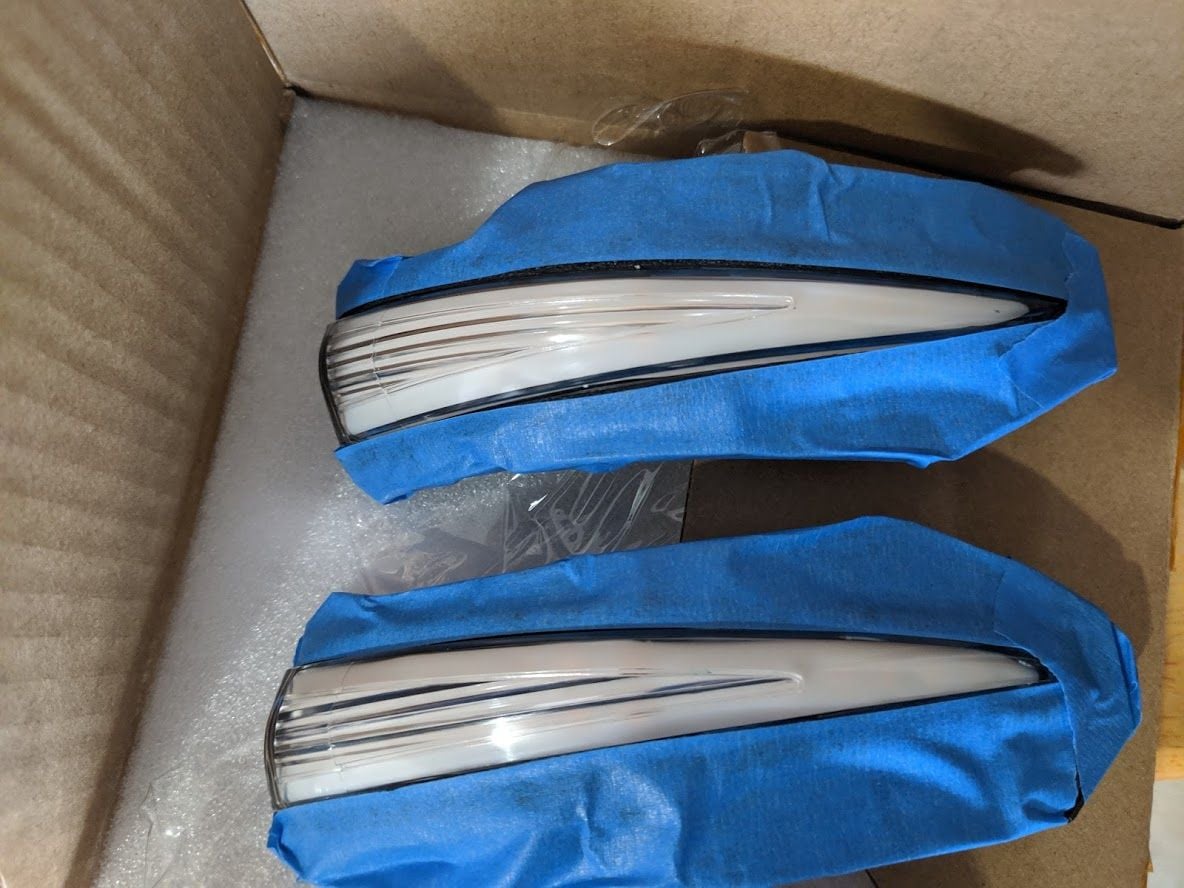
And here they are after 5 coats of VHT
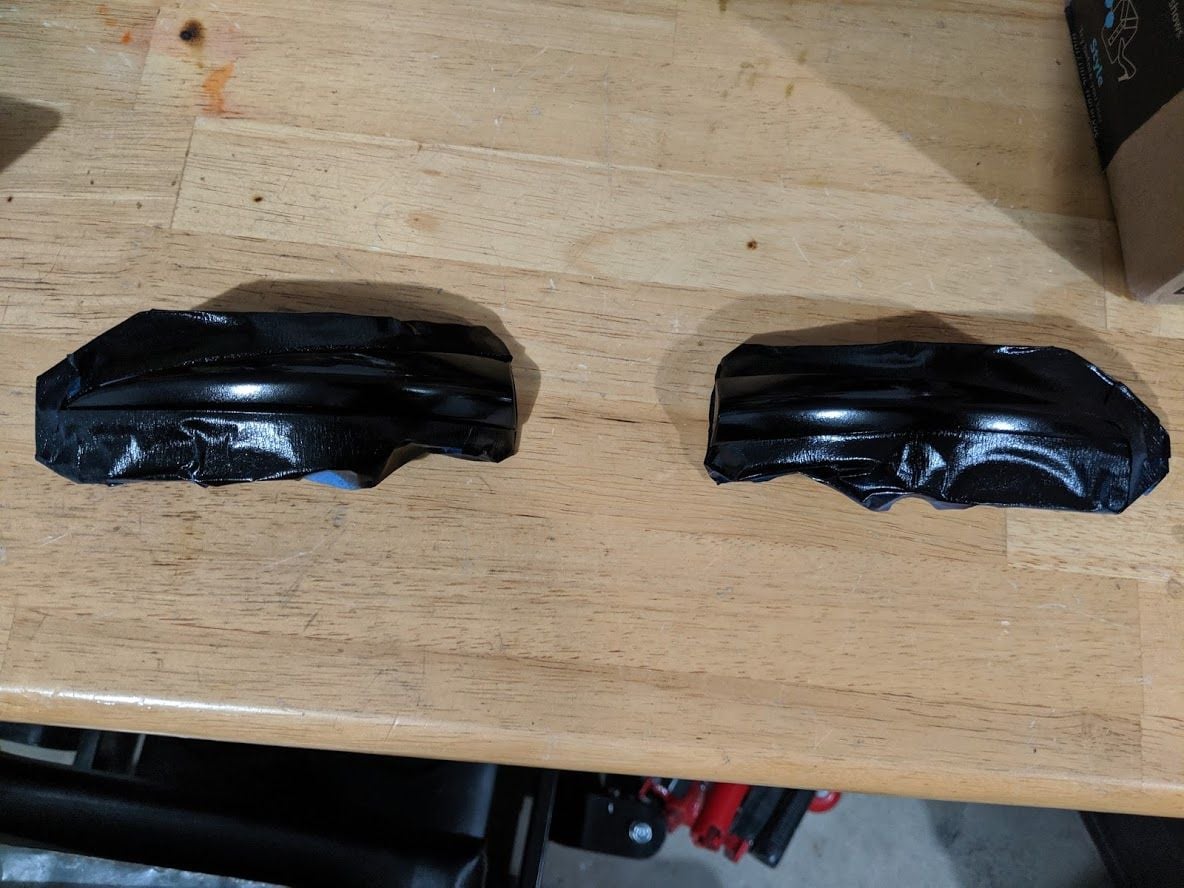
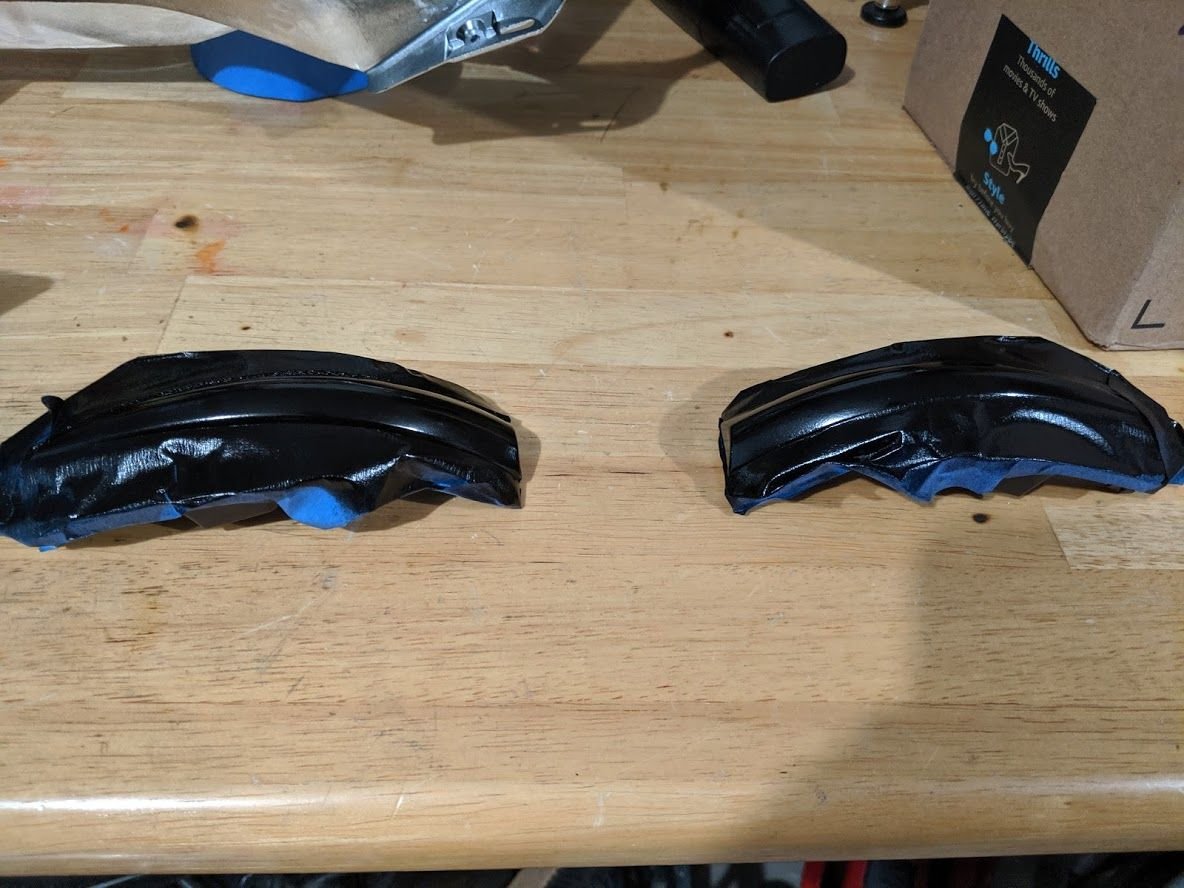
They came out pretty smooth but I did want to get rid of any orange peel, so I wetsanded them.
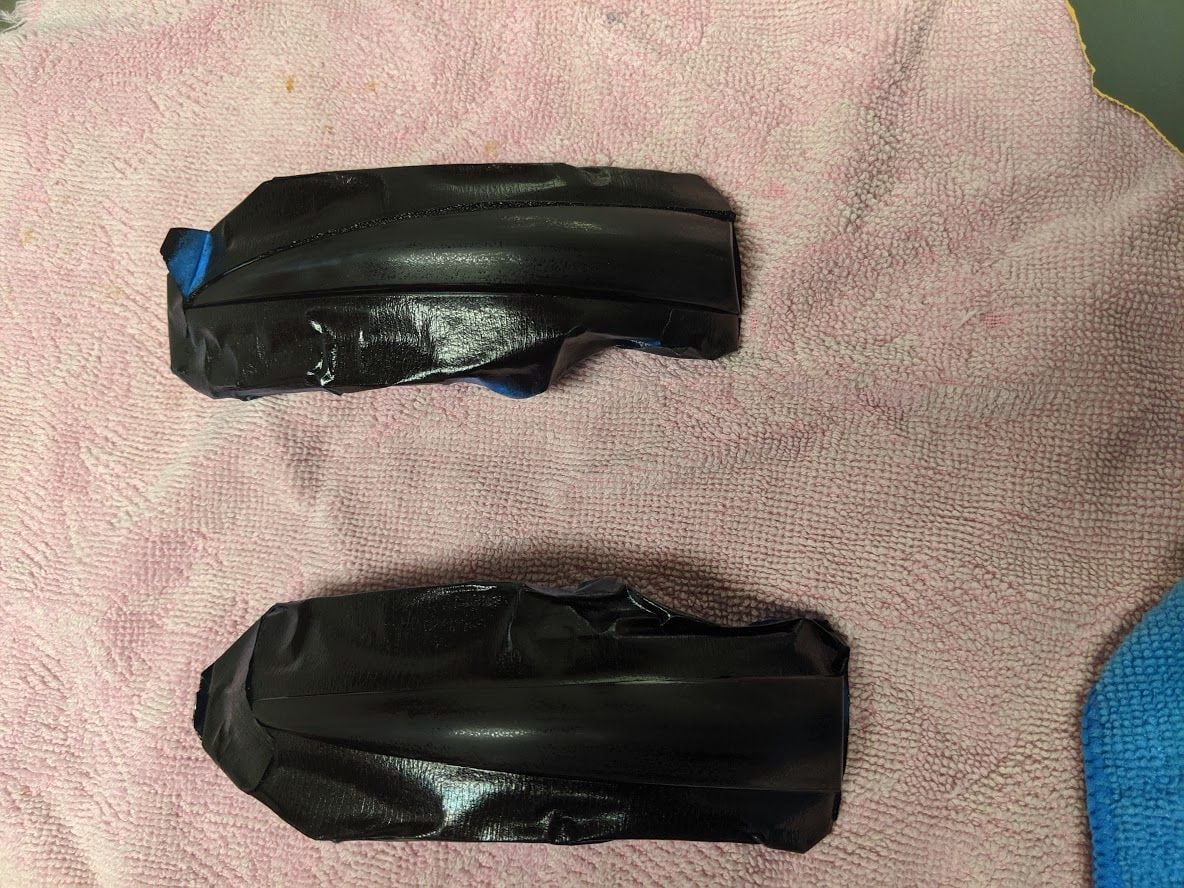
Then I started applying clear coat (note I had to wait for a warm day)
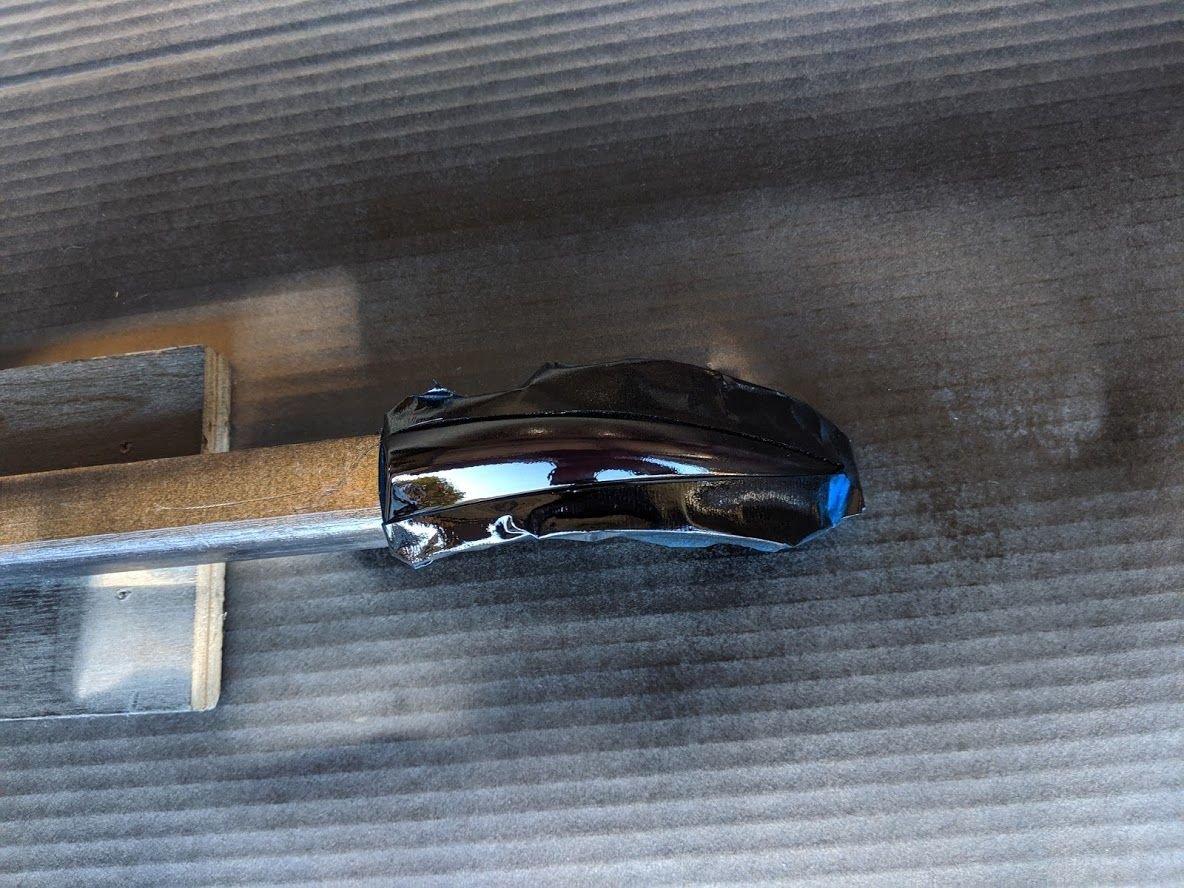
Here they are after 5 coats of clear, they look like glass
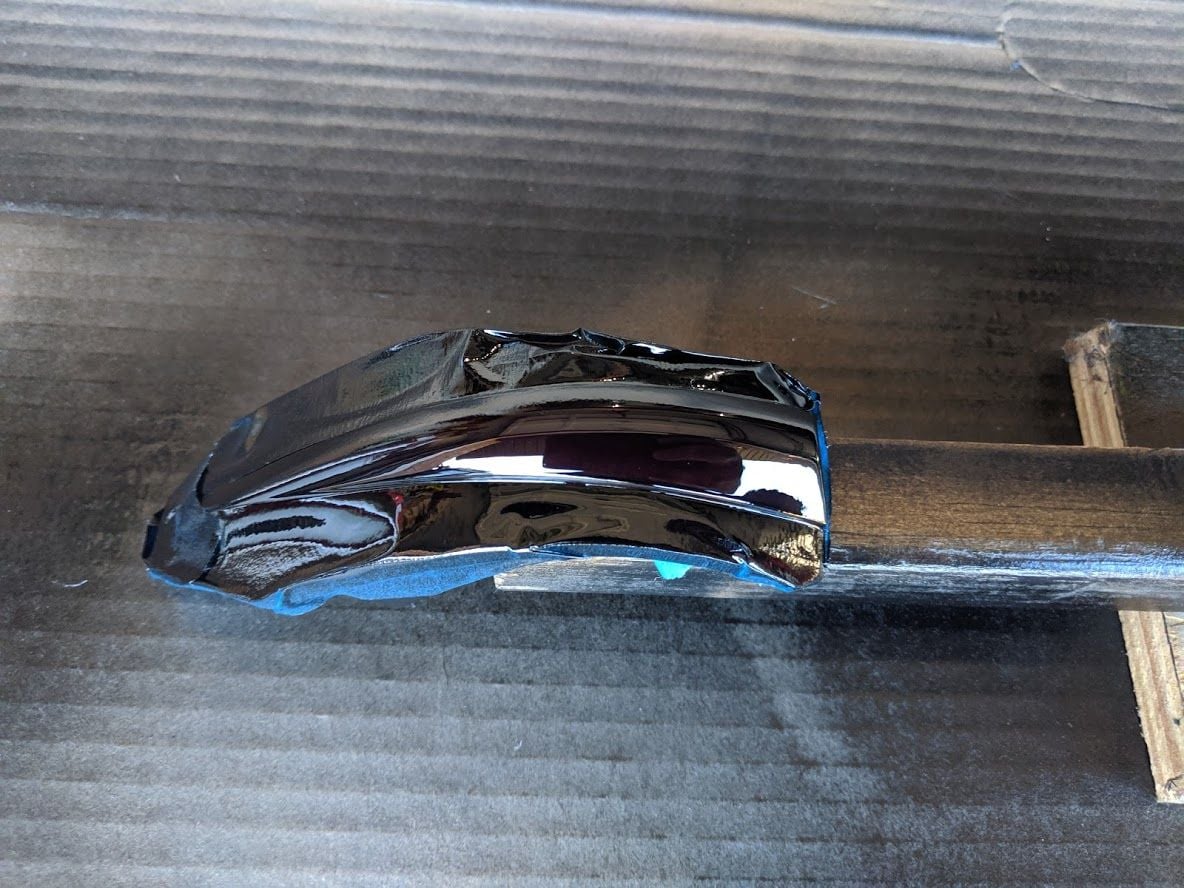
And here's the finished product, going to wetsand the clear and polish them some night soon and get them installed
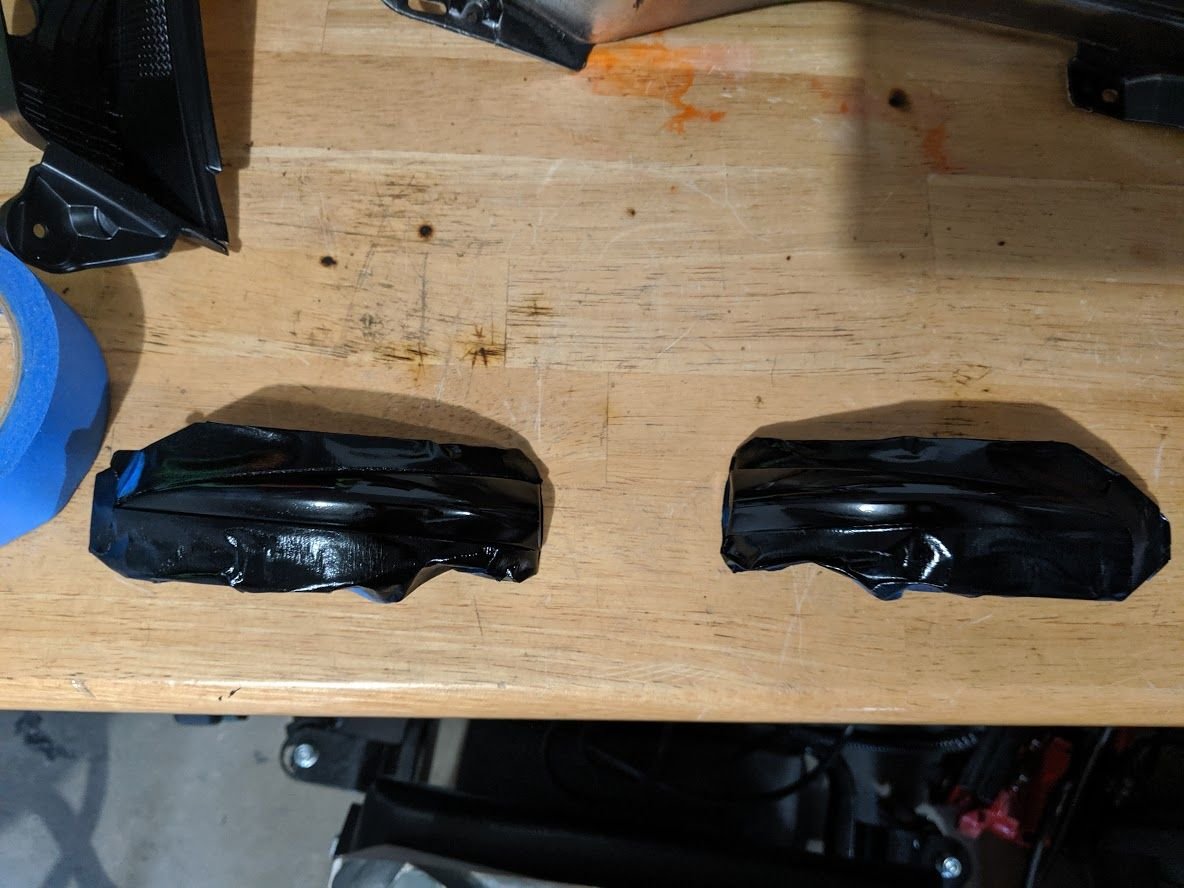
Unlike the stock ones that I painted before, these ones are white and not chrome
And here they are after 5 coats of VHT
They came out pretty smooth but I did want to get rid of any orange peel, so I wetsanded them.
Then I started applying clear coat (note I had to wait for a warm day)
Here they are after 5 coats of clear, they look like glass
And here's the finished product, going to wetsand the clear and polish them some night soon and get them installed
97BlackAckCL
Elite Member
So I wrapped up 2 small projects this weekend. Haven't had time to mess with the headlights, but I got the mirror turn signals wet-sanded and polished.
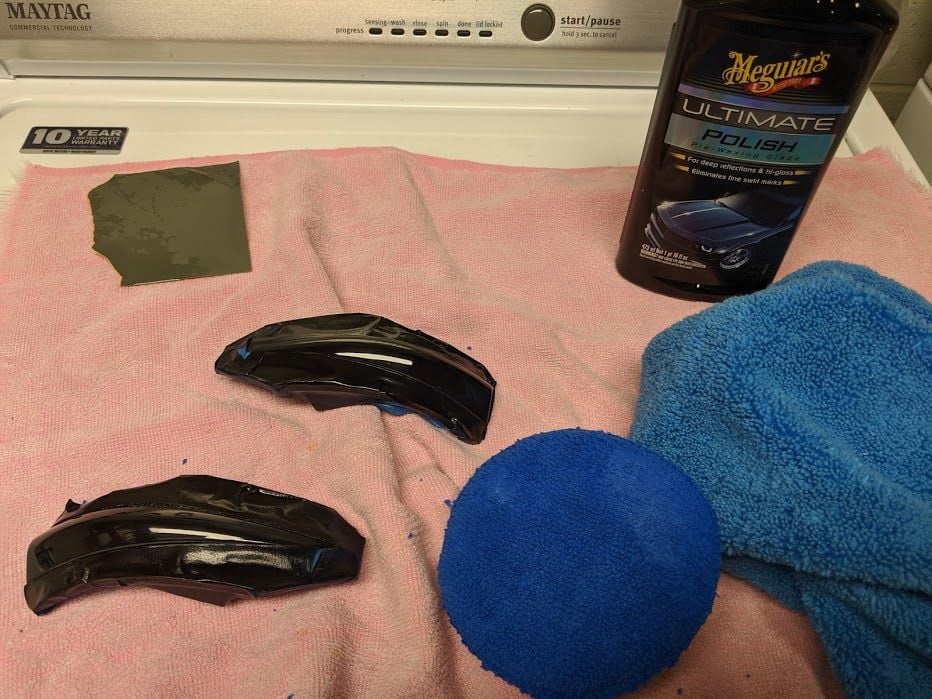
I also got a new set of Meso puddle lights for the mirrors as well. Been waiting to install them together
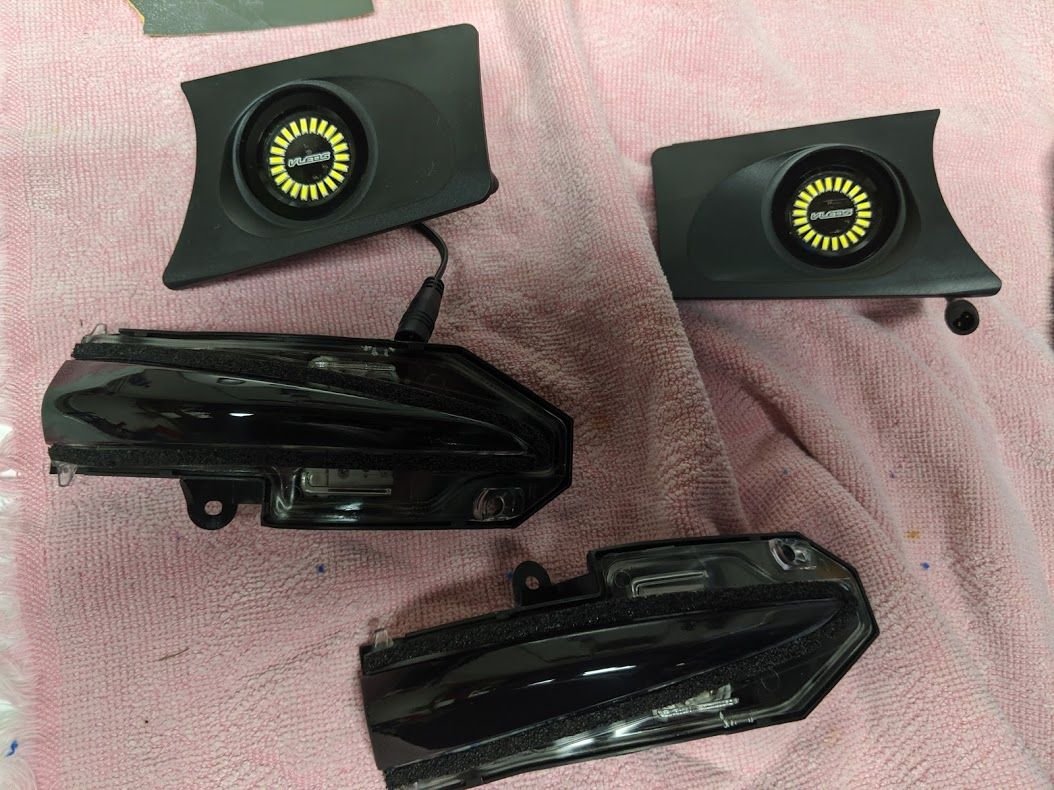
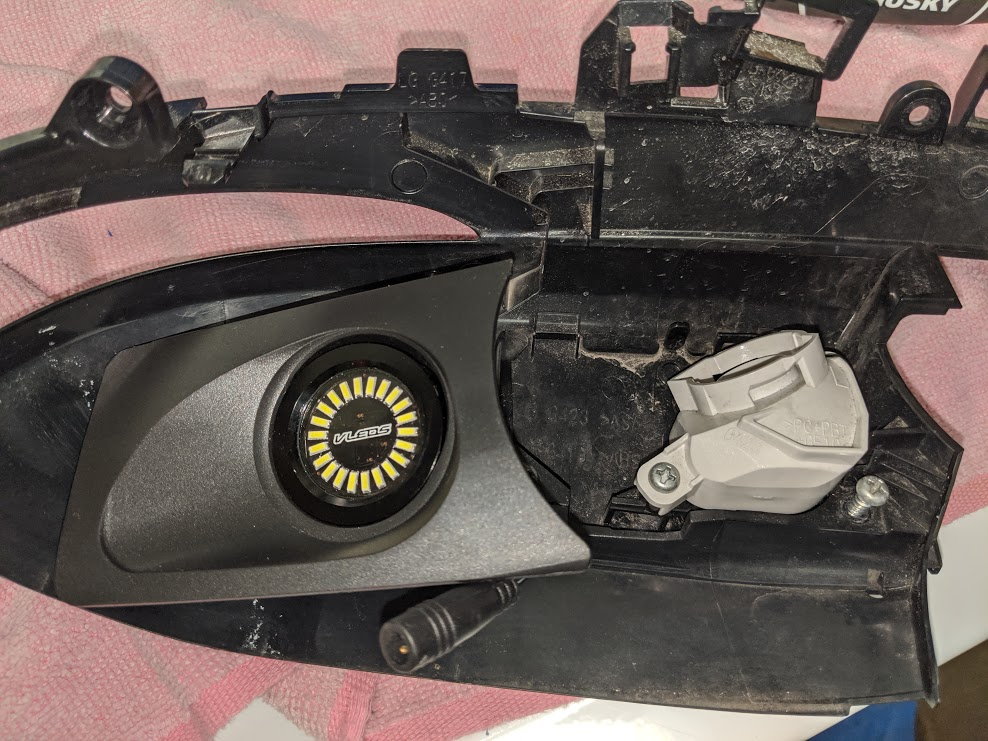
Here's a before of the old ones that I had installed
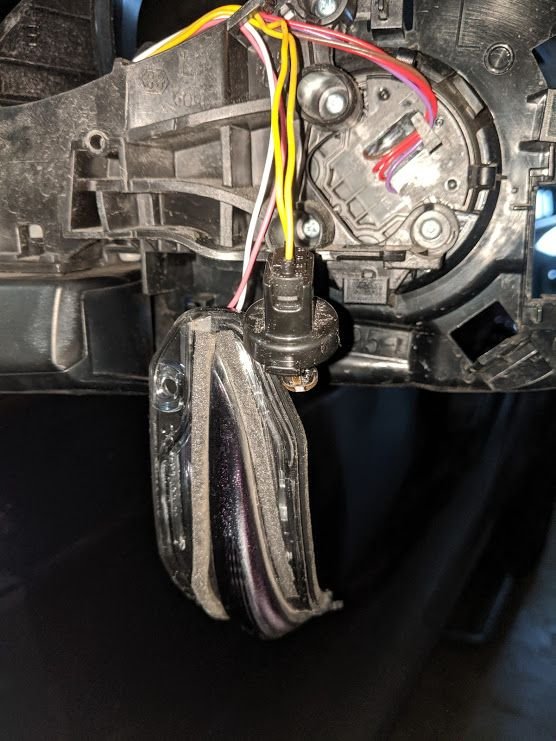
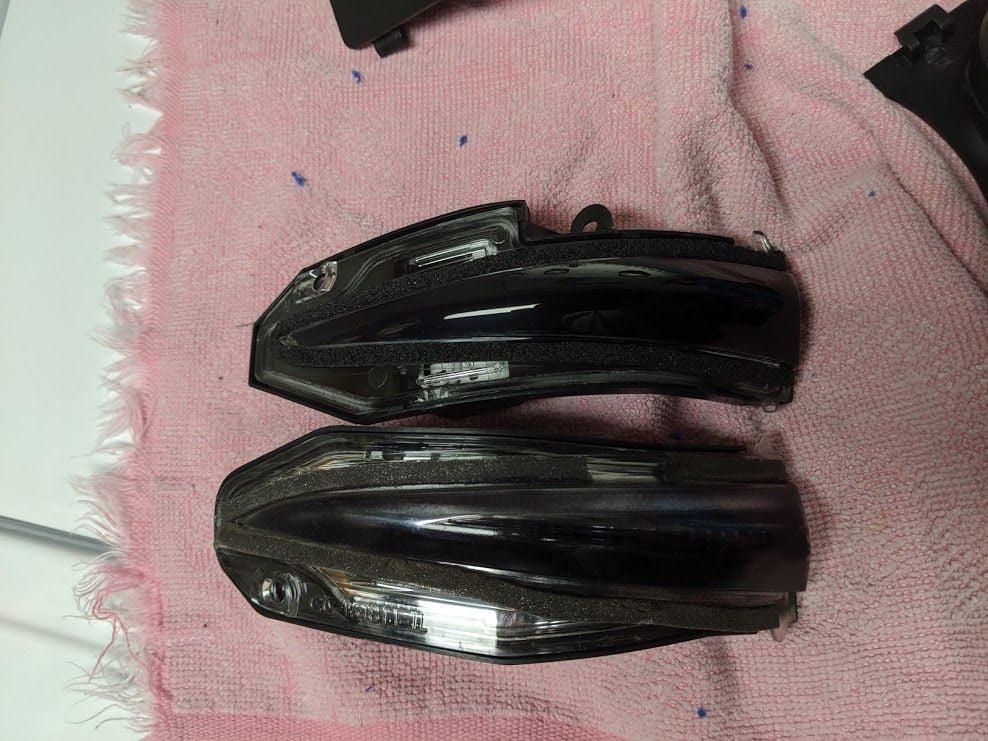
And here's a side by side of my first set of night-shaded stock turn signals next to the new ones.
And here's a before with the new bright ass puddle light pods.
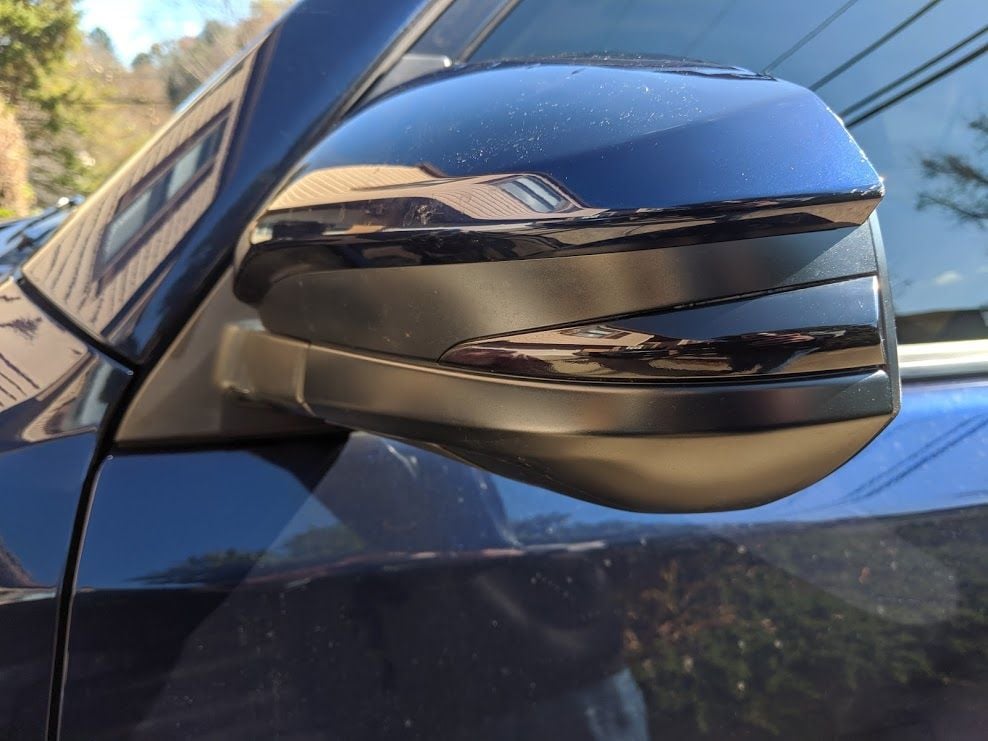
Here's the new sequential LED and smoked turn signal, they are WAY brighter than the stock ones.
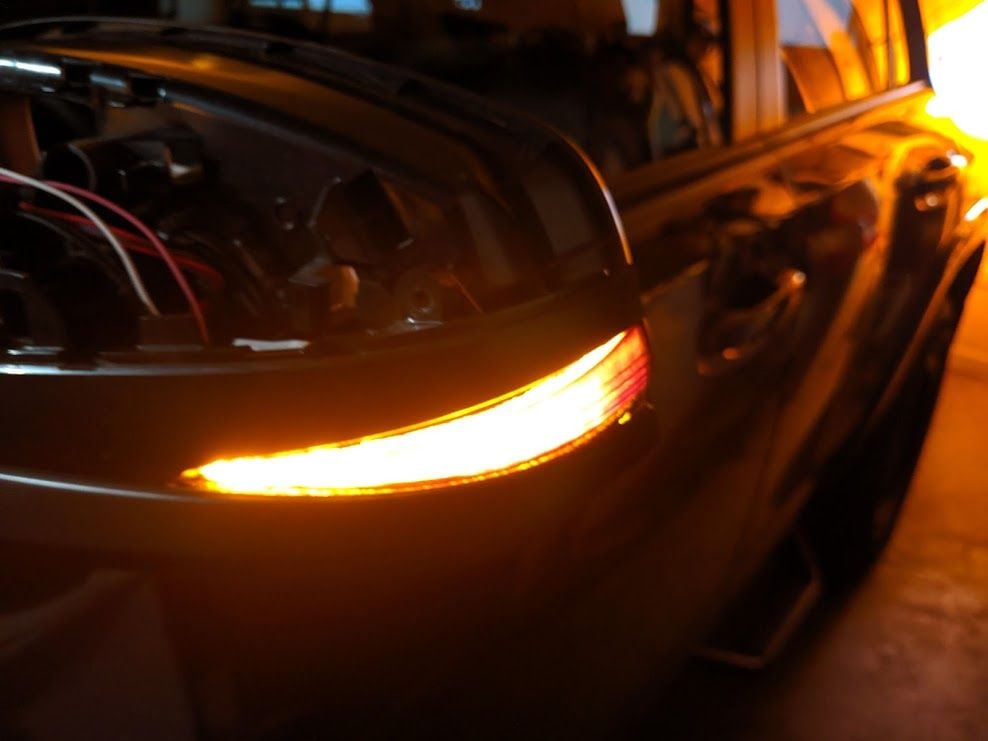
And here's a side by side of the old and new, old on the left, new on the right
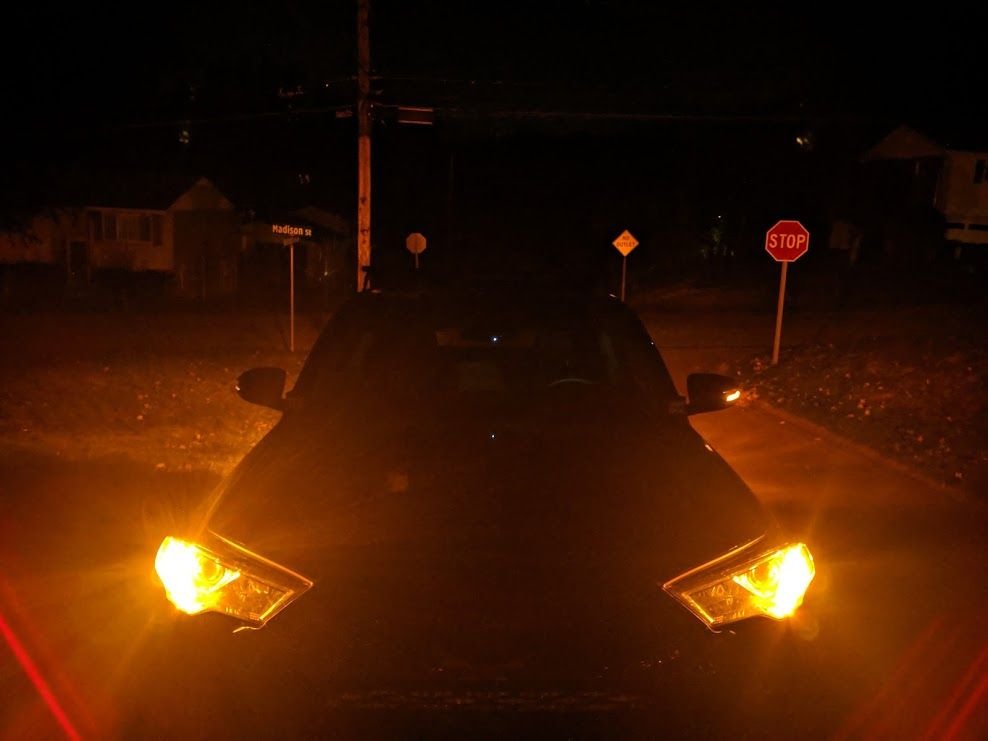
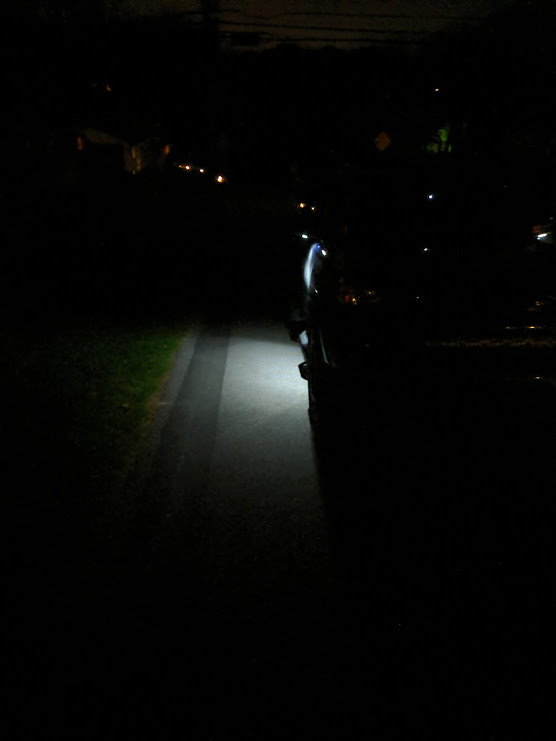
And here's a side by side of the puddle lights, the left ones are just a T10 LED bulb, and the LED pod is on the right, I thought the left sides were bright until I put them side by side.
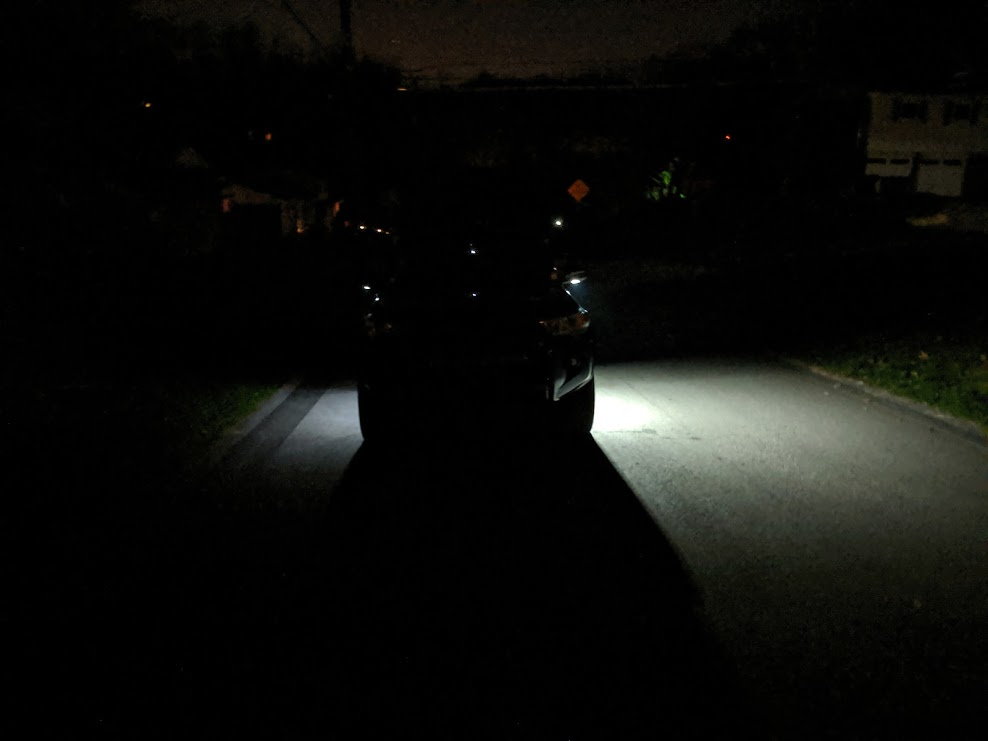
Crazy difference
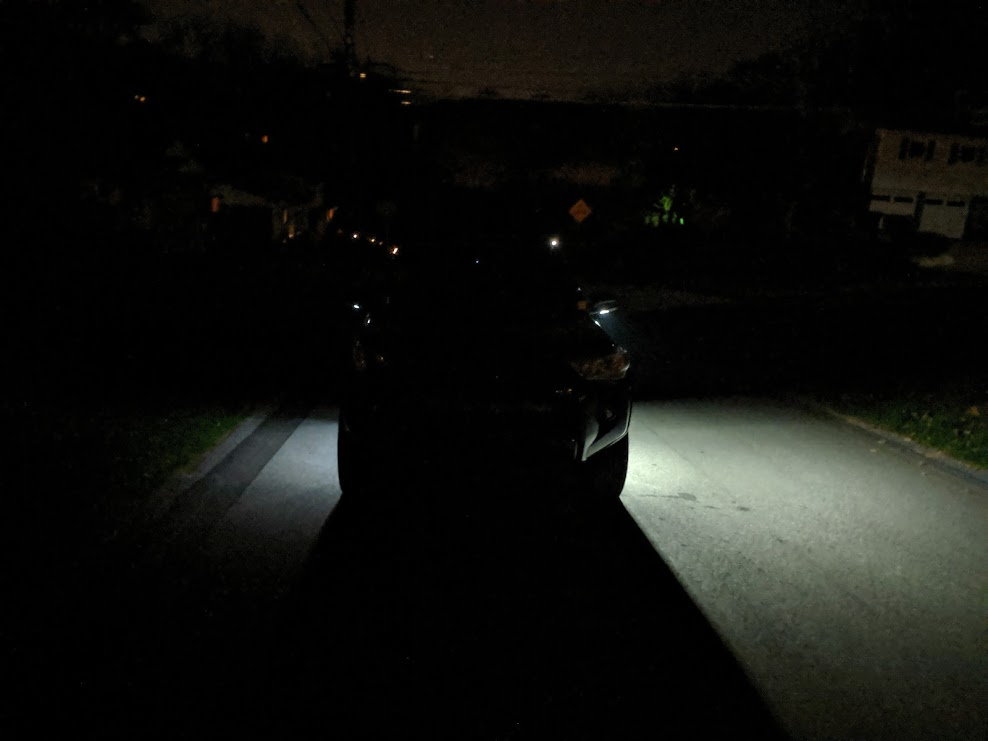
And here's a closer up of the light output of the new pods
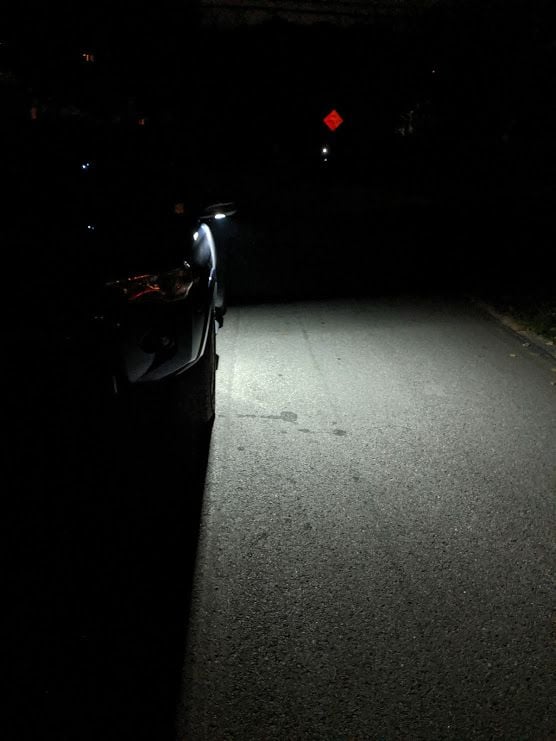
And here's a closeup of the old one, it's crazy the difference in output
And here's the new turn signal installed, looking nice and sleek. Blends really well with the mirror housing.
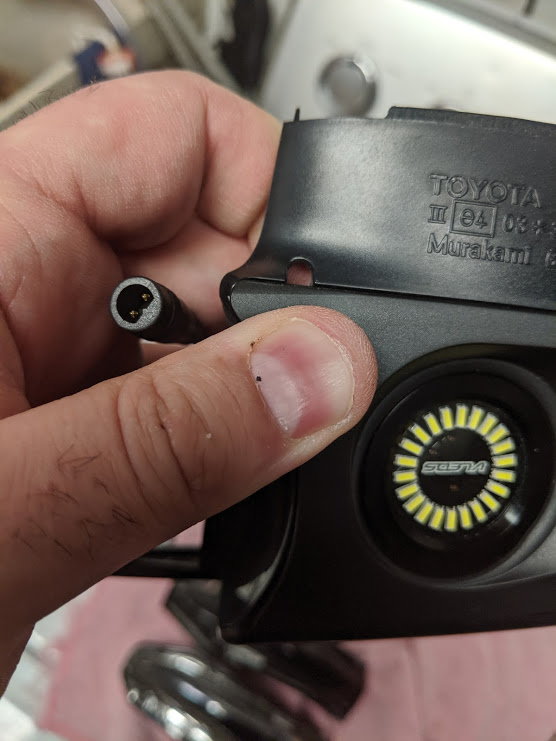
Another cool fact is that our mirrors have a drain hole in the bottom
I also got a new set of Meso puddle lights for the mirrors as well. Been waiting to install them together
Here's a before of the old ones that I had installed
And here's a side by side of my first set of night-shaded stock turn signals next to the new ones.
And here's a before with the new bright ass puddle light pods.
Here's the new sequential LED and smoked turn signal, they are WAY brighter than the stock ones.
And here's a side by side of the old and new, old on the left, new on the right
And here's a side by side of the puddle lights, the left ones are just a T10 LED bulb, and the LED pod is on the right, I thought the left sides were bright until I put them side by side.
Crazy difference
And here's a closer up of the light output of the new pods
And here's a closeup of the old one, it's crazy the difference in output
And here's the new turn signal installed, looking nice and sleek. Blends really well with the mirror housing.
Another cool fact is that our mirrors have a drain hole in the bottom
16RedRunner
New member
Looks good! I had my brother in law tint mine when he did my windows.
97BlackAckCL
Elite Member
Small mod, but very much needed. One of my Black Friday purchases was a cellular module for my Accessorides remote start. I got a good deal on it and it was completely plug and play add-on to my current remote starter.
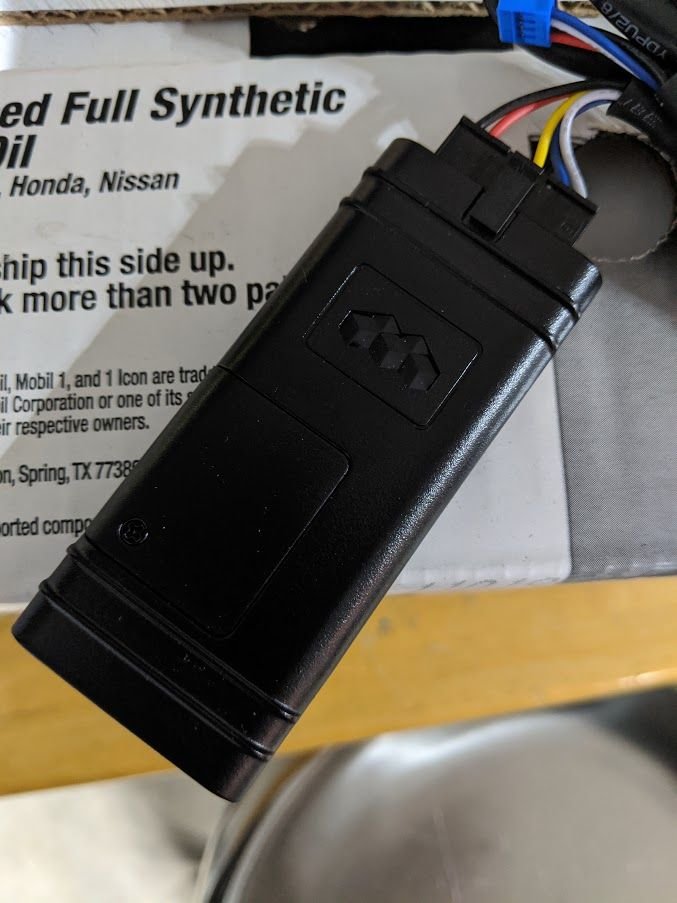
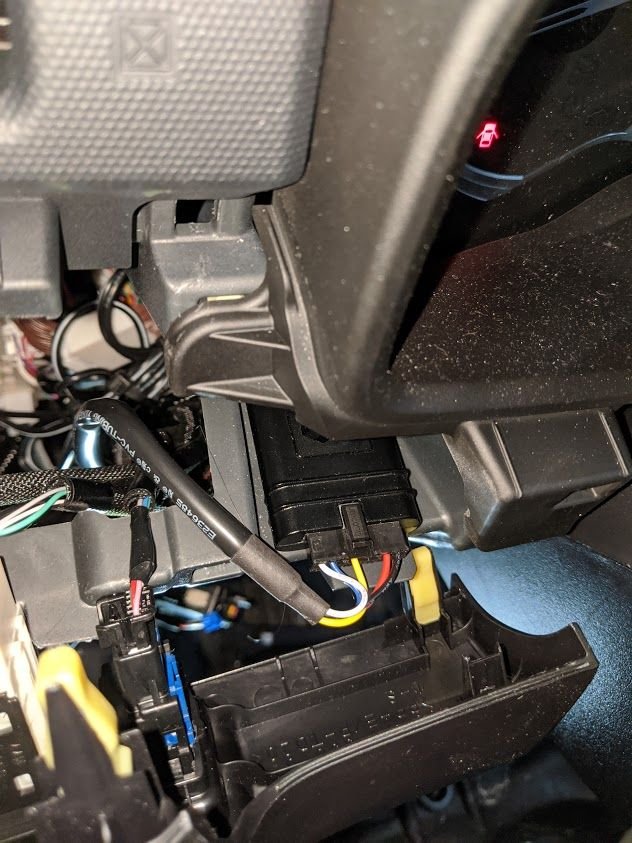
I was surprised to find a perfect shelf in the top of the dash that looks like it was meant for this module. It needs to lay flat horizontally, and this little area was the perfect size for it to sit in. I secured it with zipties as well.
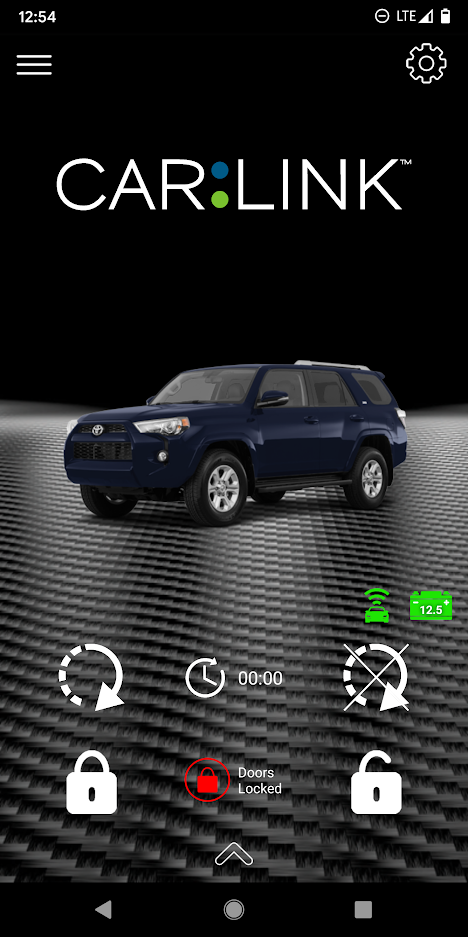
Now when I'm at work or out anywhere I can remote start the truck from my cell phone. I also can check to make sure that the doors are locked, check the battery voltage, and even lock and unlock the truck. It also has a GPS tracker so I can always locate it if needed. Very cool, and I literally just had to plug it in and set up the app. The remote start with the stock key is great, however at my new job I'm on the opposite end of the building from the parking lot, so line of sight is no good until I'm in the parking lot. With this I can start the truck and have it warmed up with the seat heater on before I even leave the building. Love it!
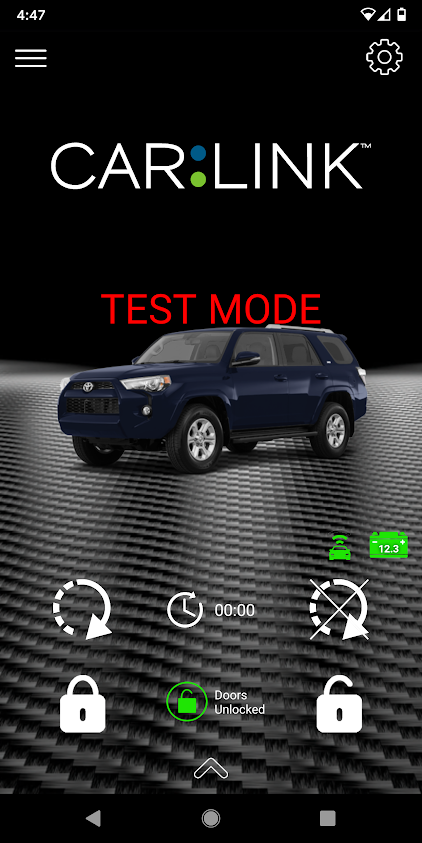
I also like that I can check the status of the vehicle. What's the battery voltage? Did I lock the doors? It also gives you a countdown when the vehicle has been remote started (runs for 15 mins) and will countdown the amount of time you have to get in and drive before it shuts off. All very neat features;
I was surprised to find a perfect shelf in the top of the dash that looks like it was meant for this module. It needs to lay flat horizontally, and this little area was the perfect size for it to sit in. I secured it with zipties as well.
Now when I'm at work or out anywhere I can remote start the truck from my cell phone. I also can check to make sure that the doors are locked, check the battery voltage, and even lock and unlock the truck. It also has a GPS tracker so I can always locate it if needed. Very cool, and I literally just had to plug it in and set up the app. The remote start with the stock key is great, however at my new job I'm on the opposite end of the building from the parking lot, so line of sight is no good until I'm in the parking lot. With this I can start the truck and have it warmed up with the seat heater on before I even leave the building. Love it!
I also like that I can check the status of the vehicle. What's the battery voltage? Did I lock the doors? It also gives you a countdown when the vehicle has been remote started (runs for 15 mins) and will countdown the amount of time you have to get in and drive before it shuts off. All very neat features;
97BlackAckCL
Elite Member
So they finally came out with a fully blacked out tail light so I had to jump on them. I sold my Depo blacked out tail lights and swapped the stock chrome ones back on until theses showed up. I love the look of these and they're what the back end badly needed. These will match my blacked out headlights so much better.
And here's the tail lights unboxed

I really like the look

The only thing I didn't like was that you have to swap your stock wire harness from the stock tail lights, but it's super simple. I had to do this on my 4th gen tails as well.

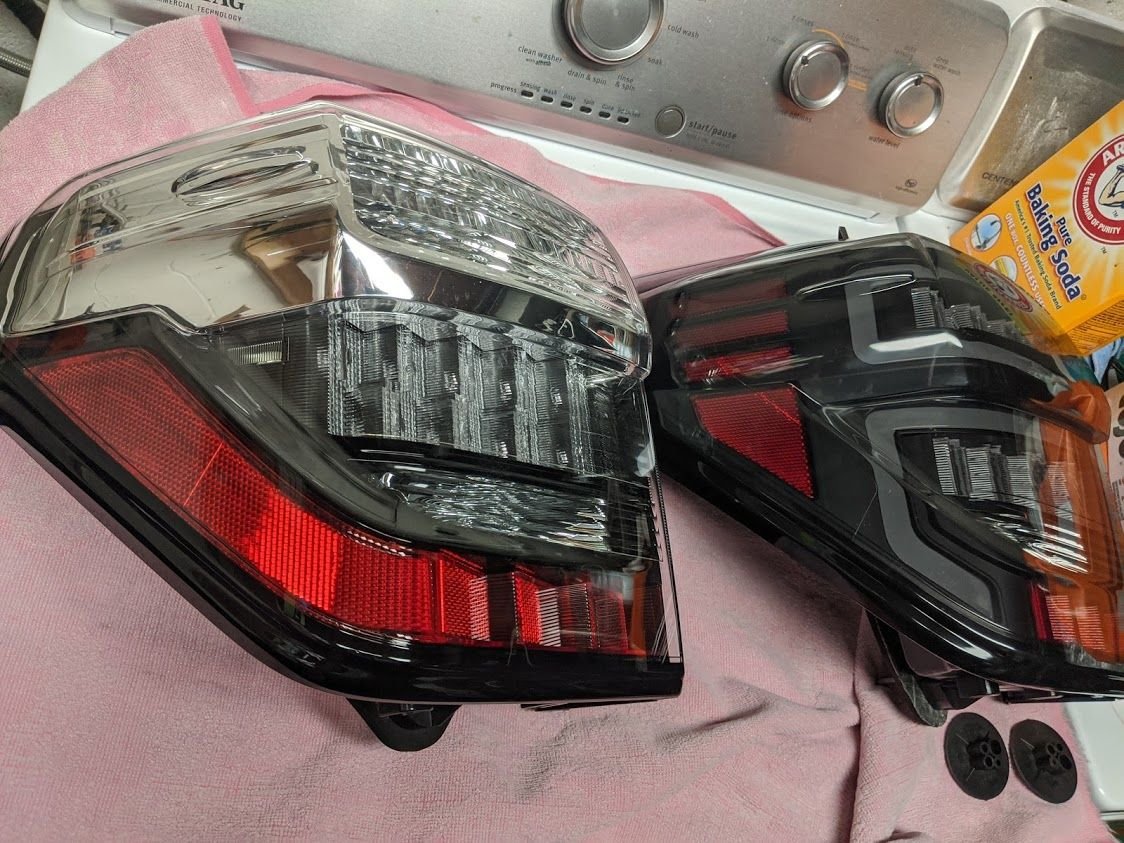
Here's a couple side by sides with the stockies, no more chrome

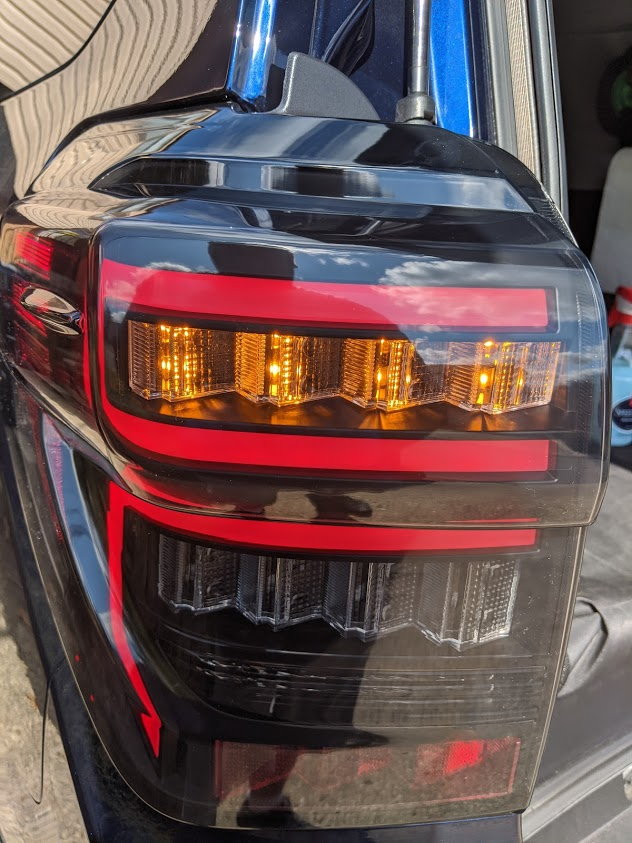
And here's the first one installed, trying out the red markers and amber turn signals.
Loving the look

Side view

And here's a side by side on the truck with the stock tail on the right
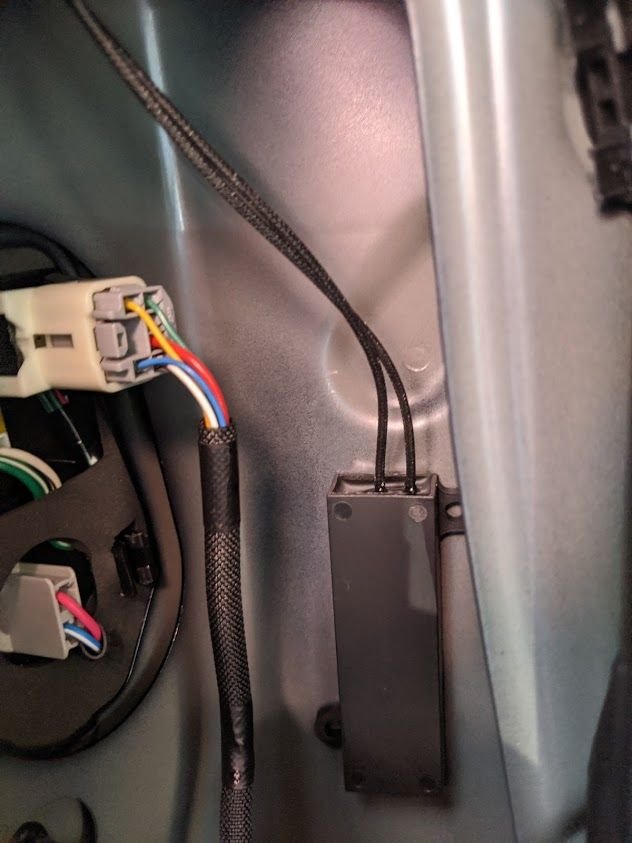
These come with built in amber turn signals so I lose my Lasfit bulbs. They have a built in resistor though so no hyper flashing. Mounted them here
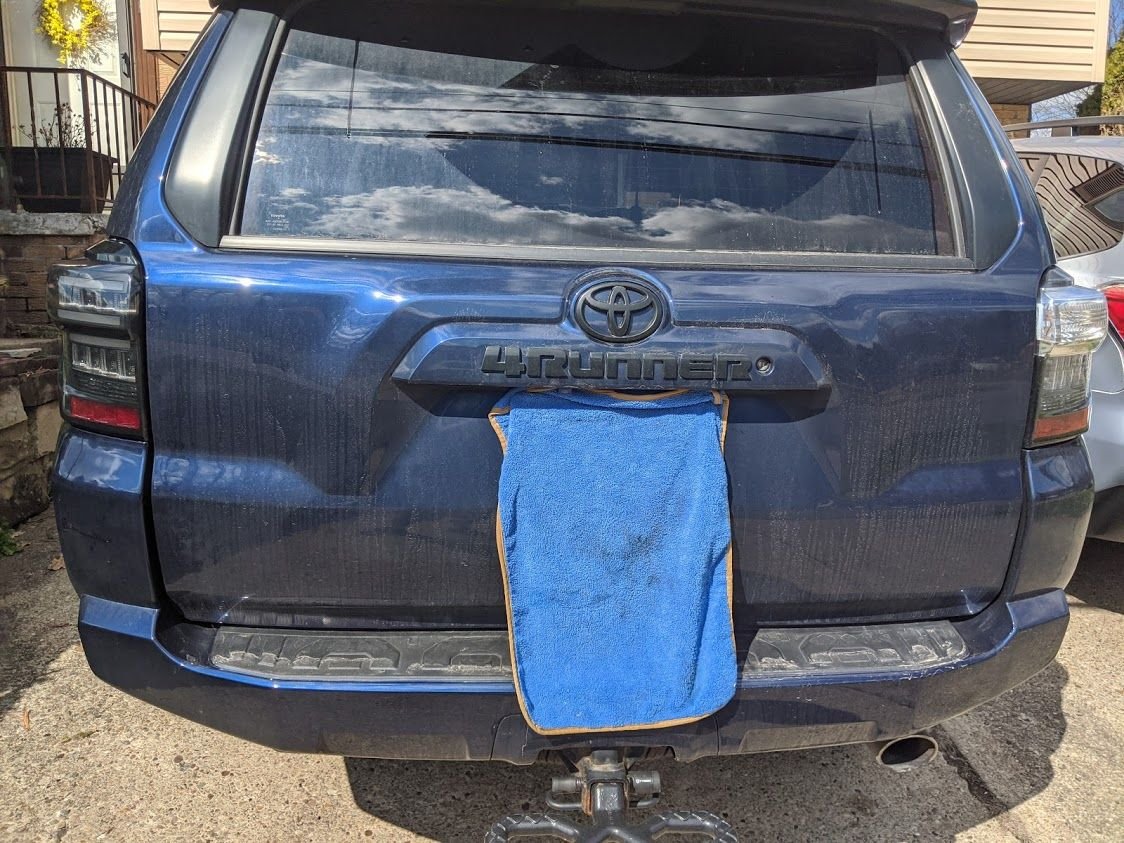
And here is both installed, looking great on a salty dirty truck

Looking great with the black emblems and roof rack

One more shot :thumb3:

And here's the tail lights unboxed
I really like the look
The only thing I didn't like was that you have to swap your stock wire harness from the stock tail lights, but it's super simple. I had to do this on my 4th gen tails as well.
Here's a couple side by sides with the stockies, no more chrome
And here's the first one installed, trying out the red markers and amber turn signals.
Loving the look
Side view
And here's a side by side on the truck with the stock tail on the right
These come with built in amber turn signals so I lose my Lasfit bulbs. They have a built in resistor though so no hyper flashing. Mounted them here
And here is both installed, looking great on a salty dirty truck
Looking great with the black emblems and roof rack
One more shot :thumb3:
Similar threads
- Replies
- 3
- Views
- 2K


- Replies
- 2
- Views
- 5K


