Now let's go do something which we can call............"mod"!
This is gonna be a long haul write-up so stick around. You just might learn something:jk:
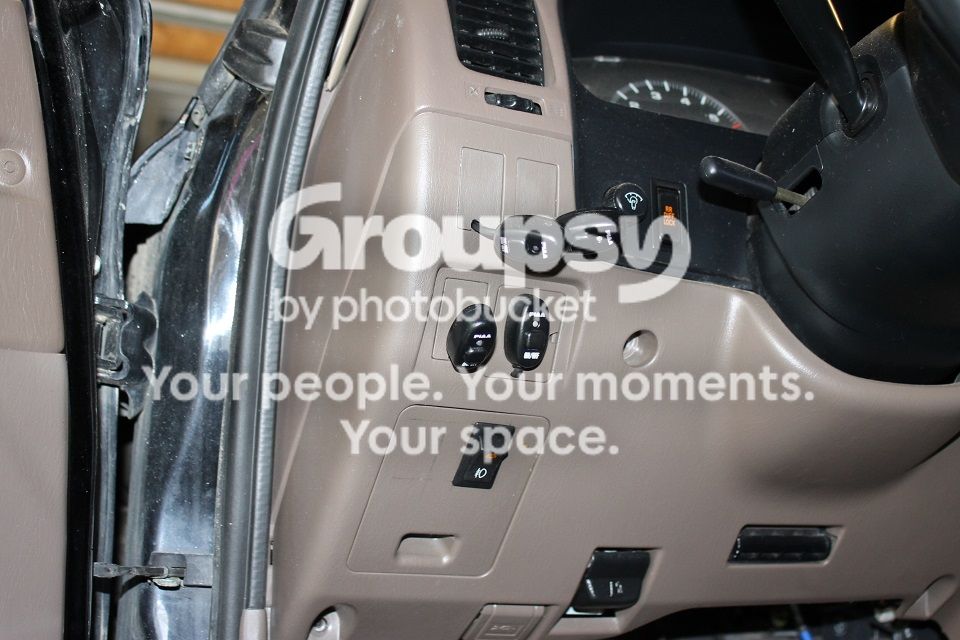
...Well i've been thinking about merging all my switches and possible future ones into one location. This would include my Back Window, ECT and Diff Lock, add to that some Winch controls and my lighting switches. Mine are currently down to the left of the steering at the moment( can't be too proud of that pretty pic there), and if I was planning on having more than 10 possible switches in one location, well i'd be better off looking for an alternative.
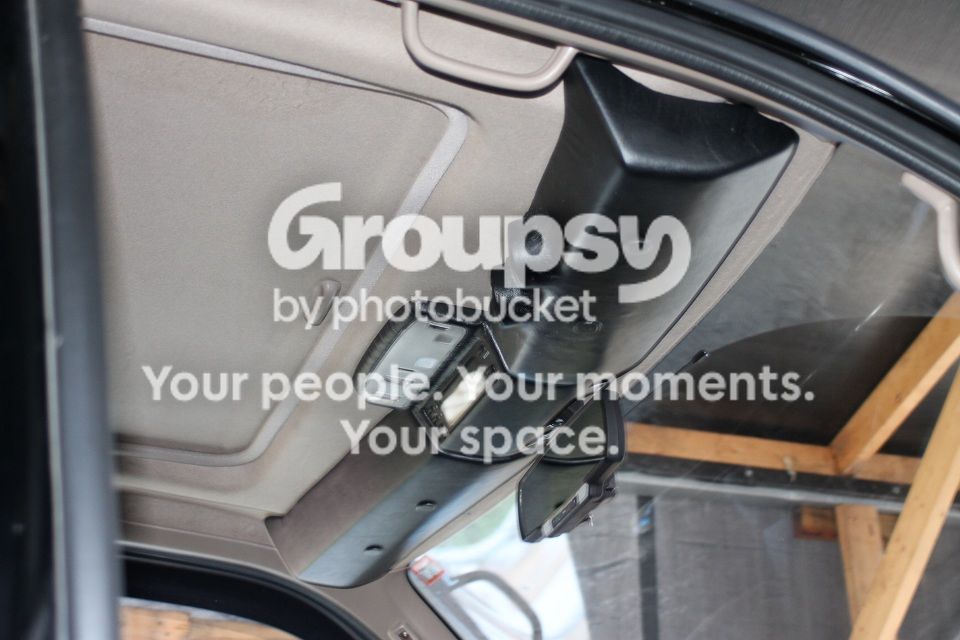
Given the limited setting in the 4Runner, I was determined that the best place for a bank of switches would be up on the headliner.
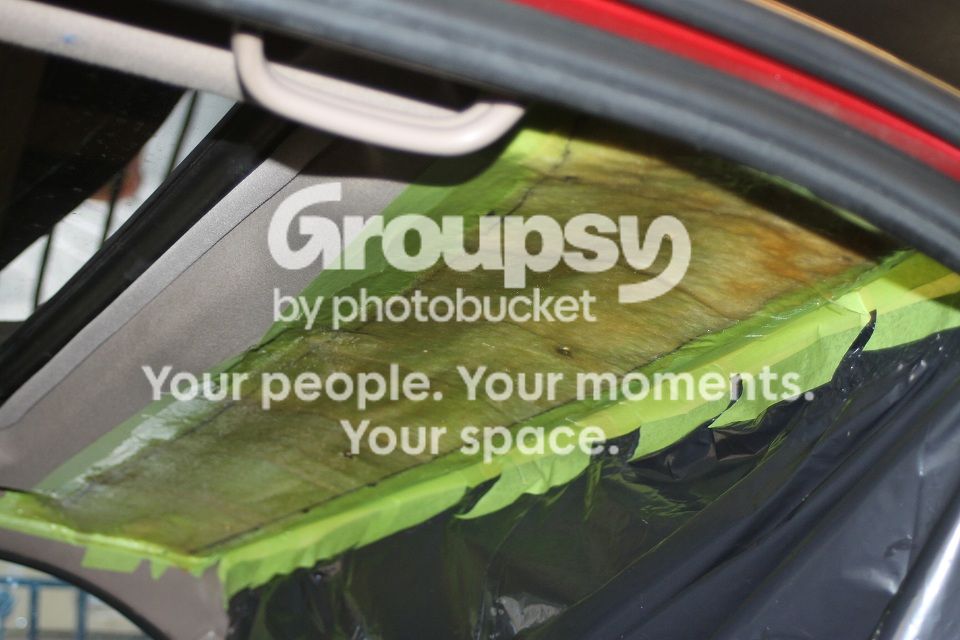
All was set only to find that the 4Runners headliner was comprised of irregular angles and contours and simply laying down a base for the switch pod wasn't gonna cut it. It just isn't gonna hug the headliner flat. My take on that was to lay down mats of fiberglass to conform and follow the shape needed. First I covered the headliner with some green masking tape
for the resin to adhere to. Removing the headliner would be an option allowing you to work on the floor more conveniently while fiberglassing, but I didn't bother with that unnecessary step.
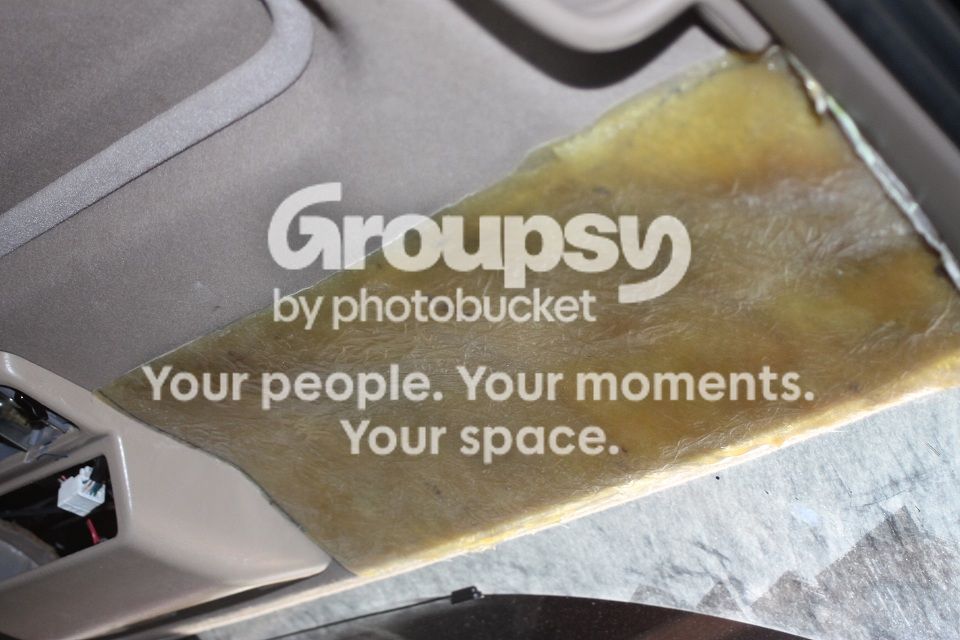
I did 3 layers of 8oz fiberglass from end to end. First layer. Initially, I wanted to incorporate the FMU with the whole switch pod and make one long unit but opted on the modular 3 piece design.
Fiberglass base after splitting in half and mocked up to see fit.
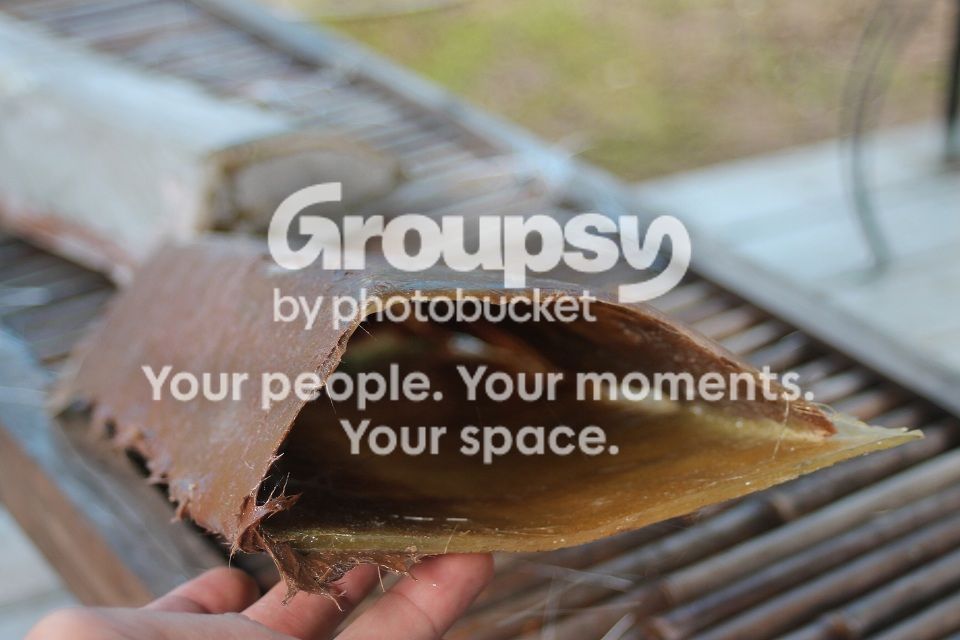
After that's done, it was time to tacle the actual switch pod housing. For that I used the shape of my FMU shell case and just make a mold out of it. To begin with, I used some plaster to create the overall shape of the shell, let it cure and harden and I've got my mold.

With the positive mold ready, fiberglass followed. I needed to make atleast 4 of those shells, 2 each on either side of the FMU. Here's a pic of those glassed shells fused together. Remember that headliner base I made in the beginning?? It's also fused with the casings with more fiberglass.
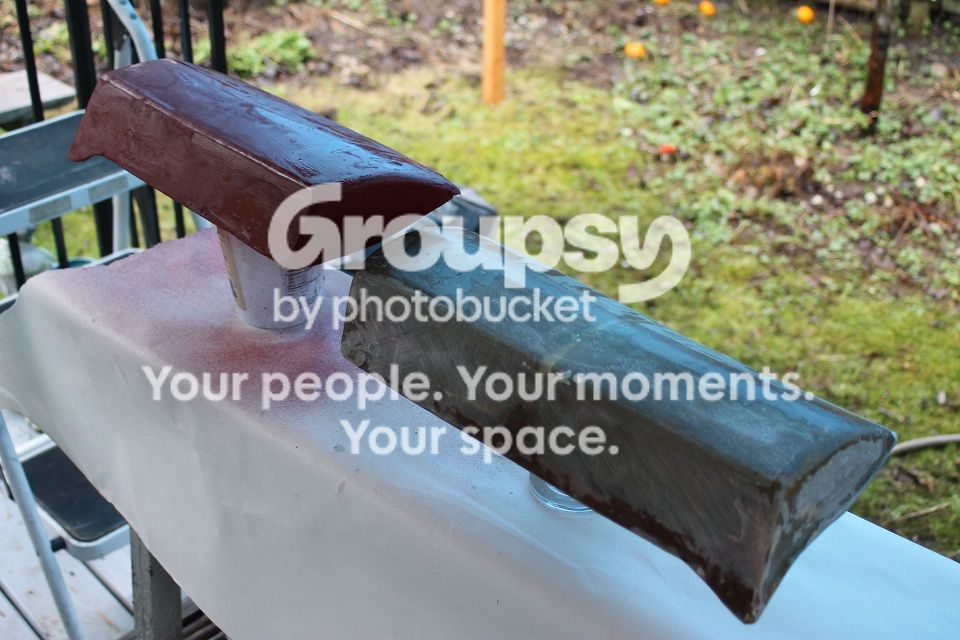
Both sides done with one being primered. Since the surface was almost smooth, I only needed a few touches of body filler to finish 'em off.
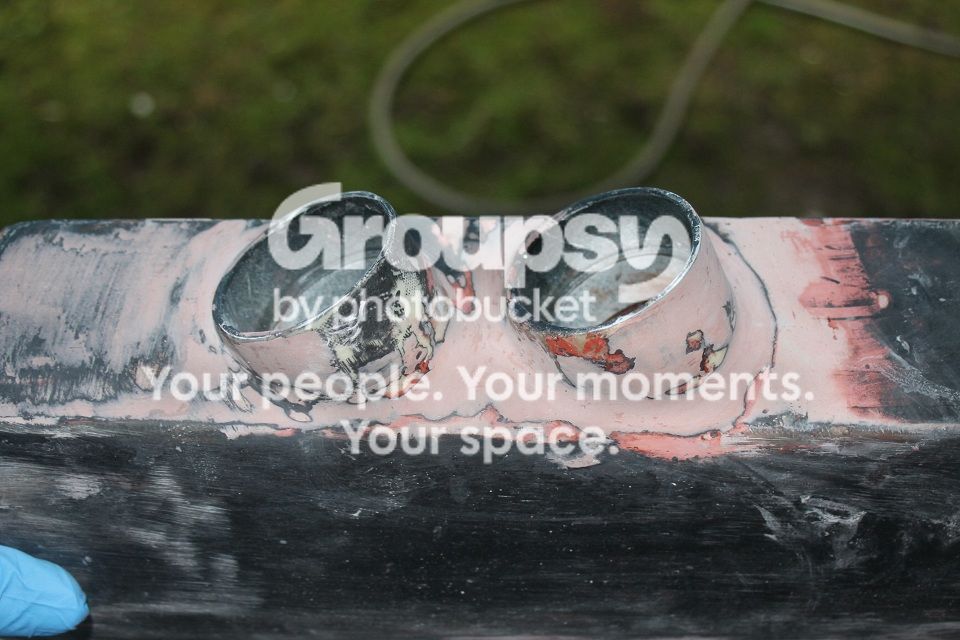
My project would also involve some gauges from AEM(voltage & trans) so for those I had to make pods to enclose them in as well. Went to the hardware store and bought some 2 1/8" abs tubings. Long story short....more glassing, bondo'ing and sanding. The gauges are gonna be on the passenger side so in order to have a better visual of the readings, I directed the orientation of the pods to face the driver.
Ready for priming
For the cover, I chose synthetic leather vinyl in black to match the dash trims in the 4RUnner. The FMU was also covered in the same fashion.
The pods are done.

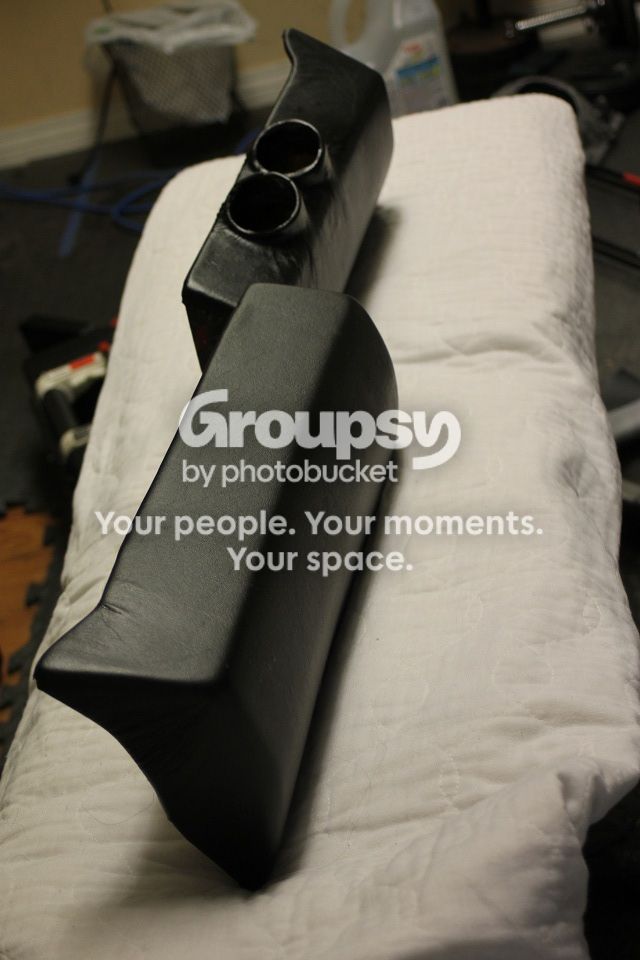
Here's a good side shot of the passenger pod indicating the irregular shape of the headliner the base needs to conform to in order to hug it flat. Drivers side is exactly identical.
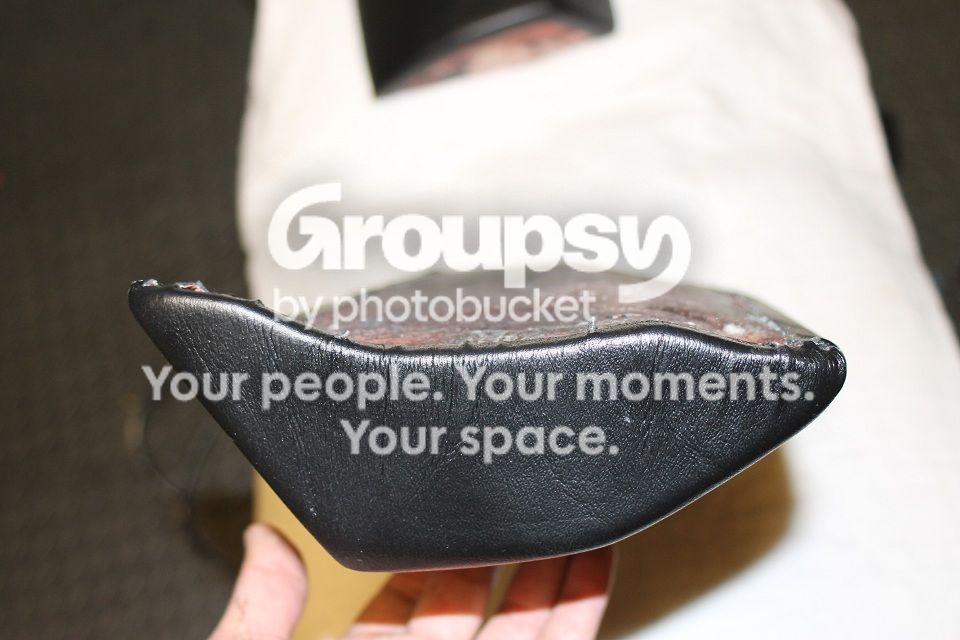
To attach the pods onto the headliner, I made a flatbar with 3 bolts welded on and slip them inside. This shows the bolts sticking out with the middle one holding it secure in place.
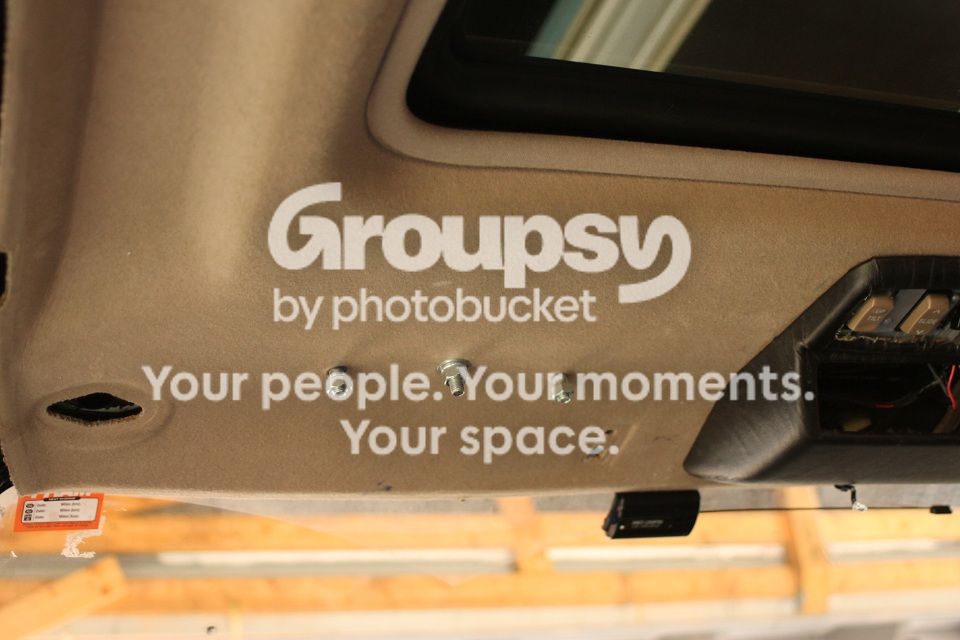
I drilled thru & thru holes on the pods and covered the bottom holes with plugs which are also covered in black vinyl. Now it's just a matter of bolting up the pods and on I go.










 layball:





 I can't wait to see what else you do!


