
You are using an out of date browser. It may not display this or other websites correctly.
You should upgrade or use an alternative browser.
You should upgrade or use an alternative browser.
Building, Driving and Adventuring the MTN4RNR
- Thread starter MTN4RNR
- Start date


MTN4RNR
New member
Can I ask you a favor ...
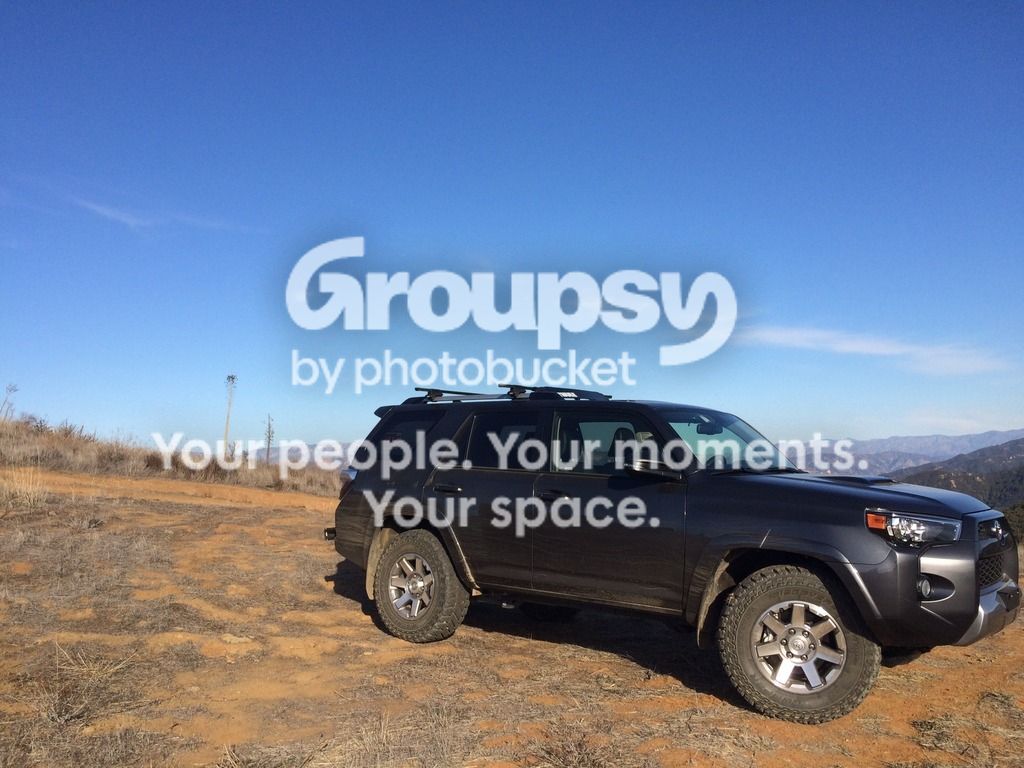
Can you post a complete side profile of your rig... And how much were those LED lights. It's been a mod I've been wanting to do. But scared to attempt because I have bad luck with interior panels breaking.
This is the best side profile I have in my photo bank at the moment, if you want a 90º view, I can take one later on today and post it.
The lights are linked to the [MENTION=12905]XenonDepot[/MENTION] website in my build here:
MTN4RNR LED write-up
But if I remember correctly the reverse lights were around $35 and the license plates were around $15 (plus tax/shipping blah blah blah).
Install is super easy. I will post a photo later showing the 'screwdriver notches' on the panels. My rule of thumb with panels is steady, ramping force is much better (and less risky) than using a jarring motion to 'pop' something loose.
MTN4RNR
New member
HID upgrade
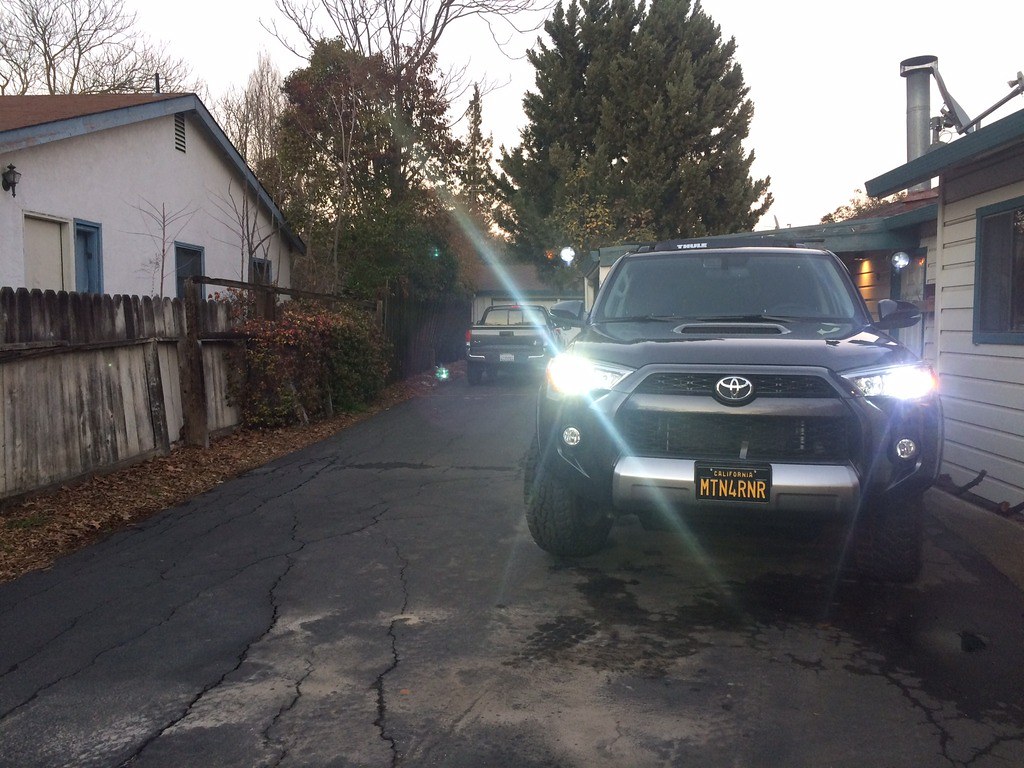
This write up has been relocated to my website following Photobucket's ransom debacle.
You can view the write up in it's entirety by clicking the link below
Xenon Depot Xtreme HID Low Beam Installation
This write up has been relocated to my website following Photobucket's ransom debacle.
You can view the write up in it's entirety by clicking the link below
Xenon Depot Xtreme HID Low Beam Installation
Last edited:
MTN4RNR
New member
LED hatch upgrade
Parts used:
- Philips LED 3022
- Second glass of Knee Deep Midnight Hoppyness
The lights are removed by using a flat head screw driver on the driver's side of both lights. Lightly pry under the clear lens, then you should see a metal tab that you will push towards the center of the light. It will unclip the light from the hatch, and pivot down. The clear lens unclips with 4 clips on the outside of the light housing. The replacement of the bulbs in straight forward from there. If it doesn't work, turn it around and try again.
Before
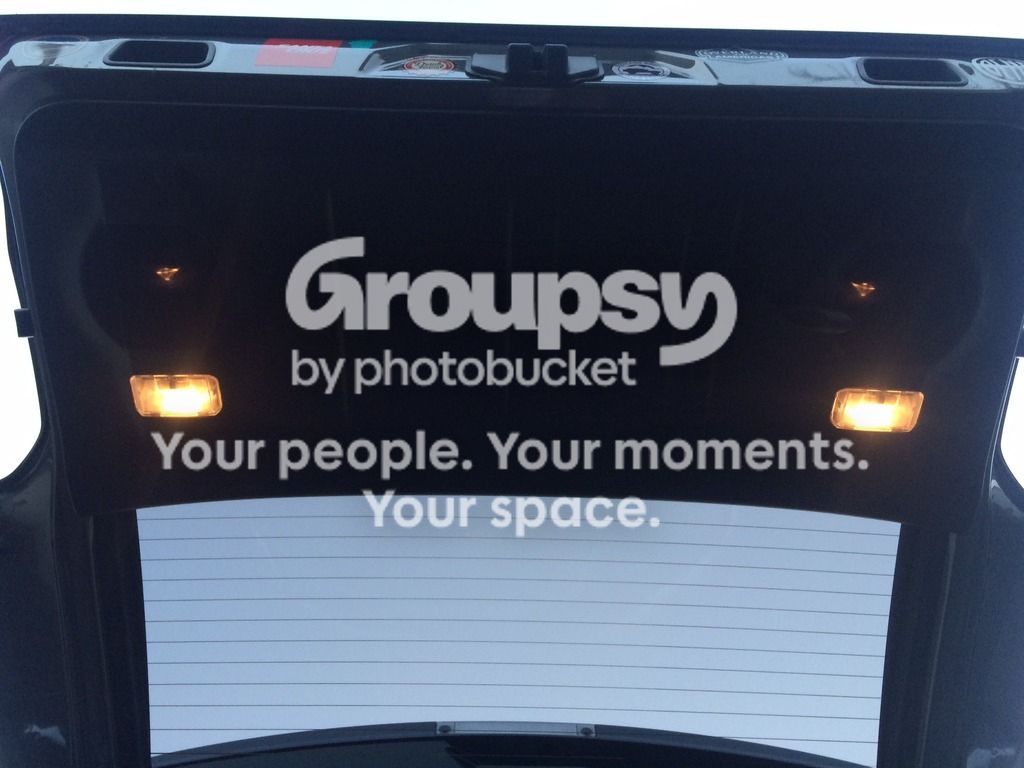
During
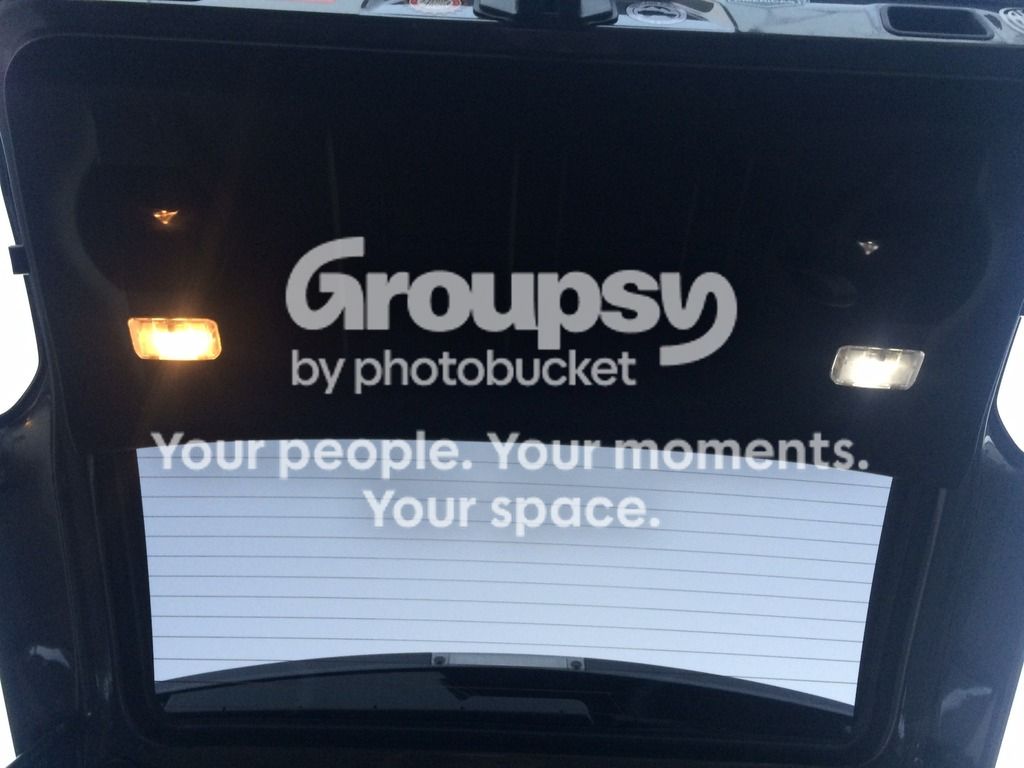
After
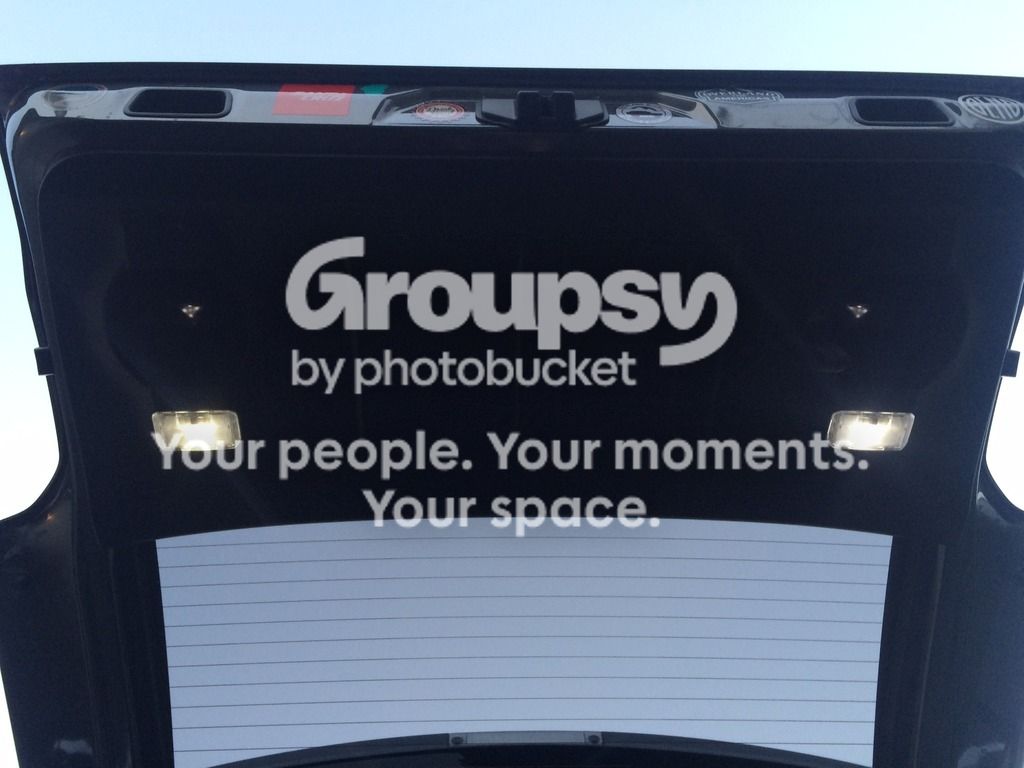
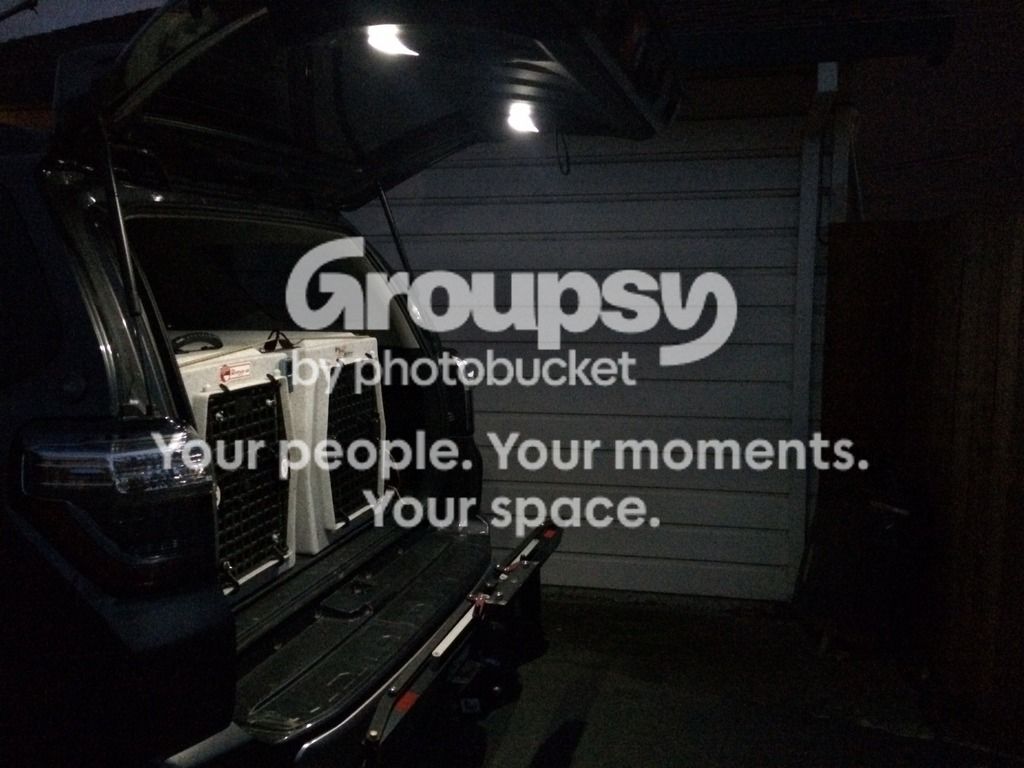
My impressions are that the color shift is very nice switching to the LEDs, but the light output I don't think is any brighter than the stock halogens. I don't think this will deter me from swapping the rest of the cab lights to LED, however. Thanks [MENTION=12905]XenonDepot[/MENTION]!
More to come...
When I ordered the HID lights, I also upgraded the rear hatch lights to LED lights from [MENTION=12905]XenonDepot[/MENTION]. I wanted to see how I liked the light color and output before I considered changing the interior lights out entirely.
Parts used:
- Philips LED 3022
- Second glass of Knee Deep Midnight Hoppyness
The lights are removed by using a flat head screw driver on the driver's side of both lights. Lightly pry under the clear lens, then you should see a metal tab that you will push towards the center of the light. It will unclip the light from the hatch, and pivot down. The clear lens unclips with 4 clips on the outside of the light housing. The replacement of the bulbs in straight forward from there. If it doesn't work, turn it around and try again.
Before
During
After
My impressions are that the color shift is very nice switching to the LEDs, but the light output I don't think is any brighter than the stock halogens. I don't think this will deter me from swapping the rest of the cab lights to LED, however. Thanks [MENTION=12905]XenonDepot[/MENTION]!
More to come...
Last edited:


MTN4RNR
New member
Looking good!
Coming along nicely!
Thanks guys! It's a slow road, but I would rather do quality over quantity! More to come soon
MTN4RNR
New member
I have the same kit sitting here waiting for a day off to install. Lows look great. No apparent light scatter from your pics. Glad they work without the relays! Should make install easy.
Thanks man! Yeah, I did some brief reading on here about installation before I ordered it. Most guys were saying "super easy" and "installed in an hour." But from what I could see (if I am wrong please correct me), there was no walk thru installation for this specific kit. Hence why I made one, because when I received the kit from [MENTION=12905]XenonDepot[/MENTION], the instructions were not very 4Runner specific, although they were detailed enough that I could have installed everything as they showed, but it would have taken a bit longer. Once I saw that the instructions given weren't as specific as I was hoping, I came back here and did some digging, which is where I came across the no relay needed information. Apparently the demand from the HID system is comparable to the stock bulbs which means no relay needed, the stock relays can handle it. So now, I can say "super easy" and "installed in an hour."
One thing that I really like was that with the stock lights, I used the fogs because the stock bulbs didn't light up the road enough closer to the truck than I would have liked, so I drove with them on most of the time. With the HIDs, that same area in front of the truck is now lit up! No more fogs on all of the time.
Good luck with the install. If you have questions, shoot me a message.
XenonDepot
New member
[MENTION=129593]MTN4RNR[/MENTION] - Thank you for taking the time to post this up! I'm glad to see that you're enjoying your XenonDepot H11 HID Kit with Philips bulbs.
Steve
Steve

rochmpr
Senior Member
By far the part of this mod I like best, well, anything from KneeDeep
MTN4RNR
New member
By far the part of this mod I like best, well, anything from KneeDeep
They. Are. Amazing. I am not sure how they do what they do, but I make it a point to stop by every time I head to my cabin in Grass Valley. Last time I was fortunate enough to catch the Hop Derranged the day after it was brewed. It. Was. Sublime.
Cheers...
MTN4RNR
New member
[MENTION=129593]MTN4RNR[/MENTION] - Thank you for taking the time to post this up! I'm glad to see that you're enjoying your XenonDepot H11 HID Kit with Philips bulbs.
Steve
Anytime Steve, thanks for the support on the forum!
rochmpr
Senior Member
They. Are. Amazing. I am not sure how they do what they do, but I make it a point to stop by every time I head to my cabin in Grass Valley. Last time I was fortunate enough to catch the Hop Derranged the day after it was brewed. It. Was. Sublime.
Cheers...
Ever been to Ol Republic in Nevada City?
Also, have you ever gone out Red Dog road to the old cemetery, and Chalk Bluff to Hwy 20? So many fun roads to go explore up there.
MTN4RNR
New member
Ever been to Ol Republic in Nevada City?
Also, have you ever gone out Red Dog road to the old cemetery, and Chalk Bluff to Hwy 20? So many fun roads to go explore up there.
I haven't been there, I have only been to Three Forks in Nevada City. It's officially on the list now!
Unfortunately I haven't done much wheeling up there because while I have spent a good chunk of my life up there, I wouldn't consider myself a local. Thus I haven't looked into trails much until I purchased my T4R. Now things are a changin' and I will be exploring the area much more :naughty:
rochmpr
Senior Member
I haven't been there, I have only been to Three Forks in Nevada City. It's officially on the list now!
Unfortunately I haven't done much wheeling up there because while I have spent a good chunk of my life up there, I wouldn't consider myself a local. Thus I haven't looked into trails much until I purchased my T4R. Now things are a changin' and I will be exploring the area much more :naughty:
My grandparents used to have a place off You Bet Rd, so I spent plenty of time up there. Also, fun run from the Little Town of Washington to Downieville, just have to stop at Casey's Place on the way.
Also, check out Jernigan's in Nevada City. Good burgers and good beer.
MTN4RNR
New member
Crawl to the Top 2016
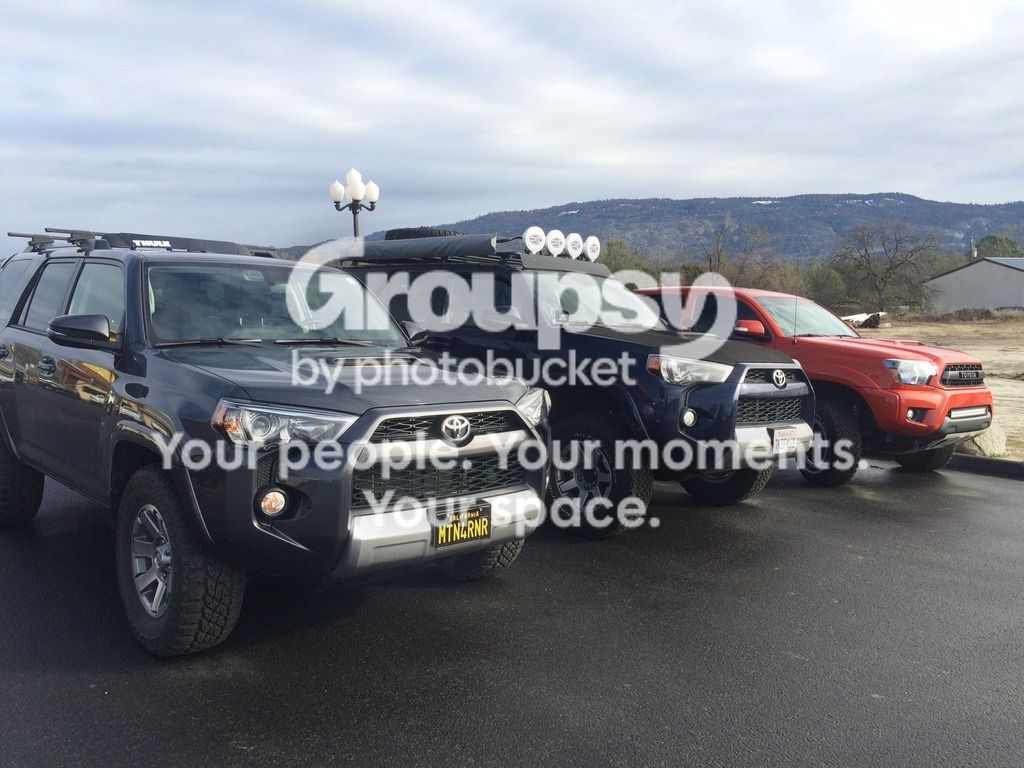
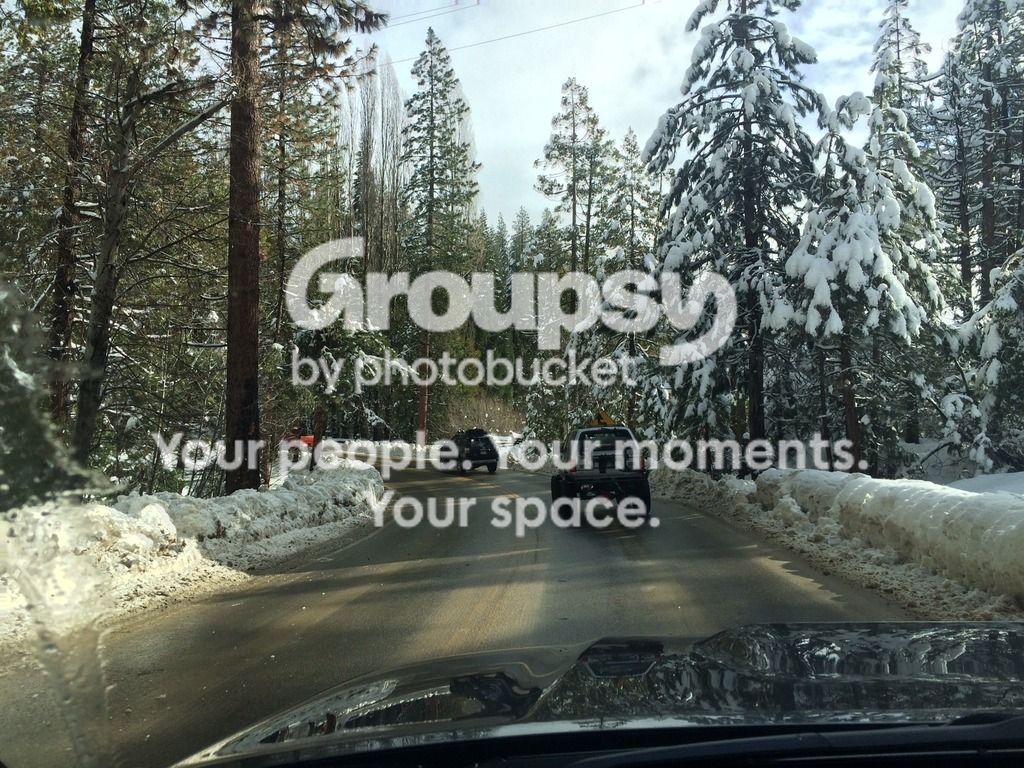
This weekend I attended the first annual Crawl to the Top at Bald Mountain OHV. There were a total of 68 rigs there, a combination of Jeeps and Toyotas. Long story short, we didn't run the trail. A non affiliated party in a Nissan decided to plow the trail before we got there, and sunk the truck to frame in the middle of the trail. After some of the group spent a good amount of time trying to get him out and clear the trail, we were told to move off of the road by the Law Enforcement Officer. Many disbanded, but a group of Toyota guys hung out a bit longer up the road. A few hours passed, and we drove past the trail head. "Mr. Frontier" was still being recovered, so we decided to not try a second attempt with it being 2pm. I will be back to try again in the spring. It was great to meet other enthusiasts and to see their rigs. I can't wait for the next trail run! Thanks [MENTION=91623]CenCalifoothill15[/MENTION] for the invite!
I found my place in the meet up parking lot next to [MENTION=122507]jdm_rider[/MENTION]
Hit the snow line behind [MENTION=106195]v_man[/MENTION] and [MENTION=122507]jdm_rider[/MENTION]
68 rigs airing down was awesome to see
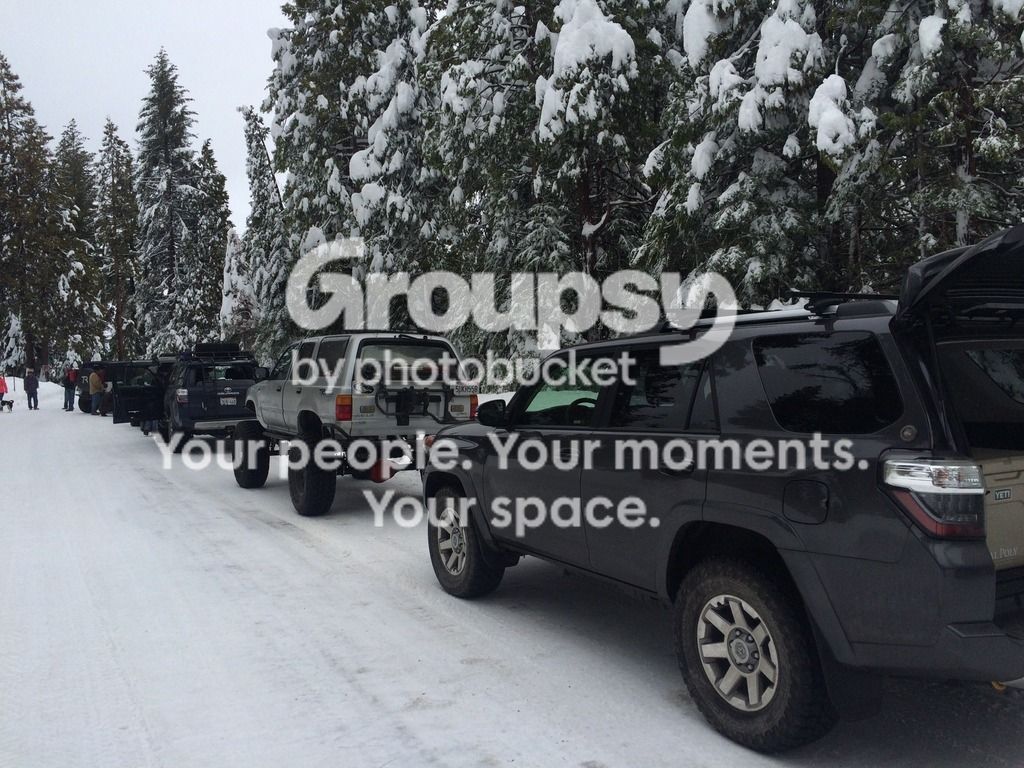
The Toyota crew that stuck it out!
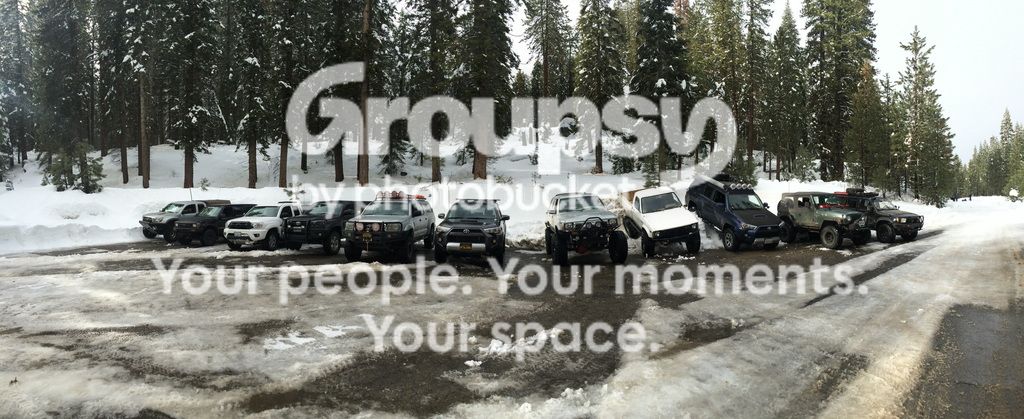
Overall a great day!
I found my place in the meet up parking lot next to [MENTION=122507]jdm_rider[/MENTION]
Hit the snow line behind [MENTION=106195]v_man[/MENTION] and [MENTION=122507]jdm_rider[/MENTION]
68 rigs airing down was awesome to see
The Toyota crew that stuck it out!
Overall a great day!
Last edited:

CenCalifoothill15
New member
Good times! Great to meet you Max!
Thanks for sharing
Thanks for sharing
MTN4RNR
New member
Added recovery gear
Before the trip to the mountains for Crawl to the Top, I hit the local 4 Wheel Parts to stock up on a few recovery items. Because if I was to get stuck, I at least wanted to have the basics to get myself out. No one wants to be that guy.
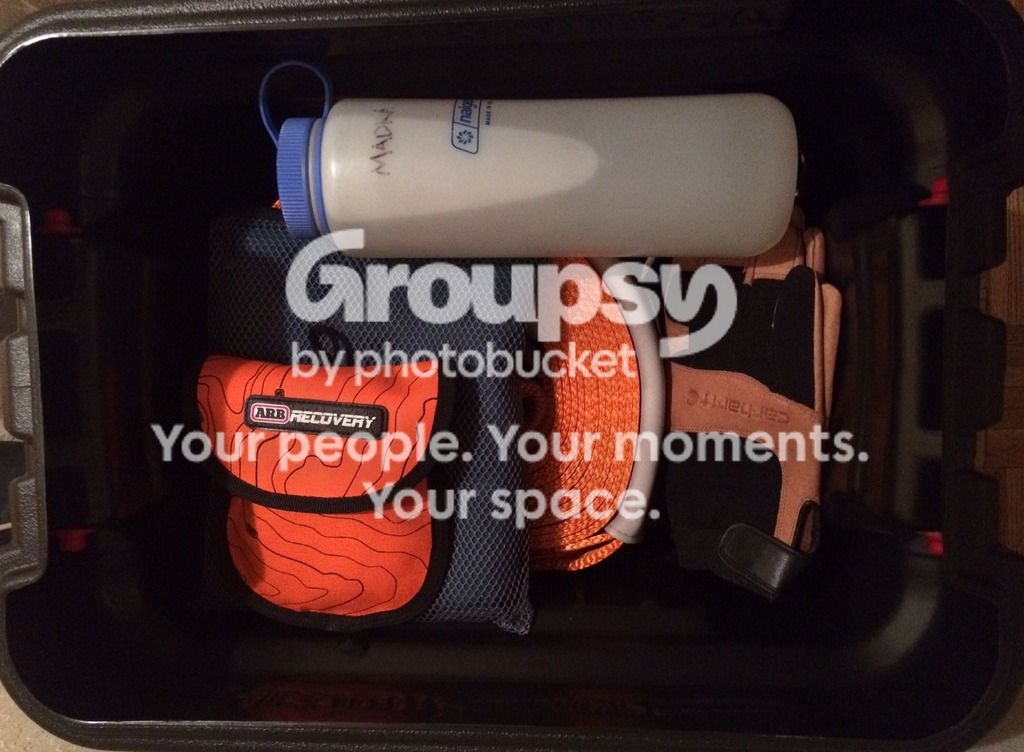
Items added:
- ARB E-Z deflator
- ARB 30' 24K lbs. snatch strap
- 4-3/4T shackle, painted school bus yellow because spray paint
- Hitch shackle recovery point I transferred from my old truck
- Gloves
- Towel
- First aid kit
All stowed away in an 8 gallon Action Packer
The deflator was amazing when bringing 4 tires from 42psi to 18psi in the snow. I knew it was a good purchase when every other vehicle out of the 60+ that were out there had one. That brings another item to the list, a compressor. What goes down must come back up, and next time a gas station might not be so convenient. The compressor just went up on the list. I didn't have the chance to use the snatch strap this weekend, but it will undoubtedly come in handy at some point.
Another 'recovery' item that I realized I was lacking was a communications system. I had to continuously jump in and out of the truck to check with other people who had radios to see what was going on and that's just annoying. So I am taking it on upon myself to get my HAM radio license and install a unit (TBD) in the 4Runner. Icing on the cake is that the girlfriend wants to get licensed too and have her own radio so we can stay in touch when I am in no cell zones, or if the zombies attack and cells are out of the picture. More on that in a future write up.
Items added:
- ARB E-Z deflator
- ARB 30' 24K lbs. snatch strap
- 4-3/4T shackle, painted school bus yellow because spray paint
- Hitch shackle recovery point I transferred from my old truck
- Gloves
- Towel
- First aid kit
All stowed away in an 8 gallon Action Packer
The deflator was amazing when bringing 4 tires from 42psi to 18psi in the snow. I knew it was a good purchase when every other vehicle out of the 60+ that were out there had one. That brings another item to the list, a compressor. What goes down must come back up, and next time a gas station might not be so convenient. The compressor just went up on the list. I didn't have the chance to use the snatch strap this weekend, but it will undoubtedly come in handy at some point.
Another 'recovery' item that I realized I was lacking was a communications system. I had to continuously jump in and out of the truck to check with other people who had radios to see what was going on and that's just annoying. So I am taking it on upon myself to get my HAM radio license and install a unit (TBD) in the 4Runner. Icing on the cake is that the girlfriend wants to get licensed too and have her own radio so we can stay in touch when I am in no cell zones, or if the zombies attack and cells are out of the picture. More on that in a future write up.
Last edited:
MTN4RNR
New member
Philips LED [Yellow] fog lamp upgrade
Parts Used:
-Yellow Philips LED fog lights from [MENTION=12905]XenonDepot[/MENTION]
-Lagunitas IPA
I wanted to upgrade the stock halogen bulbs to an LED bulb following the HID upgrade from [MENTION=12905]XenonDepot[/MENTION]. After working with Steve from Xenon Depot, I ended up with the Philips Yellow LED Fog Bulb. Although I wanted initially to match the color of the HID’s better with the white version of the bulbs, I had to remember that while matching lights look cool, fog lights are a functional tool when driving in adverse conditions as they help to cut through whatever is in front of you. The yellower lens helps to provide the best light temperature to cut through the debris on the road to light up road markers and lane lines.
Parts Used:
-Yellow Philips LED fog lights from [MENTION=12905]XenonDepot[/MENTION]
-Lagunitas IPA
Lights out of the box

Yellow plastic film over the diodes. The bulb has a nice heavy feel to it and seems to be made with quality in mind.
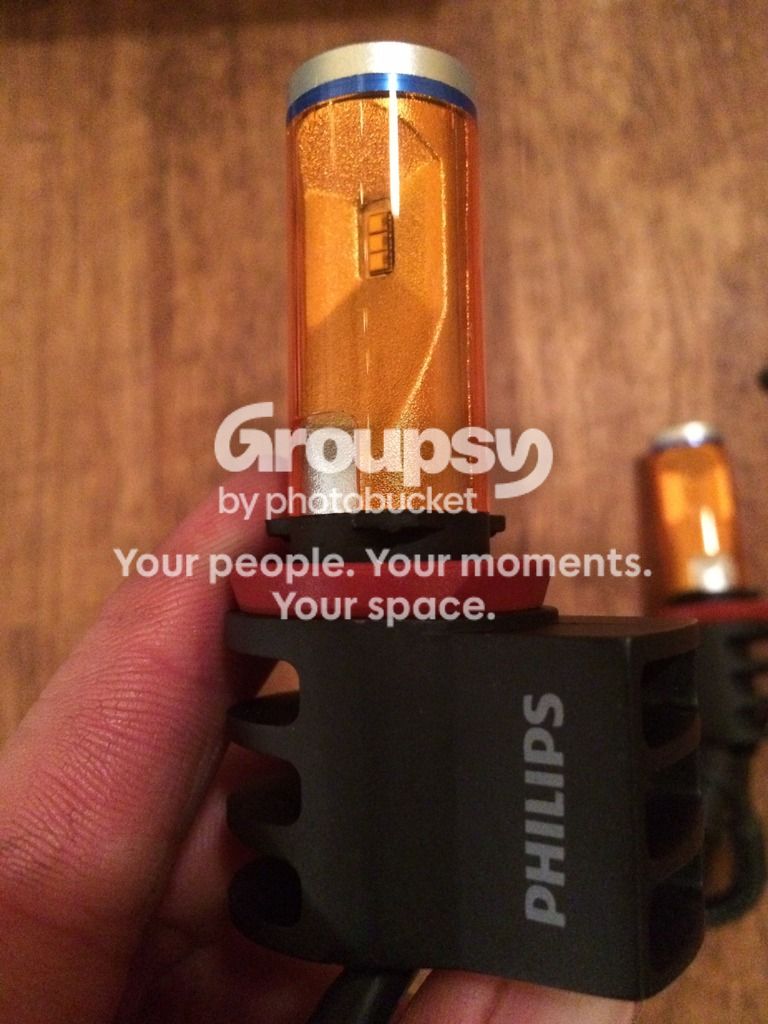
Driver’s side
Fog lamp from below. In order to remove the bulb, you need to unplug the harness from the bulb to clear the plastic “stopper” piece on the housing. Turns counter clock-wise to remove
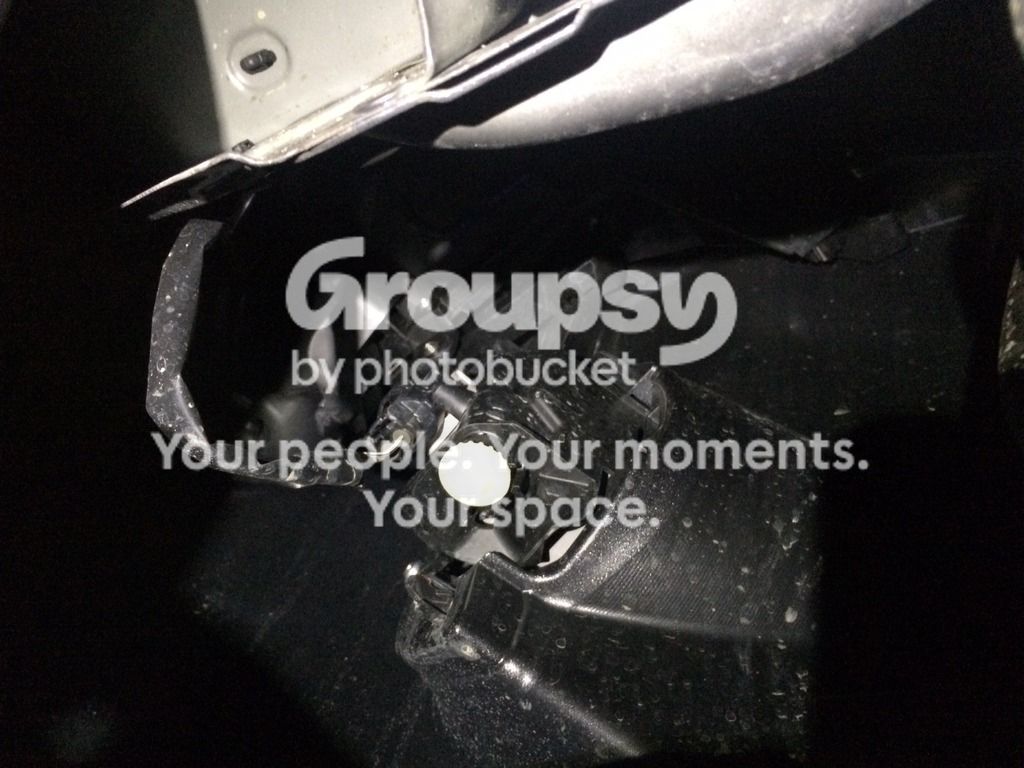
Harness un-hooked to clear the bulb.
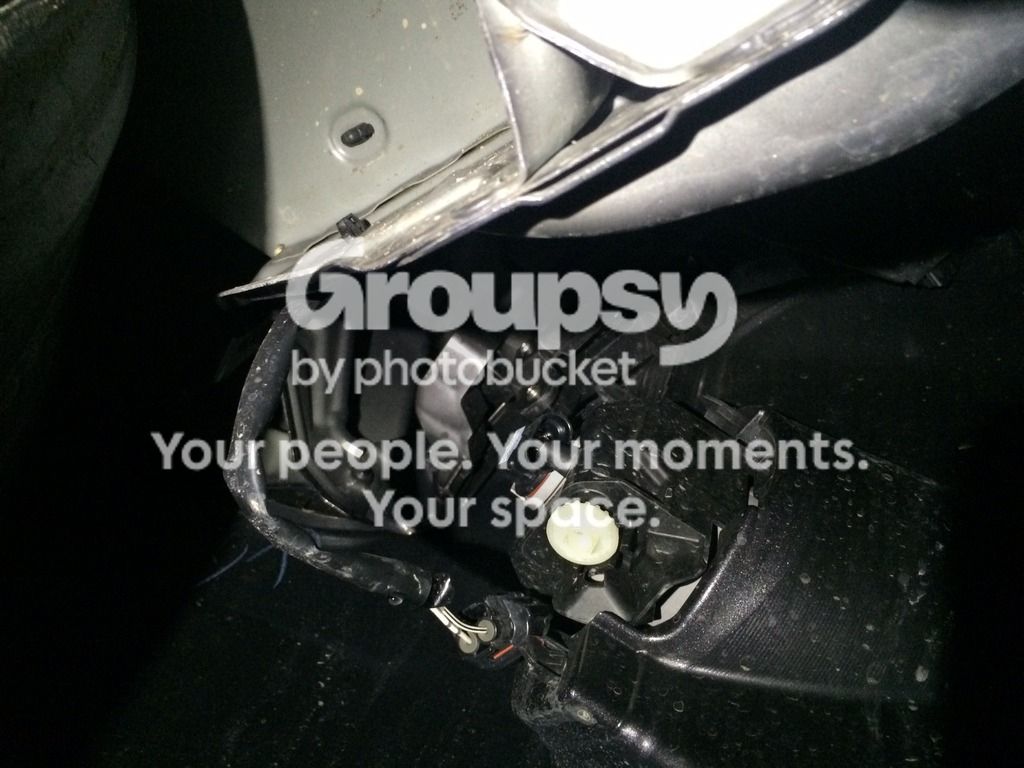
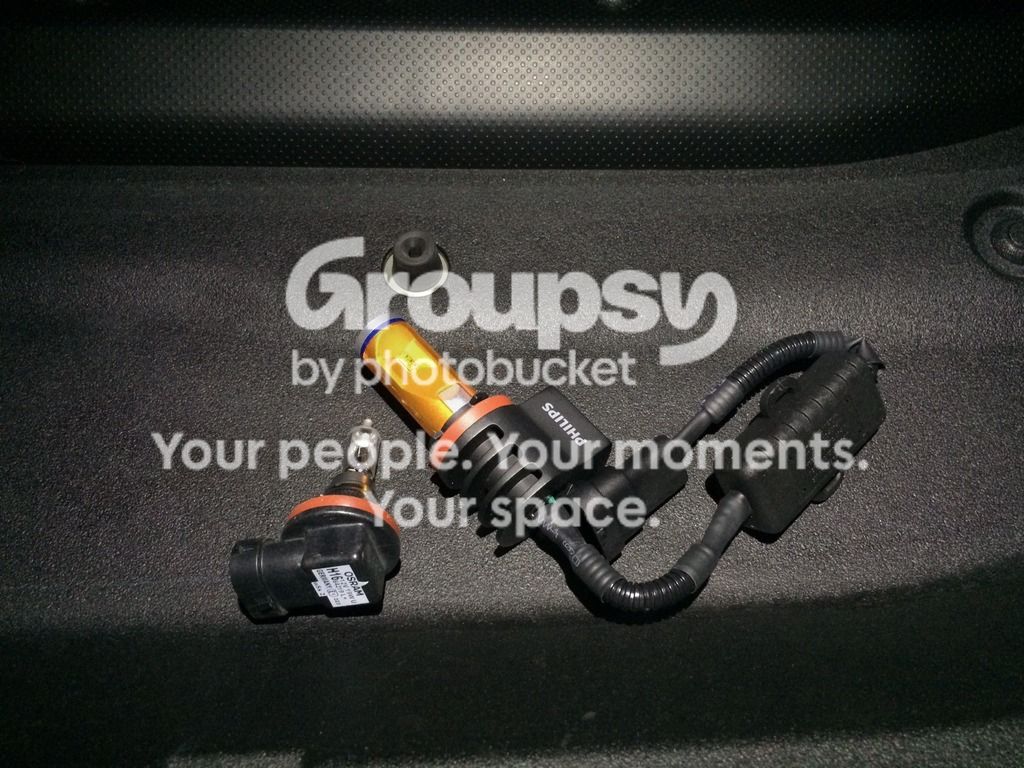
Old vs. new. The new bulb is larger, but will fit. You will need to come in as straight as possible to make it work well. The bulb is very well designed in that it clears the plastic “stopper” perfectly.
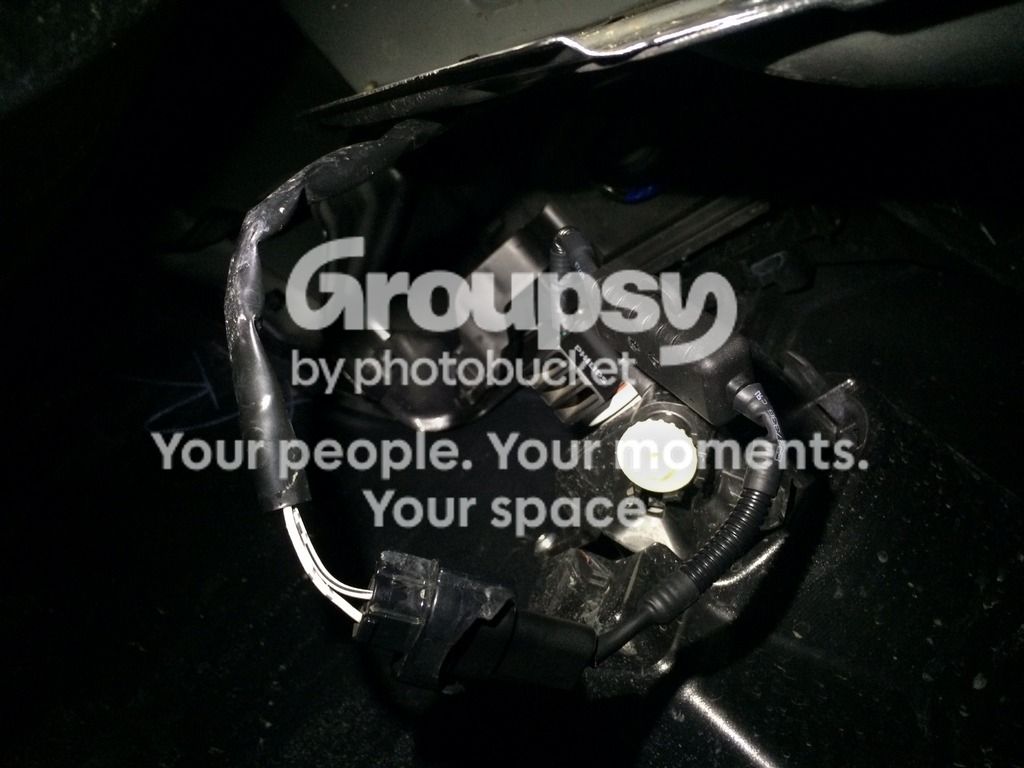
New LED installed. I used the supplied zip tie to tie the wires to the sheet metal in the top of the photo.
 DONE
DONE
Passenger’s side
The passenger’s side has a plastic shroud surrounding the bulb. Same process, unclip the harness, turn the bulb counter clock-wise, remove.
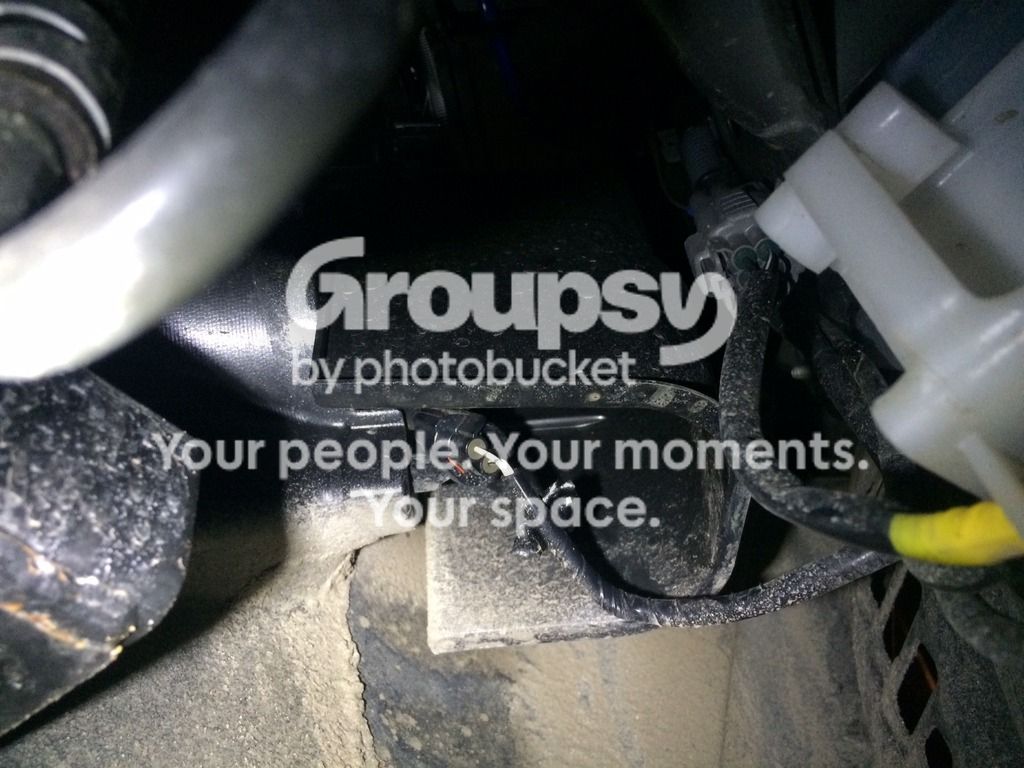
New LED installed. The trick with getting this one in, because the bulb is larger, and the shroud is on, is to hold the outer part of the bulb, the metal base, between two fingers at a 90º angle. Hold it so the heat dissipator is facing down. Reach up and get the tip of the bulb into the housing hole. Then you can resituate to twist the bulb into the appropriate position. The bulb will line up at the 4 o’clock position, and will lock in in the 8 o’clock position. Patience is your friend with this one. I used the supplied zip tie to secure the wire to the stock washer fluid hose shown on the right of the photo.
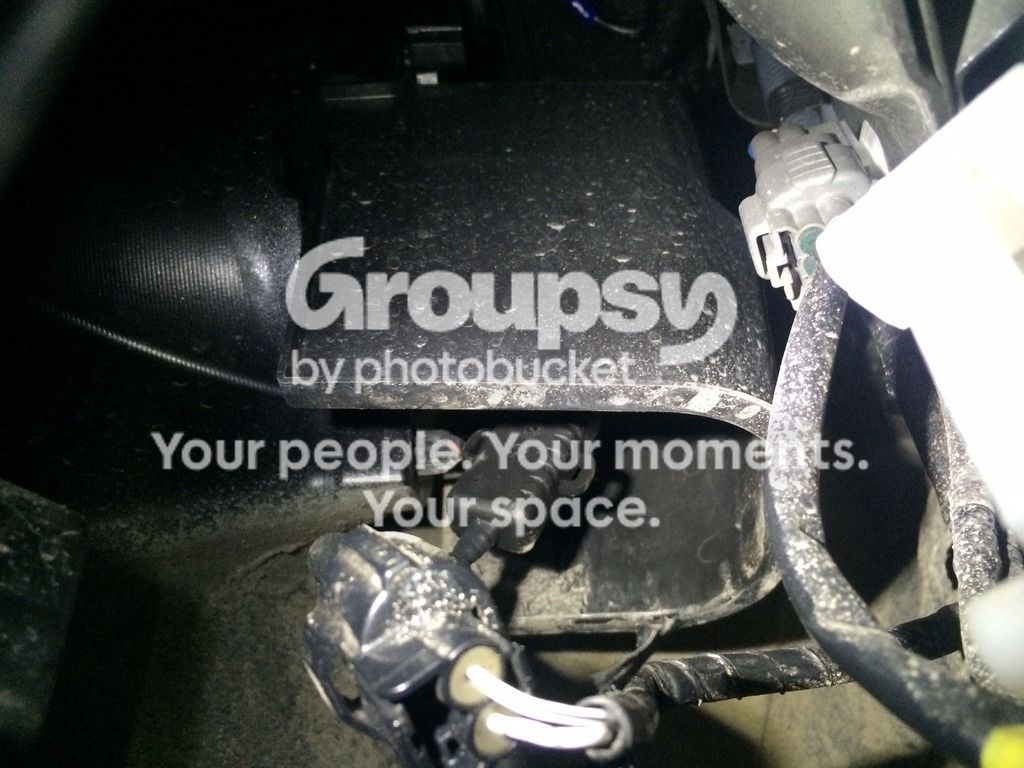
DONE
Before and After
Low beam HIDs
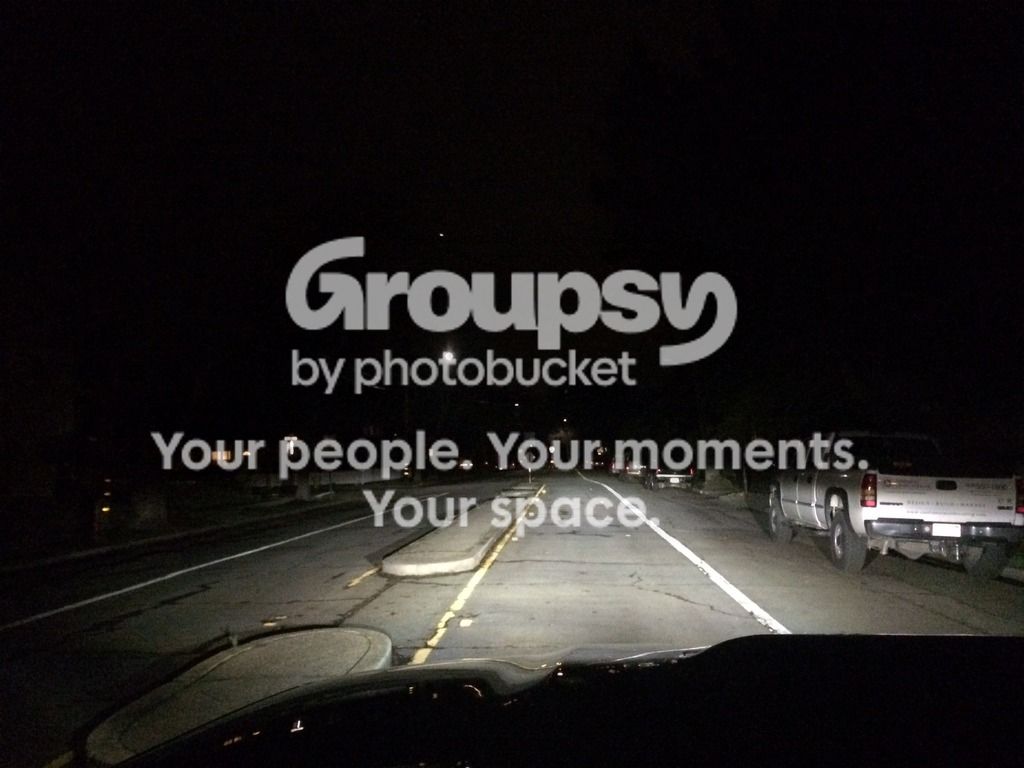
Low beam HID’s with stock fogs
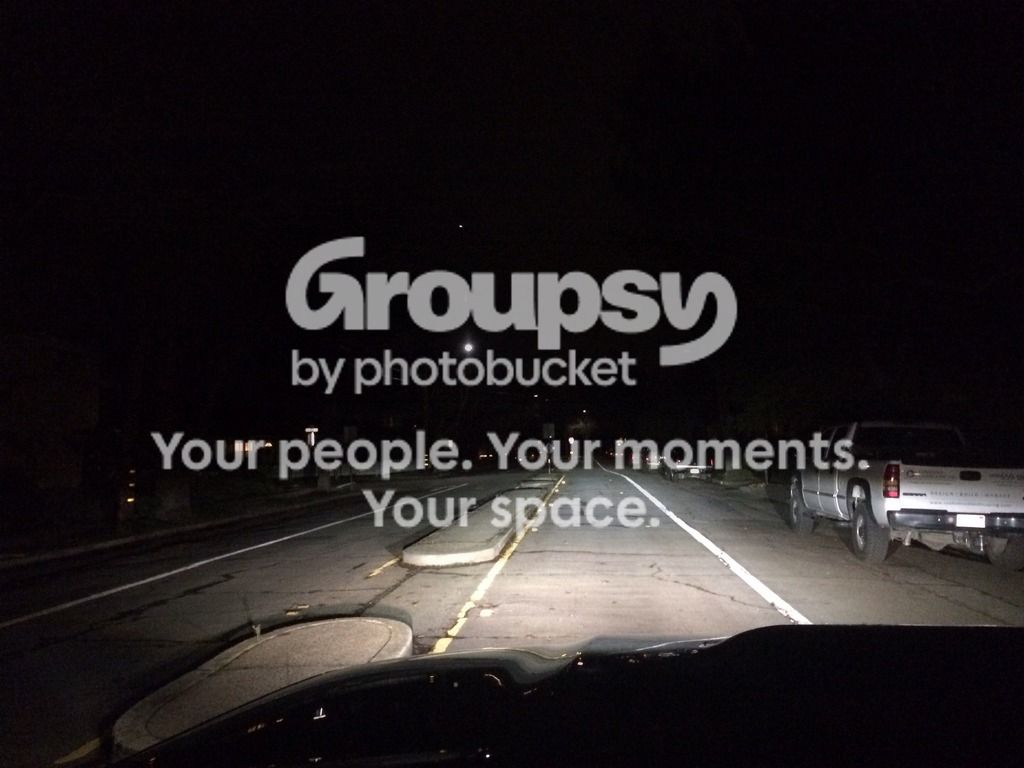
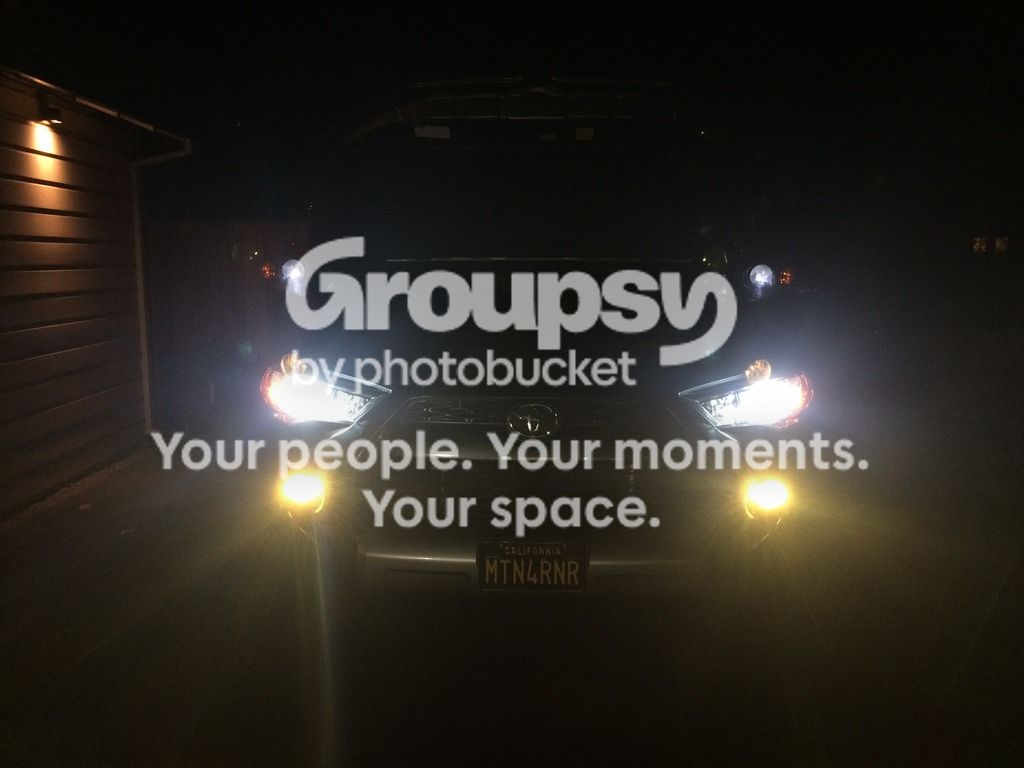
Low beam HID’s with Philips Yellow LEDs
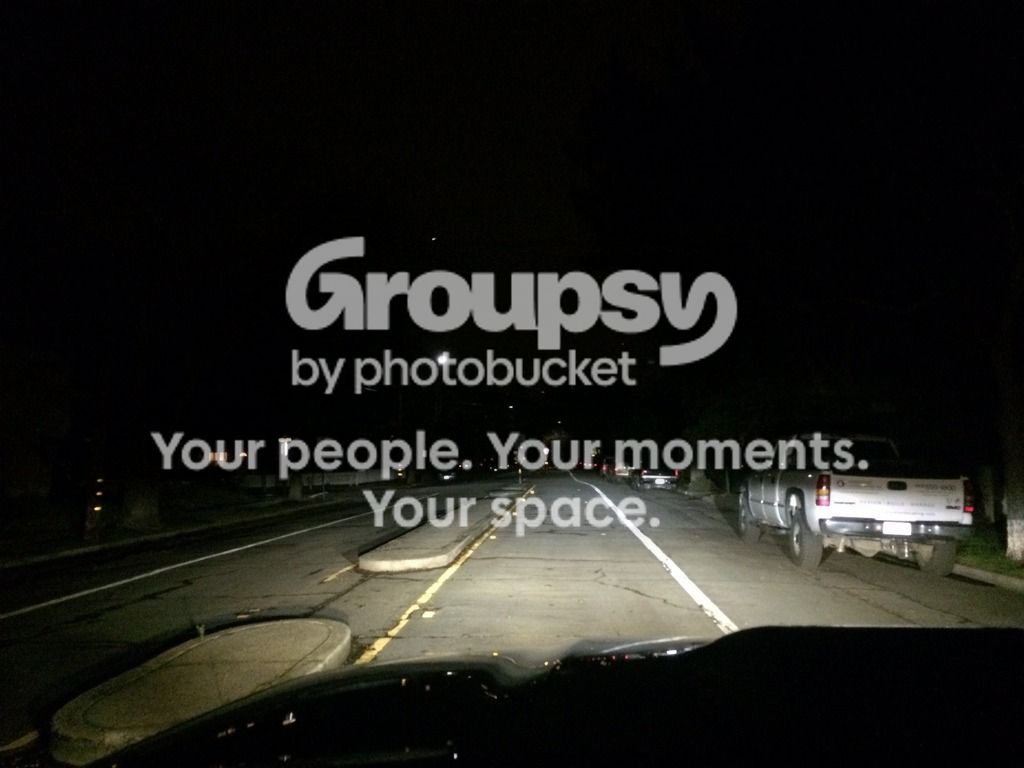
Here’s a really nice change though. The side visibility from the new fogs is greatly increased.
Low beam HIDs
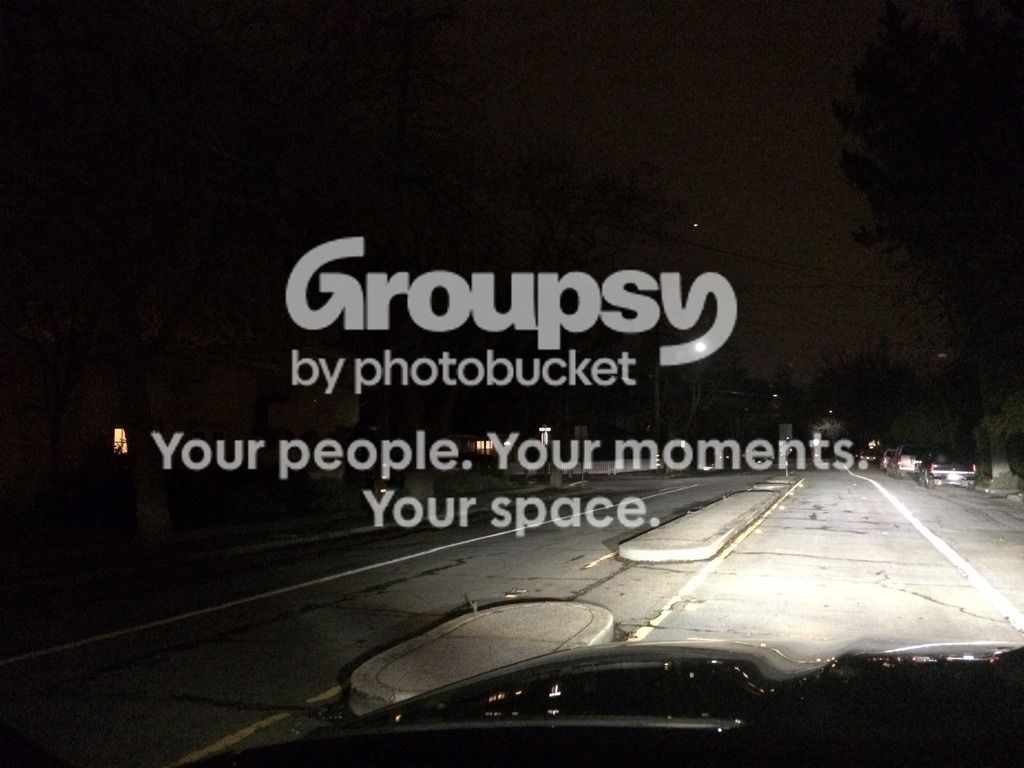
Low beam HID’s with Philips Yellow LEDs
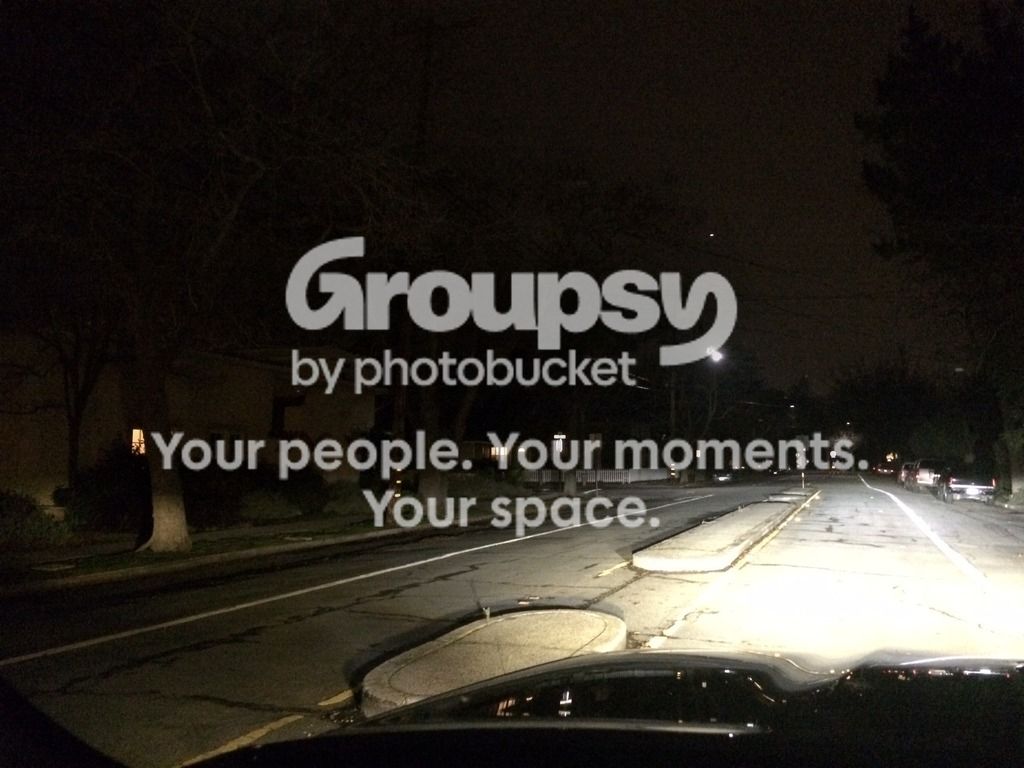
Left fog stock. Right fog Philips Yellow LED
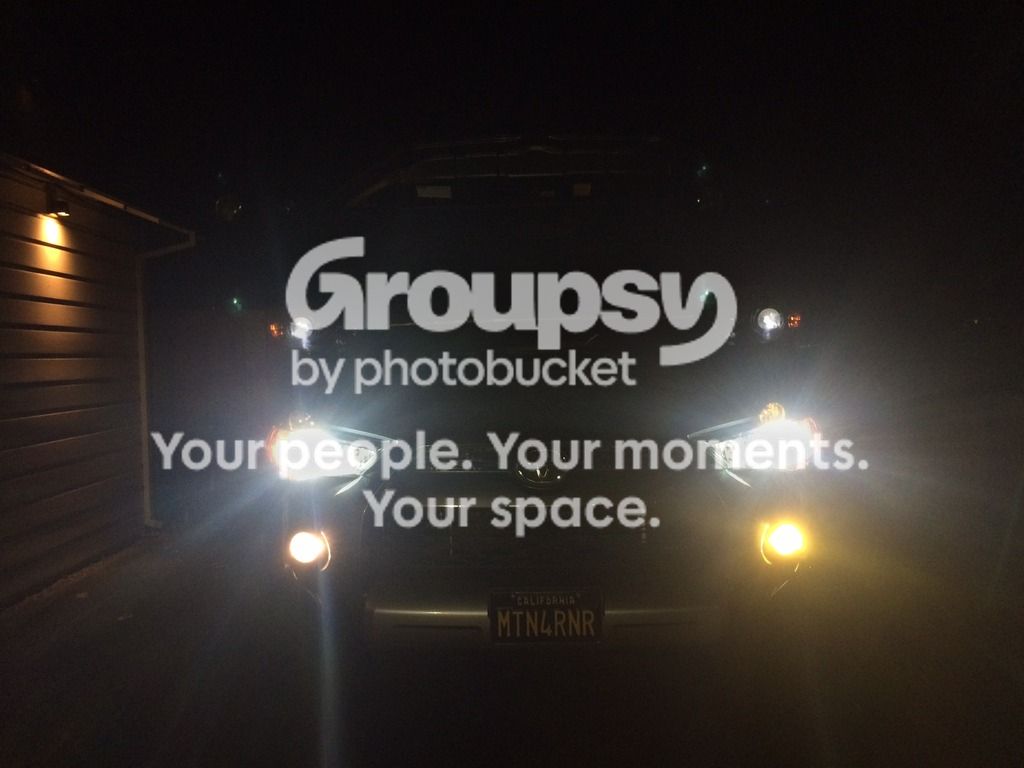
Left and right fogs Philips Yellow LEDs
Impressions
I installed them last week and spent some time in the mountains over the weekend to test them out. In the rain and snow I encountered, the new bulbs put out enough light to make lane markers and the road easier to see. Much better than not having them on, and still better than the stock halogens. I will say that they are not as yellow as some of the guys running the yellow film on the stock fogs, but I think that the light delivered is better than a more pure yellow light. Function over form. I am pleased with the improved output of the stock fog housings with the upgraded LEDs. If I end up wanting or needing more light, I can add an amber LED light behind the lower grill for when visibility is very low.
Thanks to Steve at [MENTION=12905]XenonDepot[/MENTION] for the product assistance.
More to come…
Yellow plastic film over the diodes. The bulb has a nice heavy feel to it and seems to be made with quality in mind.
Driver’s side
Fog lamp from below. In order to remove the bulb, you need to unplug the harness from the bulb to clear the plastic “stopper” piece on the housing. Turns counter clock-wise to remove
Harness un-hooked to clear the bulb.
Old vs. new. The new bulb is larger, but will fit. You will need to come in as straight as possible to make it work well. The bulb is very well designed in that it clears the plastic “stopper” perfectly.
New LED installed. I used the supplied zip tie to tie the wires to the sheet metal in the top of the photo.
Passenger’s side
The passenger’s side has a plastic shroud surrounding the bulb. Same process, unclip the harness, turn the bulb counter clock-wise, remove.
New LED installed. The trick with getting this one in, because the bulb is larger, and the shroud is on, is to hold the outer part of the bulb, the metal base, between two fingers at a 90º angle. Hold it so the heat dissipator is facing down. Reach up and get the tip of the bulb into the housing hole. Then you can resituate to twist the bulb into the appropriate position. The bulb will line up at the 4 o’clock position, and will lock in in the 8 o’clock position. Patience is your friend with this one. I used the supplied zip tie to secure the wire to the stock washer fluid hose shown on the right of the photo.
DONE
Before and After
Low beam HIDs
Low beam HID’s with stock fogs
Low beam HID’s with Philips Yellow LEDs
Here’s a really nice change though. The side visibility from the new fogs is greatly increased.
Low beam HIDs
Low beam HID’s with Philips Yellow LEDs
Left fog stock. Right fog Philips Yellow LED
Left and right fogs Philips Yellow LEDs
Impressions
I installed them last week and spent some time in the mountains over the weekend to test them out. In the rain and snow I encountered, the new bulbs put out enough light to make lane markers and the road easier to see. Much better than not having them on, and still better than the stock halogens. I will say that they are not as yellow as some of the guys running the yellow film on the stock fogs, but I think that the light delivered is better than a more pure yellow light. Function over form. I am pleased with the improved output of the stock fog housings with the upgraded LEDs. If I end up wanting or needing more light, I can add an amber LED light behind the lower grill for when visibility is very low.
Thanks to Steve at [MENTION=12905]XenonDepot[/MENTION] for the product assistance.
More to come…
Last edited:
Similar threads

- Replies
- 0
- Views
- 2K

- Replies
- 2
- Views
- 3K
- Replies
- 4
- Views
- 23K


