One of the most important tools to have when adventuring in remote areas is a good communications system. CB radio had long been the tried and (sometimes) true source for inter-vehicle communication. This loyalty has been changing more recently in the off-road scene in favor of a far superior form of communication; HAM radio. HAM radio, more technically known as VHF/UHF is uses higher frequency range to establish a clearer signal over a farther distance. However the most important advantage to using HAM over CB is the ability to use repeaters. With proper use, a well placed repeater can extend one vehicle’s range over hundreds of miles. And anyone that explores remote places without cell reception knows how important this ability can be.
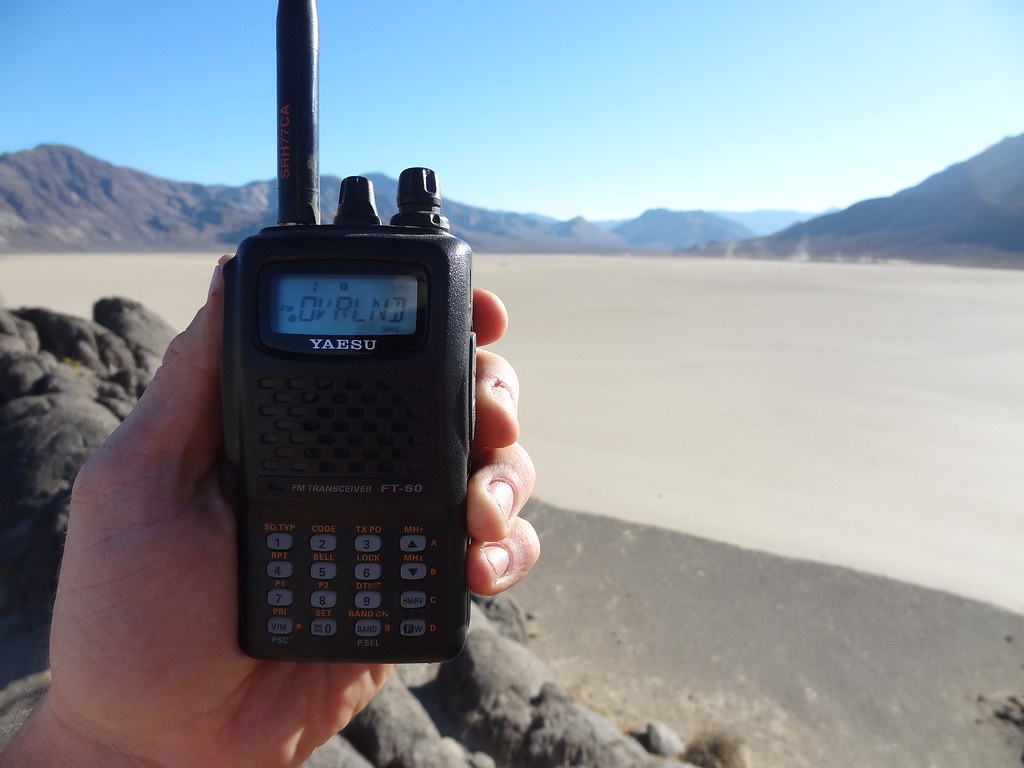
I started my HAM career with a single Yaesu FT-60r, soon after buying a second as a back-up. The reception was good for a handheld, and it was easy to get acquainted with while I was learning the basics of HAM communication. After a number of trips, and a few instances when the range wasn’t enough with the Yaesu, I realized that I wanted to upgrade to an installed mobile unit in the 4Runner. I had a short list of requirements:
- Dual band operation to monitor multiple frequencies
- Removable faceplate to allow me to mount the head unit in in 4Runner without taking up a lot of room
- Cross band repeating capabilities so allow for a hand held to “tap” into the mobile unit and extend it’s range
- Built in weather channels for monitoring changing conditions
Choosing a Radio
With all of those requirements in mind, I ended up with two choices; the Yaesu FT-8900 and the Kenwood TM-V71A. Both filled the requirement list, and there were some subtle differences. The Yaesu is a Quad Band radio, which opened up a few more options if I were to up my license to a General, but for me it didn’t really count as a plus. The mic on the Yaesu plugged into the movable faceplate, and the Kenwood plugged into the main unit which meant I would need to put it close enough to me so that the mic cord would reach me when plugged in. In the end, I chose the Kenwood. It had a more mounting friendly face plate, it was green or amber backlit (I use green), ALL of the buttons are backlit (something that the Yaesu doesn’t have), and in general it felt like a better fit in the 4Runner. Either one would have done the job, but I liked the TM-V71A best.
Installation
The Head Unit:
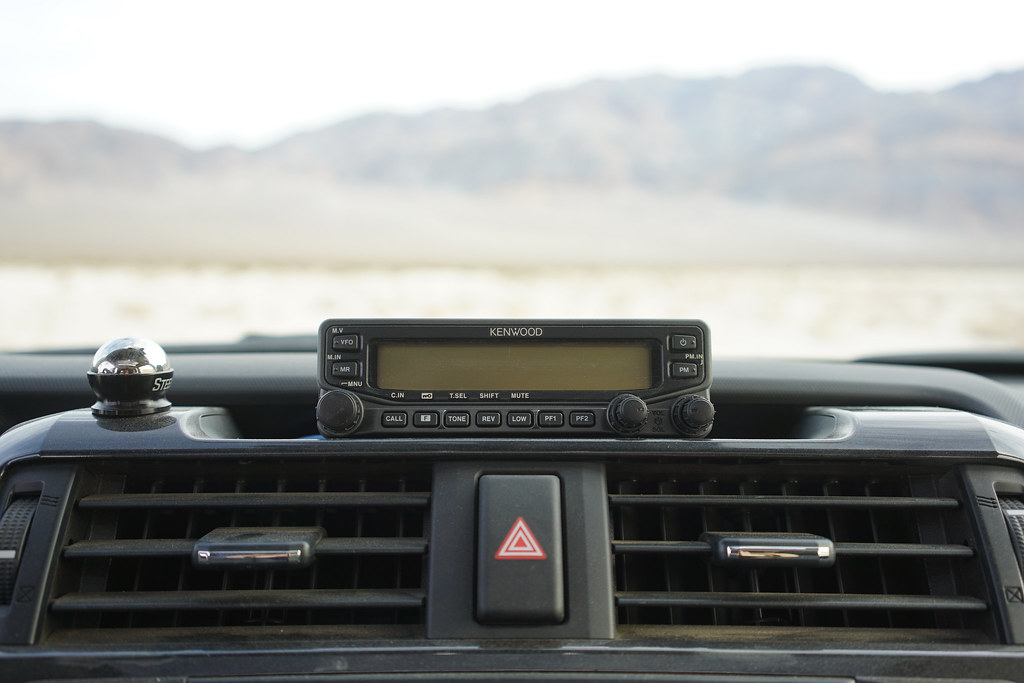
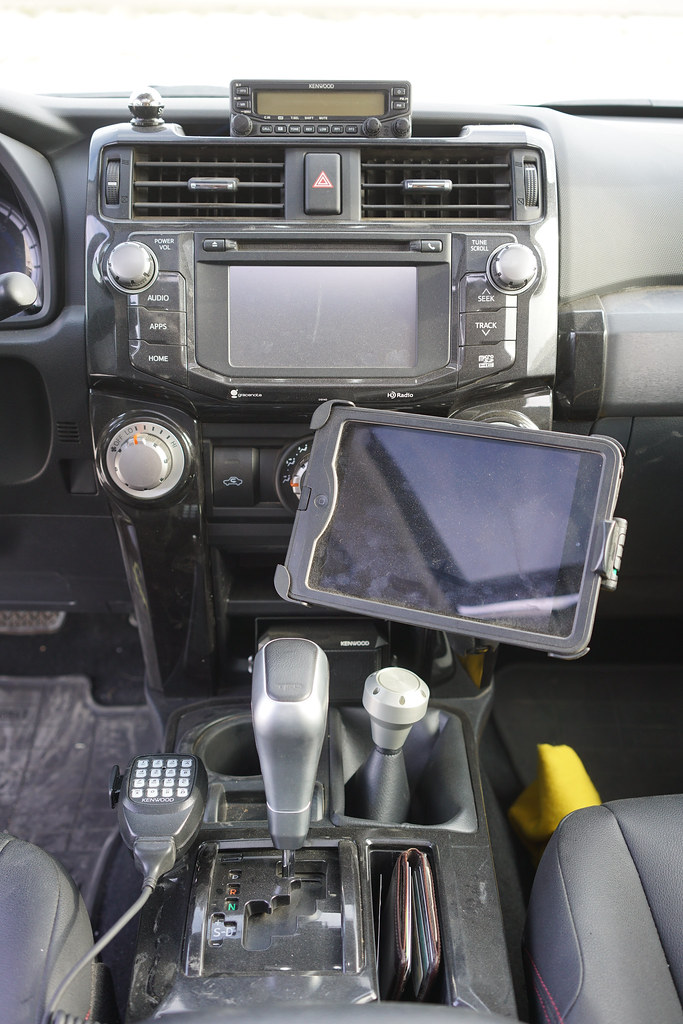
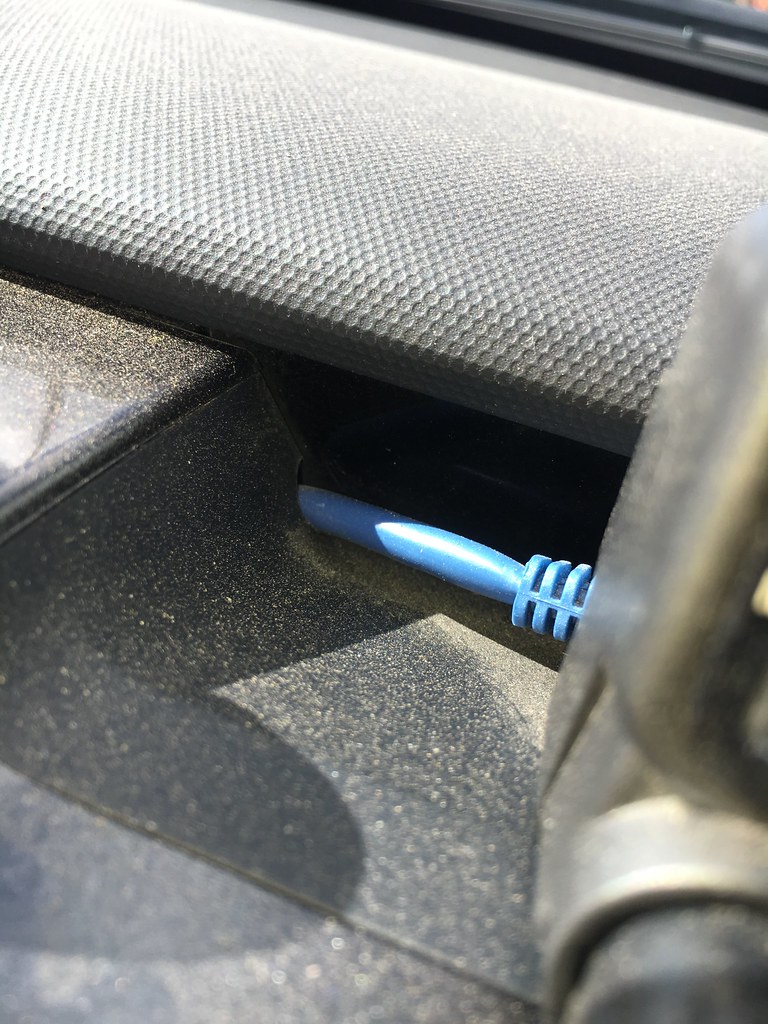
I wanted it to be in a place where I could easily see the screen, and adjust volumes/squelches without diverting my eyes from the road or the trail too much. Looking down is never a good idea, so I started looking at the top layer of the dash. To the left of the instrument panel would have meant fabbing a mount, and then having the unit be closer to a window (more of an attention grabber for would be thieves). Centered on the instrument panel, or mounted on the steering column would have been a good option if adjusting anything or pushing any of the buttons wouldn’t have required me to reach through the steering wheel, so that was out. I settled on the center of the dash, covering the clock. It’s a flat space, and with the height profile of the faceplate, it barely rises above the upper dash. I used a standard cat5e cable to extend the faceplate to it’s location, and then a female to female adapter to allow for the extension cable to connect to the provided cable which plugs into the faceplate. A pretty easy solution to extend the faceplate wherever you like!
The “Brains of the Operation”:
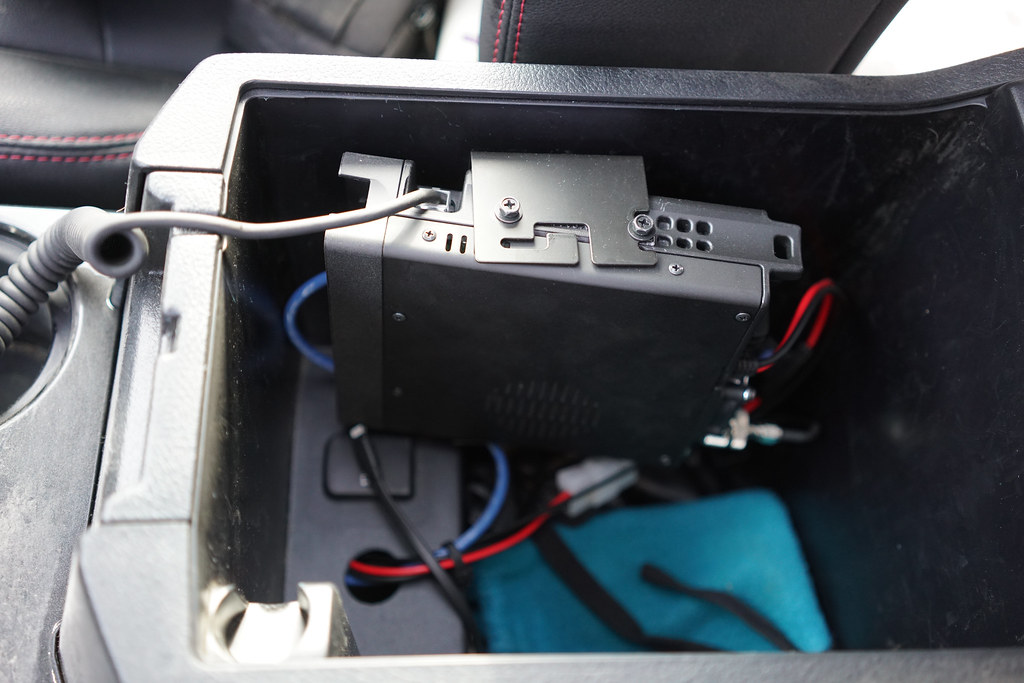
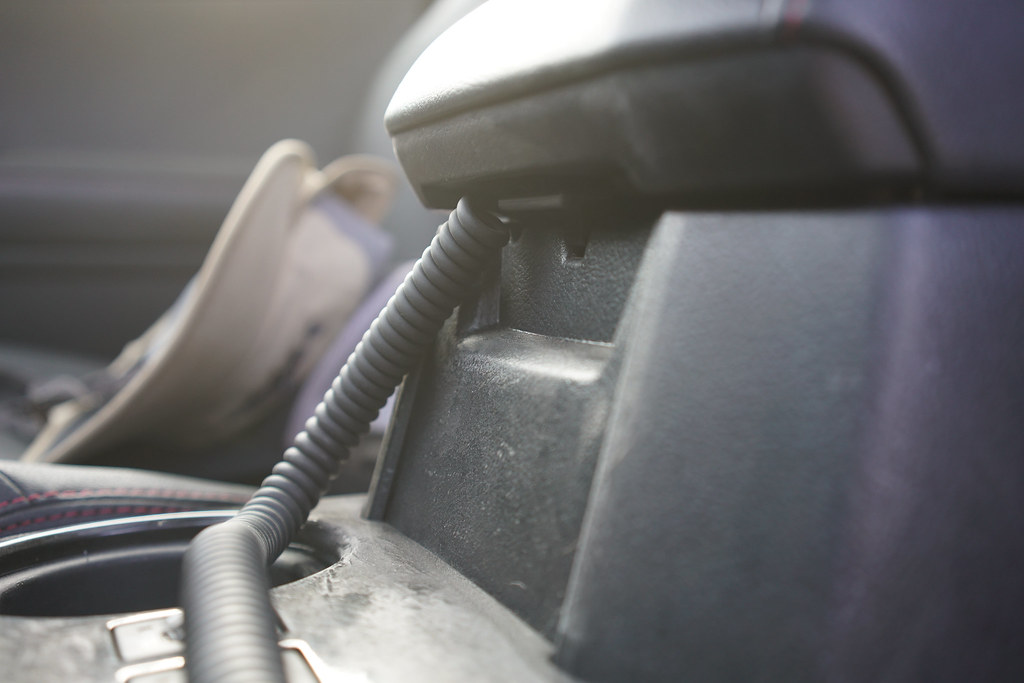
I mounted the main unit of the radio in the center console for a few reasons. First, it needed to be close enough that I could plug the microphone into and still have it conveniently reach me in the driver’s seat. Kenwood does offer a “remote kit” for their radio that includes cords to extend the faceplate, and the microphone jack. But this kit is rather expensive, so I used cat5e cable to extend the faceplate, but I didn’t want to use a non-shielded wiring setup to extend the microphone jack because the internets told me that it might effect my sound quality in the 4R and to others listening. Below the driver’s seat is the most common place to install the main unit of the radio, but with the microphone reach being an issue, that location was ruled out. So, in the center console it went. This location ended up being a great place to place the brain as it is out of view, more dust/water protected than under the seat, allows for the mic to plug in and come through the factory cord grommet in the center console, and in general it is a much cleaner installation. I used the stock mounting bracket, drilled some new holes to bring it as close to the side as possible and mounted it with 3M extreme fasteners meaning I can remove it easily if needed, and no drilling into the console aside from the grommet hole I drilled at the bottom to bring the wires through. If I were to sell the 4R, a quick plastic plug would make the hole disappear to a new owner.
The Mic:
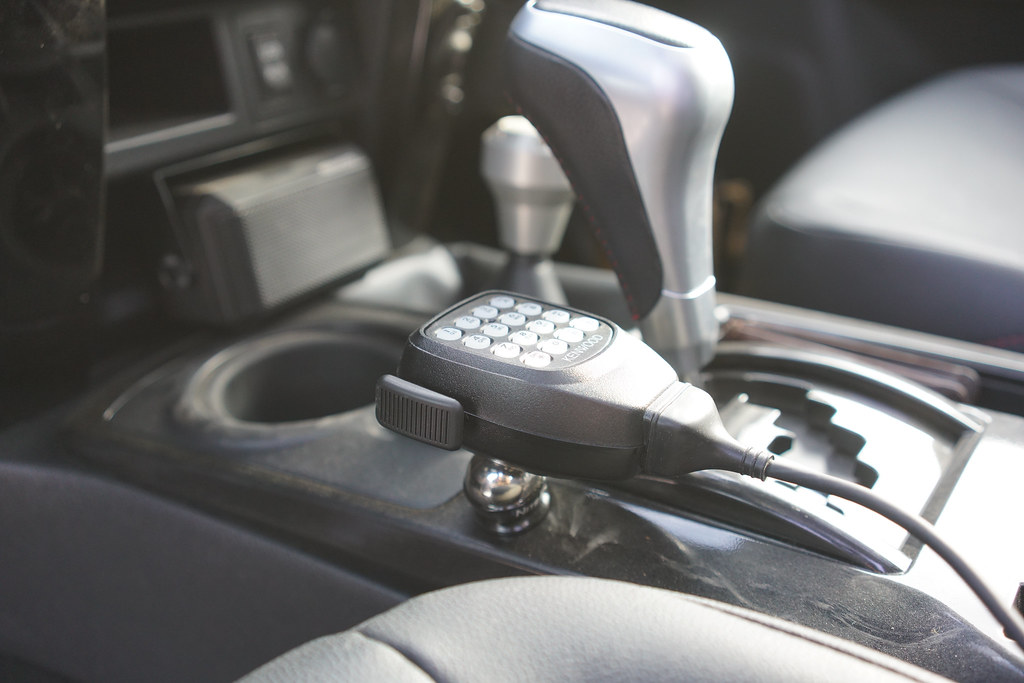
The microphone plugs into the main unit in the center console and runs through the factory grommet under the lid. I mounted the mic to a Nite-Ize Steelie mount to the left of the shifter. This allows for an easy reach to the mic, and it makes it really simple to grab and put back as there is no physical clip to slide into like the one provided with the radio. I highly recommend this mounting option because it’s so simple and convenient. When the radio isn’t in use, it fits perfectly in the kleenex holder on the lid. Incognito.
The Speaker:
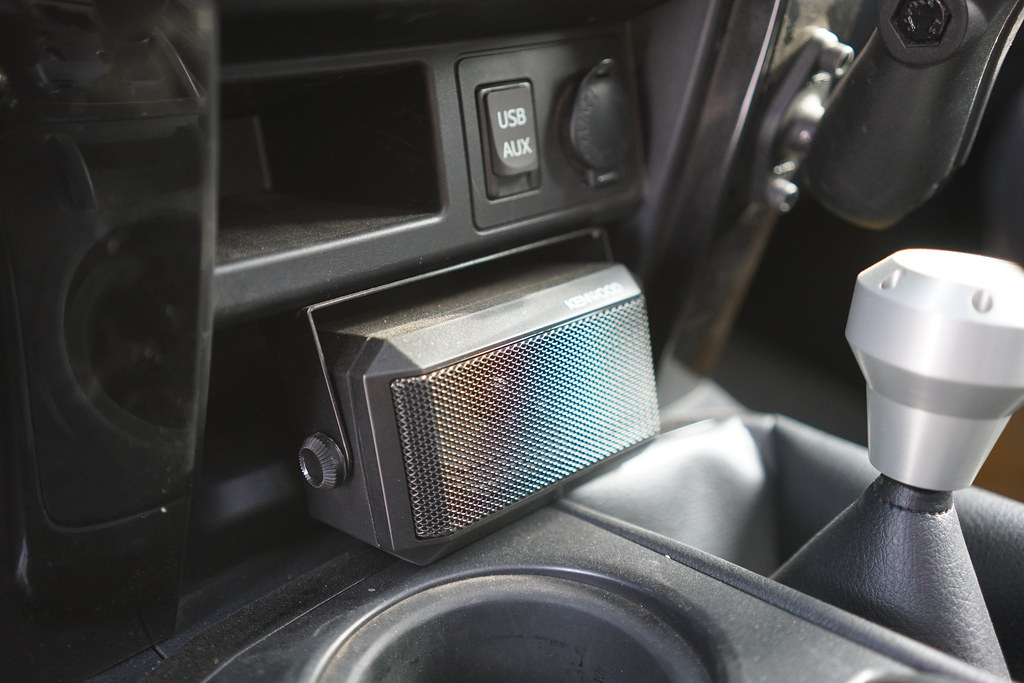
The speakers that come built into mobile HAM radios with removable faceplates are notorious for being very quiet. The easy solution is to purchase an external speaker. I went with the Kenwood branded external speaker (I know that there are much cheaper alternatives, but there is something nice to be said for having a matching set of logos on the dash) and tucked it into the lower console cubby that I seemingly never used. It’s centered on the dash, so the sound comes through evenly and in line with the faceplate, something I appreciate. I used double sided tape to secure it in place, and through Death Valley and a trip in freezing temperatures, it hasn’t budged and it is plenty loud to hear with the windows down.
The Antenna:
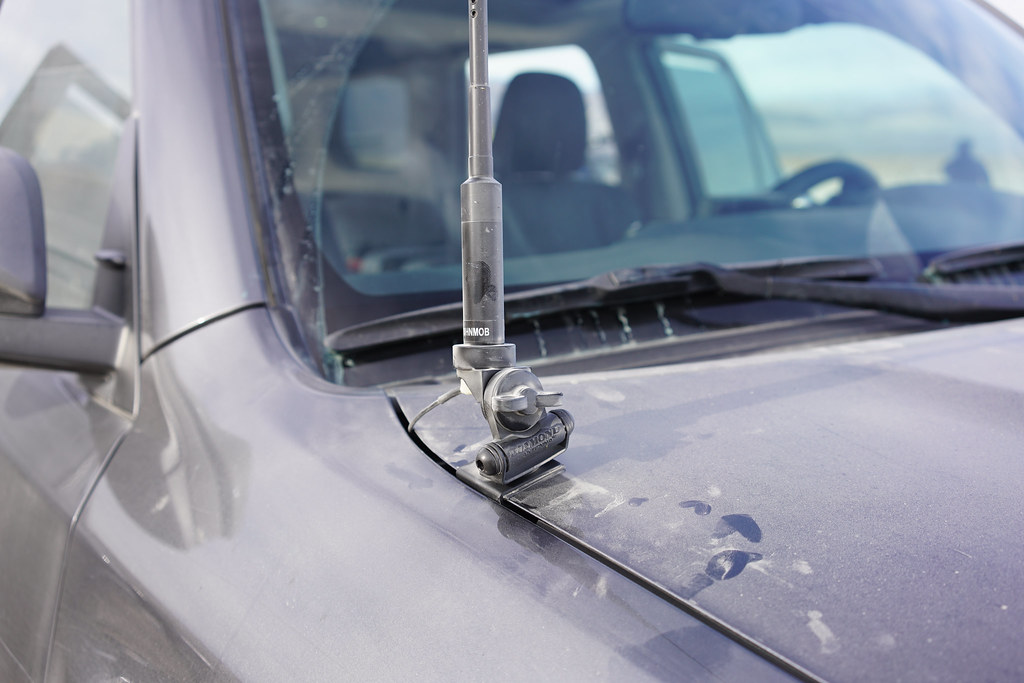
I used a Diamond trunk mount to mount the antenna to the passenger side edge of the hood. This will keep the antenna in my sights as I navigate trails and trees, so I can lower or remove the antenna to avoid damage to it on the trail. My trip antenna is a 38” Diamond NMO antenna, and my everyday antenna in and around the Bay Area is a 16” Comet NMO antenna. Both have performed well and have shown good feedback on the trail and on the road.
Thoughts:
The mobile unit is definitely the way to go if you are in remote areas, or need the power and capability to reach far away repeaters or contacts. I was recently in a situation where the group I was in had a mechanical failure, but using the radio I was able to make contact using a repeater 35 miles away located in a local town. I was able to let a small group of HAMs know our location, and expected time back to town. We had no cell service, so the radio was our only point of contact. I was thankful that I had the ability to reach out if we needed it, and thankful that I had the equipment to do the job.




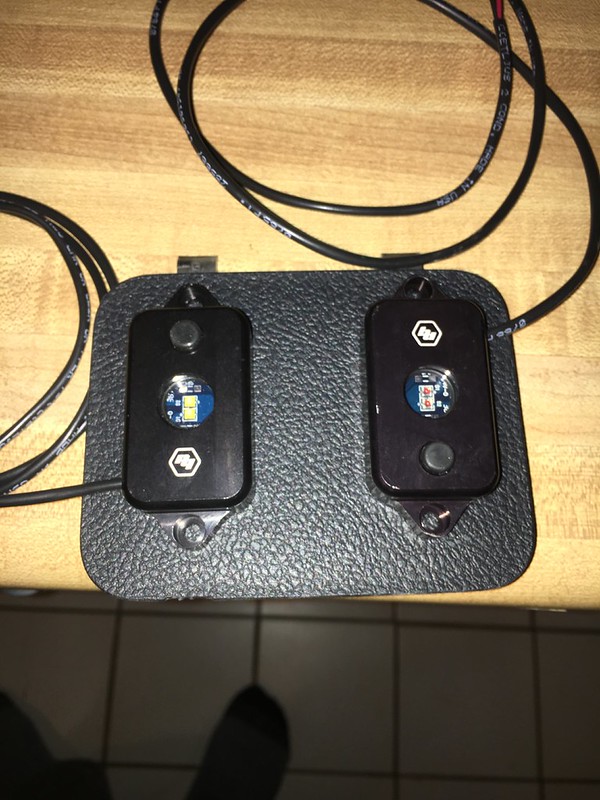
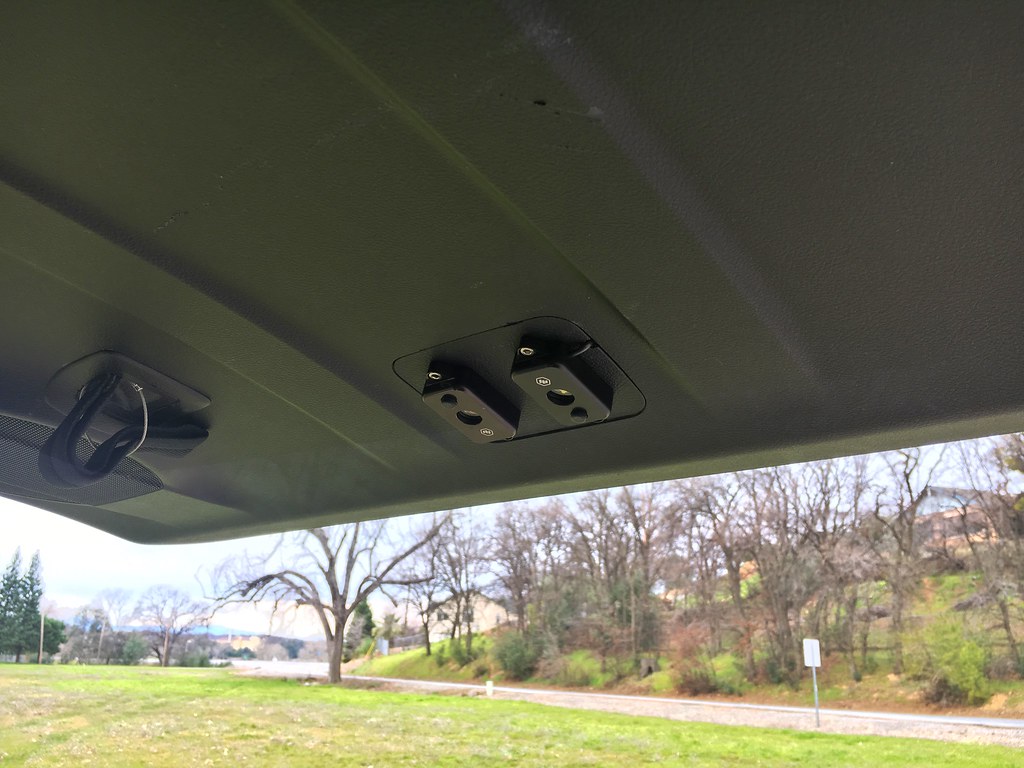

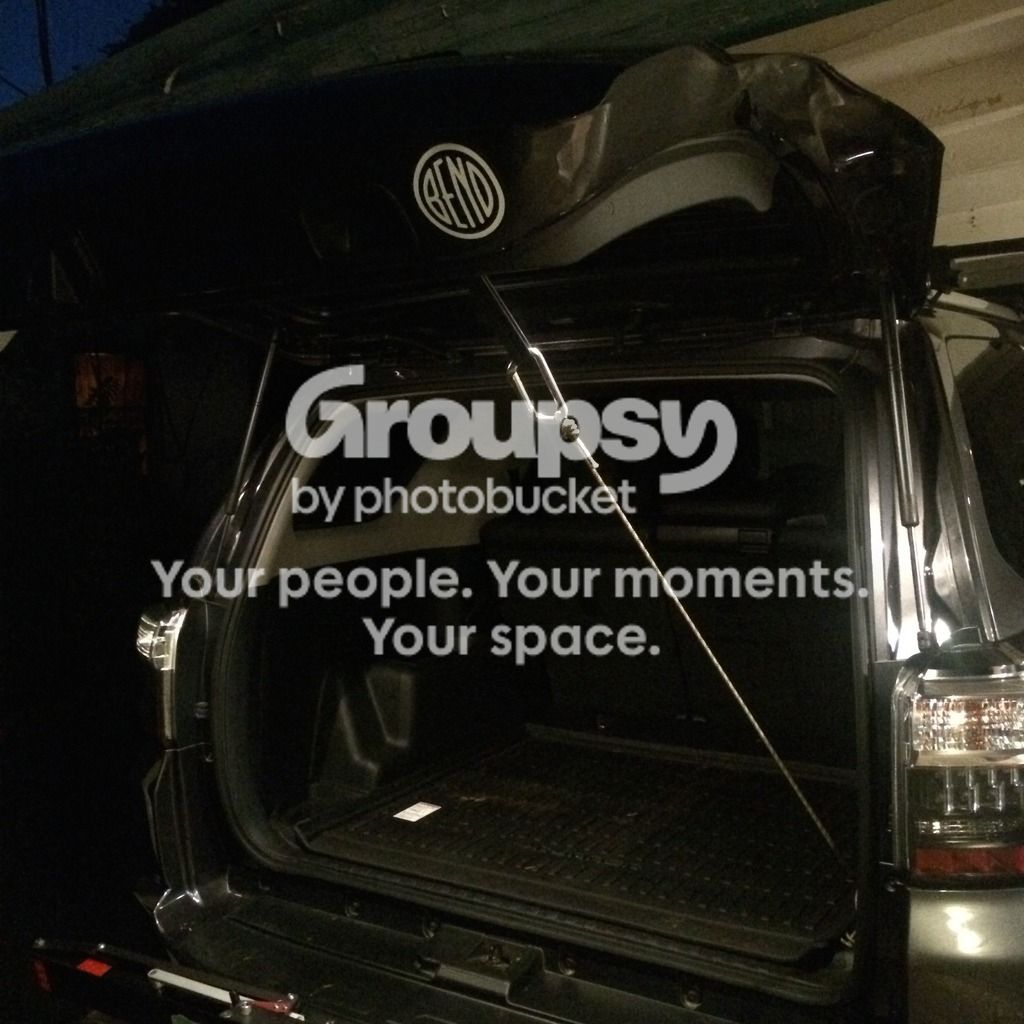
 . I was debating doing something like you have and then a piece of bungee attached to the rope to pull it in as the hatch closes