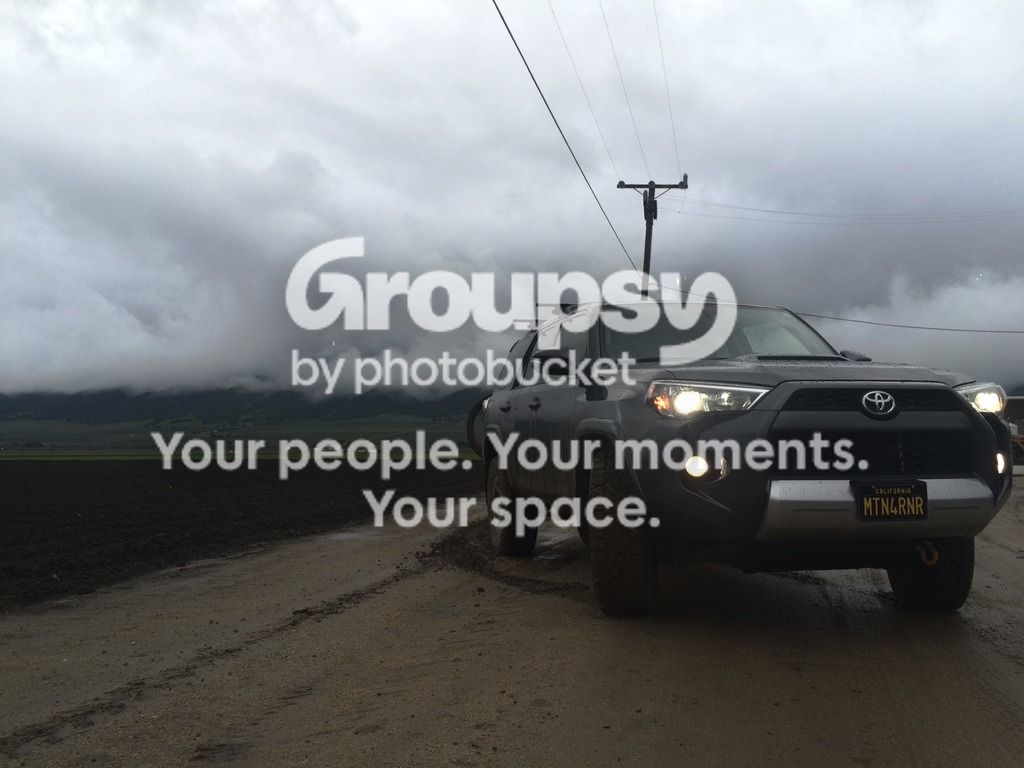
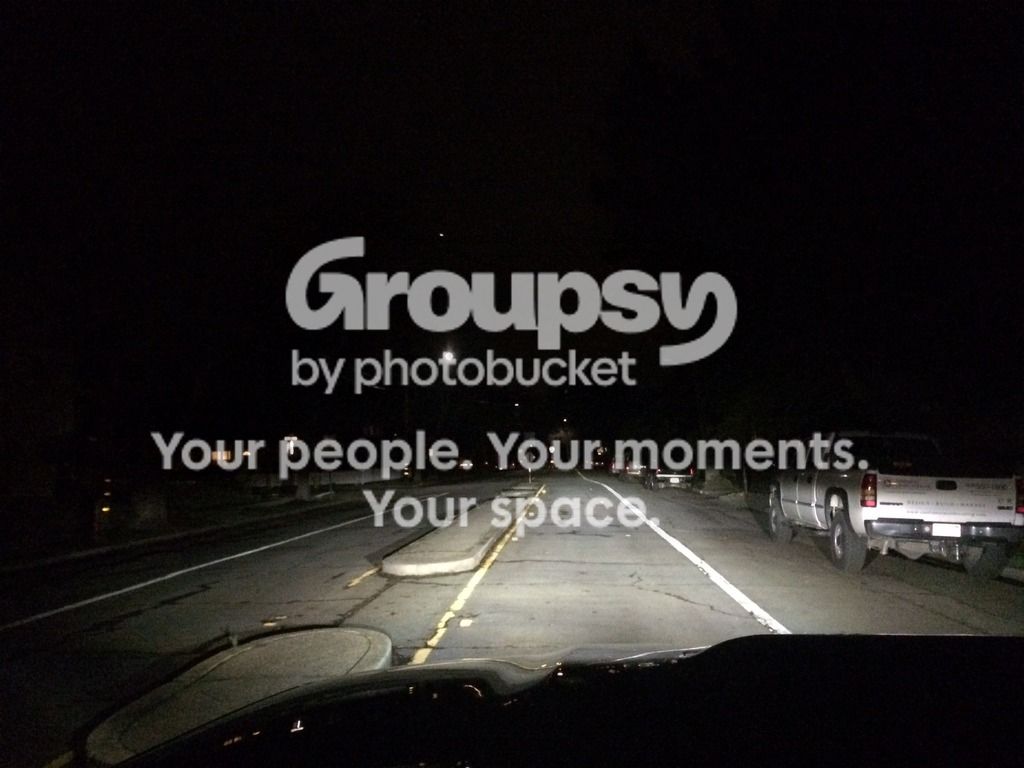
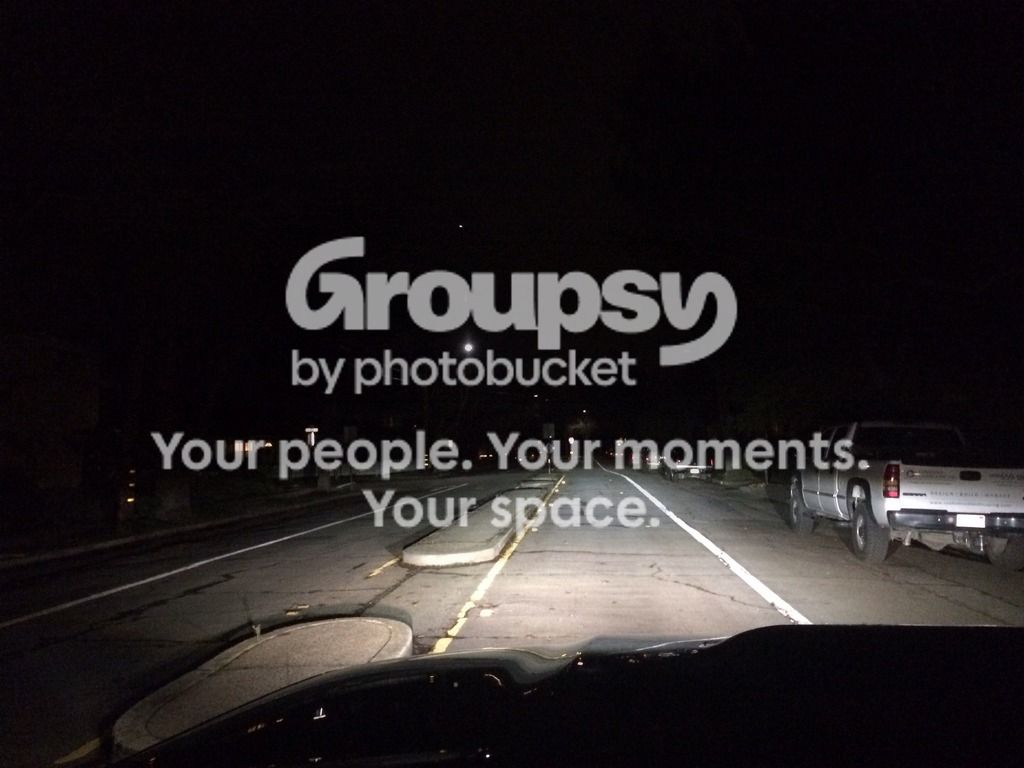
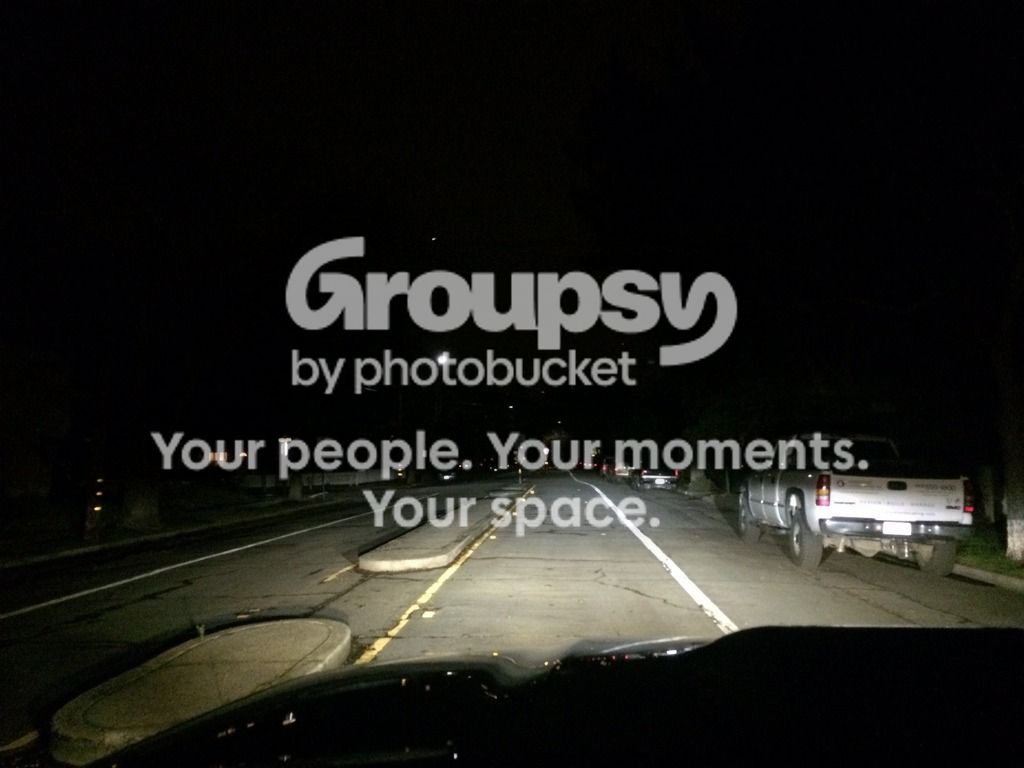
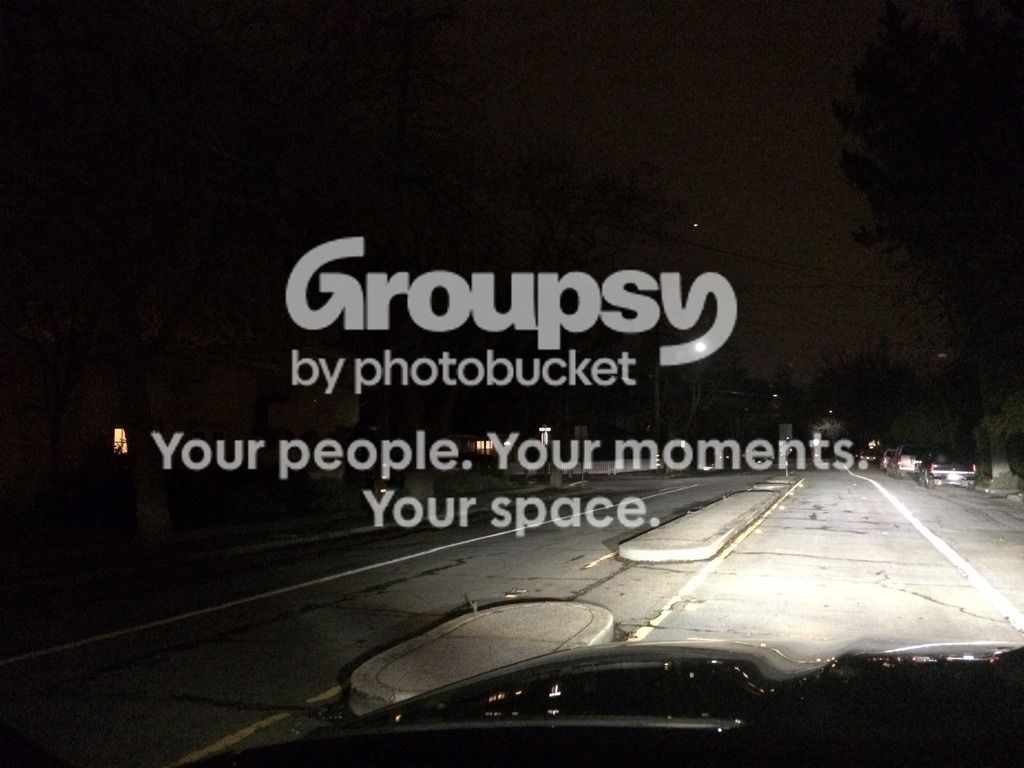
Building, Driving and Adventuring the MTN4RNR

Your build

I've been running through this forum for awhile. Your rig is probably my favorite build on here. When I do finally become a proud 4Runner owner your rig will be my inspiration!
 
I've been running through this forum for awhile. Your rig is probably my favorite build on here. When I do finally become a proud 4Runner owner your rig will be my inspiration!

I'll second that. In fact it was your truck that sold me on buying a 4Runner. You'll have to forgive me as I've already copied some of your ideas. I'll have to post some pictures of my progress soon. Thanks again for the inspiration.
 
I've been running through this forum for awhile. Your rig is probably my favorite build on here. When I do finally become a proud 4Runner owner your rig will be my inspiration!

Thanks, man! Glad that I can hep inspire your potential build! It has been a good amount of fun so far, and more soon on the way. When you pick yours up, let me know if you need help with anything! :banana:
 
I'll second that. In fact it was your truck that sold me on buying a 4Runner. You'll have to forgive me as I've already copied some of your ideas. I'll have to post some pictures of my progress soon. Thanks again for the inspiration.

Woo hoo! That makes me very happy to hear. There were a number of people and examples on here that put me into my rig. I am glad that I could be that guy for you! Take as much as you want, that is why I put everything on here.

Glad I can inspire, let me know if I can do more to help!
 
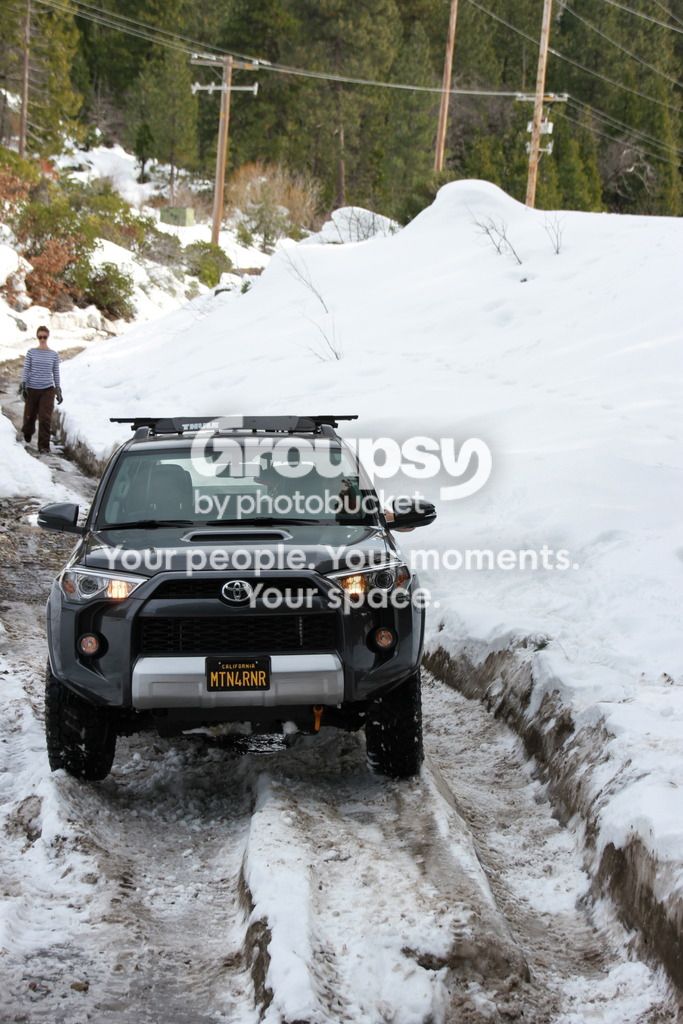
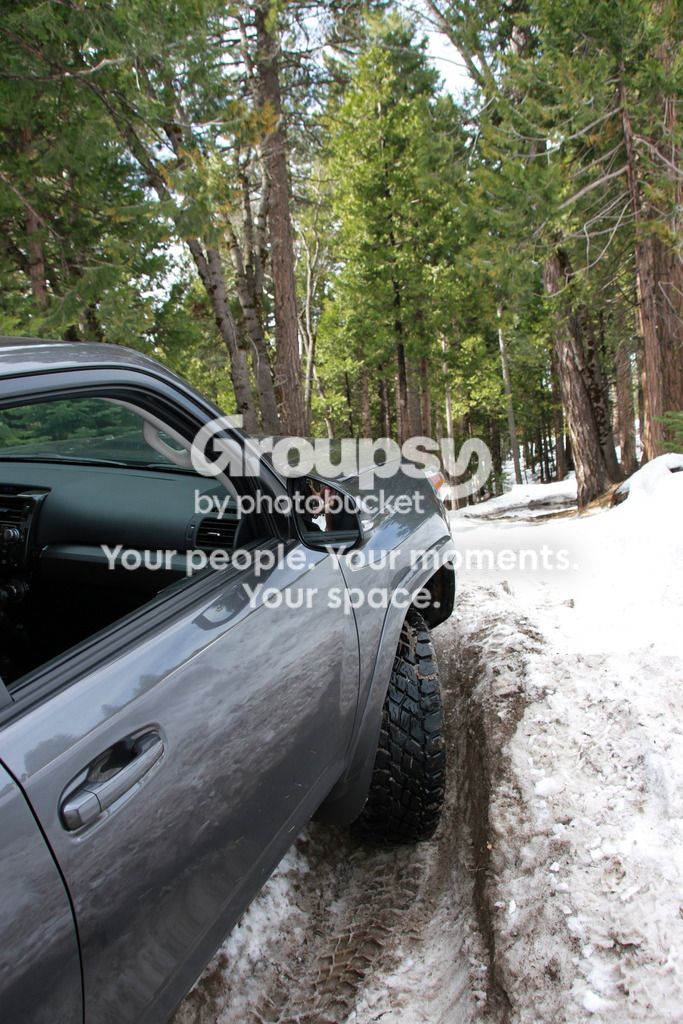
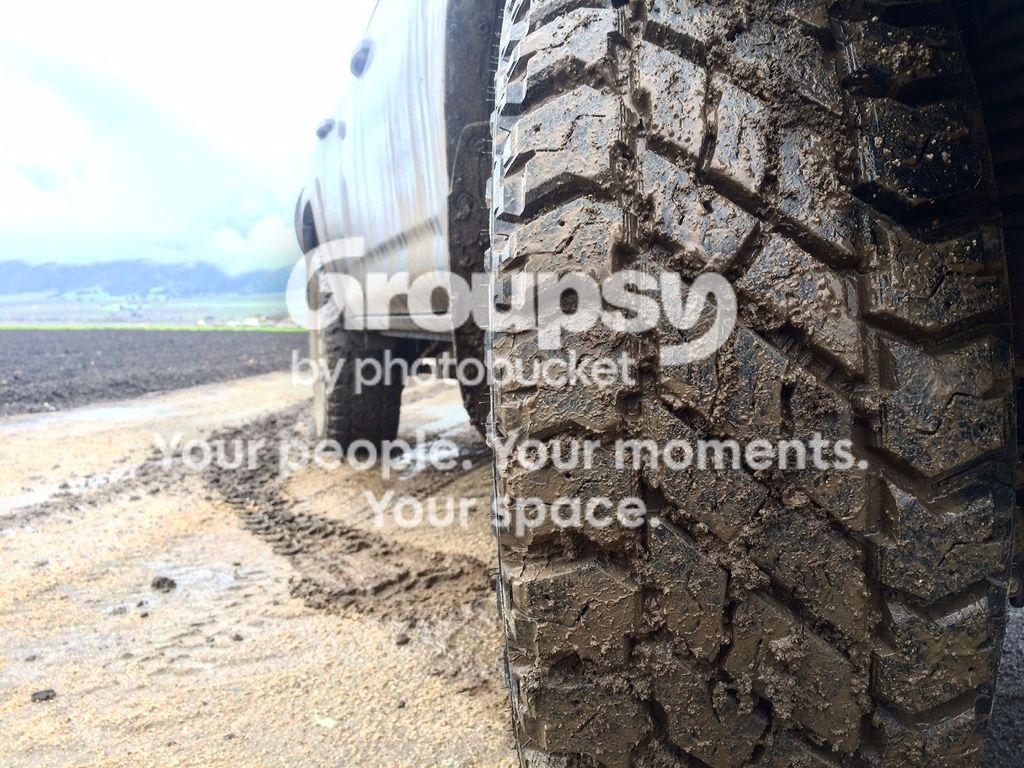
Thinking about the mountains today, and how I need to get out there as soon as possible....
IMG_4717_zpsjpsiunzd.jpg~original

IMG_4734_zpsinutmygz.jpg~original
 
Unrelated to all of this, I go to school with Bri. My wife is one of her patients.

Awesome! I just got a chance to meet her a few minutes ago. Bri is going to text you and her my phone number so we can meet up soon! I spotted your 4Runner in the parking lot when I got there :bravo:
 
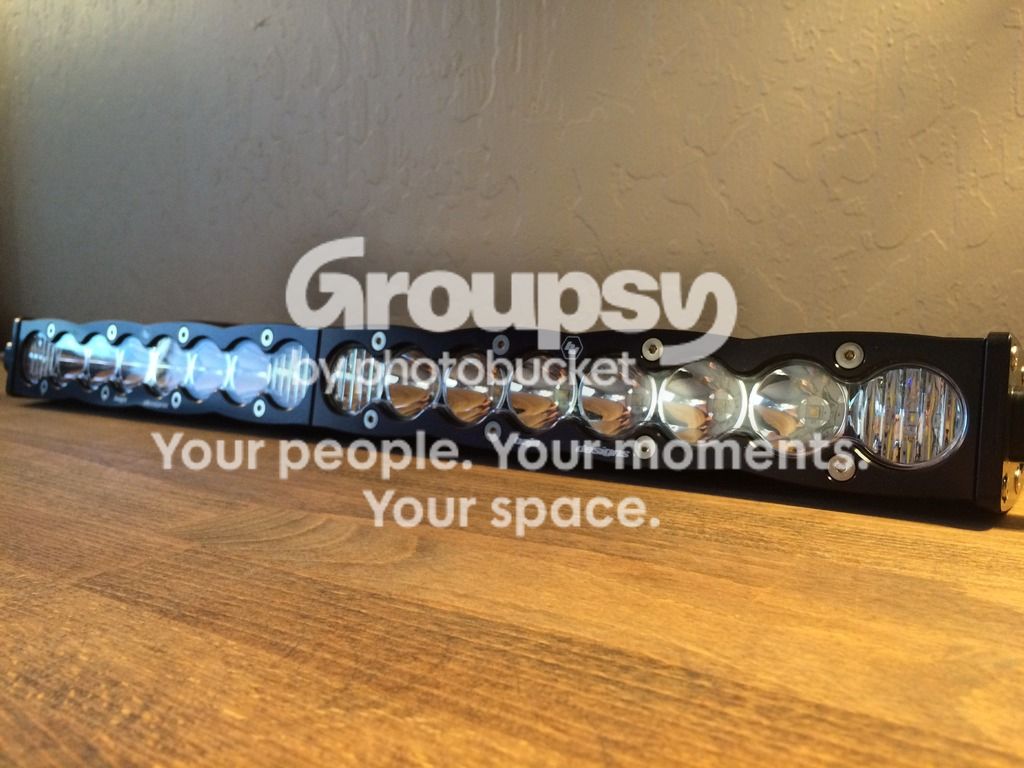
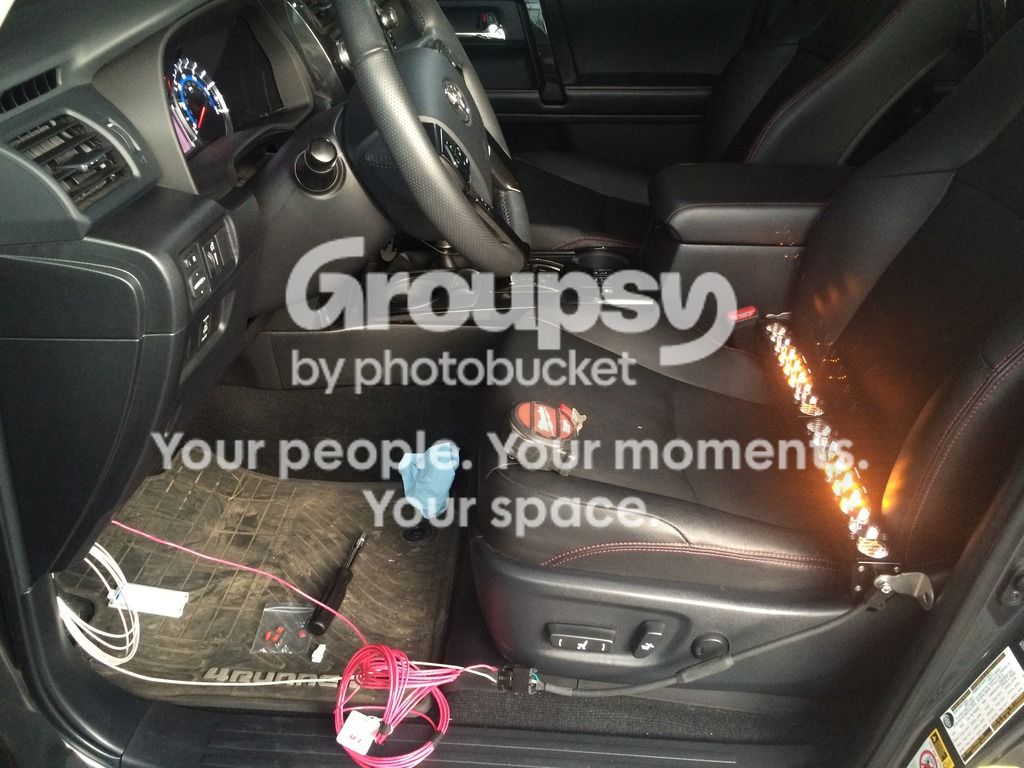
Doing some test wiring to develop a wiring schematic for the [MENTION=87816]Baja Designs[/MENTION] LED light bar while I wait for my remaining parts to install this thing! :whoo:

image_zpsycae6ayo.jpeg~original
 
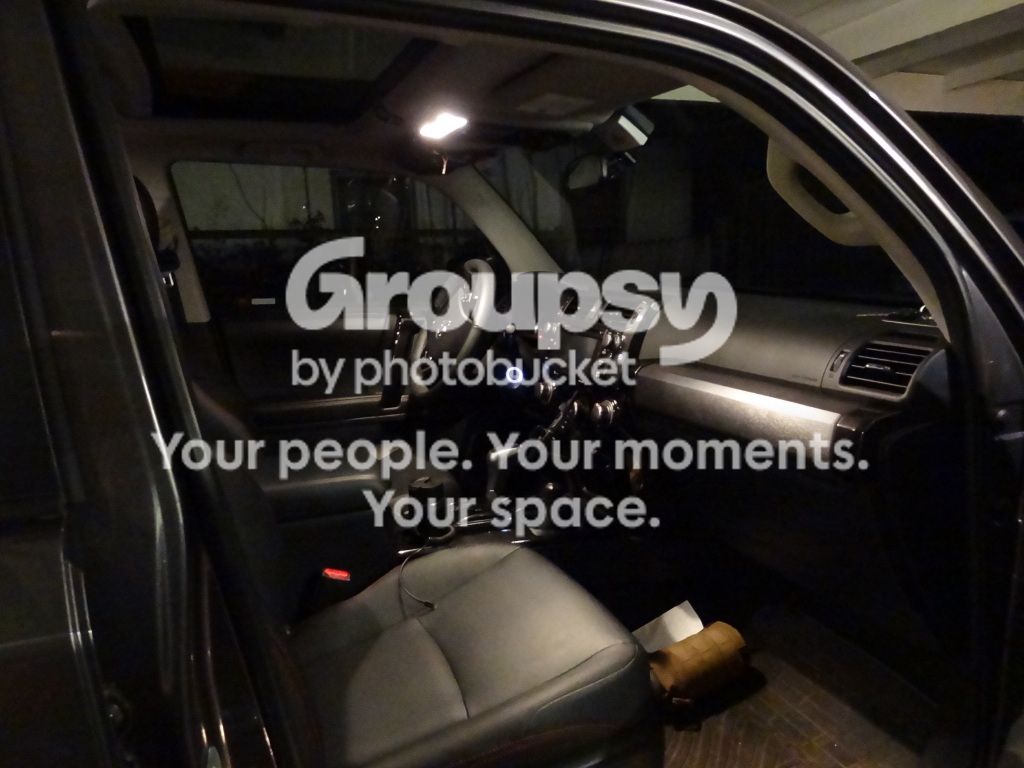
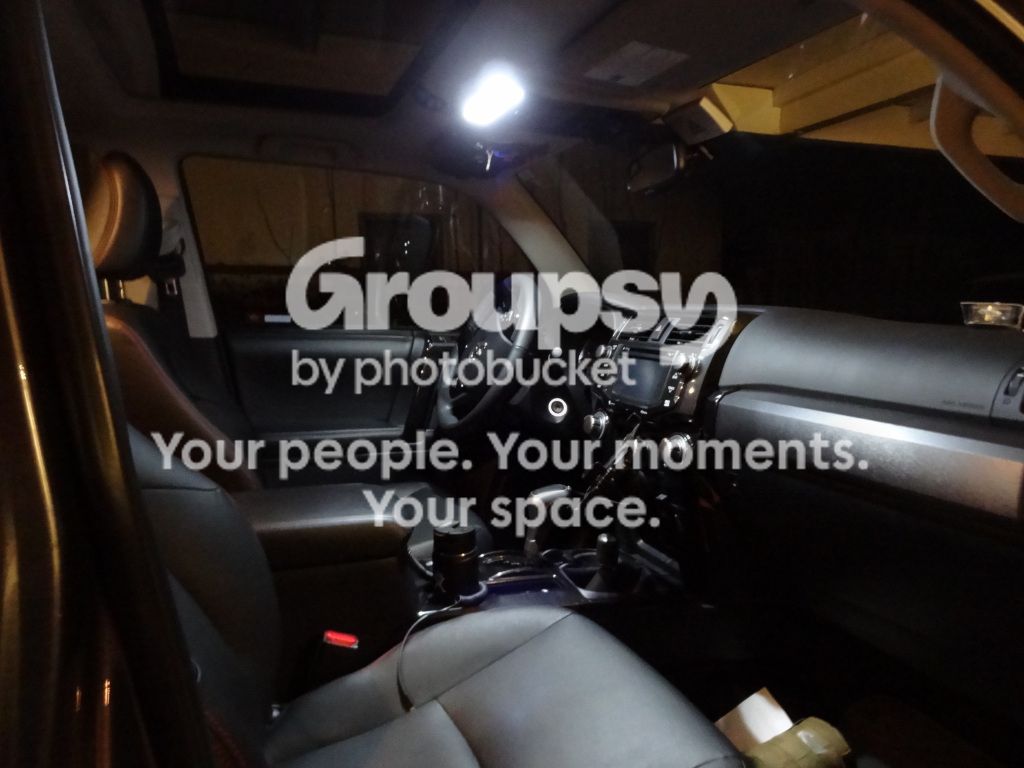
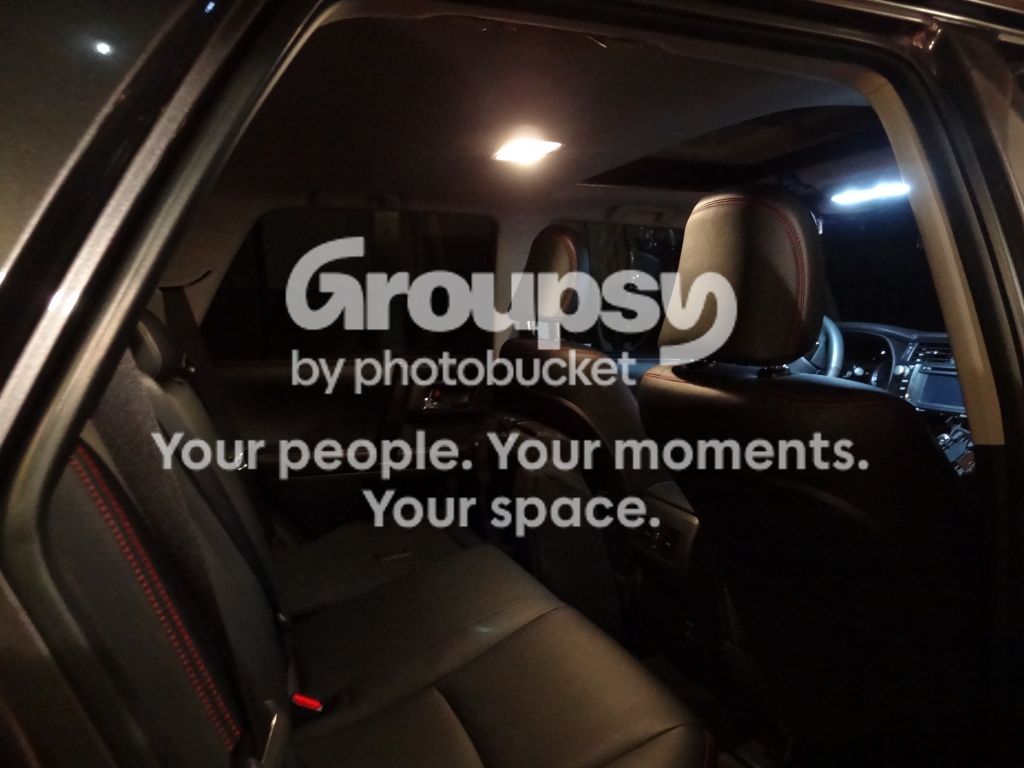
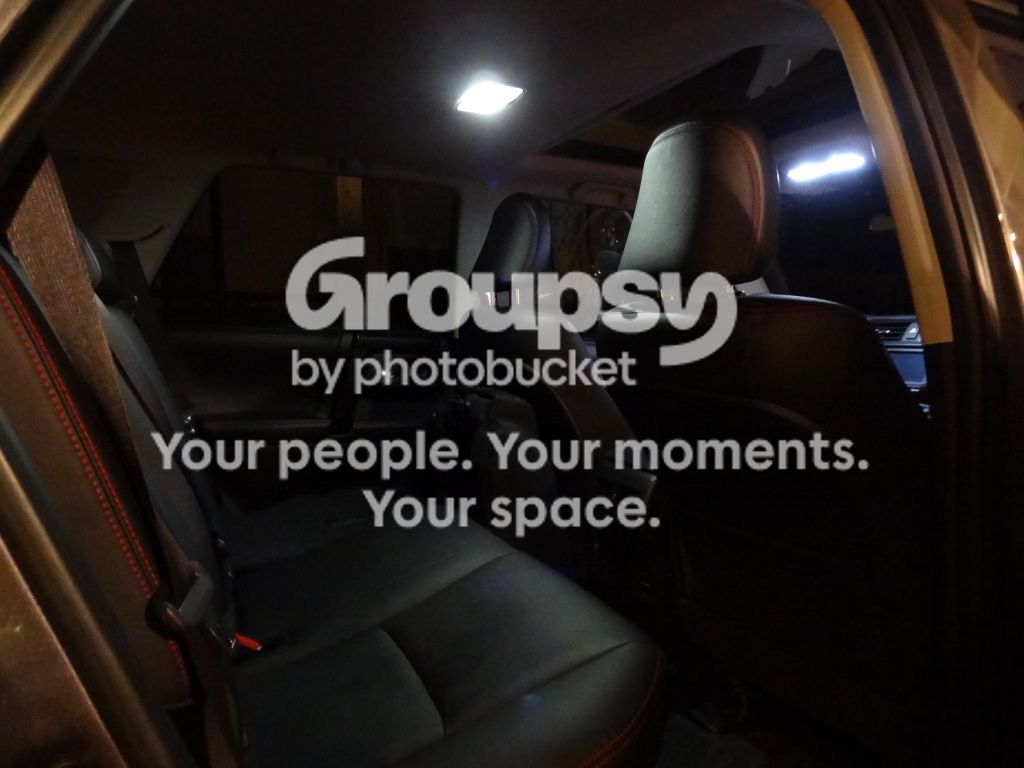
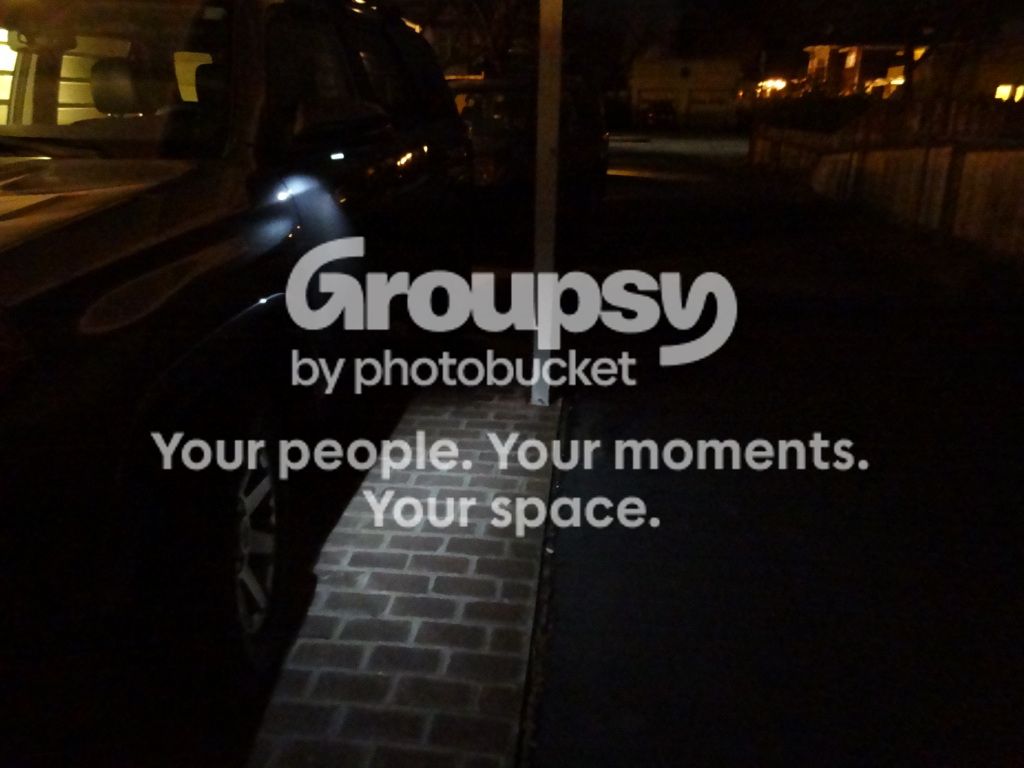
This weekend I completed my stock interior lighting and puddle lamp LED upgrade. All of the bulbs that I have installed so far have been Philips brand, which carry the same light temperature of 6000K, and a 12 year guaranteed warranty. Bulbs were sourced from [MENTION=12905]XenonDepot[/MENTION]​

Parts used:
- Philips Vision LED 194
- Philips Vision Festoon LED 3022
- Stone Brewing Enjoy By Black IPA


I followed a tutorial from Precision LED on YouTube, which shows how to access all of the stock bulbs.

Map lights before

DSC08929_zpsjupjal58.jpg~original

Map lights after
DSC08932_zpspiz9us9v.jpg~original

Dome light before
DSC08936_zpsv3vzdlyj.jpg~original

Dome light after
DSC08938_zpsmvsz1ksg.jpg~original

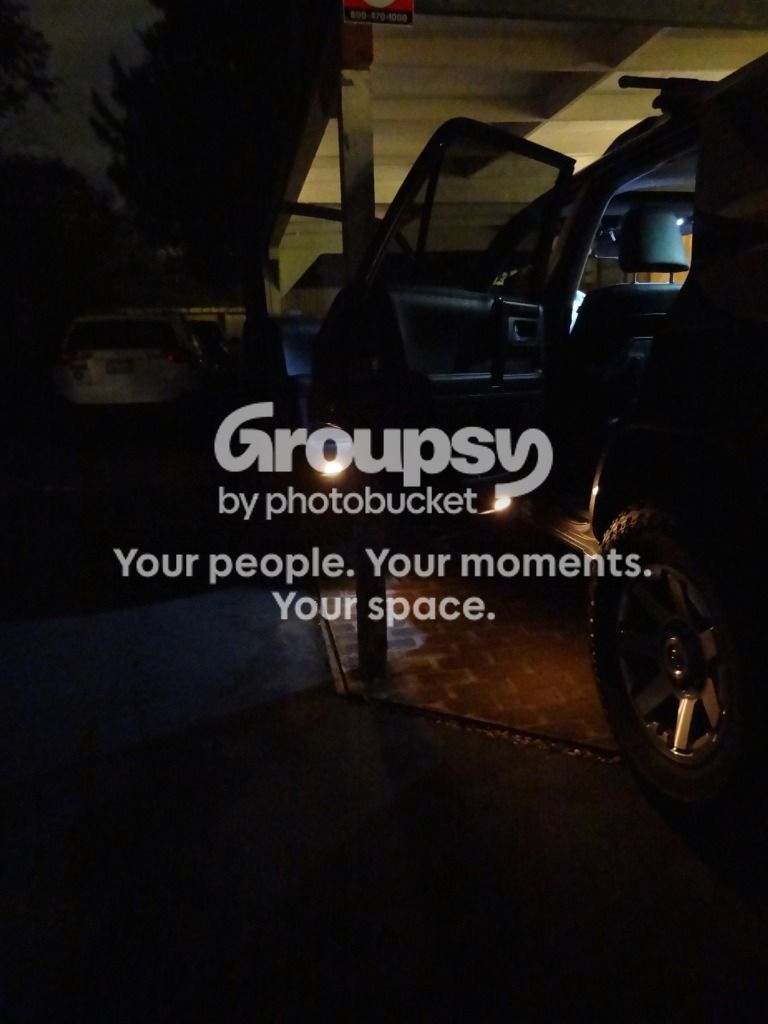
Door lights before
DSC08947_zpshwckseoa.jpg~original

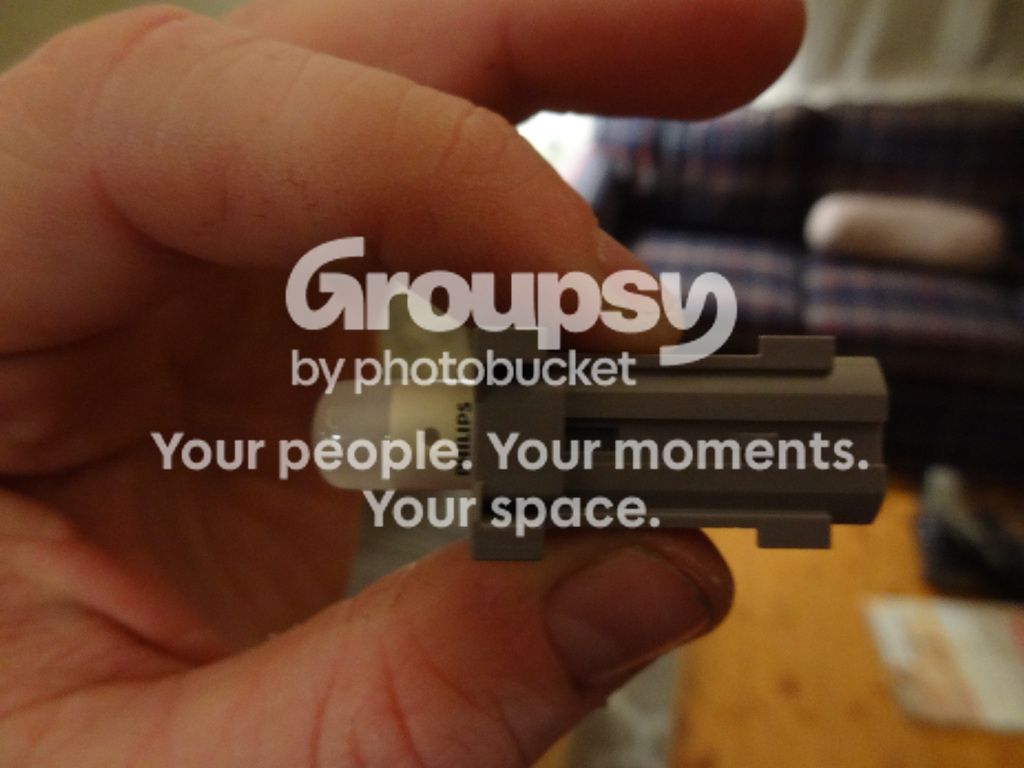
Philips bulb orientation in housing (so that they work)
DSC08950_zpsnsamw6qs.jpg~original

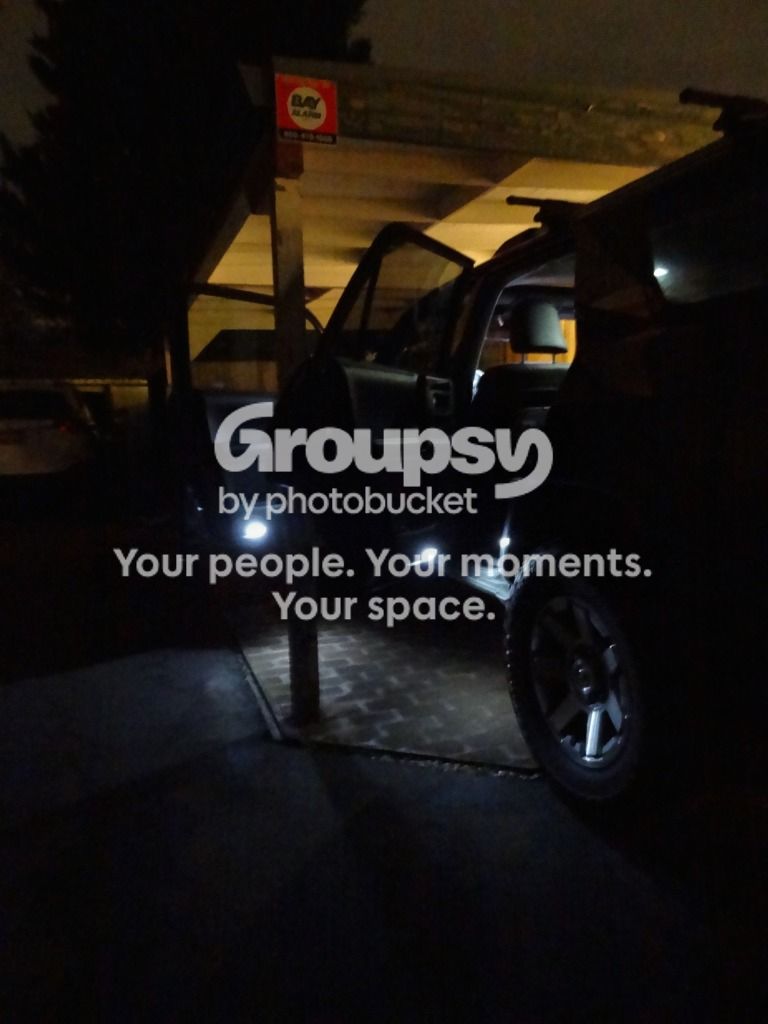
Door lights after
DSC08955_zpssghik0wf.jpg~original

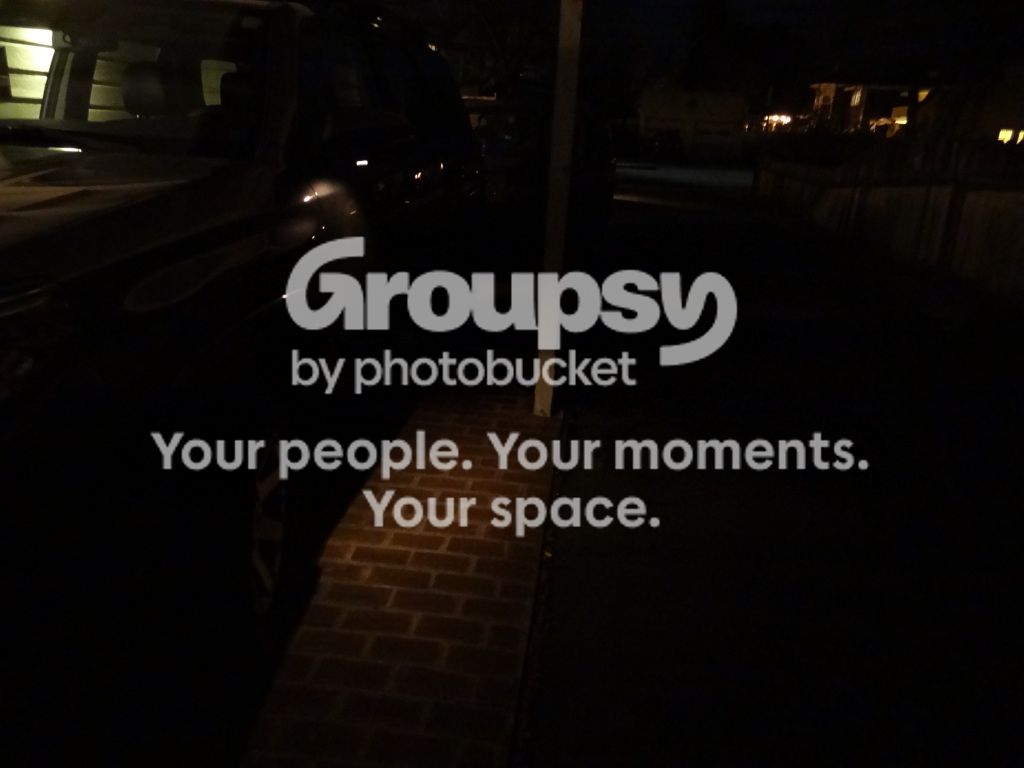
Puddle lights before
DSC08960_zpsoassgsrf.jpg~original

I followed this thread post to get to the puddle lamp bulbs.
Puddle lights after
DSC08963_zpsjf8cmxqz.jpg~original


Impressions
The 194's are great. Very bright, very well build with an even light distribution. I have been impressed by these, and will continue to use them as my go-to mini wedge. The festoon bulb, as I stated in my rear hatch LED upgrade post, is dimmer than I would have hoped for. The color matches the new lights perfectly though, and I don't think that I have lost any useable light over the halogens. I will give it some time and see how I like the output before deciding if I want anything brighter.

Next (and last) interior lighting upgrade will be an auxiliary led lighting set up for the cargo area.

More to come...

Thank you sir for the thread! I placed an order with xenondepot this weekend and hope to do the HID and LED conversion after I lose this sling (2 wheels can be more fun but inherently more dangerous)!!!
 
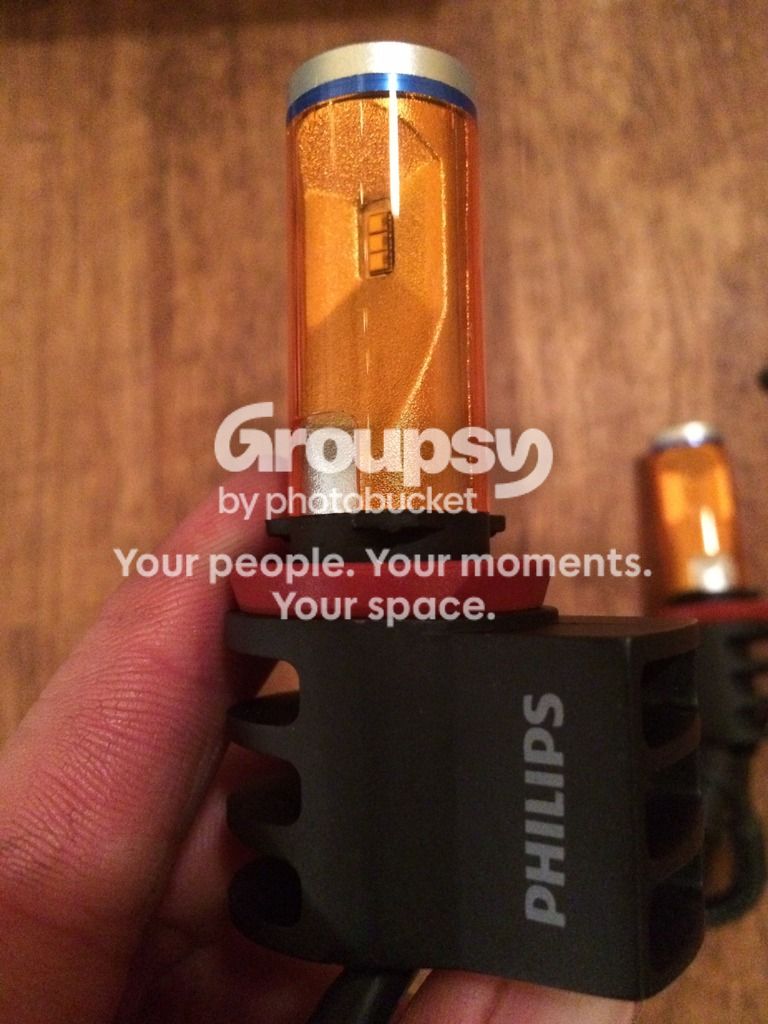
I wanted to upgrade the stock halogen bulbs to an LED bulb following the HID upgrade from [MENTION=12905]XenonDepot[/MENTION]. After working with Steve from Xenon Depot, I ended up with the Philips Yellow LED Fog Bulb. Although I wanted initially to match the color of the HID’s better with the white version of the bulbs, I had to remember that while matching lights look cool, fog lights are a functional tool when driving in adverse conditions as they help to cut through whatever is in front of you. The yellower lens helps to provide the best light temperature to cut through the debris on the road to light up road markers and lane lines.​

Parts Used:
-Yellow Philips LED fog lights from [MENTION=12905]XenonDepot[/MENTION]
-Lagunitas IPA

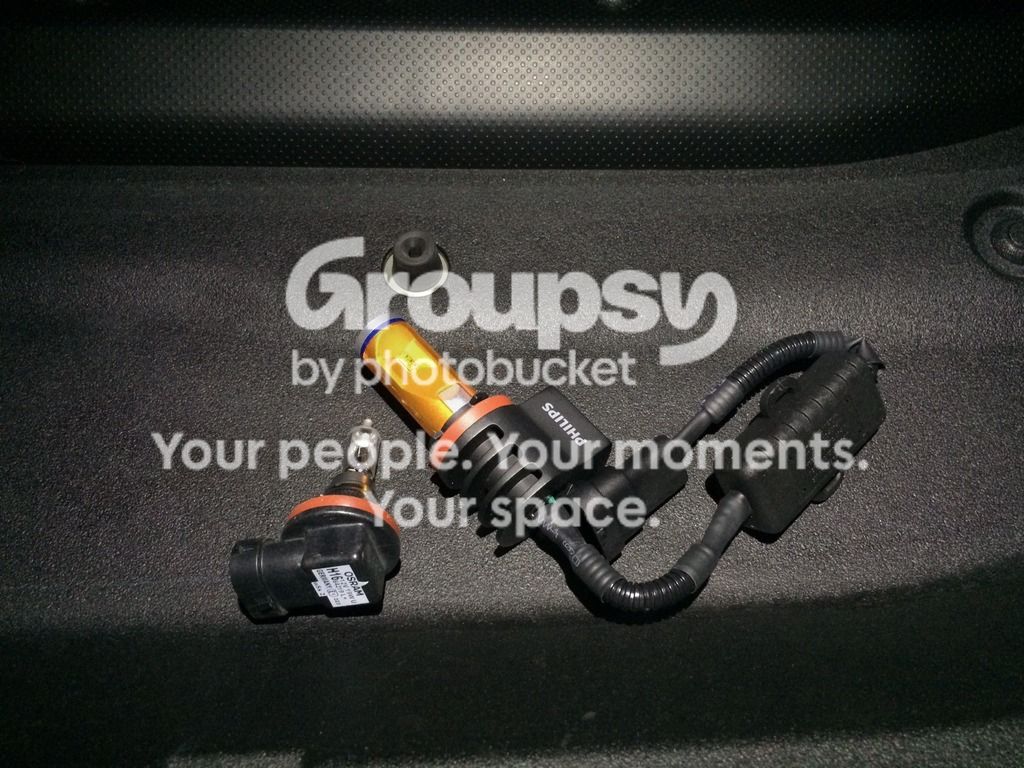
Lights out of the box
image_zpslwsotohk.jpeg~original


Yellow plastic film over the diodes. The bulb has a nice heavy feel to it and seems to be made with quality in mind.
image_zpsvbv6r3yp.jpeg~original


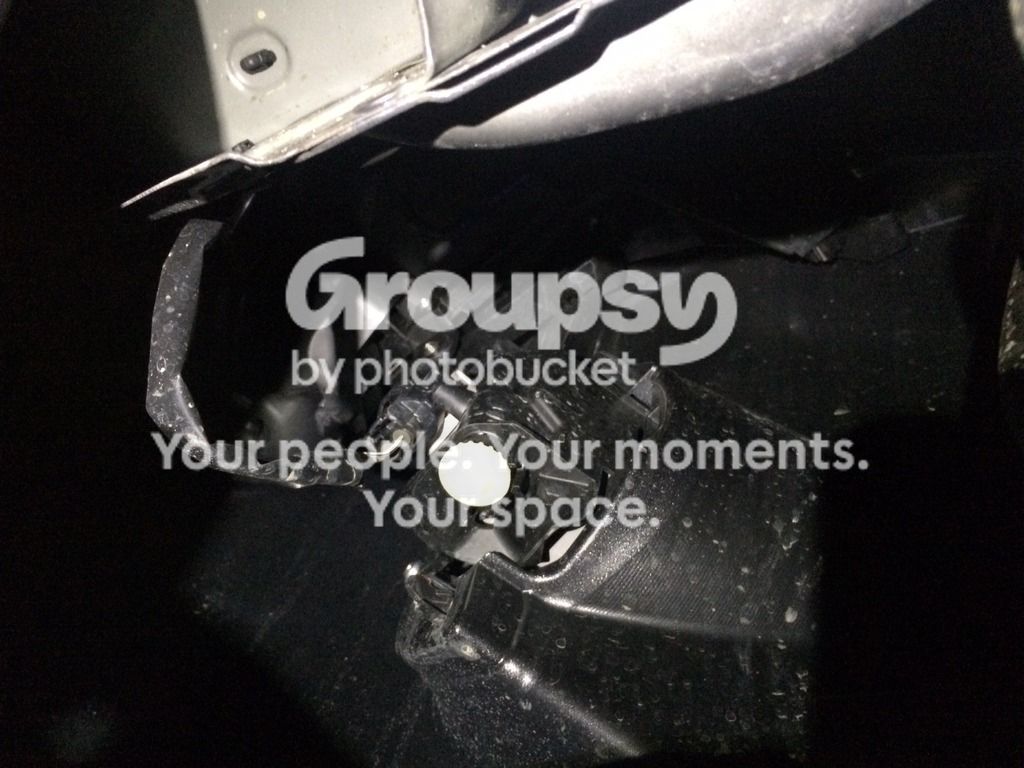
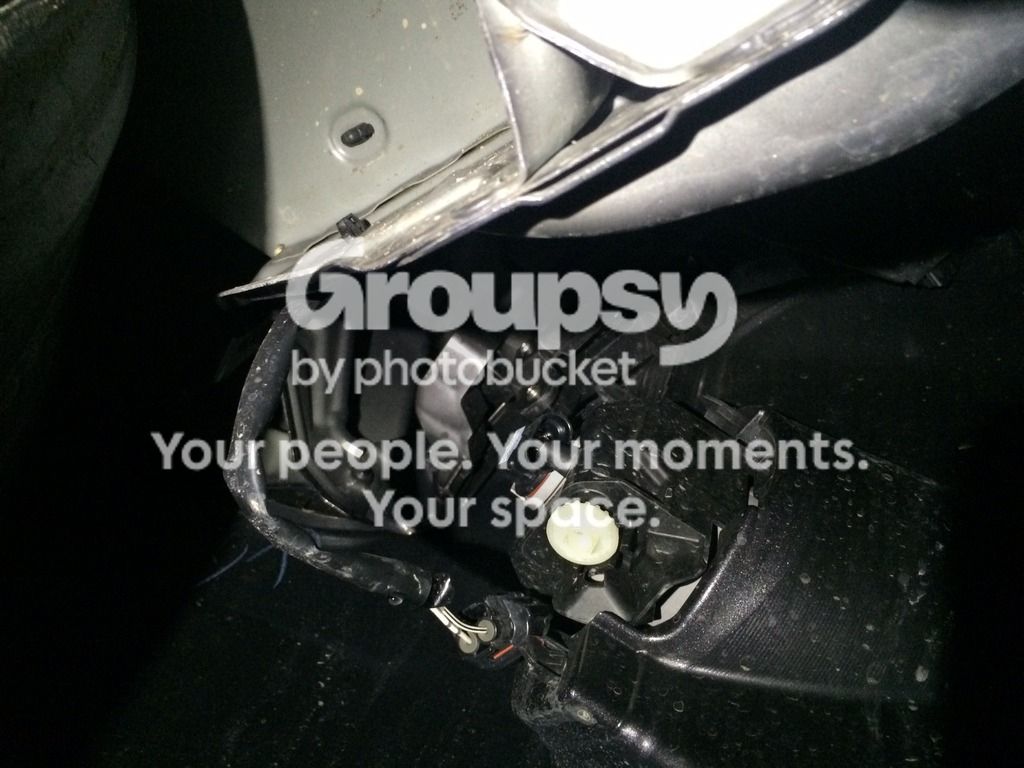
Driver’s side

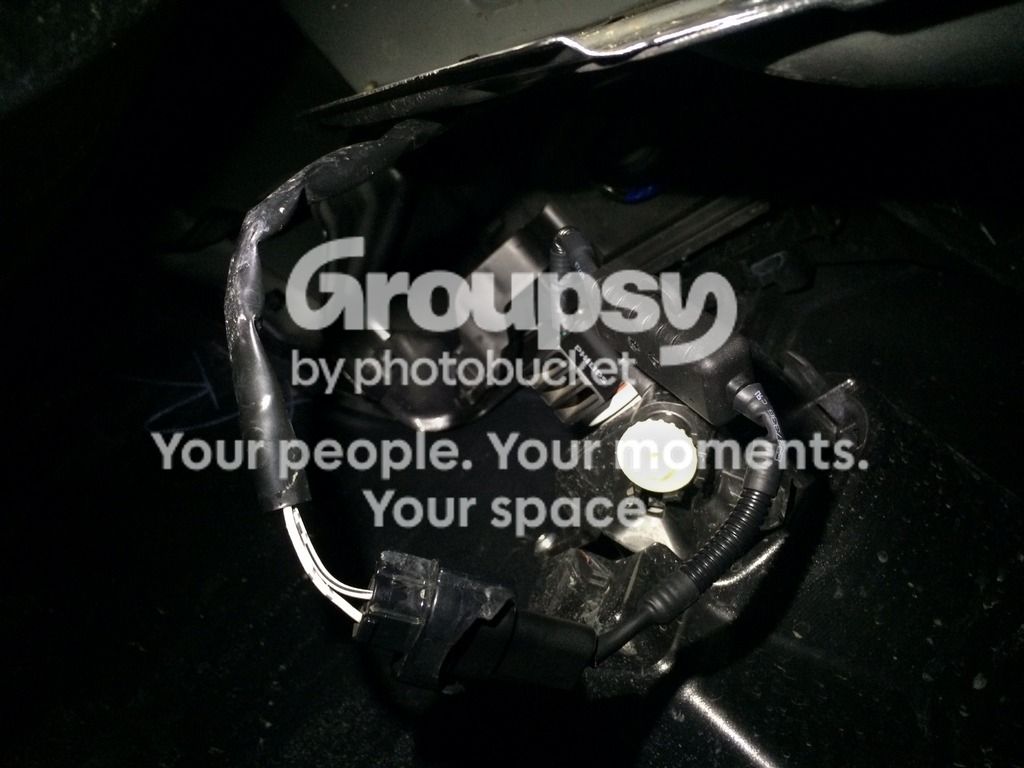
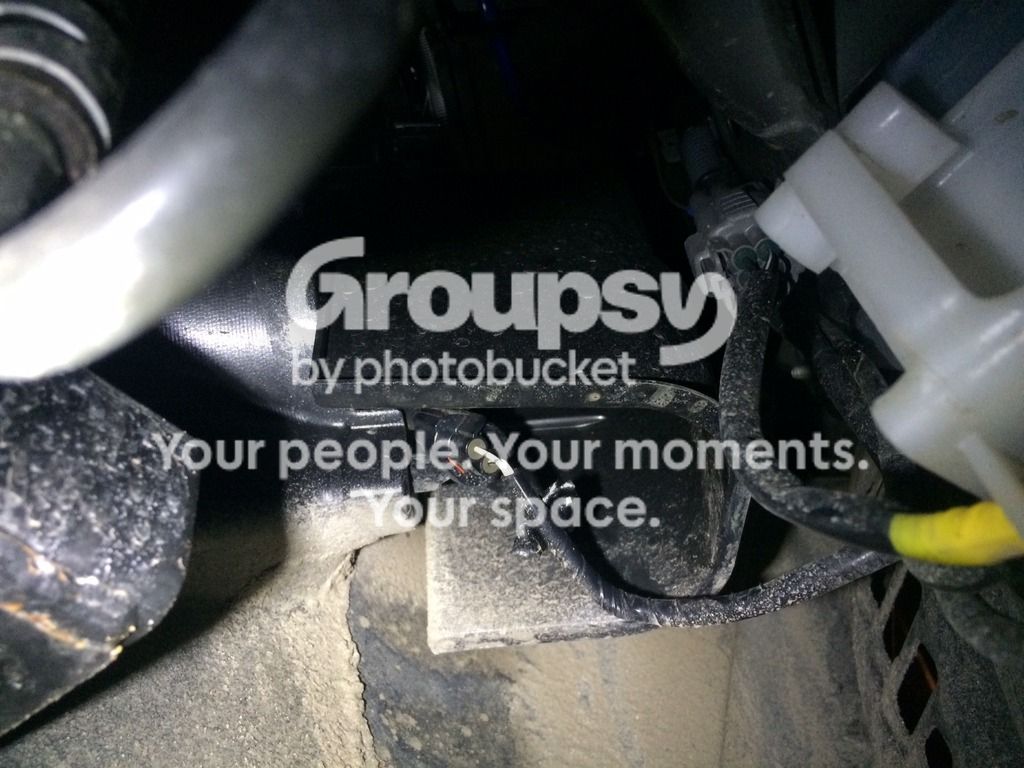
Fog lamp from below. In order to remove the bulb, you need to unplug the harness from the bulb to clear the plastic “stopper” piece on the housing. Turns counter clock-wise to remove
image_zps2krseeje.jpeg~original

Harness un-hooked to clear the bulb.
image_zpslhzkb3vw.jpeg~original

Old vs. new. The new bulb is larger, but will fit. You will need to come in as straight as possible to make it work well. The bulb is very well designed in that it clears the plastic “stopper” perfectly.
image_zpsaiutsz9a.jpeg~original

New LED installed. I used the supplied zip tie to tie the wires to the sheet metal in the top of the photo.
image_zpsj39imhrb.jpeg~original
DONE

Passenger’s side

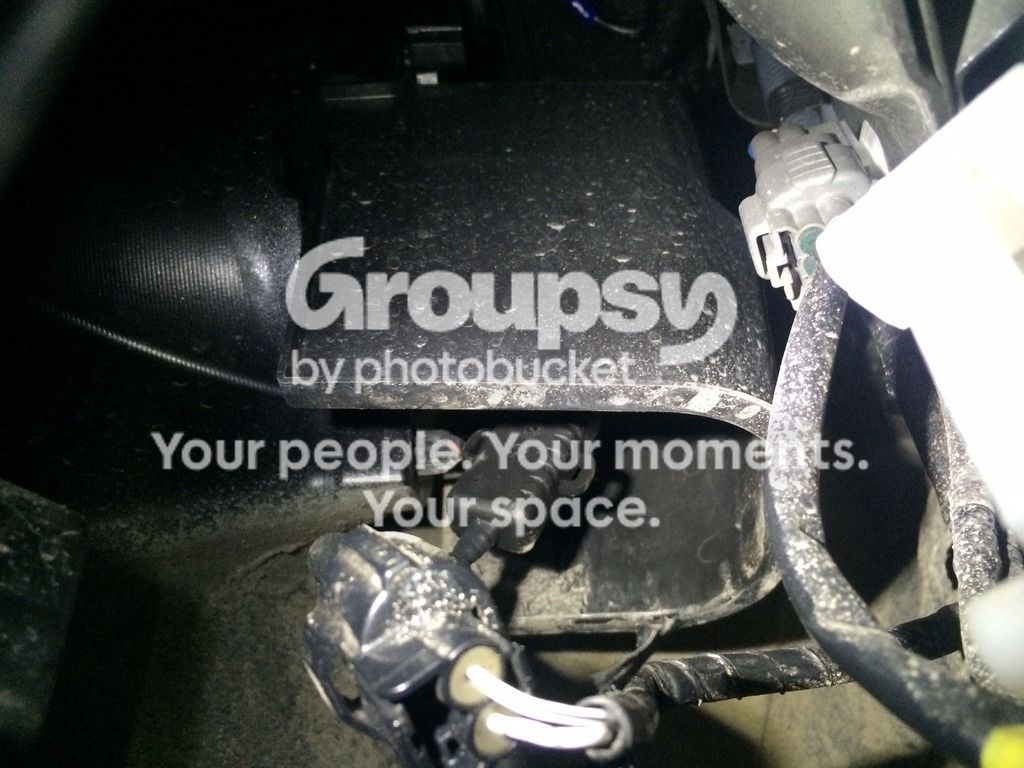
The passenger’s side has a plastic shroud surrounding the bulb. Same process, unclip the harness, turn the bulb counter clock-wise, remove.
image_zpsh56417ni.jpeg~original

New LED installed. The trick with getting this one in, because the bulb is larger, and the shroud is on, is to hold the outer part of the bulb, the metal base, between two fingers at a 90º angle. Hold it so the heat dissipator is facing down. Reach up and get the tip of the bulb into the housing hole. Then you can resituate to twist the bulb into the appropriate position. The bulb will line up at the 4 o’clock position, and will lock in in the 8 o’clock position. Patience is your friend with this one. I used the supplied zip tie to secure the wire to the stock washer fluid hose shown on the right of the photo.
image_zpsxhkxvnp9.jpeg~original

DONE

Before and After
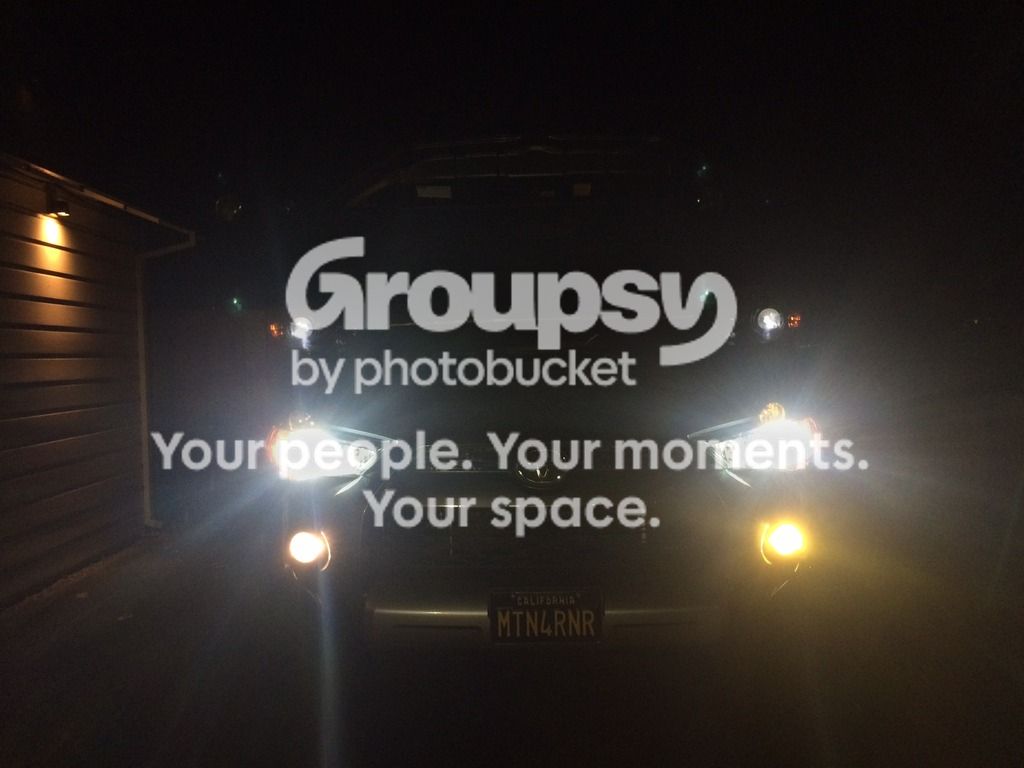
Low beam HIDs
image_zps33sw6nc2.jpeg~original

Low beam HID’s with stock fogs
image_zps9altluun.jpeg~original

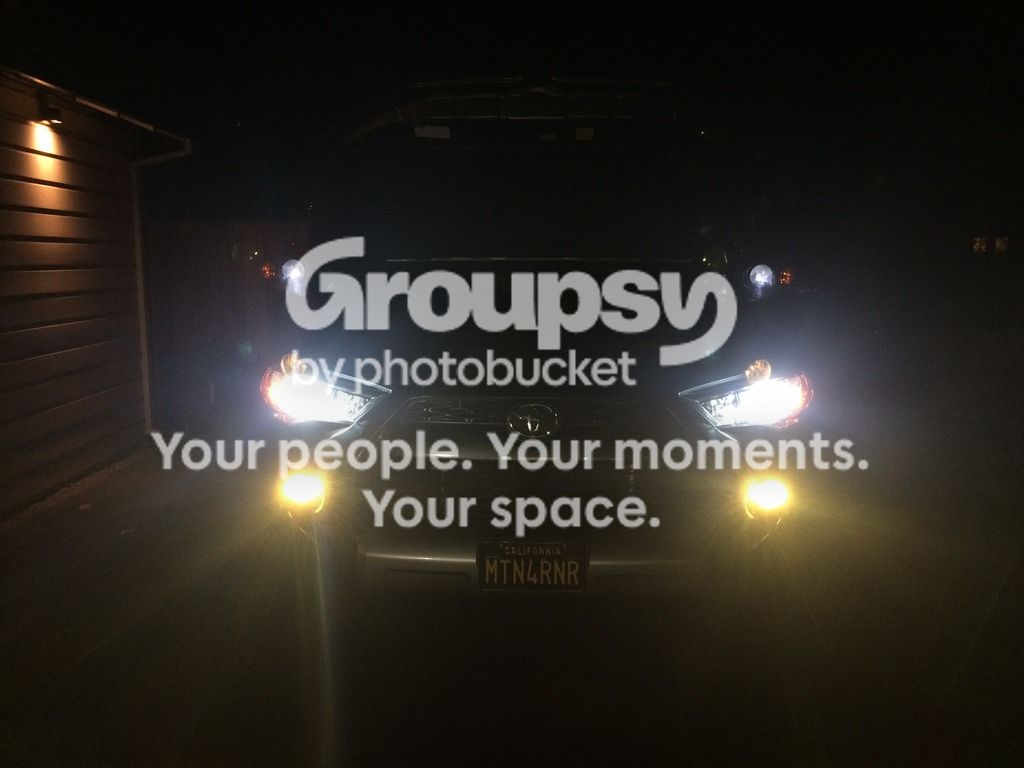
Low beam HID’s with Philips Yellow LEDs
image_zpsqqgonlsl.jpeg~original

Here’s a really nice change though. The side visibility from the new fogs is greatly increased.

Low beam HIDs
image_zpsrxhrf6sg.jpeg~original

Low beam HID’s with Philips Yellow LEDs
image_zpsmowyjvwf.jpeg~original

Left fog stock. Right fog Philips Yellow LED
image_zpsm9d6hjww.jpeg~original

Left and right fogs Philips Yellow LEDs
image_zpspsomtfnm.jpeg~original


Impressions
I installed them last week and spent some time in the mountains over the weekend to test them out. In the rain and snow I encountered, the new bulbs put out enough light to make lane markers and the road easier to see. Much better than not having them on, and still better than the stock halogens. I will say that they are not as yellow as some of the guys running the yellow film on the stock fogs, but I think that the light delivered is better than a more pure yellow light. Function over form. I am pleased with the improved output of the stock fog housings with the upgraded LEDs. If I end up wanting or needing more light, I can add an amber LED light behind the lower grill for when visibility is very low.

Thanks to Steve at [MENTION=12905]XenonDepot[/MENTION] for the product assistance.

More to come…



I installed these on my 4Runner yesterday. I'm looking forward to seeing how they perform in the rain/fog. They aren't quite as deep a yellow as I was expecting but still have a very yellow color to them that should make a difference in those weather conditions, snow as well. Are you still liking them?
 

Members online

Forum statistics

Threads
278,316
Messages
3,554,113
Members
248,016
Latest member
Advally Service

Trending content

Back
Top