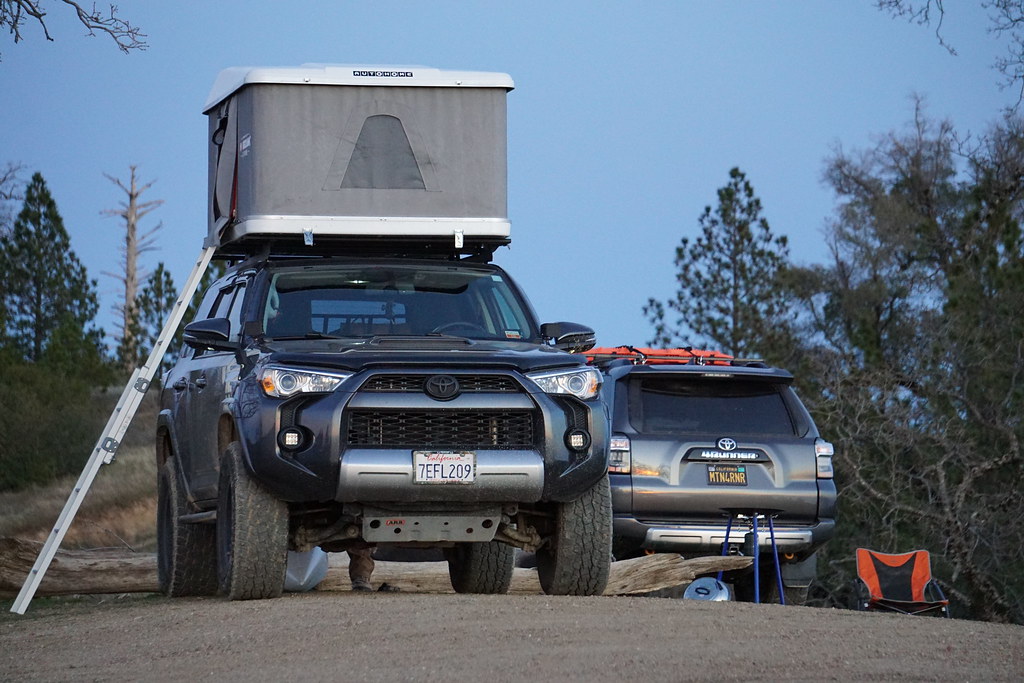
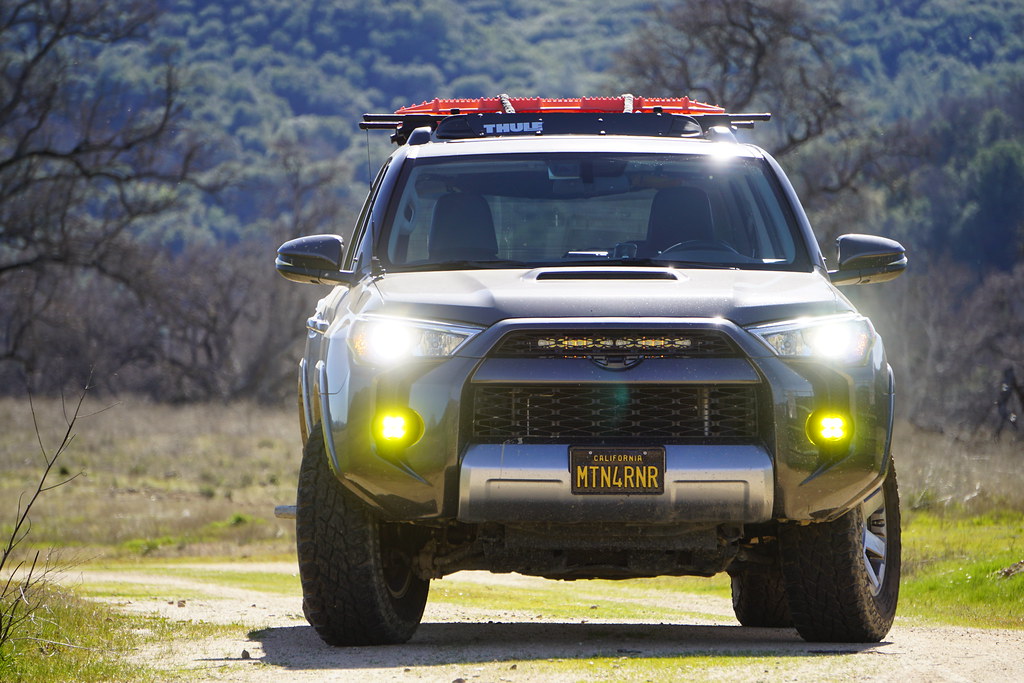
Building, Driving and Adventuring the MTN4RNR

1st off stop posting your mods, you have cost me money a few times already.

Great write ups on the trips and mods! Very well put together and great reads. I may reach out sometime to try and narrow down some of your spots as I have been trying to get the family more into dispersed camping and you seem to have some nice spots.


Sent from my iPhone using Tapatalk
 
Great build thread! Keep it up.

Thank you, I greatly appreciate it!

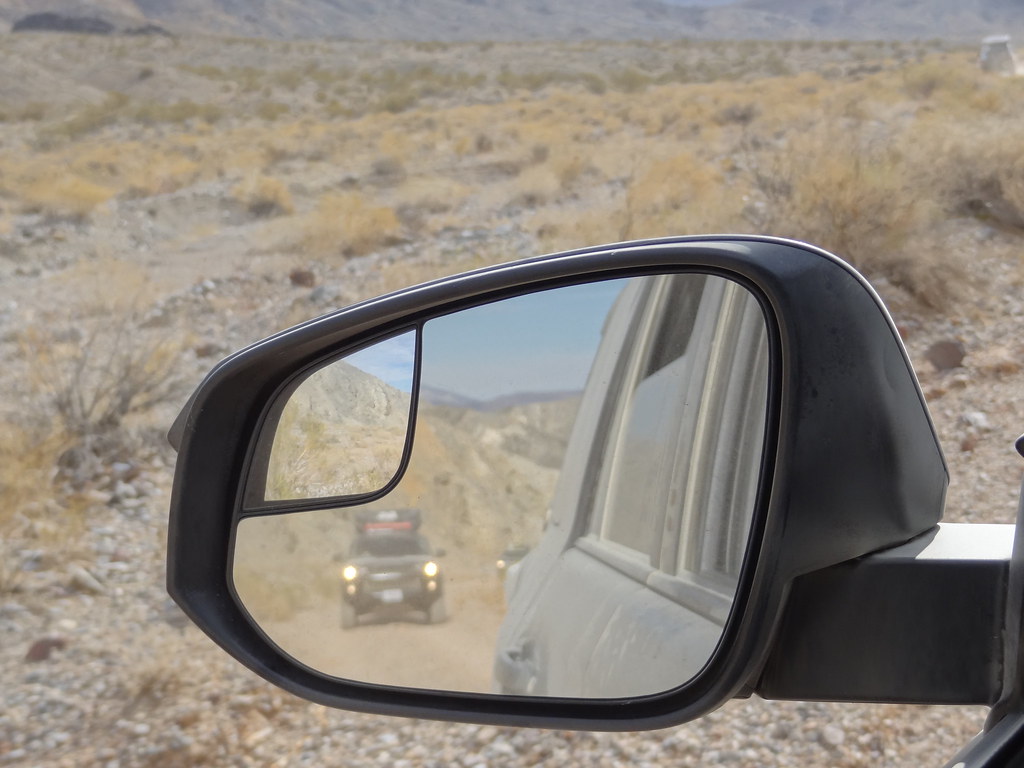
Max, whatever happened to that RAV4 mirror? I haven't seen it lately. I really liked that basically OEM convex mirror; thinking about doing that little addition to my truck.

It's on there! Driver's side only as I can check my blind spot on the passenger's side without taking my eyes fully off the road. I love the mod, personally. It looks like it should be there, because let's face it, it SHOULD!

30288075423_af61b6d4dc_b.jpg


1st off stop posting your mods, you have cost me money a few times already.

Great write ups on the trips and mods! Very well put together and great reads. I may reach out sometime to try and narrow down some of your spots as I have been trying to get the family more into dispersed camping and you seem to have some nice spots.

1st off, no.

Ha, thanks man. I appreciate it! I am also building a website around a lot of the same material and more. The link is in my signature.

Sounds good, feel free to shoot me a PM if you have any questions!
 
Upcoming trip report

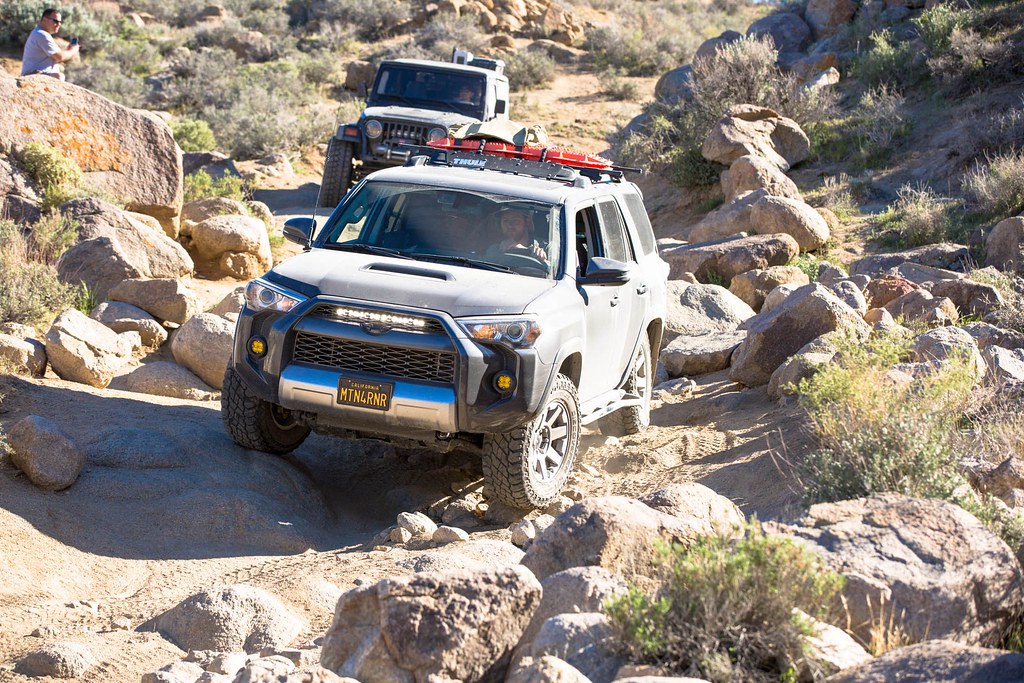
I spent some time in Death Valley covering 250 miles over 4 days, exploring the desert with a good group of people. Look for a trip report in the next week or so.... :thumb3:

33856913795_b7ef04bc97_b.jpg

Photo Credit: RobRed
 
Great thread. Thanks for taking the time to document everything. Lots of good ideas to help lighten my wallet.

You're welcome, man! Good information and ideas make the world go round, so the more the merrier, especially here! Pretty sure I have a permanent hole somewhere in my bank account at this point... If you have any questions, feel free to shoot me a message.
 
That area and truck looks familiar. It was great meeting you that weekend and to check out your 4Runner.

It was good to meet you out there as well. That area, these rigs, and the desire to get outside tend to make good people get together in awesome places :thumb3:
 
The Ghetto Rack

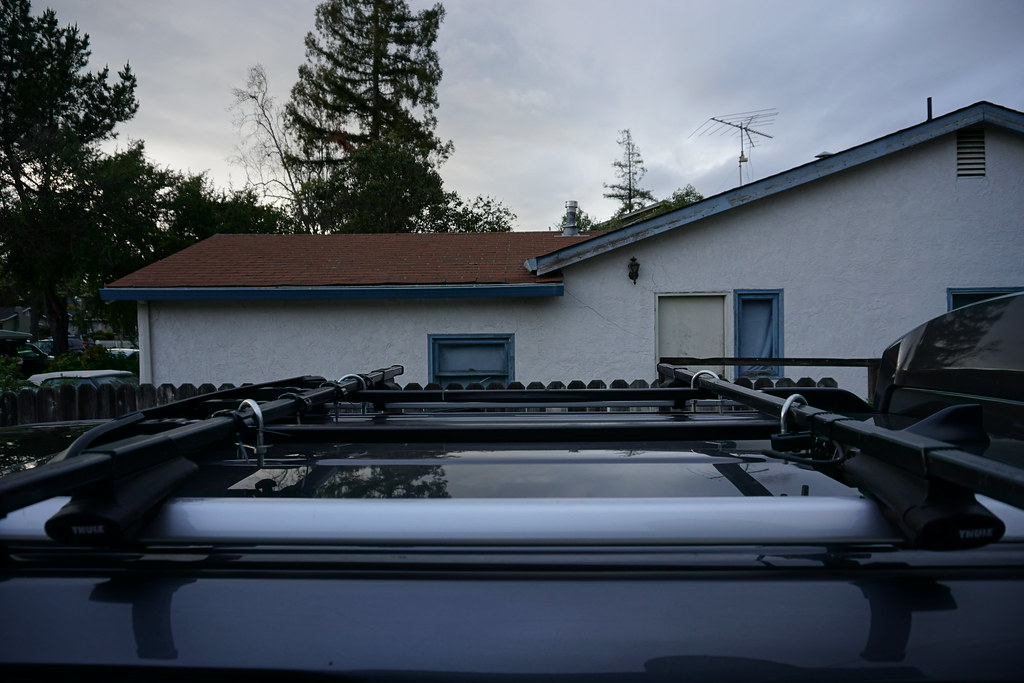
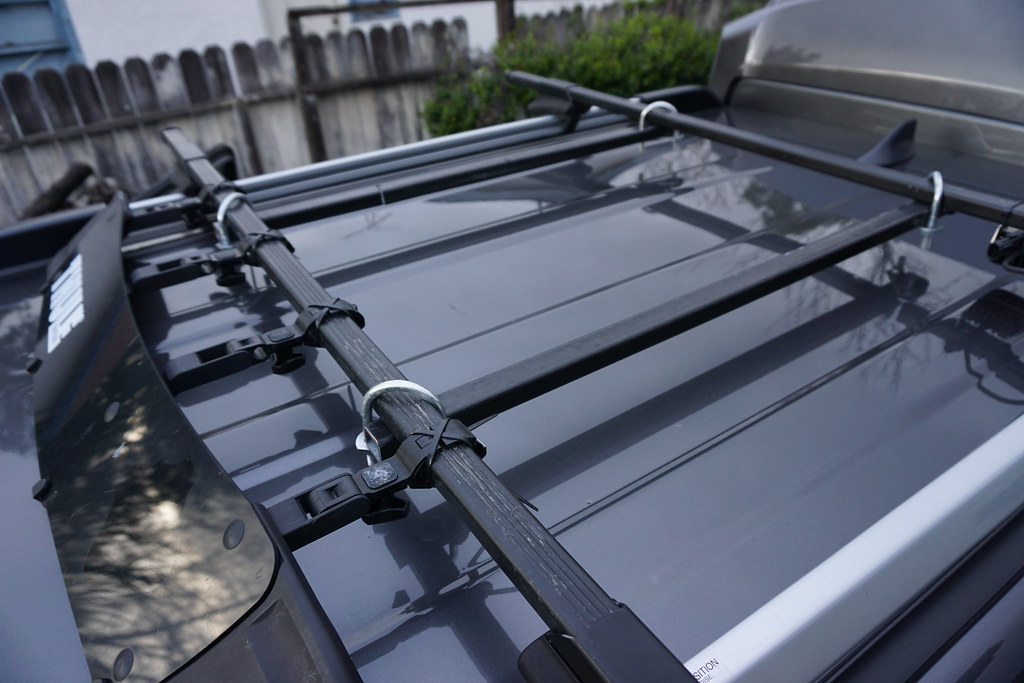
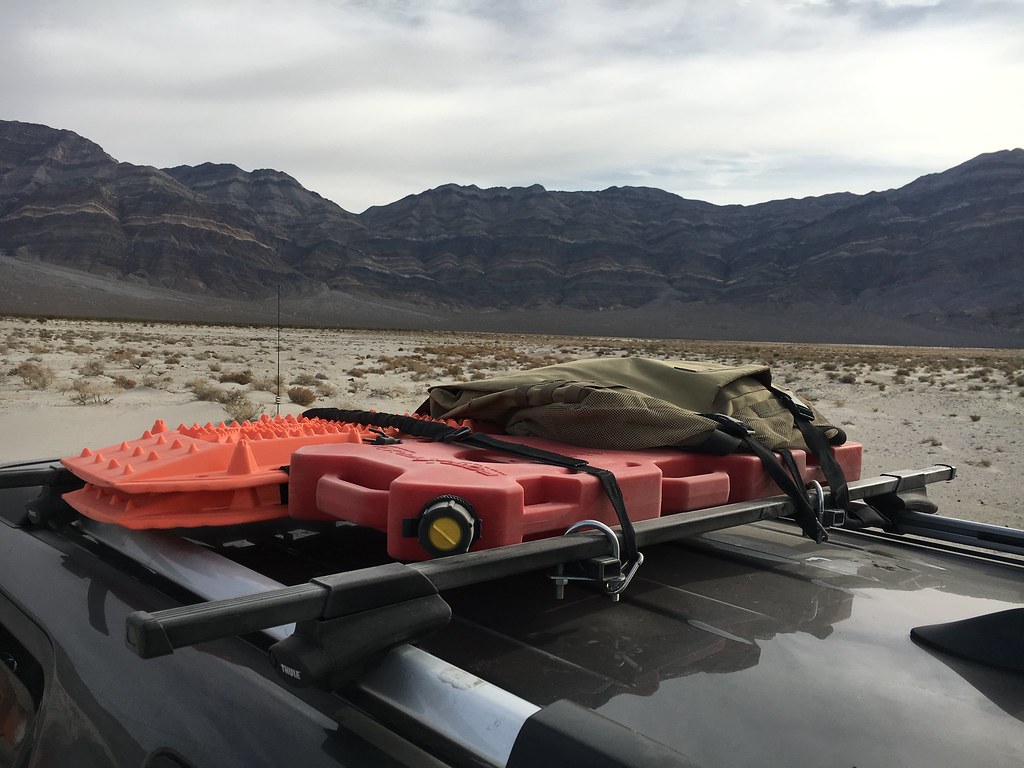
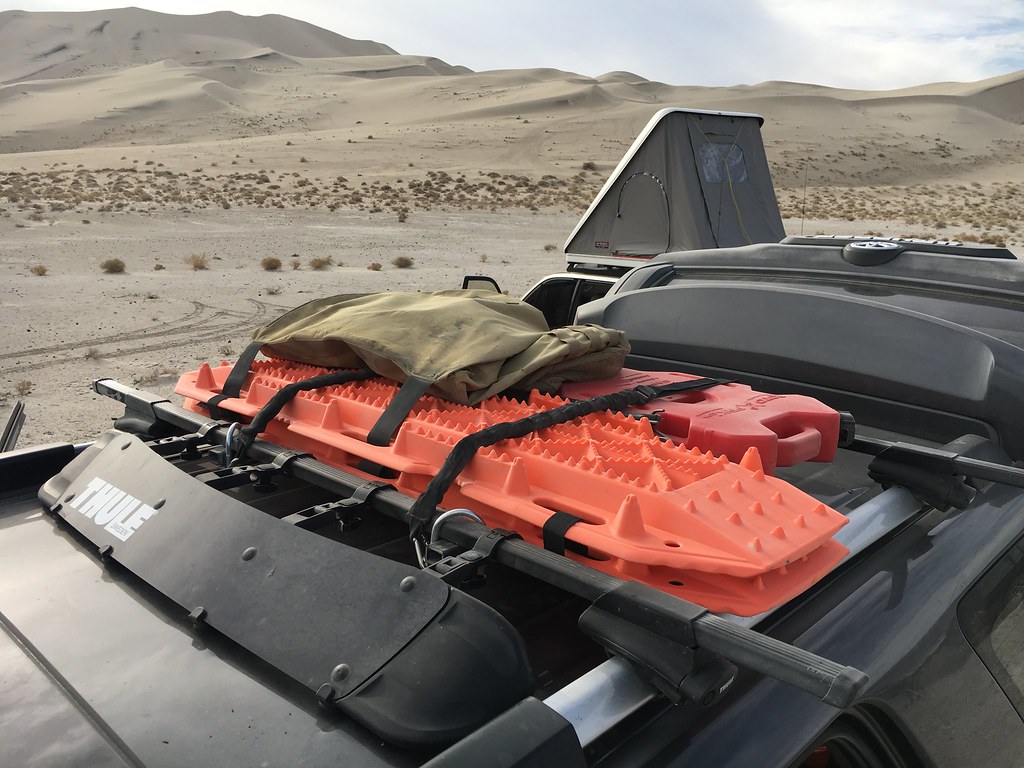
When I got the 4Runner, I pulled my old and trusted Thule roof rack out of the garage and slapped it on. I had gotten it when I was 18 for my birthday, and it has served me well over the span of a few vehicles. I added a fairing I got second hand from a local rack shop and ran it like that for about a year, adding the snowboard rack on seasonally. I then ended up with a set of gen 1 MaxxTrax (or some Amazon knockoff’s, not entirely sure) from a buddy as payment for helping him with a weekend project on his rig. They fit on the rack front to back with just a couple of Front Runner Strachits and worked great until I purchased a 4 Gallon Rotopax for a longer distance trip I was going on that required an increased reserve. I knew that I would want to mount them across the rack, so I took an old Thule crossbar that I had laying around, cut it in half and used 4 u-bolts to attach them front to back to the existing crossbars. The Ghetto Rack was born. With this setup, I can lay the traction mats and the Rotopax side by side between the main crossbars. They are secured across the top with 2 Strachits and are rock solid in place as they are confined by the original crossbars. And as an added benefit, I can attach my Trasharoo to the traction mats for trash storage on longer trips. This setup has worked really well for me so far, but I am looking to upgrade to a full length Prinsu rack before the summer so I can store the spare, a shovel, and a chainsaw up there along with the traction mats and the Rotopax. So, more to come on that one later…


33288579460_5e36e27509_b.jpg

33543456361_d0d716a7a5_b.jpg

34160186745_8824107711_b.jpg

34160186795_edcf82c8e5_b.jpg


S2 Pro Dust Light

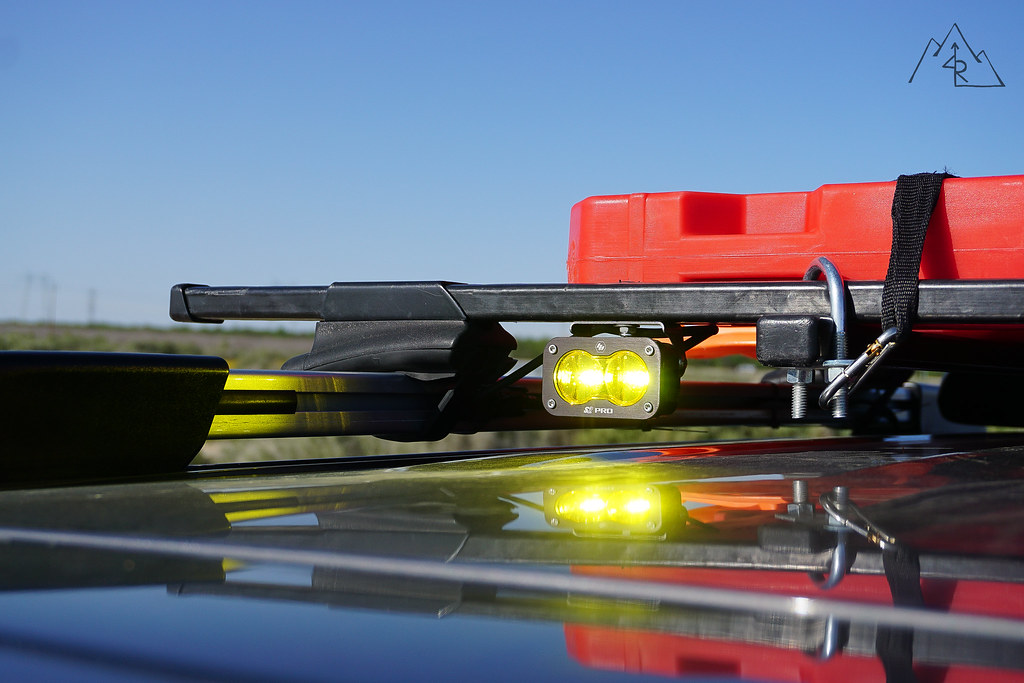
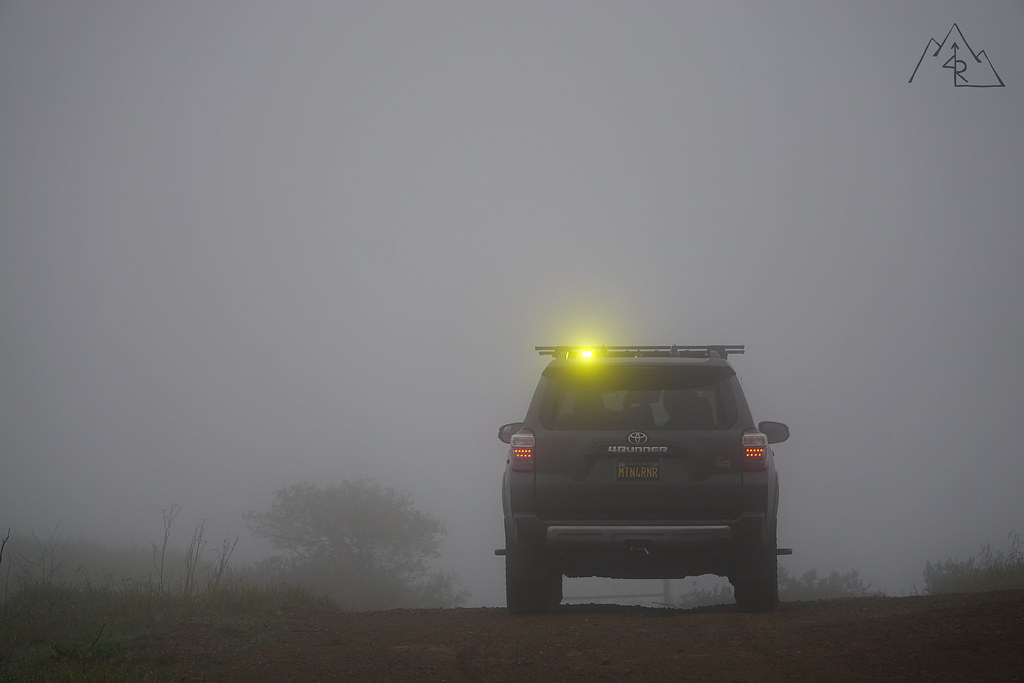
I tend to travel and explore with groups of people. Sometimes they are small, sometimes larger. One thing that I have noticed on every trip I have been on, regardless of group size, is that visibility is key. More specifically how visible I am to others. Traveling on dust trails can cut visibility to near zero. I decided before my recent trip to Death Valley that with 15 other vehicles in the group, I was going to install a dust light to allow for those behind me to see me when the dust got thick. I called Baja Designs and ordered an S2 Pro, and a separate amber replacement lens. These lights are a small package, but they pack a punch when it comes to overall visibility. I installed the light on the driver’s side, under the crossbar using the provided mounting bracket. I then ran a wire along the rack, and into the roof gutter down the side of the windshield (which I won’t go into detail about because it’s a well covered subject here). Using an OEM style switch from On-Board-Air I wired in the light with a single fuse before the battery. With such a low draw, this light does not need a relay. Knowing that in the future I will be adding a Switch-Pros controller for all of my auxiliary lighting, I made the wiring functional, and safe but not really pretty.

The results were great. I had a number of comments from people telling me that when the visibility dropped, that little light was the only thing that they could see of me. This increased the group safety and made me feel at ease knowing that I wouldn’t be bumped from behind if I had to slow down for any particular reason. For future trips, I am going to HIGHLY recommend that everyone in the group run a dedicated rear facing light. It’s THAT important on-trail. Some of the vehicles that weren’t equipped with one disappeared entirely in some sections making travel very nerve racking. For a small price, this sort of safety is well worth it.


Baja Designs S2 Pro


34119688726_a85cc04bf4_b.jpg


34081277186_e7e7b3908e_b.jpg


Baja Designs lights are also equipped with uService lens systems allowing the user to change lenses and beam patterns quickly with simple hand tools. I made a quick video showing how I changed the clear lens that it came with for an optional amber lens that would suit this light's requirements better.

 
The Mystery Oil Leak

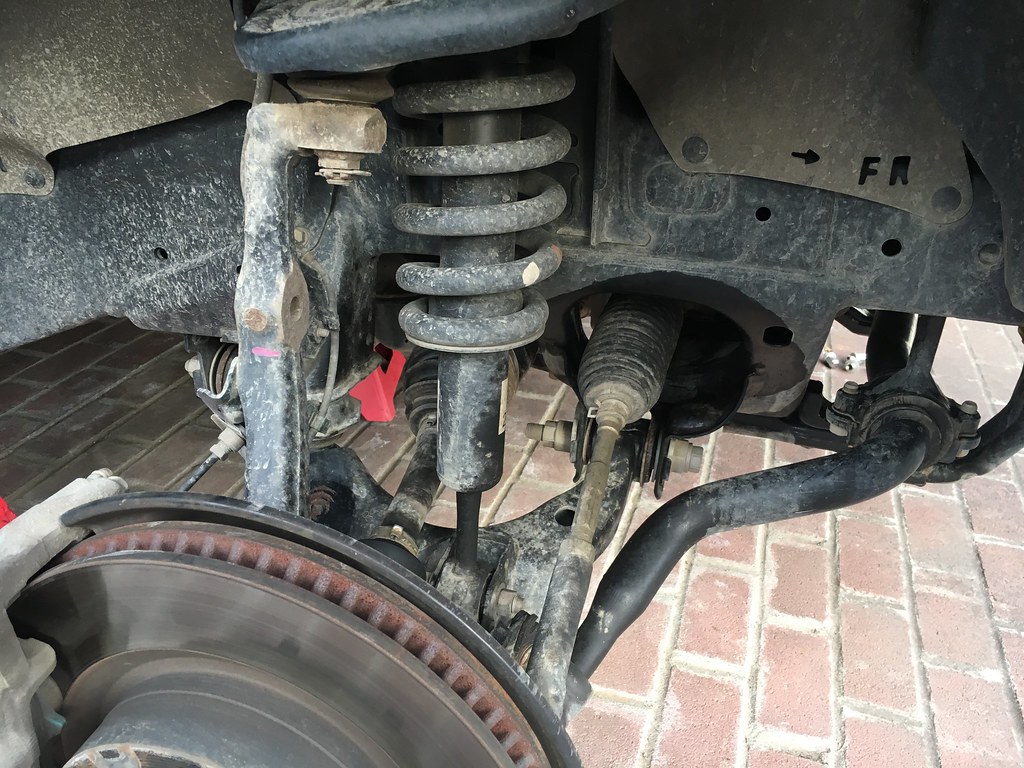
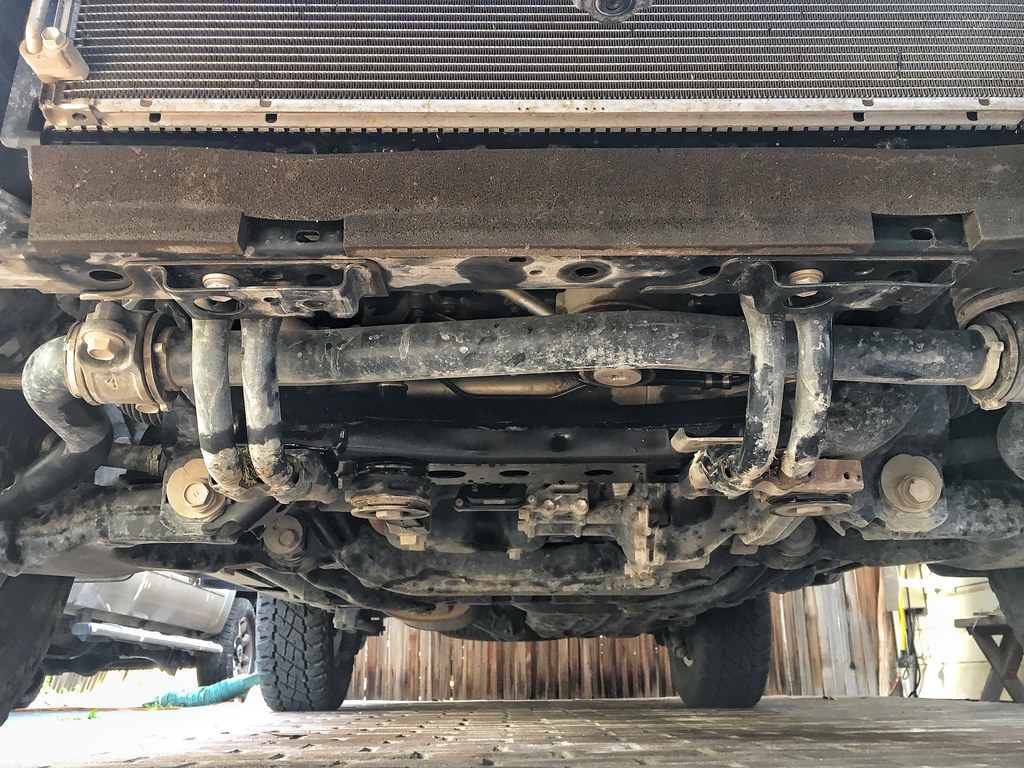
I'm at 30k, went to do my oil change a few weeks ago. I was met with oil residue on the passenger side suspension, crossmember, and power steering lines along the front of the engine, and above the oil filter which I checked. It was engine oil because my dip stick dropped about half way between the dots and it tasted like oil. Took it to the dealer, and they recommended cleaning the engine and running it at high idle to see where the leak is coming from. They did that, with no results. There was no apparent leak even after I mentioned the timing cover and they checked it there specifically. They dyed the engine oil and told me to drive 500-1200 miles and then bring it back, while keeping an eye on it for leaks/loss of fluid. I drove 750 miles over a weekend trip and brought it back in. I hadn't observed any leaks, seeping or loss of fluid over that trip (checking every 100 miles), but I told them to take a look. They called back to confirm that there wasn't any oil to be seen, and that everything was OK on their end. So for now, my oil leak has magically disappeared. I changed my oil this weekend and noticed no dye color (just dirty oil) but took a sample to sent in to Black Stone to check for any type of an added sealant in the oil. Call me paranoid. So that's it, that's my story. Hopefully it won't be an issue again, but time will tell.

33611063660_9f3533d788_b.jpg


33922095736_1d4ef1b2c9_b.jpg
 
You tasted it?

I tip my hat to you sir! I have tracked down many leaks on cars in my day but never once tasted fluid to see what it was.


Sent from my iPad using Tapatalk
 
I picked this piece up from [MENTION=124475]bhicks22[/MENTION] on his website: Products | BH3D Printing

Fought for a while on where to put it, and settled on the lift gate, passenger side, FJ40 style. Backed with 3M adhesive in CNC "channels" to make the emblem as flush as can be, this aluminum emblem is a well built piece.
]​


Two questions. First, how is the emblem holding up to the elements over a year later? Second, did you consider placement on the flat spot six inches below the tail light (where the FJ40 curved)? I'm debating where to place the same emblem. Thanks and I appreciate your build thread a lot!​
 
You tasted it?

I tip my hat to you sir! I have tracked down many leaks on cars in my day but never once tasted fluid to see what it was.

Yeah, just about a drop worth. Enough to taste that it's motor oil. I couldn't tell you what anything else tastes like, but there are other tells. Trans is color, gear oil stinks to hell, etc... Motor oil just tastes like motor oil.

Two questions. First, how is the emblem holding up to the elements over a year later? Second, did you consider placement on the flat spot six inches below the tail light (where the FJ40 curved)? I'm debating where to place the same emblem. Thanks and I appreciate your build thread a lot!

The emblem is doing really well. Holding strong back there.

As for the lower placement, I wanted mine mounted on metal versus plastic, so I didn't consider that location. But from my memory, that piece isn't entirely straight. There's a bit of curve to it. You might be able to bend the emblem, its just aluminum, to match the curve.
 
Yeah, just about a drop worth. Enough to taste that it's motor oil. I couldn't tell you what anything else tastes like, but there are other tells. Trans is color, gear oil stinks to hell, etc... Motor oil just tastes like motor oil.

I can honestly say that I could not tell you what motor oil tastes like...
 
One.... congrats on the proposal. :)
Really cool seeing that. More power to you man!


.....

Quick question: maybe I've missed it... how are the Coopers working out so far? Pros/Cons? How'd they do in the snow this past season?
 
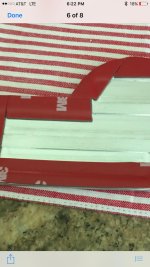
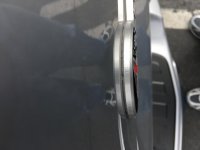
I took inspiration from MTN4RNR and mounted one up in the same area. But it didn't conform well to the curve and I had to remove it and pound/bend t to better fit. I also didn't like the way the 3 strips mounted so I redid the tape on the edges. It seems solid and hopefully it holds well. The edge of the tape is a little rough, but you have to look straight down to see it.
 

Attachments

  • IMG_1127.jpg
    IMG_1127.jpg
    128.1 KB · Views: 1,243
  • IMG_1143.jpg
    IMG_1143.jpg
    132.1 KB · Views: 1,251
  • IMG_1146.jpg
    IMG_1146.jpg
    128.5 KB · Views: 1,228
I can honestly say that I could not tell you what motor oil tastes like...

You've never had a Guiness?

Oh... That's what that was? Well, yeah...

Taste it once, and you won't forget. It can make IDing a leak quick if you need it.

One.... congrats on the proposal. :)
Really cool seeing that. More power to you man!


.....

Quick question: maybe I've missed it... how are the Coopers working out so far? Pros/Cons? How'd they do in the snow this past season?

Thank you, sir! It has been an exciting few months :cheers:

The Coopers have been nothing short of great. They are a solid trail tire, having been through mud, sand, snow, rocks, gravel, etc, they keep rolling and are very tough. I rely on them a lot to do their job and get me through obstacles and different trying conditions on the trail. They haven't let me down yet after almost 30k miles. They are great in the snow! When things get icy, they do show some weakness. They'll lose traction, but so will any non-dedicated winter tire. You'll want chains in ice, but packed and deep snow they are beasts! You'll take an MPG hit as they are damned heavy, but that's because they're tough. And balancing can be a bit tricky. But work with your tire shop and you can get it right :thumb3:

Best of luck!

I took inspiration from MTN4RNR and mounted one up in the same area. But it didn't conform well to the curve and I had to remove it and pound/bend t to better fit. I also didn't like the way the 3 strips mounted so I redid the tape on the edges. It seems solid and hopefully it holds well. The edge of the tape is a little rough, but you have to look straight down to see it.

Awesome man! It looks awesome! One of the best things I added to the 4Runner when I first got it. Aside from the license plates :becky:
 
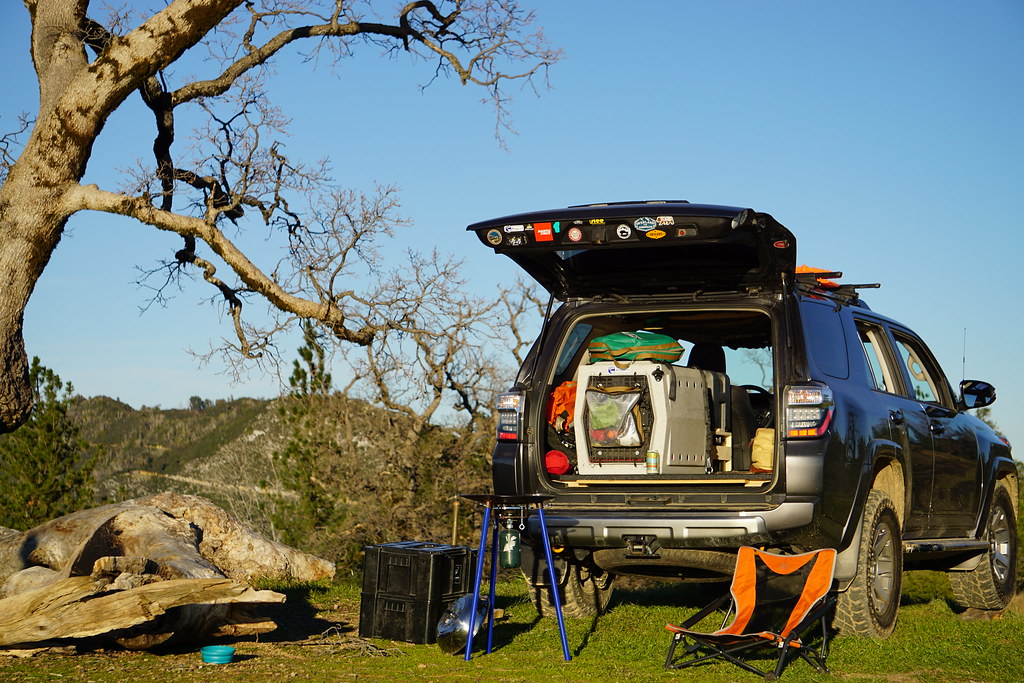
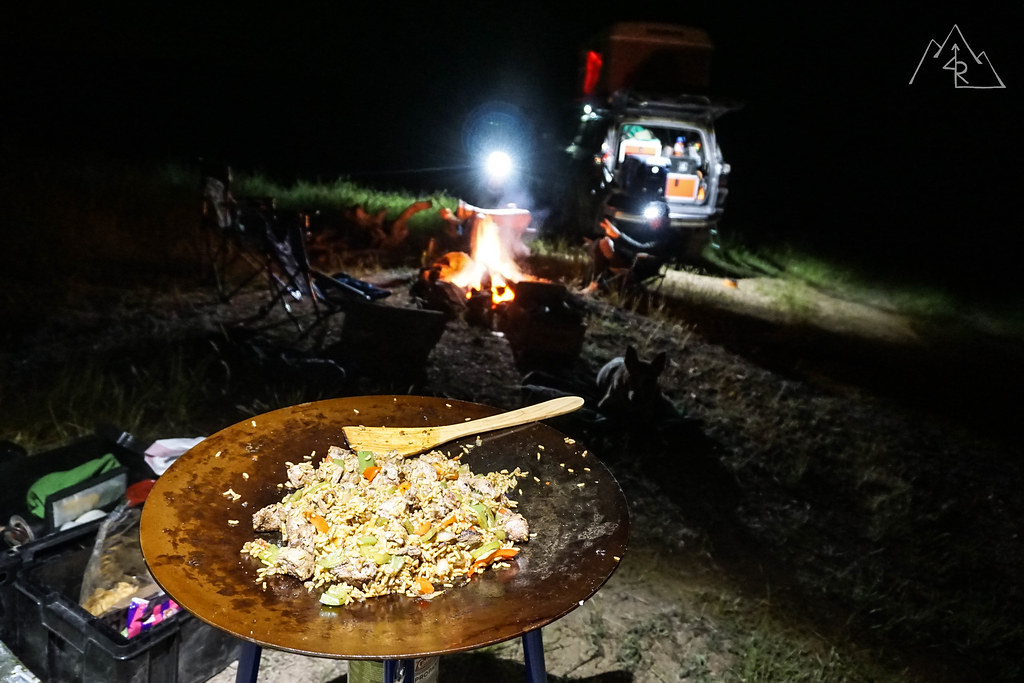
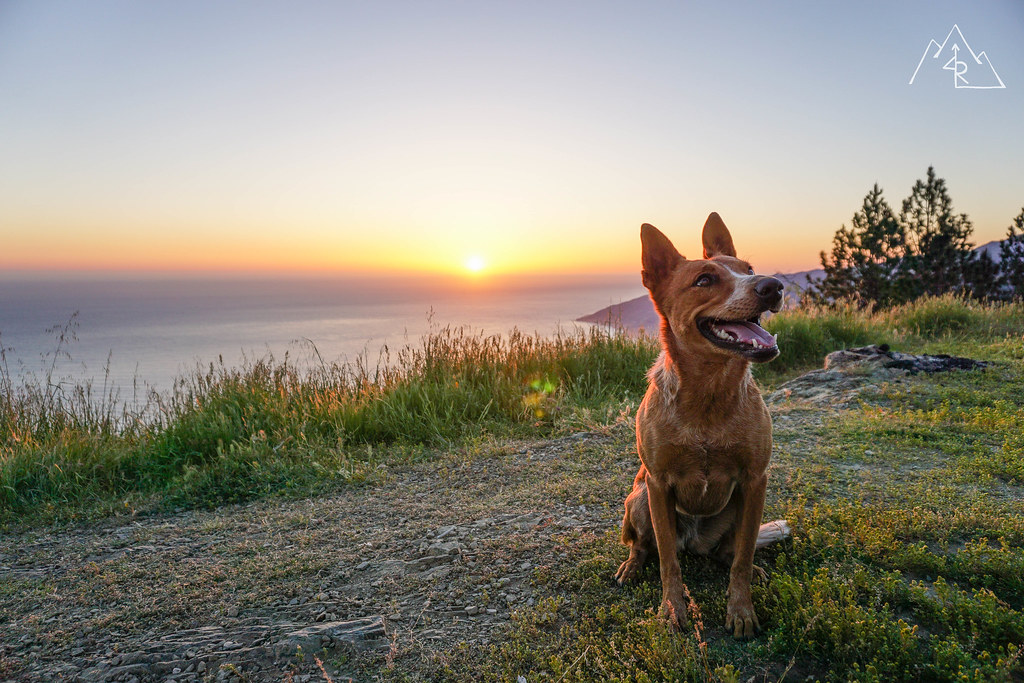
Finished my driveline oil change last Friday/Saturday. Redline 75w-90 in the front/rear diffs and the transfer case. Then I headed out for a night under the start with the lady, pup, and [MENTION=115782]RedStripeRanger[/MENTION]. We kept smelling gear oil in the cab, but no leaking or seeping from the drain/fills on either 3. So I think that we are just smelling some of the residue from the change on the diff housing. I need to get under there with some degreaser and clean that little bit up. Hopefully that will go away, because that stuff STINKS! Regardless of the smell, we had some great food and the dog enjoyed running around. Overall, a great weekend :thumb3:

33532911214_7470168b70_b.jpg


34333154356_6767407d1d_b.jpg
 

Members online

Forum statistics

Threads
278,316
Messages
3,554,111
Members
248,016
Latest member
Advally Service

Trending content

Back
Top