burninator
New member
First things first: if you don't understand thread title, you probably had a tortured childhood. The following remedy will cure all ailments: http://youtu.be/7gz1DIIxmEE
This will probably be a pretty mild build since it's my wife's car and we have a Z71 for leaving the pavement, but selfishly I want one place to keep track of all the changes. Way easier than having to flip through photos on my phone.
2006 SR5 with the 4.0 V6. Came with 145K. Completely stock when we got it. I'm always curious what other people pay for their cars, so in full disclosure we got this for $7650.
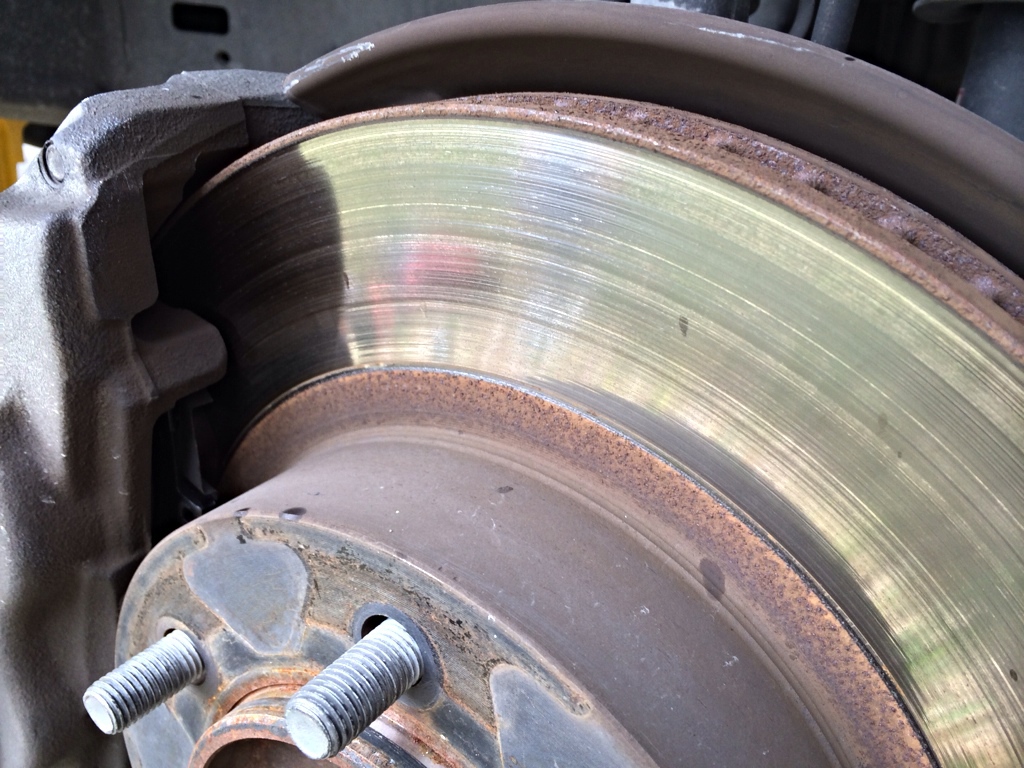
Everything seems to be working, so no major projects in the way before the fun begins. The front driver rotor is warped, so I'll swap that. Read somewhere else this might be common on 4Runners.
You didn't come here for words. On to the goods.
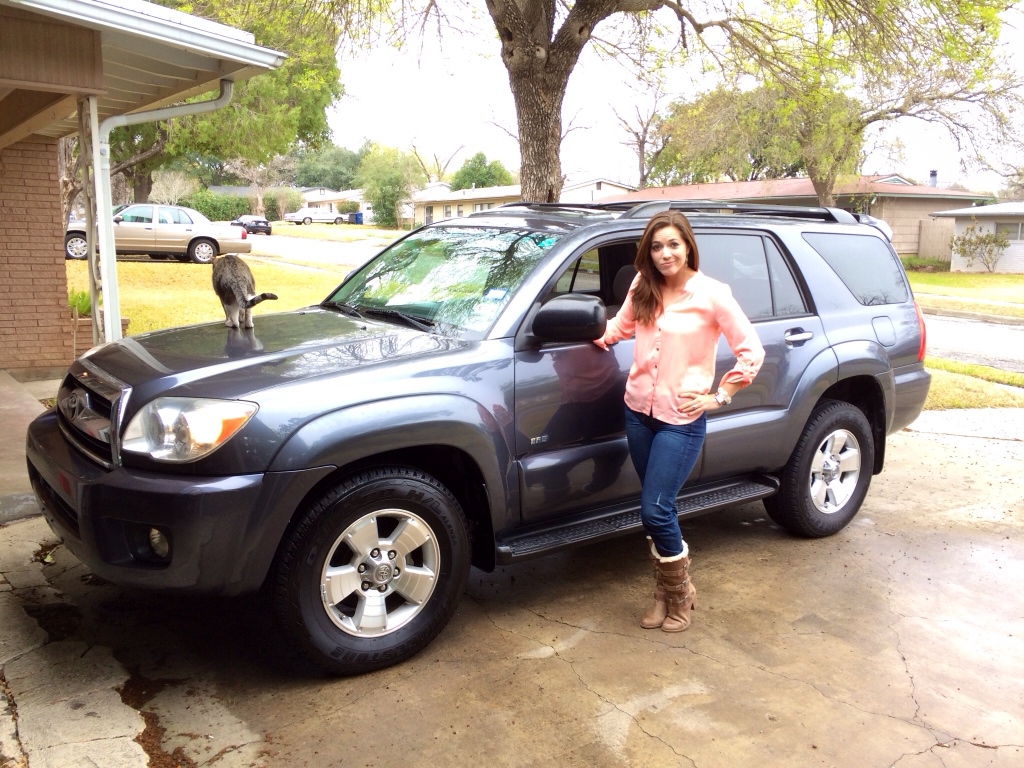 Happy girl. She's been wanting a 4Runner for a long time. This vehicle also passed a feline inspection.

Bought from the second owner. He put 100K on it. Said he didn't have to do much of anything besides oil changes.

Outside was detailed before we bought it, but guess they skimped on the engine. I hate working on a dirty motor. Covered the essentials with plastic and hooked the hose up to some simple green spray for a nice bath. Also did the charcoal filter delete at this time.

Now that's more like it.
This will probably be a pretty mild build since it's my wife's car and we have a Z71 for leaving the pavement, but selfishly I want one place to keep track of all the changes. Way easier than having to flip through photos on my phone.
2006 SR5 with the 4.0 V6. Came with 145K. Completely stock when we got it. I'm always curious what other people pay for their cars, so in full disclosure we got this for $7650.
Everything seems to be working, so no major projects in the way before the fun begins. The front driver rotor is warped, so I'll swap that. Read somewhere else this might be common on 4Runners.
You didn't come here for words. On to the goods.
Bought from the second owner. He put 100K on it. Said he didn't have to do much of anything besides oil changes.
Outside was detailed before we bought it, but guess they skimped on the engine. I hate working on a dirty motor. Covered the essentials with plastic and hooked the hose up to some simple green spray for a nice bath. Also did the charcoal filter delete at this time.
Now that's more like it.