Chudiddy- Inferno TRD PRO Build

Well since I have near all the same aftermarket products already here or on order at least I know what my mods will look like so far on the truck. Doing the rear of the rack a little differently and putting in the front grill light on the upper grill of the tuck. Other than that so far near duplicate. Carry on. I did see something that caught my eye. You applied the 3m strip for the fairing. Very good idea, do you have a link of what you used and where you got it. I have a feeling we will be a playing board for the different mods as I think you are on the same near path I am. Though I cannot afford all the Rigids.

Thanks steve
 
Well since I have near all the same aftermarket products already here or on order at least I know what my mods will look like so far on the truck. Doing the rear of the rack a little differently and putting in the front grill light on the upper grill of the tuck. Other than that so far near duplicate. Carry on. I did see something that caught my eye. You applied the 3m strip for the fairing. Very good idea, do you have a link of what you used and where you got it. I have a feeling we will be a playing board for the different mods as I think you are on the same near path I am. Though I cannot afford all the Rigids.

Thanks steve

Steve, this is the exact product that I got. It applied easily and you can't see it at all unless you are up close. I think this is a must-have so as to preserve the paint under the fairing.

Amazon.com: XPEL Clear Universal Door Sill Guard (60" x 2.75") Paint Protection Film Kit: Automotive
 
Well since I have near all the same aftermarket products already here or on order at least I know what my mods will look like so far on the truck. Doing the rear of the rack a little differently and putting in the front grill light on the upper grill of the tuck. Other than that so far near duplicate. Carry on. I did see something that caught my eye. You applied the 3m strip for the fairing. Very good idea, do you have a link of what you used and where you got it. I have a feeling we will be a playing board for the different mods as I think you are on the same near path I am. Though I cannot afford all the Rigids.

Thanks steve

[MENTION=65614]Antman[/MENTION] came up with this idea for 3M to protect the paint under the fairing, here is the link http://www.toyota-4runner.org/5th-gen-t4rs/112535-check-your-fairing.html
 
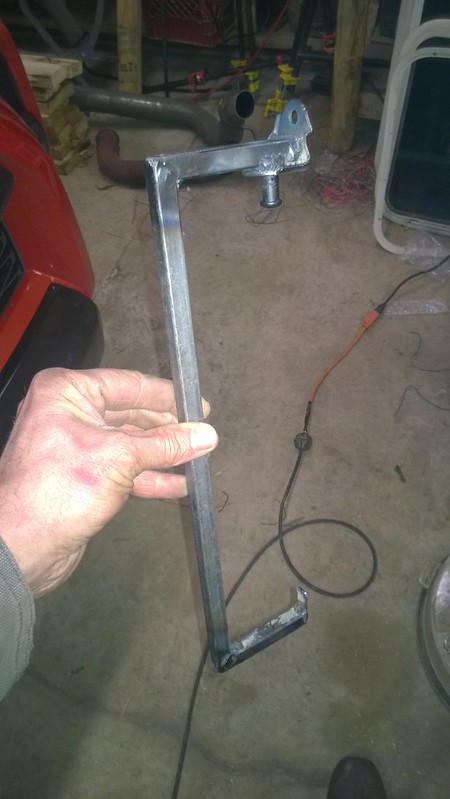
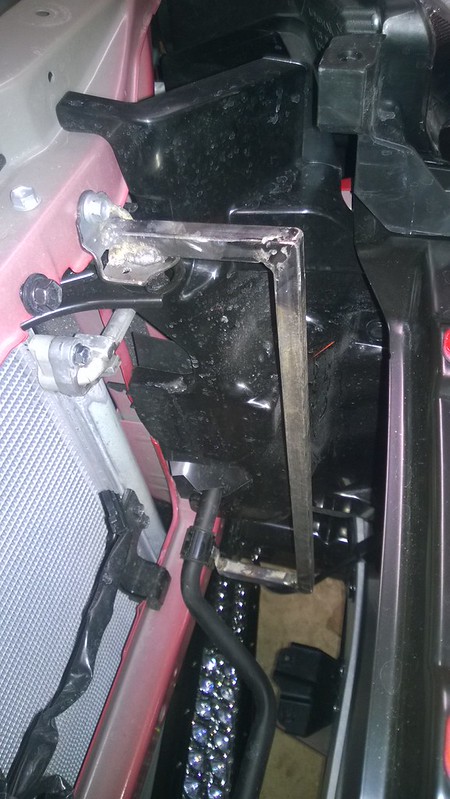
A couple more teasers. Should have it completed by the weekend. A friend of mine who is the ONLY person I trust to work on my cars fabricated this bracket for the LED bar. He is an absolute genius when it comes to this stuff. He always blows my mind with what he comes up with and this time was no exception.

16392953075_1db9911953_c.jpg


16206733099_02f1cb4183_c.jpg


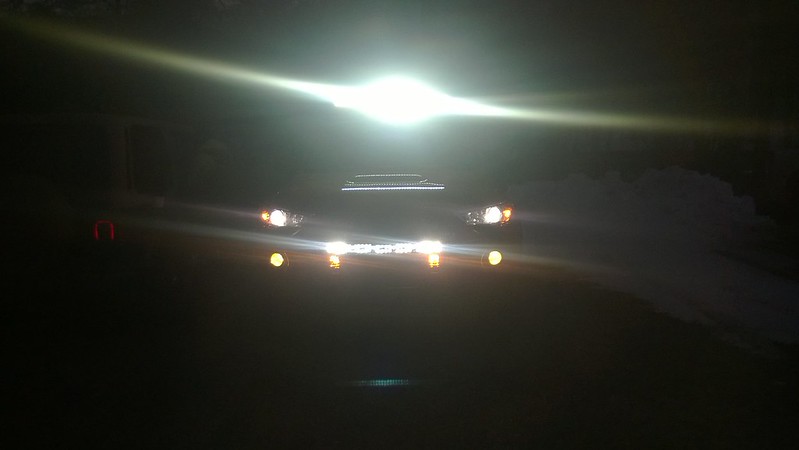
Preliminary Testing and Aiming

16410300745_2d60d5feb4_c.jpg
 
More progress....

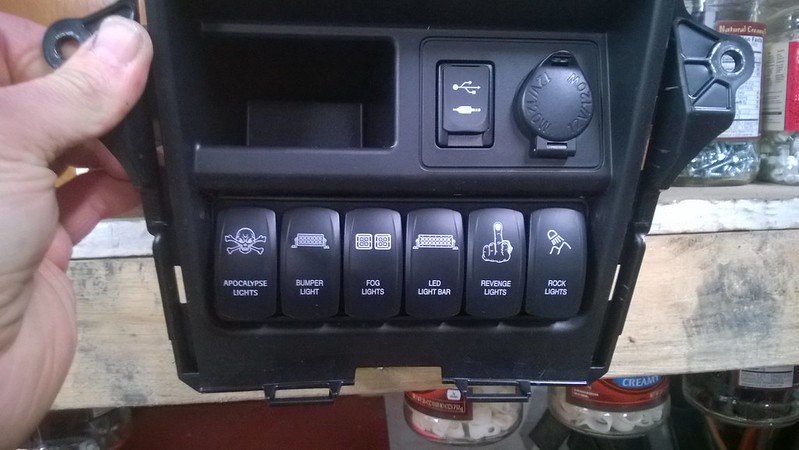
Bought this from Amazon

8260.png


Link here: Amazon.com : Blue Sea Systems Contura 6 Position Switch Mounting Panel : Boating Electrical Equipment : Sports & Outdoors

After some minor filing, it fits like a glove!!!

15791451513_5bd876ed3e_c.jpg


Interesting.

Gives me another way to be able to mount switches. Those are the carling, hmm looks good i was leaning the way of going with the aironboard switches. Does someone have a picture of this spot without any switches?

Spent last night on the tacoma forum going through 70 pages of a 12v bussman circuit box. From what I saw and previously priced out. He could build one for a little less than the sum of the parts because of the minimums required to ordered the parts.

As far as items I have or are in the process of getting that need switches.

Led Light Bar on Gobi 41" curved Nightstalker, leaning here or Rigid depends on if I get some back pay for my combat related compensasion. And how much.

20-30" light bar for behind grill Aurora now, or Rigid.

These will be switched on an ignition type circuit and on/off with brights.

Future:
Rock Lights
Rear lights will circuit in to do independent and with reverse
Winch maybe just a power to the solenoid. But with the carling switch I could use it to control the winch forward and reverse.
Side Lights

Constant 12V no switch needed but will be on my circuit bussman or other

Radar Detector
Front 1080p Camera
Hood Light will be on a strut switch
Radios CB / Portable 2 meter etc....
My Engel Fridge

I think that is about it for now. I will add a 12v drop circuit in front of my new circuit to prevent voltage drops may add a second battery if I am camping a bunch or find I am having difficulty with my power consumption. So I can still start the vehicle especially if I forget that the fridge is one. Give me about 3 days not running and still be able to start.

Any ideas others have would be awesome, i like new ideas and jump on others who care what even the small things end up looking like. It looks great so far. Thanks for the 3M idea, i didn't see antmans original post.

Steve

 
Cue the Sun!!

<iframe width="420" height="315" src="https://www.youtube.com/embed/Isjyme7L-V0" frameborder="0" allowfullscreen></iframe>​
 
This is a fantastic build thread, thanks for taking the time to share, can't wait to see what's next...
 
Cue the Sun!!

<iframe width="420" height="315" src="https://www.youtube.com/embed/Isjyme7L-V0" frameborder="0" allowfullscreen></iframe>​


Quite like the one for all switch. Do you kind sharing the wiring to make them all function like that? I can see where this could be handy.

Steve
 
I am gonna bet he made a long wire tail to each accessory wire and put diodes inline so there would be now flood back?
 
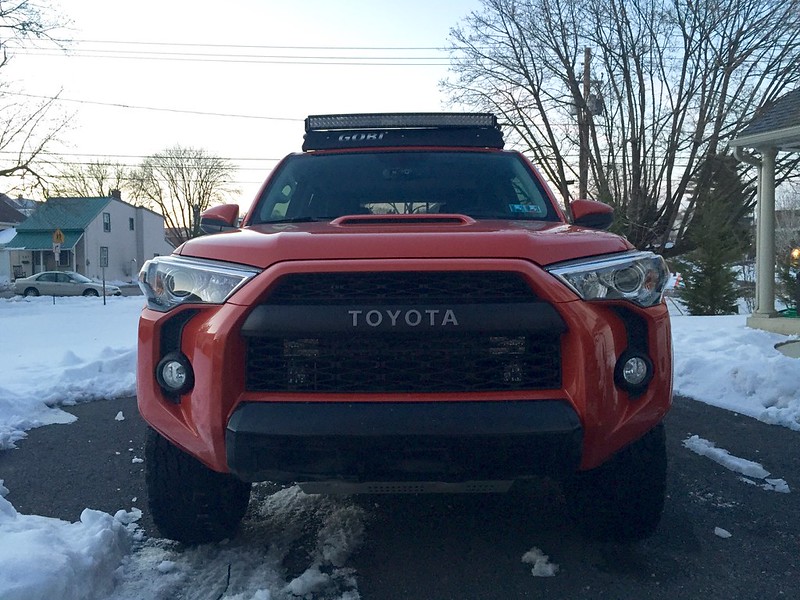
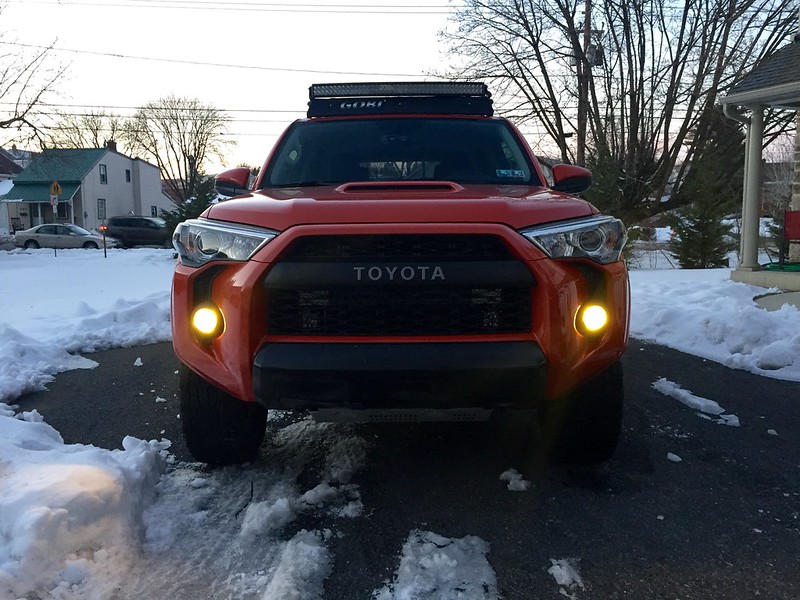
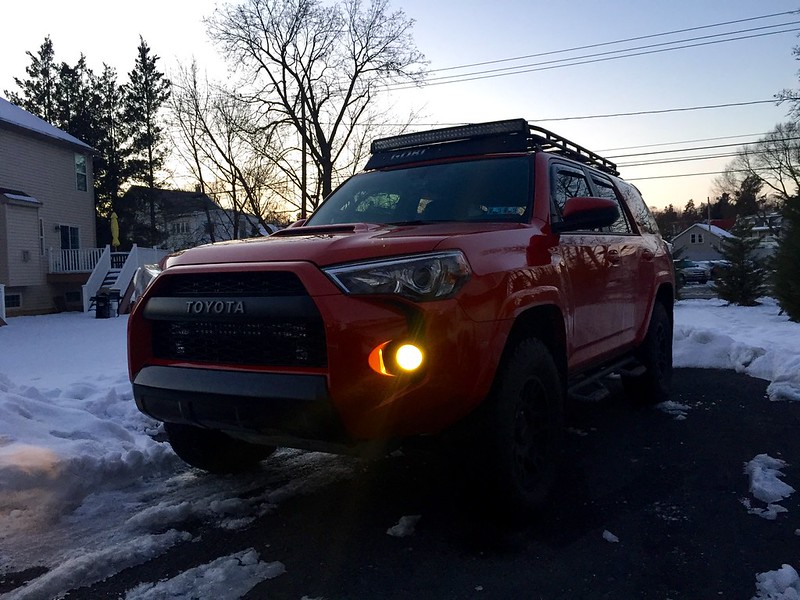
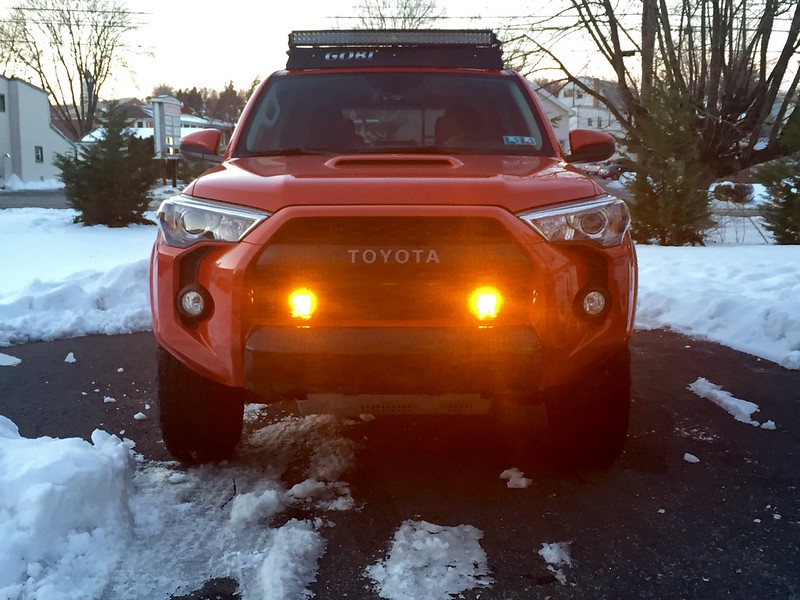
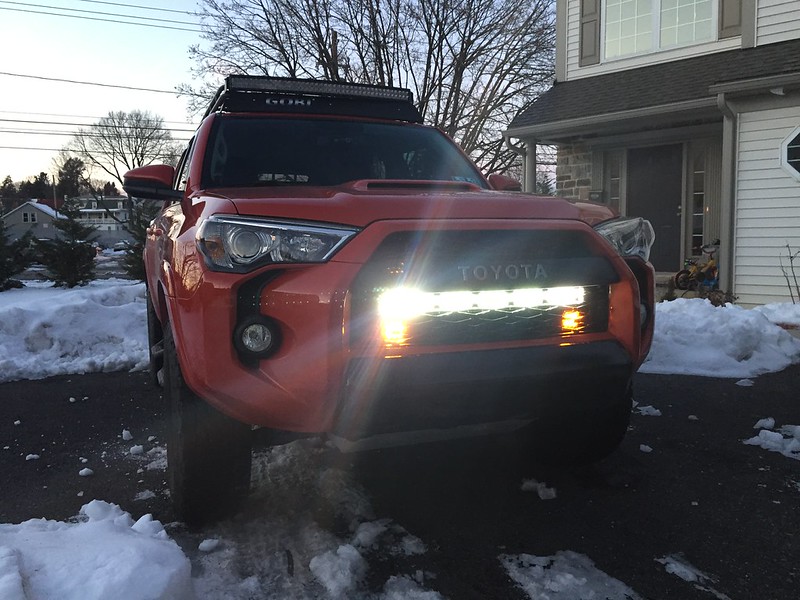
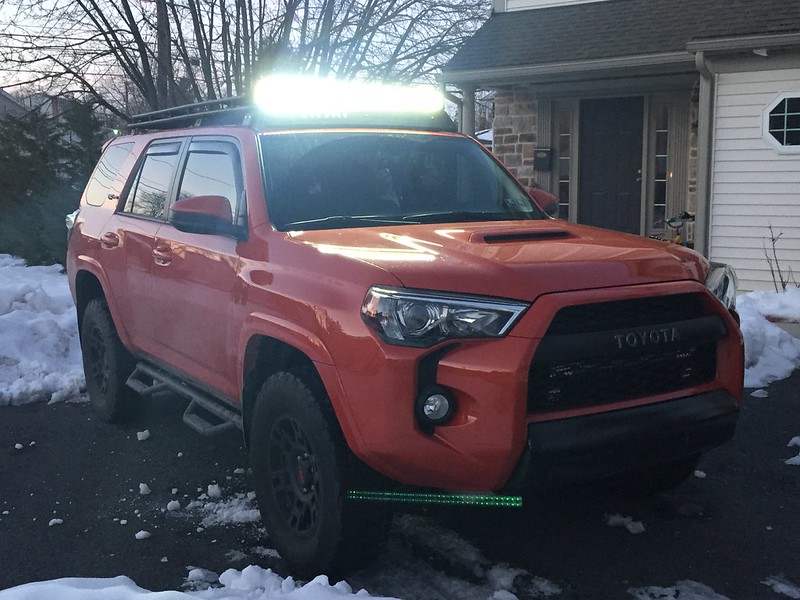
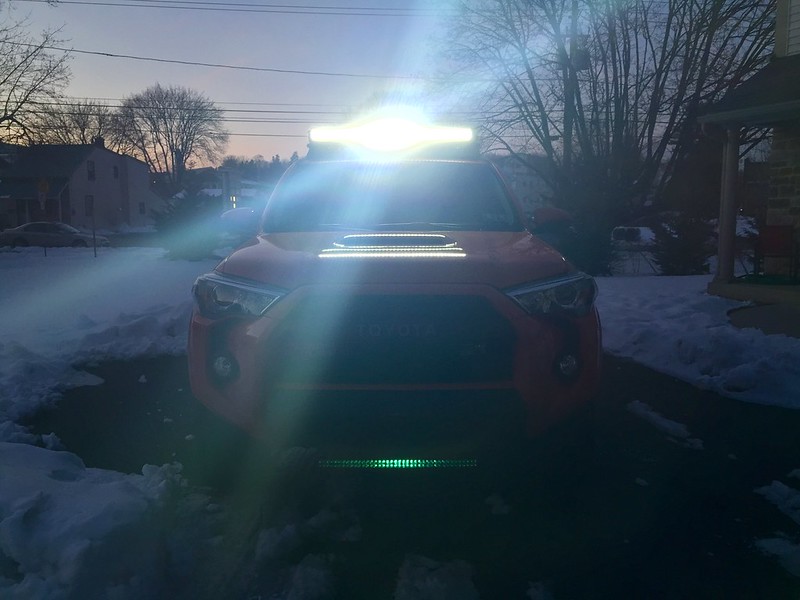
So I got all the lights mounted and wired up. I am posting pics of each "mode" so you can get an idea of how they look. Ill post some output pics a little later. Right now it is way too cold. For now, enjoy these pics. Thanks for looking.

Nothing on, just showing the light bar and the D2's behind the grill.

16252358679_f7d8661939_c.jpg


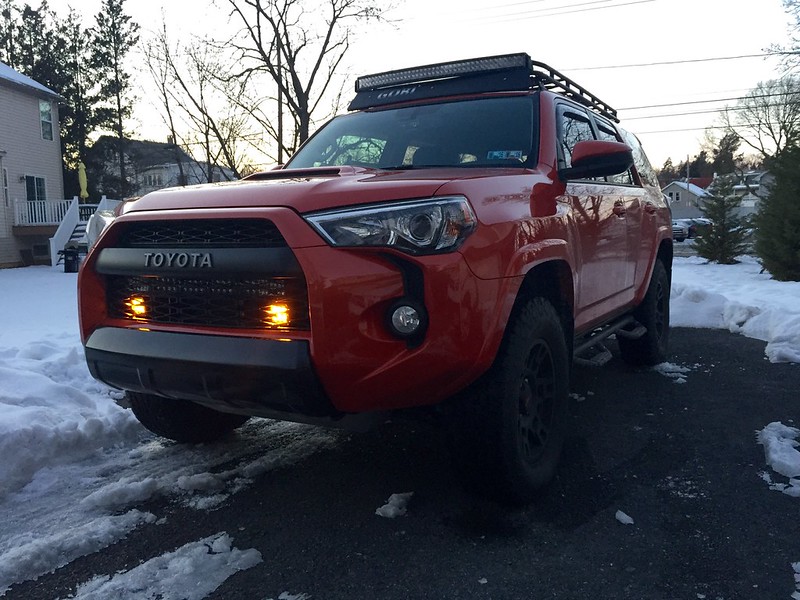
I did the independent fog light mod. Here are just the fogs which are PIAA Ion Yellow Bulbs.

15816085164_b1d920626e_c.jpg


15816085664_8a10a859b8_c.jpg


Rigid D2 in Amber behind the grill and under the 28" Light Bar.

16437657222_a118e44994_c.jpg


15818550583_500217ee01_c.jpg


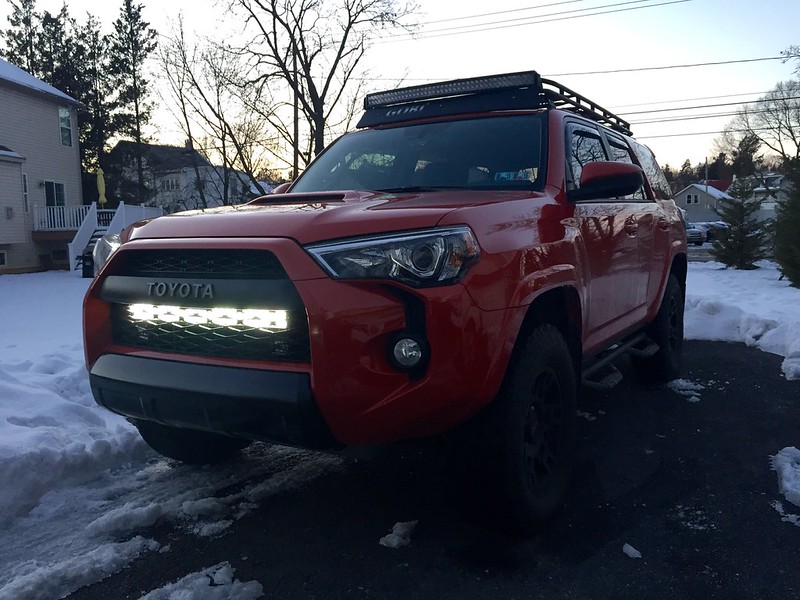
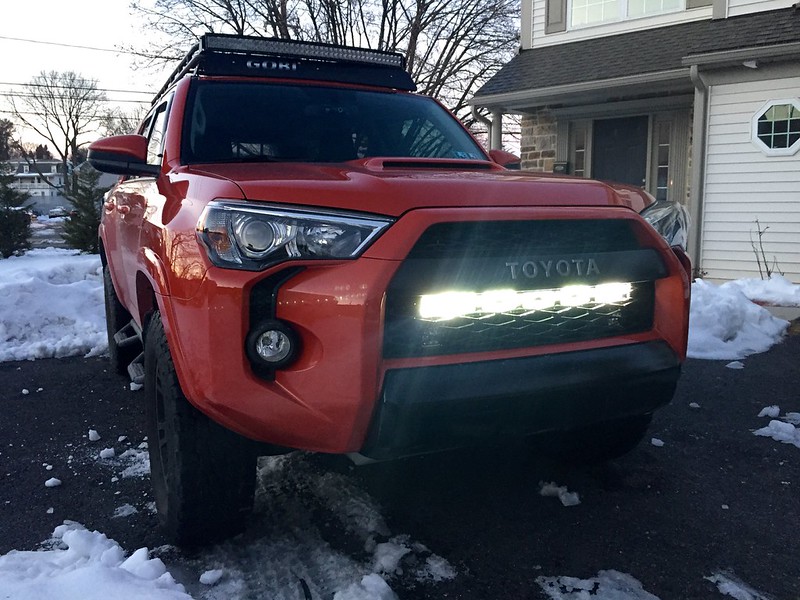
Rigid 28" E2 Light bar

16438610965_99c28392b1_c.jpg


16250952598_7d63b1d27d_c.jpg


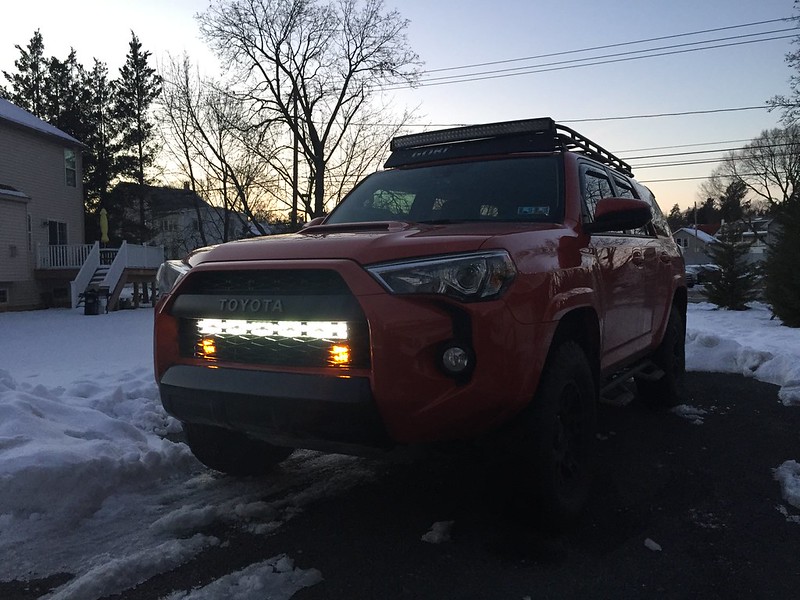
Both together

16251206230_31bccee513_c.jpg


16412638856_b2a1077ede_c.jpg


Cue the Sun...Rigid 40' RDS Curved LED Bar

16250946018_e142815b58_c.jpg


16250948558_bef7bf32c5_c.jpg


I don't have pics of the Rock Lights or the Rear lights yet. Ill post those in a little while.​
 
I need some additional light here in N.C., can I bother you to position your TRDP facing south and turn on all the lights?


By the way, I'm jealous. Looks freaking awesome!
 
Last edited:
Chudiddy

Can you expand on how you installed the Carling switches in the cubby below the radio. Also are the any gaps, etc or does it fill the space perfectly? Can take pictures from the rear also how you modified the dash. I like how this turned out and it is a perfect place for adding switches.

Oh, did you add a quick disconnect to remove the dash without having to remove each switch. I would also like to see how you wired the switches to come on with the single switch and light up.

Keep it up. I am sure I will have some things to share with you when I am able to start my mods. I have seen some other mods that are great ideas just do not have the refinement needed to be complete or what I am looking for.

I also need to figure out a bracket for behind the grill. It is interesting how you tied the upper and lower bolts together making a horizontal bracket on each side of the light. I just wish that I could weld. First though will be getting in my isolated power circuit and dual battery. Thanks. Doc
 

Members online

Forum statistics

Threads
278,316
Messages
3,554,111
Members
248,016
Latest member
Advally Service

Trending content

Back
Top