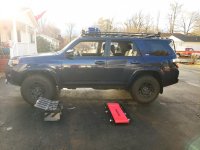
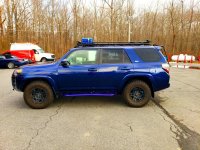
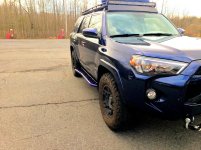
Dades Bluegirl build

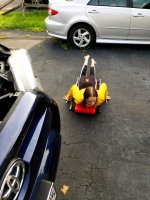
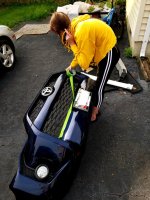
super helper. my daughter did help a lot with this! prepped the plastic to be cut
 

Attachments

  • 20180816_082823.jpg
    20180816_082823.jpg
    137.7 KB · Views: 870
  • 20180816_093628.jpg
    20180816_093628.jpg
    138.9 KB · Views: 860
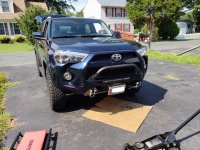
Mounted on. Just need to tension winch rope. bend the top of the license plate holder so it sits perpendicular to the road and isn't pressing on the wich rope.
 

Attachments

  • 20180816_153621.jpg
    20180816_153621.jpg
    137.5 KB · Views: 858
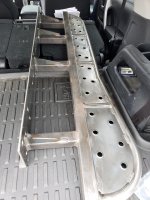
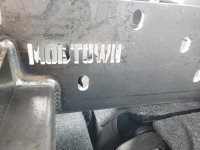
Picked up my rock sliders. Should be powder coating them this weekend.

Mobtown offorad (local to me). The owner Joe is an awesome dude!
kickout
fill plates
bolt on
They do offer powder coating, but I opted out because am going to do mine.
 

Attachments

  • 20180820_115238.jpg
    20180820_115238.jpg
    137.3 KB · Views: 845
  • 20180820_115246.jpg
    20180820_115246.jpg
    133.2 KB · Views: 841
Last edited:
Mounted on. Just need to tension winch rope. bend the top of the license plate holder so it sits perpendicular to the road and isn't pressing on the wich rope.

it looks good! How much did you pay for the OEM paint to spray the whole thing?
 
it looks good! How much did you pay for the OEM paint to spray the whole thing?

ordered it through automotive touchup. I think $280 for the primer, base coat, clear coat, prep cleaner, sanding kits. But 1 quart of base was purchased for me. I ended up with close to 15 coats of base on the front, 5 on the interior, and 7 coats of clear on the front. since that will take most of the rocks and all. I will say, I dropped it 3 times trying to mount it. chipped some of the pain. but it didn't get close to the bare metal. Please keep in mind, the first rounds of base coat didn't take. I had to reorder more paint.

just to preface this. I took it to 5 shops in my area to get a quote on the cost for them to paint it - none of those 5 would touch it.
 
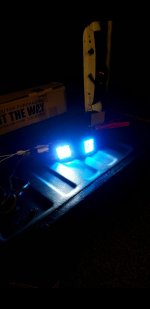
So my rear chaser led pods were a fail. Took 45 mins to get app to connect. Only controls halo colors. Didn't want to have 2 switches to control 1 set of lights. But oddly enough autozone has lights that will do it.
In case you are wondering they are Amazon brand el-cheapo.
 

Attachments

  • Screenshot_20180828-161848_Gallery.jpg
    Screenshot_20180828-161848_Gallery.jpg
    85.5 KB · Views: 804
Last edited:
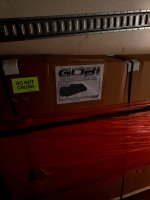
Finally got my Gobi roof rack. Despite the trail duty incident, and Gobis false lead times. I finally got my order. Took many phone calls and emails.
 

Attachments

  • 20180830_214237.jpg
    20180830_214237.jpg
    120 KB · Views: 762
The directions didn't work to well at removing the gas struts on the tailgate. Had to yank them off.
 

Attachments

  • 20180830_194939.jpg
    20180830_194939.jpg
    133.6 KB · Views: 781
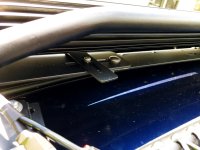
Got the roof rack on. The instructions for the light bar mounts were not very clear. Had to put them on. So I had to take the windham edges off. Put the light bar mounts on first. Then the windham edges.
 

Attachments

  • 20180902_121717.jpg
    20180902_121717.jpg
    128.1 KB · Views: 780
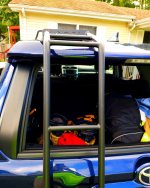
Ladder was pretty straight forward.
 

Attachments

  • IMG_20180902_134706_245.jpg
    IMG_20180902_134706_245.jpg
    131.3 KB · Views: 778
Last edited:
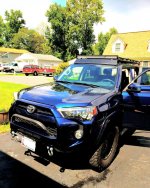
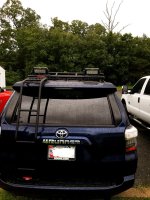
Here is the latest update. Still need to powder coat rockslides and mount. Auxiliary items still need to be wired.
 

Attachments

  • IMG_20180902_134856_701.jpg
    IMG_20180902_134856_701.jpg
    139.4 KB · Views: 1,877
okay story time:
As I posted earlier I had ordered a pair of 3" off brand pods for the rear. Main idea was to have an RGB lights in rear for chaser lights while on a trail. I could just run the color halo ring based on conditions for better visibility. Small draw back. yes they work and work great, however it requires 2 switches. 1 for the halo ring and one for the white pod lights. Not what I wanted.

Happen to be in Autozone looking for 4 connect power bus bar and ground bar. Found a light I liked. Does everything I want and only requires 1 power switch.

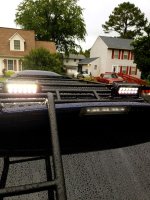
Settled on the 8" Type S led bar. 1 row pure white. 1 row RGBW. met the minimum IP67 rating I wanted. well here they are installed.
 

Attachments

  • 20180908_160543.jpg
    20180908_160543.jpg
    137.8 KB · Views: 1,705
Last edited:
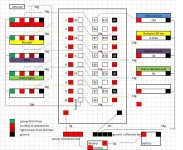
Auxillery power distribution

Lights have not been wired up yet. I just received my 100amp Power and ground bus bars. I have Bussmann relay/fuse box.

Here is my very amateur plan for the power diagram for my lights.
 

Attachments

  • power layout.jpg
    power layout.jpg
    99.4 KB · Views: 1,682
Last edited:
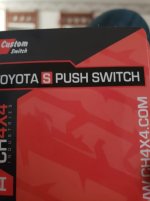
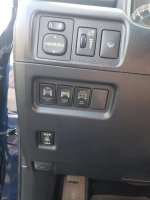
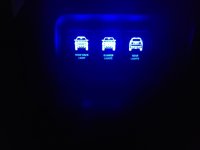
My switches came in. CH4x4 Toyota push switches. These will easily fit in you blank spots around your vehicle. If you are lucky and have a basic SR5 like me, you have 7 spots to add push switches.
 

Attachments

  • 20181001_175403.jpg
    20181001_175403.jpg
    30.9 KB · Views: 1,129
Last edited:
If you order the push switches. Make sure you order the "SMALL"
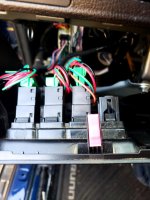
I have not finished wiring them up yet.
I did relocate the 100/400w AC switch and wiper defroster switch.

The blanks pop out rather easy. 2 clips. 1 on top 1 on bottom.

Instead of killing you with a detail write up. on how to access the inside part of the dash.

YouTube
Skip to min 32
 

Attachments

  • 20181001_163308.jpg
    20181001_163308.jpg
    123.2 KB · Views: 1,590
  • 20181001_164056.jpg
    20181001_164056.jpg
    132.5 KB · Views: 1,603
Last edited:
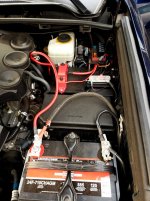
So after electrical issues resolved. Larger battery. Same group size.

Added spacers to the relay/fuse box.
Bussmann relay/fuse box. Mini relays
Custom made shelf.
120 amp power distribution bar.
120 amp ground bar.
4: 8-32x2" screws.
4: 10-24x1" spacers.
 

Attachments

  • tmp-cam-6688306253712330015.jpg
    tmp-cam-6688306253712330015.jpg
    137.5 KB · Views: 1,520
Side step removal Sliders on

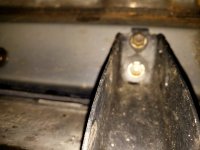
Did the side step delete in prep for my sliders. I did use rubber washers and put the screws back into the body afterwards.
 

Attachments

  • rsz_20190124_160038.jpg
    rsz_20190124_160038.jpg
    134 KB · Views: 1,350
  • rsz_20190124_155519.jpg
    rsz_20190124_155519.jpg
    133.2 KB · Views: 1,358
Last edited:
Went over to the shore and got my sliders. now they are installed. 1 more step towards the completion of my dream vehicle (yes many steps still to go).

I know they will never look this nice again. I accept the will get dented, scratched, scuffed... I am okay with that.

 

Attachments

  • rsz_20190125_132634.jpg
    rsz_20190125_132634.jpg
    140.3 KB · Views: 1,361
  • rsz_120190125_132732.jpg
    rsz_120190125_132732.jpg
    138.4 KB · Views: 1,351

Members online

No members online now.

Forum statistics

Threads
278,316
Messages
3,554,111
Members
248,016
Latest member
Advally Service

Trending content

Back
Top