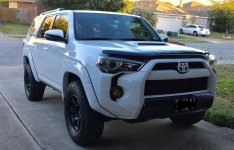
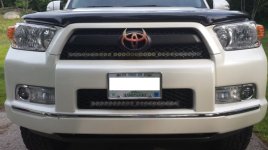
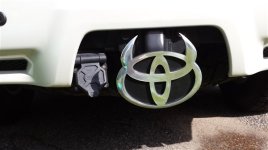
--if someone has more reliable image hosting, please mirror and I will update the image sources
This is for a 2016 Limited. 2014-2016 Limiteds should be the same. I don't know if this applies to other models and years.
RELATED THREADS:
http://www.toyota-4runner.org/5th-gen-t4rs/161583-2014-front-emblem-removal.html
http://www.toyota-4runner.org/5th-gen-t4rs/226614-remove-front-emblem-2.html
There may be a better way to access this, but this is how I did it.
I broke a few clips, dropped screws constantly, lost one to the inside of my bumper, stripped a different screw, and cross threaded bolts in to the new emblem enough that I needed to clean up threads with a tap set. I hope I can save you the trouble I had!
The image descriptions may seem unnecessary, but I'm going to describe things with the expectation that the images may no longer be available due to the limitations of the free image hosting I am using.
To help keep track of things:
There are 2 types of trim pins. Short ones with textured tops that hold the radiator cover on, and then longer pins that have a screw driver cut outs.
There are 5 metal screws that I removed and all were the same. There are 2 types of bolts. 1 black one holding the grill bracket to the hood release surround. 2 silver ones holding hood release surround to the body.
image of tools laid out
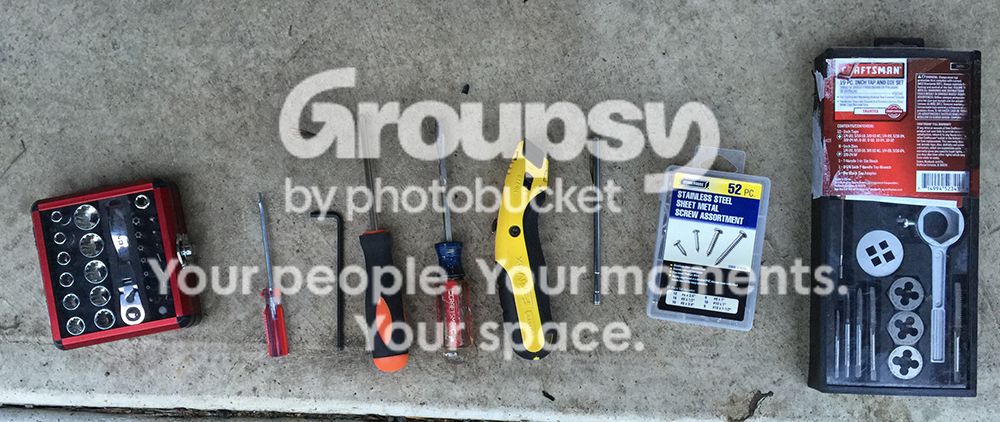
Tools needed:
Slotted screw driver -- possibly just small, but small and medium is best
10mm socket to remove bolts
5/32 Allen wrench
Standard (#2? size) Philips screwdriver

image comparison of Toyota screws to #8-1/2
Optional:
Razor blade to left pin edges until you can slip a screw driver under -- not needed -- see e60ral's pro-tip below
Magnetic retrieval tool to retrieve dropped screws
#8-1/2 stainless sheet metal screws to replace those you've dropped
Tap set with 10-32 tap to clean up threads on the new emblem

image of radiator cover with some pins removed
First: Remove the plastic cover over the radiator area by removing the pins. I believe there are 13 of them but I forgot to count. I found it easiest to work a razor blade under the edge of the pin and get it up just enough to slip a medium sized slotted screw driver under to pop them. The pins are reusable so put them aside. They are all the same size and are differentiated from the other pins by their textured plastic heads and no screw driver cut-out.
e60ral
protip: you don't need a screwdriver for those pop clips on the radiator cover, you just push them in the middle to pop them then lift them out. to reinstall you just press the point on a firm surface to push the center out then insert and push the middle to the flush position to re-lock them

image of radiator cover removed
With the cover removed, you should be able to look in and see the screw holding the emblem surround in as well as the side clips holding it. There is a third clip at the top that is slightly hidden. You can use the head of the small screw driver to release those clips but the screw in the center will still hold the emblem surround and emblem. If you have a flex shaft screwdriver, you may be able to access that screw without any further disassembly. There is very little space or clearance and I was unable to access it with a right angle screwdriver or finger turn bit driver.
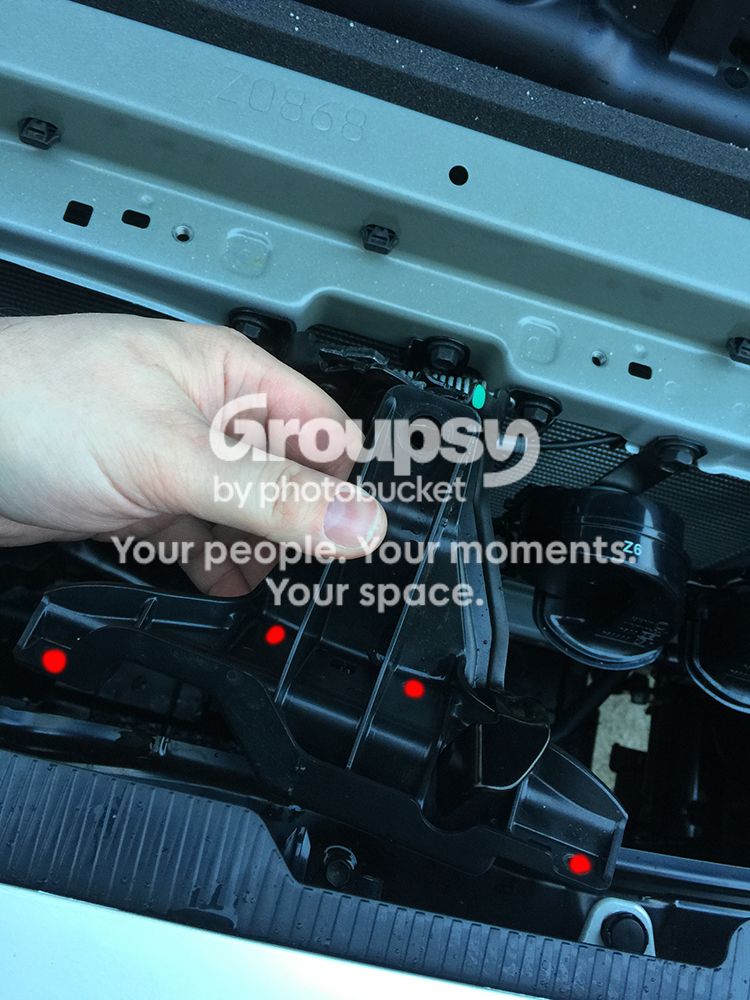
image of bracket
To get better access. I removed the bracket holding the upper grill to the hood release surround, and then the hood release surround. I first unbolted the bracket by removing the black 10mm bolt. I then carefully removed the 4 Philips screws that attach the bracket to the grill, being very careful not to drop any of the screws. Any dropped screws will fall down on to the plastic below, fall through the holes in that, or if you are unlucky get stuck in one of the crevices and then disappear in to your bumper.

image of hood release looking down to clip holding surround

image of hood release surround removed with broken clip
To get more room to maneuver a screw driver, I also removed the hood release surround. There are 2 silver bolts and 2 plastic clips holding it along with 2 plastic guides. Be careful not to break the plastic clips. There is one on either side of the hood release.

image of 6 pins to remove and 4 tabs to release upper grill assembly
I still could not get easy access to the back of the screw holding the emblem surround. There is a lip of painted trim blocking it and not a lot of room. I removed the 2 top pins and 4 center pins. These pins all have cut outs for a screwdriver head and are easy to remove. There are then 4 plastic tabs to release. The assembly can then slide forward slightly. I then tilted the upper grill assembly outward about 30 degrees and was able to get access to the screw holding the emblem surround to the upper grill.

image of emblem surround backside showing 3 clips and screw

image of closeup of passenger side clip
Next to the screw holding on the emblem surround is an alignment post. There are then 2 clips on either side, and one on top, that can be released with a small screw driver. There was no bottom clip that I noticed. A second set of hands would be helpful at this point. As you release each clip, have the person slightly pull on the surround to keep the clip released as you move on to the next one.

image of old emblem clips
Now the hardwork is done, the instructions follow the Diaz fab instructions. There are 4 clips that hold the old emblem to the surround. Release these from the back. The allen head bolts for the new emblem fit through these holes. I found it easiest to start the bottom bolt, then the top. There is space for movement on the side bolts so I did those last. I used a round file to file just a tiny bit of plastic away to give myself some extra room to move the bolts. I slightly cross threaded one of the bolts due to the tight spacing, so I cleaned up the threads with my tap and die set.
Getting everything back together should be easy. Assembly is the reverse of disassembly! Just be careful not to break any of the clips. You may need to pinch the pin bottoms back together slightly to get them to slip back in to the holes before pushing down the head and locking them in place.
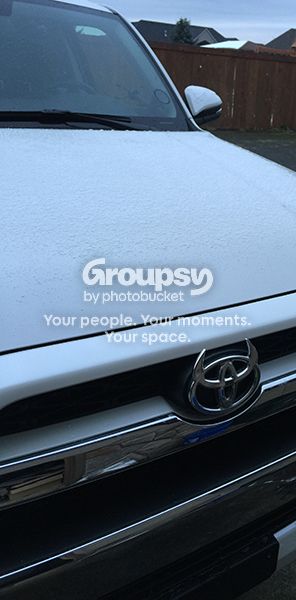
image of installed horns
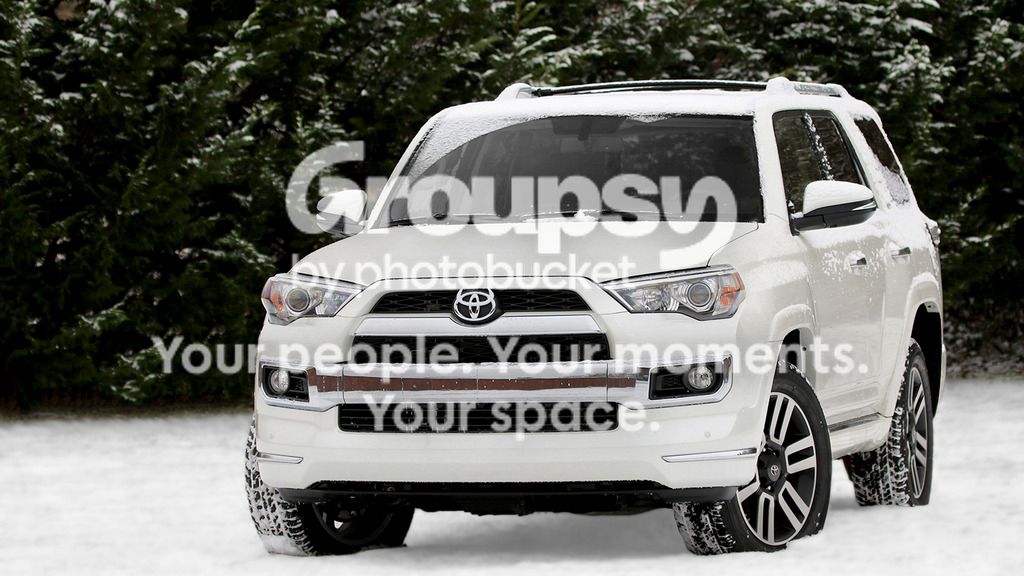
image of complete vehicle with horns
Success!
This is for a 2016 Limited. 2014-2016 Limiteds should be the same. I don't know if this applies to other models and years.
RELATED THREADS:
http://www.toyota-4runner.org/5th-gen-t4rs/161583-2014-front-emblem-removal.html
http://www.toyota-4runner.org/5th-gen-t4rs/226614-remove-front-emblem-2.html
There may be a better way to access this, but this is how I did it.
I broke a few clips, dropped screws constantly, lost one to the inside of my bumper, stripped a different screw, and cross threaded bolts in to the new emblem enough that I needed to clean up threads with a tap set. I hope I can save you the trouble I had!
The image descriptions may seem unnecessary, but I'm going to describe things with the expectation that the images may no longer be available due to the limitations of the free image hosting I am using.
To help keep track of things:
There are 2 types of trim pins. Short ones with textured tops that hold the radiator cover on, and then longer pins that have a screw driver cut outs.
There are 5 metal screws that I removed and all were the same. There are 2 types of bolts. 1 black one holding the grill bracket to the hood release surround. 2 silver ones holding hood release surround to the body.
image of tools laid out
Tools needed:
Slotted screw driver -- possibly just small, but small and medium is best
10mm socket to remove bolts
5/32 Allen wrench
Standard (#2? size) Philips screwdriver
image comparison of Toyota screws to #8-1/2
Optional:
Razor blade to left pin edges until you can slip a screw driver under -- not needed -- see e60ral's pro-tip below
Magnetic retrieval tool to retrieve dropped screws
#8-1/2 stainless sheet metal screws to replace those you've dropped
Tap set with 10-32 tap to clean up threads on the new emblem
image of radiator cover with some pins removed
First: Remove the plastic cover over the radiator area by removing the pins. I believe there are 13 of them but I forgot to count. I found it easiest to work a razor blade under the edge of the pin and get it up just enough to slip a medium sized slotted screw driver under to pop them. The pins are reusable so put them aside. They are all the same size and are differentiated from the other pins by their textured plastic heads and no screw driver cut-out.
e60ral
protip: you don't need a screwdriver for those pop clips on the radiator cover, you just push them in the middle to pop them then lift them out. to reinstall you just press the point on a firm surface to push the center out then insert and push the middle to the flush position to re-lock them
image of radiator cover removed
With the cover removed, you should be able to look in and see the screw holding the emblem surround in as well as the side clips holding it. There is a third clip at the top that is slightly hidden. You can use the head of the small screw driver to release those clips but the screw in the center will still hold the emblem surround and emblem. If you have a flex shaft screwdriver, you may be able to access that screw without any further disassembly. There is very little space or clearance and I was unable to access it with a right angle screwdriver or finger turn bit driver.
image of bracket
To get better access. I removed the bracket holding the upper grill to the hood release surround, and then the hood release surround. I first unbolted the bracket by removing the black 10mm bolt. I then carefully removed the 4 Philips screws that attach the bracket to the grill, being very careful not to drop any of the screws. Any dropped screws will fall down on to the plastic below, fall through the holes in that, or if you are unlucky get stuck in one of the crevices and then disappear in to your bumper.
image of hood release looking down to clip holding surround
image of hood release surround removed with broken clip
To get more room to maneuver a screw driver, I also removed the hood release surround. There are 2 silver bolts and 2 plastic clips holding it along with 2 plastic guides. Be careful not to break the plastic clips. There is one on either side of the hood release.
image of 6 pins to remove and 4 tabs to release upper grill assembly
I still could not get easy access to the back of the screw holding the emblem surround. There is a lip of painted trim blocking it and not a lot of room. I removed the 2 top pins and 4 center pins. These pins all have cut outs for a screwdriver head and are easy to remove. There are then 4 plastic tabs to release. The assembly can then slide forward slightly. I then tilted the upper grill assembly outward about 30 degrees and was able to get access to the screw holding the emblem surround to the upper grill.
image of emblem surround backside showing 3 clips and screw
image of closeup of passenger side clip
Next to the screw holding on the emblem surround is an alignment post. There are then 2 clips on either side, and one on top, that can be released with a small screw driver. There was no bottom clip that I noticed. A second set of hands would be helpful at this point. As you release each clip, have the person slightly pull on the surround to keep the clip released as you move on to the next one.
image of old emblem clips
Now the hardwork is done, the instructions follow the Diaz fab instructions. There are 4 clips that hold the old emblem to the surround. Release these from the back. The allen head bolts for the new emblem fit through these holes. I found it easiest to start the bottom bolt, then the top. There is space for movement on the side bolts so I did those last. I used a round file to file just a tiny bit of plastic away to give myself some extra room to move the bolts. I slightly cross threaded one of the bolts due to the tight spacing, so I cleaned up the threads with my tap and die set.
Getting everything back together should be easy. Assembly is the reverse of disassembly! Just be careful not to break any of the clips. You may need to pinch the pin bottoms back together slightly to get them to slip back in to the holes before pushing down the head and locking them in place.
image of installed horns
image of complete vehicle with horns
Success!
Last edited: