
-
If you plan to post to Classified forums, you must follow these rules, or your post will be deleted.
- Thread title must include at a minimum: FS or FT, Item(1st, 2nd, 3rd, 4th or 5th gen), Price and Location. For Example: FS: 4th GEN Carpet Floor Mats - Tan, $50 Denver, CO.
-
All Threads must contain the following information
- What is for sale/trade (model, specs, etc.)
- Condition
- Price/What you want to trade for
- Location of item
- At least one picture of the item for sale or for trade
- No "Feeler" Threads - Its either for sale or it isn't.
- Moderators lock Classified Threads that have not had any activity in 90 days or when the part is announced SOLD.
- Threads not complying with the rules will be deleted without notice.
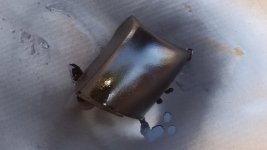
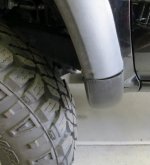
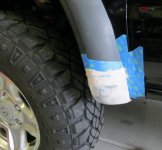
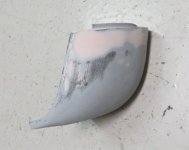
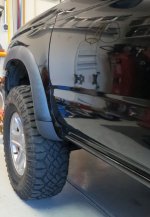
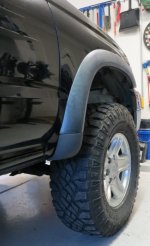
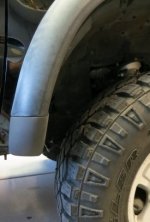
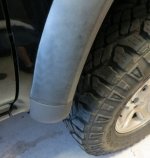
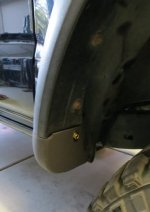
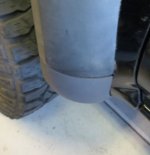
FS: 3d Printed SR5 Flare Caps $80 3rd gen
- Thread starter D Farms
- Start date





Similar threads


