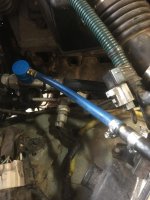
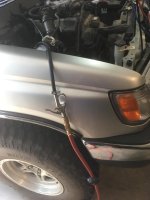
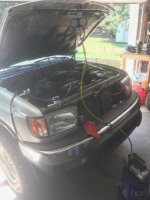
A little update - FINALLY! So thanks to my Dad (who is an engineer), we found the small leak and replaced the O-Ring with another new one that was slightly bigger in thickness. To find it, he had the brilliant idea to pressurize the system with his air compressor which has a drier on it (so as not to introduce too much moisture into the A/C lines. He rigged up a nice hose mashup using an old schrader valve off of one of those A/C recharge kits and some clamps.
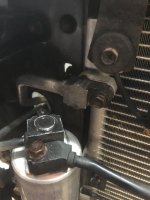
Once it we had about 30 psi in the lines, we used soapy water to find the leak and re-seal it with the PAG O-ring. Pretty ingenious really. It was leaking at the top of the condenser, just behind the drier.
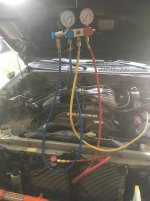
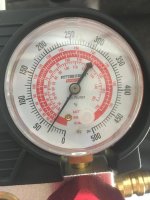
With that done, we used a vacuum pump to evacuate the system and then put in R134a until the gauges were in good range for the ambient temperature, which was about 88 degrees here in SC. The pic of the High gauge is when we had the air compressor hooked up to test for leaks though.
Took it on a test drive and everything was perfect and COLD. Put two and half cans on 12oz R134a into it (slightly overcharged).
Brought it back and as soon as I turned it off, the bottom of the radiator started pouring coolant... heated up but not into the hot range.
An hour and 150 bucks later, new radiator and all is well. So all in all both of these projects were pretty easy to do provided you have the right equipment and a whole weekend to devote to them.
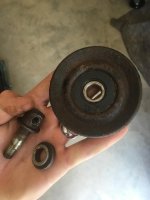
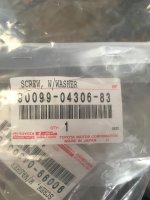
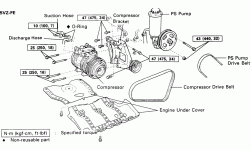
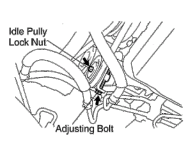
All said and done, we replaced compressor, condenser, radiator, drier, A/C belt, a A/C belt tensioner pulley adjustment bolt (broke off during removal, part number is on the bag in picture), and new coolant and refrigerant.
Please see the following pictures for everything except the radiator job. Also, buy Denso components, especially the condenser and compressor as we had parts that didn't line up exact, and the electrical plug for the compressor was not the same at all...
[MENTION=25434]BamaDrewski[/MENTION] thought you might want to see how we got along.