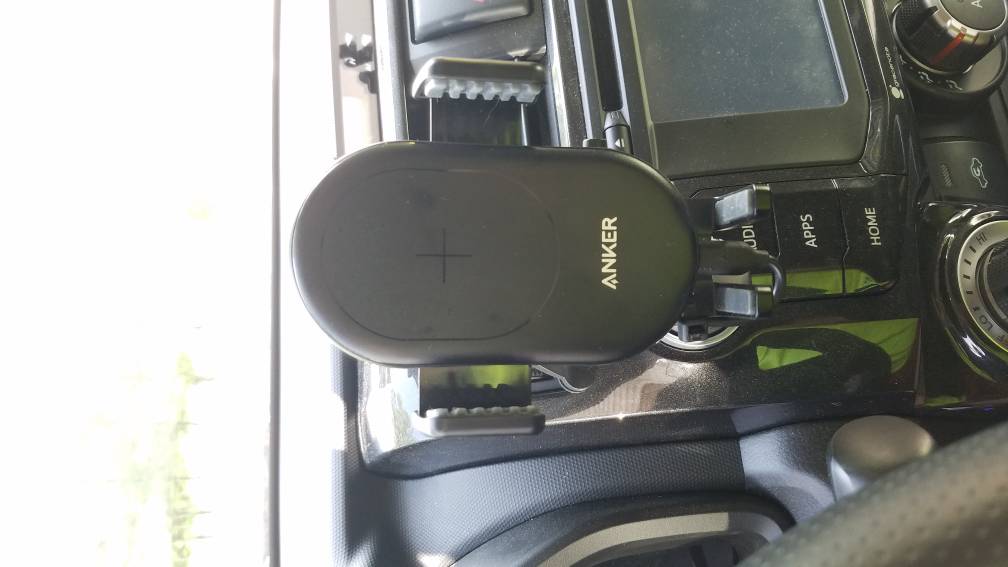
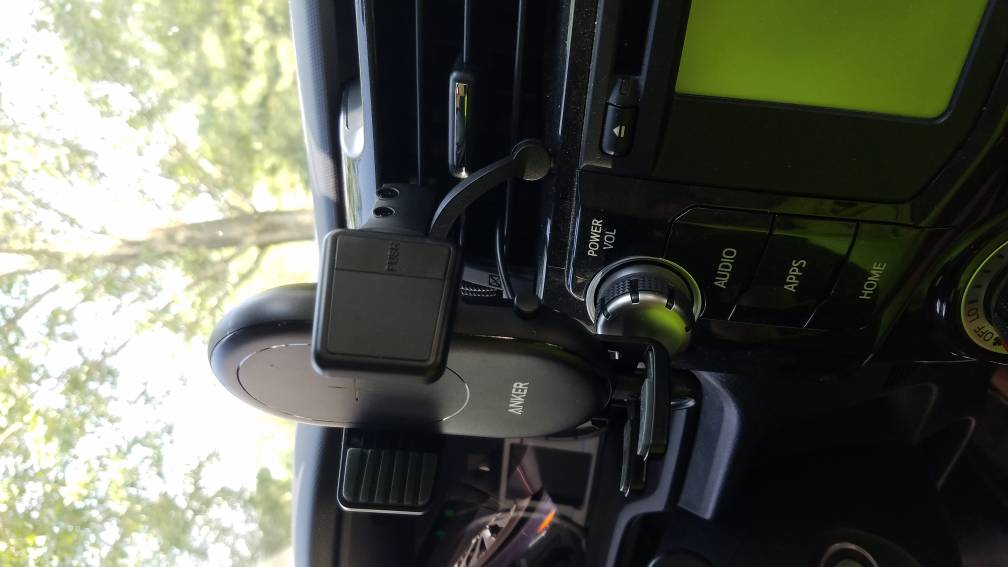
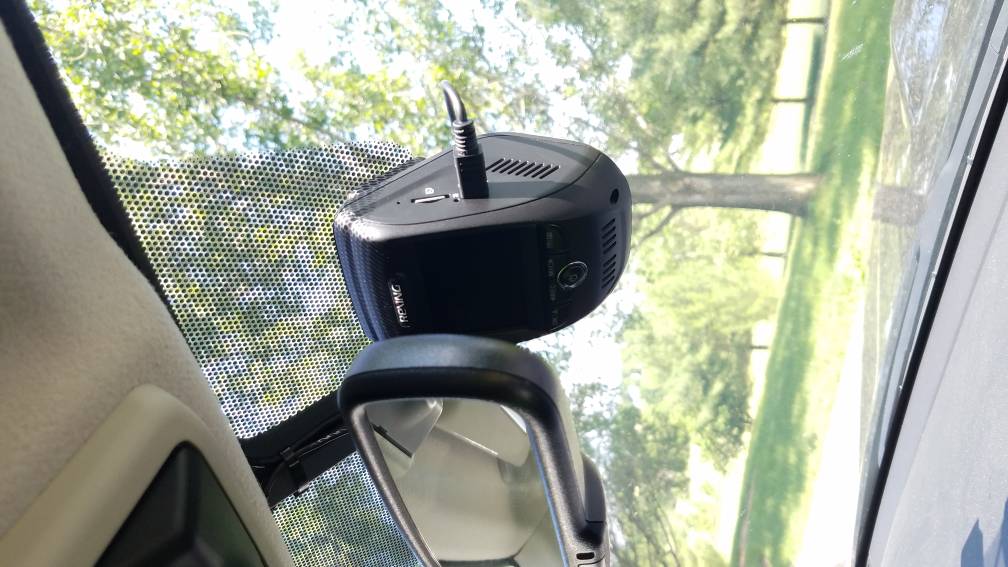
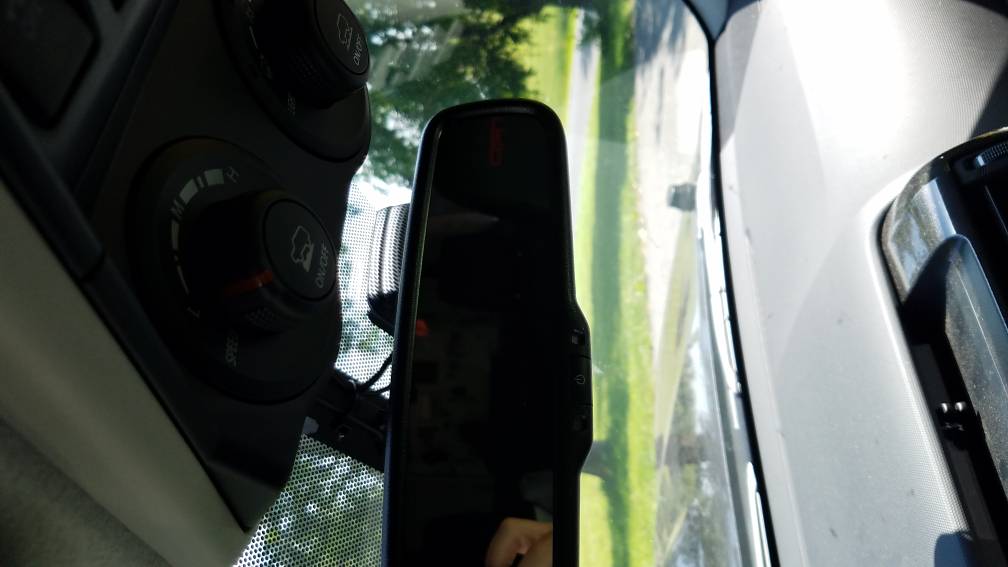
Hard wire for dash cam, wireless charger

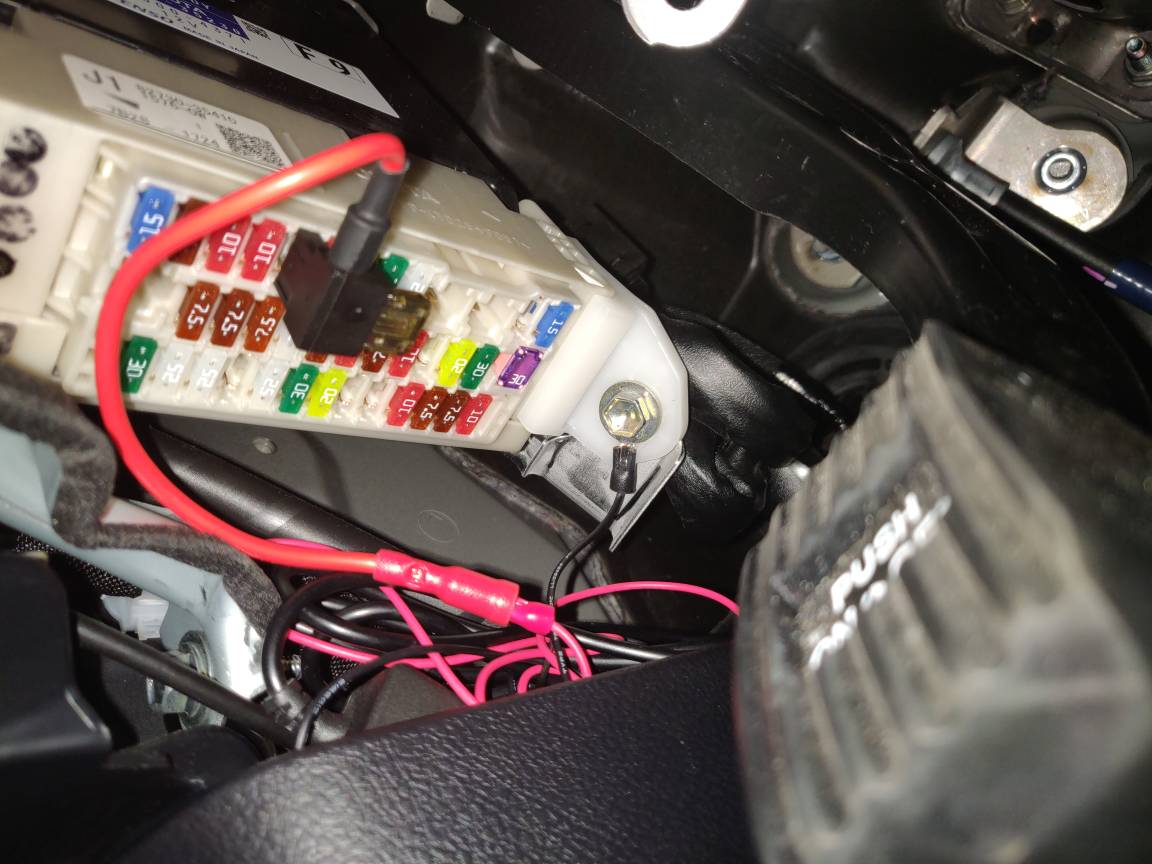
I’ve always just wedged the wire into the fuse block. I learned this from my dad a very long time ago. Super ghetto, I know. I currently have a dash cam and radar detector installed. I just ground out to whatever bolt is convenient and I always tap into things that won’t create too much of an issue if I blow a fuse. I’m tapped into the 12v outlets (switched power) and the power drivers seat (constant power). I needed the constant power for the dash cam. It records when the vehicle is parked. I just installed this the other day after some B stole my front license plate 10 minutes after I pulled into work. If an event like that happens again I can now publicly shame the person on the internet at the very least.

Heading to Menards in a few to go buy a couple add-a-circuit’s so I can install everything correctly.
 
Good timing. I just installed a 12v tap for my dashcam yesterday. I used an "Inviscord" that plugs into the rear view mirror's molex connector (the mirror's power is switched to the ignition).

It's a little spendy at $24 for a usb power cord, but the build quality, ease of install, zero splices, solders or cuts to factory wiring made it an easy choice for me. Took about 5 minutes to install.

Invisicord Products

Inspired by this thread in general and your post specifically, I ordered a cord from Invisicord to connect a dashcam to the mirror in my ‘14 Limited. It’s been six days since I ordered with nothing from Invisicord. I’ve sent a couple of emails to their sales alias with crickets in return. Did your cable take a while to arrive? Did they send shipping confirmation on your order? Thanks in advance!
 
Inspired by this thread in general and your post specifically, I ordered a cord from Invisicord to connect a dashcam to the mirror in my ‘14 Limited. It’s been six days since I ordered with nothing from Invisicord. I’ve sent a couple of emails to their sales alias with crickets in return. Did your cable take a while to arrive? Did they send shipping confirmation on your order? Thanks in advance!

I think the guy is away on vacation. Somewhere on the website he says he is out of town until June 10th and that orders will shipped on his return.

Anyone know what size of pins I need to fit the molex connector in the back of the mirror? Is the standard size or the small. I tried to get them out of the connector but the little buggers won't shift.
 
I think the guy is away on vacation. Somewhere on the website he says he is out of town until June 10th and that orders will shipped on his return.

Anyone know what size of pins I need to fit the molex connector in the back of the mirror? Is the standard size or the small. I tried to get them out of the connector but the little buggers won't shift.

The inviscord for a Toyota mirror should be ordered with Standard size pins.

No need to remove any pins. If it helps you get access, remove the molex plug out of the mirror, but don't try to remove the factory pins from inside the molex.

The invisicord pins get inserted into the molex connector over the top of the factory wiring pins. 2 pins, 1 hole.

No click or anything fancy. It's just a friction fit to connect the factory wiring pin to the invisicord pin. The molex housing is playing the role of electrical tape, holding the two pins together. Use a few zipties to lock everything down and keep them from vibrating loose as you drive.

I checked the website just now and it does say the guy is on vacation until June 10. My order shipped the same day and arrived in 2, so I had absolutely zero complaints and that's why I didn't hesitate to recommend it. Sucks about the timing of OldSchool's order, but I'm certain it'll show up.
 
Last edited:
I got a dual, 2 amp usb socket on amazon. Wired my wireless charger and backup cam to it. You could solder wires onto the fron cig outlet with a fuse on the positive. I ran the wire from the charger into my ac duct and used strip caulk to seal it. Ran that down behind the front pocket. Same for dash cam. Just up and around then under glove box to the dual usb.

Just remember your total capacity for cig lighters bow includes the hardwired items.

I have a toggle button that i added to the circuit with a relay so i can run the cam on constant off the aux batt for cragslist sales and when it gets work done.

https://www.amazon.com/gp/aw/d/B01N6S2SNM?psc=1&ref=ppx_pop_mob_b_asin_image
4508093a7008c784033dcc4e750ebba3.jpg
a79095f40694e0bf81716279aead455e.jpg
f7b14743bf902b8071f8f22e6bda35bc.jpg
ff20a76c411b56bd43e982aadb04577b.jpg
56a6c6ba527f2ef4749e6813531d98dc.jpg


Sent from my SM-G930V using Tapatalk
 
The inviscord for a Toyota mirror should be ordered with Standard size pins.

No need to remove any pins. If it helps you get access, remove the molex plug out of the mirror, but don't try to remove the factory pins from inside the molex.

The invisicord pins get inserted into the molex connector over the top of the factory wiring pins. 2 pins, 1 hole.

No click or anything fancy. It's just a friction fit to connect the factory wiring pin to the invisicord pin. The molex housing is playing the role of electrical tape, holding the two pins together. Use a few zipties to lock everything down and keep them from vibrating loose as you drive.

I checked the website just now and it does say the guy is on vacation until June 10. My order shipped the same day and arrived in 2, so I had absolutely zero complaints and that's why I didn't hesitate to recommend it. Sucks about the timing of OldSchool's order, but I'm certain it'll show up.

Thanks for the info, I'll order one with std size pins.
 
Dark Passenger, Thanks for the info on the pin sizes and how to connect and secure to the molex. While I almost always solder and heat shrink my hookups, the ability to piggyback onto the mirror was just too tempting to resist. I checked my order and fortunately I ordered the std size pins. I guess I’ll have to stand by for our guy to get back and send out my cable. Can’t hate a man for taking some PTO...
 
Good timing. I just installed a 12v tap for my dashcam yesterday. I used an "Inviscord" that plugs into the rear view mirror's molex connector (the mirror's power is switched to the ignition).

It's a little spendy at $24 for a usb power cord, but the build quality, ease of install, zero splices, solders or cuts to factory wiring made it an easy choice for me. Took about 5 minutes to install.

Invisicord Products


I like the Invisicord. It is neat and elegant. It answers my question about being able to tap into the connector at the rear view mirror.
 
Dark Passenger, Thanks for the info on the pin sizes and how to connect and secure to the molex. While I almost always solder and heat shrink my hookups, the ability to piggyback onto the mirror was just too tempting to resist. I checked my order and fortunately I ordered the std size pins. I guess I’ll have to stand by for our guy to get back and send out my cable. Can’t hate a man for taking some PTO...


You’re welcome. I’m a fan of soldered connections, too. Especially in automotive. But I made an exception for a dash cam mounted behind the mirror. I figure the camera won’t have as long of a lifespan as the car, so it’ll be nice to be able to replace it and leave no trace that it was ever there. No splices, solders, etc in the factory wiring. Maybe my next camera will use a micro usb, or different type of barrel plug. It’ll be great to not cut into the mirror’s wiring multiple times if that’s the case.


Sent from my iPhone using Tapatalk
 
I thought I'd circle back after installing my Invisicord yesterday. Total elapsed time from start to finish was 15 minutes. Reading darkpassenger's messages helped me know what to expect but honestly, this might be the best and easiest mod based on return on level of effort I've ever done.
My Simple DIY Instructions:
1.) Swivel mirror to the right and undo the Molex connector.
2.) Slip the piggyback pins into the connector under the existing pins ensuring that the slip fit is secure. IC Red to mirror blue. IC Black to mirror White/Blk (Wire colors on mirror may differ on your vehicle.)
3.) Plug the connector back into the rear of the mirror. It only goes in one way.
4.) Arrange the free cord in such a way as to be inconspicuous and make sure to zip tie the Invisicord to the mirror cord to act as a strain relief. The Invisicord has a small black plastic cube in the middle that has a self-stick pad on it. It's probably where the 12vdc to 5vdc step down work is done. I used that to anchor the cord up near the top of the windshield.
5.) Plug the IC Mini-USB connector into the mini-USB port on the cam.
6.) Check for operation by starting your truck. My camera emits a chime sound when it powers on or off. Drive around and come back for a beer while you review your footage.
 

Attachments

I thought I'd circle back after installing my Invisicord yesterday. Total elapsed time from start to finish was 15 minutes. Reading darkpassenger's messages helped me know what to expect but honestly, this might be the best and easiest mod based on return on level of effort I've ever done.
My Simple DIY Instructions:
1.) Swivel mirror to the right and undo the Molex connector.
2.) Slip the piggyback pins into the connector under the existing pins ensuring that the slip fit is secure. IC Red to mirror blue. IC Black to mirror White/Blk (Wire colors on mirror may differ on your vehicle.)
3.) Plug the connector back into the rear of the mirror. It only goes in one way.
4.) Arrange the free cord in such a way as to be inconspicuous and make sure to zip tie the Invisicord to the mirror cord to act as a strain relief. The Invisicord has a small black plastic cube in the middle that has a self-stick pad on it. It's probably where the 12vdc to 5vdc step down work is done. I used that to anchor the cord up near the top of the windshield.
5.) Plug the IC Mini-USB connector into the mini-USB port on the cam.
6.) Check for operation by starting your truck. My camera emits a chime sound when it powers on or off. Drive around and come back for a beer while you review your footage.

Anyway to get the pictures a bit larger?
 
I thought I'd circle back after installing my Invisicord yesterday. Total elapsed time from start to finish was 15 minutes. Reading darkpassenger's messages helped me know what to expect but honestly, this might be the best and easiest mod based on return on level of effort I've ever done.
My Simple DIY Instructions:
1.) Swivel mirror to the right and undo the Molex connector.
2.) Slip the piggyback pins into the connector under the existing pins ensuring that the slip fit is secure. IC Red to mirror blue. IC Black to mirror White/Blk (Wire colors on mirror may differ on your vehicle.)
3.) Plug the connector back into the rear of the mirror. It only goes in one way.
4.) Arrange the free cord in such a way as to be inconspicuous and make sure to zip tie the Invisicord to the mirror cord to act as a strain relief. The Invisicord has a small black plastic cube in the middle that has a self-stick pad on it. It's probably where the 12vdc to 5vdc step down work is done. I used that to anchor the cord up near the top of the windshield.
5.) Plug the IC Mini-USB connector into the mini-USB port on the cam.
6.) Check for operation by starting your truck. My camera emits a chime sound when it powers on or off. Drive around and come back for a beer while you review your footage.

2020 has cables inside the stem. Cant do this.
 
Blank slot under towing fuse. Sends power when car is started.
ff80218f58d9550275b802c0966170a8.jpg


Sent from my ONEPLUS A6013 using Tapatalk

Old post but hoping you see my questions. Does your photo show the correct orientation for the Add-A-Fuse? I just learned about it needing to be inserted specific to which side of the fuse blocks power. I do not have a multi-meter to check. And the ground screw is done like that? Under the screw appears to be plastic. Thank you.
 
That is the correct orientation for the add-a-fuses. I used my multimeter to verify. I have my dashcams setup that way as well, except I'm running two add-a-fuses on separate circuits. as I have backup batteries under the driver seat for parking lot mode.

Grounds are fine, they are connected to the chassis under the plastic fuse box. Again, verified on my own with the multimeter.
 
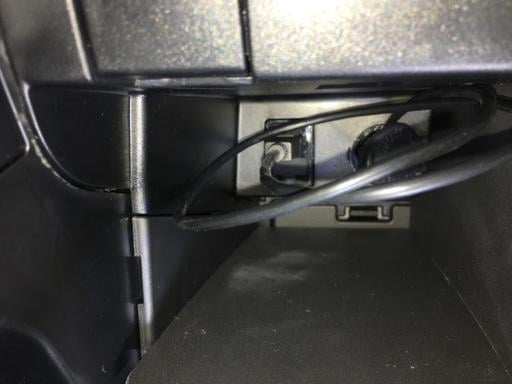
If you just want to hide the USB connector in the center console then you can just put a USB charger in the empty spot inside the glove box, splice into the cigarette charger in the center console (it does have a 15 ampere fuse capacity). Then you can route the USB wire from under the glovebox through the cigarette socket empty spot right next to it and plug in all inside your glovebox
9a1349bfbf2d8ad4e7873f5c2e70f922.jpg
 
Hey everyone,

I would like to do a stealth install of my dash cam and need some help with how to do a clean install hiding all the wires and tapping into fuses. Right now I have wires running all over the place.


The dash cam is charged via mini-usb
Amazon.com: AUKEY Dash Cam, 1080P Dashboard Camera Recorder, 6-Lane 170 Degree Wide Angle Lens, Supercapacitor, G-Sensor and Clear Nighttime Recording


The car mount is charged via micro-usb
Amazon.com: iOttie iTap Wireless Qi Wireless Car Mount & Desk Stand with Fast Charge for Samsung Galaxy S9 S9 Plus S8, S7/S7 Edge, Note 8 5 & Qi Enabled Devices


So here is the list of things I think I need to hardwire the dash cam to the ignition fuse.

wire kit
Amazon.com: AUCEE Dash Cam Hardwire kit, Mini USB Port,DC 12V - 36V to 5V/2A Max Car Charger Cable kit with Fuse,Low Voltage Protection for Dash Cameras: Car Electronics

Fuse tap
Amazon.com: Lumision ADD Circuit Blade Style ATT Low Profile Mini FUSETAP Fuse TAP + Fuse Set 5, 7.5, 10, 15, 20 AMPS: Sports & Outdoors

Am i missing anything else I need to hard wire the dash cam?

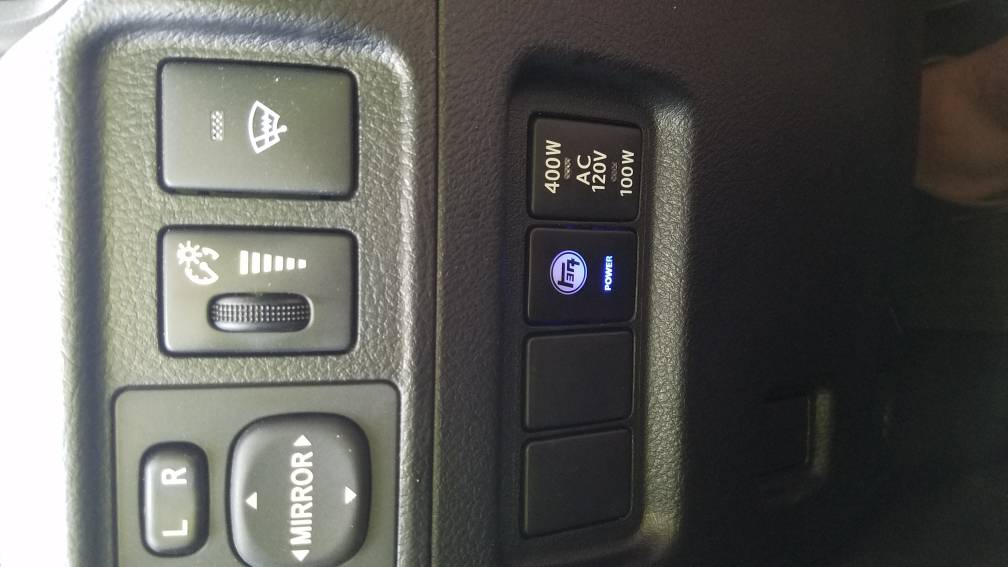
Also, does anyone know of a kit that will allow me to hardwire my dash cam and my wireless charger to a single fuse tap? I'd really like to do both hardwired and wires tucked away so nothing is connected to my cigarette outlet.


I have had my dashcam hardwired to the ACC fuse using the kit you linked.
Wanted to do the same as you for my wireless charger and just got a second hardwire kit and tapped into the WIP fuse. Working fine for me.
 

Forum statistics

Threads
278,312
Messages
3,554,089
Members
248,016
Latest member
Advally Service

Trending content

Back
Top