Has Anyone Tried These Raptor Lights?

Thanks [MENTION=8730]jcage89[/MENTION] - hope you share your thoughts when you get and have installed Ronnieboy's lights. I too saw that youtube video with the Gunn's lights wiggling and would prefer a solid install.
 
I'm more interested in the brackets and hardware to mount the lights, using zip-ties is a definite no-go for me. The harness is just a bonus, but even then I'd change it to not use the add-a-fuse.

YouTube

looks like you glue down a screw and make the threads to mount the bracket
 
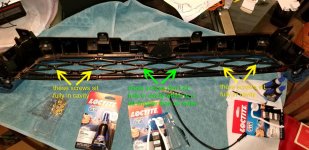
Yeah he gives you LocTite super glue gel to attach the screws into the backside of the grille. You could probably use epoxy if the concern is there about it falling off

Yes Loctite and If anyone does this with Ronnieboy's setup, don't be stupid like me and touch the threads of the screw after getting the glue on you finger. I had latex gloves but the glue got in the thread of one of the screws a bit and made super difficult to screw on the nut after it was dry.

As for worrying about it coming off, I would say if you get a really generous glob of the Loctite in the cavity on the backside of the grill while setting the screw and make sure you don't over tighten it when attaching the lights you'll probably be OK. Even in unlikely event one glue point comes detached, you still have the other side and then the assembly is attached to harness which will be zip tied behind the grill neatly and snug so shouldn't lose anything that couldn't easily be repaired. It's actually a very bright idea how he did this.

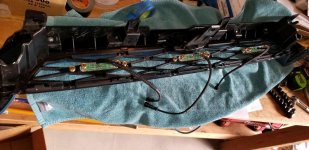
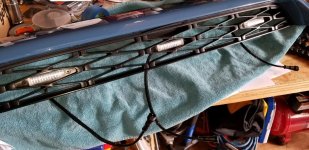
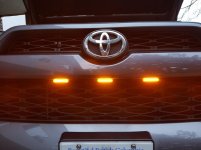
I just did the gluing and haven't had time to run the wire yet but I would say only other thing to share so far is that if doing the three light setup like mine (picture) note that the cavity for seating the screws on the four outer glue points easily accommodate the four outer screws on each end of the grill but the cavities in the middle for the two screws on the middle light are slightly smaller and do not accommodate the heads of the screws fully like on the ends. On the ends is easy, just fill the cavity with Loctite and gently press the screw fully into the glue filled cavity like shown in the linked YouTube in previous post making sure the screw is plumb. In the middle takes a bit more finesse as you need to wedge the middle screws a bit and then make sure to come back with more LocTite gel and fill around them. I also made sure to bond it a bit to the side wall of the cavity which is where I got a bit careless and got a small but of glue on the thread (hence warning above).

Finally... LET IT DRY COMPLETELY before doing anything/ I took my grill off and did this in the house because it's really cold here in the 30's now and thought it would be better to set up overnight inside. After fully dry (glue says 12-24 hours for full cure), fasten the lights but again not too tight. I actually left my middle light slightly slack because the grill is also shaped a bit different (concave) in the middle vs. more flush on the sides. If you tighten the middle screws down full it orients the light slightly different than the two outer ones where leaving a little slack in screw lets the middle light set flush.

Anyway this rambling of mine is basically finesse stuff and probably TMI for many but hopefully some appreciate the extra detail. I'll share more when I have time to wire it up.

Cheers JC
 

Attachments

  • 20190113_181409ps.jpg
    20190113_181409ps.jpg
    147 KB · Views: 1,606
  • 20190114_100159.jpg
    20190114_100159.jpg
    143.5 KB · Views: 1,566
  • 20190114_100238.jpg
    20190114_100238.jpg
    148.4 KB · Views: 1,583
Yes Loctite and If anyone does this with Ronnieboy's setup, don't be stupid like me and touch the threads of the screw after getting the glue on you finger. I had latex gloves but the glue got in the thread of one of the screws a bit and made super difficult to screw on the nut after it was dry.

As for worrying about it coming off, I would say if you get a really generous glob of the Loctite in the cavity on the backside of the grill while setting the screw and make sure you don't over tighten it when attaching the lights you'll probably be OK. Even in unlikely event one glue point comes detached, you still have the other side and then the assembly is attached to harness which will be zip tied behind the grill neatly and snug so shouldn't lose anything that couldn't easily be repaired. It's actually a very bright idea how he did this.

I just did the gluing and haven't had time to run the wire yet but I would say only other thing to share so far is that if doing the three light setup like mine (picture) note that the cavity for seating the screws on the four outer glue points easily accommodate the four outer screws on each end of the grill but the cavities in the middle for the two screws on the middle light are slightly smaller and do not accommodate the heads of the screws fully like on the ends. On the ends is easy, just fill the cavity with Loctite and gently press the screw fully into the glue filled cavity like shown in the linked YouTube in previous post making sure the screw is plumb. In the middle takes a bit more finesse as you need to wedge the middle screws a bit and then make sure to come back with more LocTite gel and fill around them. I also made sure to bond it a bit to the side wall of the cavity which is where I got a bit careless and got a small but of glue on the thread (hence warning above).

Finally... LET IT DRY COMPLETELY before doing anything/ I took my grill off and did this in the house because it's really cold here in the 30's now and thought it would be better to set up overnight inside. After fully dry (glue says 12-24 hours for full cure), fasten the lights but again not too tight. I actually left my middle light slightly slack because the grill is also shaped a bit different (concave) in the middle vs. more flush on the sides. If you tighten the middle screws down full it orients the light slightly different than the two outer ones where leaving a little slack in screw lets the middle light set flush.

Anyway this rambling of mine is basically finesse stuff and probably TMI for many but hopefully some appreciate the extra detail. I'll share more when I have time to wire it up.

Cheers JC

Thanks for the tips. Are you going to use the add-a-fuse or hardwire it?
 
I was looking into buying new marker lights that would sit flush with the grill instead of sitting out front. I couldn't find any with the exception of the ones being sold on IG for $130 which to me is too steep for something I put together for $30 worth of amazon products. So I took a closer look at the lights the guy was selling to see if I could tell which brand they were so I can buy some online and replace my current ones. The closer I looked the more I swore it looked like he just dremels out the plastic on the edges of the Grand General lights and shrink wraps them so they look clean and fit flush. That's this weekends project.

He does, you are right. I bought a 10 pack of lower profile ones that sit more flush but never installed them. If anybody wants some let me know
 
Yeah he gives you LocTite super glue gel to attach the screws into the backside of the grille. You could probably use epoxy if the concern is there about it falling off

$200 for 3 lights and I have to glue the screws in? No thanks. But if I were doing it I think I'd use some epoxy instead.
 
$200 for 3 lights and I have to glue the screws in? No thanks. But if I were doing it I think I'd use some epoxy instead.

Actually, three lights, machined metal custom cut bracket and hardware to look professional and OE, a harness that is modular and water proof and a switch cut and custom fit to an OE 4runner switch blank with add-a-fuse.

Expensive, yes. But certainly more for the money than just three lights. Read above, there are cheaper solutions but for turnkey very well done setup, this is good.

JC
 
Actually, three lights, machined metal custom cut bracket and hardware to look professional and OE, a harness that is modular and water proof and a switch cut and custom fit to an OE 4runner switch blank with add-a-fuse.

Expensive, yes. But certainly more for the money than just three lights. Read above, there are cheaper solutions but for turnkey very well done setup, this is good.

JC

Yes I know, I was over simplifying it. I watched the video and looked at them hard, just can't justify $200 for them, for me anyway. No doubt the nicest kit I've seen. I wished he just offered the lights and brackets. I talked to him but he said no.
 
check this out.

LED Light For 2014-2019 Toyota 4Runner TRD PRO

cheapest and best looking so far. you receive four but can choose to install 3. one of the fellow Canadian 4Runner owner (Sevag Merdinian) introduced this to the FB forum and also gave a 20% off discount code "4rled20". I am receiving mine this week sometime. after discount it comes out to be $44~.


I found them via Google, and they seem to be the nicest option aside from the giant add-a-fuse sticking out of the fuseblock.

YouTube

YouTube

Danny (@ronnieboyfabrication) • Instagram photos and videos

9P7Bo6U.png
 
check this out.


LED Light For 2014-2019 Toyota 4Runner TRD PRO


cheapest and best looking so far. you receive four but can choose to install 3. one of the fellow Canadian 4Runner owner (Sevag Merdinian) introduced this to the FB forum and also gave a 20% off discount code "4rled20". I am receiving mine this week sometime. after discount it comes out to be $44~.


Looks promising. Any installed pics anywhere?


Sent from my iPhone using Tapatalk
 
Looks promising. Any installed pics anywhere?


Sent from my iPhone using Tapatalk

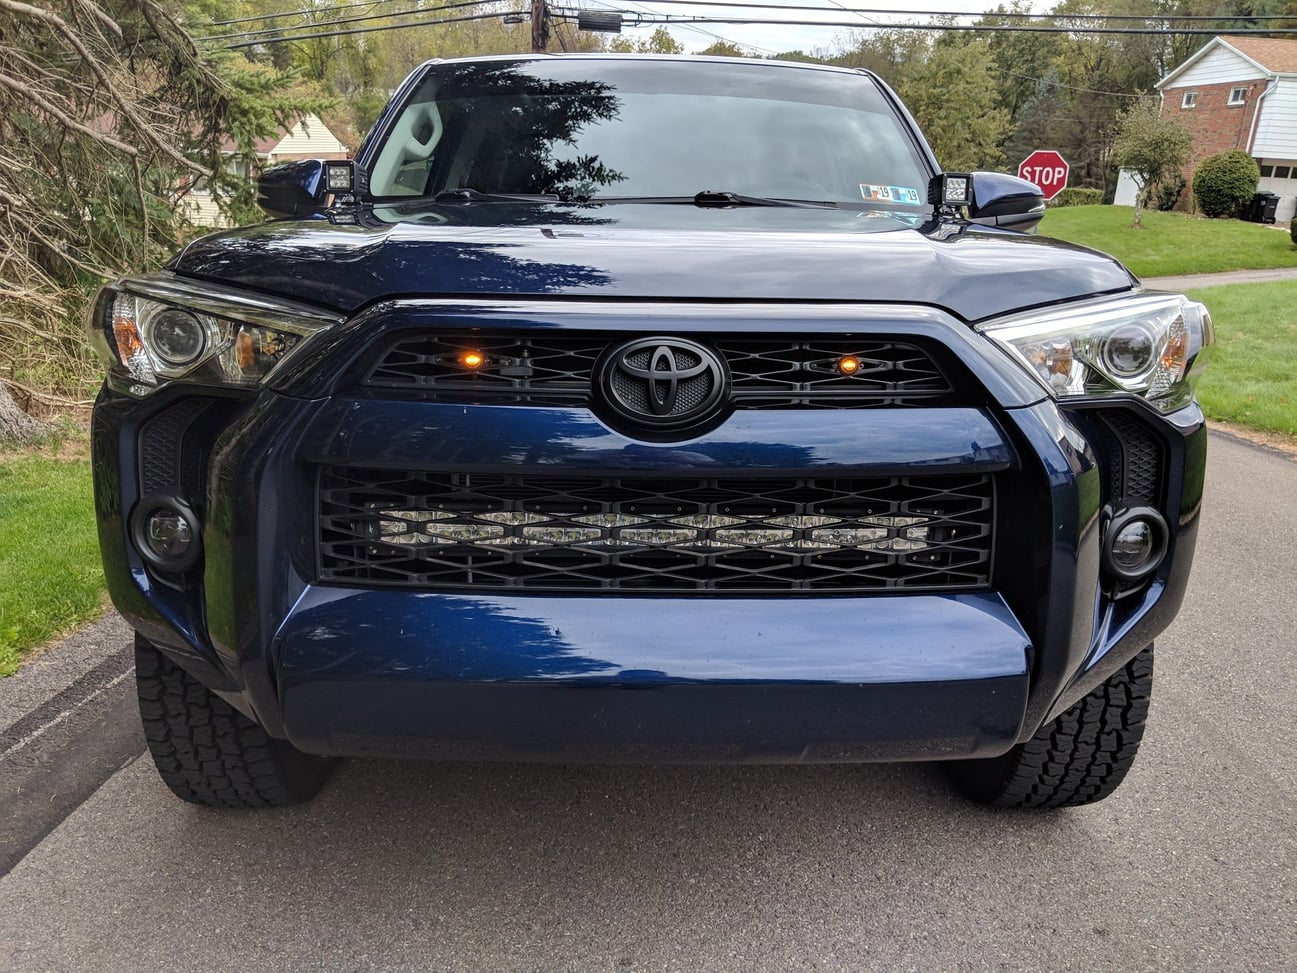
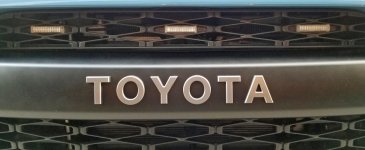
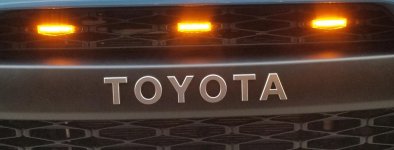
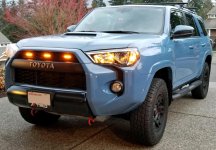
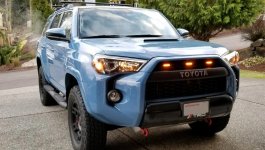
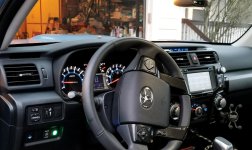
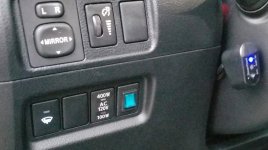
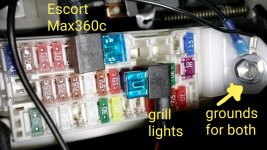
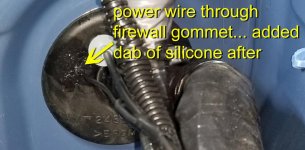
Here are some... just wired it up tonight... very happy except wish the switch color matched blue of other interior lights better.

Cheers JC
 

Attachments

  • 01gill lights off.jpg
    01gill lights off.jpg
    138.5 KB · Views: 2,043
  • 02 gill lights on.jpg
    02 gill lights on.jpg
    103.6 KB · Views: 2,022
  • 03 driverside_p.jpg
    03 driverside_p.jpg
    138.9 KB · Views: 3,063
  • 04 passengerside_p.jpg
    04 passengerside_p.jpg
    142.8 KB · Views: 5,210
  • 05 switch on.jpg
    05 switch on.jpg
    134.7 KB · Views: 2,038
  • 06 switch off.jpg
    06 switch off.jpg
    134.3 KB · Views: 2,087
  • 07 fuses.jpg
    07 fuses.jpg
    136.8 KB · Views: 2,074
  • 08 firewall grommet.jpg
    08 firewall grommet.jpg
    95.5 KB · Views: 2,001
Last edited:
check this out.

LED Light For 2014-2019 Toyota 4Runner TRD PRO

cheapest and best looking so far. you receive four but can choose to install 3. one of the fellow Canadian 4Runner owner (Sevag Merdinian) introduced this to the FB forum and also gave a 20% off discount code "4rled20". I am receiving mine this week sometime. after discount it comes out to be $44~.

Thanks for sharing, ordered a set as I can see $44 being worth it for this mod and these look much nicer.
 
Has anyone ordered this kit then added a relay and switch? I may order and play around and see what can be done.

Sent from my SM-G965U using Tapatalk
 

Members online

Forum statistics

Threads
278,316
Messages
3,554,120
Members
248,016
Latest member
Advally Service

Trending content

Back
Top