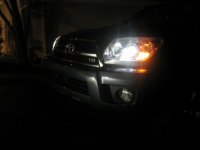
HID Install for 2006 4Ruunner

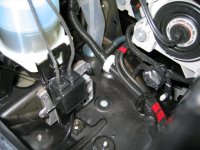
Another angle.
 

Attachments

  • img_2634.jpg
    img_2634.jpg
    112.3 KB · Views: 12,518
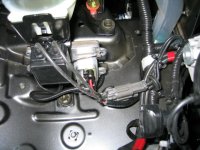
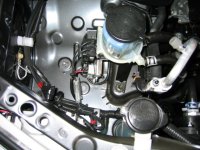
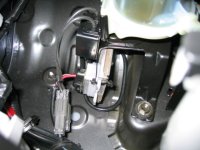
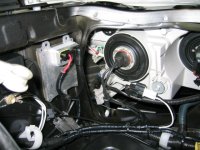
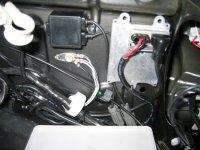
Now that the ballast and ignitor is attached to the power steering bracket, you can connect the two wires from the ignitor to the two wires coming from the new bulbs. They connect easily with male/female connectors.

After connecting the bulbs to the ignitor, take the single ignitor wire and connect it to the ballast (bottom of ballast).

You can see I already connected the wire from the harness to the ballast (top of the ballast - red wire). When you do this, make sure you push the connector into the ballast until it locks in with a snap. The next step details how to run the XenonDepot harness from the ballast back to the driver side of the vehicle.
 

Attachments

  • img_2636.jpg
    img_2636.jpg
    120 KB · Views: 12,539
Last edited:
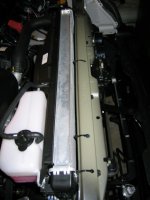
Remove the plastic trim that runs across the radiator support by carefully prying up the plastic tabs with a flathead screwdriver. Place the tabs and plastic cover aside.

Run the harness from the passenger side to the driver aside along the bottom of the radiator support. Secure with zip ties to keep it snug.
 

Attachments

  • img_2637.jpg
    img_2637.jpg
    102.6 KB · Views: 12,464
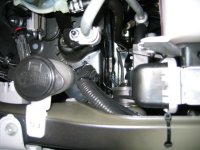
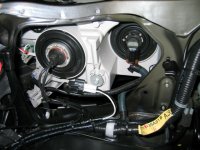
Run the XenonDepot harness along the factory harness coming from the driver side. Follow it down to the rear of the passenger headlight, then branch off with the headlight bulb wires to the ballast/ignitor on the power steering bracket. This will keep everything nice and neat.
 

Attachments

  • img_2640.jpg
    img_2640.jpg
    92 KB · Views: 12,478
Now on to the driver side!

First, remove the white plastic battery tray so you'll have more access to run wires around and below the battery.

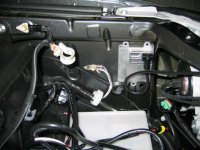
Second, mount the ballast. After realizing my options were very limited for a good hidden mounting location, I decided to mount the ballast on the inside front corner of the fender using sticky tape.
 

Attachments

  • img_2641.jpg
    img_2641.jpg
    108.3 KB · Views: 12,406
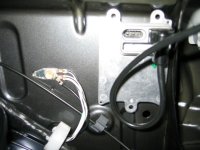
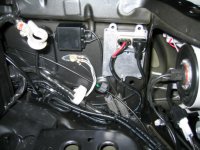
Close up of the ballast.

Notice the factory grounding location to the left. I connected that third, small black wire from the ground wire in the XenonDepot harness.
 

Attachments

  • img_2642.jpg
    img_2642.jpg
    94.4 KB · Views: 12,499
Mount the ignitor next to the ballast using sticky tape. After the ballast and ignitor are mounted, do the following:

1. Connect the single wire from the ignitor to the ballast.

2. Connect the two wires from the ignitor to the two wires from the headlight bulb.

3. Connect the connector from the XenonDepot harness (red wire again) to the ballast. Push until it clicks.

Begin using zip ties to run wires out of the way. Keep in mind where the battery will be when you put it back in.
 

Attachments

  • img_2644.jpg
    img_2644.jpg
    124.5 KB · Views: 12,428
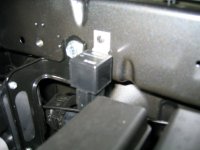
Mount the relay (using a supplied screw) to the factory hole in the fender. This hole is located behind the fuse box, which is behind the battery. Be careful not to strip the hole by overtightening the screw.
 

Attachments

  • img_2643.jpg
    img_2643.jpg
    69.4 KB · Views: 12,393
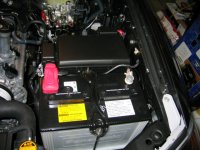
All wires are now connected and run using zipties. This will all be hidden once the battery tray and battery are put back in.
 

Attachments

  • img_2646.jpg
    img_2646.jpg
    120.9 KB · Views: 10,585
Put the battery back in. Connect the power lead from the XenonDepot harness to the red positive terminal. Tuck the wire and inline fuse behind the battery so it's hidden.
 

Attachments

  • img_2648.jpg
    img_2648.jpg
    115.8 KB · Views: 10,654
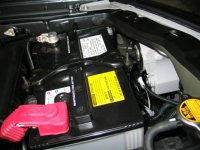
Just about done! The battery is now in and everything is connected. Notice how the ballast, ignitor, and wires are barely visible once the battery is re-installed. Unless you know what you're looking for, the engine bay still appears very close to factory stock.
 

Attachments

  • img_2649.jpg
    img_2649.jpg
    107.7 KB · Views: 10,563
Once the battery is reconnected, you are ready to start up the truck and test your new HIDs!

Don't forget you will need to normalize the windows after disconnecting and reconnecting the battery. Roll the driver's window down and hold the button for a few seconds. Then roll it up and do the same. The computer should then allow you to use the auto-up and auto-down feature. Do the same for the rear hatch window.

Also, I don't know if this is what typically happens after a battery disconnect, but when I first started the engine after reconnecting the battery, it fired for a second then died. When I restarted it the second time, it fired up and ran normally. I'm guessing this is normal, but don't know for sure. Regardless, since that one incident, I haven't had any problems.

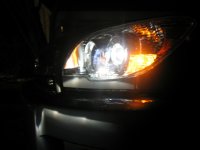
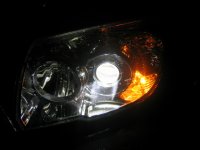
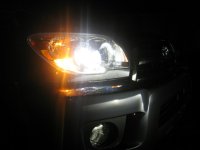
Once the engine is running, flip the switch and watch the bulbs ignite and glow!
 

Attachments

  • img_2697.jpg
    img_2697.jpg
    54 KB · Views: 10,499
It's tough to capture the full color/brightness of these headlights with a camera. I experimented with a few different settings, but I just couldn't duplicate what it looks like in person. Also, the weather has been rainy here, so the beams don't look the same due to the wet road surface. That said, here are some more pics, including beam patterns...
 

Attachments

  • img_2695.jpg
    img_2695.jpg
    44.5 KB · Views: 11,086

Members online

No members online now.

Forum statistics

Threads
278,310
Messages
3,554,080
Members
248,016
Latest member
Advally Service

Trending content

Back
Top