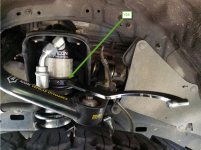
HiVel-JR Build Thread

Agreed... Waiting is hard to do.

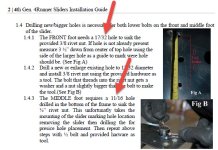
I had to buy special drill bits because the bits needed to drill into the frame can only be found on the internet. geez...

2016-06-24_15-07-42.jpg
 

Attachments

  • 2016-06-24_15-07-42.jpg
    2016-06-24_15-07-42.jpg
    135.9 KB · Views: 972
I ADDED THIS ON 9-13-16 because SAC-CA-Runner had some good questions that i never thought to ask.

http://www.toyota-4runner.org/4th-gen-t4rs/225408-icon-c-o-adjustment-questions.html

-------------------------------------------- and now back to scheduled programming--------------------------------------------

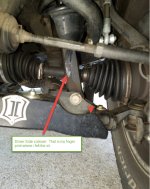
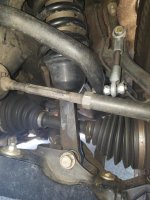
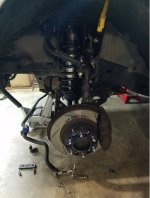
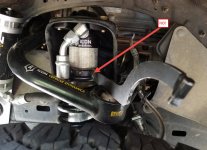
Well Crap. My driver side coil over must have leaked during my off road adventure over the weekend.

I was driving down a dirt road around 60 mph and I hit some kind of a wash out that crossed the road. I did not see it, but it felt like it ripped my driver side wheel off....

It knocked my truck out of alignment and I thought that was the worst of it.

Started looking under the truck this morning and since have been on the phone with Icon. Need to send both of them in for repair. Good excuse to buy some new ones??? only kidding.

2016-07-11_14-46-48.jpg

20160711_143147.jpg
 

Attachments

  • 2016-07-11_14-46-48.jpg
    2016-07-11_14-46-48.jpg
    114.9 KB · Views: 835
  • 20160711_143147.jpg
    20160711_143147.jpg
    134.7 KB · Views: 943
Last edited:
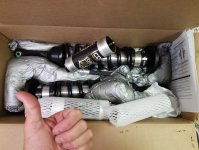
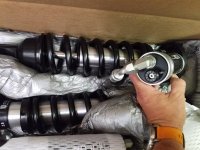
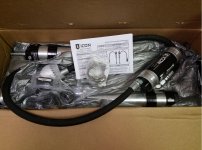
AND>>>> they finally arrived. I think i am going to buy the 2.5 CDCV reservoirs for the rear... why not?
2016-08-19_16-06-32.jpg

2016-08-19_16-06-23.jpg
 

Attachments

  • 2016-08-19_16-06-32.jpg
    2016-08-19_16-06-32.jpg
    133 KB · Views: 818
  • 2016-08-19_16-06-23.jpg
    2016-08-19_16-06-23.jpg
    133.5 KB · Views: 883
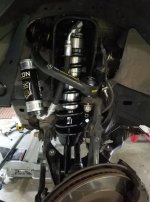
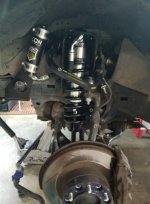
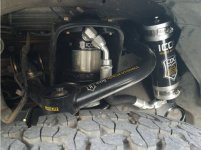
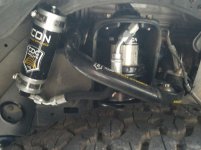
Before and After pictures. SO i ordered the rear 2.5 CDCV shocks to compliment the fronts. These front coil overs are neat. My testing this morning i discovered that when YOU crank them to 1 or 2 the ride is squishy. Crank it all the up past 9 and the ride is very stiff.

2016-08-20_13-12-18.jpg

2016-08-20_13-12-35.jpg

2016-08-20_13-12-53.jpg
 

Attachments

  • 2016-08-20_13-12-18.jpg
    2016-08-20_13-12-18.jpg
    48.4 KB · Views: 866
  • 2016-08-20_13-12-35.jpg
    2016-08-20_13-12-35.jpg
    53.7 KB · Views: 848
  • 2016-08-20_13-12-53.jpg
    2016-08-20_13-12-53.jpg
    49.7 KB · Views: 913
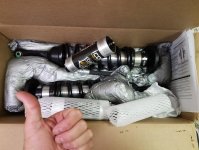
And the back half just showed up... I know what i will be doing tonight!

:)

2016-08-29_14-01-44.jpg

2016-08-19_16-06-32.jpg
 

Attachments

  • 2016-08-29_14-01-44.jpg
    2016-08-29_14-01-44.jpg
    124.9 KB · Views: 741
  • 2016-08-19_16-06-32.jpg
    2016-08-19_16-06-32.jpg
    133 KB · Views: 744
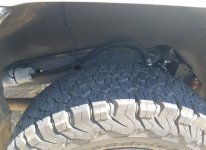
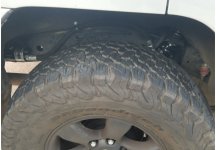
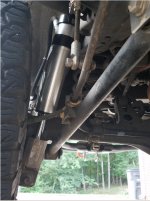
Heck Yeah!!! Finally finished the rear 2.5 shocks.

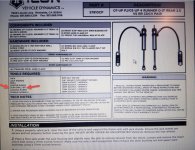
Started this morning at the office. I took the old ones off and put the new ones on, then stood around and scratched my head for 45 minutes trying to figure what the heck the directions were saying about attaching the reservoirs.

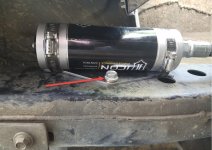
i just kinda winged it to get home with some zip ties. Then finished it this afternoon, but still did not understand the directions... I used tap screws to mount the reservoirs to the frame.

2016-08-30_19-54-45.jpg

2016-08-30_19-53-53.jpg

2016-08-30_19-54-10.jpg

2016-08-30_19-53-09.jpg
 

Attachments

  • 2016-08-30_19-54-45.jpg
    2016-08-30_19-54-45.jpg
    77.2 KB · Views: 723
  • 2016-08-30_19-53-53.jpg
    2016-08-30_19-53-53.jpg
    70.4 KB · Views: 709
  • 2016-08-30_19-54-10.jpg
    2016-08-30_19-54-10.jpg
    50.7 KB · Views: 717
  • 2016-08-30_19-53-09.jpg
    2016-08-30_19-53-09.jpg
    64.3 KB · Views: 751
A few more shots all the way around.

2016-08-30_19-53-26.jpg

2016-08-30_19-53-38.jpg

2016-08-30_19-54-22.jpg

2016-08-30_19-54-33.jpg
 

Attachments

  • 2016-08-30_19-53-26.jpg
    2016-08-30_19-53-26.jpg
    94.7 KB · Views: 675
  • 2016-08-30_19-53-38.jpg
    2016-08-30_19-53-38.jpg
    73.9 KB · Views: 684
  • 2016-08-30_19-54-22.jpg
    2016-08-30_19-54-22.jpg
    60.3 KB · Views: 692
  • 2016-08-30_19-54-33.jpg
    2016-08-30_19-54-33.jpg
    41.4 KB · Views: 705
My review of these so far is... Man they are expensive, but really cool.

Just to start my initial test with them i started on the speed bumps at Walmart.

Turned them up to 9 and it felt like my teeth came out going over the speed bumps at a very slow speed. The rear was almost too rigid...

Turned them down to 2 and it was nice and squishy in the front and the rear.

The buggy boy came out and asked me if my ride was too stiff.... guess he has seen this trick before on the speed bumps in the parking lot.

At any rate...

Next stop...... FRONT BUMPER.

 
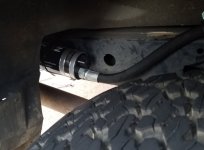
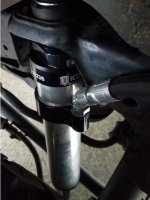
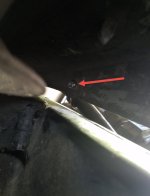
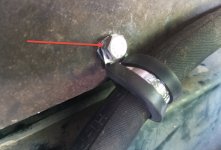
Okay, so i went back and re-mounted the reservoirs. Now the instructions make sense. The bigger bolt feels more secure as well in the frame.
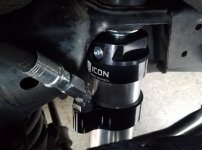
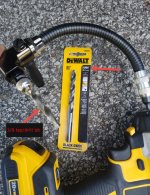
I actually used a 3/8 tap/bit to thread the frame and it worked better than the 21/64 weirdo size bit that the instructions wanted me to use.

I found that the dewalt impact right angle flex attachment worked like a champ in that super tight space behind the wheel for drilling the hole.

I swapped out the self tapping screws that hold the hoses and used a standard bolt with a threaded nylon nut to hold the hose in place.

2016-08-31_16-08-24.jpg

2016-08-31_16-08-48.jpg

2016-08-31_16-09-42.jpg

2016-08-31_16-09-57.jpg

2016-08-31_16-20-19.jpg
 

Attachments

  • 2016-08-31_16-08-24.jpg
    2016-08-31_16-08-24.jpg
    139.3 KB · Views: 655
  • 2016-08-31_16-08-48.jpg
    2016-08-31_16-08-48.jpg
    136.1 KB · Views: 660
  • 2016-08-31_16-09-42.jpg
    2016-08-31_16-09-42.jpg
    49.7 KB · Views: 667
  • 2016-08-31_16-09-57.jpg
    2016-08-31_16-09-57.jpg
    119.3 KB · Views: 679
  • 2016-08-31_16-20-19.jpg
    2016-08-31_16-20-19.jpg
    135.3 KB · Views: 656

Members online

Forum statistics

Threads
278,310
Messages
3,554,077
Members
248,016
Latest member
Advally Service

Trending content

Back
Top