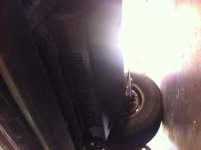
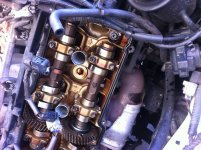
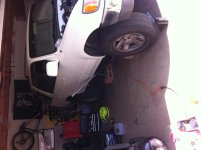
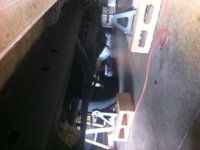
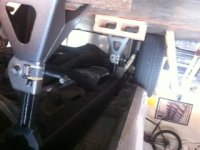
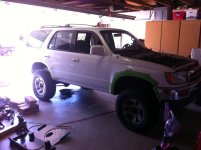
I did my valve cover gaskets. They were seeping just enough to smell a bit. It was just more important to get all of that done before the lift. That is a money shot at 261k... I'm pleased with how clean it is! Taking Father's Day off, Monday begins lift...
Other than breaking your tool hows the lift going?
oh try this 1st. with a metal of ball peen hammer. smack the outer casing of the ball joint (the part that attaches to the tie rod end) and the tie rod will basically fall off with no press. let me tell you. i had to hit it with a 5 lb hammer like 3 -5 times but it does come off. its how we do things at the shop.
Other than breaking your tool hows the lift going?
oh try this 1st. with a metal of ball peen hammer. smack the outer casing of the ball joint (the part that attaches to the tie rod end) and the tie rod will basically fall off with no press. let me tell you. i had to hit it with a 5 lb hammer like 3 -5 times but it does come off. its how we do things at the shop.
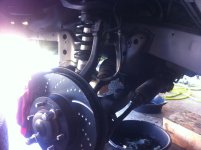
Well I got the tie rods/lbj separated, I had to buy a puller, I tried to tap/hit it with a ball pen hammer, didn't work.
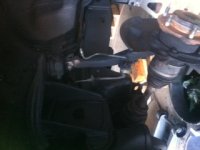
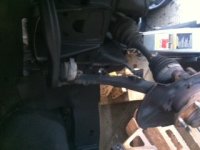
My camera is on the fritz and the pic didn't save, So as I was taking parts of the tab on my lower control arm was bent to the rear a bit over an inch. The nut was almost backed completely off... To say the least shit was not cool!!! Took it to my buddy at ORW to get it welded up/gusset the base. Then I noticed a tear in the ITE boot... So I put it on hold for the evening.
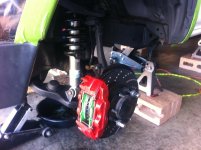
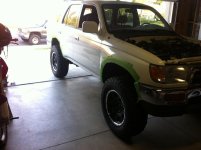
I got quite a bit cleaned and painted up! Im pretty happy with the progress.
Going to paint the bumpers next weekend hopefully! So far I am pretty satisfied, I spent almost a year looking at lifts and ideas. I couldn't be happier. It was a fun learning experience. I had never done any suspension or work like that and I did two vehicles this last week. My wife's camry and the 4runner.
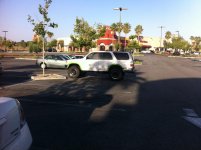
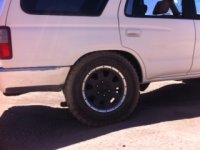
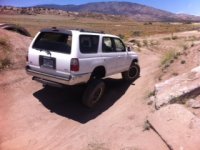
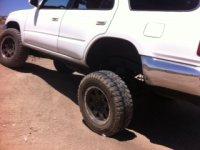
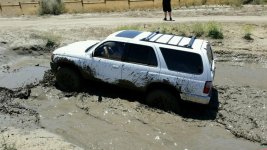
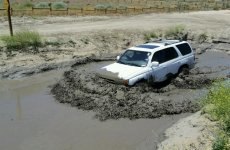
Went to Hungry Valley yesterday to test out the 4 runner. Had a great day, no rubbing. Im pleased with the flex, the ride, the look and just overall pleased. I was averaging 18.77 MPG combined. Not bad for 262,000 miles, and 32" tires!