How To: Rear Wheel Bearings/ Seals at Home

Chuckles89

New member
This is a little guide I'm writing as a supplement to BFAD and drcoffee's write-ups. This is the part that a machine shop would normally do, but I'm too cheap for that (and up for a challenge), so I did it myself. This is going to be the first writeup for an ABS axle that includes the press work for the "backwards retainer" method.

Here is BFAD's thread: http://www.toyota-4runner.org/3rd-g...e-information-replacement-thread-3rd-gen.html

And drcoffee's thread about flipping the retainer: http://www.toyota-4runner.org/3rd-gen-t4rs/114743-possible-solution-leaking-axle-seals.html

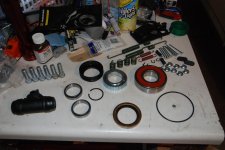
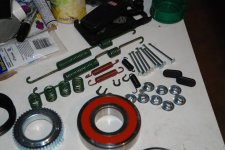
Here are the new parts I bought:

Timken bearing with retainers (re-boxed NACHI Made In Japan)
Wagner Lug Studs (made in USA)
Doorman Wheel Cylinders (Painted black to prevent rust)
Toyota Outer Seal
Toyota Inner Seal
Toyota Snap Ring
Toyota O-Ring
Doorman ABS Ring
Wagner Brake Hardware (1 kit does both sides, made in USA)
DSC_4648.jpg

DSC_4650.jpg

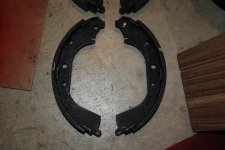
Wagner ThermoQuiet Brake Shoes- notice they come with the pin installed
DSC_4647.jpg

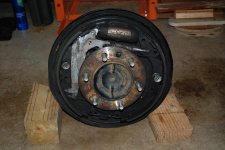
Since there are good threads about how to get the axle removed, I am starting with the axle shaft work.


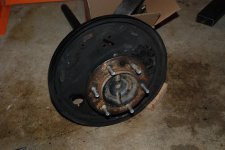
Remove the brake shoes, adjuster, bell crank, wheel cylinder, and any other parts
DSC_4600.jpg


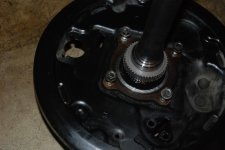
Now you are left with this:
DSC_4601.jpg

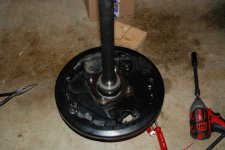
DSC_4602.jpg


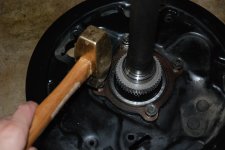
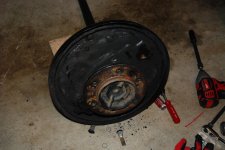
Put the nuts on the 4 backing plate studs and pound them out with a brass hammer or brass drift
DSC_4603.jpg

DSC_4604.jpg
 

Attachments

  • DSC_4600.jpg
    DSC_4600.jpg
    135 KB · Views: 12,485
  • DSC_4601.jpg
    DSC_4601.jpg
    132.9 KB · Views: 12,204
  • DSC_4602.jpg
    DSC_4602.jpg
    135.4 KB · Views: 12,675
  • DSC_4603.jpg
    DSC_4603.jpg
    128.3 KB · Views: 12,495
  • DSC_4604.jpg
    DSC_4604.jpg
    127.7 KB · Views: 12,896
  • DSC_4648.jpg
    DSC_4648.jpg
    129.9 KB · Views: 12,478
  • DSC_4650.jpg
    DSC_4650.jpg
    130.3 KB · Views: 12,282
  • DSC_4647.jpg
    DSC_4647.jpg
    135.7 KB · Views: 12,406
Last edited:
Register to hide this ad
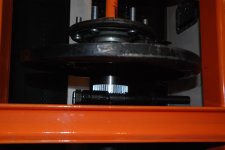
I had to remove the lug studs to fit the axle in my press. If you have a bigger press, you might not have to do this. I just used a sledge hammer to get them out since I'm replacing them with new ones.

DSC_4605.jpg


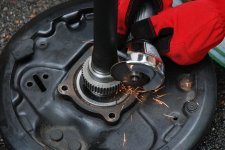
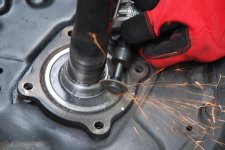
Then, cut the retainer ring and ABS ring off. Cut it at an angle and go 80% through. Make sure to not cut into the shaft. On this one, I got a tiny nick in it, but if you get very much into it, you should replace the shaft with another one. Just take your time and have good lighting to see what you're doing.

DSC_4611.jpg


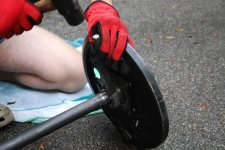
Then, use a large chisel and a sledge hammer to cut the rings off and slide them off the axle shaft

DSC_4620.jpg


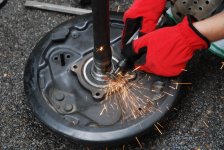
Here I am cutting the last retainer off. Make sure to remove the snap ring so it will slid off the axle shaft

DSC_4623.jpg

DSC_4626.jpg
 

Attachments

  • DSC_4605.jpg
    DSC_4605.jpg
    133.6 KB · Views: 12,439
  • DSC_4611.jpg
    DSC_4611.jpg
    137.4 KB · Views: 14,575
  • DSC_4620.jpg
    DSC_4620.jpg
    135.8 KB · Views: 11,854
  • DSC_4623.jpg
    DSC_4623.jpg
    142 KB · Views: 12,821
  • DSC_4626.jpg
    DSC_4626.jpg
    135.5 KB · Views: 12,205
Last edited:
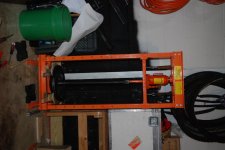
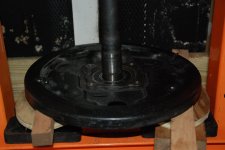
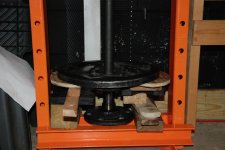
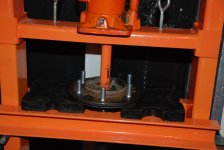
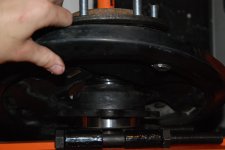
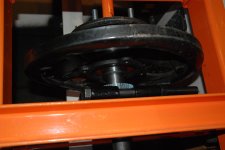
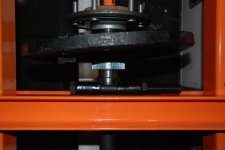
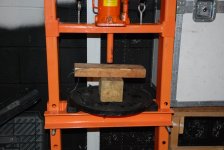
This is how I press the bearings off. This method will bend the backing plate a slight bit, but it shouldn't be enough to hurt anything. The force is not a lot. If it seems like it's bending the plate a lot, you need to find another method than this.

I just have the backing plate held up by pieces of wood then I have the press pushing down on the shaft.

DSC_4627.jpg

DSC_4629.jpg


When it gets far enough off, the shaft will fall out

DSC_4634.jpg


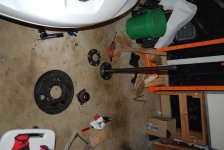
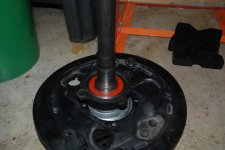
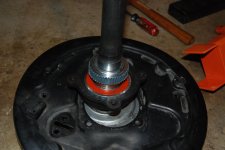
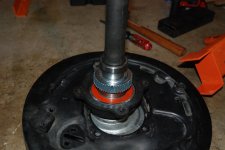
This is what you are left with now

DSC_4635.jpg


Pull off the outer seal with some pliers

DSC_4636.jpg


and no, I don't have a clue why my pictures rotate. They are correct on my computer then they turn sideways when I upload them on here :der:
 

Attachments

  • DSC_4627.jpg
    DSC_4627.jpg
    125.4 KB · Views: 11,886
  • DSC_4629.jpg
    DSC_4629.jpg
    124.4 KB · Views: 11,949
  • DSC_4634.jpg
    DSC_4634.jpg
    129.1 KB · Views: 11,775
  • DSC_4635.jpg
    DSC_4635.jpg
    131.2 KB · Views: 11,684
  • DSC_4636.jpg
    DSC_4636.jpg
    135.6 KB · Views: 11,758
Last edited:
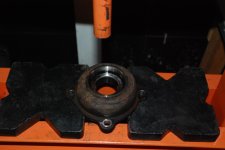
Now, it's time to remove the bearing from the bearing cup. This is not a press fit, so it is very easily pushed out

DSC_4637.jpg


A spindle nut socket for Toyota torsion bar IFS is a perfect fit

DSC_4638.jpg


Applying a little pressure

DSC_4639.jpg


Then, the bearing will fall out

DSC_4640.jpg


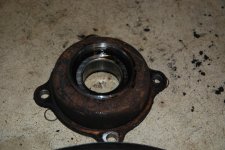
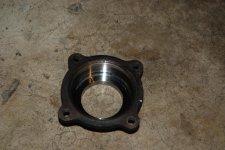
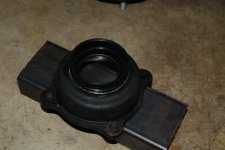
This is the bearing cup you're left with

DSC_4641.jpg


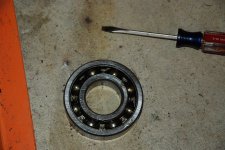
Just for fun, I pulled off the seal to see what was inside the old bearing. There was hardly any grease and lots of gear oil ewwww

DSC_4643.jpg

Here I am bending the backing plate back a little

DSC_4644.jpg


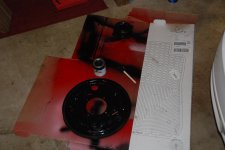
Then, I sanded the backing plate and bearing cup to give them some fresh black paint

DSC_4645.jpg
 

Attachments

  • DSC_4637.jpg
    DSC_4637.jpg
    124.6 KB · Views: 11,985
  • DSC_4638.jpg
    DSC_4638.jpg
    125.6 KB · Views: 11,841
  • DSC_4639.jpg
    DSC_4639.jpg
    127 KB · Views: 11,827
  • DSC_4640.jpg
    DSC_4640.jpg
    132.1 KB · Views: 11,587
  • DSC_4641.jpg
    DSC_4641.jpg
    136.3 KB · Views: 11,687
  • DSC_4643.jpg
    DSC_4643.jpg
    138.8 KB · Views: 11,610
  • DSC_4644.jpg
    DSC_4644.jpg
    131 KB · Views: 11,635
  • DSC_4645.jpg
    DSC_4645.jpg
    128.9 KB · Views: 11,733
Last edited:
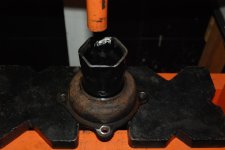
I then pressed in the new lug studs since there was nothing in my way

DSC_4653.jpg


You can push the new outer seal on by hand

DSC_4654.jpg


Here is the new bearing being pressed on. I am using a "Large Bearing Seperator" fron Harbor Freight to press everything on with.

DSC_4655.jpg


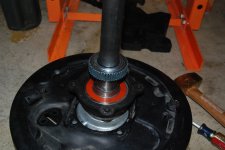
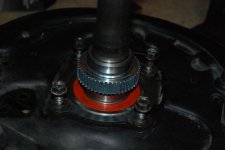
Then, press the first retaining ring on all the way till the snap ring groove appears. Then istall the snap ring. The easiest way I found was to get two pieces of 2x4 wood and slam the ring down until it seats in the groove.

DSC_4656.jpg


Then slide the ABS ring down

DSC_4657.jpg


Press it down to the correct location. I just eyeballed this one because if I didn't go far enough, I can always put the axle shaft back in the press and push it down a little more.

DSC_4658.jpg

DSC_4659.jpg

DSC_4660.jpg
 

Attachments

  • DSC_4653.jpg
    DSC_4653.jpg
    126.3 KB · Views: 11,666
  • DSC_4654.jpg
    DSC_4654.jpg
    129.3 KB · Views: 11,664
  • DSC_4655.jpg
    DSC_4655.jpg
    124.1 KB · Views: 11,720
  • DSC_4656.jpg
    DSC_4656.jpg
    128.8 KB · Views: 12,290
  • DSC_4657.jpg
    DSC_4657.jpg
    127.2 KB · Views: 11,791
  • DSC_4658.jpg
    DSC_4658.jpg
    120.2 KB · Views: 11,852
  • DSC_4659.jpg
    DSC_4659.jpg
    120.4 KB · Views: 11,535
  • DSC_4660.jpg
    DSC_4660.jpg
    128.6 KB · Views: 14,475
Last edited:
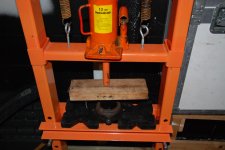
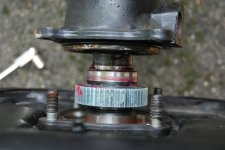
Now, the most critical step- pressing down the last retaining ring. This is what the inner axle seal seals against and it has to be in the perfect location or it will leak. I chose to do the "backwards" method and have the bevel facing away from the inner seal. I also installed it 4mm from where the polished part of the axle shaft starts.

DSC_4661.jpg


Pressing it on

DSC_4663.jpg


The Final Position

DSC_4665.jpg


This is the grease test to see if the retainer is in the right place. With the new inner seal in place, put a good amount of grease on the retainer then slide the axle all the way in with the nuts tight. Spin the axle several times, then pull it out again. There should be a line where the seal is toughing the retainer and if it looks like this, then the retainer is in the correct place.
DSC_4666.jpg


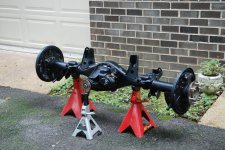
Here is the current state of my axle. I'm going to be adding the rear brakes to this write-up in the next couple weeks.
DSC_4668.jpg
 

Attachments

  • DSC_4661.jpg
    DSC_4661.jpg
    128.3 KB · Views: 12,090
  • DSC_4663.jpg
    DSC_4663.jpg
    121.7 KB · Views: 11,492
  • DSC_4665.jpg
    DSC_4665.jpg
    126.3 KB · Views: 11,749
  • DSC_4666.jpg
    DSC_4666.jpg
    127.2 KB · Views: 11,644
  • DSC_4668.jpg
    DSC_4668.jpg
    143 KB · Views: 11,398
Last edited:
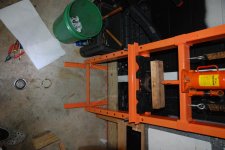
Just finished the entire bearing replacement process and fixed some spelling mistakes. Just need to add brake installation.
 
nice. all i have to add is if you have the sst press tool you can save everything, except the bearing when you do it. then to put it all back on I used a long thick walled piece of dom I have thats for another project.
 
Weird.. your spring kit is missing one small spring that mine had. Hold the smaller metal arm (If memory serves me correct) back with tension.. hooked to the brake shoe.
 
Wow. nice work.

but seriously how do you have time? I don't even have time to bring my car to get serviced unless i take a day off
 
Wow. nice work.

but seriously how do you have time? I don't even have time to bring my car to get serviced unless i take a day off

Thanks, it took me about 5 weekends so far to get my E-locker axle rebuilt. Hopefully I can finish the brakes and wiring then roll it under this weekend.
 
Thanks, it took me about 5 weekends so far to get my E-locker axle rebuilt. Hopefully I can finish the brakes and wiring then roll it under this weekend.

ooh, id love me an Elocker. I need to find one for my 85.


just a little tip on removing the bearing. I had read about it several times, and only recently got a chance to try it.

remove the snap ring, then holding the backing plate, drop/slam the axle down hard, onto something hard. though not directly onto concrete, as the axle is VERY tough and will break the floor. haha. I used a piece of flat steel.

anyway, it took 2-3 hits, and the bearing slid off. I couldn't believe how easy it was.

you MAY have to first cut the 2 retainers and abs ring off still. but this would avoid any bending of the backing plate.
 
ooh, id love me an Elocker. I need to find one for my 85.


just a little tip on removing the bearing. I had read about it several times, and only recently got a chance to try it.

remove the snap ring, then holding the backing plate, drop/slam the axle down hard, onto something hard. though not directly onto concrete, as the axle is VERY tough and will break the floor. haha. I used a piece of flat steel.

anyway, it took 2-3 hits, and the bearing slid off. I couldn't believe how easy it was.

you MAY have to first cut the 2 retainers and abs ring off still. but this would avoid any bending of the backing plate.

I just wish the E-locker would be as easy as my aussie. Now, I'll have to think about pushing the button lol

I tried the hitting it on the ground several times part and it didn't budge for me. That was after I removed the retainers, clip, and ABS ring too
 

Members online

Forum statistics

Threads
278,316
Messages
3,554,121
Members
248,016
Latest member
Advally Service

Trending content

Back
Top