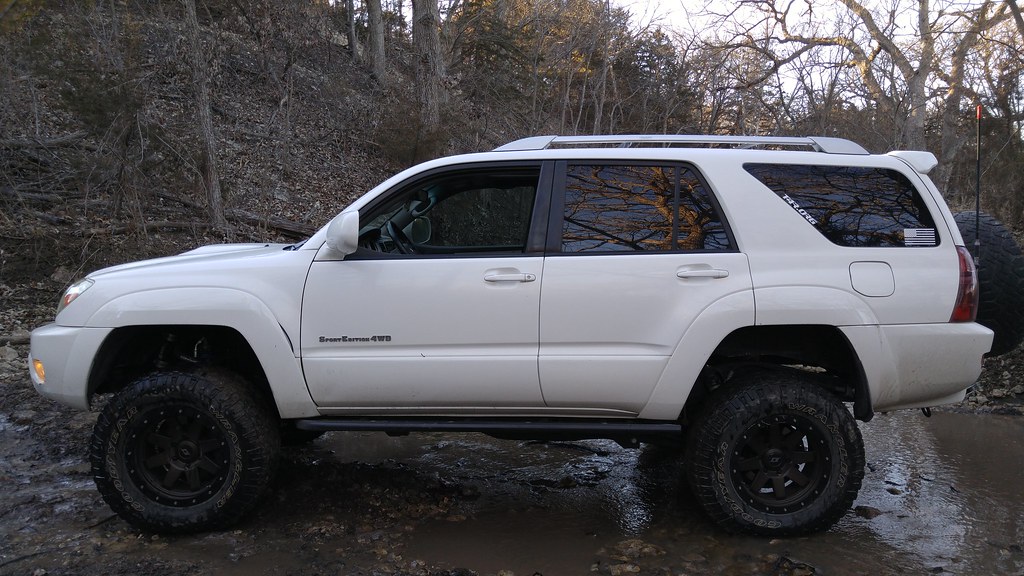
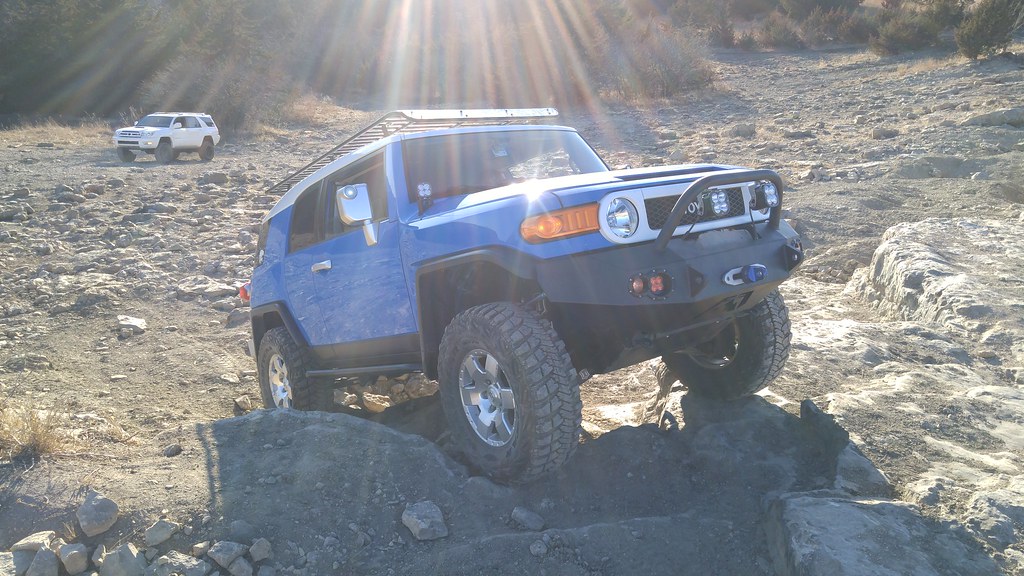
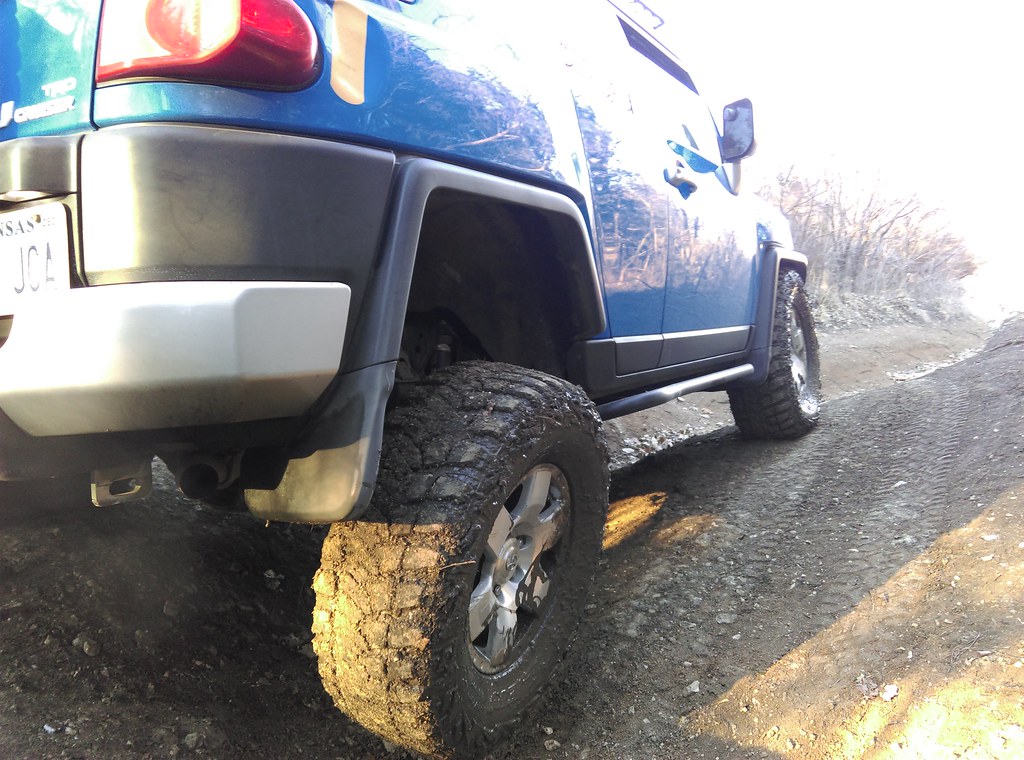
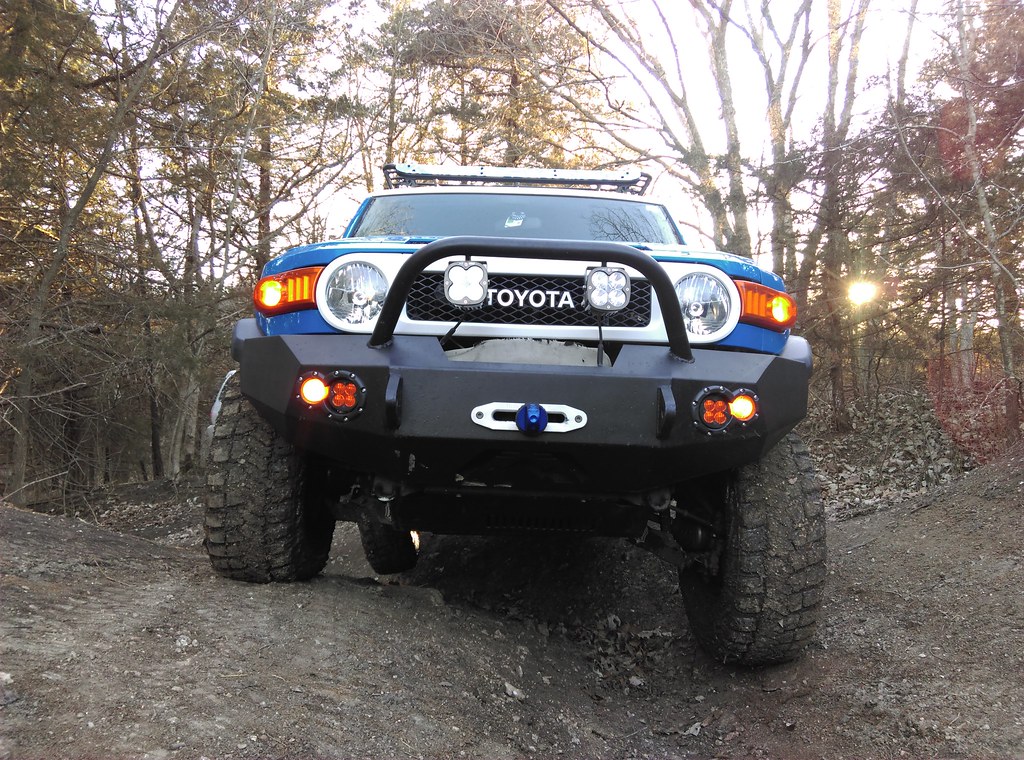
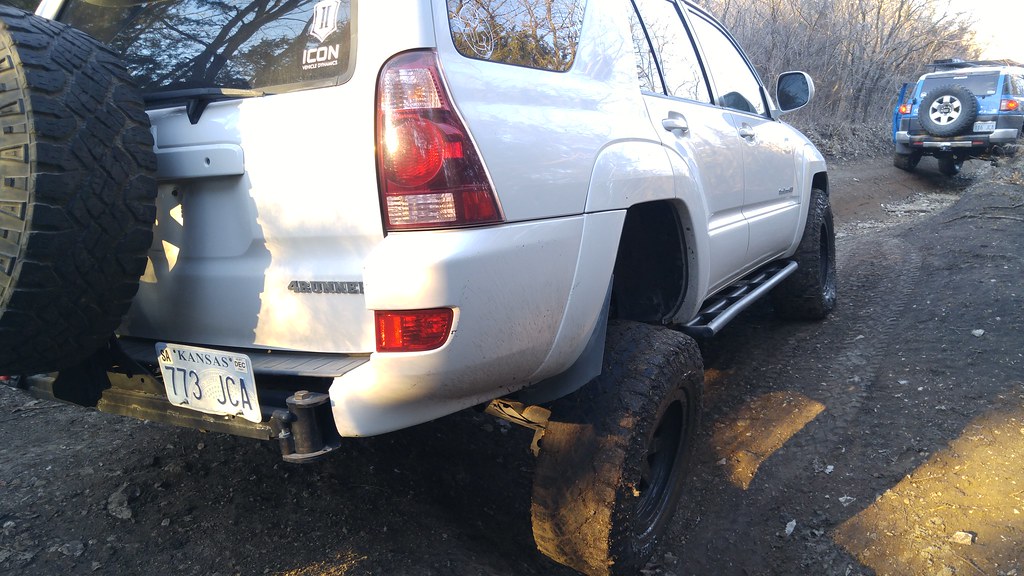
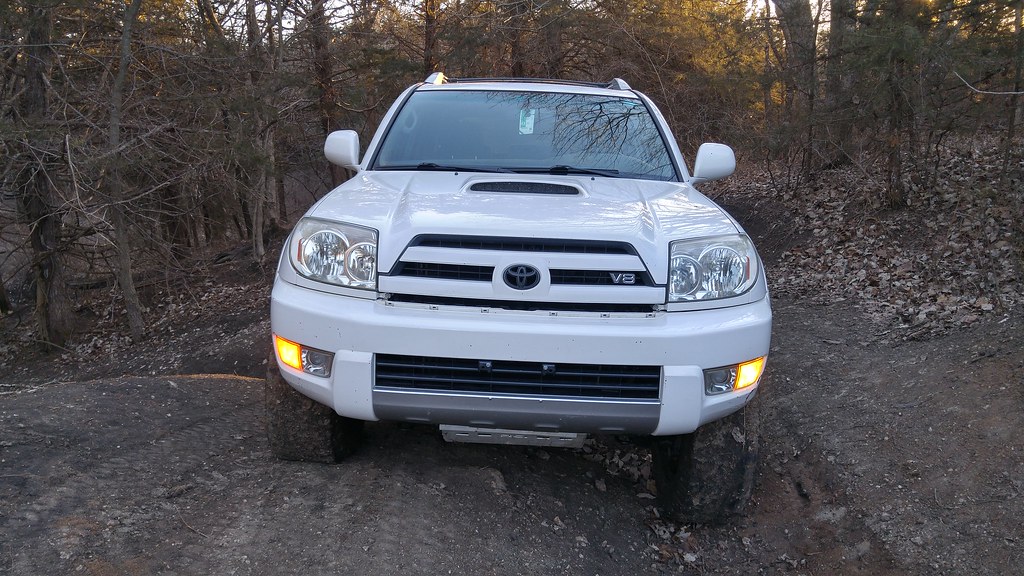
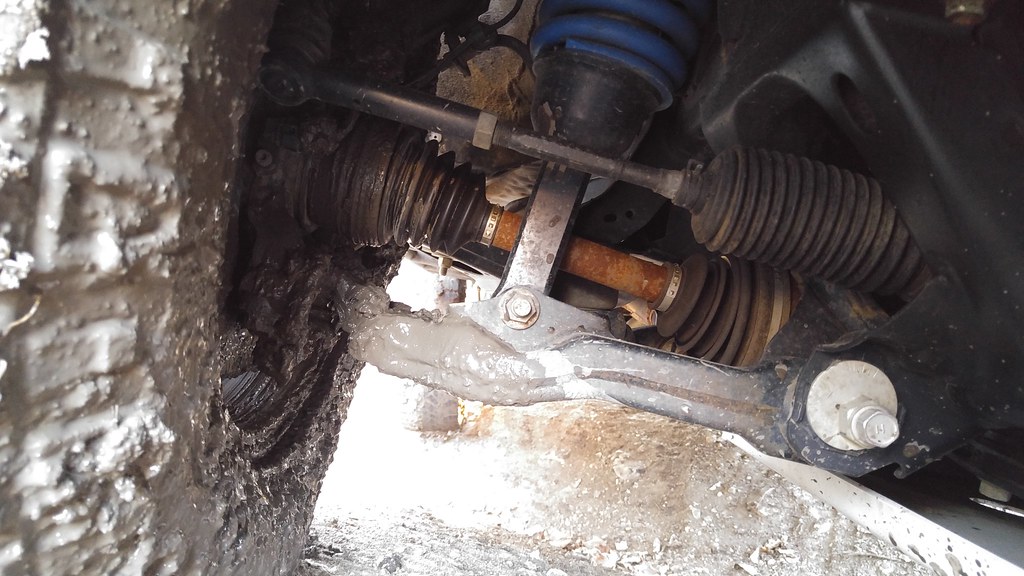
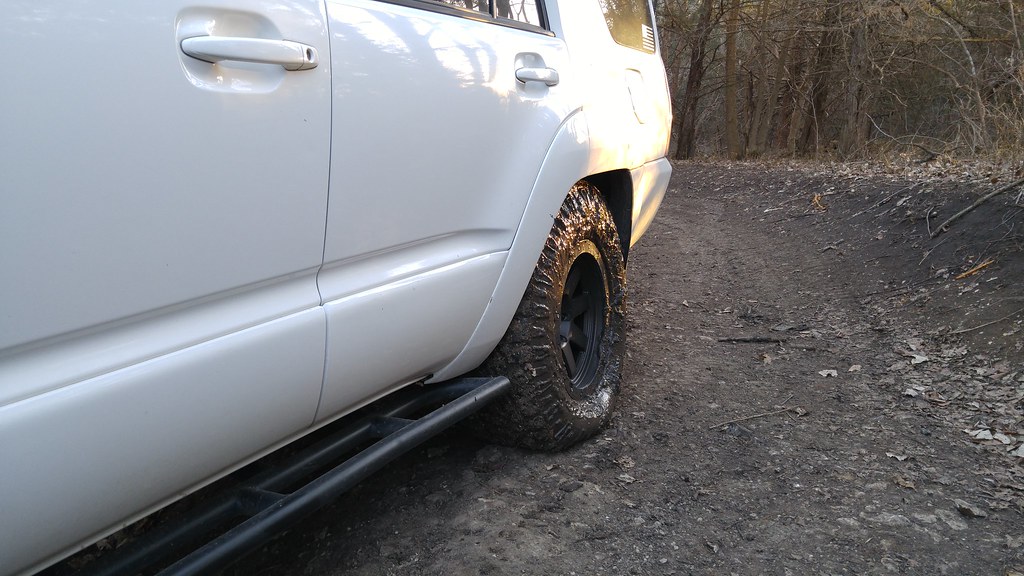
Inv4drZm's Build Thread

Got the spindle in and will be finalizing the design. It can hold x2 2 gallon Rotopax. Will hopefully have a buddy at work cut this out along with my skids on the plasma table once I get those designed.


Please let me know asap if you could send me exact plans for this tire holder.... i can pay... i can build it.... but if you could send me the exact plans id absolutely love it!! You can pm me or whatever... but seriously... in love with this... :becky:
 
Alright! The moment you've all been waiting for people! My how-to on my rear tire carrier swing-out! Time to break out your reading glasses.:nerd:


Steel Materials:

  • 41" 2" square tubing for main arm.
  • 20" 2" square tubing for vertical tire support.
  • 6" 2" square tubing for wheel mount standoff.
  • 1/4" plate gussets for upright tire support.
  • Steel unthreaded spacer McMaster-Carr # 92415A159 for inside the swing arm to locate the latch pin.
  • 3 studs to mount spare tire.
  • T-Handle Push-button Pin McMaster-Carr # 93750A713

Latch system:

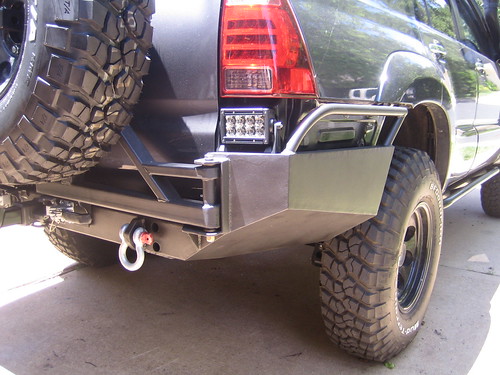
I used the same 2" square tubing and cut off 3 of the sides most of the way down a 3" section. I then welded on the CNC-cut top and bottom plates of the latch with 1/2" bushings from McMaster Carr. I went with a pin because I knew I would be paranoid of it swinging out while driving if I used a bolt with a welded on handle or a red-handled latch and I only wanted to use 1 hand to open it. These other two options would be easier to keep from rattling though. I had a perfect fit with my latch system; it slid in so smooth and hardly had any play. But the way it's designed (metal on metal) if there was half a millimeter of play, it would rattle when you drove it. I temporarily placed a small rubber strand which gets pinched when the swing-out locks in place and that little guy has solved my rattling problem (pictured below). If I were to redesign the latch, I would add some rubber bushings around the pin to reduce metal on metal rattling.


Hinge System:

I used the 4Xinnovations hinge and it has worked great except for the two holes they use to locate the spring-loaded pin. The first hole the pin locks into doesn't allow the tire to swing far enough away and hits the hatch when it opens. I welded in a steel spacer plate in the stainless steel plate that comes with the kit so the spring-loaded pin slides overtop the hole and into the next one. This all depends on where you weld the spring-loaded pin in relation to the spindle so don't just weld it anywhere! Unfortunately the steel I welded in of course caused some rust issues in the stainless plate.:doh:


Other Design Considerations:

The most important thing with a swing-out on our trucks- make sure when the hatch door opens it clears the tire!! Mine does by 2-3" with a 33" tire so I'm pretty sure a 35 would fit. This is a function of the length of the swing arm aka the distance the tire is mounted from the spindle and where the spindle gets welded to the frame. My spindle plate from the 4Xinnovations kit is welded hanging off the right side of my frame an inch or so to get the arm distance as long as possible shown in the below picture. You probably don't want your tire to cover up your rear tailight so it involves a bit of math. (Or guess and check)

I welded the latch to the truck with the tire mounted on the swing arm. Without the tire mounted, I have to push down on the arm to get it to latch.

You will need to relocate your license plate.:police:

I had to remove the factory towing accessory because of how close I wanted the swing arm to the frame and the accessory has a plate that bolts to the center of the rear crossmember and sticks out. I didn't really mind losing it because I wanted as large of departure angle as possible.

I can see the rear tire in the rearview mirror bounce front to back a bit even on the interstate, but it survived a 2000mi wheeling trip to Moab and Colorado so I'm not too concerned. I think most of this comes from the torsional stress (twisting) of the swing arm and less from the vertical tire support tube. I would make sure to use some thick-walled tubing for the swing arm unlike me where I could only find like .1" wall at work. :doh:

I obviously trimmed the rear bumper with a dremel, the pictures are pretty self-explanatory. There is a gap below the grey tread plate from my body lift and if I would have welded the tire carrier a bit higher it would have covered this up. But since I trimmed the rear bumper this tread plate basically has no support underneath so I will need to add a spacer like the factory foam piece that fits under there if I plan on using the tread plate.


For more pictures- they are a couple pages back in this build thread.


Resources:

Spare tire carrier - Toyota 120 Platforms Forum

http://www.toyota-4runner.org/4th-gen-t4rs/117953-rear-tire-carrier.html

t4rman's build - Page 11 - Toyota 120 Platforms Forum

chiplee's LTD '04 V8 - Page 2 - Toyota 120 Platforms Forum

http://www.toyota-4runner.org/4th-gen-t4rs/101762-what-did-you-do-your-4runner-today-891.html

Show me your homemade bumper swing outs! - Page 3 - Expedition Portal

Now go and build your own! Don't bother me about selling one to you.:flipoff:

Update

This whole time I thought it was my latch that was the weak point allowing the tire to continuously rock front to back an inch on certain parts of the interstate, making me nervous watching it in the rearview mirror. As you can see I've continued to weld scrap metal on to try and stop this. I bought a destaco 334 latch clamp and welded it on this weekend to find out it really didn't help either. My end conclusion is that the main tube is simply too weak to support the tire's torsional stress; it just twists even though the two ends are solidly anchored. I could only find this thin wall 2" tube at work at the time. Wish I used 1/4 wall.

I learned a lot about making swing-outs, and this one will still hold me over until I make a full rear bumper, I know how I would improve the tire carrier for next time.

Some of my welds turned out crappy because I was in a hurry and it was breezy outside which of course blew away all the shielding gas.





Nvm.... kept reading!! Thanks!

I do have one question tho... i need my hitch for small trailors and dirt bike carriers... how could you change this to still allow a hitch? Im assuming it would just have to be out a coupple inches extra right?
 
Last edited:
[MENTION=130999]Inv4drZm[/MENTION]

Do you remember the angle from edge of the frame to the crossmember? I'm finally getting around to doodling the design up and I can't for the life of me seem to figure that angle out (I'd go and take the bumper skin off and make more measurements; but at the moment I'm not supposed to do much hard work since I got a cortisone shot in my shoulder).

Was referencing this diagram and looking at my old notes from when I measured the frame a while back:

Rear%20Crossmember%20Drawing_zpsug9fullm.jpg~original


Between your measurements and mine there's an uncomfortable discrepancy that I need to account for before buying stock. (i.e. you got 4" for the height of the frame rail and I got 110mm, which is roughly 4.3")

I'm thinking I'll go with a bracket that bolts around frame ends and then use dual heim joints for the hinge (saw it online looking for hinges and I really liked the simplicity of the idea) so I can utilize a 4x2"section of tubing for the main swing out arm to provide better rigidity.
 
[MENTION=130999]Inv4drZm[/MENTION]

Do you remember the angle from edge of the frame to the crossmember? I'm finally getting around to doodling the design up and I can't for the life of me seem to figure that angle out (I'd go and take the bumper skin off and make more measurements; but at the moment I'm not supposed to do much hard work since I got a cortisone shot in my shoulder).

Was referencing this diagram and looking at my old notes from when I measured the frame a while back:


Between your measurements and mine there's an uncomfortable discrepancy that I need to account for before buying stock. (i.e. you got 4" for the height of the frame rail and I got 110mm, which is roughly 4.3")

I'm thinking I'll go with a bracket that bolts around frame ends and then use dual heim joints for the hinge (saw it online looking for hinges and I really liked the simplicity of the idea) so I can utilize a 4x2"section of tubing for the main swing out arm to provide better rigidity.

From my drawing, 86° or 4° for each of the angles. The 4" height discrepancy is because I measured the frame rail from the backside where the spare tire mounts. I missed the weld seam underneath the crossmember.

The larger swing arm tubing will be good. At least make the hinge and latch taller than my 2"; that should add some strength. I would like to do a revision 2.0 on mine but I'm probably going to make a full bumper anyway, so at least I've learned a thing or two (or so I feel) about the swing-out portion of the bumper.
 
Last edited:
From my drawing, 86° or 4° for each of the angles. The 4" height discrepancy is because I measured the frame rail from the backside where the spare tire mounts. I missed the weld seam underneath the crossmember.

The larger swing arm tubing will be good. At least make the hinge and latch taller than my 2"; that should add some strength. I would like to do a revision 2.0 on mine but I'm probably going to make a full bumper anyway, so at least I've learned a thing or two (or so I feel) about the swing-out portion of the bumper.

Yeah that's why I am thinking of a double heim joint, so I can just go 4" Tall like the cross member and make the swingout arm a 4x2" square stock.
 
I want to build a bumper for mine, but I want to see how high I can push it. I want to cut the frame at an angle starting behind the rear axle and components, up to the rear hatch, then box it back in for strength, put a plate from the rear of the truck down the modified frame rail about 2 feet to slide on as needed, then build a high clearance bumper off that. Weld a hitch receiver in it too so I can still tow. I hate the boxy look of all the available rear bumpers, so I'd probably wrap tubing on the sides to fill the gap, then some thinner plate to fill the gaps.
With my body lift I should be able to move the bottom of the bumper area up by 4" I believe.
Do I sound crazy? Making sense? Lol

Sent from the drivers seat of my 05 4runner.
 
[MENTION=101553]t-man[/MENTION], pretty much exactly my thoughts. As high as possible and tucked in for the highest departure angle. If you cut the rear crossmember, you can also angle the side plates upward more to increase your clearance a ton on the sides like this one:
Another rear bumper build - Toyota 120 Platforms Forum

3644410239_62638c6379.jpg
Hmm, ya that's not to bad. A little boxy still but good ideas. With my body lift I could move that even higher! Lol
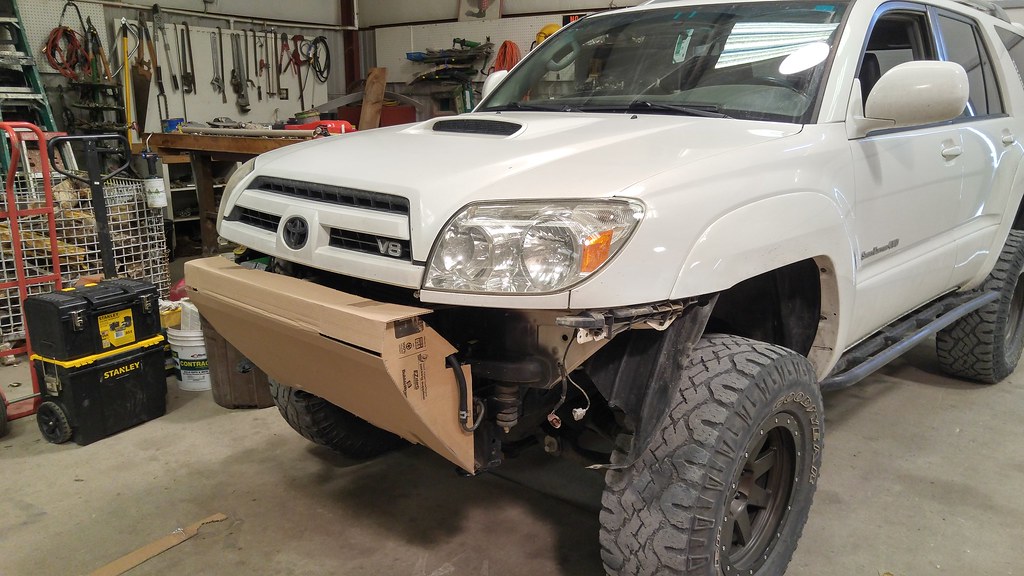
Sent from the drivers seat of my 05 4runner.
 
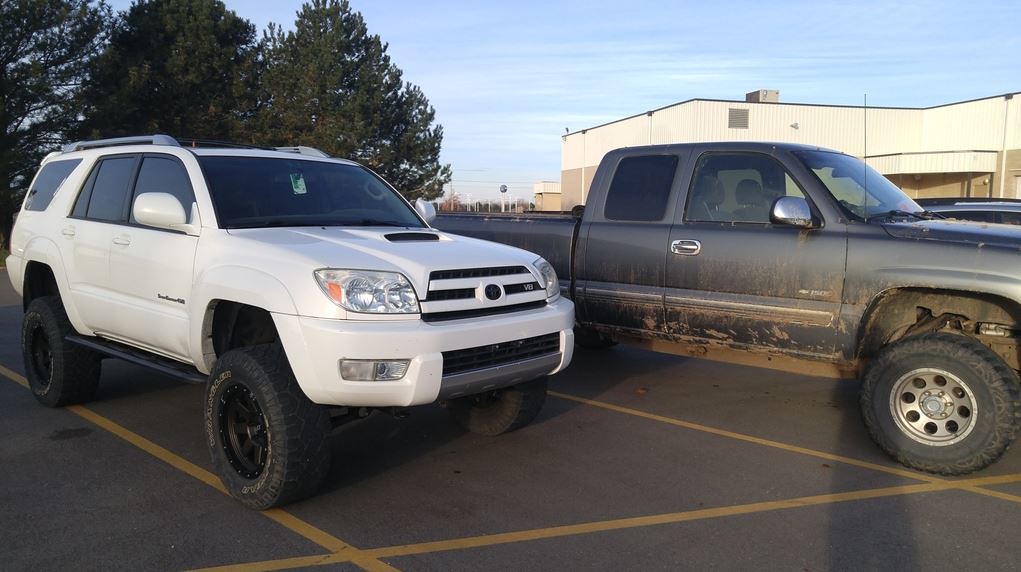
Seems like its been a while since I posted a new picture of my truck on here so I took one this morning at work. Headlights still look awesome, other than the small cracks in the old lens you can see up to 5ft away.

No big plans for it in the meantime. A lot of 'big things' are left like my bumper(s), cargo storage drawers, full detail (have only cleaned the interior once since I've owned it! Its really dusty but I do a good job of keeping the trash out.) Its getting cold outside, I have to enroll for next semester (Hopefully my last) and will be really busy for a while unfortunately. Can't wait for it to wind down so I can get to work on those bigger projects.

 
Last edited:
Nvm.... kept reading!! Thanks!

I do have one question tho... i need my hitch for small trailors and dirt bike carriers... how could you change this to still allow a hitch? Im assuming it would just have to be out a coupple inches extra right?

Not sure if your question was answered but I was able to use this design and keep my hitch. I just flipped it around and drilled four new holes on the back side of the frame. You can use the existing bolt holes on the bottom of the frame also.
 
I want to build a bumper for mine, but I want to see how high I can push it. I want to cut the frame at an angle starting behind the rear axle and components, up to the rear hatch, then box it back in for strength, put a plate from the rear of the truck down the modified frame rail about 2 feet to slide on as needed, then build a high clearance bumper off that. Weld a hitch receiver in it too so I can still tow. I hate the boxy look of all the available rear bumpers, so I'd probably wrap tubing on the sides to fill the gap, then some thinner plate to fill the gaps.
With my body lift I should be able to move the bottom of the bumper area up by 4" I believe.
Do I sound crazy? Making sense? Lol

Sent from the drivers seat of my 05 4runner.

I like that idea. Post when you get started. I'm finishing my front bumper now and the rear is next. I'm thinking something along the lines of two swing outs.
 
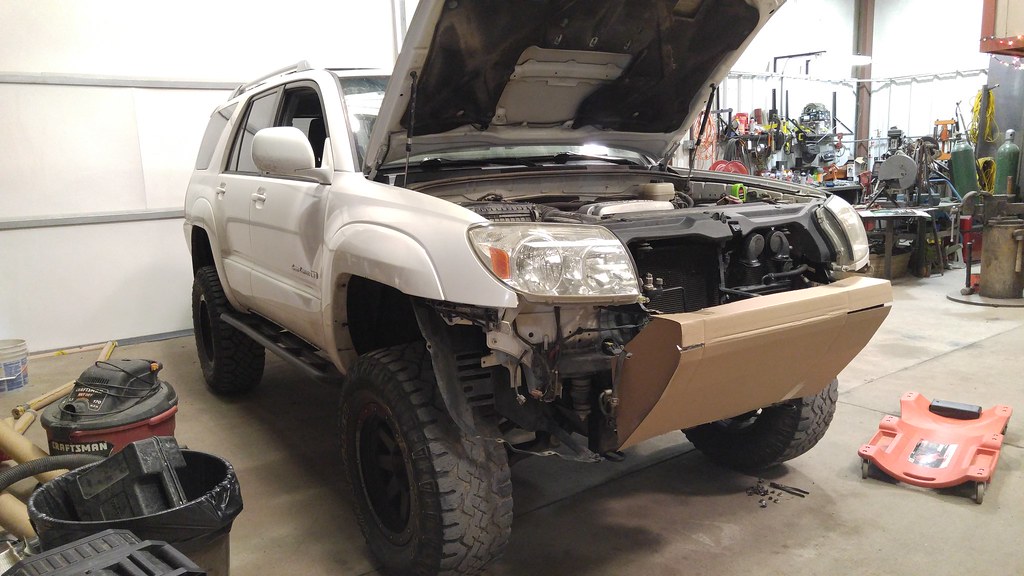
Wow. Whoever uses the "cardboard method" for designing their bumper must be very patient!! I tried using some thick cardboard (couldn't find any foam board at walmart) and I could only make a flimsy crude representation of the center plate section of my bumper. All these awesome cardboard or foam bumpers people have made put my skills to shame! Glad I have Solidworks though!

Imagine it 1" higher. Couldn't hold it up and take a picture at the same time.


I forgot to take a measurement so my bumper needs to come off again but if it wasn't for those 2" tubes I need a fab shop to bend for me I would be very close to being ready to cut it out and weld it up! It's gunna be sick! :rockon:
 
Last edited:
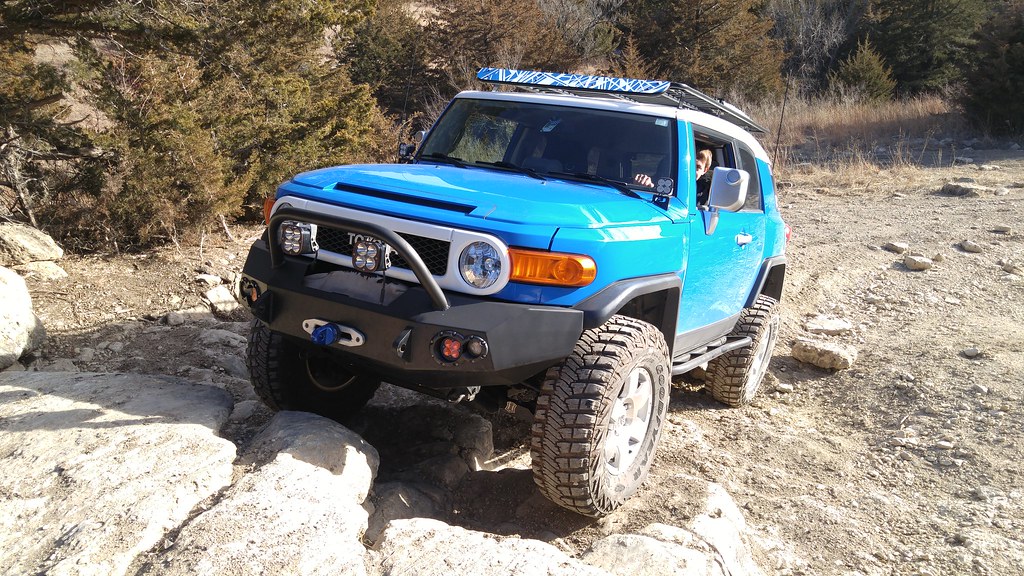
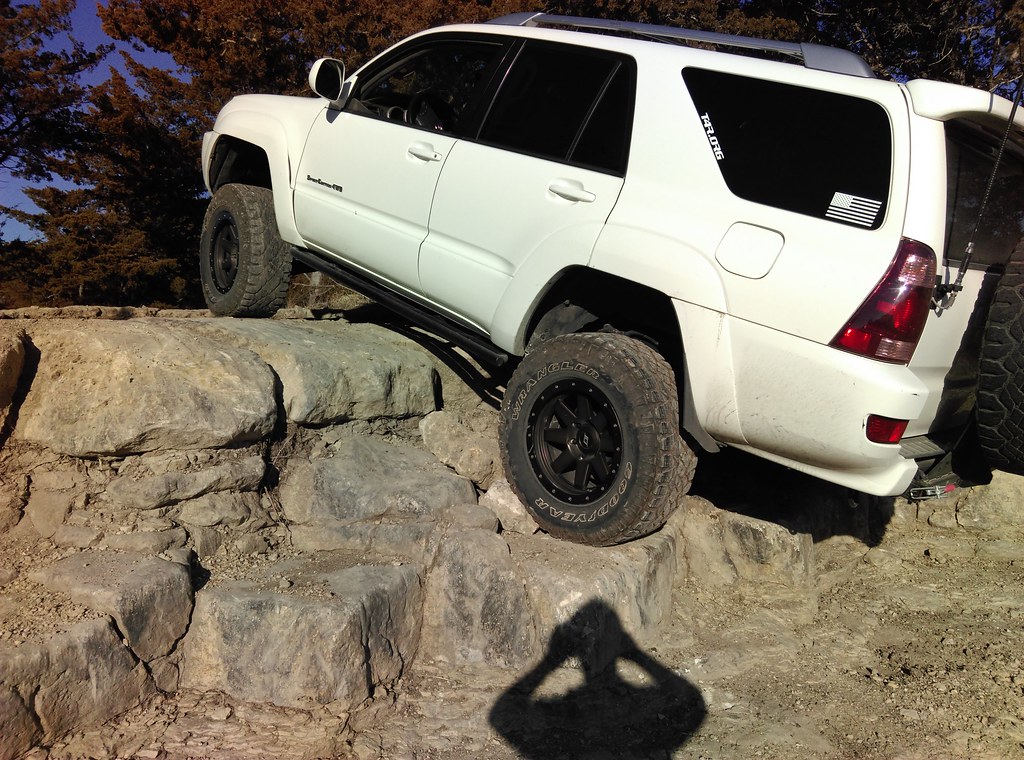
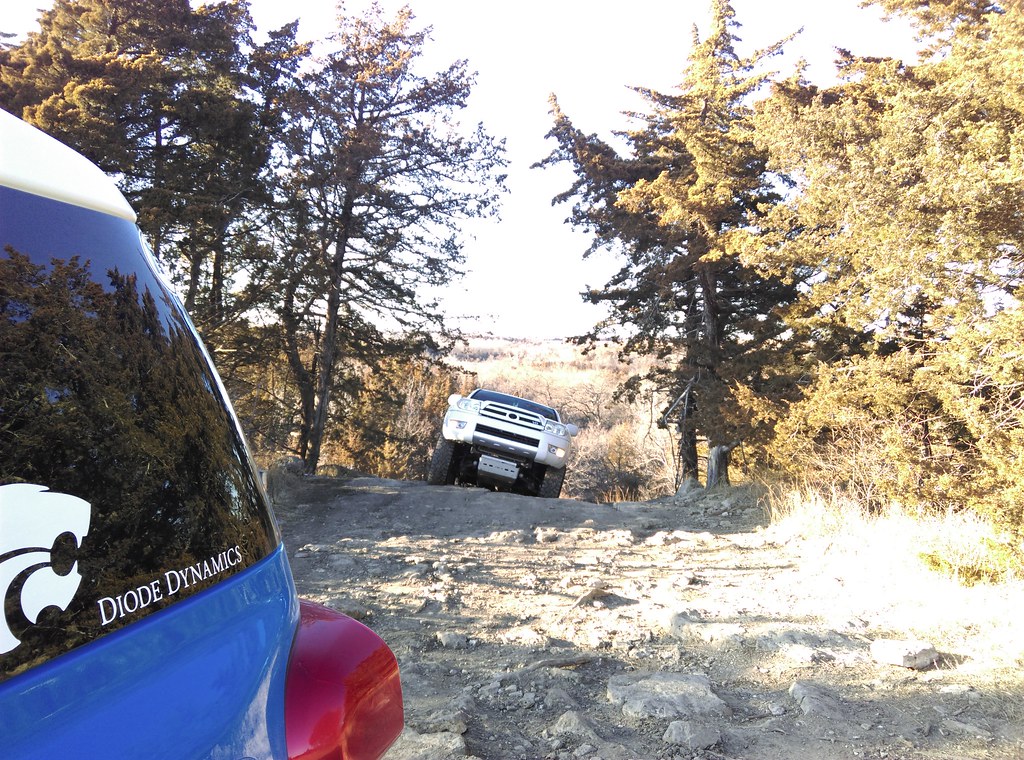
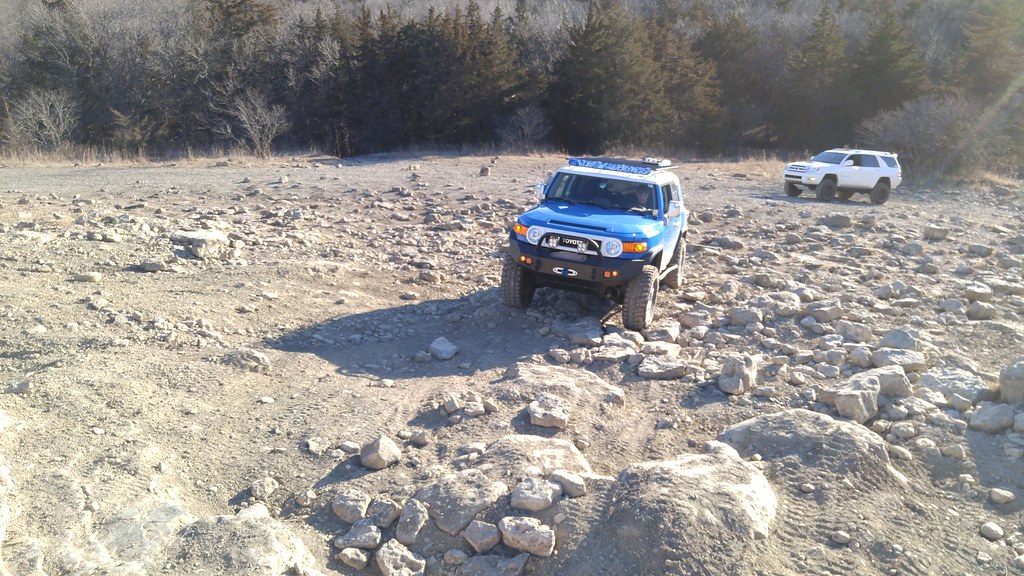
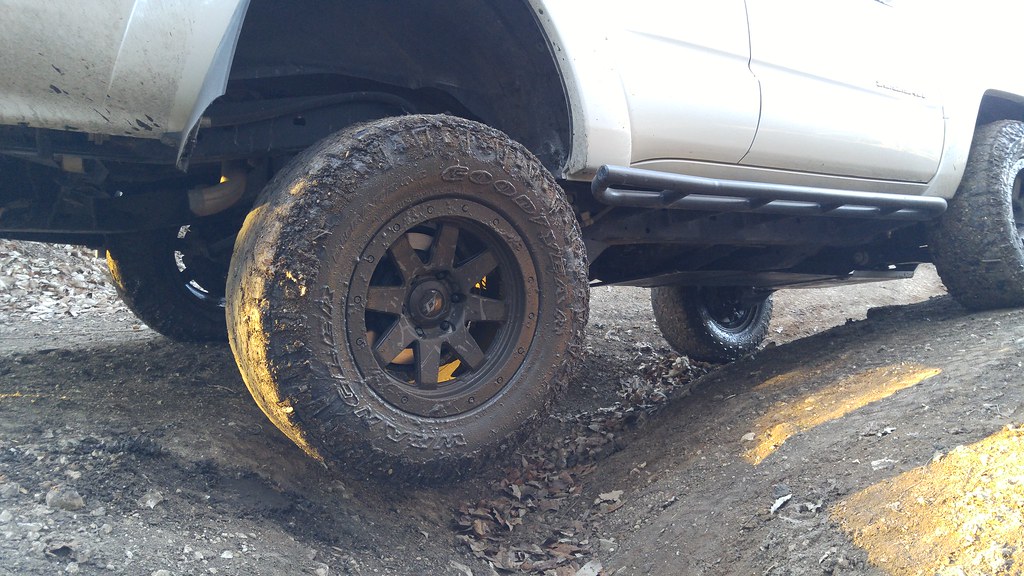
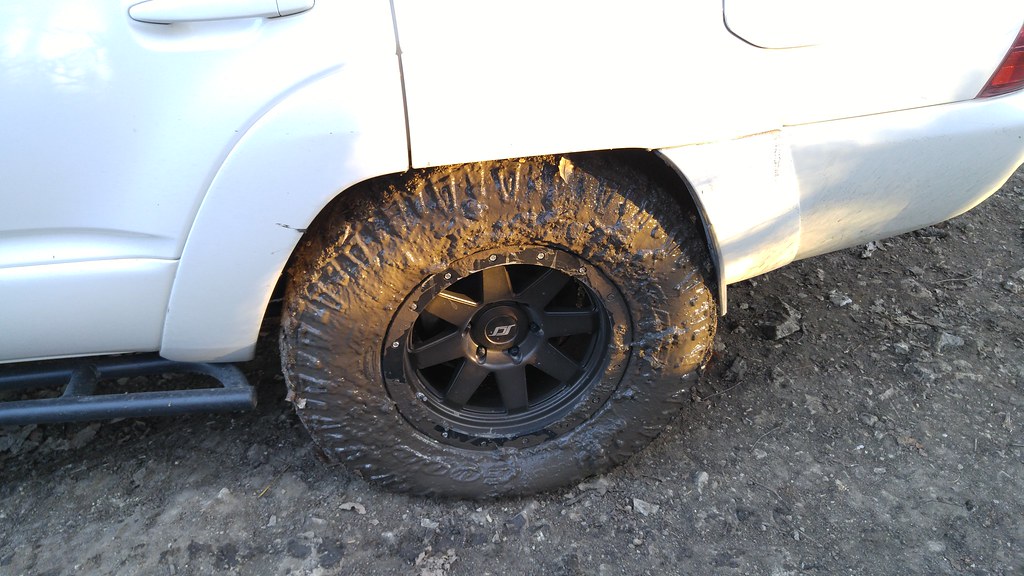
Found time to go to Tuttle this evening. The nice pics are from my phone, the crappy ones are from my brother's.


Die gas tank skid, die!


I'm digging the white RCI skid back on my truck! Had it off all winter:


Sizing up the obstacle that broke the blue beast's diff last time:


Do or die! It made it just fine:


Flexing opportunity:


IFS FTW:


Back right is well off the ground:


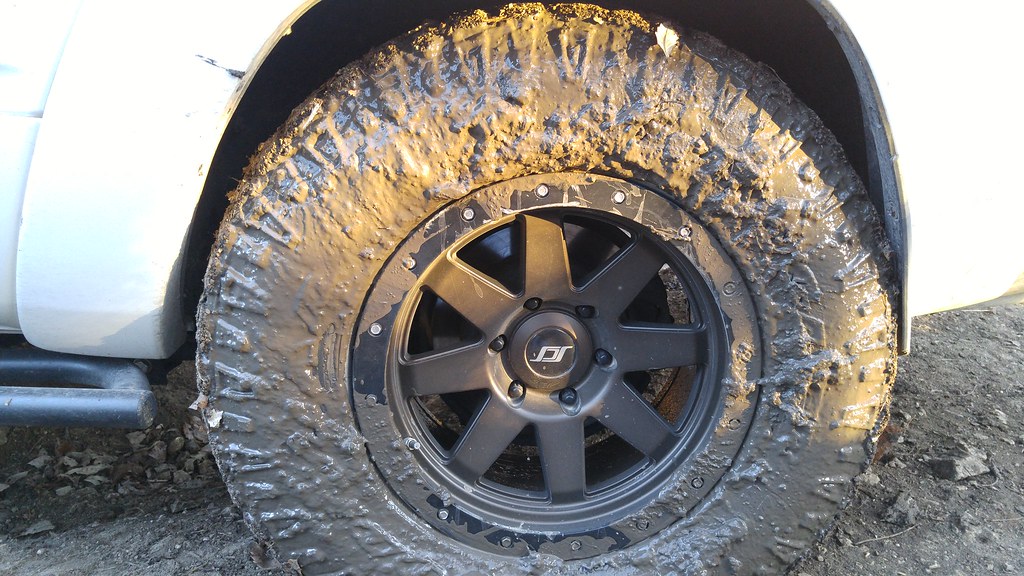
Chocolate-wrapped SCS. I want to lick it:


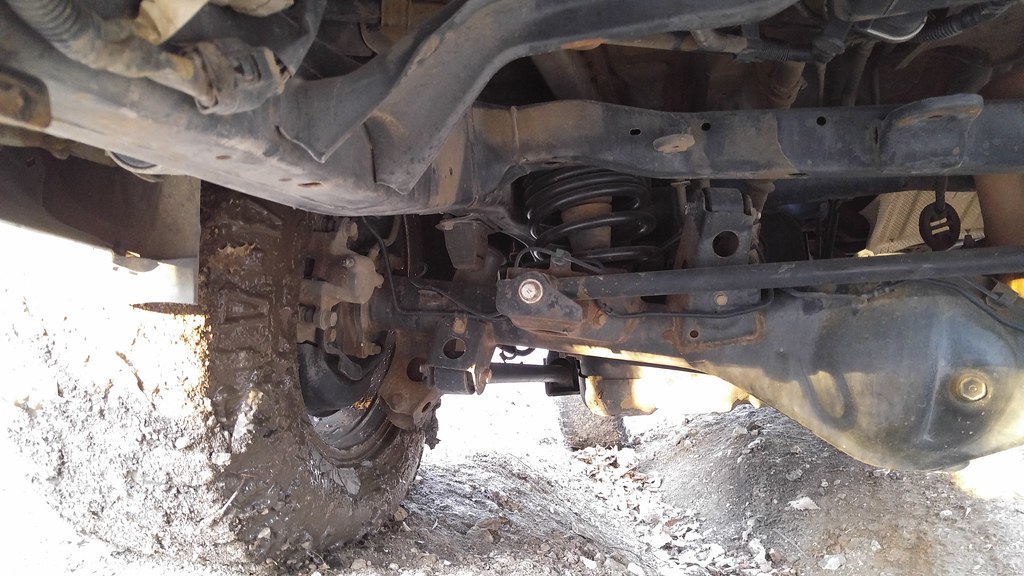
Still has a little over an inch of stuff left:


Front right is touching the Wheeler's bump stop but not compressing it with weight:


Low-rider Life:


Looks nice, if it wasn't 25 degrees and breezy outside:


Last edited:
I can only imagine how loud these might be, but I kinda want them! Hard to go wrong if I could get all 5 for $250...

https://kansascity.craigslist.org/wto/5979267129.html

FYI - just looked and those are still listed, I ran those on my Titan in that size, were quieter than the Nitto worn down Trail grapplers they replaced...

Now - i can't speak to how loud they are worn down that much as we all know mud terrains get louder as they get worn down. But new and first 15k before I traded truck in - silent - i was actually let down as was looking forward to the mud tire howl - I had thornbirds back in the late 90's;-)
 

Members online

Forum statistics

Threads
278,307
Messages
3,554,056
Members
248,016
Latest member
Advally Service

Trending content

Back
Top