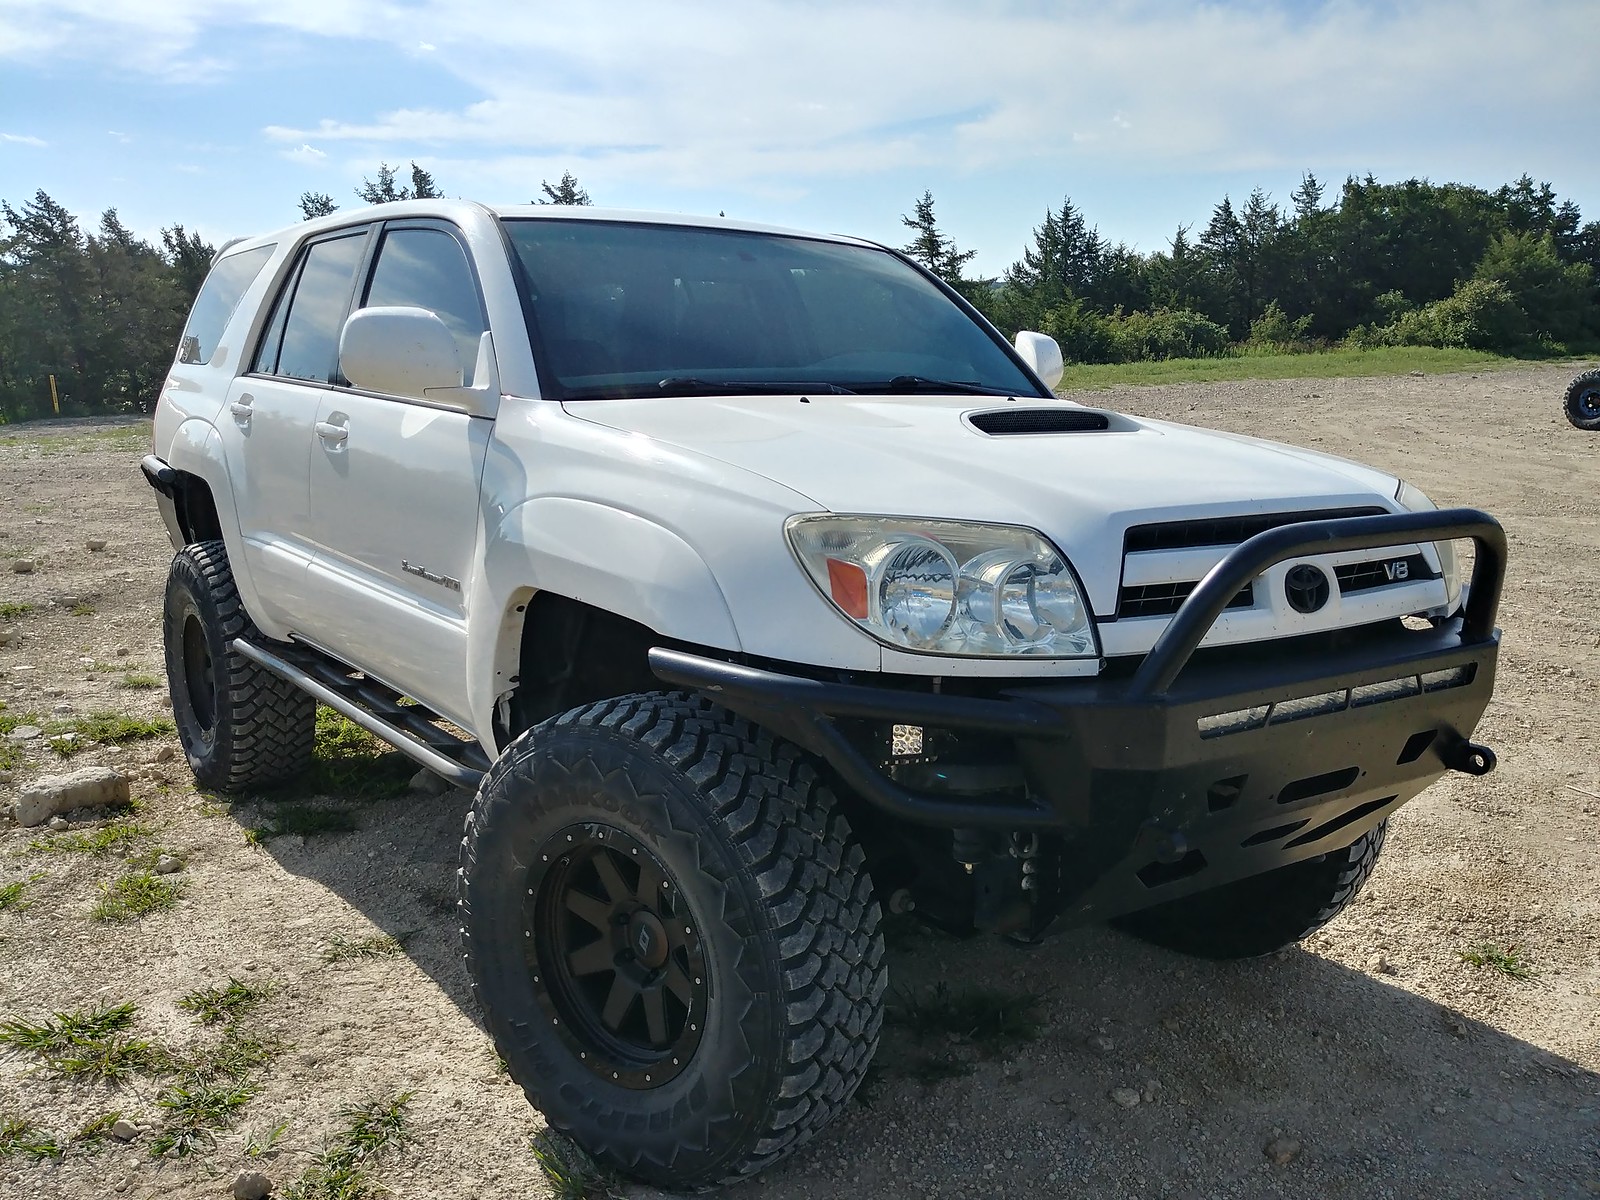
Inv4drZm's Build Thread

Awesome build you have here

I also live in Kansas too and I've been to Tuttle Creek in a few different vehicles. My new 4runner is not ready for it yet though, street tires and no skid plates. But my XJ is good to go, except it overheats pretty easily after my last trip to Colorado.

Just saying high, maybe I'll have my 4runner ready for Tuttle Creek one day

Sweet, let me know when it's ready maybe we can meet up and wheel together.
 
I recently took out my ES lca bushing cause they squeaked and i couldn't figure it out. i found rust between the sleeve and the washer you are supposed to press on. I already bought new lca's so i just threw those on. since you have a welder you should just tack and grind that washer on. just be careful not to melt that bushing. I think the twisting caused the washer to spin and squeak.
 
cool build, dude.

you never threw LED tails in? i think the white pulls off the earlier style tails pretty well anyway.

I've always kinda liked the appearance of the older style myself, like you mentioned they do look nice on white. I cracked one against a tree but will probably keep them looking original.
 
I recently took out my ES lca bushing cause they squeaked and i couldn't figure it out. i found rust between the sleeve and the washer you are supposed to press on. I already bought new lca's so i just threw those on. since you have a welder you should just tack and grind that washer on. just be careful not to melt that bushing. I think the twisting caused the washer to spin and squeak.

Good to know. I screwed up one crimping flange on the sleeve by hitting it with a hammer after already having the washer off so light tack welding might be a good idea.
 
Visited Tuttle Creek again. Still wanting lockers. Will be starting a new engineering job (mechanical designer) in a couple weeks which should help with the locker bit.


Checked out the buggies trying the ledges. Lots of people out for Labor Day weekend.


Spent another full weekend working on the truck. Nice cool weather though.

The goodies:


Driver's side finished. On to the passenger side. Unfortunately I was barely able to get the rear LCA mount apart, and the front mount was completely seized. I worked the old LCA out, and came up with a band-aid until the new parts arrive. None of the auto stores around had the part on hand. The steering wheel isn't quite centered but it'll do fine for this week.


Big old bolt:


Did I push in the ball joints incorrectly? I probably should have put the grease zerk somewhere else. Currently I would need to remove the ouboard side of the CV in order to grease it which sounds like a pain. I clearly didn't think that part through...

 
I was going to press out the LBJ to clock them correctly so I can grease them easily, but all I have to do is remove the wheel and 2 bolts to access the grease zerks. In a year or two I'll be getting LT or SFA anyway. The boots on the driver's side were rubbing eachother until I reinstalled my diff drop kit. Still need to take it in for an alignment though I got it pretty close by taking pictures of the cams before hand. The front does feel tighter/smoother driving over bumps after installing the new parts.


I'm scared of taking this one out:

 
We will be traveling to Kansas Rocks for their Creepy Crawl event Oct. 20th.

If anybody local wants to go, there will be a bunch of Toyota's there.
 
Got an alignment at the Toyota dealer a block from my house after all my front end work. They charged me $100 and made the alignment worse, so I'm having them redo it and requesting a print this time.

Like I mentioned, got a new job. I'm sure you're all curious what the new parking spot looks like:

 
I found a tire plug/patch kit to be invaluable with those Hankook MTs you run.
Was like nail magnets for me. After 3 in one tire it would not hold air for a week...probably could have had them repaired at a tire shop.
 
I found a tire plug/patch kit to be invaluable with those Hankook MTs you run.
Was like nail magnets for me. After 3 in one tire it would not hold air for a week...probably could have had them repaired at a tire shop.

That was the 2nd time it had happened. Earlier in my build thread I had another nail. There might be something to that.
 
I did the same thing with my LBJ's one of them is clocked just enough that I can get to it with the wheel cranked. The other I dropped the two bolts and installed a 45 degree zerk on it. Now I can get both again with out dropping the LBJ bracket. Looks good under there!
 
Beautiful day today, might snow tomorrow. Got some things done.

Parnhard relocate bracket installed finally. I noticed less sway through turns.
Here is the thread link for more information on the brackets.

Thanks [MENTION=28464]eimkeith[/MENTION]!


Learned how to do my own alignments. I also learned that my driver's side tie rod lock nut is seized to the thread, not something a tech would tell me. I got the toe in spec (.25" toe in) by using the passenger's side tie rod but now of course my steering wheel is a good 70 degrees off center. I had a good amount of toe out I guess the tech figured some toe out is better than perfectly straight?

Followed this writeup a little, and used the instructions that came with the Quicktrick alignment system too.

Once it was finished, my dash was lit up, I guess there is a steering wheel angle sensor, but the alignment felt so good I just kept it. Once I replace that tie rod I will play around with the alignment a little more, seemed like there was more castor on the right than the left. It'll be a good skill to have if I ever get heimed upper control arms.


Members online

Forum statistics

Threads
278,309
Messages
3,554,070
Members
248,016
Latest member
Advally Service

Trending content

Back
Top