Jaos rear spoiler installed - Finally!

^^^That's why Jason is creating a new spoiler with better mounts. It won't have the same mounts and will look better than the one in this thread.
 
I'm not an engineer, but why not locate the mounting solution so it uses the stock deflector bracket holes?
 
^^^That's why Jason is creating a new spoiler with better mounts. It won't have the same mounts and will look better than the one in this thread.

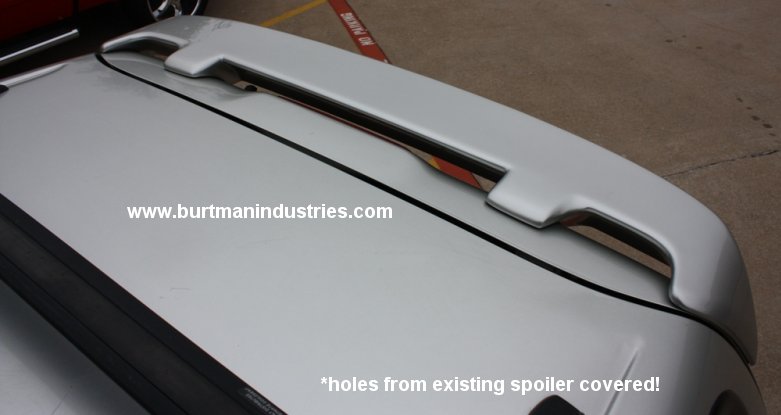
Good news! We were able to COVER the old mounting holes (think there were 6 total) that the factor air deflector leaves behind! Also, the wire for the led brakelight will come out of the left leg and taps right into the wiring harness in the gate, so no more visible wire running through the brakelight. Also the JAOS spoiler has many pieces, like the snap on legs near the bottom middle, which are now molded into the spoiler - very cool. Should be another 2 weeks I'm guessing.

Those that order the first 10 will get that sweet painted price.
 
Good news! We were able to COVER the old mounting holes (think there were 6 total) that the factor air deflector leaves behind! Also, the wire for the led brakelight will come out of the left leg and taps right into the wiring harness in the gate, so no more visible wire running through the brakelight. Also the JAOS spoiler has many pieces, like the snap on legs near the bottom middle, which are now molded into the spoiler - very cool. Should be another 2 weeks I'm guessing.

Those that order the first 10 will get that sweet painted price.

im listening. i want some pictures and we'll go from there.
 
Good news! We were able to COVER the old mounting holes (think there were 6 total) that the factor air deflector leaves behind! Also, the wire for the led brakelight will come out of the left leg and taps right into the wiring harness in the gate, so no more visible wire running through the brakelight. Also the JAOS spoiler has many pieces, like the snap on legs near the bottom middle, which are now molded into the spoiler - very cool. Should be another 2 weeks I'm guessing.

Those that order the first 10 will get that sweet painted price.

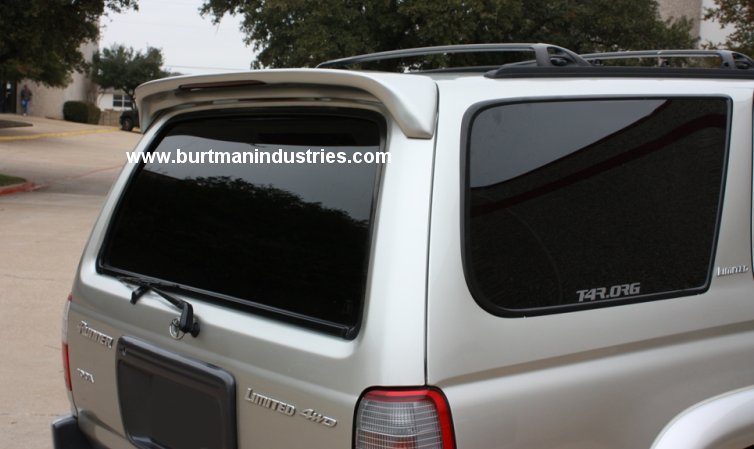
It's on and looks great!

im listening. i want some pictures and we'll go from there.

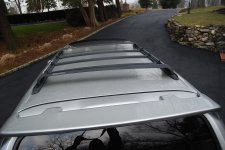
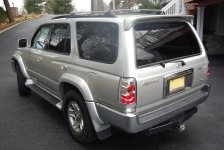
Here are a couple of crappy cell pics and I'll get some better ones posted up soon!

LINKY
 
so far so good can you get us some more pictures? above and close up would be nice.

Sure will. I had a bunch from all different angles but have to recover them as my phone went craps. Jason should have some taken from a good camera after the install so I'll get those posted up soon.
 
Sorry to bust your balls, but that mount is hideous. That cannot be right.

Thank you for your unsolicited opinion!

What will be the cost for the first 10, and are you doing each batch of 10 in 1 color or will they be painted per order?

These will be offered by Jason Burtman through Burtman Industries so I'm not sure what the details will be just yet. I was just the guinea pig for getting one mocked up so the mold could be created. I really liked how it turned out so I got one installed to show the finished look. He should be releasing info on the product soon.
 
It's done and ready!!! Hope it's ok to post this here. Want this to be seen!

Burtman Industries

Order NOW if you want the sweet price that's on the website! It wasn't as easy as I thought. Like I said, we were basically doing a mirror of the old unit, but everyone kept saying they wanted the old holes covered. So, this meant the mold had to be changed, which cost me a $$$ but NO MORE HOLES! We widened the legs to cover them. Also, no more visible wire, no more snap on pieces, no more cheesy straps. Yes, it's bolt on, and awesome! Can't be stolen, and can be taken through the car wash:) I have special pricing on the site, but it's not going to stay this low for long. Please order so I can't make more :)
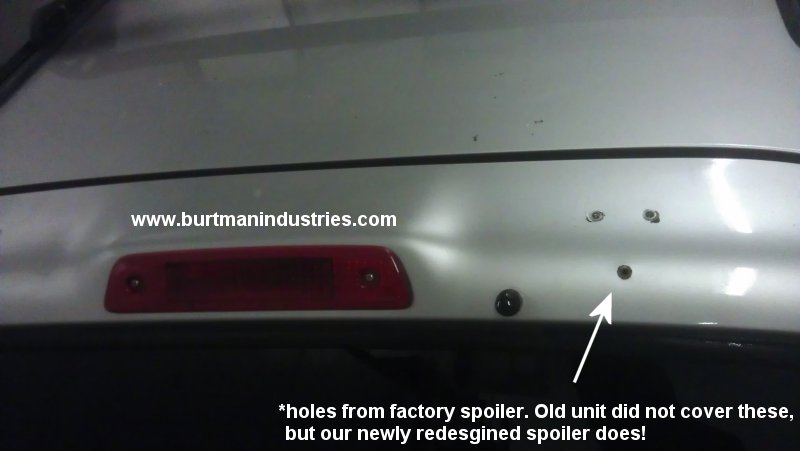
4run_b_spoiler_holes.jpg


4run_b_spoiler_top.jpg


4run_b_spoiler_side.jpg


More pictures on the site :)
 
98piranha

it uses self tapping screws - I am very happy w/ it and it really does it give the truck a new sporty kick ass look.

Rob

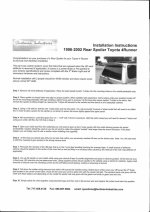
There are 10 steps in the instructions - Sohere is a summary and you can call jason or e-mail him at 717-469-4130 or [email protected] or [email protected]

put spoiler on closed hatch and use t-stips to stencil the 4 pedestals outlines, use 1/8 " drill bit to drill through t-stipand into hatch (recommended to use unibit that goes from 1/4" to 1 3/8 w/ 1/8 inch increments, open hatch and open 2 inner panels for socket accessibility, drill your led wire hole within your previously masked off area on drivers side (this is where the shop i took it to didn't follow the instructions), peel back red lined 3 m tape, small amt of silicone should be applied to the corner of the inner feet as well as existing holes caused by removing toyota oem rear deflector, line up spoiler and feed led wire thru predetermined hole, using suppiled screws secure spoiler to vehicle using a rachet , pull down rubber wiring harness boot which exposes vehicle wiring - splice the 2 wires that veer off toward 3rd breake light - the spoiler balck wire goes w/ the white & black stripes (or depending on model - the spoiler red wire goes w/ green and white or green and red wire) - splice wires together, use electrical tape and tuck in the excess wire and replace rubber boot back into poistion.

Like I said - I didn't install it I had the body shop do it because I needed to have my truck fixed in 2 other spots so any questions on install; please call or e-mail Jason or check out the burtman industries website - I think he has pictures/ details on install on his site.

Burtman Industries
 

Members online

Forum statistics

Threads
278,315
Messages
3,554,102
Members
248,016
Latest member
Advally Service

Trending content

Back
Top