JerkyDrewster's 2001 4Runner Build V2

These past couple months have been super busy with the wedding, the honeymoon, and making a bed as her wedding present. I am finally getting some free time back, so I should be able to work on the car some more. Next on the list is a CS-144 alternator and finding out where the leak is on my transmission.

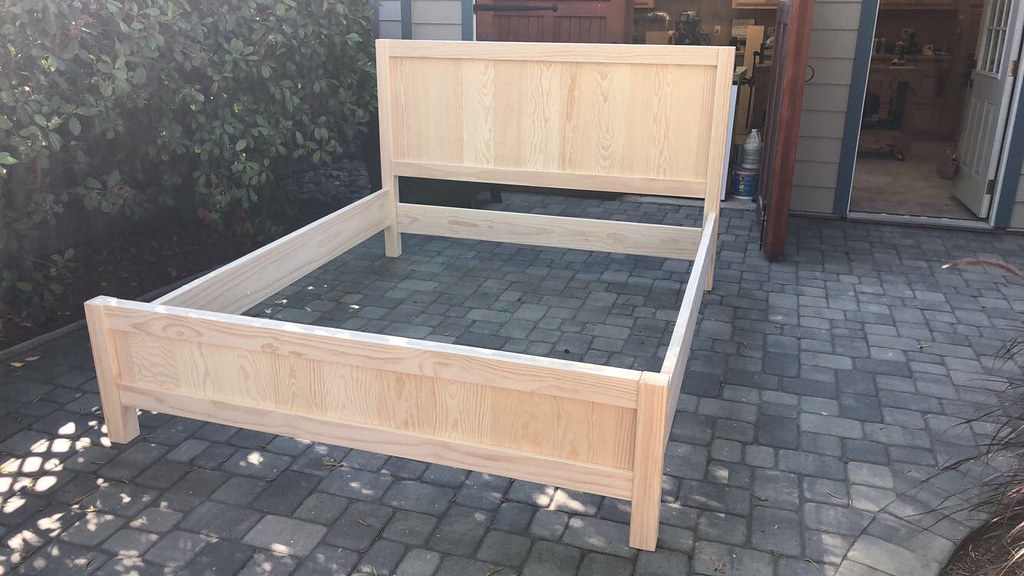
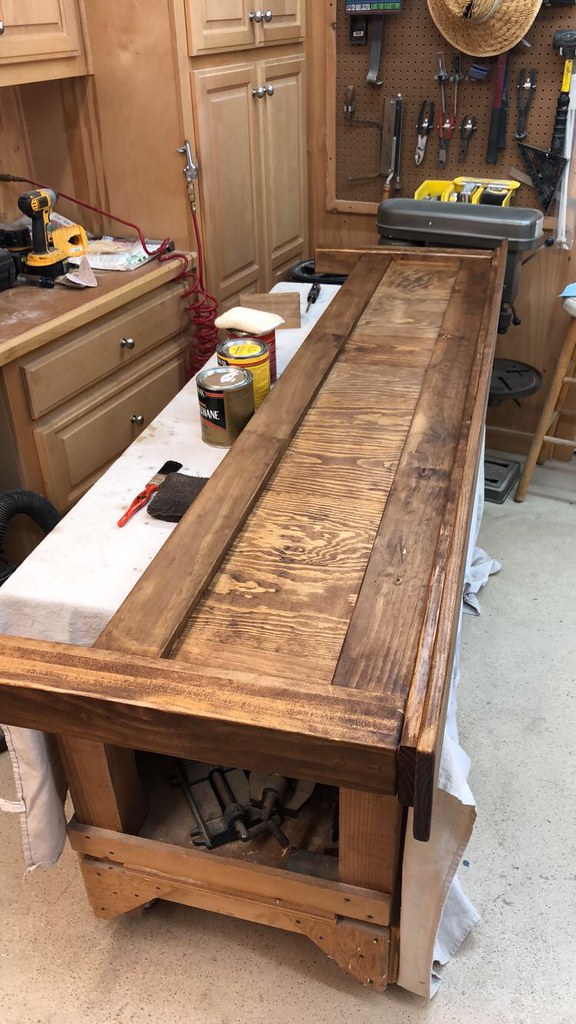
Here's a couple photos of the (unfinished) bed! The first one was making sure it would all go together properly. The second is showing the stain I used without the poly finish on.

https://flic.kr/p/26VtMeG

https://flic.kr/p/26VtMnh

ETA: Found the info I was looking for! Thanks for the excellent writeup that you do, please keep them up!

Glad I could help!
 
[MENTION=113939]JerkyDrewster[/MENTION] are you sure that's not actually a 3rd gen sleeping platform? :D
 
[MENTION=113939]JerkyDrewster[/MENTION] are you sure that's not actually a 3rd gen sleeping platform? :D

Now that would be a little excessive! I am looking to make a new box to store random things again, but probably not an entire sleeping platform like last time.
 
That bed looks great! Furniture making is something I'd like to dabble in one day.

Why the CS144 upgrade? I think very very few of us are actually pushing the stock alternator which I think is more reliable than GM parts.
 
Congrats on the marriage!

Also I'll take a California King, just let me know when to pick it up!

Making one was definitely a tough project...I'll need to wait awhile before I can do another :becky:

That bed looks great! Furniture making is something I'd like to dabble in one day.

Why the CS144 upgrade? I think very very few of us are actually pushing the stock alternator which I think is more reliable than GM parts.

The winch is the only thing that had me concerned. When I spool it in on relatively flat ground, all of the lights start to flicker, so I'm guessing this will be amplified once there is any kind of load with it. Have you had any issues with your OEM alternator?


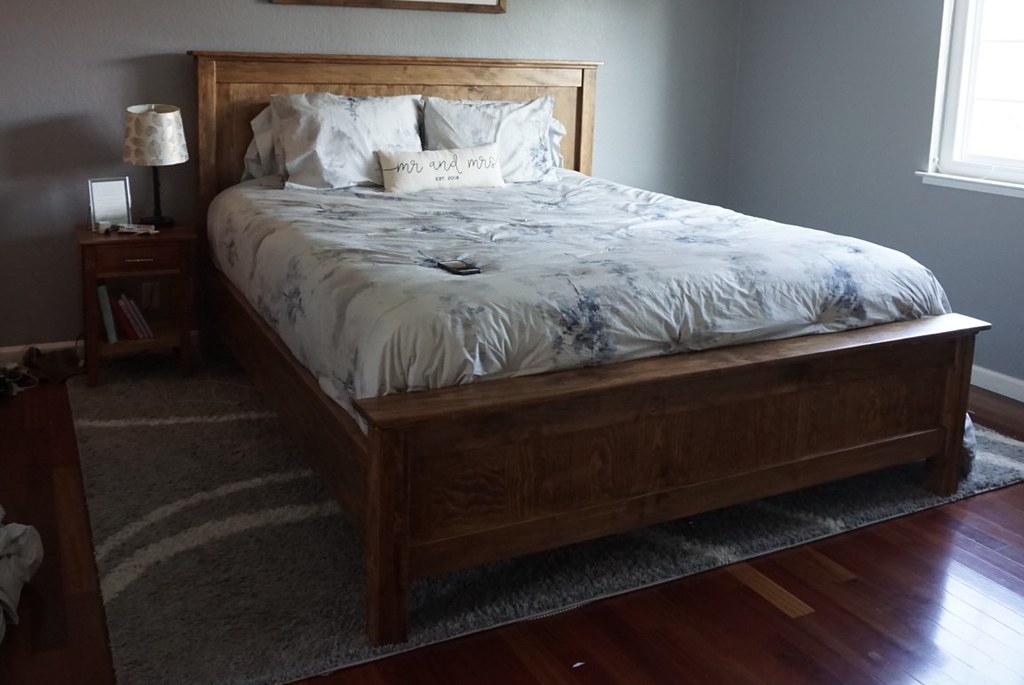
And here is the finished bed in all its glory!

https://flic.kr/p/MS2Bfq
 
The winch is the only thing that had me concerned. When I spool it in on relatively flat ground, all of the lights start to flicker, so I'm guessing this will be amplified once there is any kind of load with it. Have you had any issues with your OEM alternator?


And here is the finished bed in all its glory!

My OEM one died of wear and tear at 180k so I stupidly replaced it with some cheap advance auto parts with a lifetime warranty. I should have got the OEM one rebuilt, just like we do with starter contacts on these trucks. That replacement one totally died after 30k miles. So I got my lifetime warranty and repalced it again. That second one didn't even last that long before it started whining and acting up. So I got another Denso and that one's been fine for 40k miles.

I haven't noticed any problems with it not generating enough current when winching or doing anything. How's your battery? If the lights flicker when you spool the winch you might have a weak battery. Have you done the Big 3? That could be part of it too, maybe the cables are the weak link.

That bed looks really good!
 
My OEM one died of wear and tear at 180k so I stupidly replaced it with some cheap advance auto parts with a lifetime warranty. I should have got the OEM one rebuilt, just like we do with starter contacts on these trucks. That replacement one totally died after 30k miles. So I got my lifetime warranty and repalced it again. That second one didn't even last that long before it started whining and acting up. So I got another Denso and that one's been fine for 40k miles.

I haven't noticed any problems with it not generating enough current when winching or doing anything. How's your battery? If the lights flicker when you spool the winch you might have a weak battery. Have you done the Big 3? That could be part of it too, maybe the cables are the weak link.

That bed looks really good!

Well that definitely sucks! Hopefully you just got lucky with that one. If I do swap it out, I will definitely keep the original one just in case. My battery is relatively new, and should be more than enough. The main cable from the Big 3 that I upgraded was the battery to the chassis, which seems like the most important one. I'm heading out to a 4x4 park tomorrow and a new trail next weekend, so we will see if the winch will be used!
 
September 14th, 2018

Strawberry Pass Trail

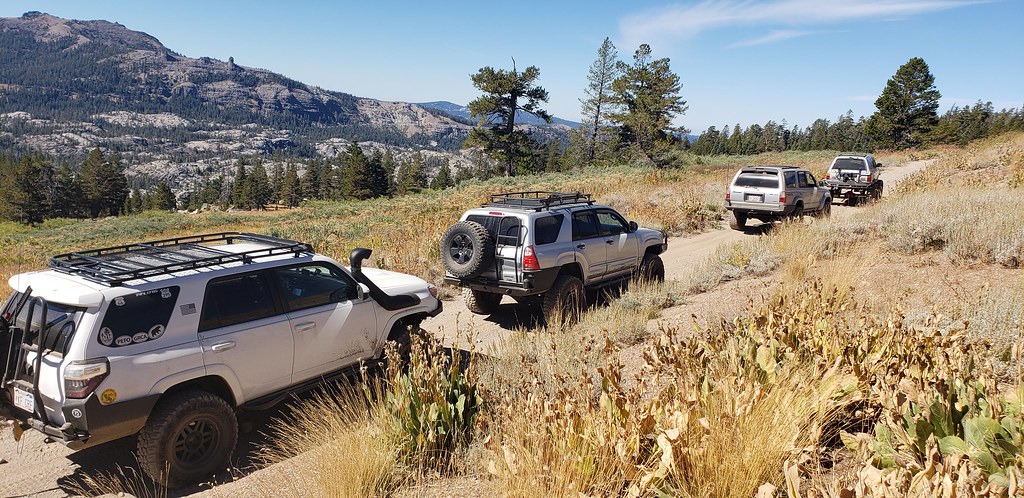
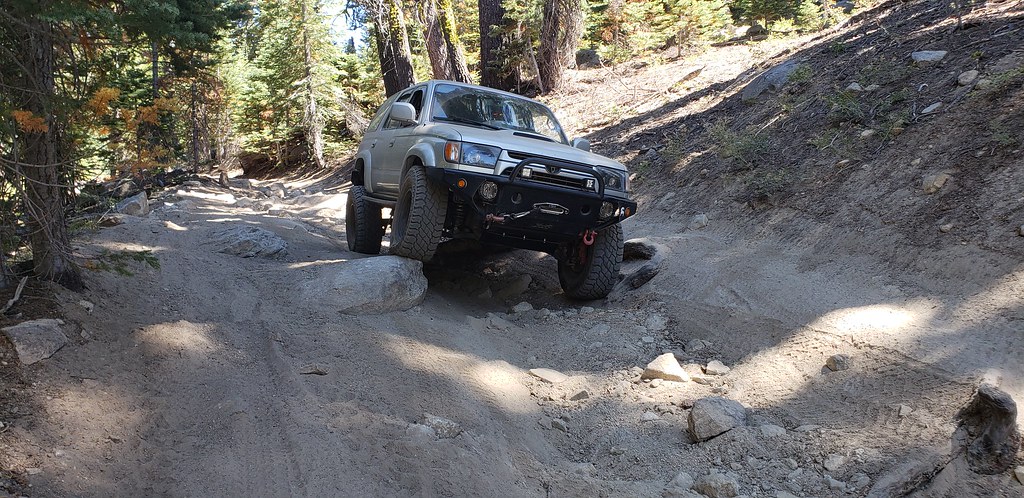
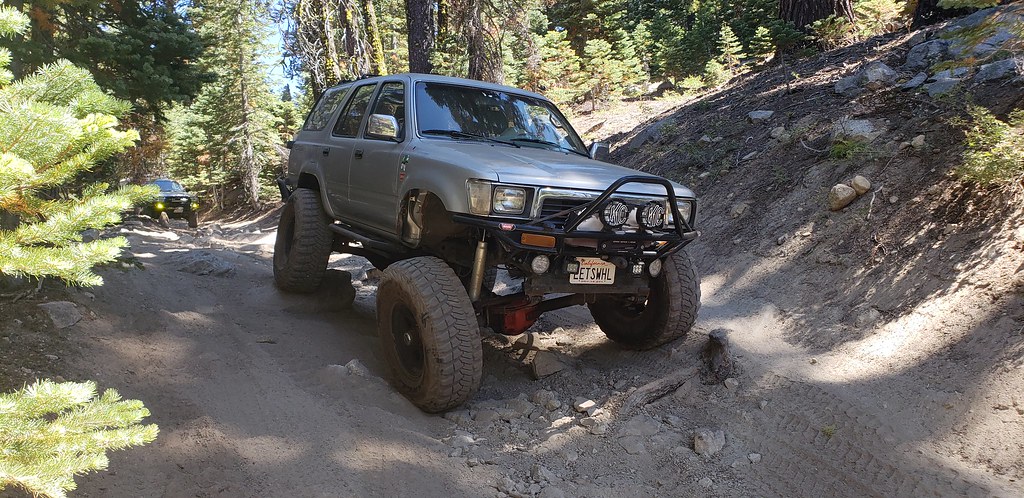
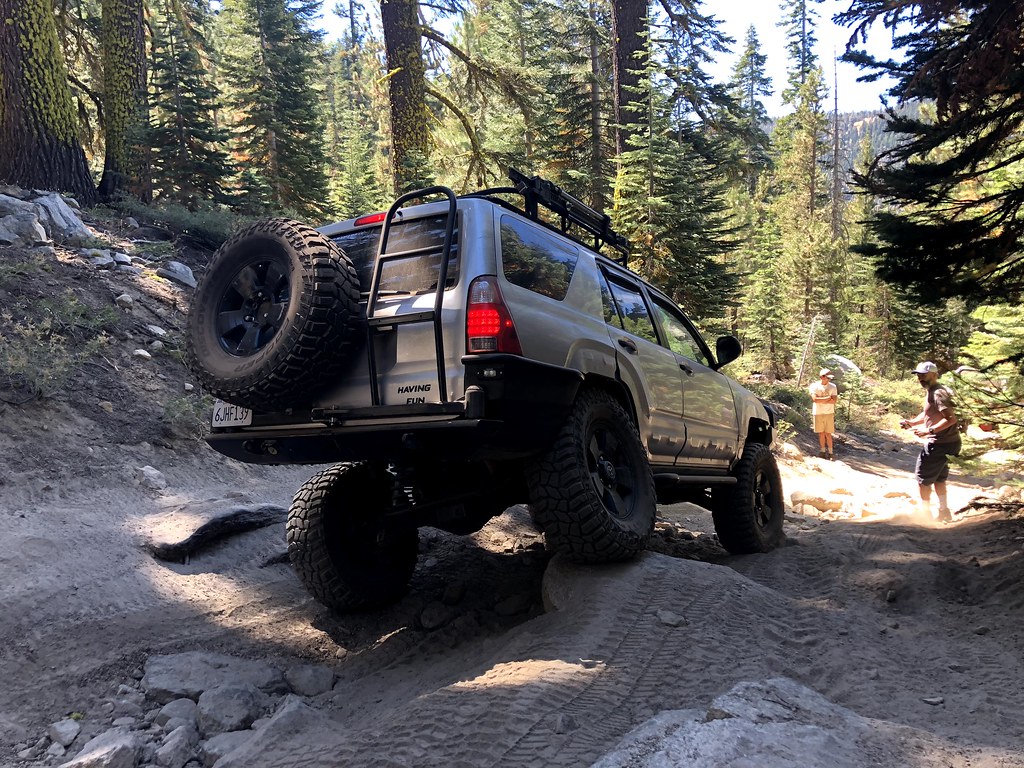
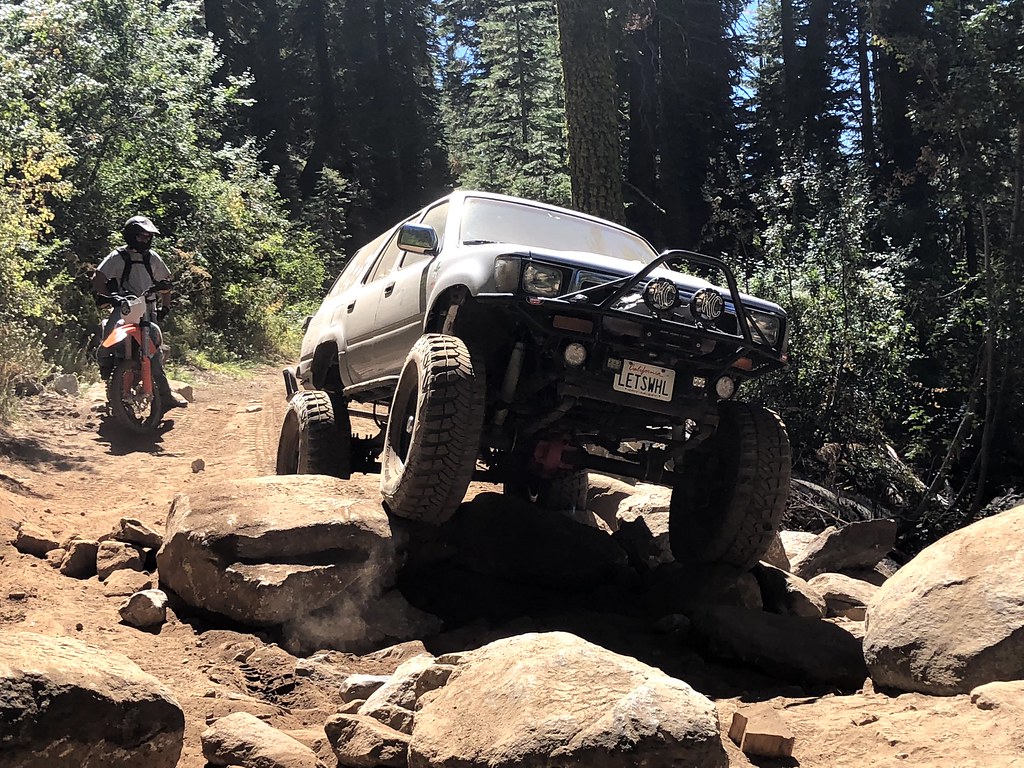
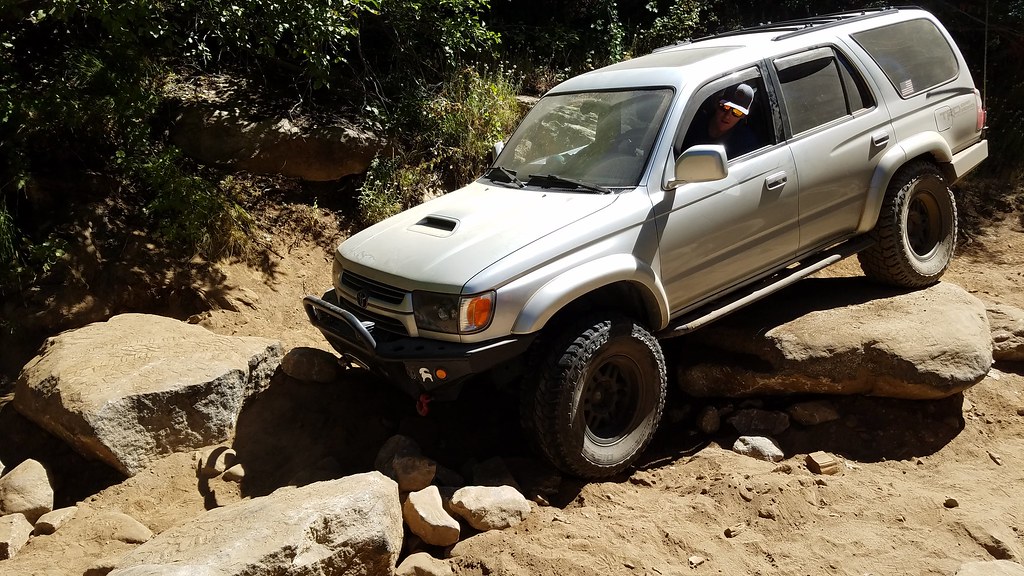
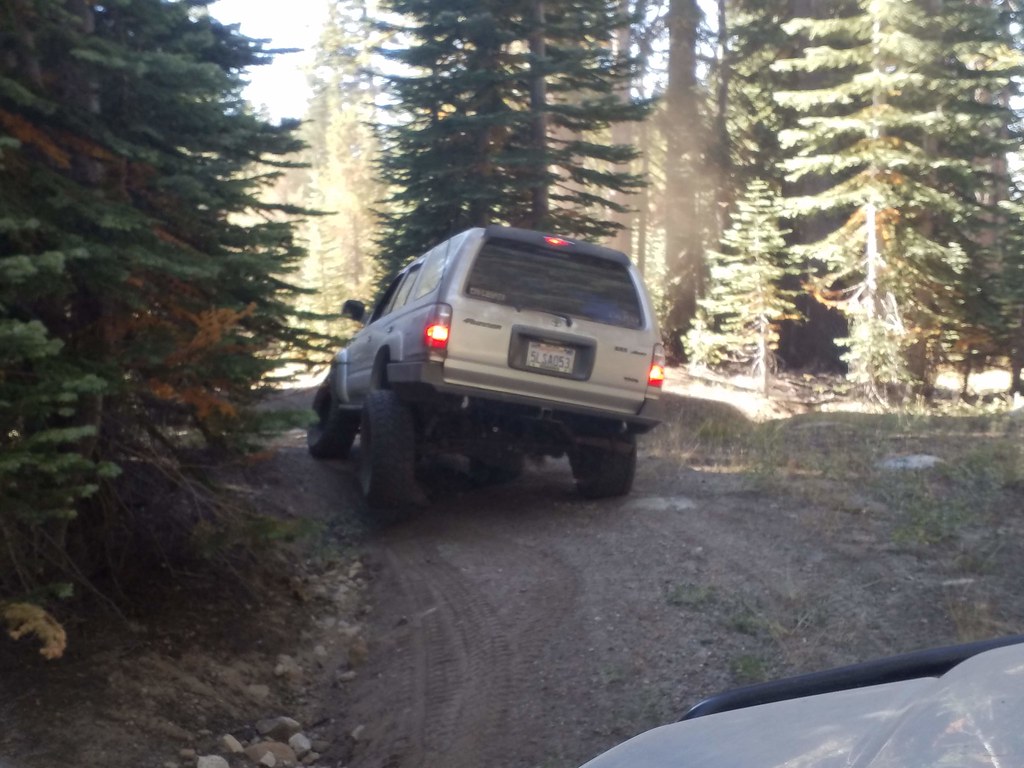
I had the opportunity to head up to Strawberry Pass off of Hwy 88 with [MENTION=88231]having fun[/MENTION], [MENTION=106195]v_man[/MENTION], and [MENTION=113049]rochmpr[/MENTION]. Overall, the trail was a simple fire road, but we did end up hitting a tougher (for me) obstacle. I was having trouble getting on top of the second rock, so we ended up stacking some smaller ones to help. After numerous tries with a lot of skinny pedal and getting realigned with the rock, I finally made it up. I definitely couldn't have done it without the guys that were there...they were definitely helpful. Other than that, the trail was pretty easy and it was a beautiful day!

https://flic.kr/p/29ZeCgg

https://flic.kr/p/28BEAgu

https://flic.kr/p/29ZeBL8

https://flic.kr/p/2ah77RL

https://flic.kr/p/2bnMGwx

https://flic.kr/p/2ah74NS

https://flic.kr/p/PeRBbh

 
Last edited:
October 28th, 2018

CS144 Alternator, Big 3, and More!

Parts List:
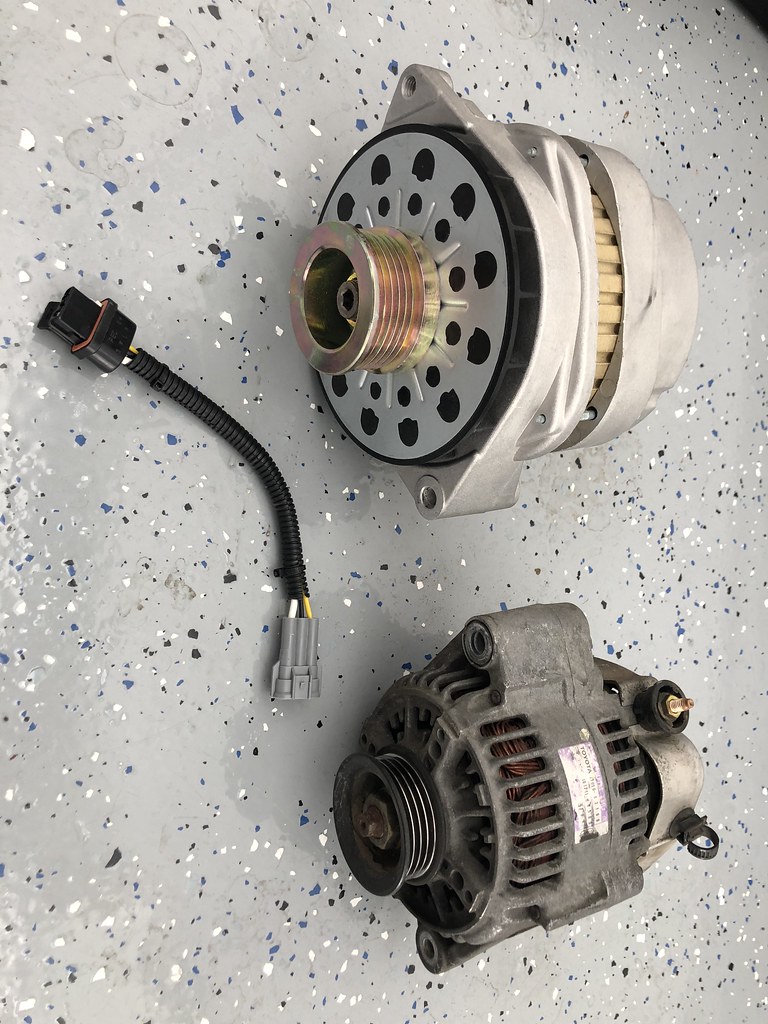
- CS144 Alternator
- Alternator Wiring Adapter [W1232]
- Lots of wire and various connectors
- CP14 EP35 LED Flasher Relay (Link)
- Toyota Gas Filler Cap [7730053010]

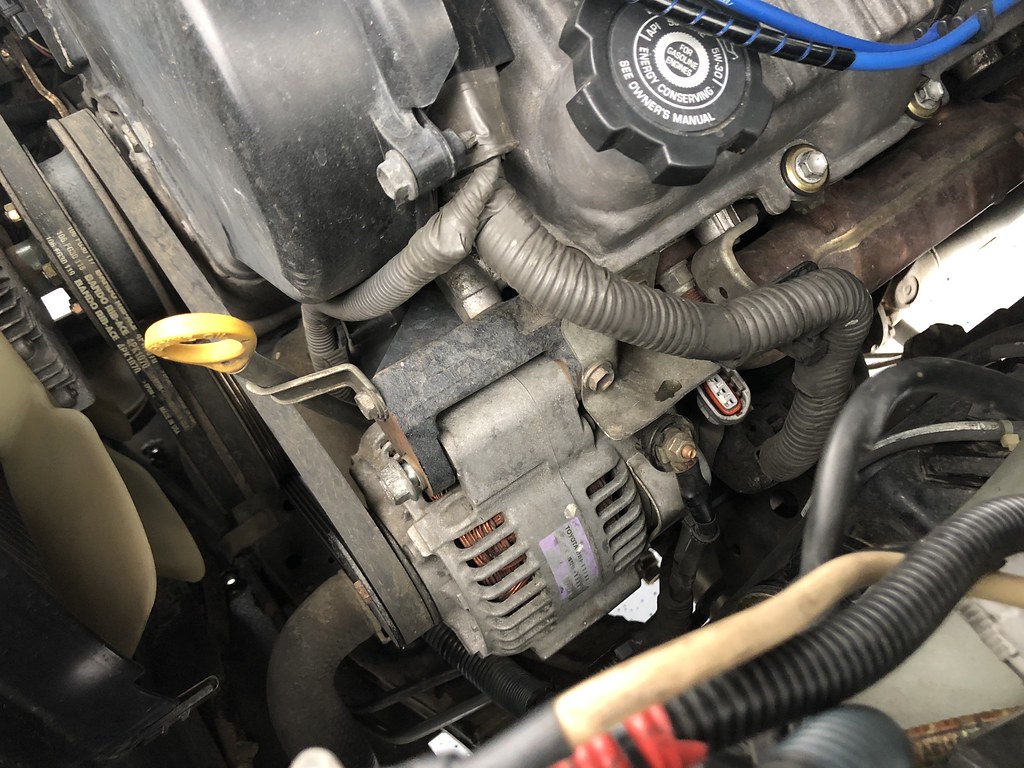
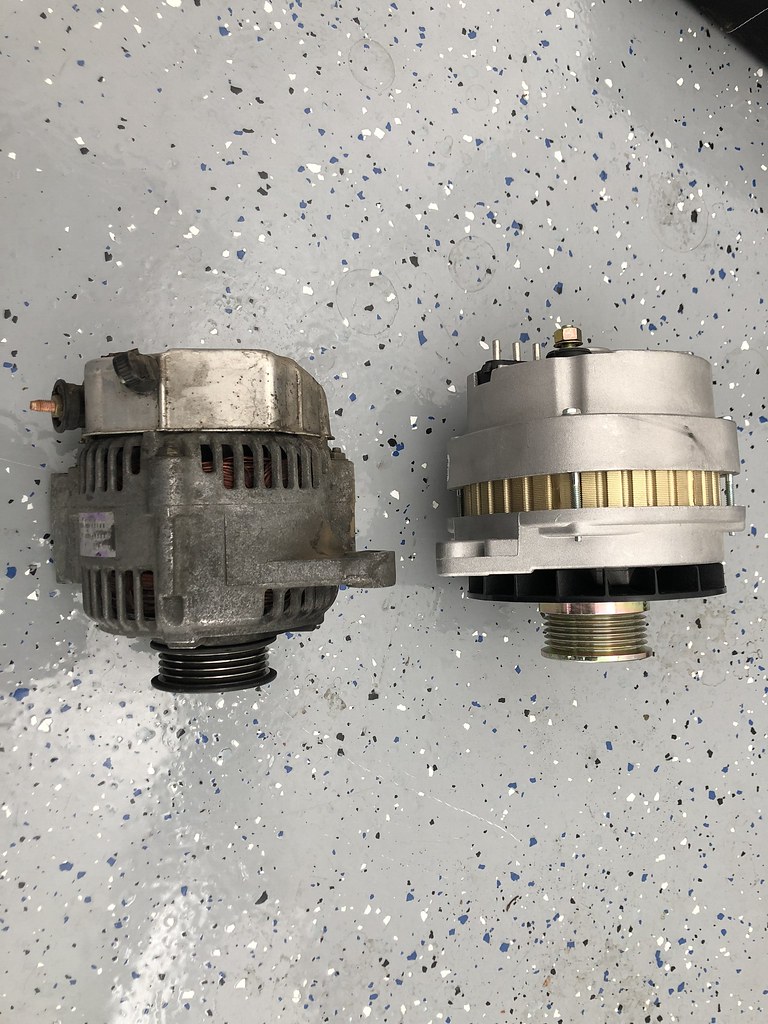
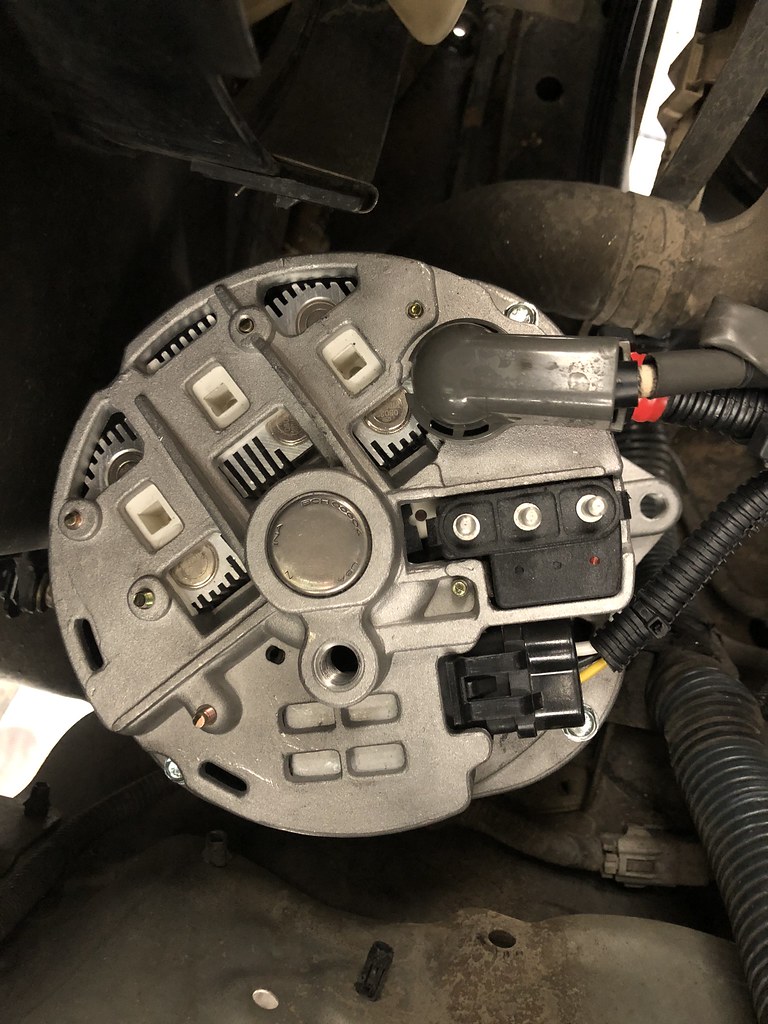
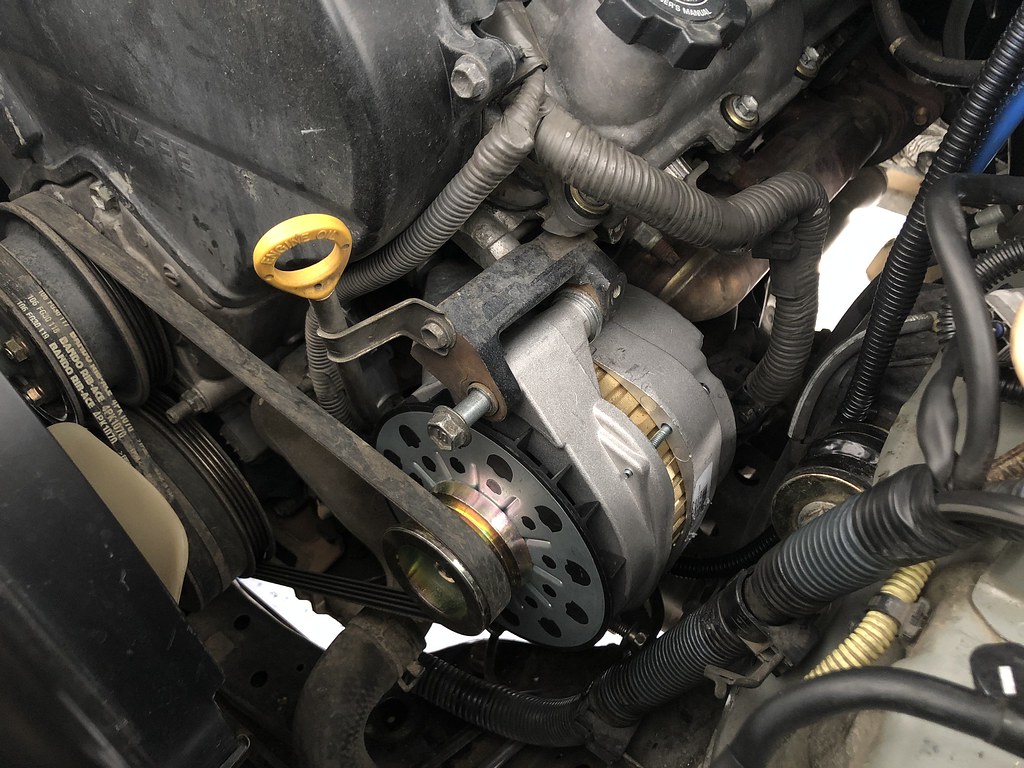
I was able to knock out quite a few things that I have been putting off this weekend. I've been on the fence about installing the alternator, but decided to just go for it with all of the electronics I have added. I wanted to keep the stock connector accessible, so I bought the adapter harness that many others have used. This definitely made the swap extremely easy and quick. The one difficult part was putting the adjuster screw back in place. For some reason, I could not get it through the alternator for the life of me. Once that was done, everything else was easy. Doc's write-up definitely helped as well.

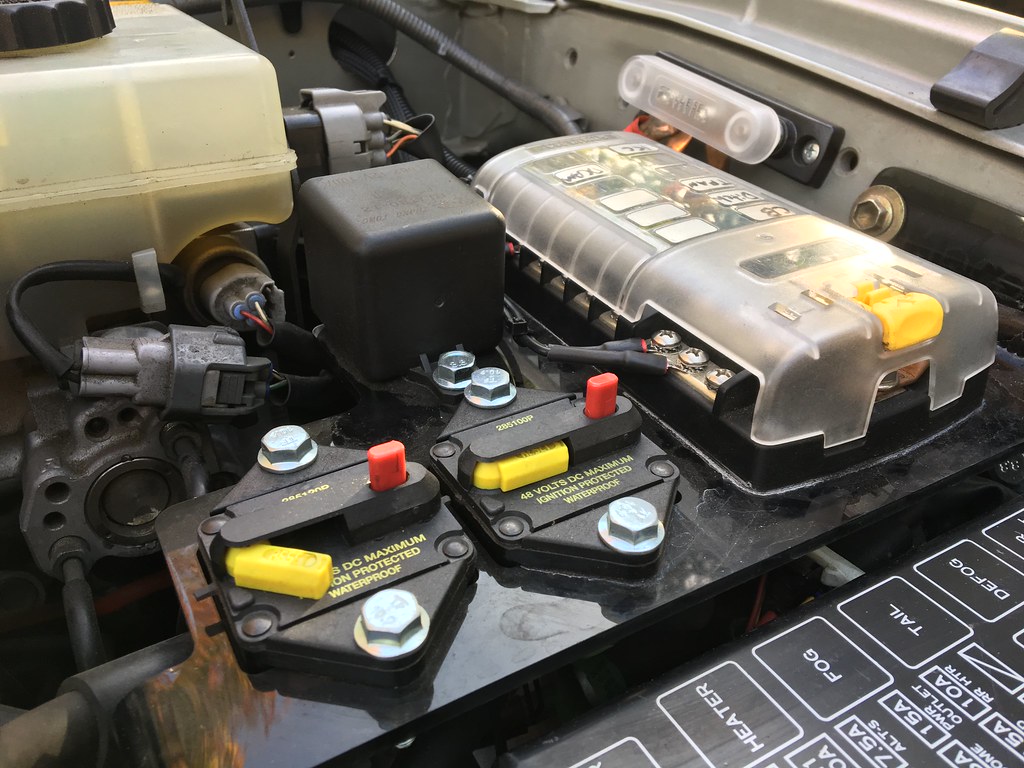
While the alternator was out, I also added the last 2 wires of the Big 3: engine ground to chassis and alternator positive to battery positive. I connected the positive wire to the 120A circuit breaker that was installed when I first put in Ripcord's bracket.

Next up was wiring the transmission fan to a switch. So far it has only been powered directly on the fuse block, but getting it onto a switch has been on my list for awhile. The bulkhead connector makes adding extra wires to the cab super easy, so it took no time at all. While everything was open, I attached an extra set of wires for the rock lights that will be wired in the near future. I want to be able to turn them on with a switch, and have them also turn on when the car is unlocked/a door is open.

I've also had the hyper-flash blinkers since installing the LED signals on the bumper. I tried one relay from Amazon, but it didn't resolve the issue. After some researching, I found another EP35 relay that solved the problem!

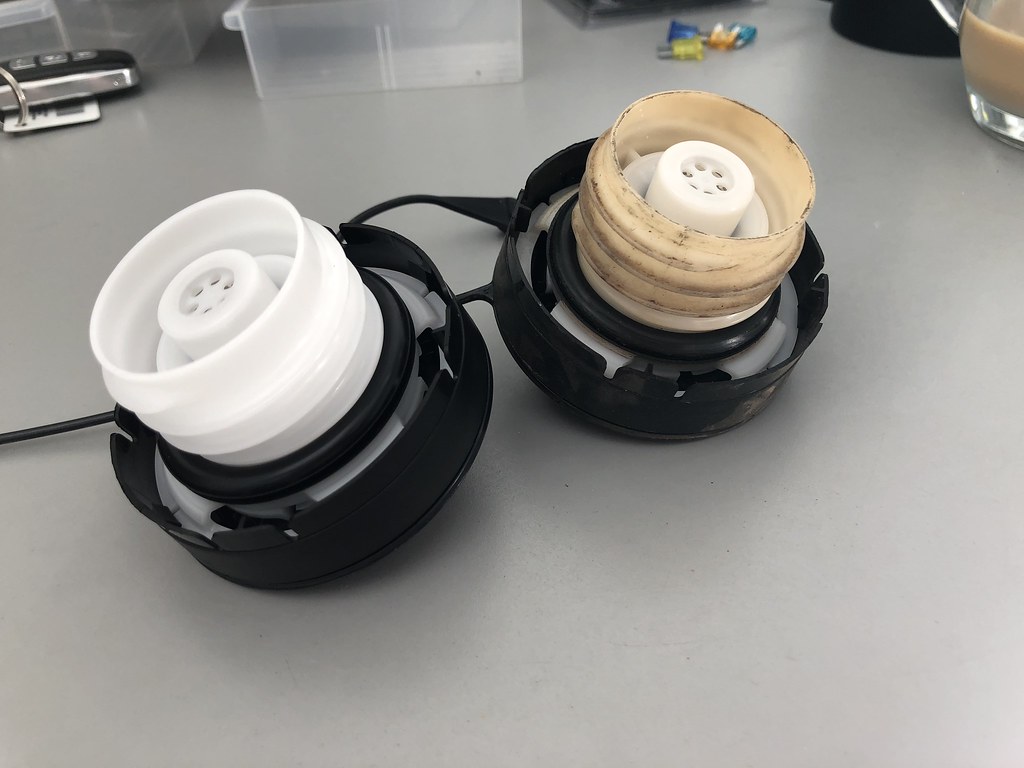
Finally, I recently started to get the P0440 code. This has been popping up every other day or so for the past 2 weeks. There are a lot of root causes to this issue, so I went for the cheapest and easiest fix: the gas cap. I'll monitor the situation and see if the code comes back.

Now for a few photos...

https://flic.kr/p/29HN91o

https://flic.kr/p/NJ8yCZ

https://flic.kr/p/NJ8yVx

https://flic.kr/p/NJ8zQi

https://flic.kr/p/2cupC48

https://flic.kr/p/2cupCuD
 
The maintenance light came back on with P0440 during my commute today. Looks like I will be taking a look at the EVAP system if I get a chance this weekend. Hoping it’s something simple like a disconnected hose.
 
Last edited:
January 19th, 2019

Fuel Tank Replacement

Parts List:
- Used Fuel Tank (77001-3D480)
- Fuel Pump (Denso 950-0100)
- Suction Tube Gasket (77169-60010)
- Check Valve (77390-35010)
- Check Valve Gasket (77177-33010)
- Cut-off Valve (77380-26010)
- Cut-off Valve Gasket (77179-26011)
- Fuel Filter (23300-62030)
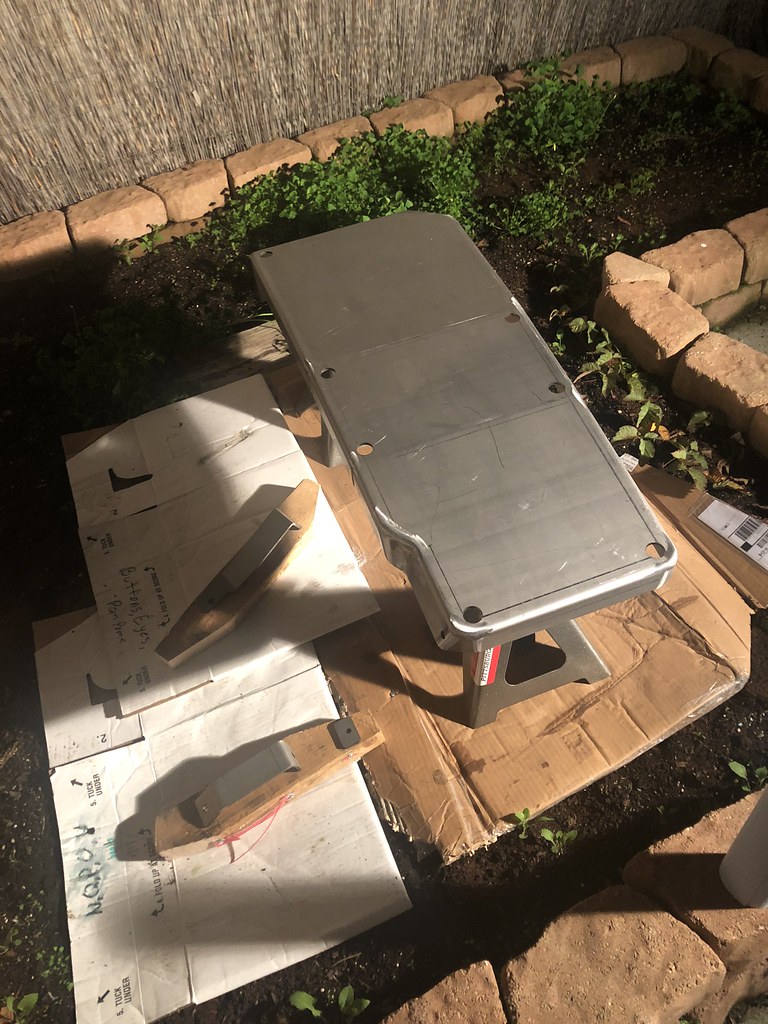
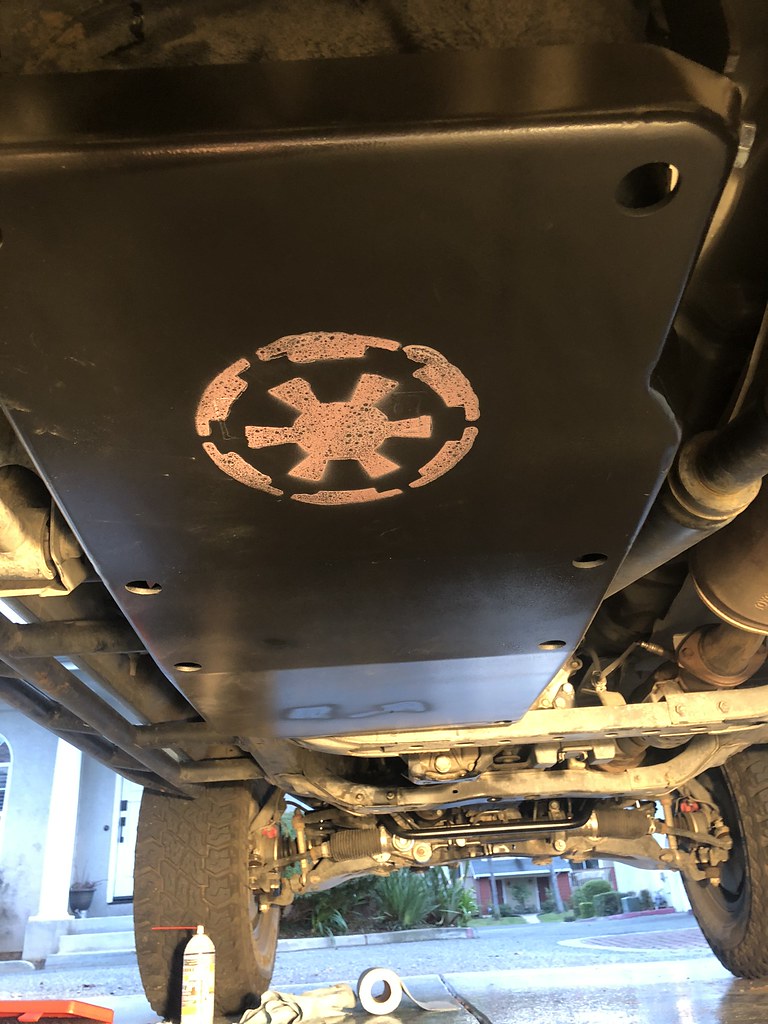
- Lil Skip's Offroad Gas Tank Skid

Tools Used:
- Floor Jack
- 14mm Flare Nut Wrench
- 12mm Socket
- 14mm Socket
- Various Socket Extensions
- Needle Nose Pliers
- Hose Gripper Pliers
- Angled Picks
- Philips and Flat Head Screwdrivers

I couldn't find any obvious damage after looking at the hoses going to the charcoal canister, but the gas tank did have a pretty large dent in it. There was no obvious leak coming from the tank, but one of the components could have been cracked at the top. Since it is difficult to diagnose those parts without removing the tank, I decided to just replace them all. Most of the parts I got from Camelback Toyota, but I was able to get a used tank from a local wrecker for relatively cheap. For the fuel pump, I got the original Denso part off of Amazon since Toyota wanted an arm and a leg for it.

Removing the gas tank was relatively easy, with just 2 bolts holding it in place. The hardest part was getting enough clearance to remove the wire harness and hoses from the top of the tank. Removing the drive shaft would have made the job easier, but I was still able to work around it well enough. From start to finish, the entire job took around 5 hours, not including painting the new skid. The skid plate itself is extremely impressive, and it has plenty of driveshaft clearance. I will definitely not need to worry about damaging the tank again!

I didn't see anything obvious on the parts I took off the tank, but I'm hoping this will resolve the issue. If not, I will have to start putting my focus on the charcoal canister.
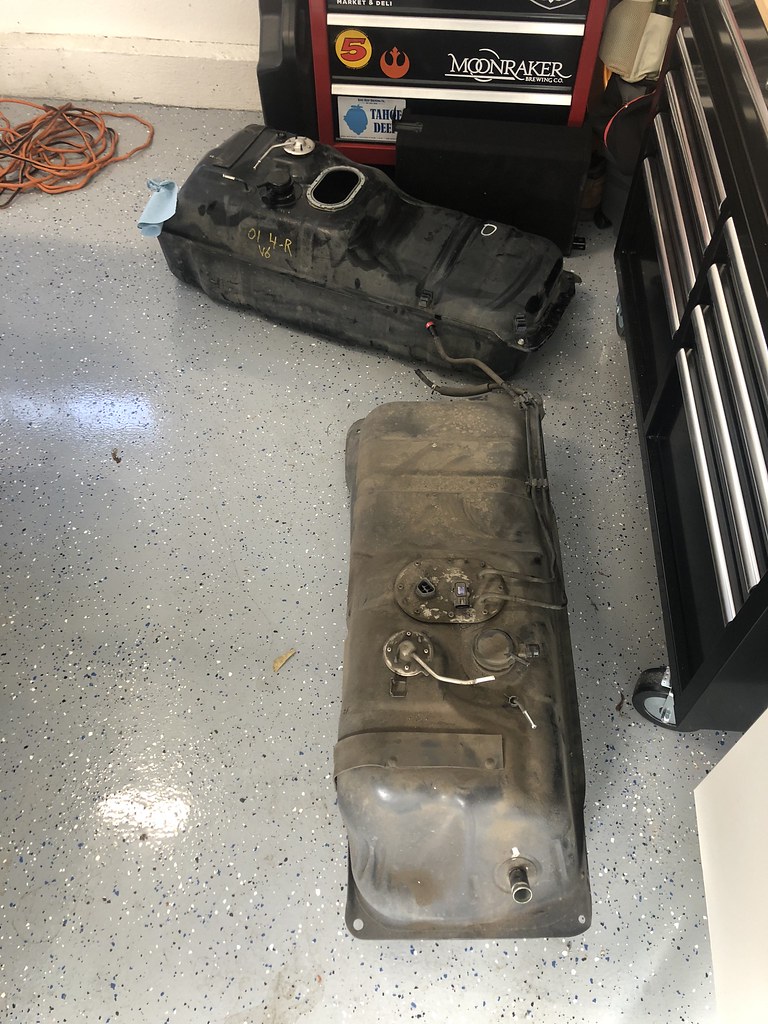
https://flic.kr/p/23HDbZ8

Old pump and filter
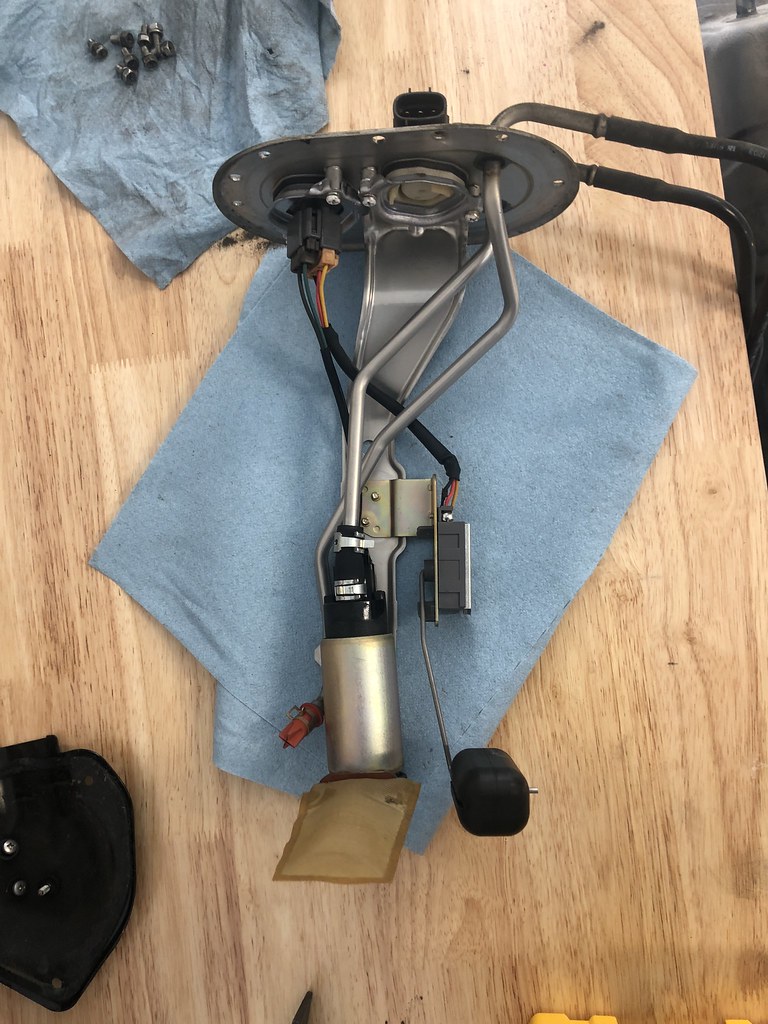
https://flic.kr/p/SbZc23

New pump and filter
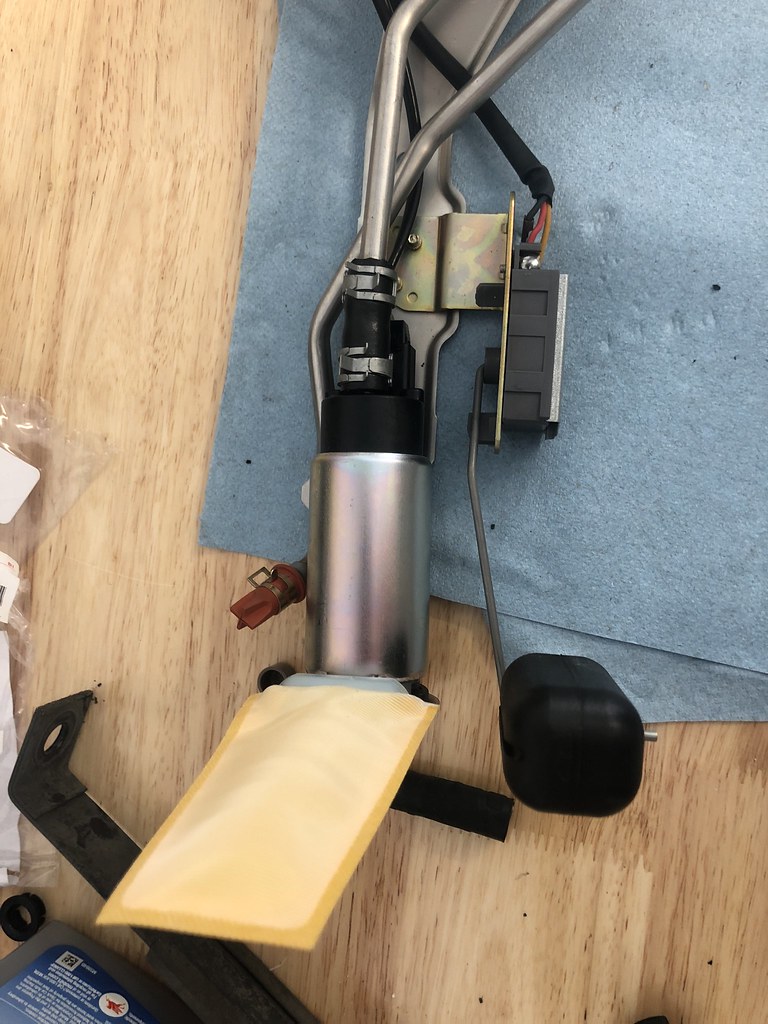
https://flic.kr/p/2efuPdw

https://flic.kr/p/QyPcNr

https://flic.kr/p/2ek8Lp6
 
Last edited:
February 1st, 2019

Vapor Canister Replacement

Parts List:
- Vapor Canister (77740-35482)

Tools Used:
- 12mm Socket
- Needle Nose Pliers
- Hose Pliers
- Angled Picks
- Vacuum Pump
- 9V Battery

A few days after replacing the tank and other components on top, the maintenance light came back on after it failed to complete the EVAP readiness test. Unfortunately, the only part that I did not test the first time around was the one with the real issue...the vapor canister.

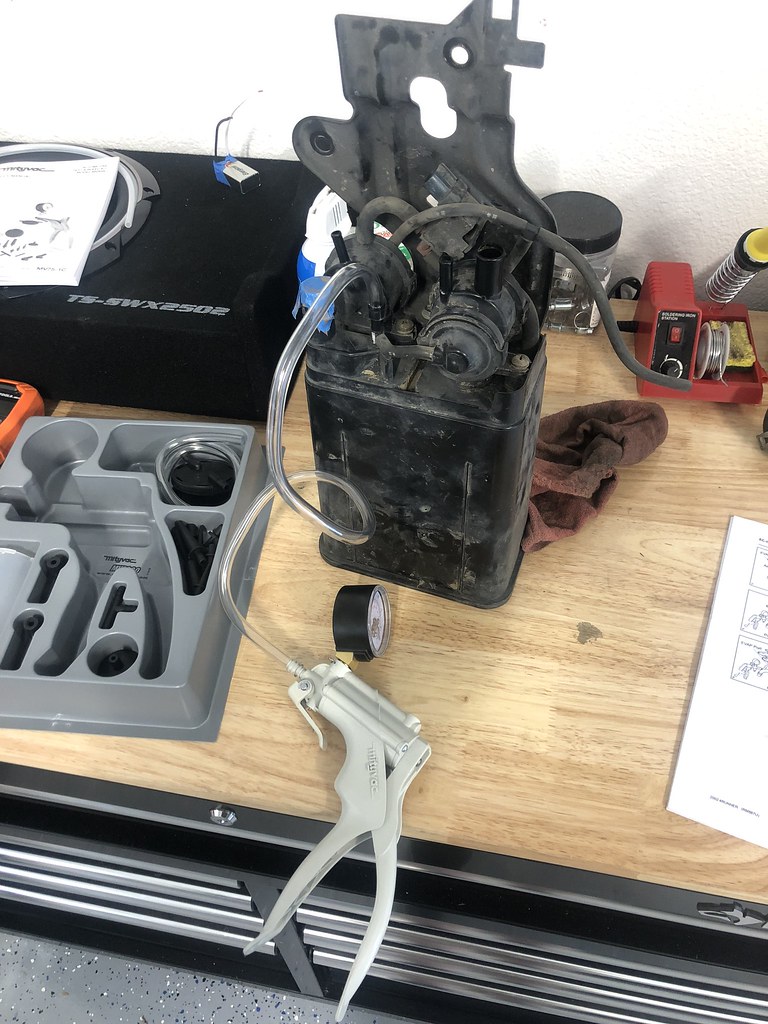
Taking out the canister for testing was pretty straightforward, but a few of the hoses were really stuck on there. Once the 5 hoses and the connector to the VSV are taken off, there are only 4 screws holding it in place. On the bench, I was able to check the functionality of the VSV for EVAP using a 9V battery. The valve functioned properly, and air did not escape per the service manual, so that was not the culprit. Next up was the canister itself. There was no obvious damage to the outside, so it was time to check the air flow.

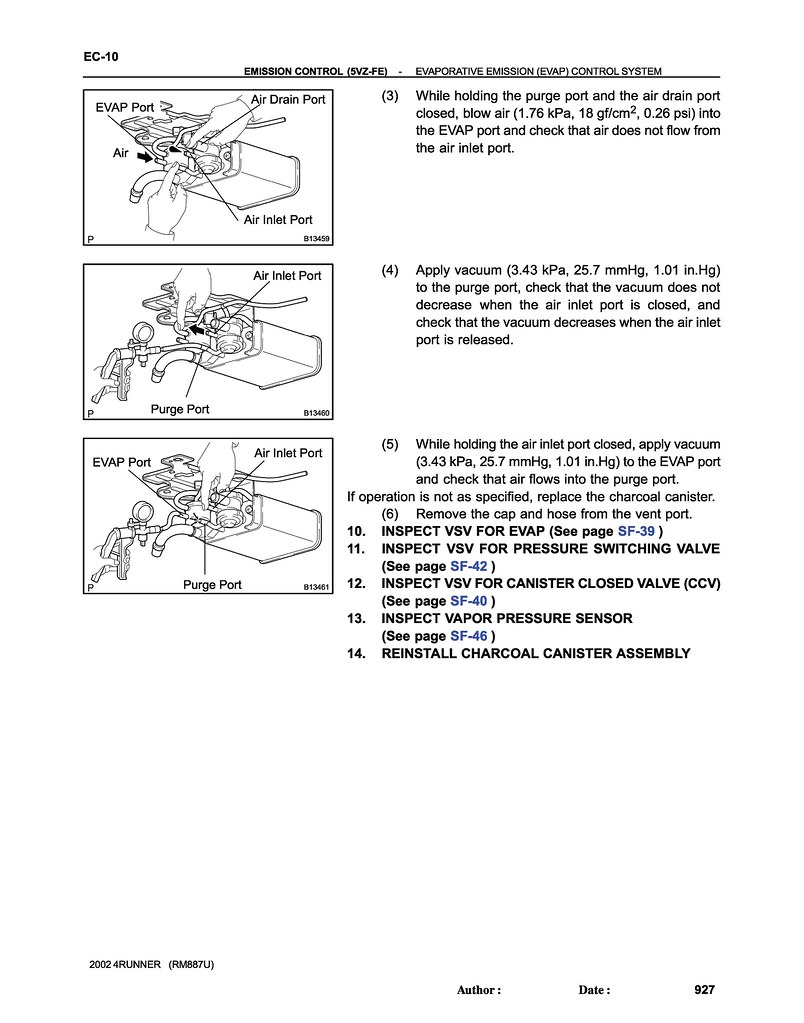
In the service manual, sections EC-9 and 10 were needed to fully debug the issue. While the EVAP port was functioning properly, I was not able to get the purge port to hold a 1.01 inHg of vacuum when the air inlet port was closed. With all of the other tests passing and this one failing, I was pretty confident that I found the root cause. To be safe, I went through the remaining tests, which has you check the VSV for pressure switching valve, and VSV for canister closed valve - both of which functioned correctly.

I went back and forth on getting a used or a new canister since they are pretty expensive, but decided on going new just for the piece of mind. The new canister comes with a new set of hoses, new VSV for EVAP, and even a new connector and harness for the VSV. Once I received the part, I went ahead and checked the purge port for pressure, and it held without issue!

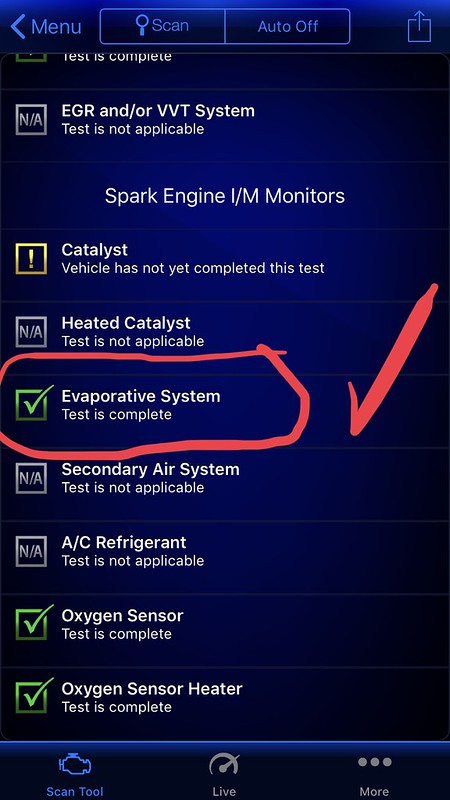
Reinstalling the canister is even easier than taking it out. Putting some oil on the hard lines before putting the hoses back on definitely eased the installation. I drove it about 150 miles today and everything seemed to be working, but I did not go through the motions of the readiness test. My commute home from work next week will most likely allow the car to go through the test, so fingers crossed everything works!

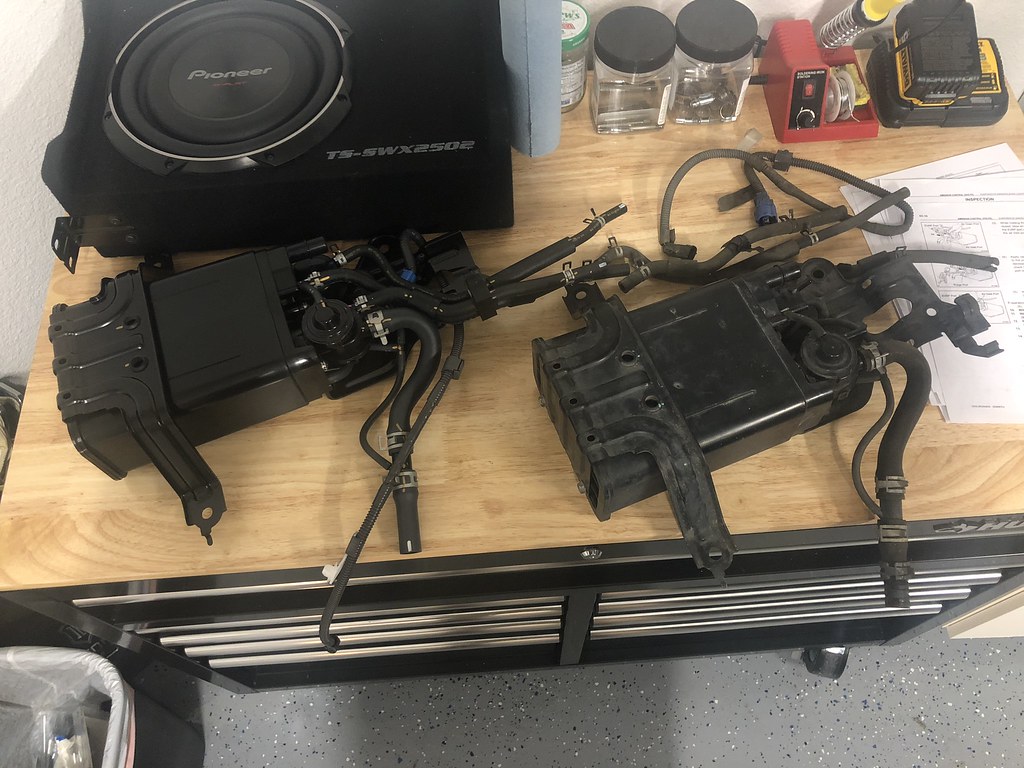
Vacuum testing the old canister
https://flic.kr/p/2daocKv

The test page from the service manual
https://flic.kr/p/Sq3SBw

New and old canisters
https://flic.kr/p/2daocNg

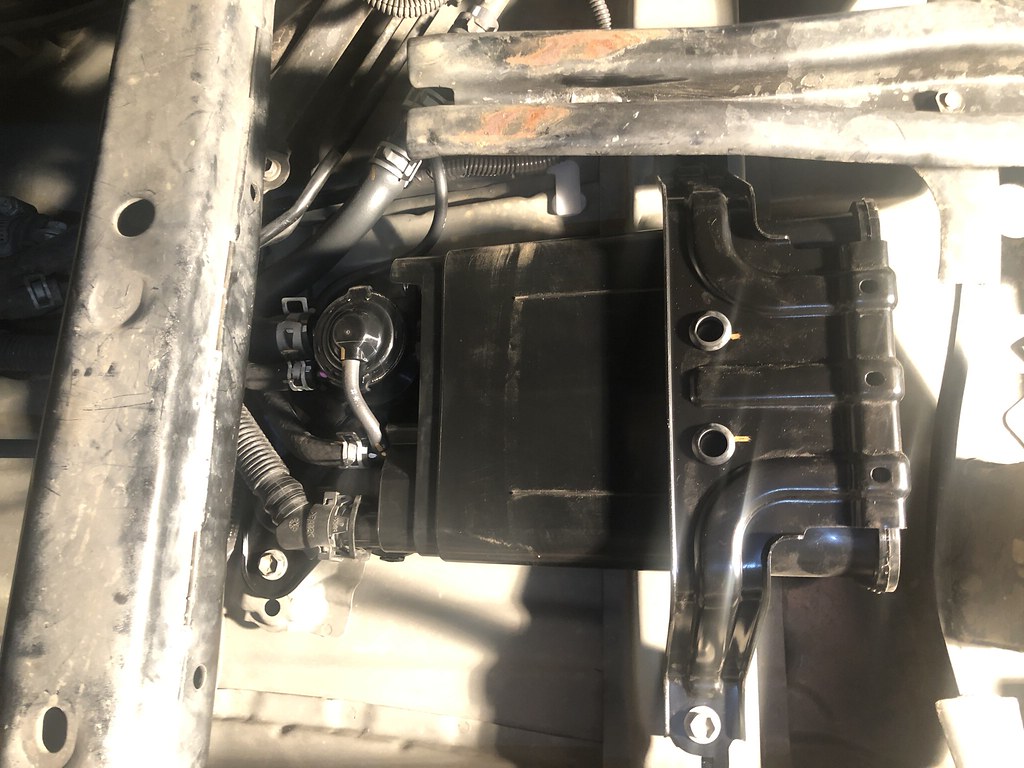
All installed
https://flic.kr/p/2daocS4
 
Well, it's been two years since my last update, but better late than never! Who knew life would get busier once you got married...crazy! Most of 2019 was spent enjoying the car and taking trips. Once COVID hit, I figured why not start on some new projects on the car, do more woodworking and get a dog (like everyone else). While I still don't have tons of free time, I'll try and update this with the projects I have completed!

Here's Finn, around 5 months old!

https://flic.kr/p/2kGTQEJ
 
November 23rd, 2019

Rear Bumper Lights

Parts List:
- Offroadtown Flush Mounted LED Lights [link]
- Some SPST Relay

Tools Used:
- Jigsaw
- Drill
- Electrical Tools

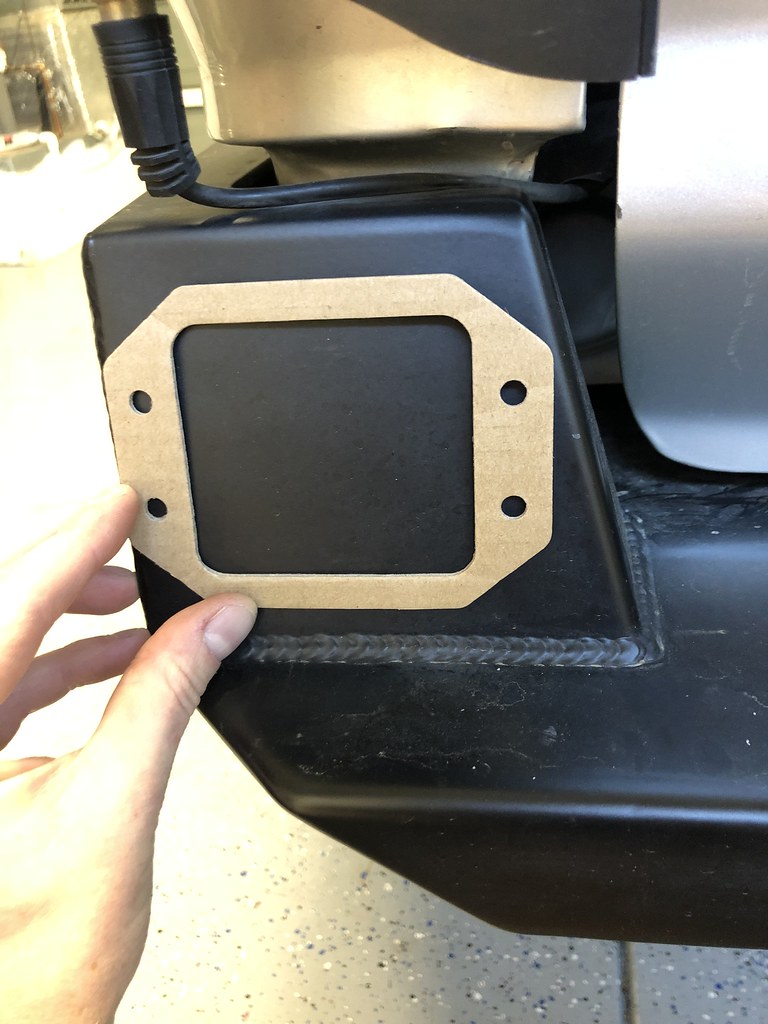
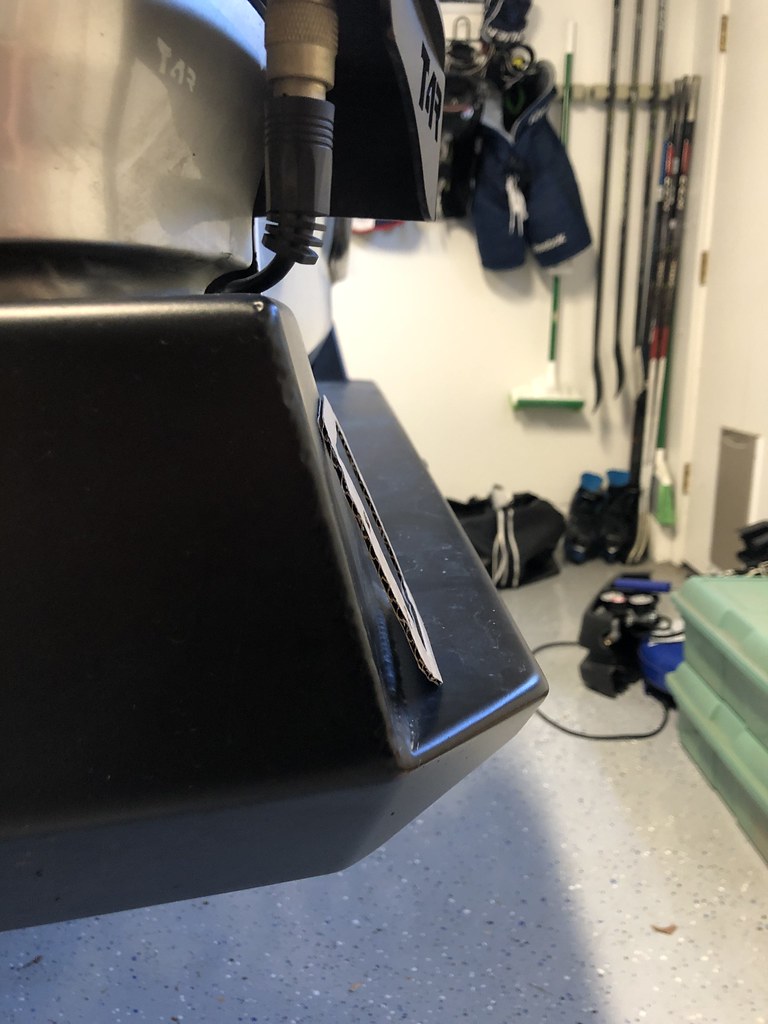
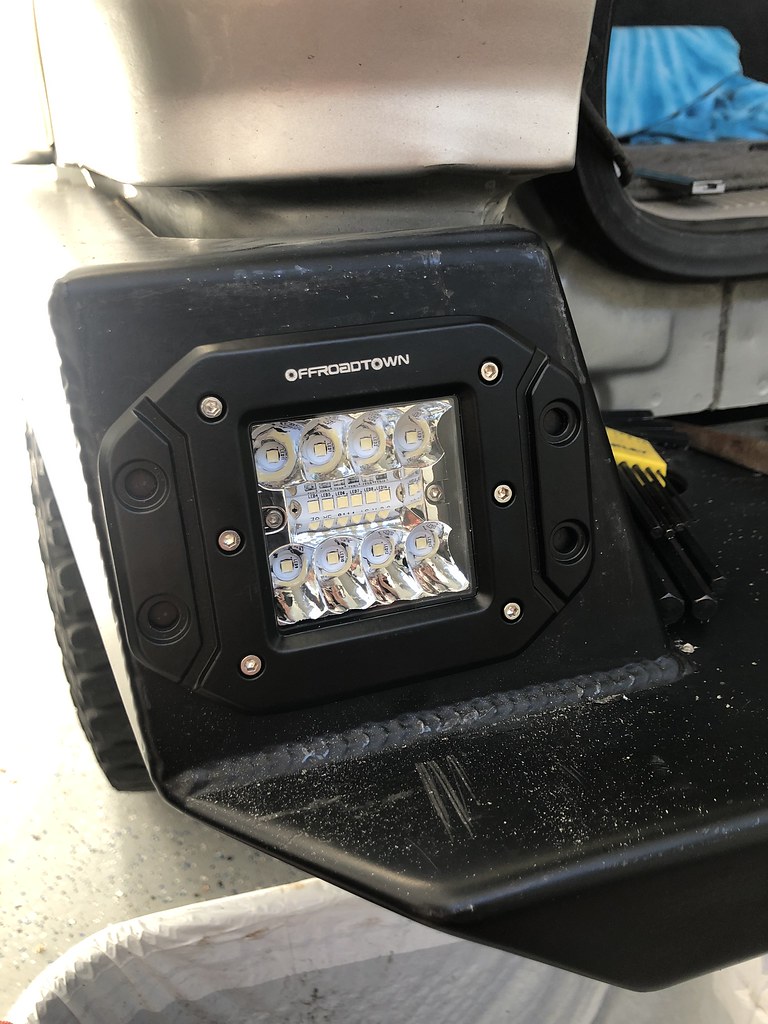
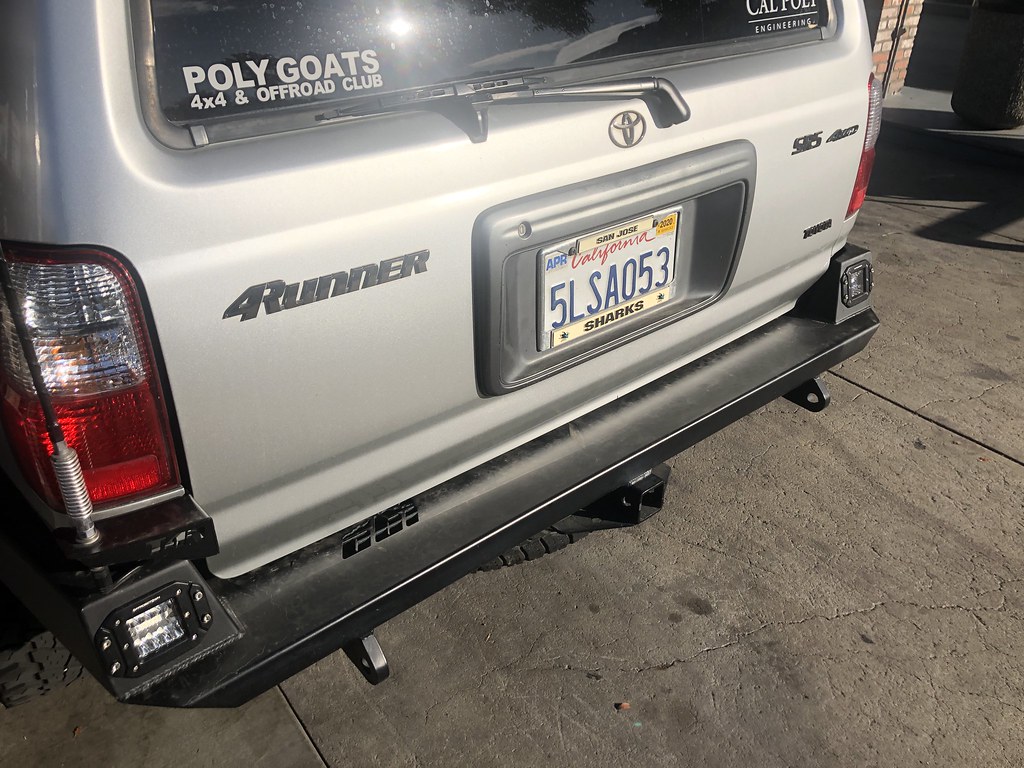
One of my biggest complaints about the 4Runner besides the headlights were the reverse lights. Any time I was backing with no other lights around, whether it was a street or on the dirt, I couldn't see anything. There are many different ways I could have done this, but I really liked the look of a flush mounted light pod. The only useful spot to put a light this big was where the swingout attachment would normally go on the CBI bumper...oh well.

Once the hole pattern was mocked up, I just went for it with the jigsaw. Not the easiest cuts to make, but I made it work. After some deburring and test fitting the pods, I was happy with how they looked and wired them up. I don't have any pictures of where I installed the relay, but I tied it into the reverse light power inside the rear driver panel.

The lights do angle up slightly, but they produce an incredible amount of light for how cheap they are. Very happy with how they turned out. Eventually, I will tie the lights to a switch to be able to turn them on at-will.

https://flic.kr/p/2kGaR63

The angle of the face
https://flic.kr/p/2kG6FGT

Test fitting
https://flic.kr/p/2kG6FDw

All done!
https://flic.kr/p/2kGaQZr
 

Members online

Forum statistics

Threads
278,312
Messages
3,554,089
Members
248,016
Latest member
Advally Service

Trending content

Back
Top