January, 2022
35's and Firewall Tub!
Parts List:
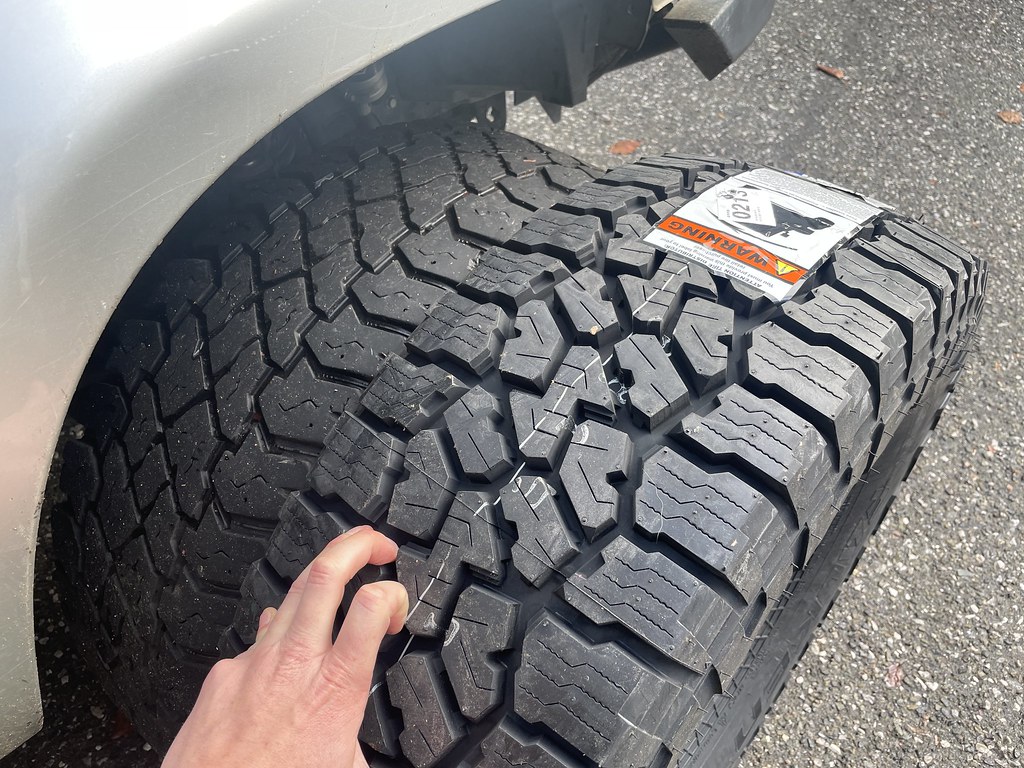
- 315/75r16 Falken Wildpeak AT3W
- 2'x2' 20ga steel sheet
- 2x 4' L x 1/8" D steel rod
- Seam sealer
- 3M Rubber Undercoating
- Some sound deadening
Tools List:
- MIG Welder
- Sheet Metal Nibbler
- A bunch of cutting tools
- Angle grinder with cut-off wheels, grinding wheels, flap discs, and quick strip discs
- Sawzall
- A normal hammer
- A BFH
- Fireproof blanket
- A lot of hand tools. Way too many to count
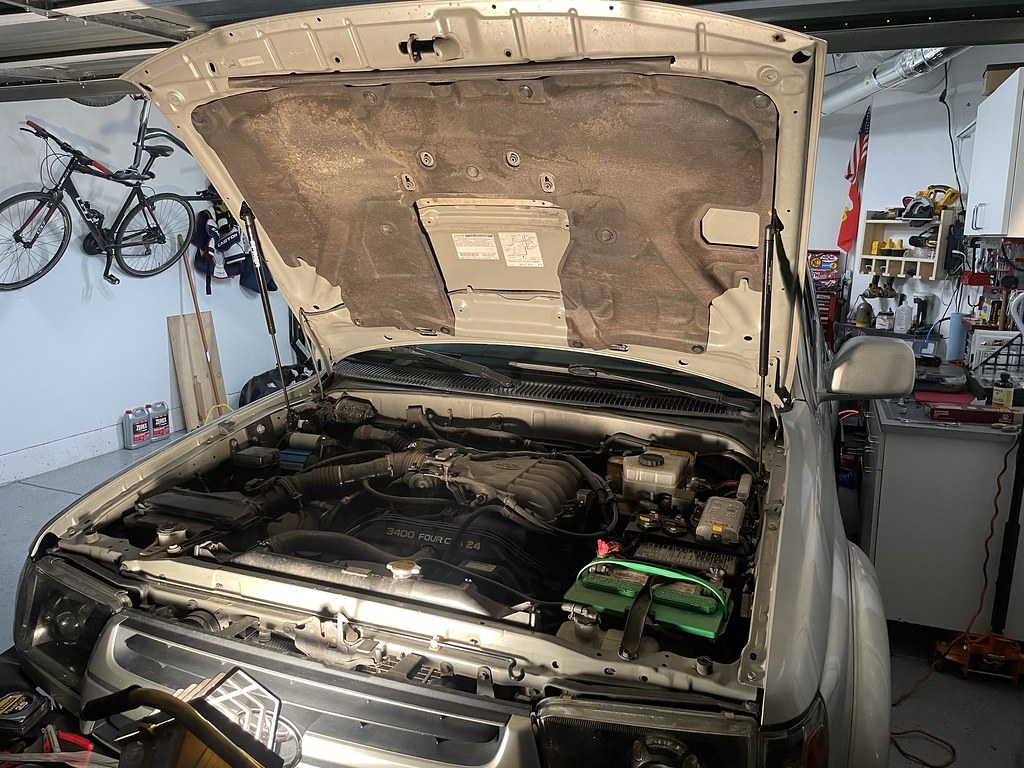
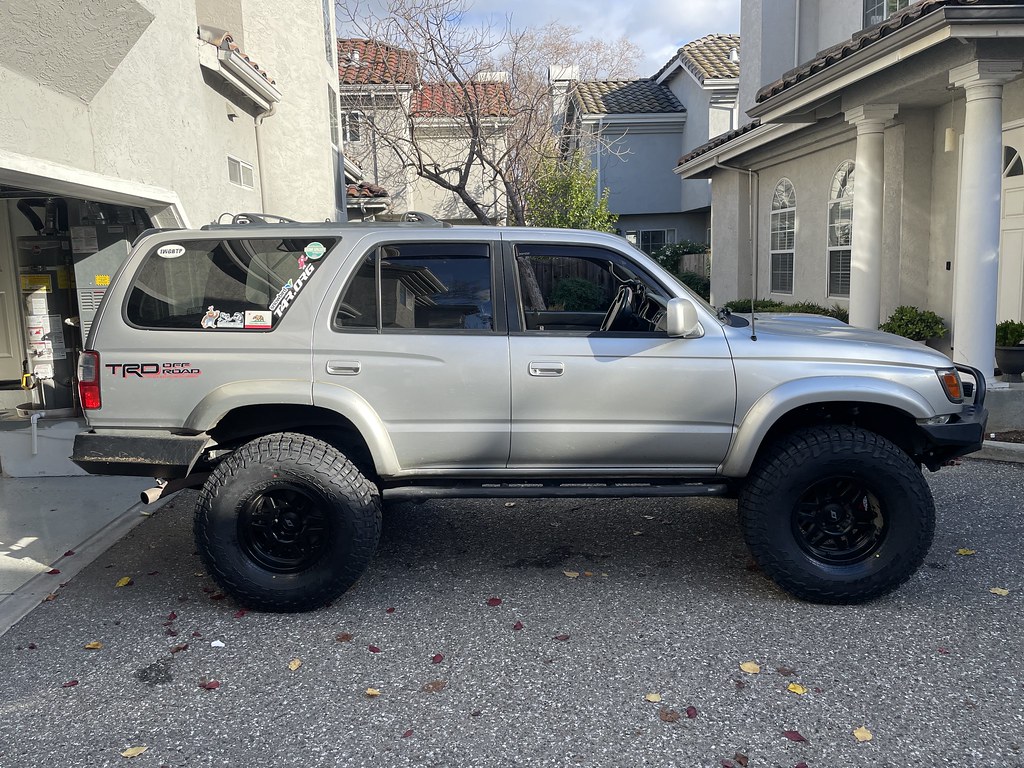
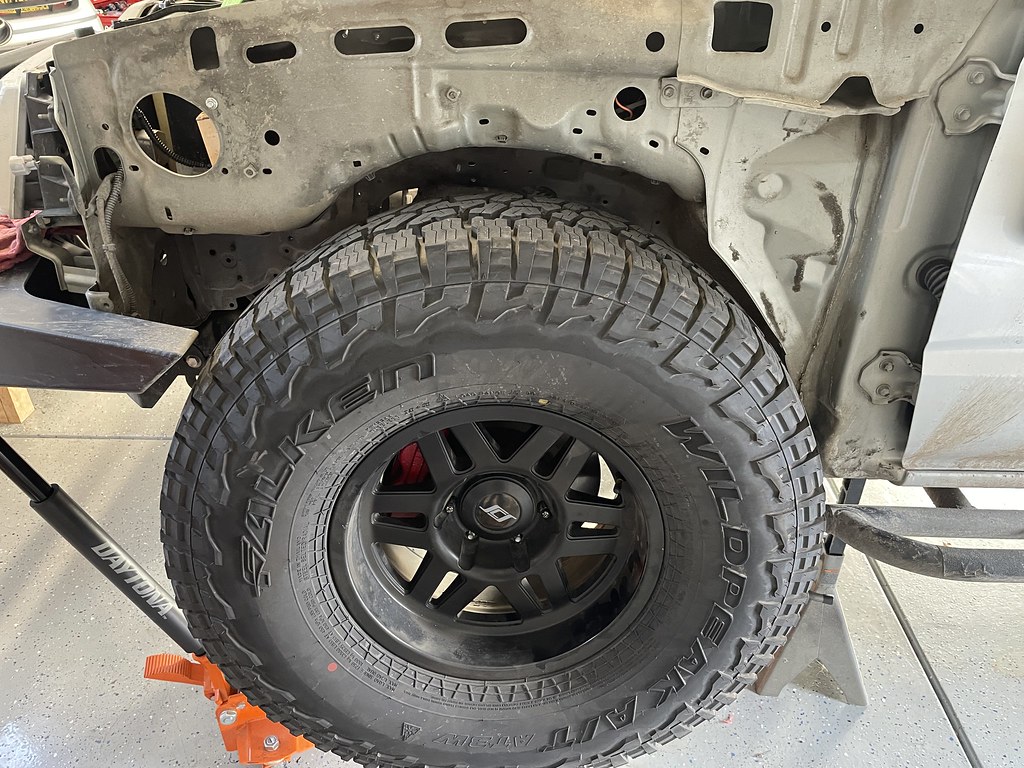
Well...I finally decided to go for the big one. My tires were on their last leg and I had been tossing around the idea of 35's for a few months. I had been checking a bunch of tire dealers since everything was out of stock with many months of lead time. I was initially looking to get another set of the Cooper ST Maxx, but had been doing a lot of research into the Falken Wildpeak AT3Ws. I was definitely interested in have only 2-ply sidewalls since the Coopers could be a bit harsh on the road. With this still being my daily driver, I figured I could sacrifice a little off-road to help me during everyday driving. After weeks of looking, I finally found a set of Falkens in stock, so I pulled the trigger. They arrived in a few days and I got them mounted up at the end of December.
These tires are night and day compared to the ST Maxx. They are WAY more comfortable on road and resolved pretty much all of the drivability issues I have been having. Since I did put a 1" body lift on, I had a little bit of clearance, but I was not able to get into the driveway without rubbing a ton. Since this is my daily and a firewall tub will make it hard to drive, I had to plan for the right weekend. My goal was to finish the tub before King of the Hammers and not have to cancel the snowboarding trips I had planned.
This thread was a huge help in getting this project started and completed.
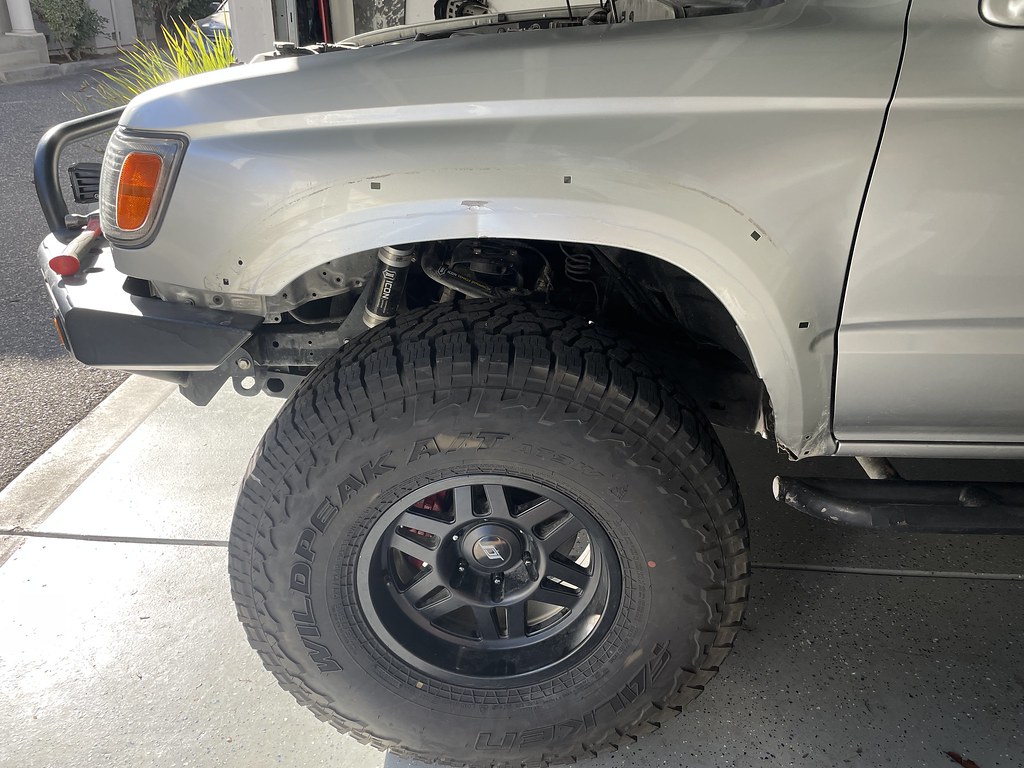
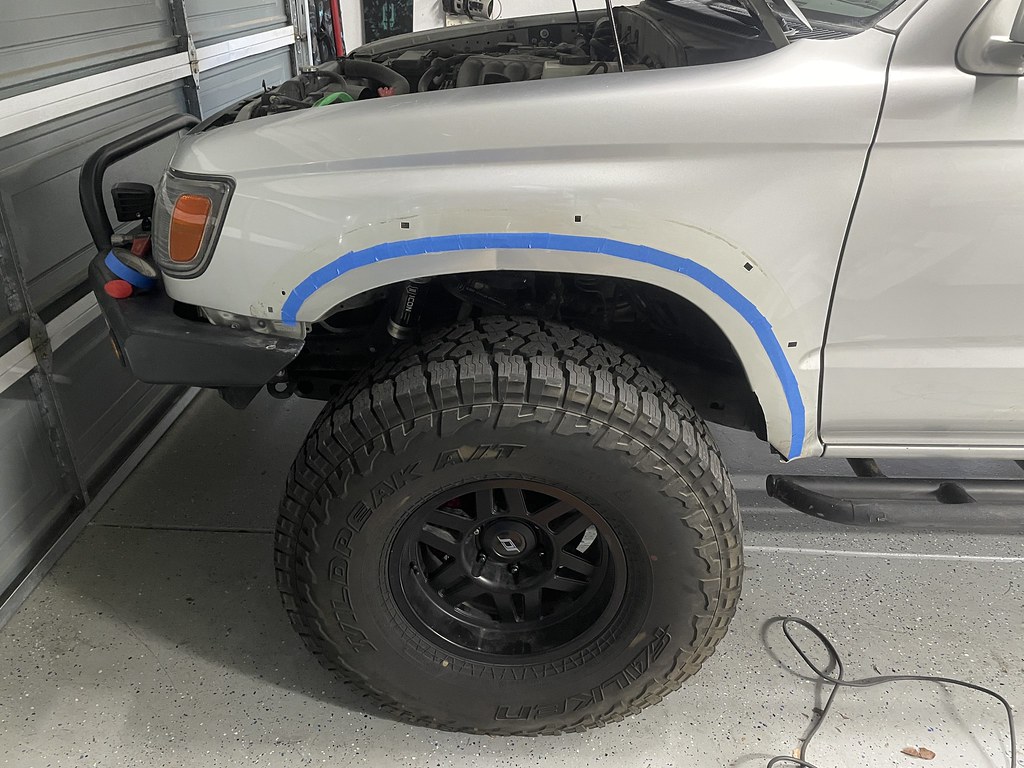
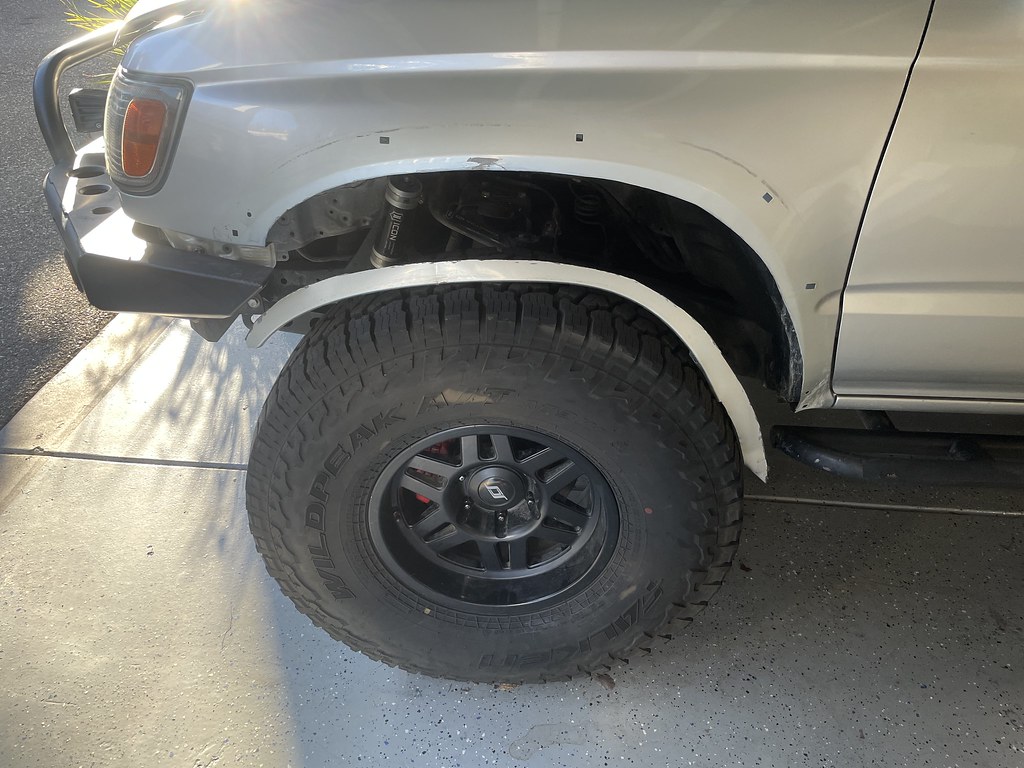
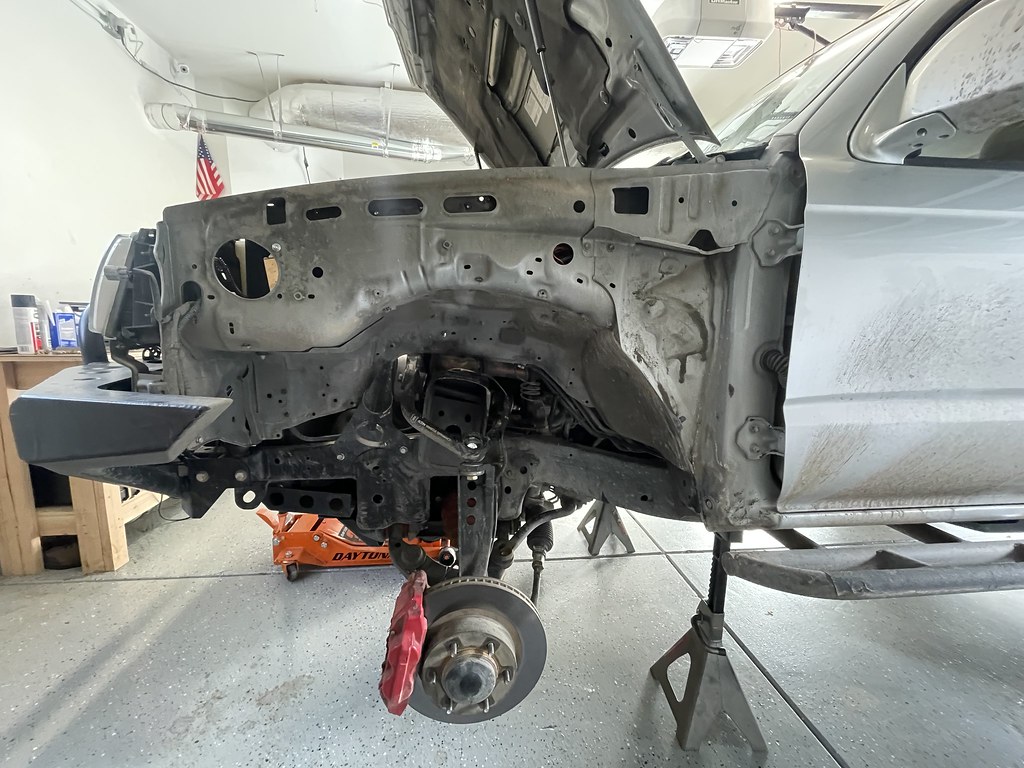
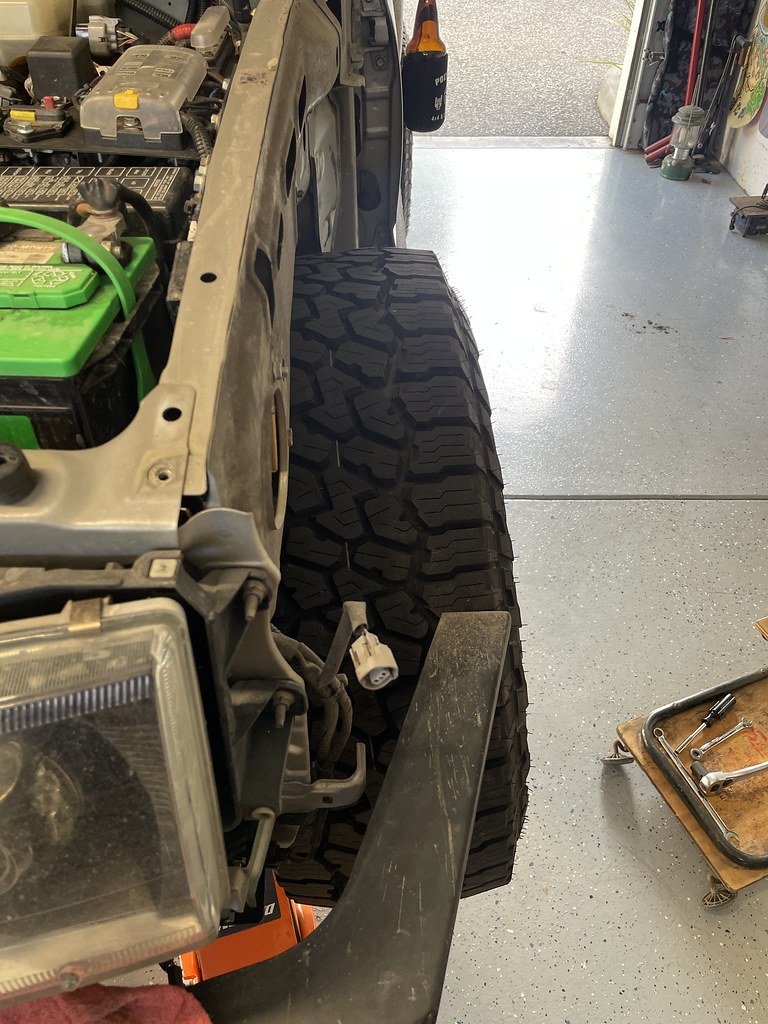
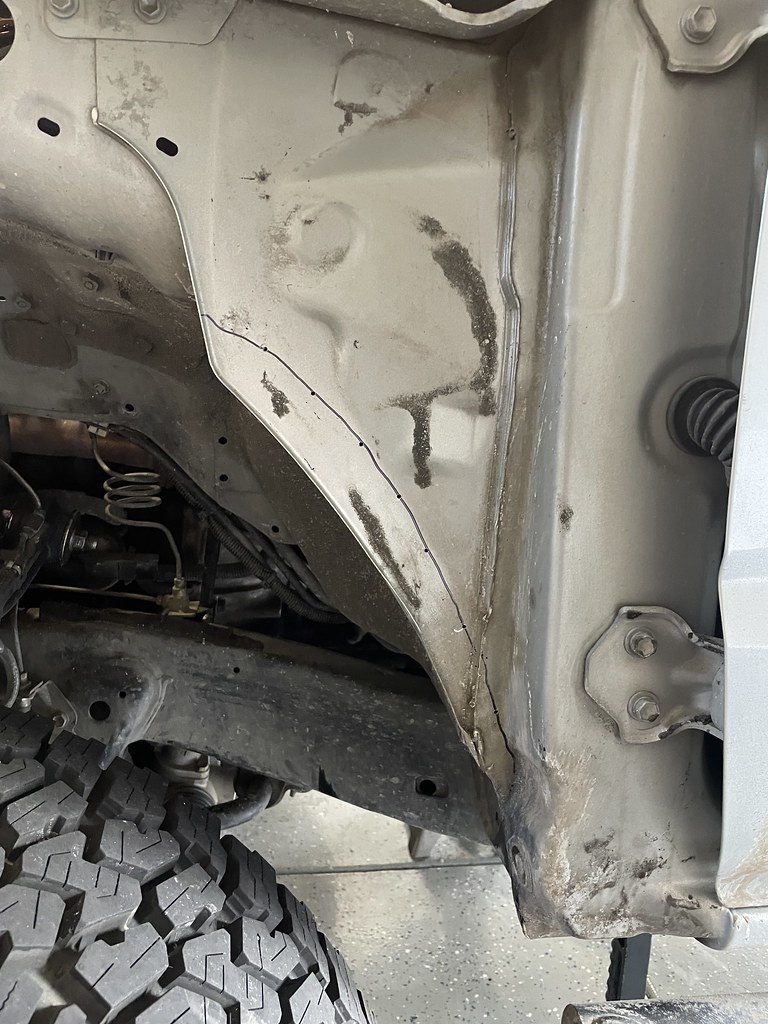
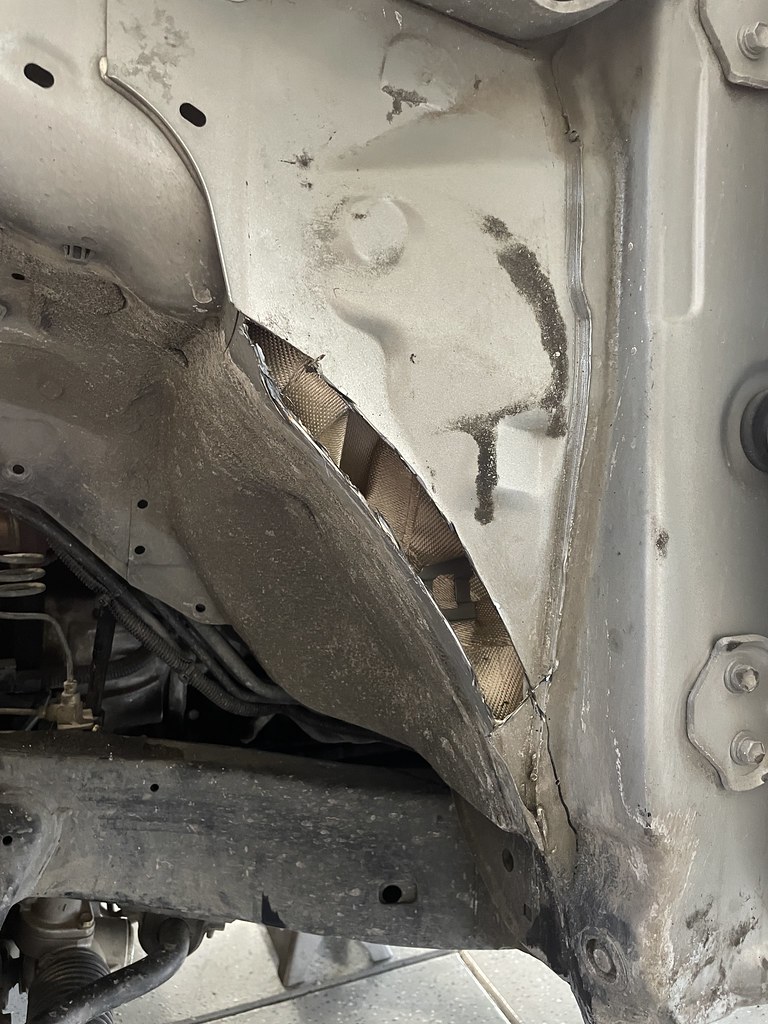
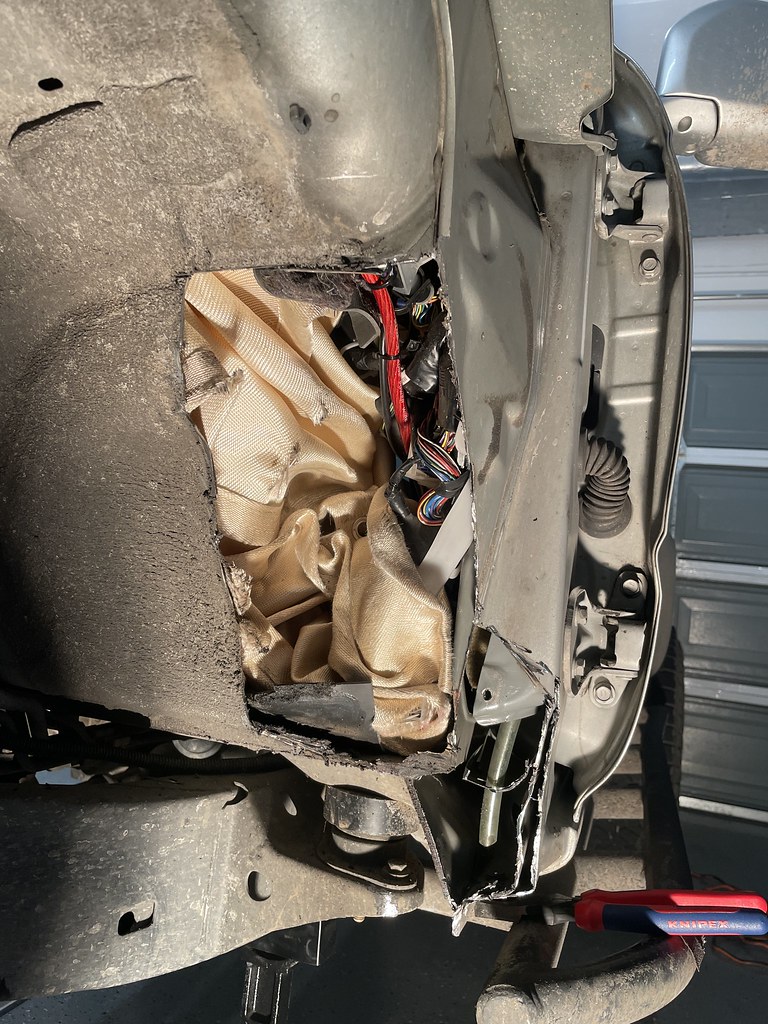
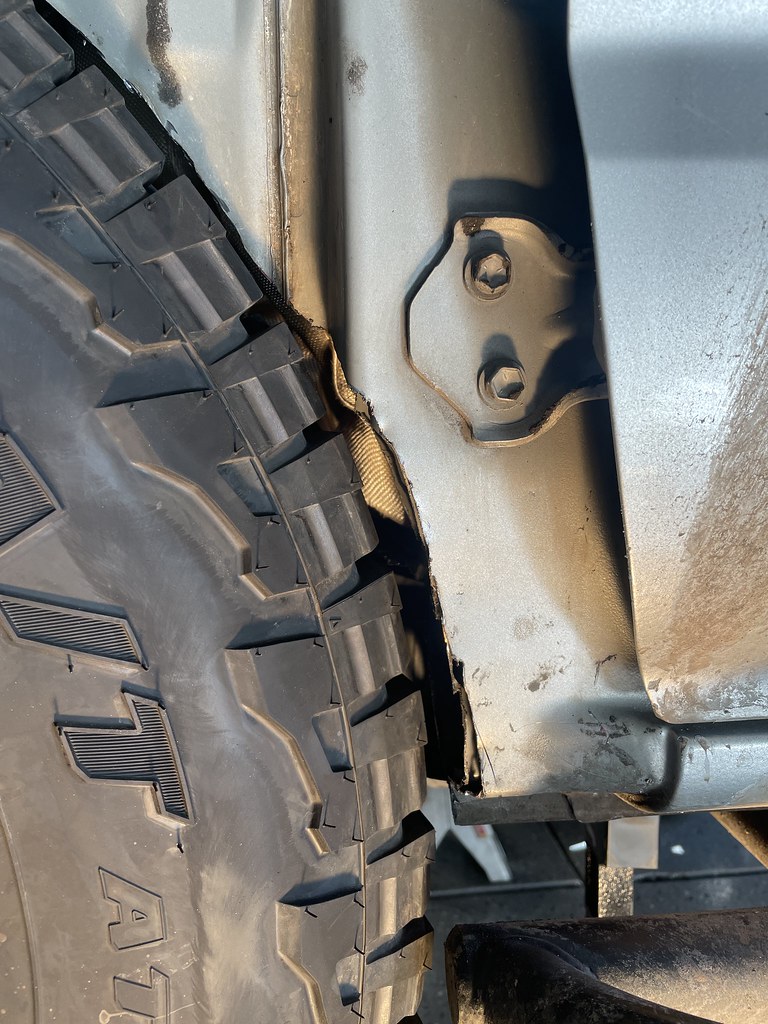
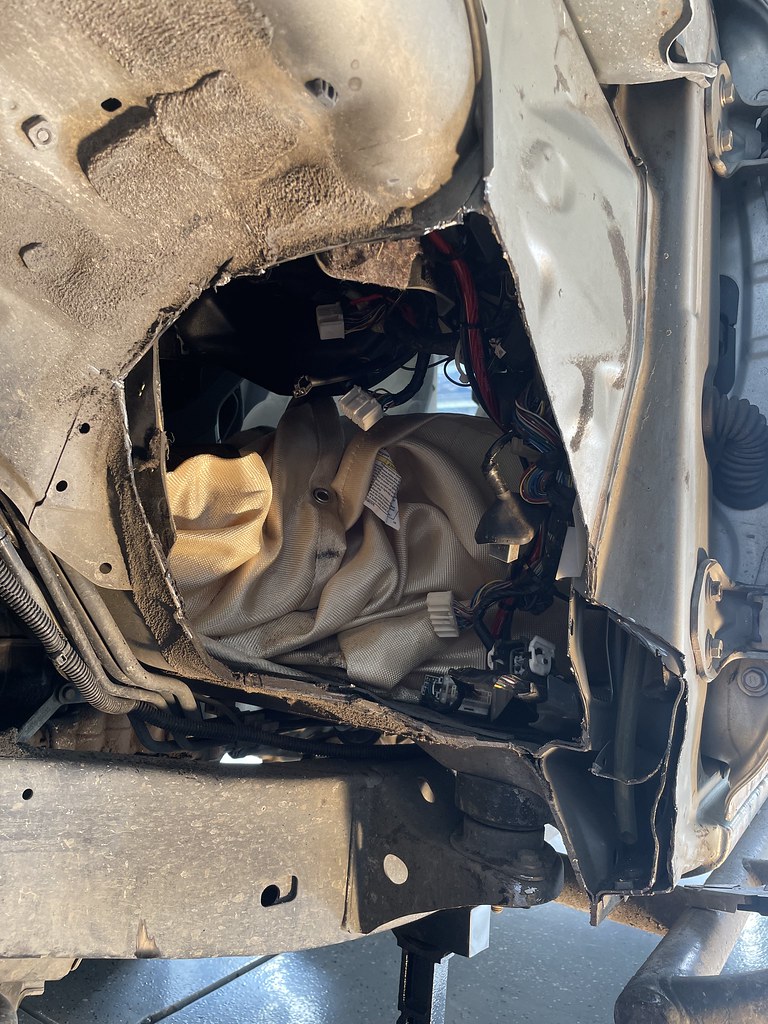
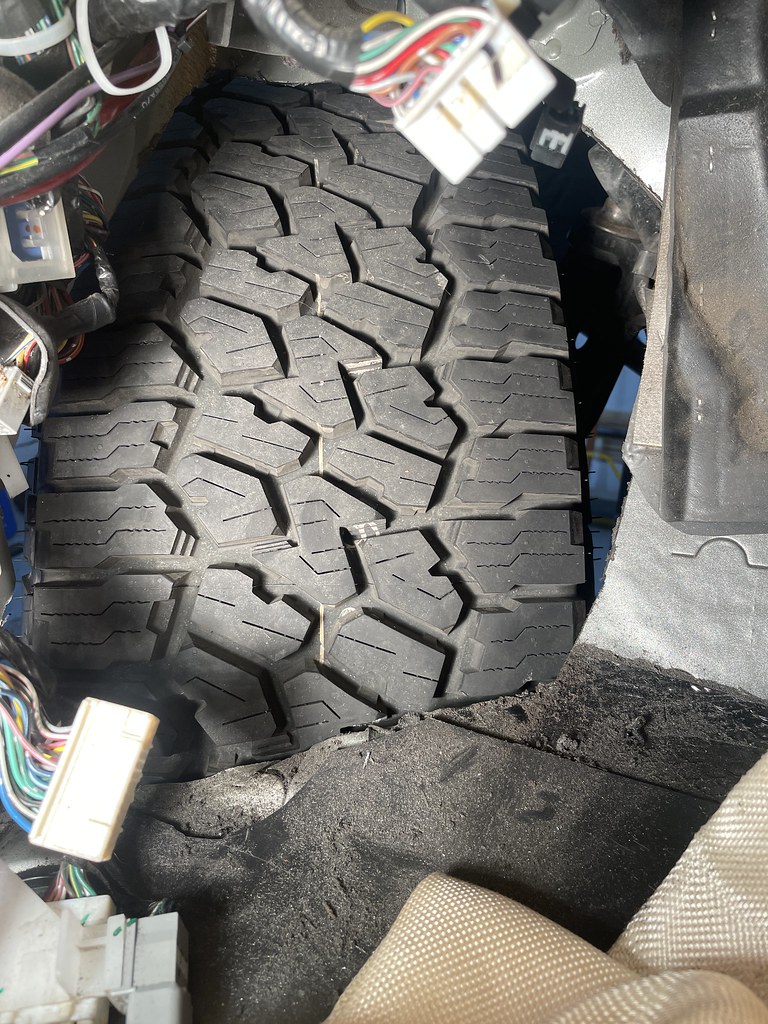
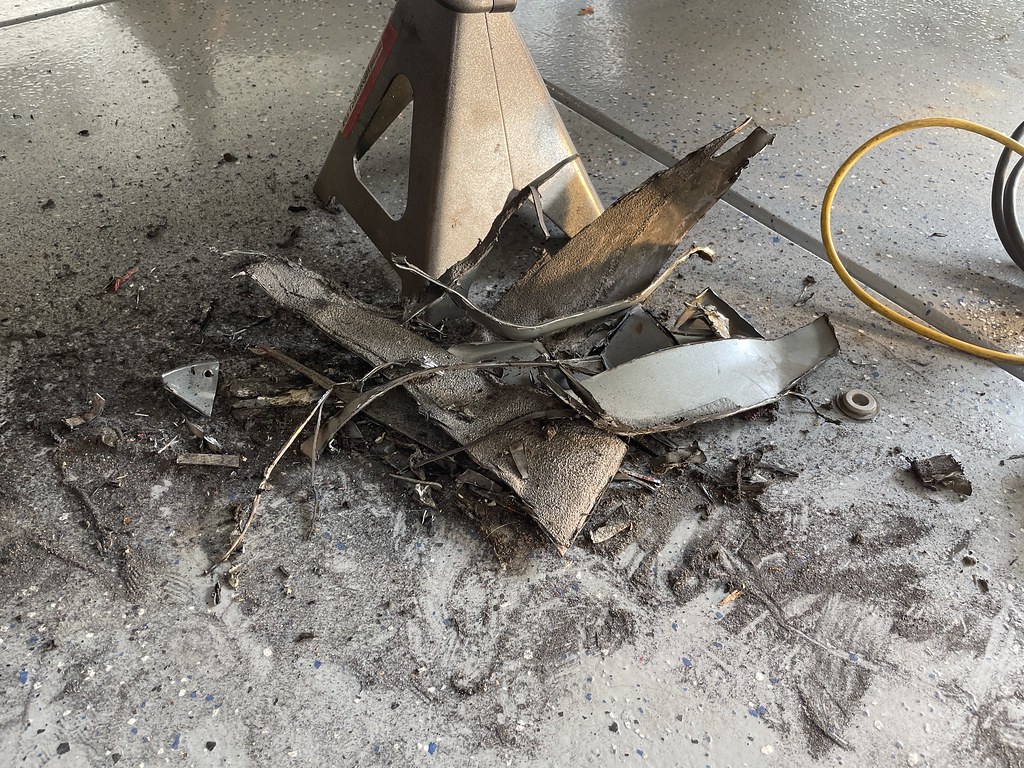
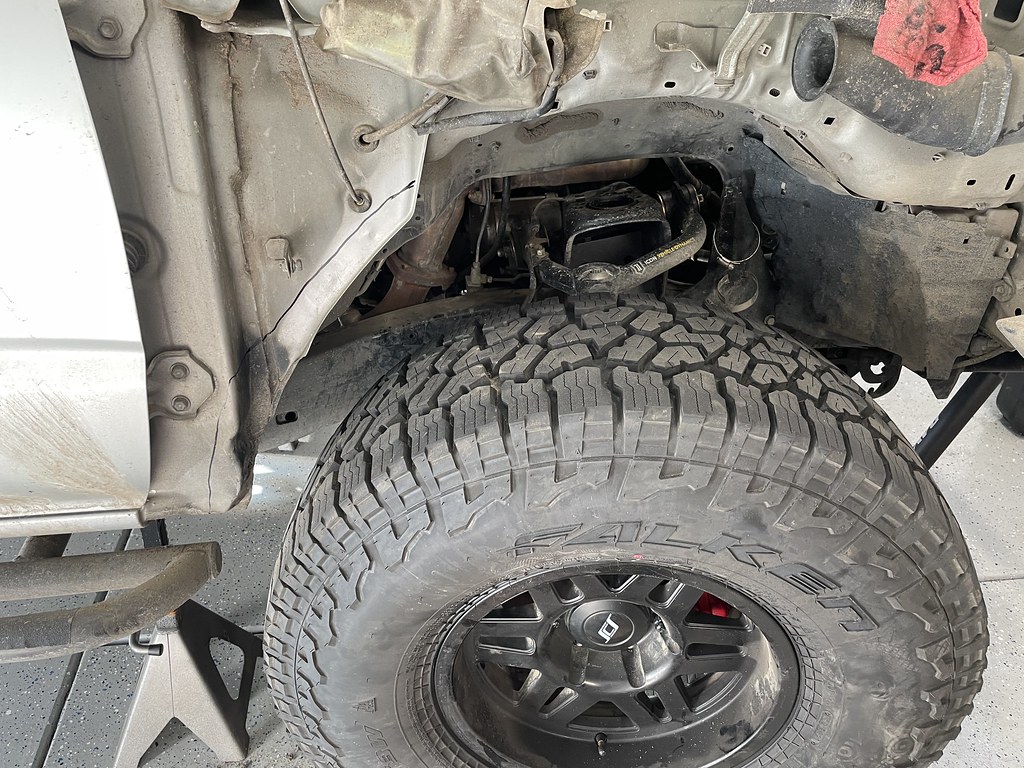
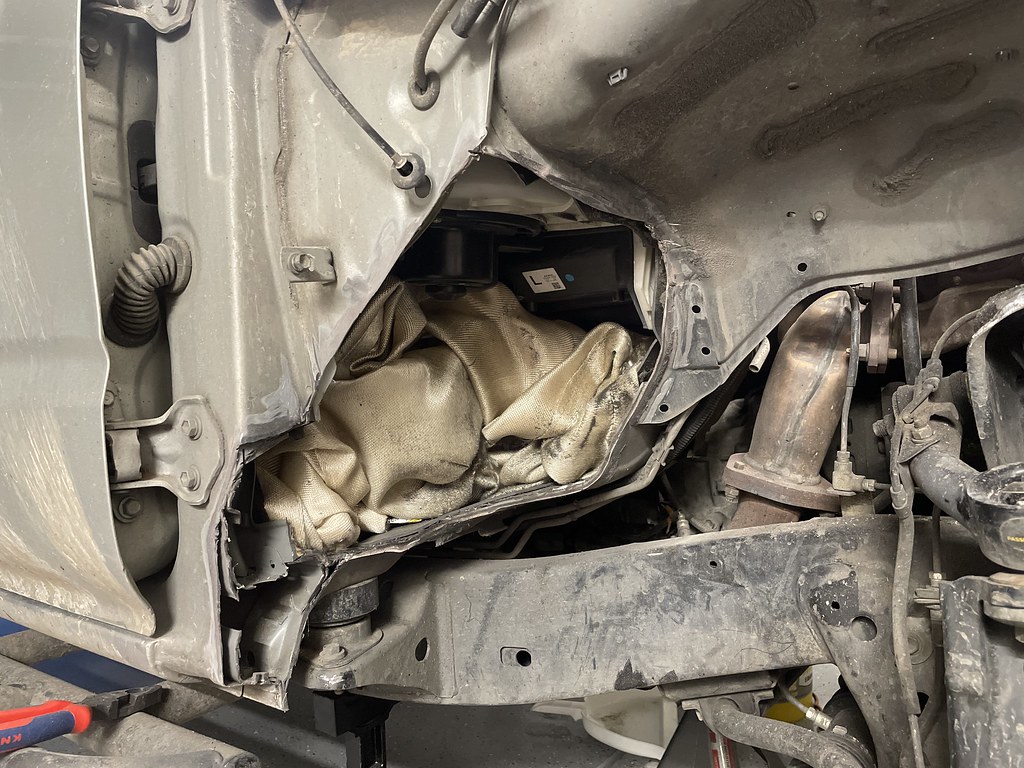
I started the project early afternoon on Friday, January 14th. I removed as much of the electronics that I could, took out the interior trim panels, and pulled the carpet back. I removed the coilovers as well as both bump stops to make sure I was getting all of the up-travel. Once I was confident everything was ready to go, I drew my first (of many) cut lines and drilled a few test holes. After that, I took the angle grinder and just went to town. My initial cuts were definitely too conservative and I ended up going back many times to take more out. The first side was slow, mostly from me re-installing the wheel to check the clearance at full lock. After removing what seemed like the entire fender firewall, I had full clearance! I pretty much repeated this process for the passenger side, but it was much quicker. I was more liberal with my cuts this time and had way fewer clearance checks.
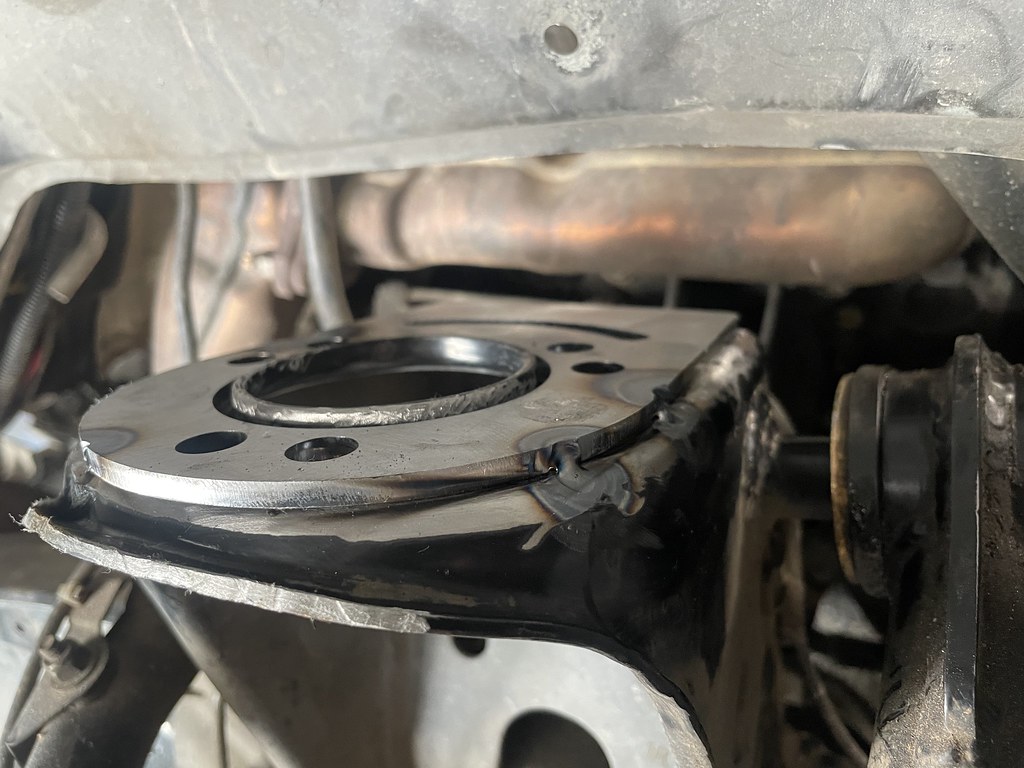
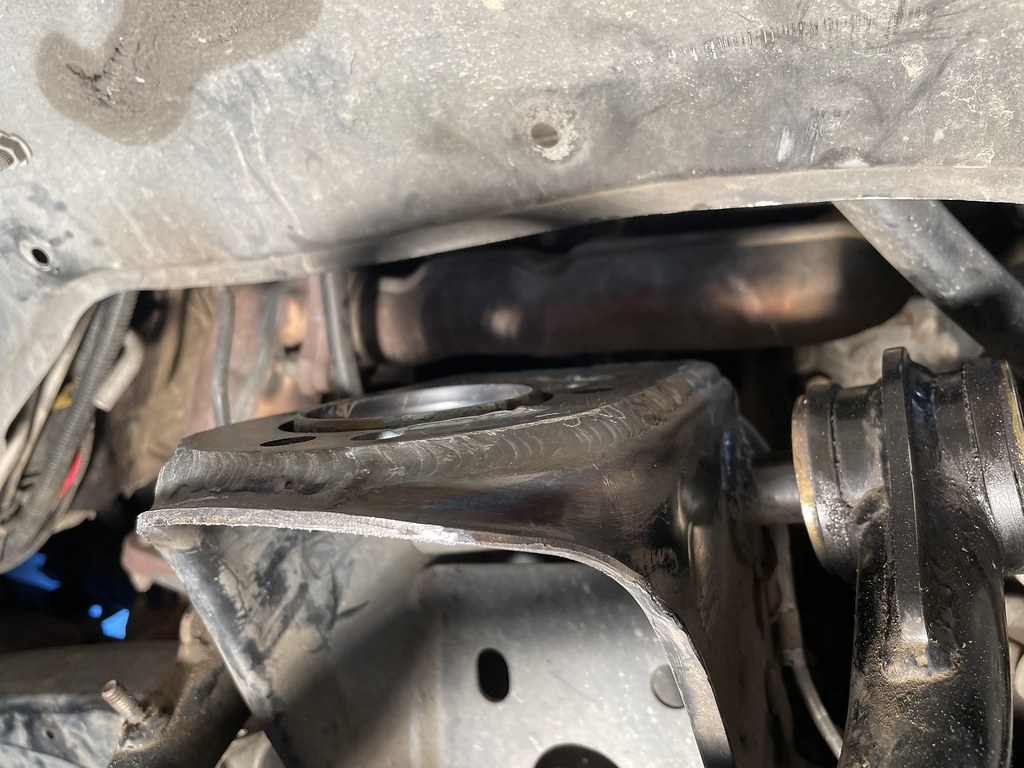
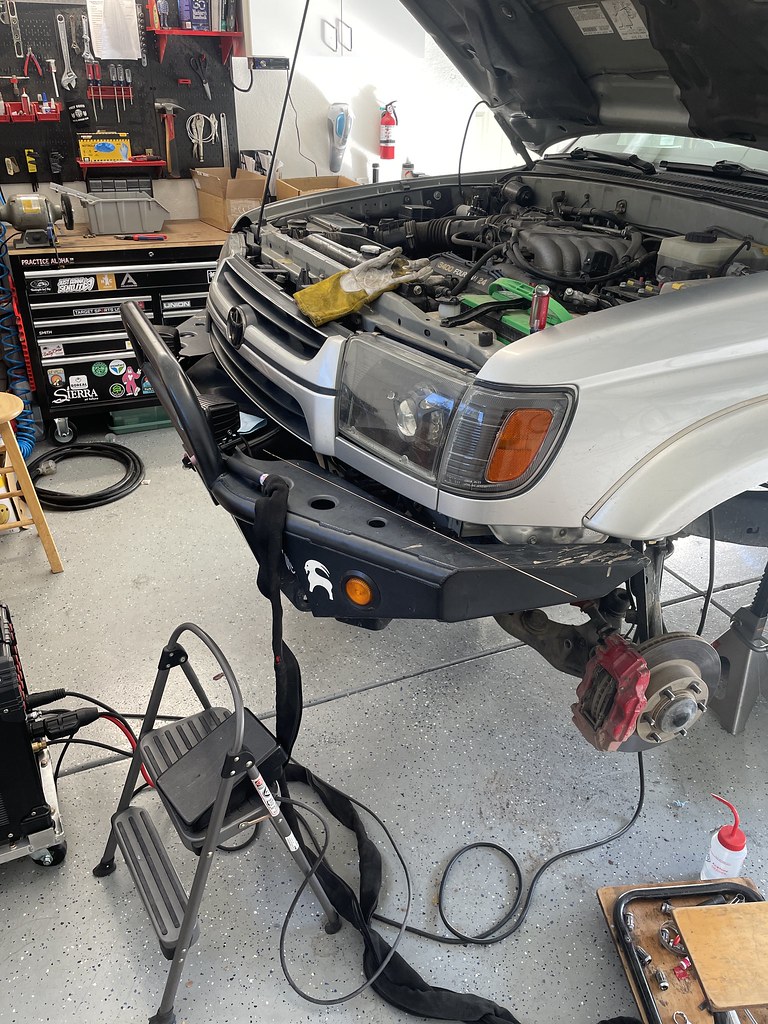
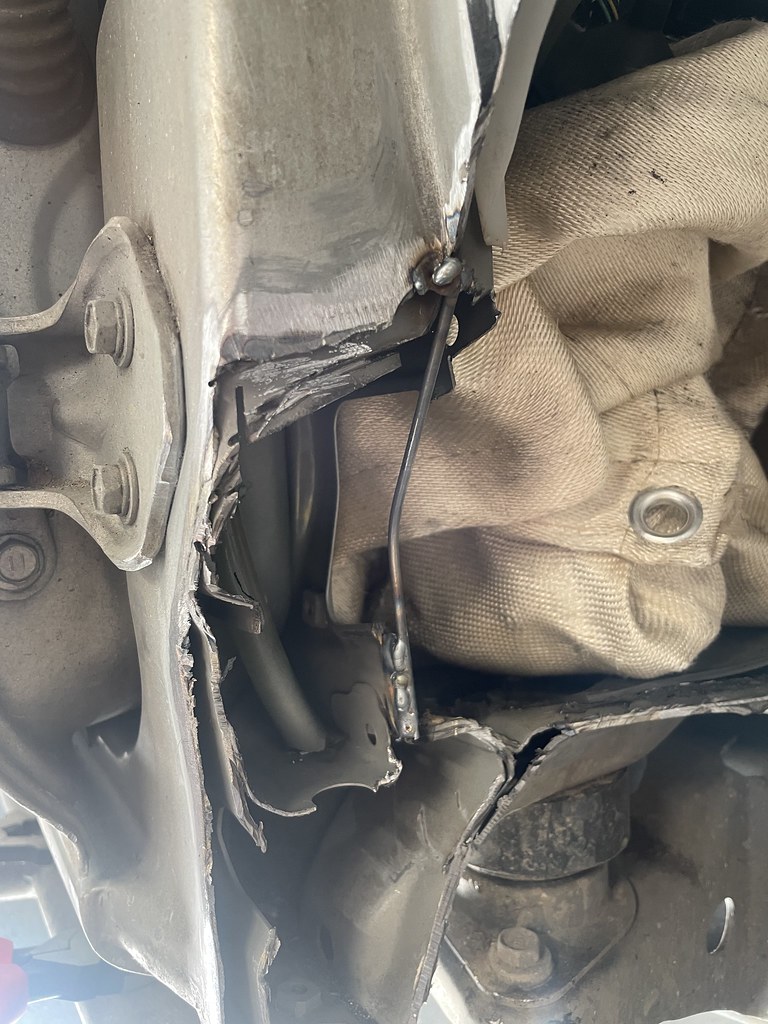
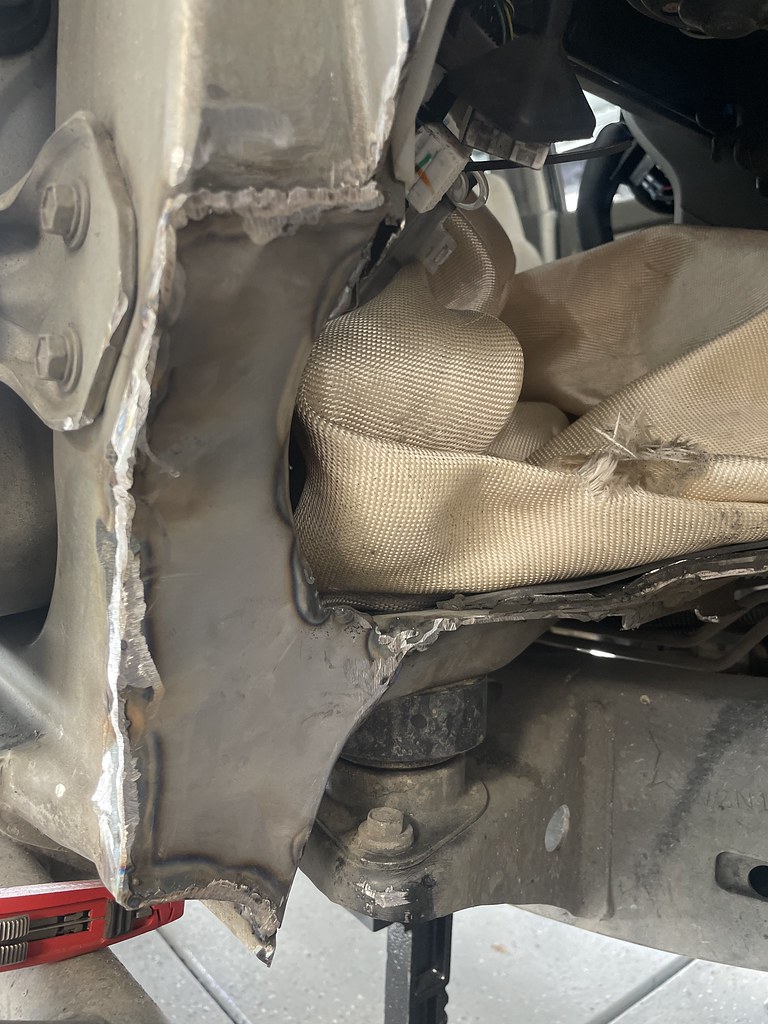
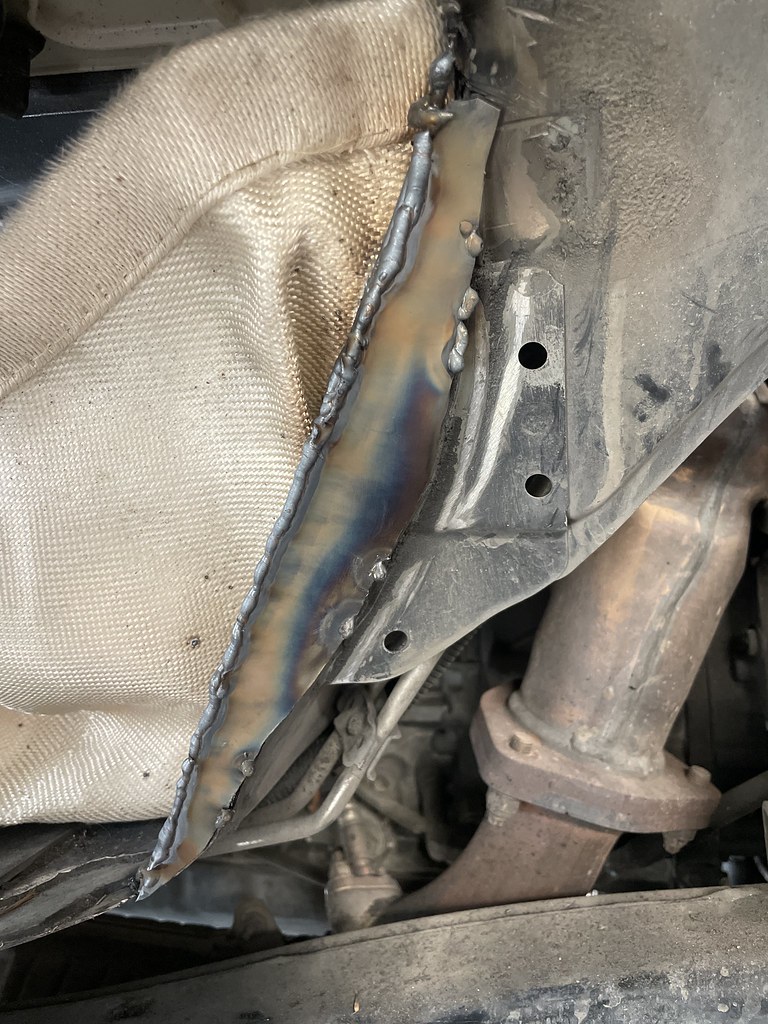
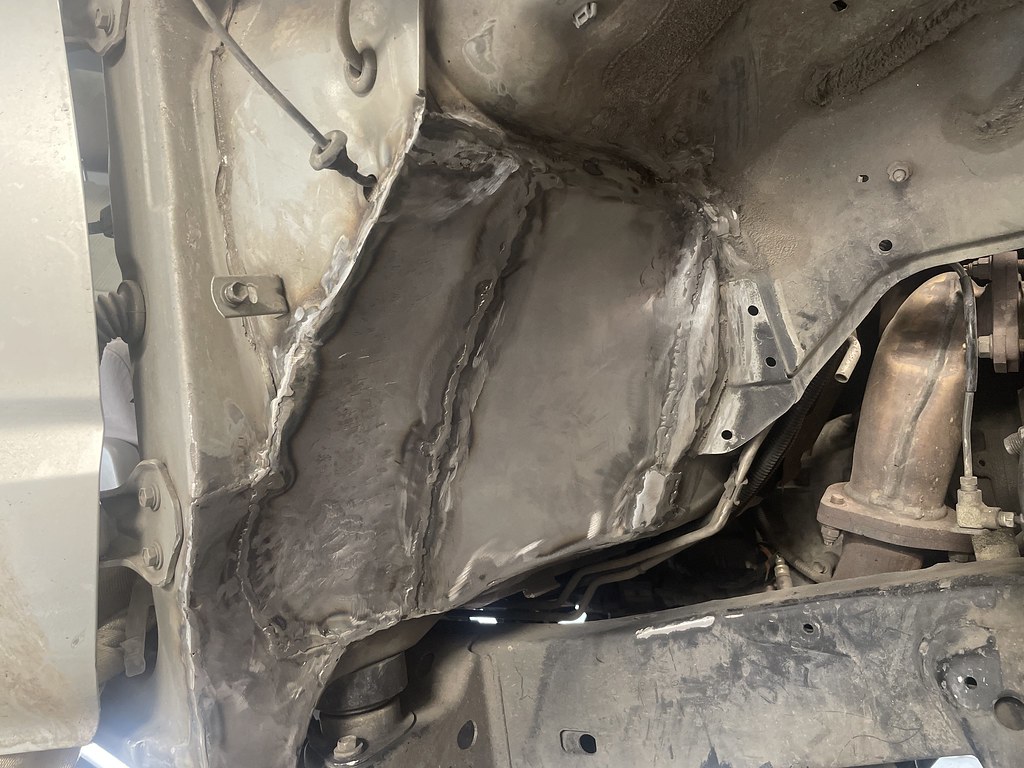
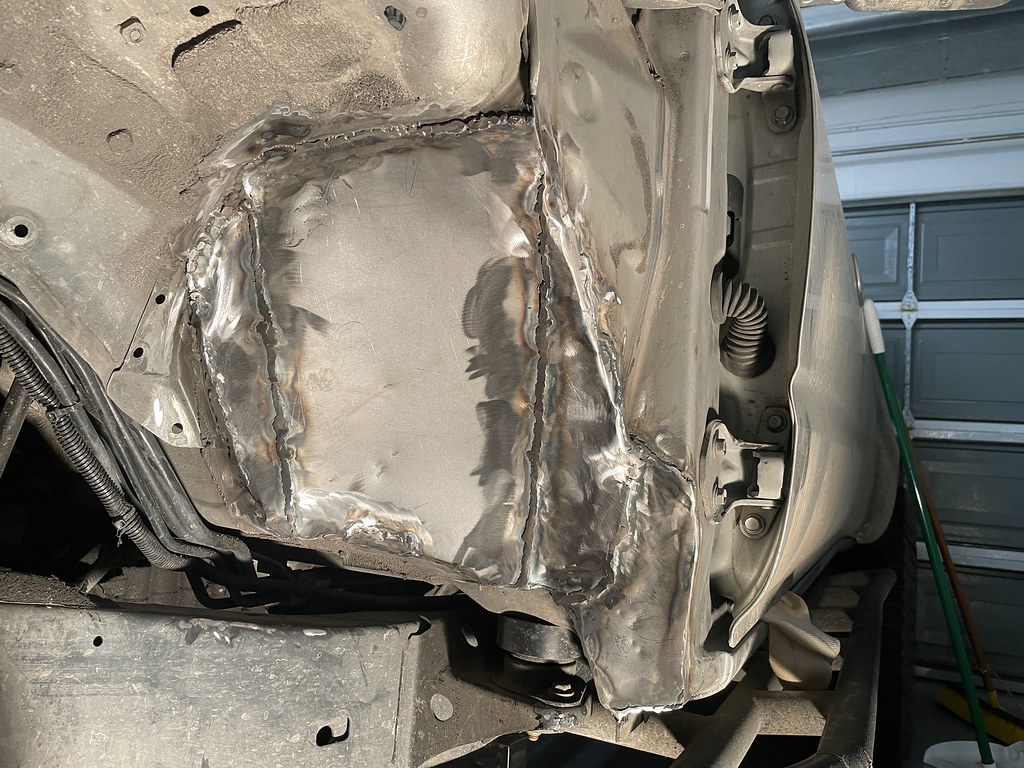
At this point, I had 2 giant holes that needed to get filled. I was going to use the TIG welder, but after testing it on some pieces of scrap sheet metal, I learned that I am definitely not skilled enough to weld it. So instead, I borrowed a friend's MIG welder hoping it would be better. I haven't MIG welded since college, so the welds are absolutely not pretty, but should be plenty strong. I started by placing steel rods shaped to the tire's profile to add support to the sheet metal I was going to add. I then started cutting out various shapes of metal to fill the gaping holes. The nibbler is by far one of my favorite tools to use. It made cutting the sheet metal a breeze.
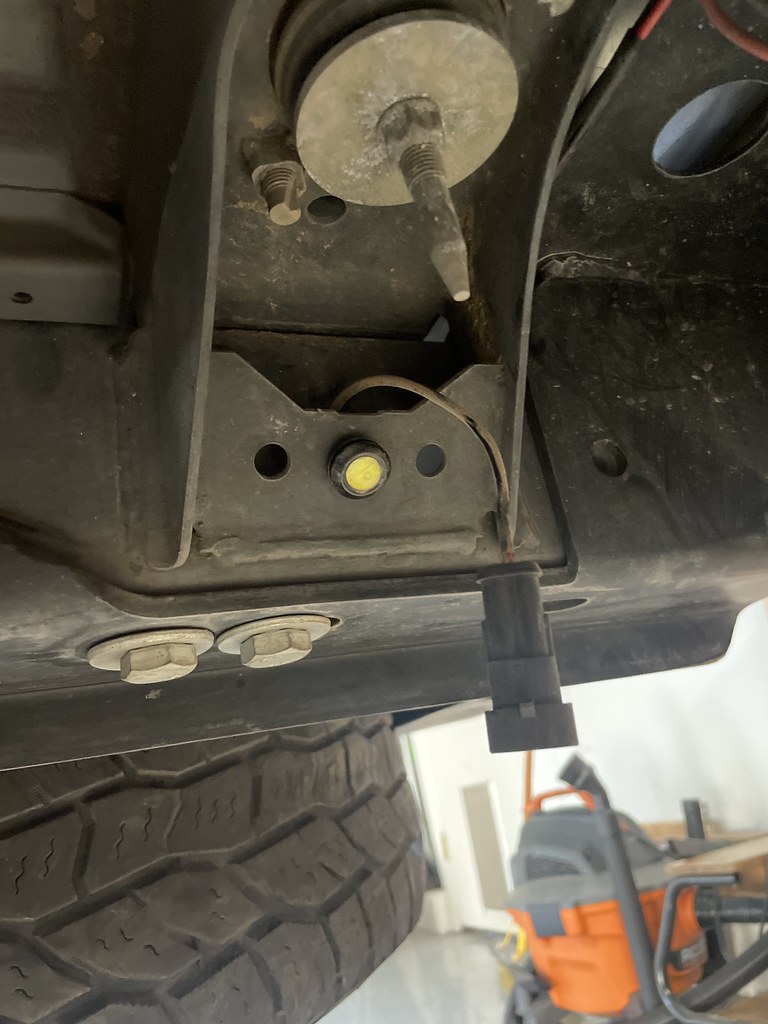
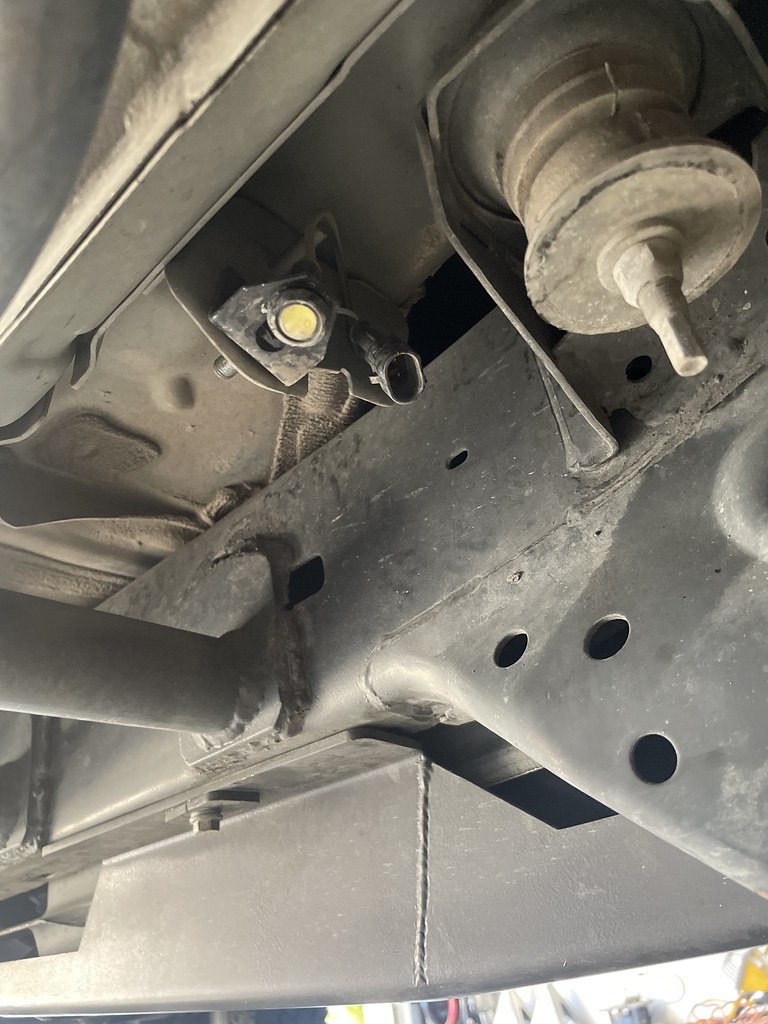
Overall, the welding wasn't too bad. I was fairly slow in getting the pieces burned in, but I thought it was decent for my first time in 5 or 6 years. Apparently I wasn't careful enough on the passenger's side and caught a piece of plastic on fire. This caused the passenger side cowl connector to melt and become unusable...I ended up getting a donor connector from pick n pull and had to re-pin the whole thing.
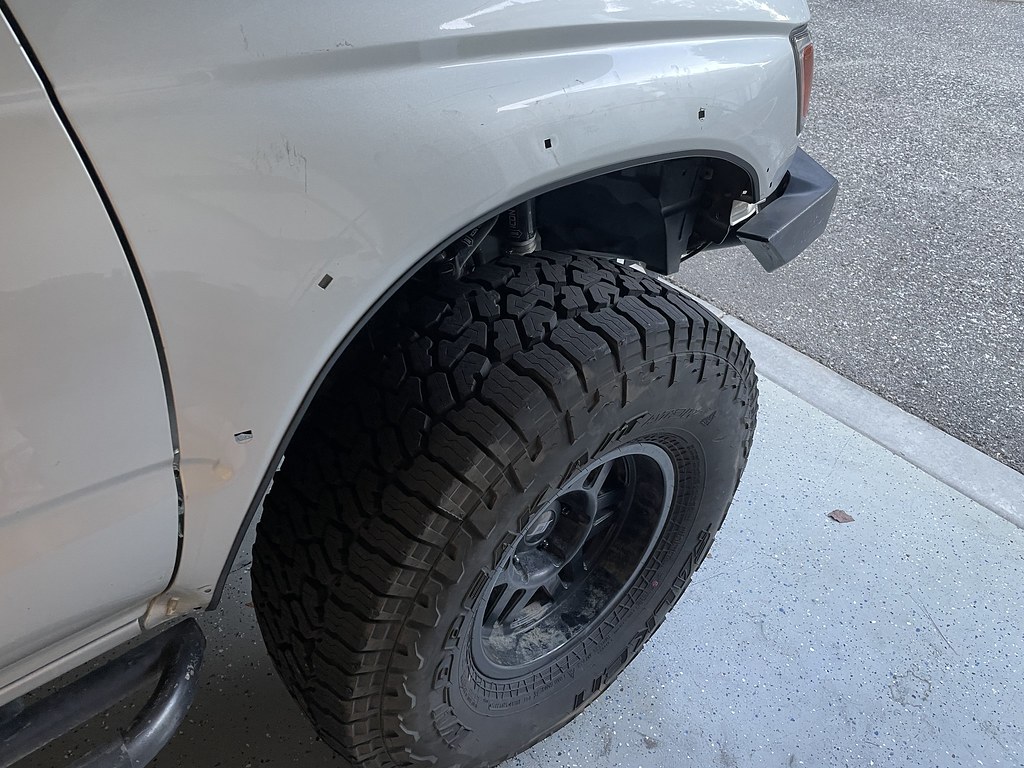
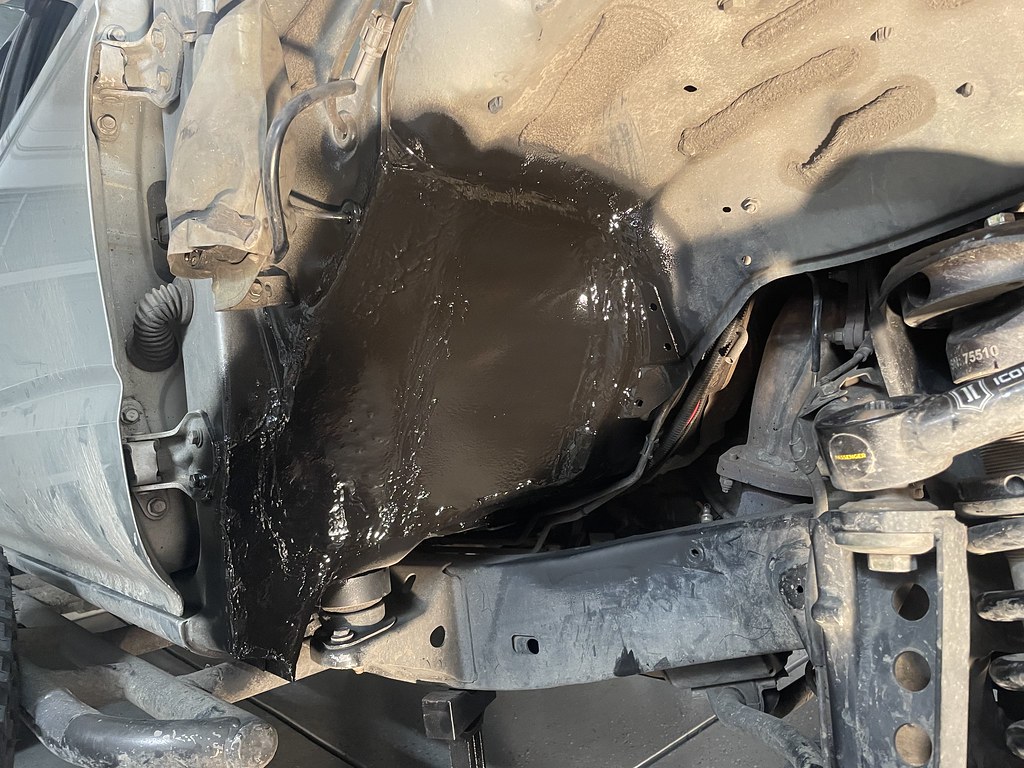
Minus the one incident, everything went back together fairly well, especially with some massaging from the BFH. There were only a couple pin holes I had to fill in, so I was pretty happy with that. I put some seam sealer on all of the joints to further prevent any water intrusion through my lovely welds, and then topped everything off with some rubber undercoating. I also put a bit of the seam sealer on the inside of the firewall and then covered that with some butyl rubber and closed cell foam to help reduce road noise.
Now that everything was back on, I did one last clearance check to make sure I didn't mess anything up. I have full clearance from lock to lock at full stuff! I do rub the frame, but I'm just going to deal with that. I will also need to relocate the washer fluid bottle which is on order now.
This project was super ambitious and freaked me out from the beginning. There were a few times when I wanted to throw in the towel, but kept pushing on. After nearly 4.5 days straight in the garage, I had finished the hardest project I have tackled so far. I'm happy I stuck with it and now I won't need to worry about shredding these tires from clearance issues. Onto the pictures!
33 vs. 35
 https://flic.kr/p/2mZtXJC
35's mounted
https://flic.kr/p/2mZtXJC
35's mounted
 https://flic.kr/p/2mZCgEK
 https://flic.kr/p/2mZAzFn
Initial rubbing
https://flic.kr/p/2mZAzFn
Initial rubbing
 https://flic.kr/p/2mZCgca
 https://flic.kr/p/2mZAzEA
 https://flic.kr/p/2mZAzDZ
 https://flic.kr/p/2mZAzDJ
 https://flic.kr/p/2mZzfdL
 https://flic.kr/p/2mZAzCm
 https://flic.kr/p/2mZAzBE
 https://flic.kr/p/2mZtXgo
 https://flic.kr/p/2mZtXfG
Time to repeat for the passenger side
https://flic.kr/p/2mZtXfG
Time to repeat for the passenger side
 https://flic.kr/p/2mZtXf6
 https://flic.kr/p/2mZtXeu
Welding the support rods
https://flic.kr/p/2mZtXeu
Welding the support rods
 https://flic.kr/p/2mZtXee
 https://flic.kr/p/2mZAzyU
 https://flic.kr/p/2mZtXdx
 https://flic.kr/p/2mZCg4z
 https://flic.kr/p/2mZzf8v
 https://flic.kr/p/2mZAzx6





 :
: