ramonortiz55
New member
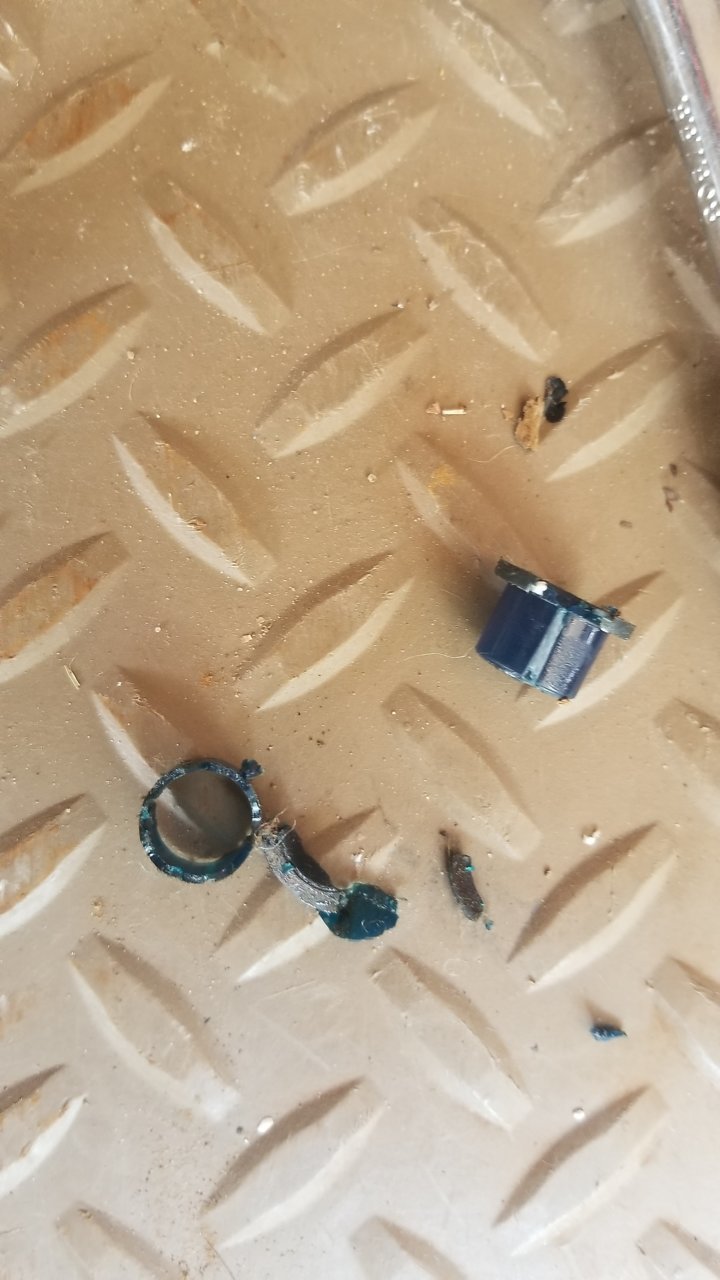
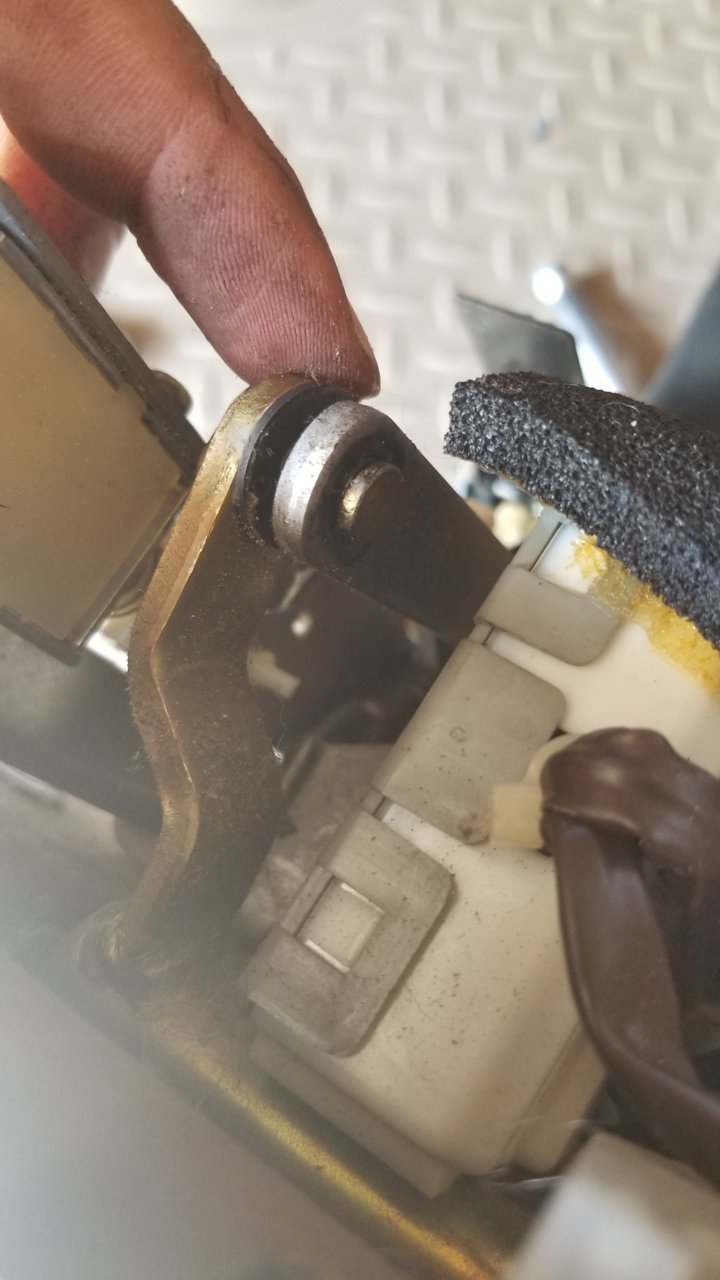
My 4runner's shifter had too much slack for my liking. I was worried that one day I wouldn't be able to turn on the 4runner or have it release my key from the ignition. So I decided to change the shifter bushings as preventative maintenance.
This writeup also applies for 1st generation tacomas.
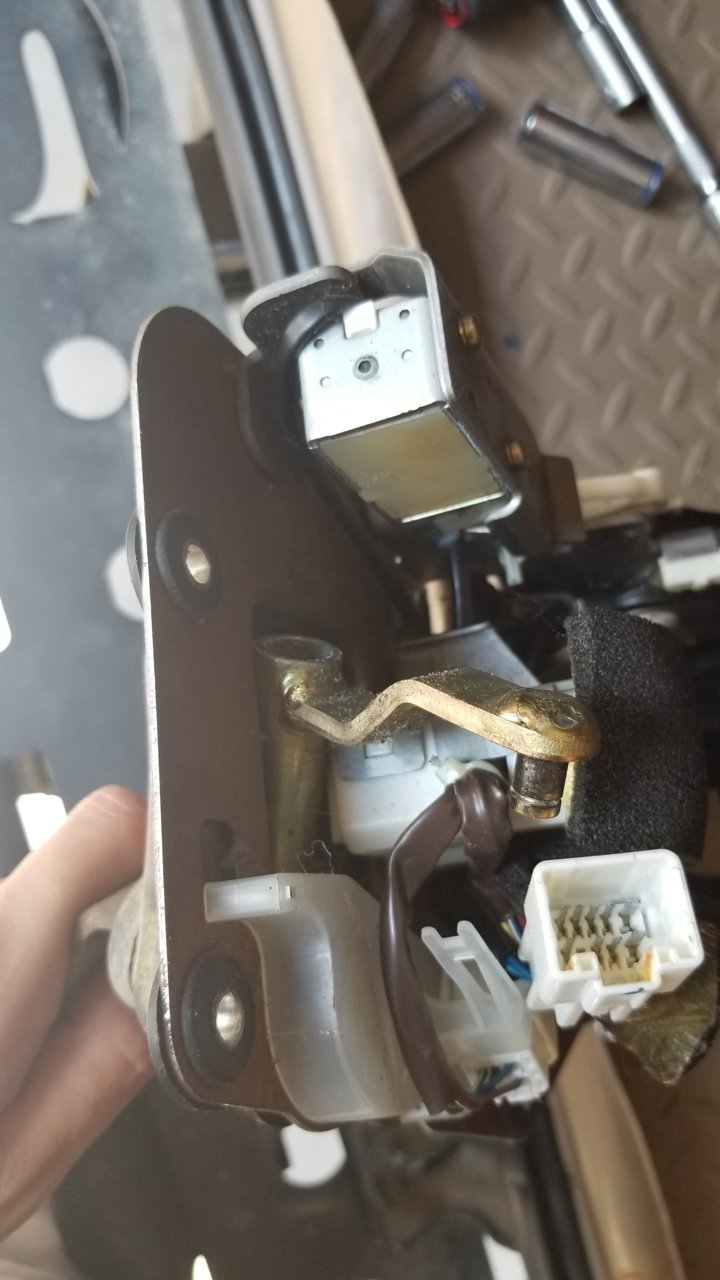
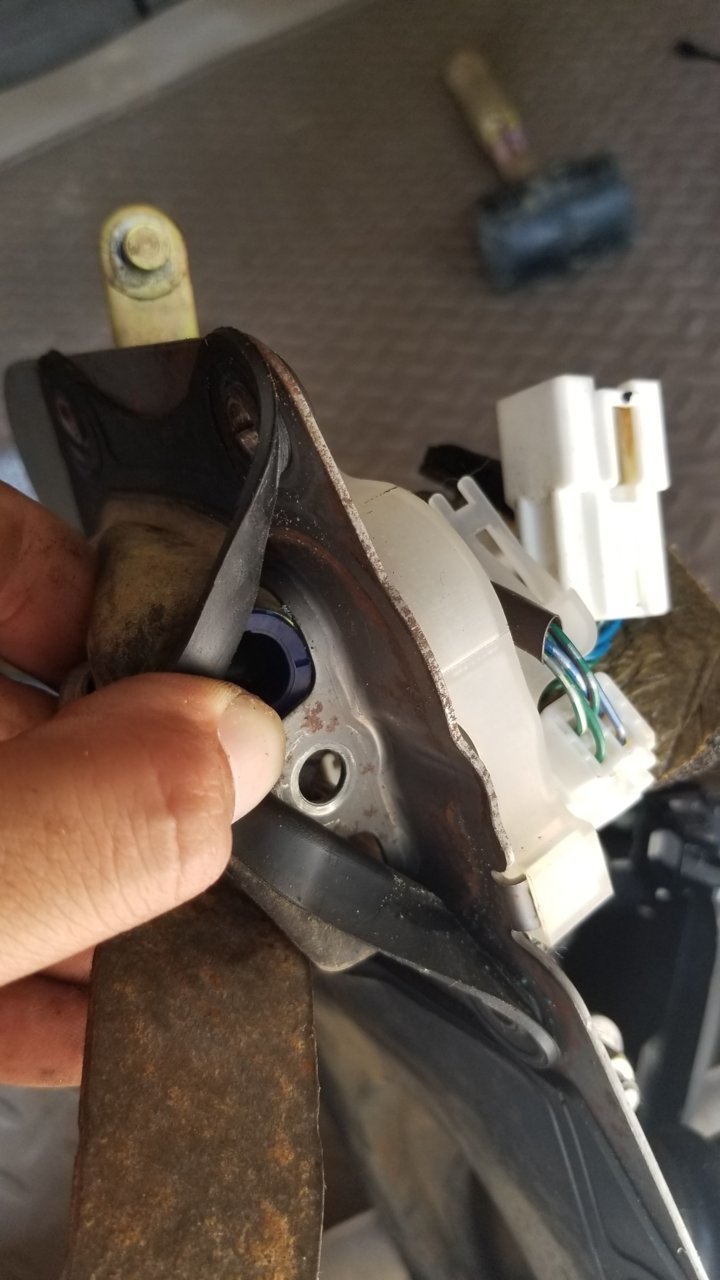
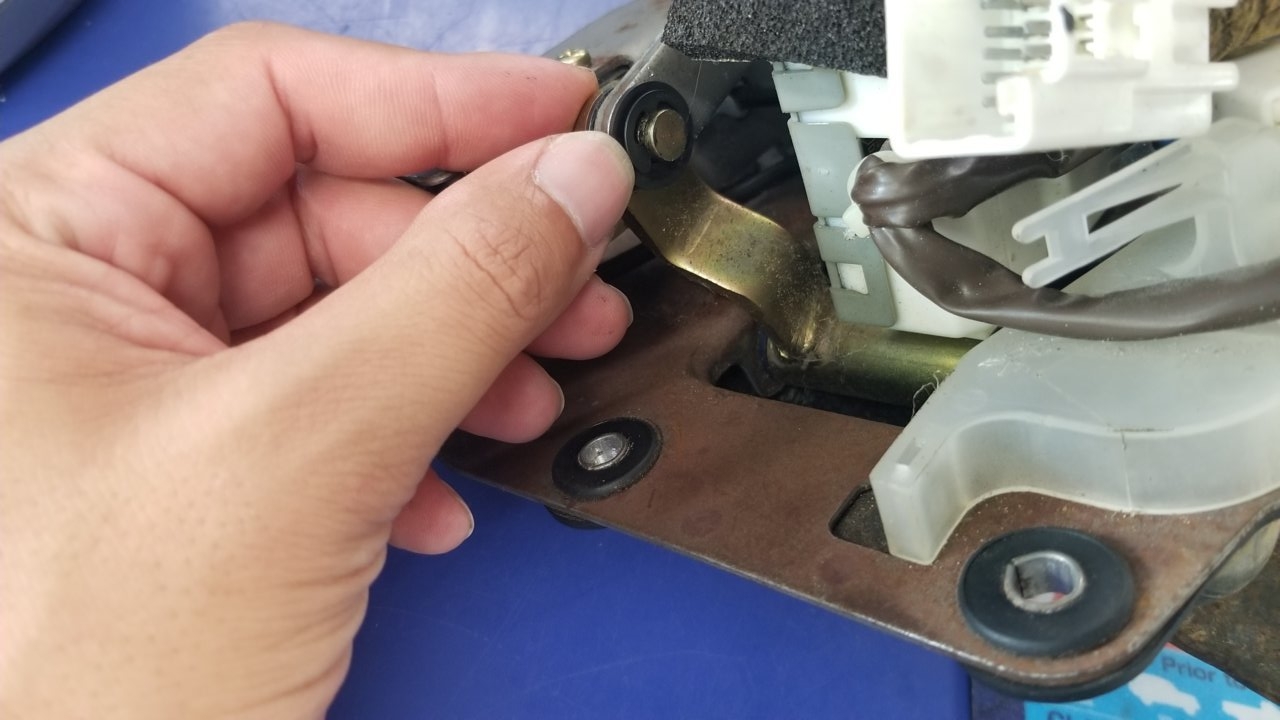
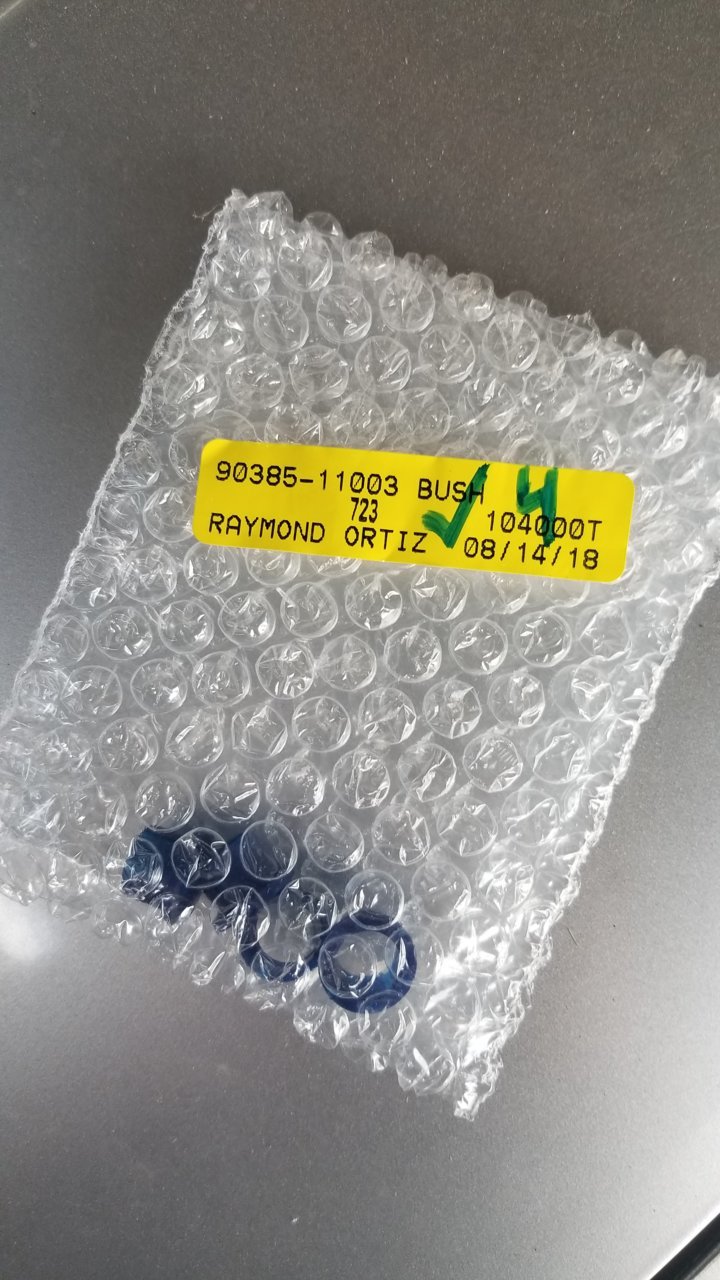
Each shifter assembly requires four bushings, here is the part number:
Stare at the center console for 5 minutes. Give it a long mean mug stare.
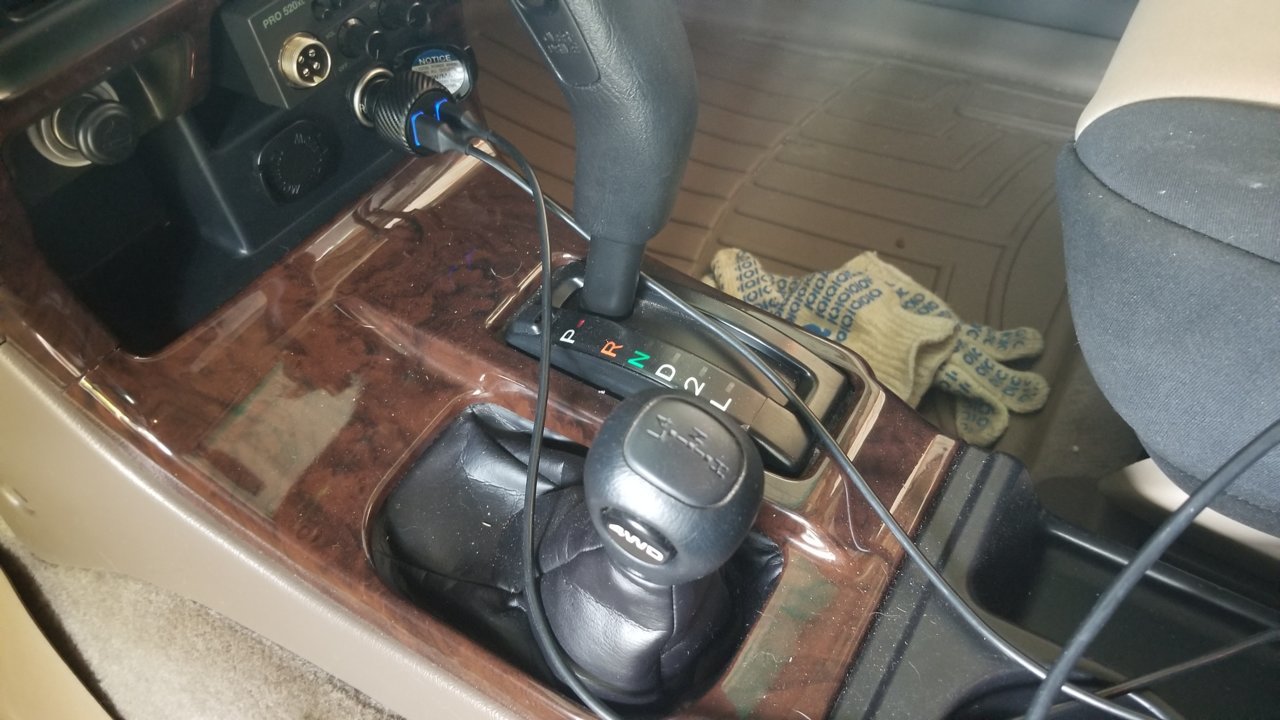
Set hand brake and grab pull out the cup holder:
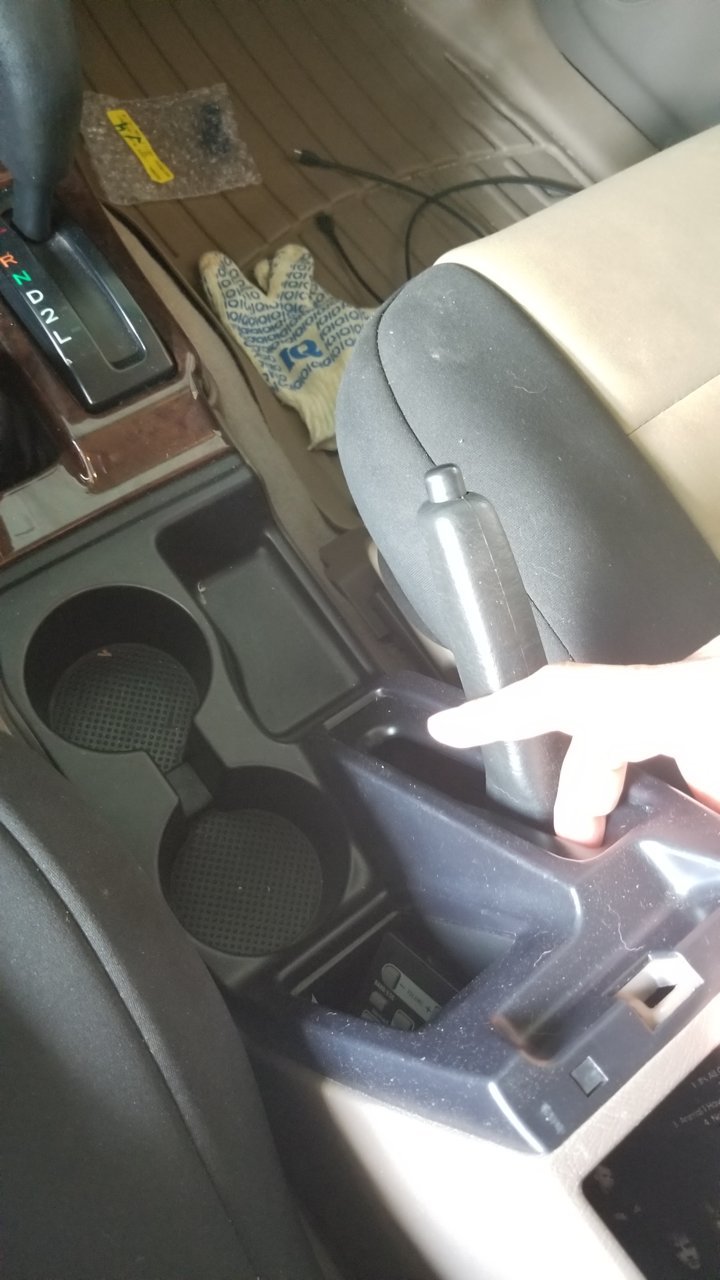
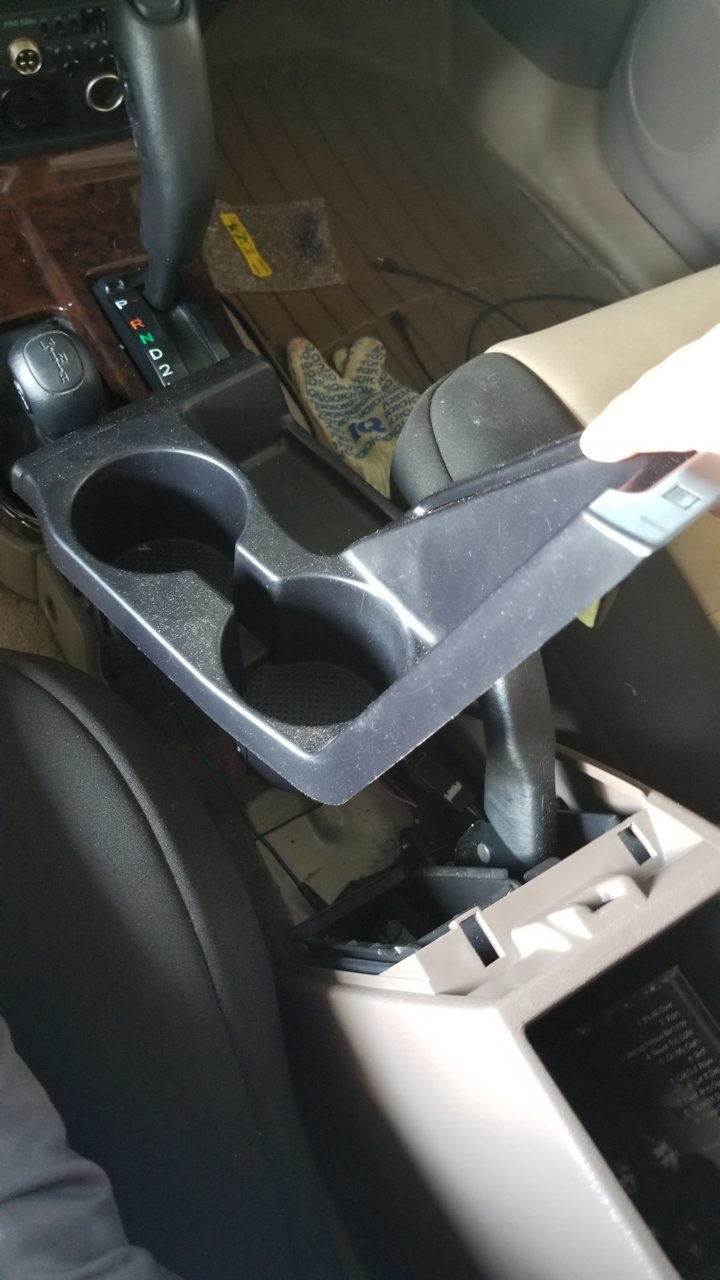
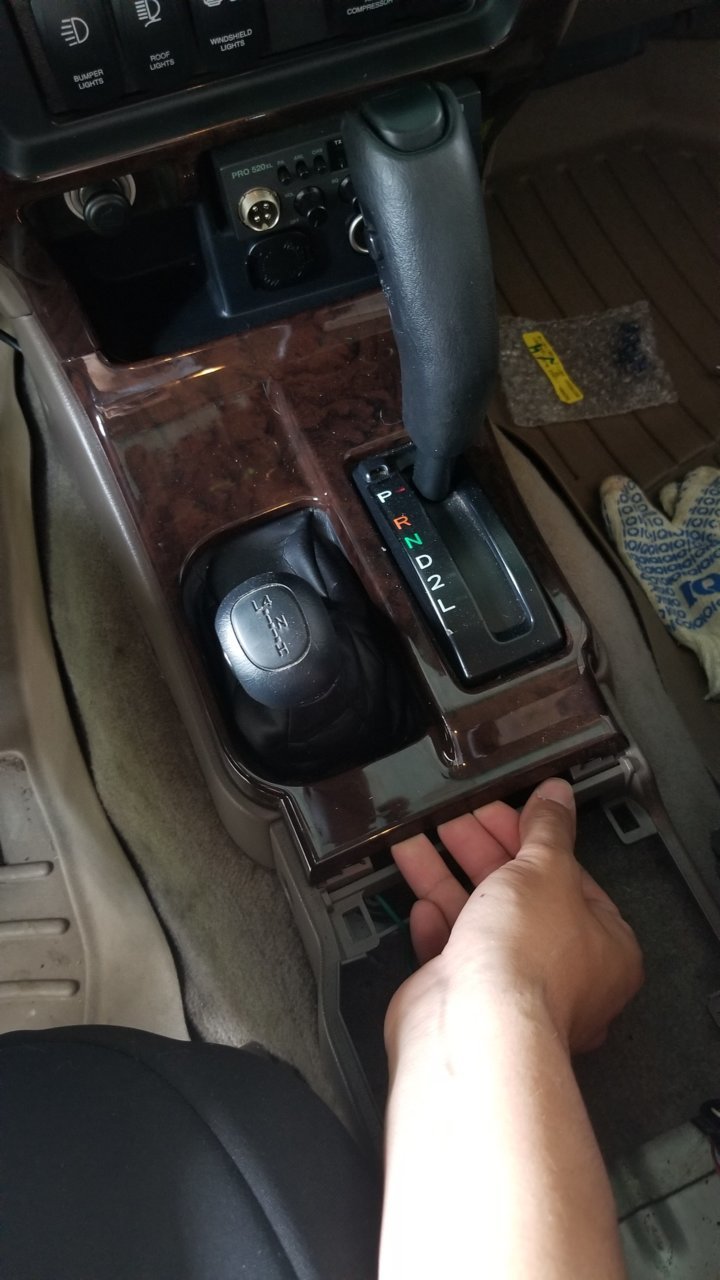
Next pull out the trim around the shifter, simply tug:
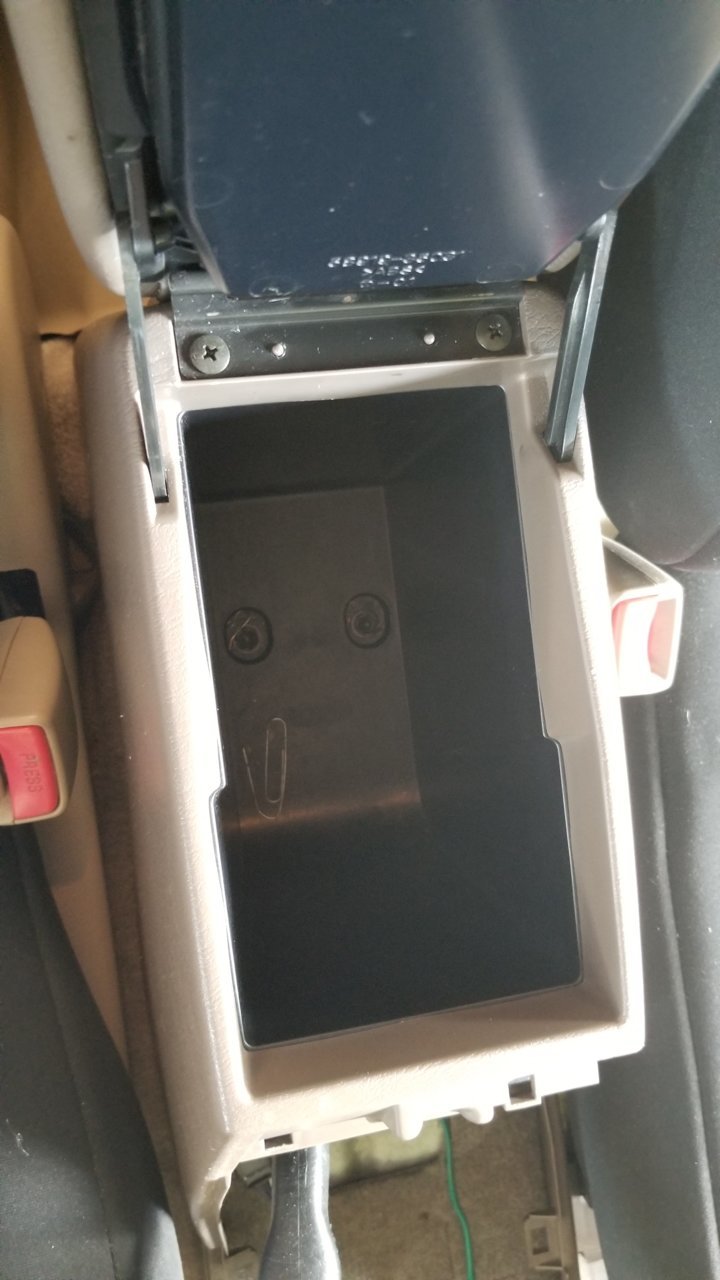
Remove the center console. This is held down by two bolts inside the console:
Remove the screw holding the center console to the shifter trim, one each side. This will allow the center console assembly to pull out of the way:
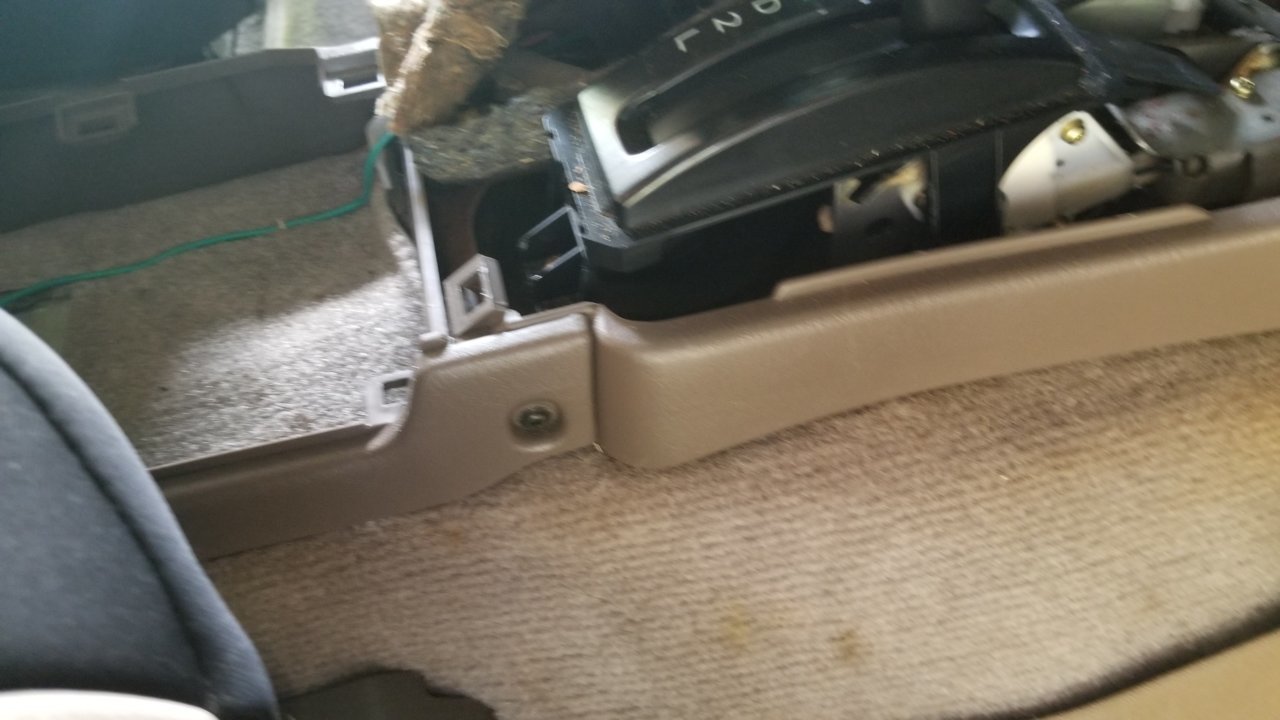
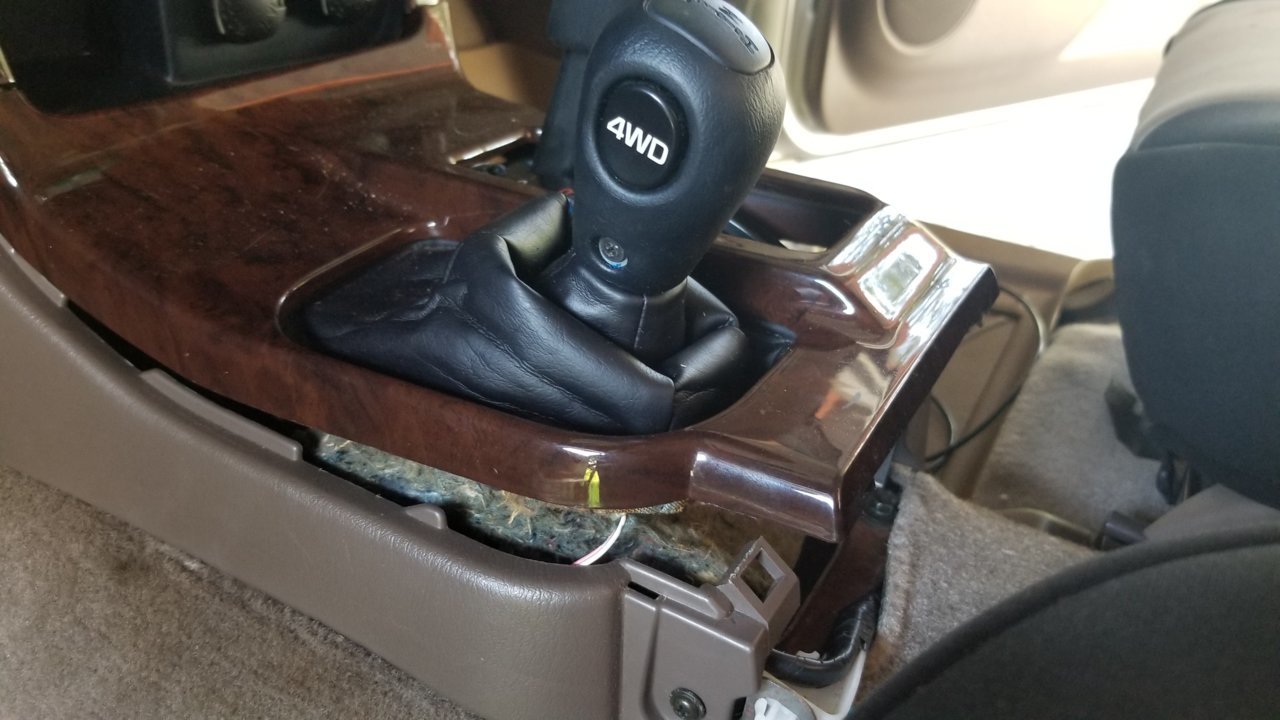
Next remove the 4x4 shifter head, my particular setup is not threaded. Therefore, I remove the set screw and pull the head off carefully.
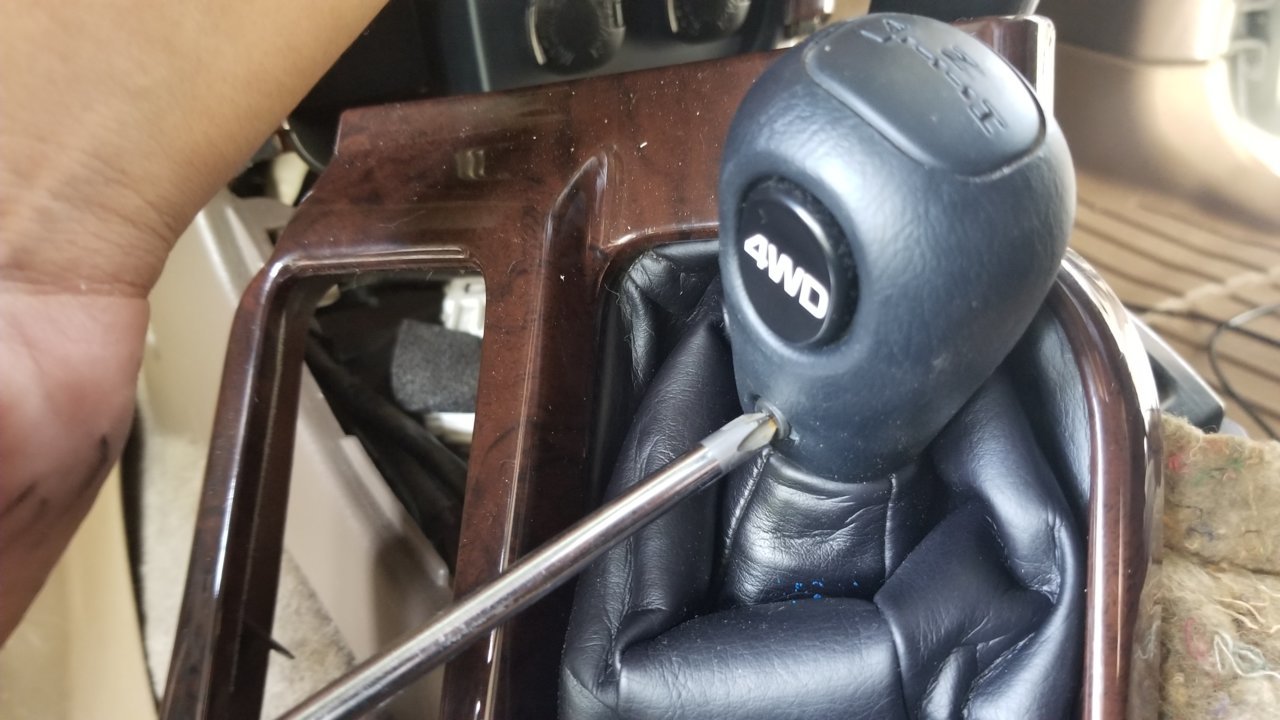
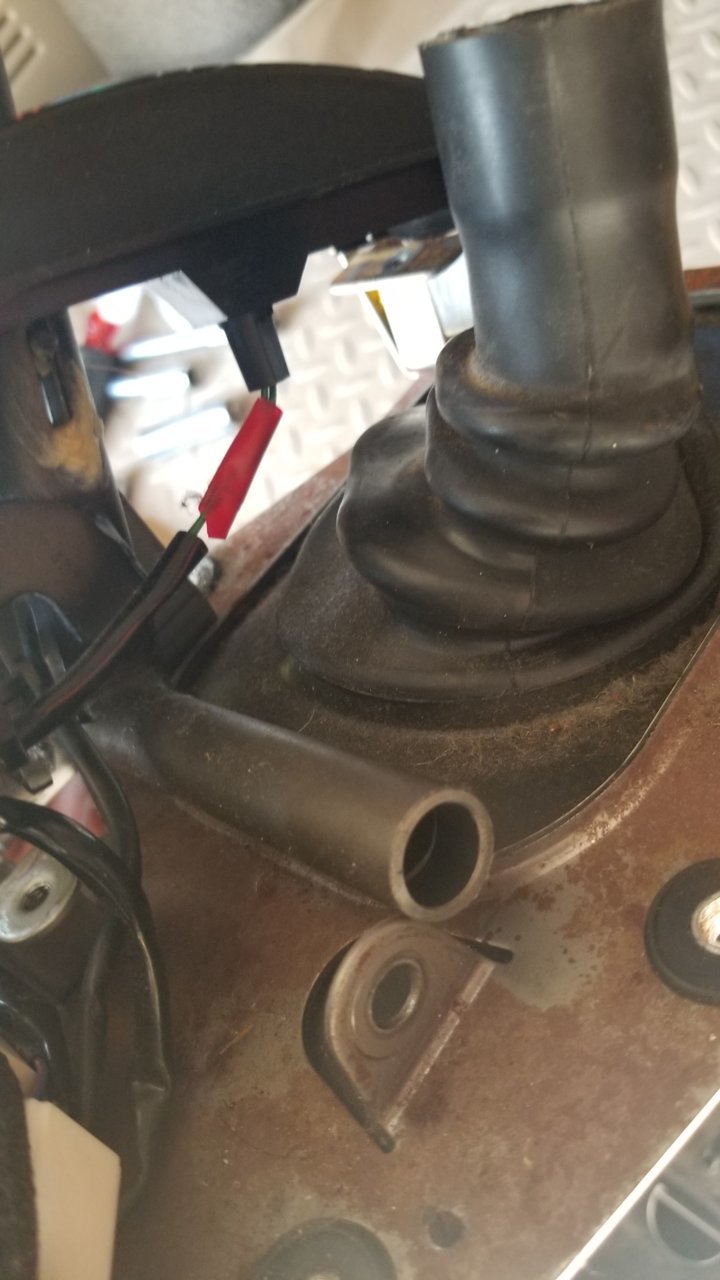
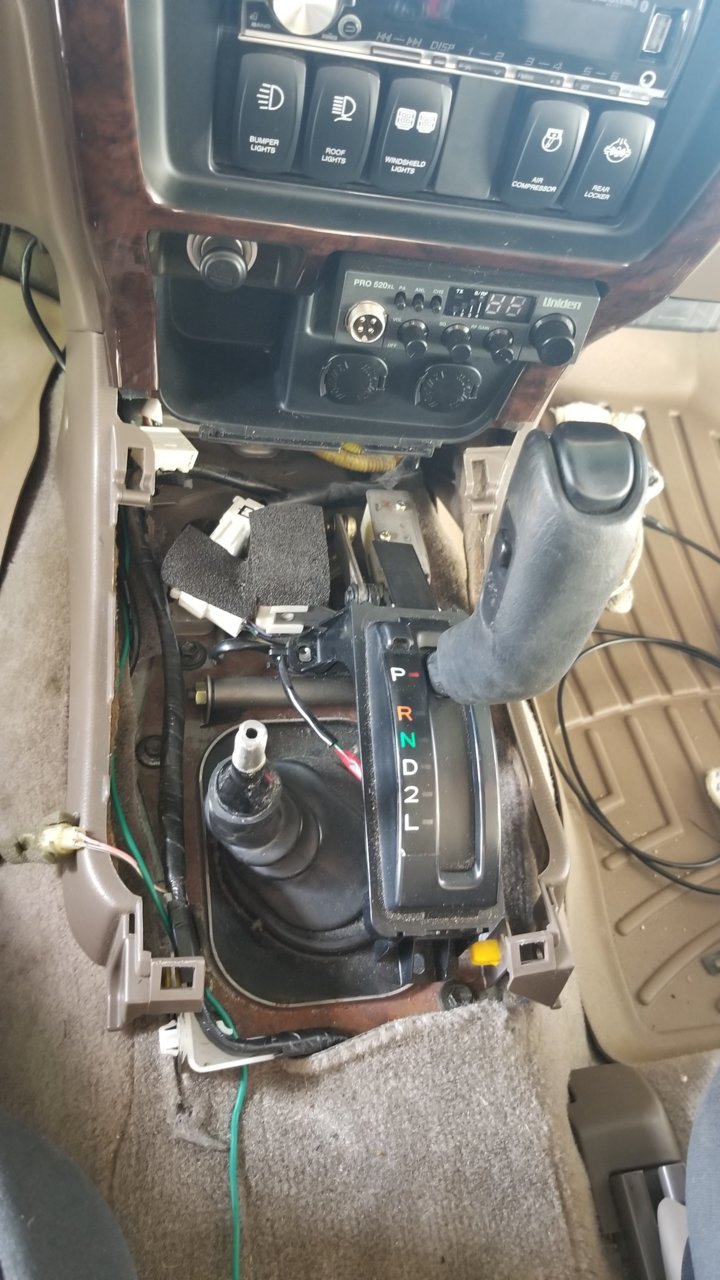
Be very careful not to pull the wiring that leads to the 4x4 shifter (black).
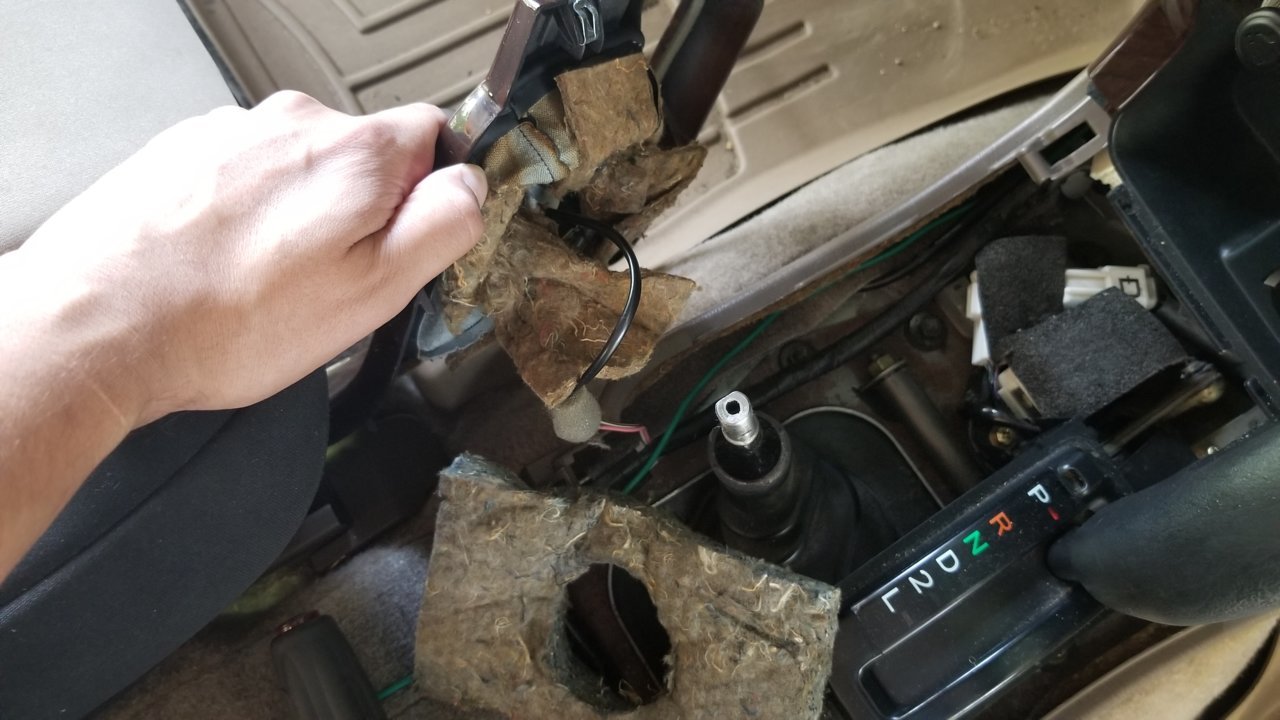
I placed it to the side, did not really disconnect the wiring because I was afraid of messing up the pigtail connection.
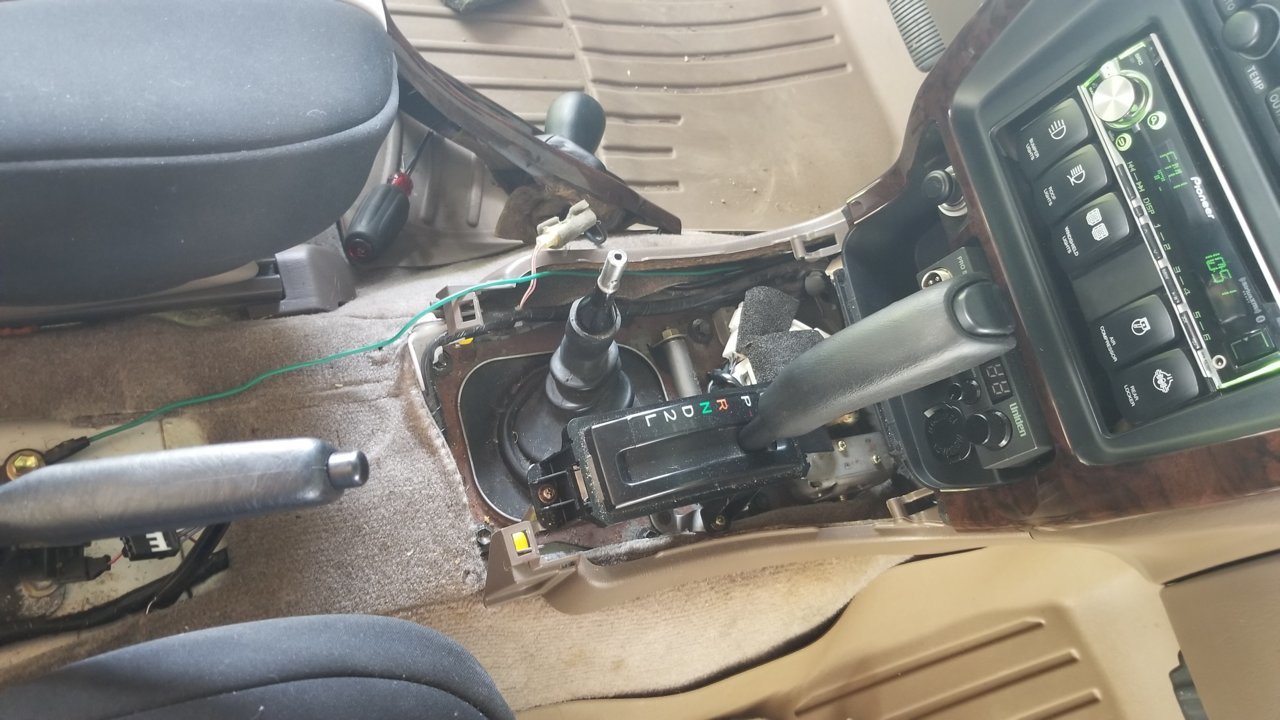
Next I removed three screws that hold the shifter down to the assembly:
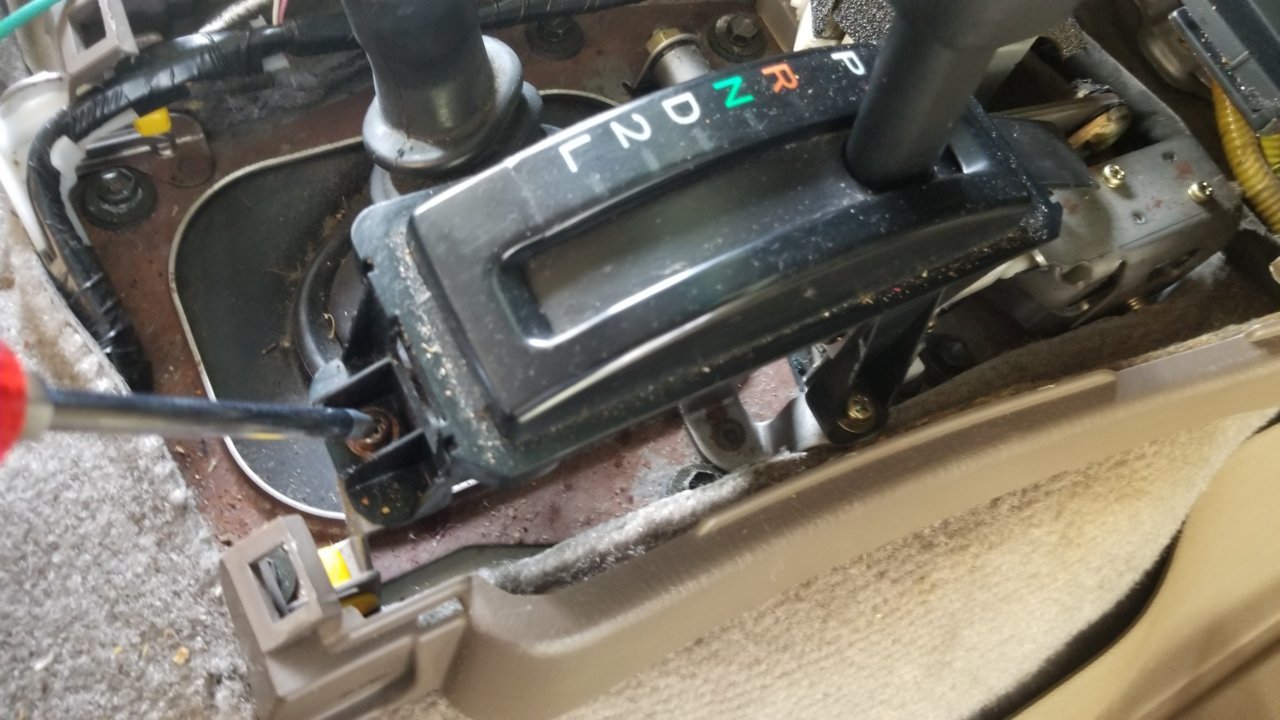
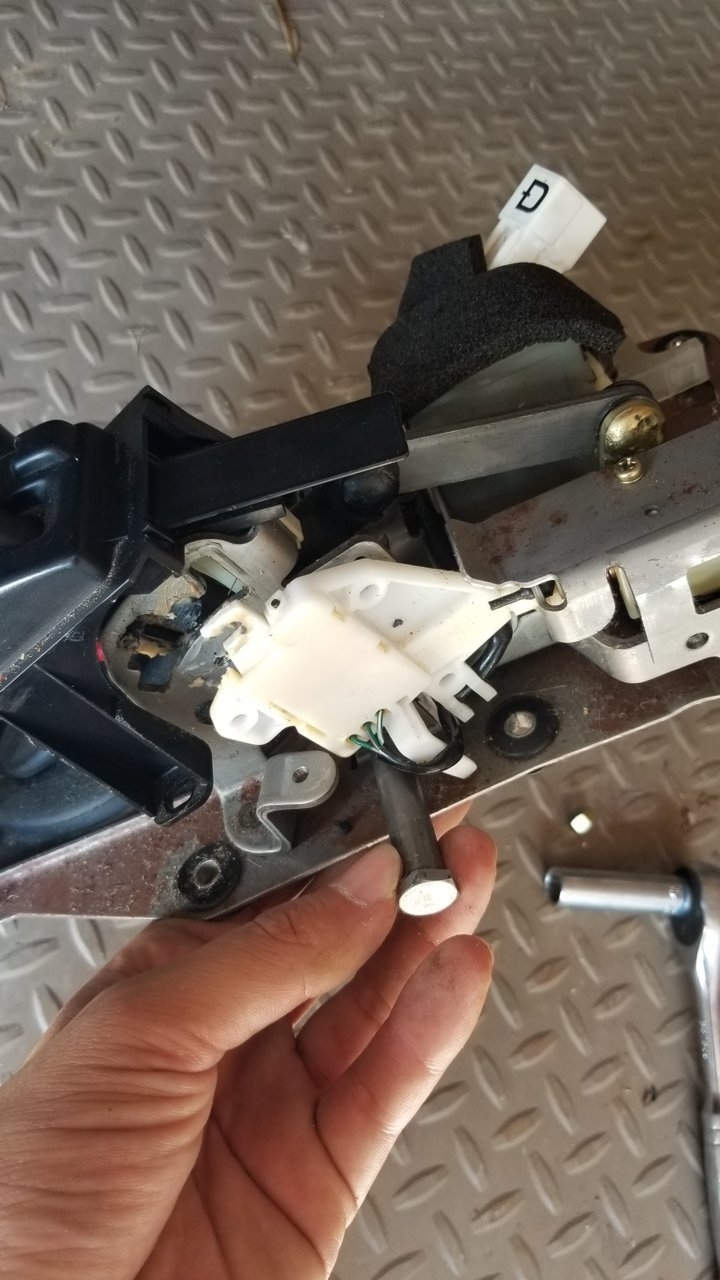
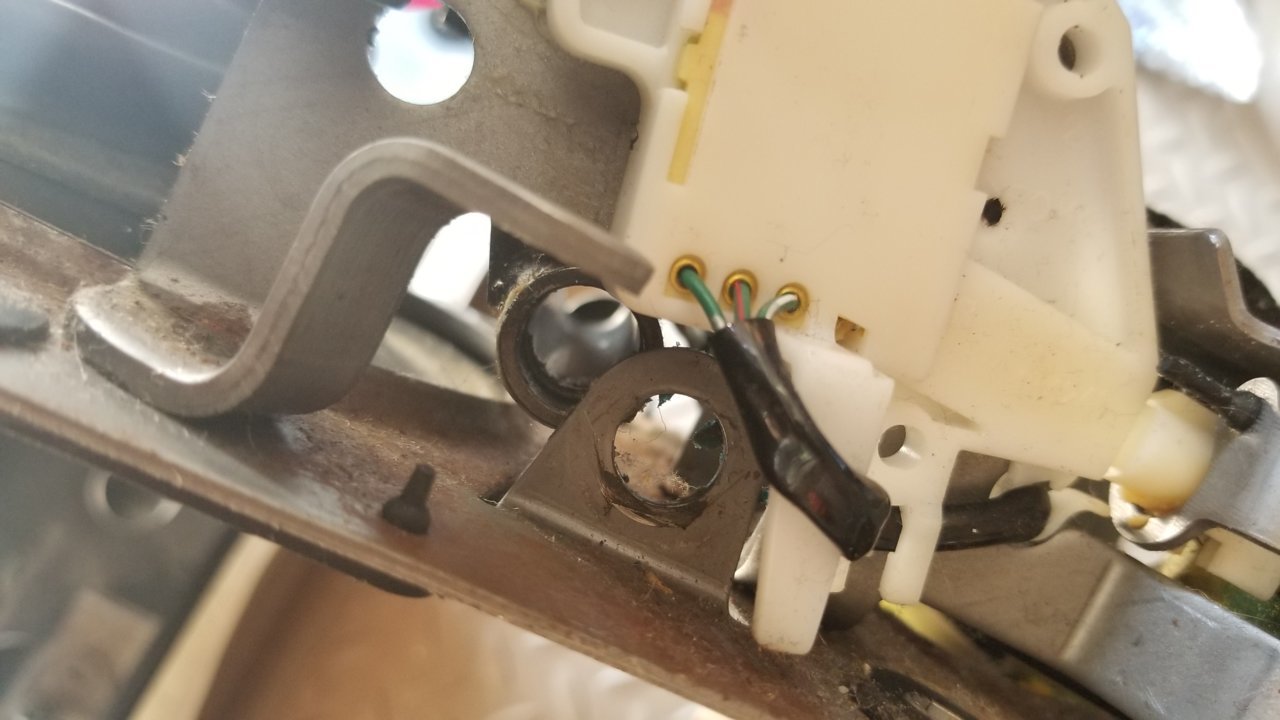
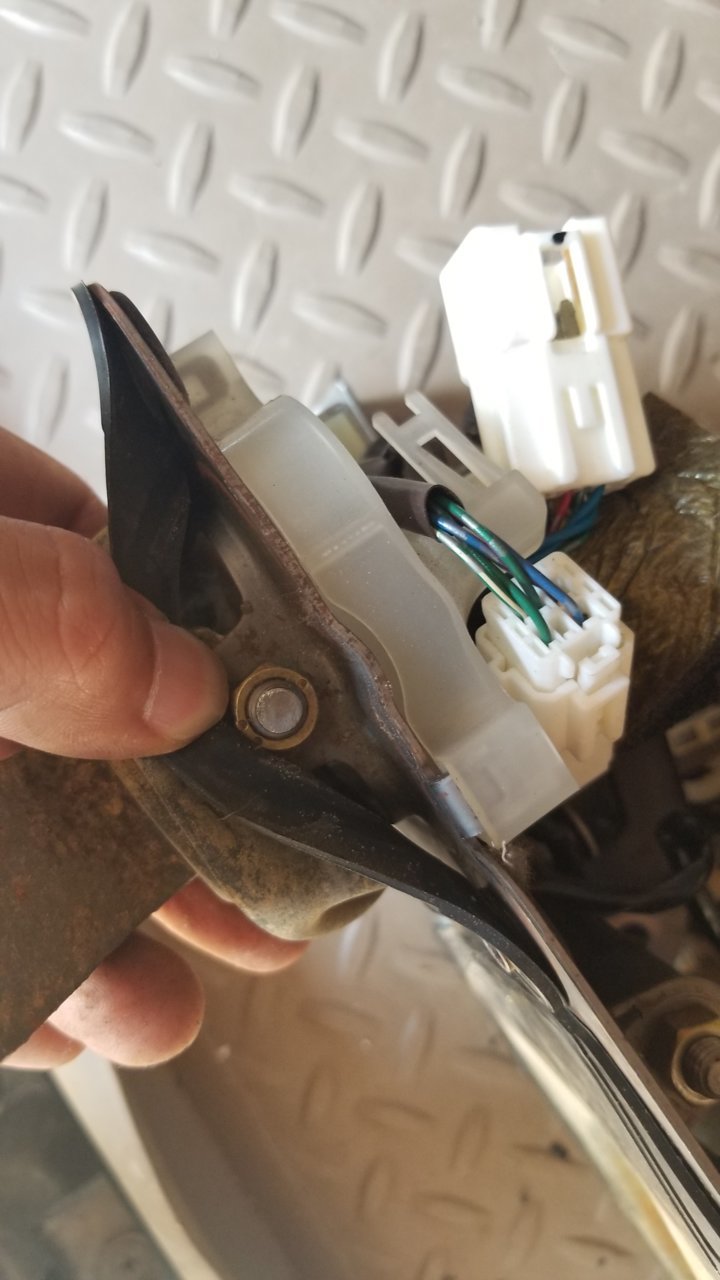
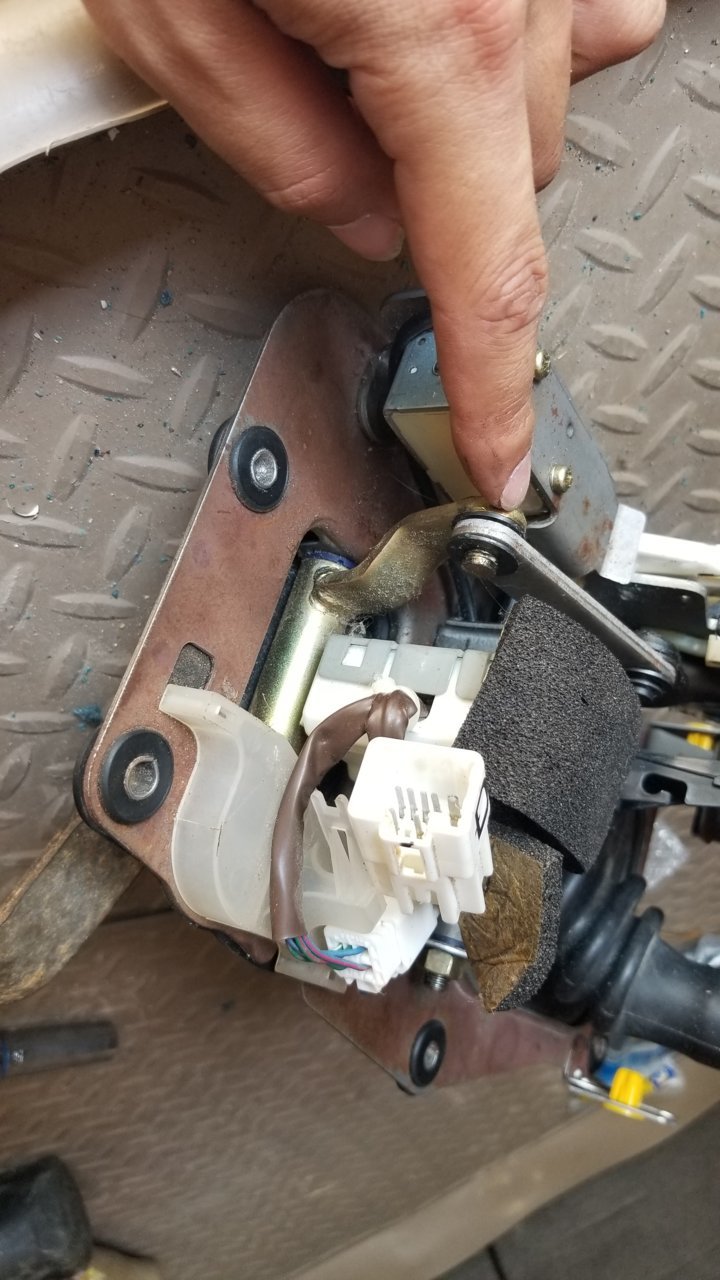
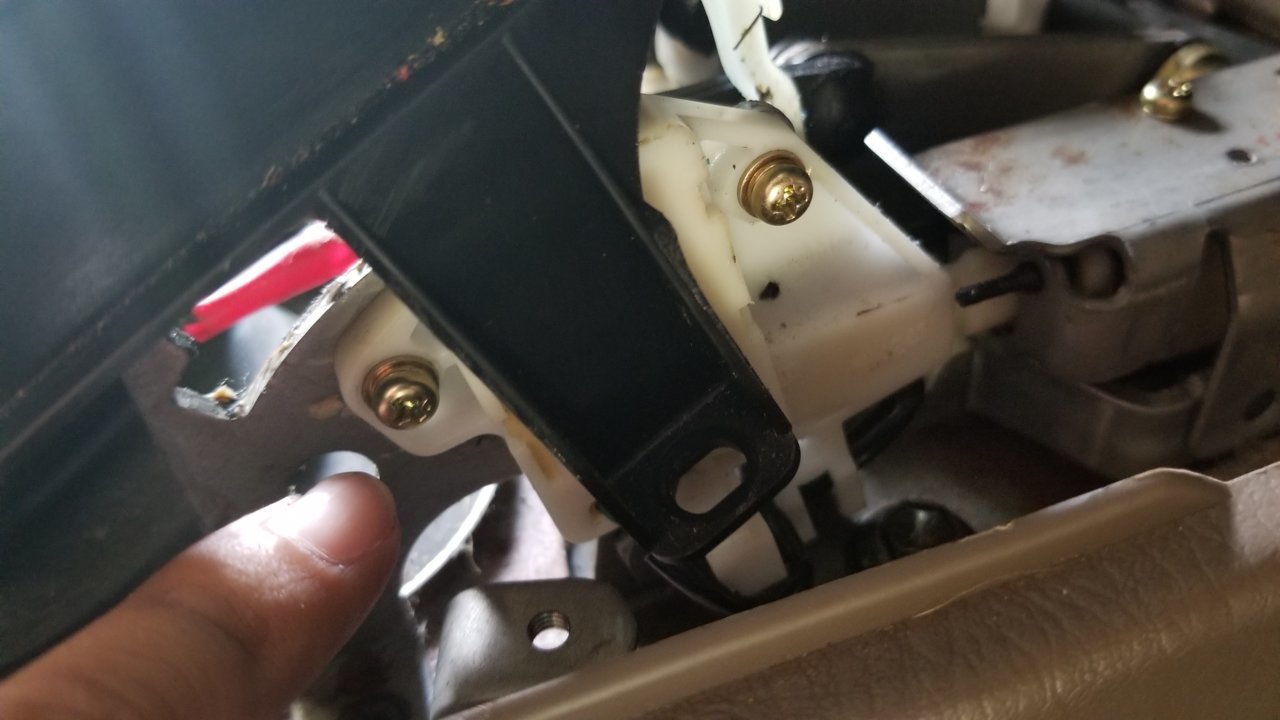
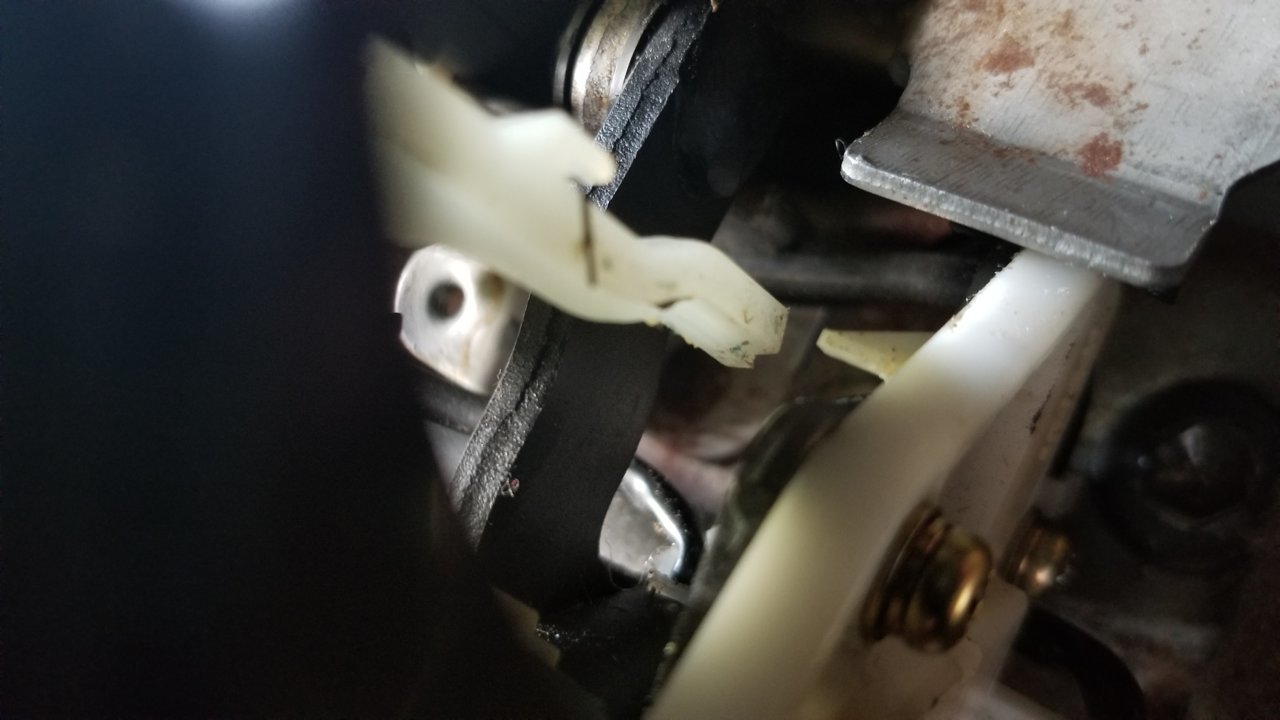
Once removed, it revealed this white device thing:
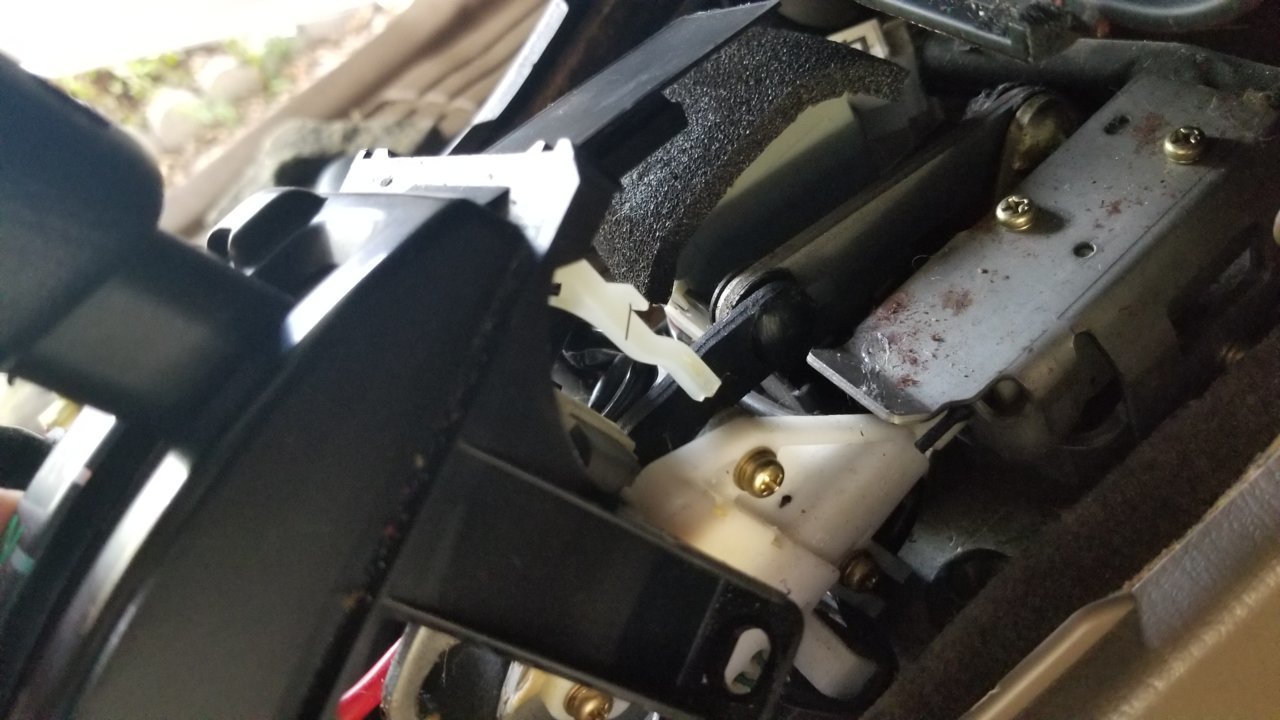
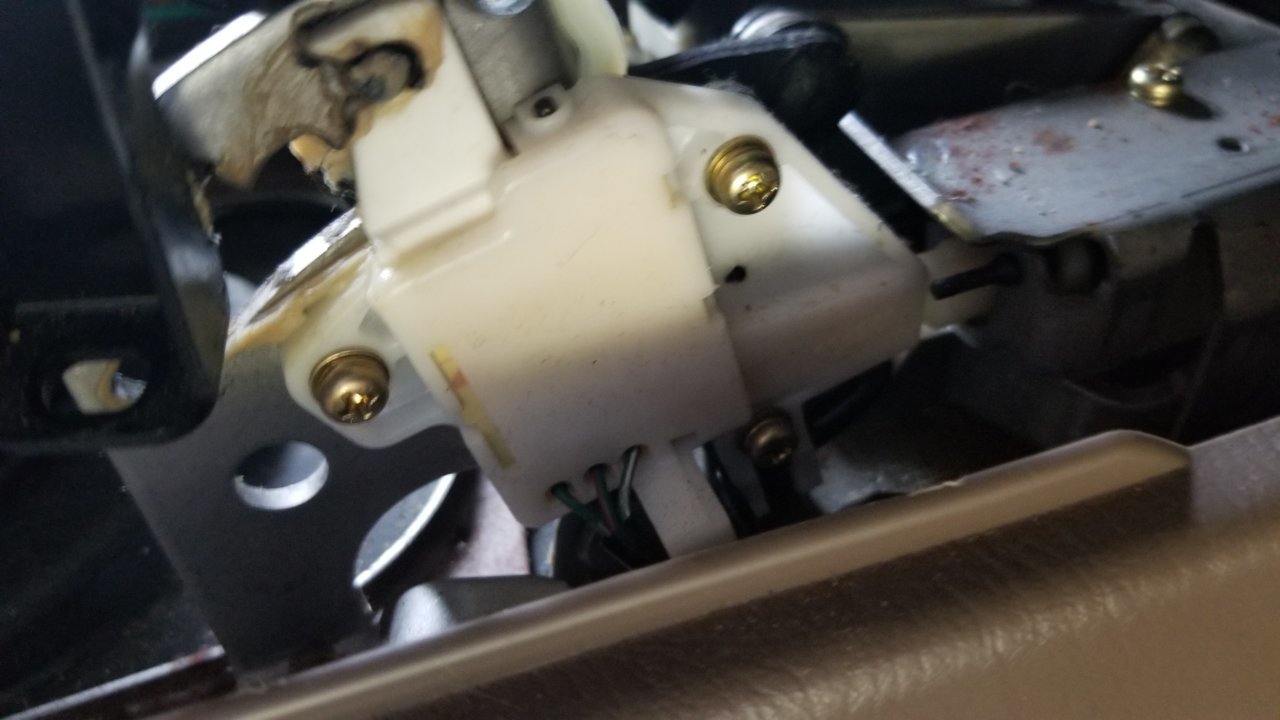
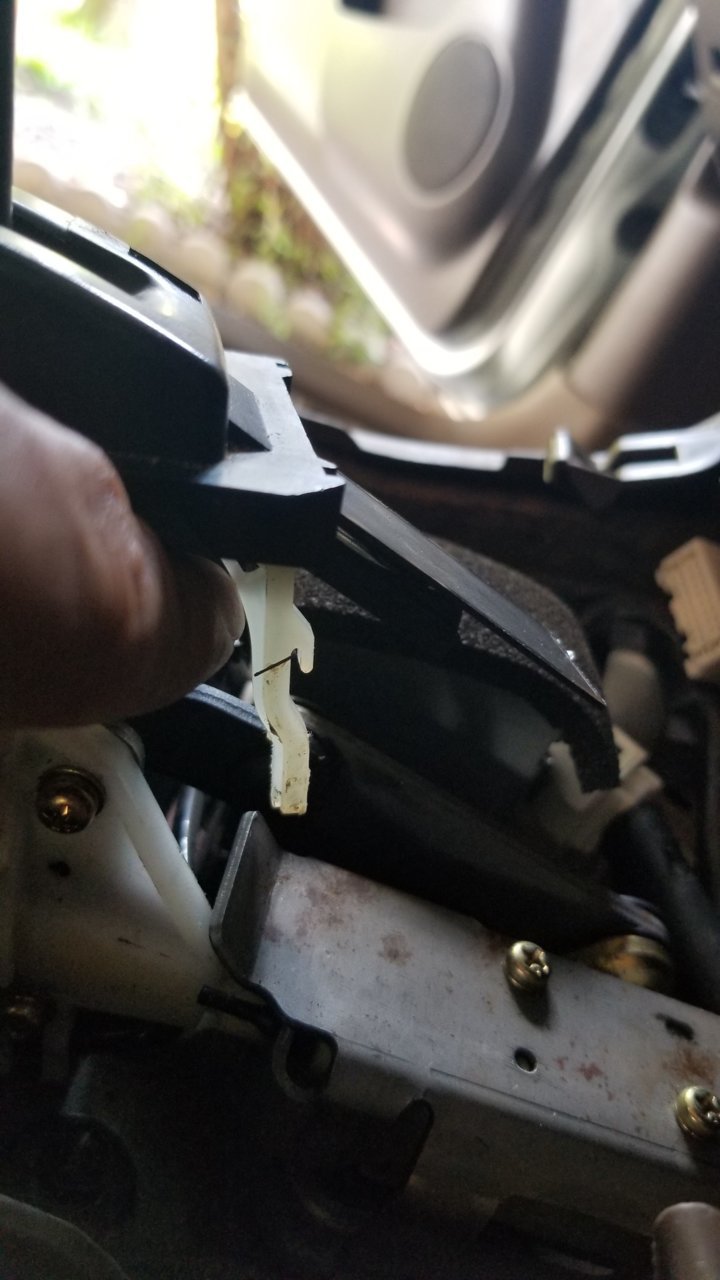
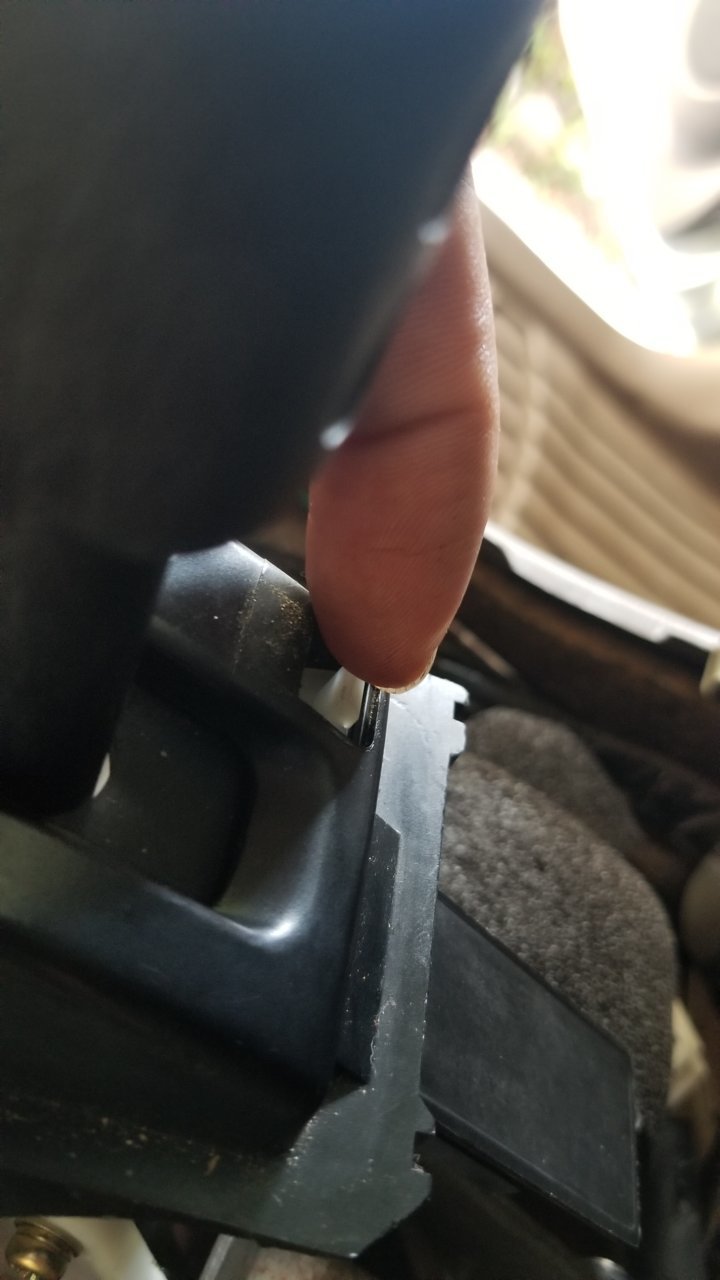
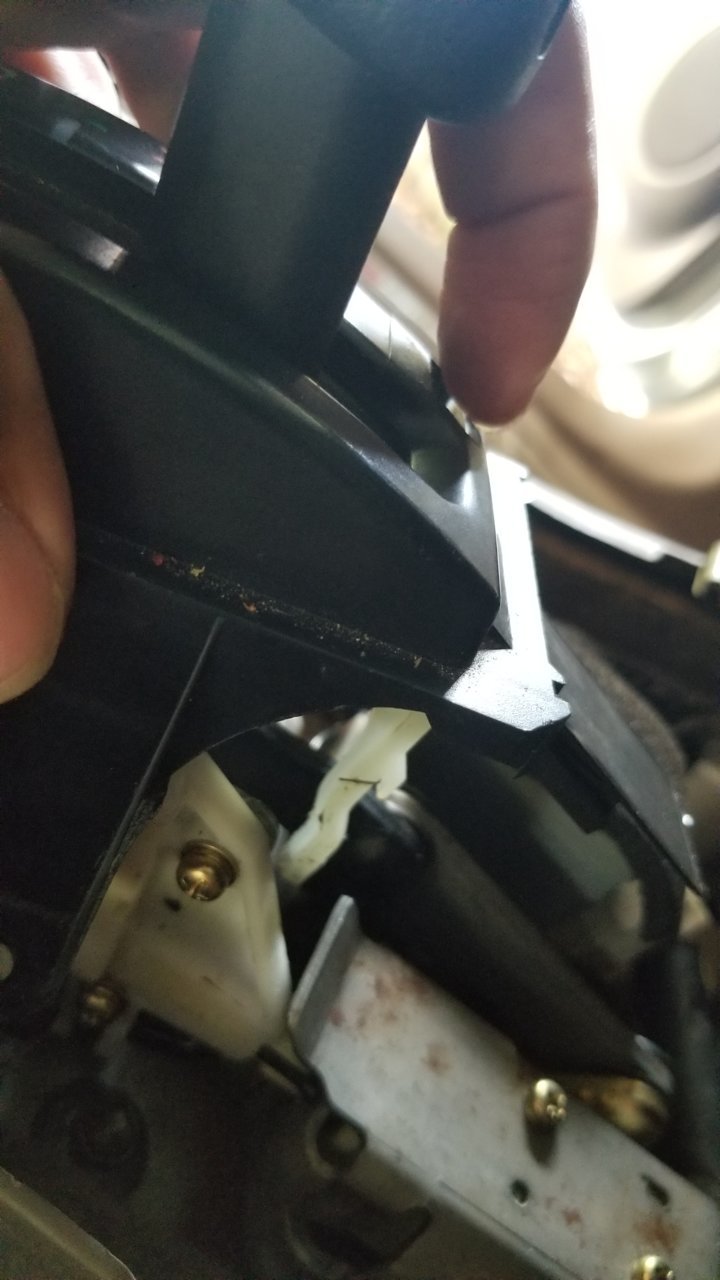
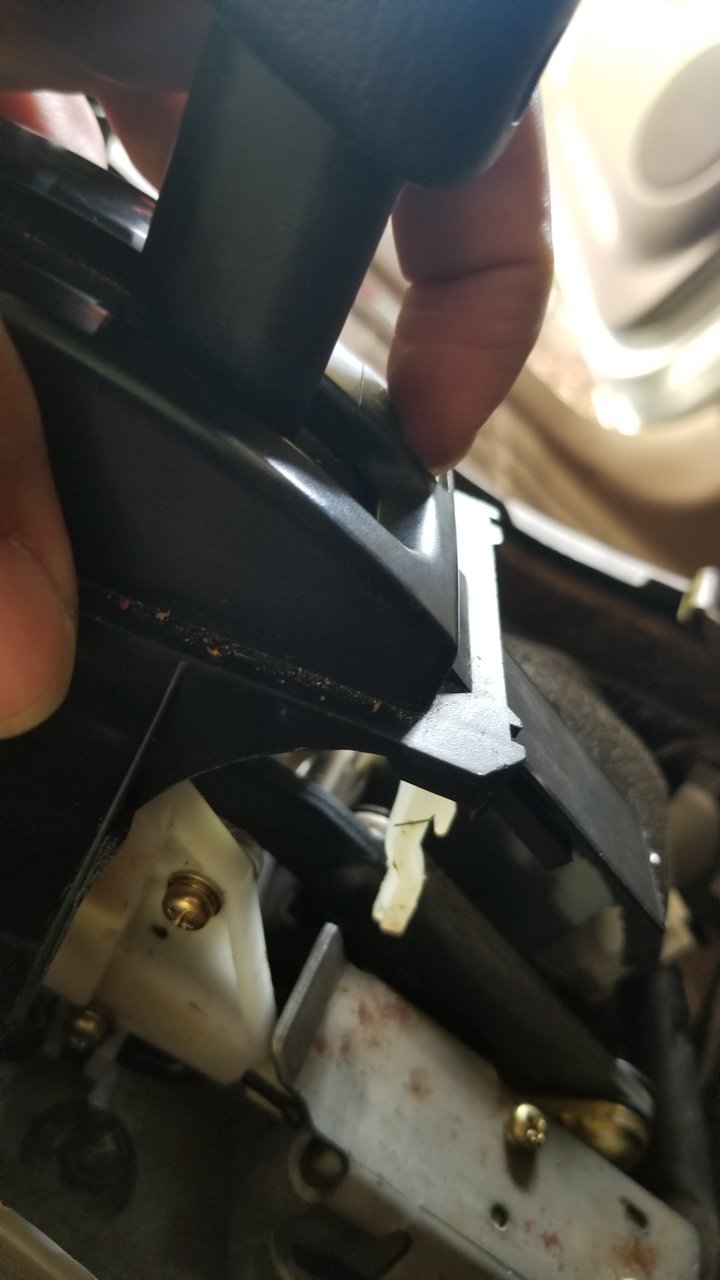
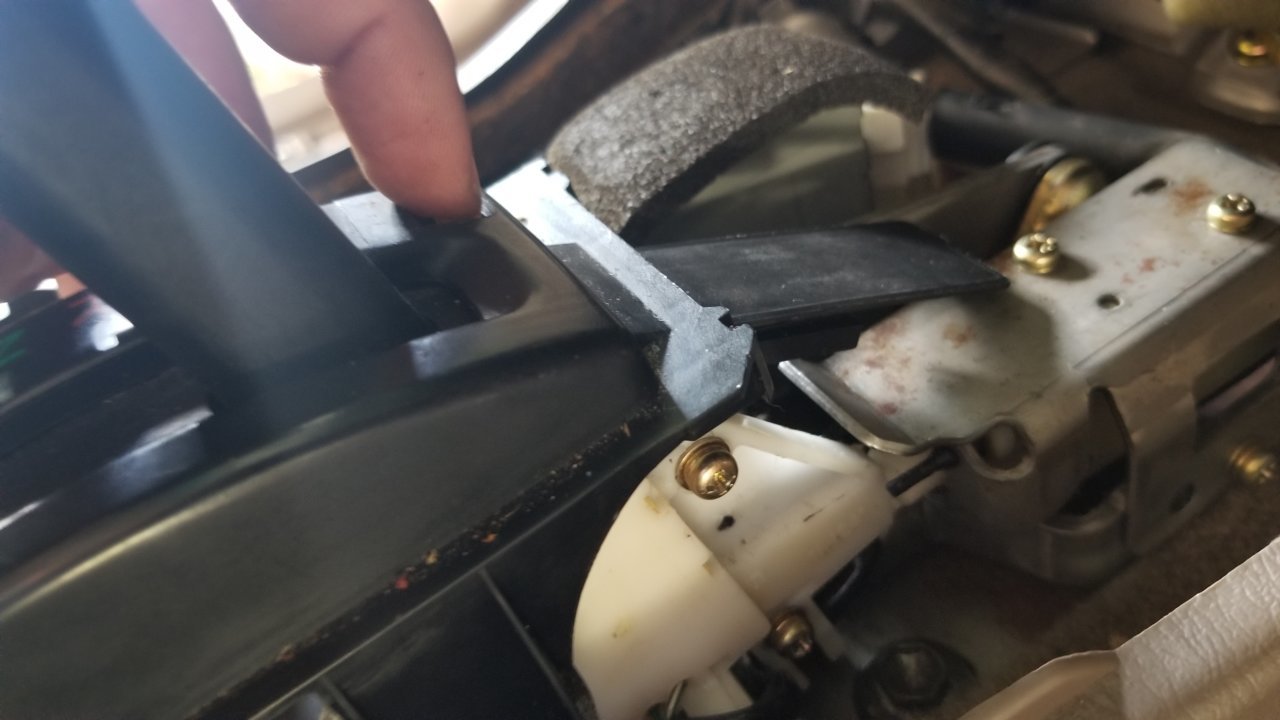
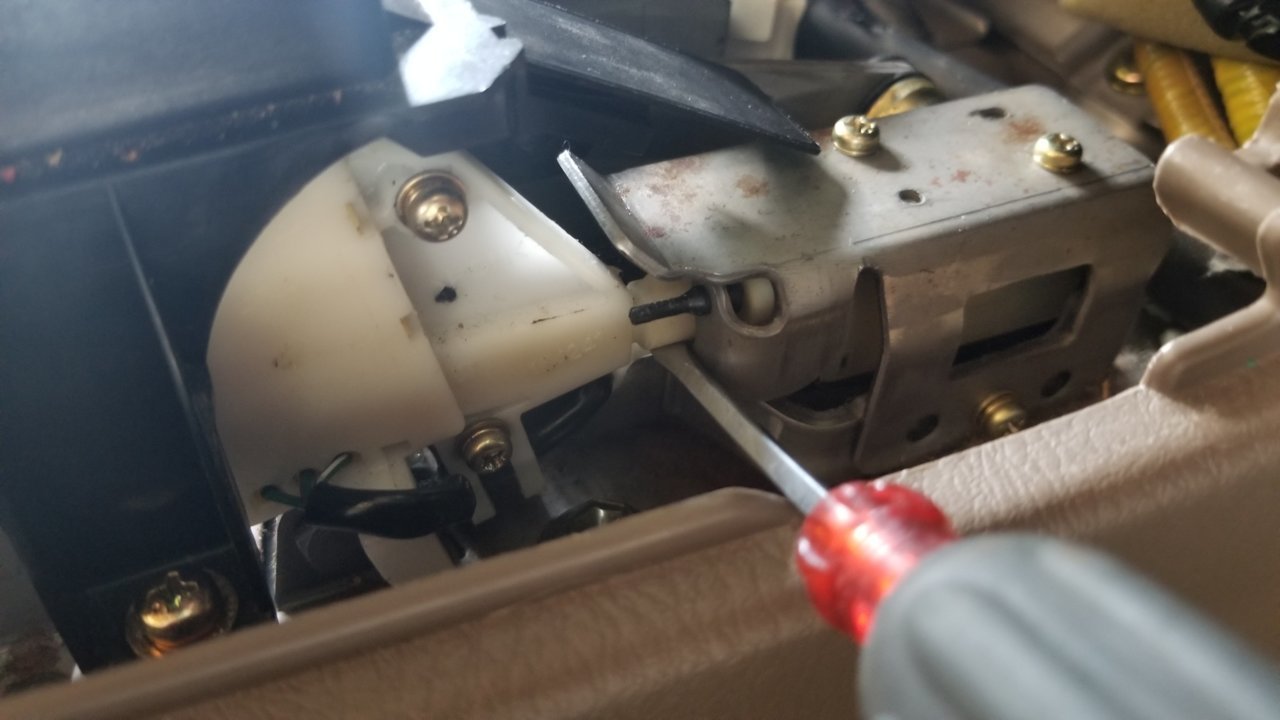
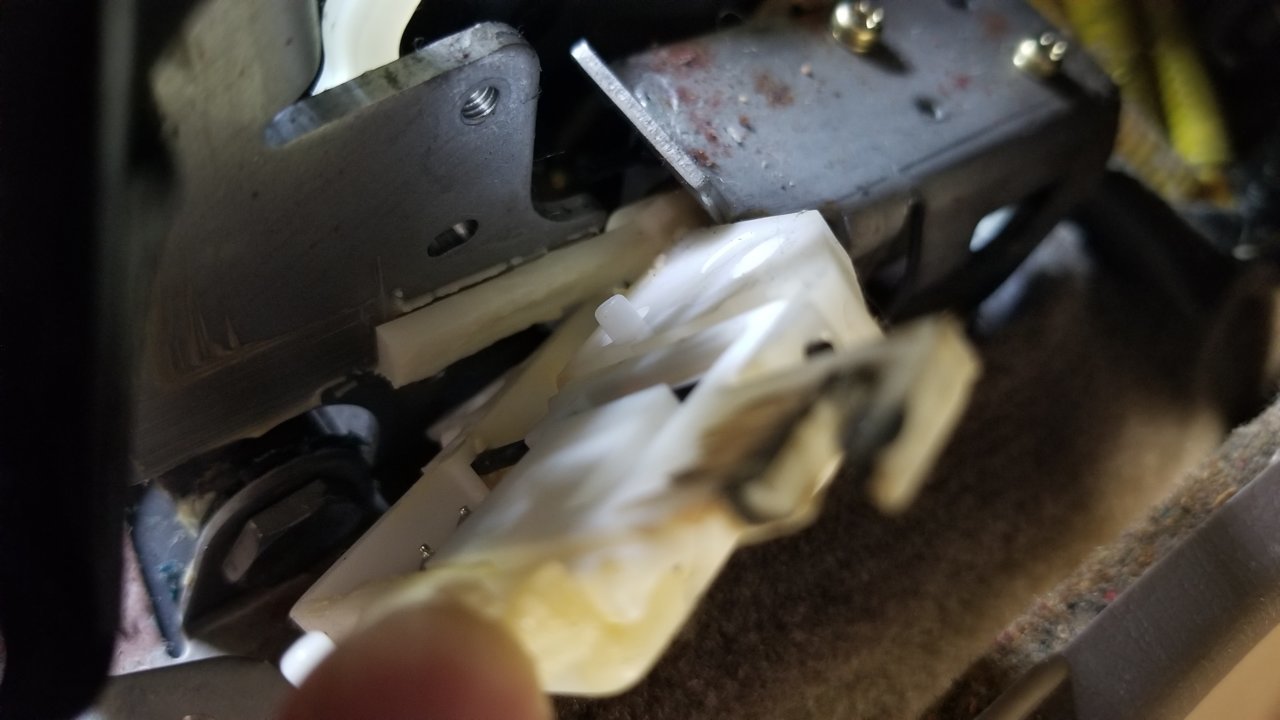
I removed the three screws that held it down. Pay attention to how it is mounted, there is a rectangular piece that goes inside of it. This needs to properly seat within a slot that is built into this device thing:
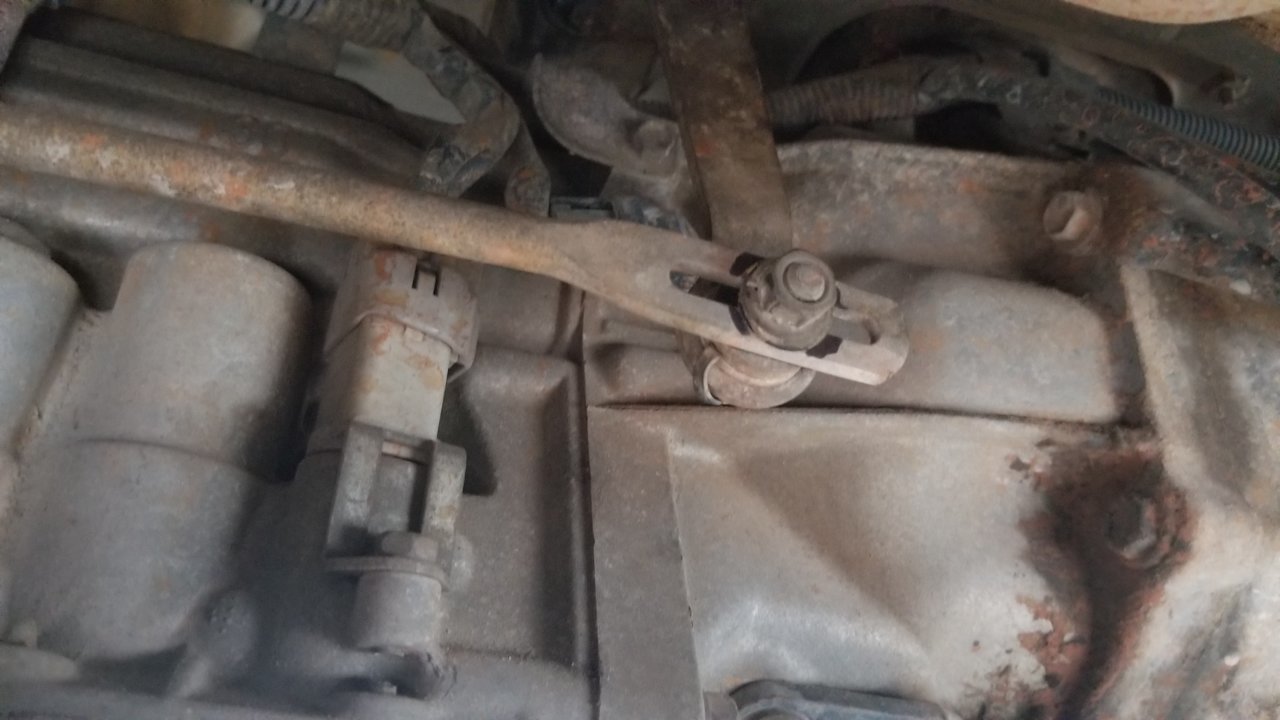
Before continuing, I went under the truck - Driver's side, and I disconnected the shifter from the transmission. Making sure to mark the location where it is bolted along the slot:
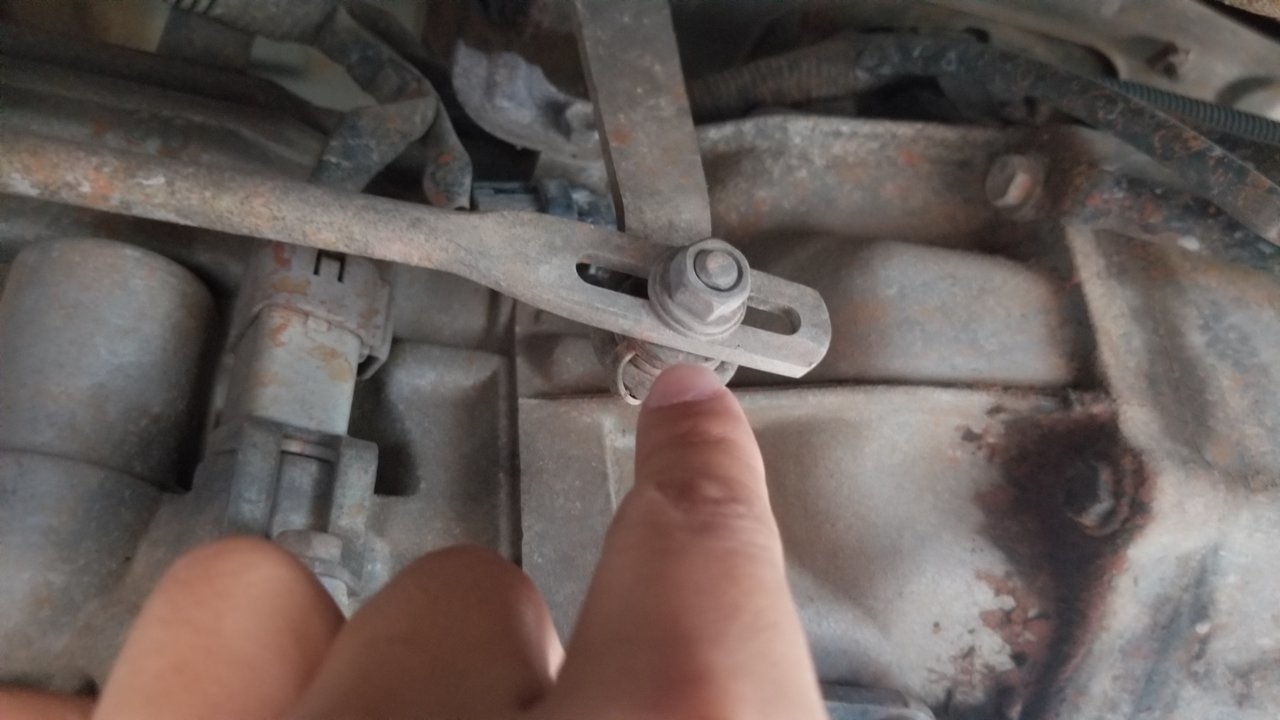
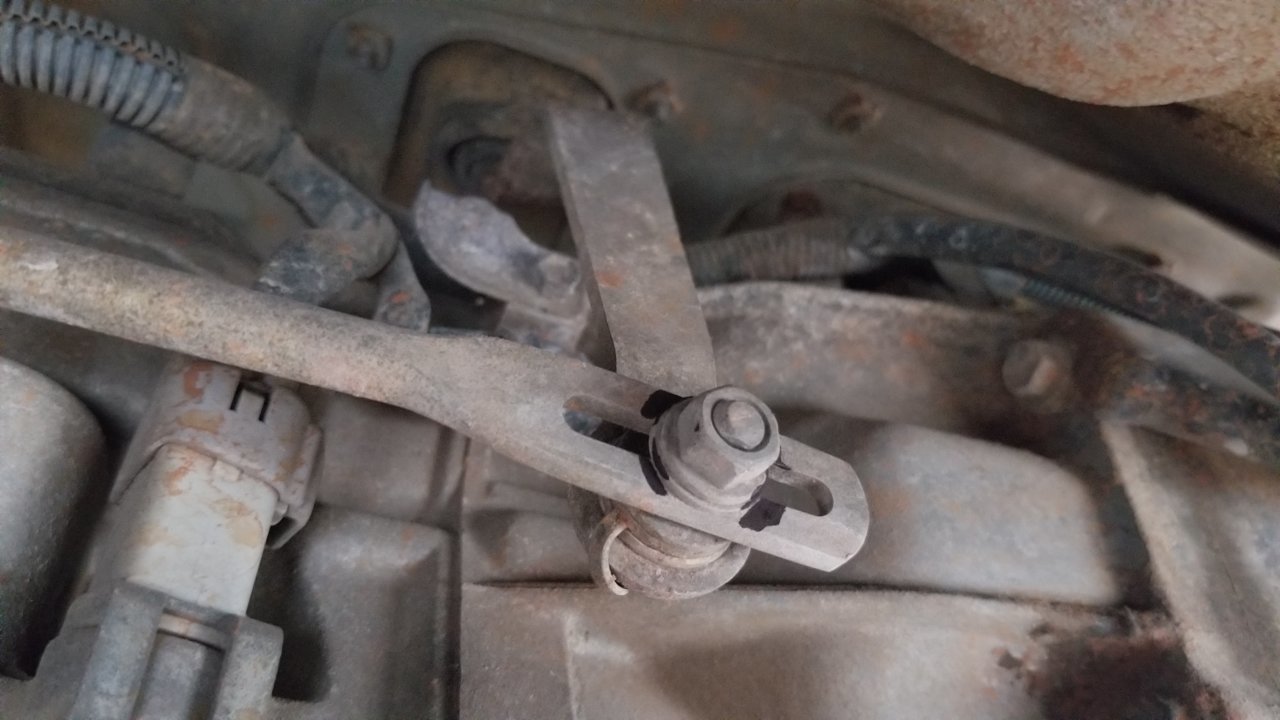
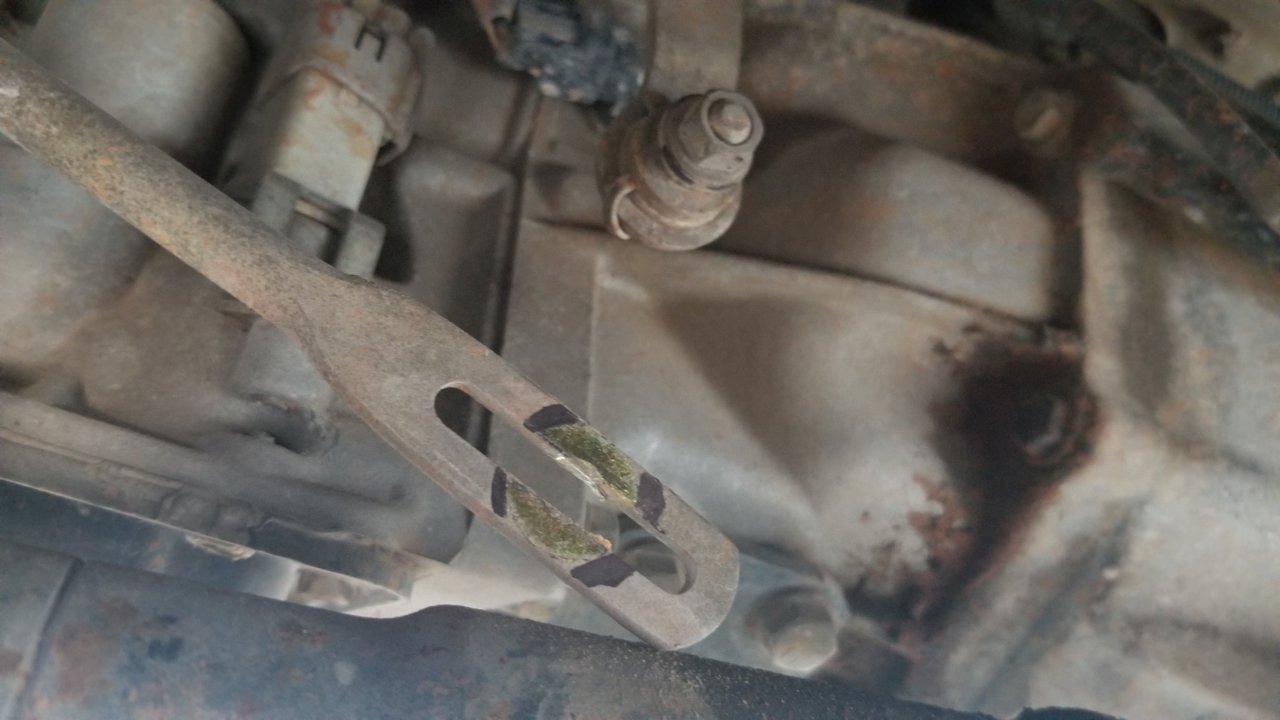
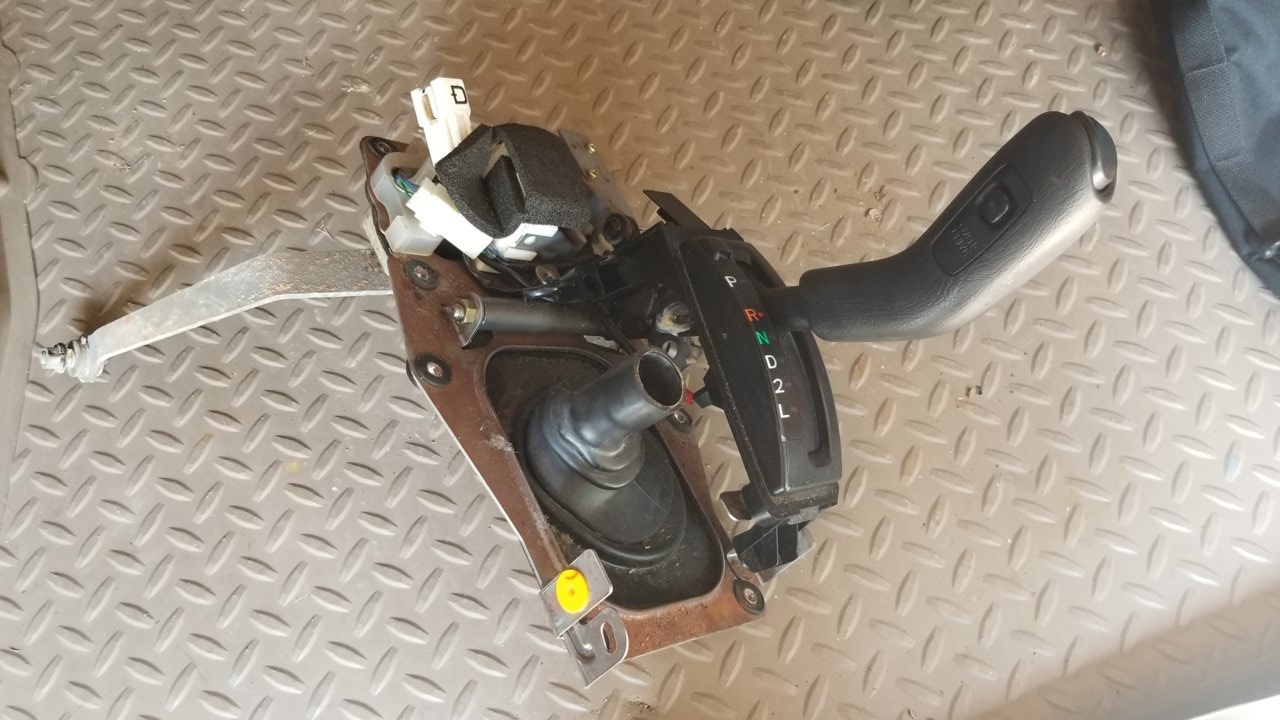
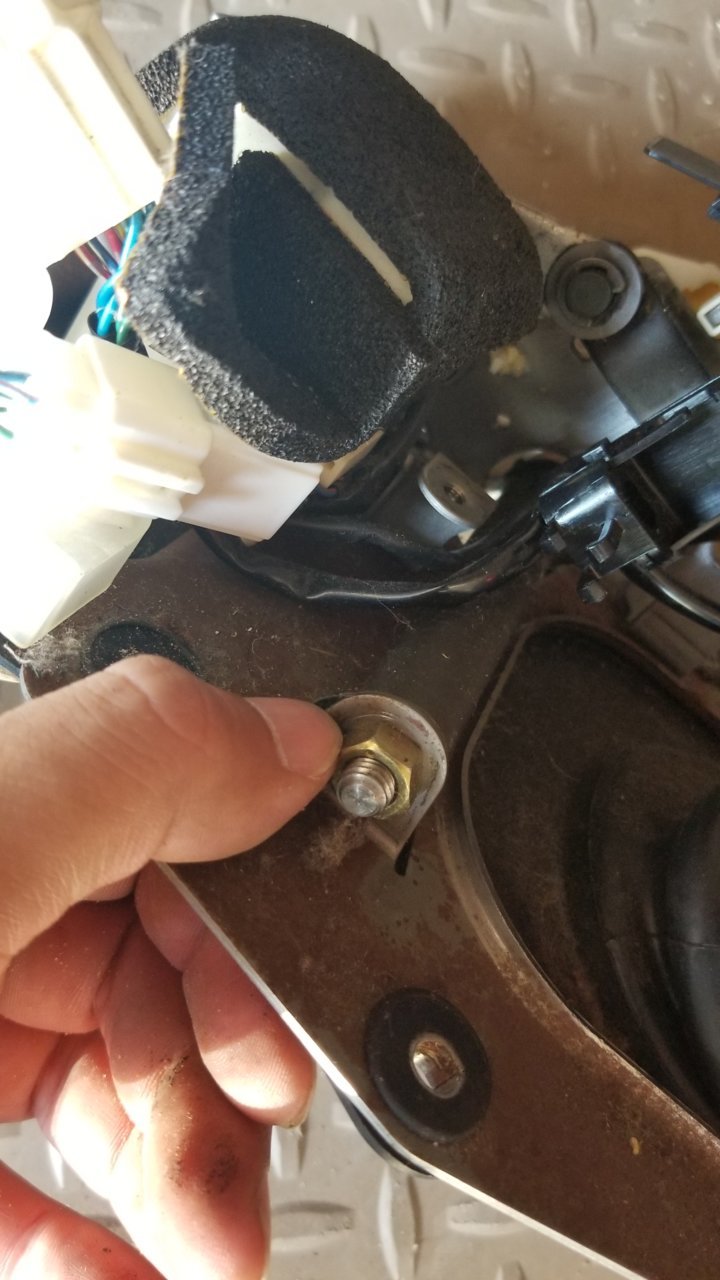
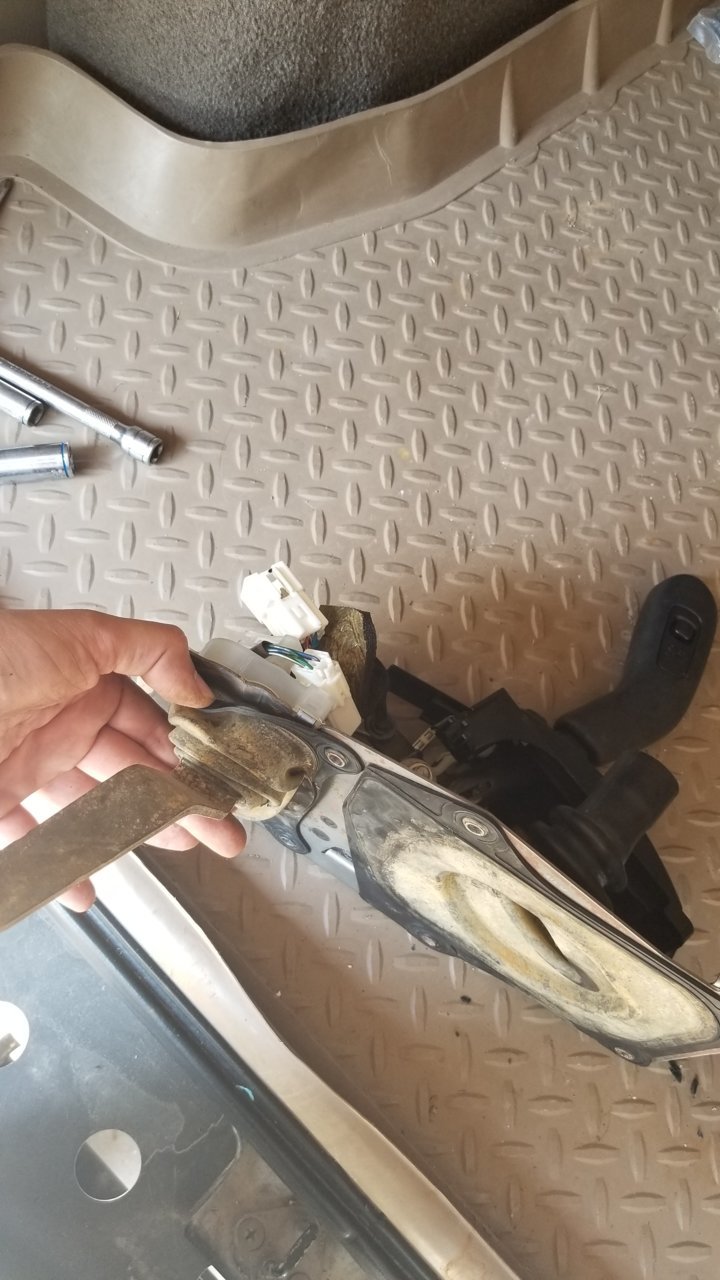
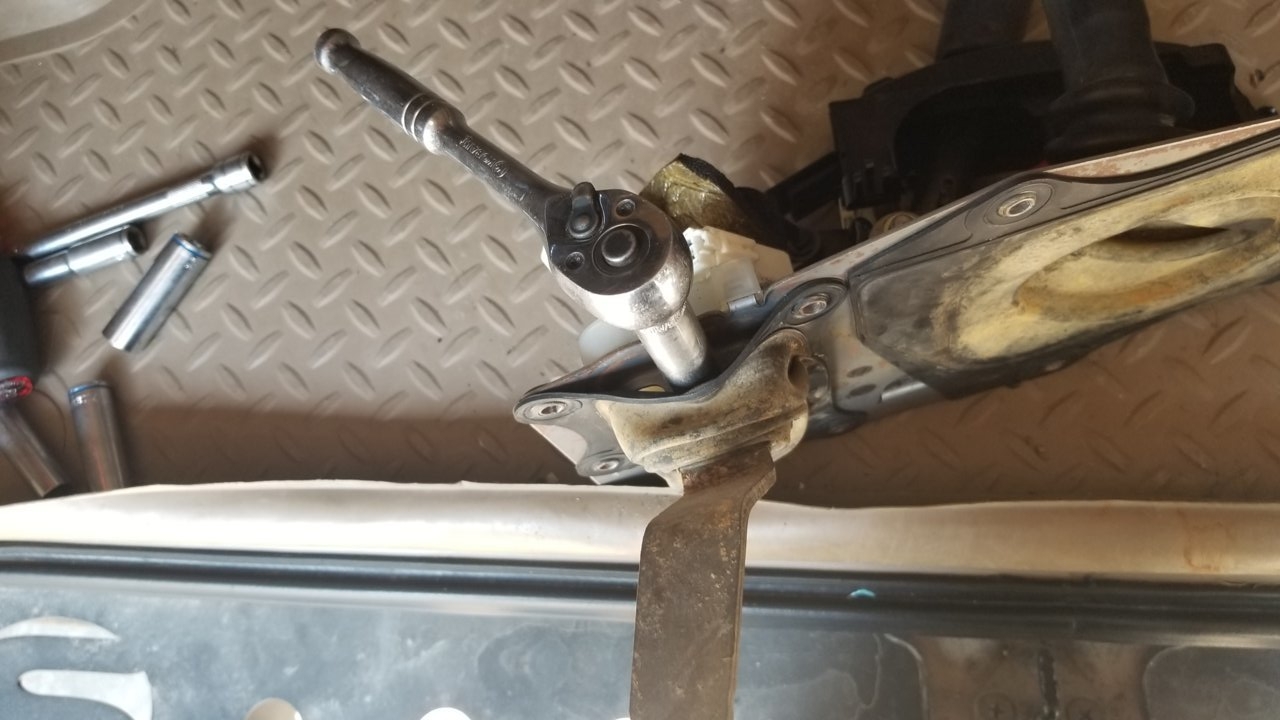
Once that is complete, I went back up to the shifter assembly and removed 8 of these bolts. They are located on the perimeter of the shifter panel against the floorboard:
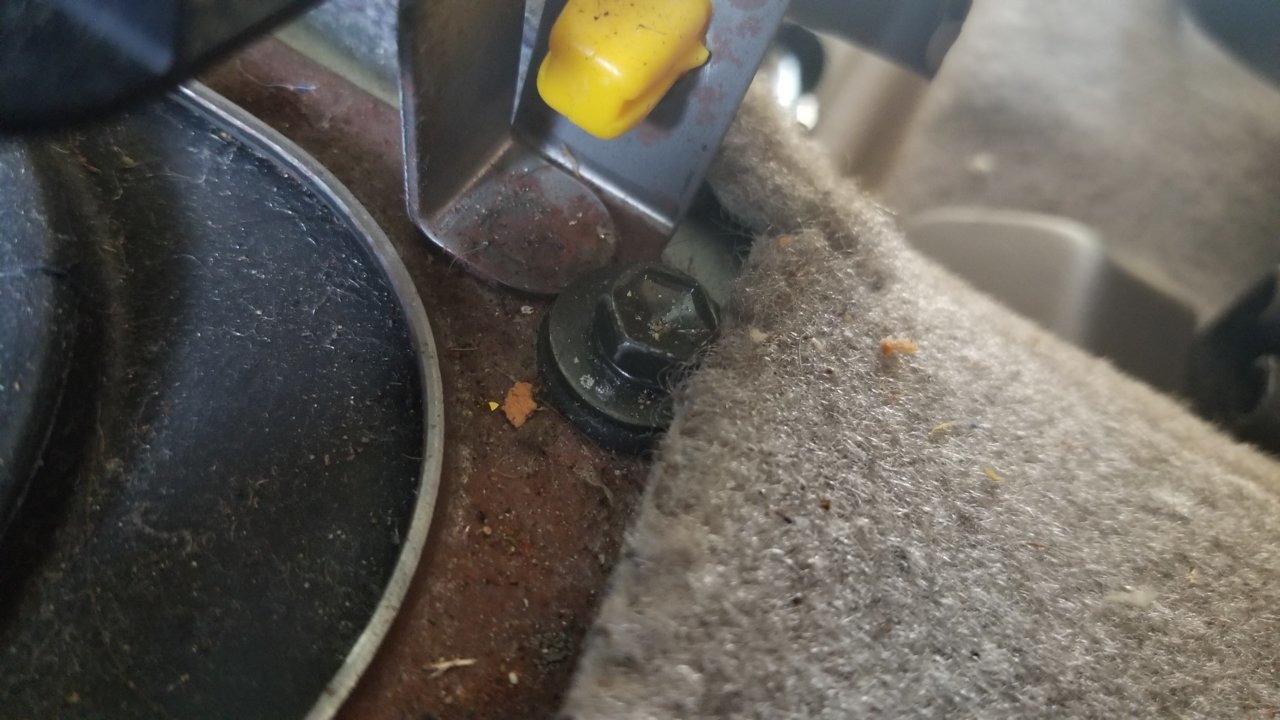
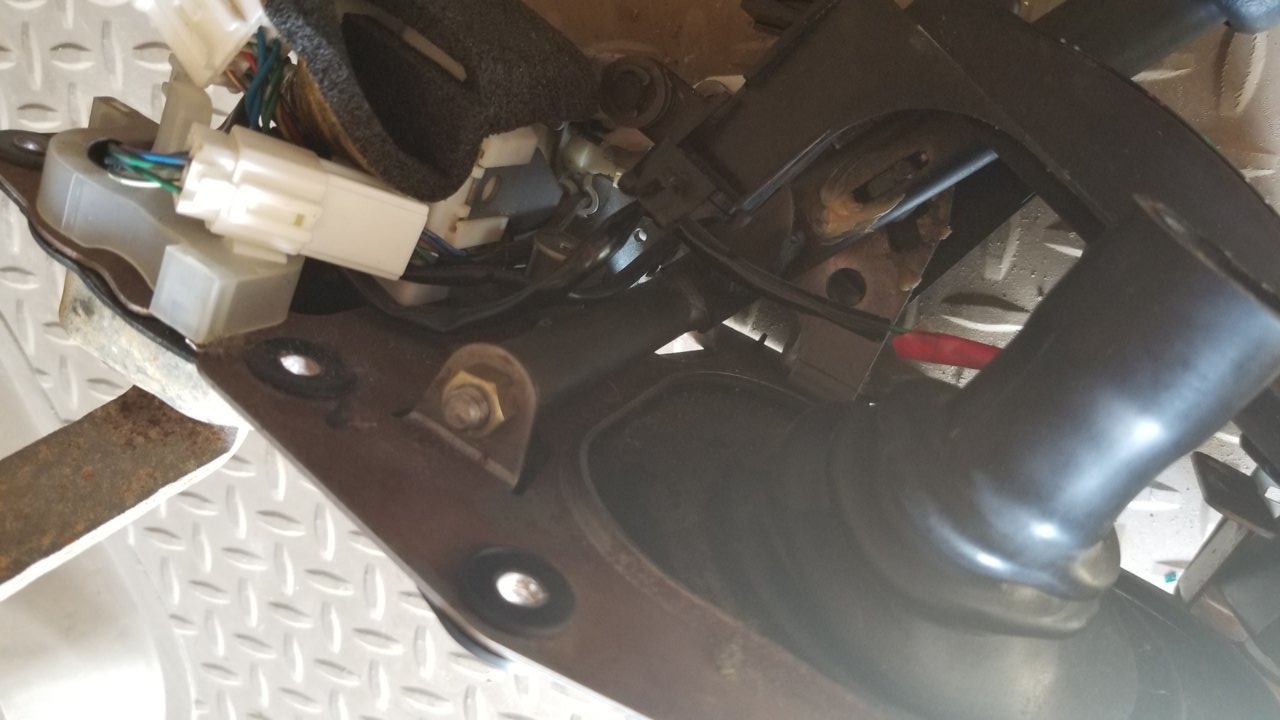
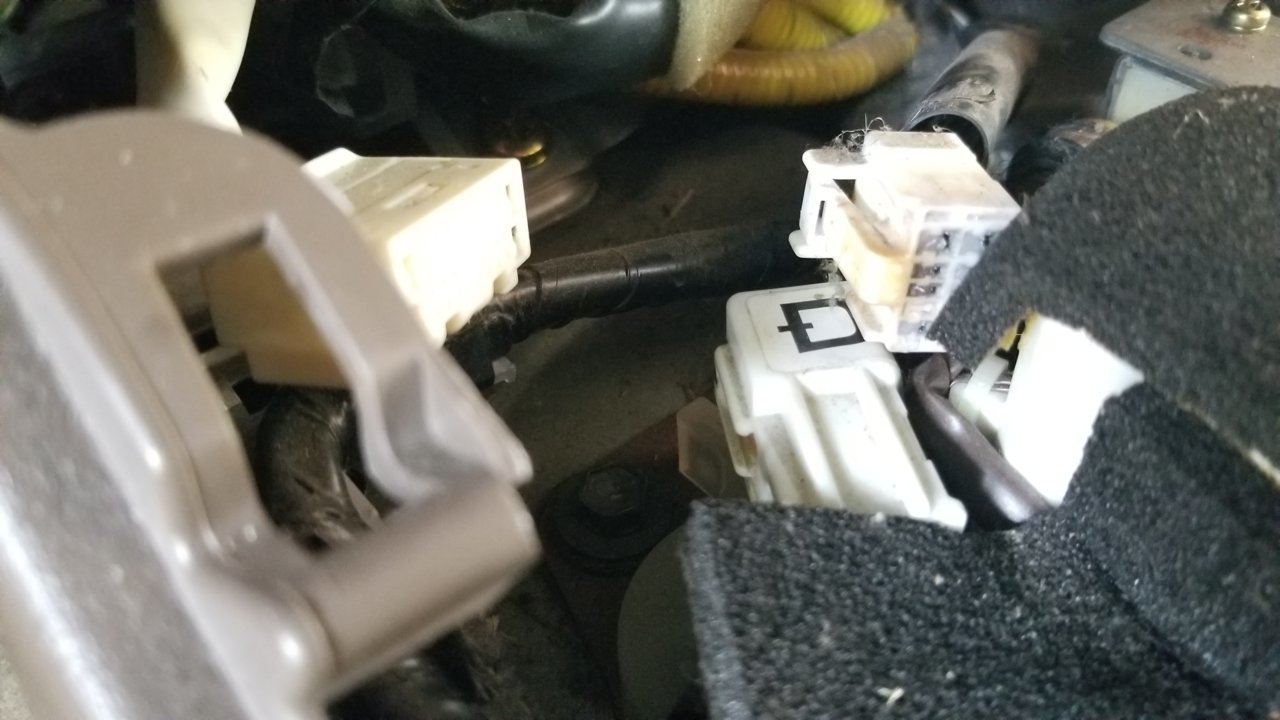
Disconnected a couple of plugs to allow removal of bolts:
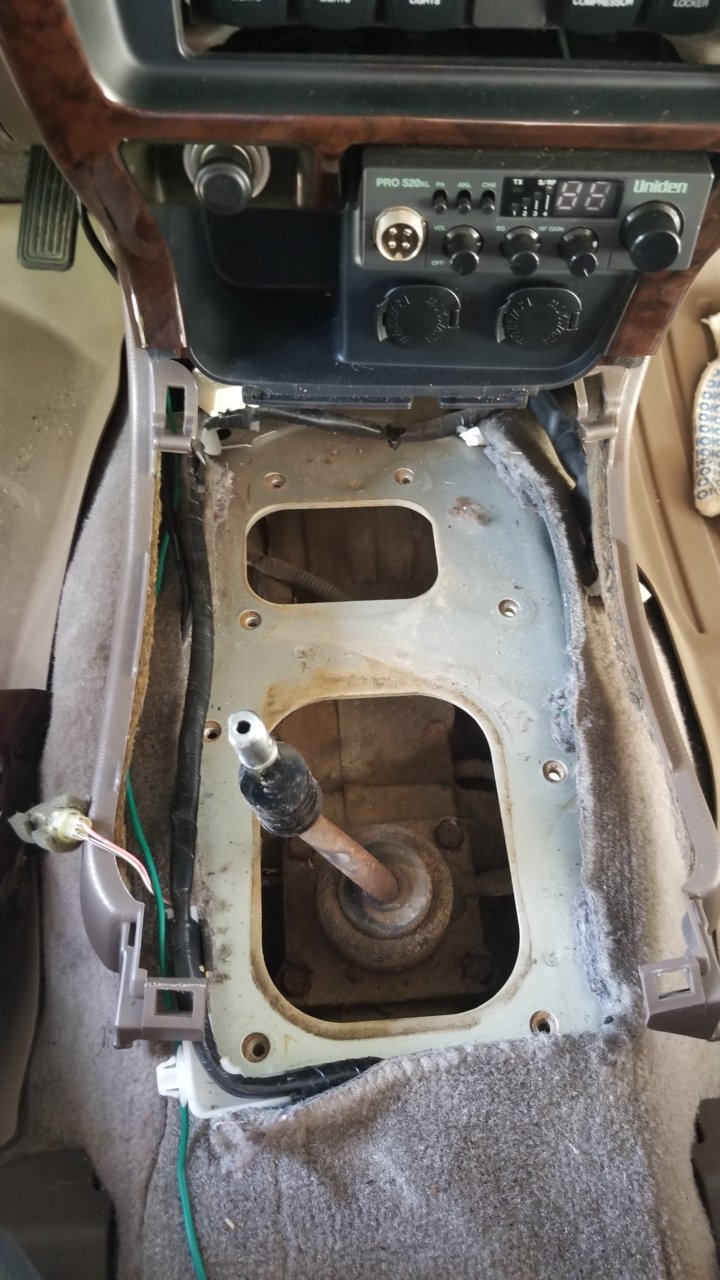
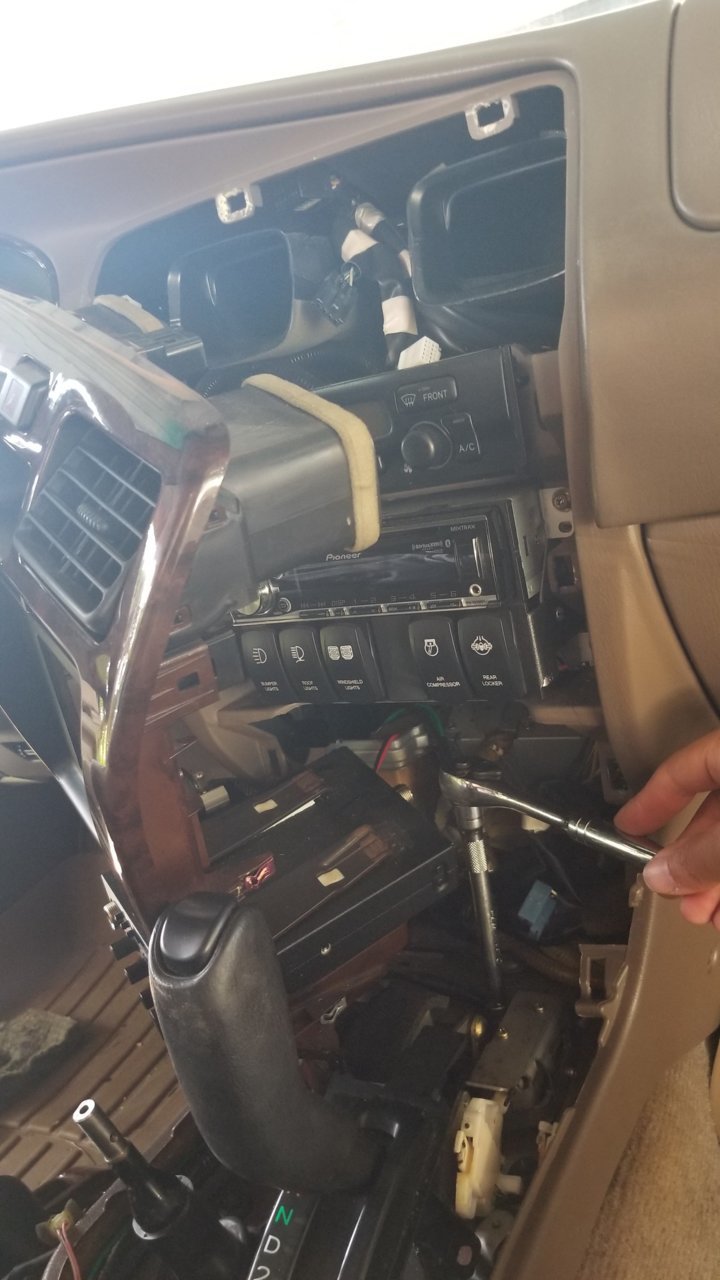
Had to pull the radio bezel off the dash to access one of the bolts:
This writeup also applies for 1st generation tacomas.
Each shifter assembly requires four bushings, here is the part number:
Stare at the center console for 5 minutes. Give it a long mean mug stare.
Set hand brake and grab pull out the cup holder:
Next pull out the trim around the shifter, simply tug:
Remove the center console. This is held down by two bolts inside the console:
Remove the screw holding the center console to the shifter trim, one each side. This will allow the center console assembly to pull out of the way:
Next remove the 4x4 shifter head, my particular setup is not threaded. Therefore, I remove the set screw and pull the head off carefully.
Be very careful not to pull the wiring that leads to the 4x4 shifter (black).
I placed it to the side, did not really disconnect the wiring because I was afraid of messing up the pigtail connection.
Next I removed three screws that hold the shifter down to the assembly:
Once removed, it revealed this white device thing:
I removed the three screws that held it down. Pay attention to how it is mounted, there is a rectangular piece that goes inside of it. This needs to properly seat within a slot that is built into this device thing:
Before continuing, I went under the truck - Driver's side, and I disconnected the shifter from the transmission. Making sure to mark the location where it is bolted along the slot:
Once that is complete, I went back up to the shifter assembly and removed 8 of these bolts. They are located on the perimeter of the shifter panel against the floorboard:
Disconnected a couple of plugs to allow removal of bolts:
Had to pull the radio bezel off the dash to access one of the bolts: