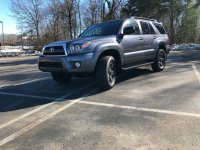
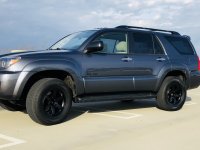
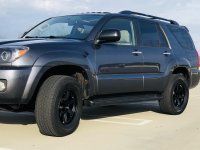
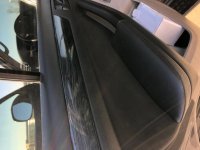
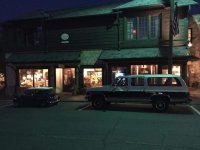
Midnight Runner build

Johns06yota

Member
Hey everyone,
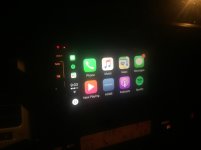
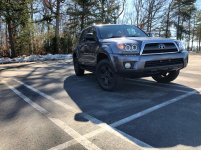
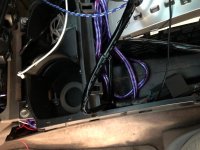
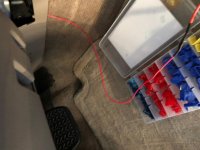
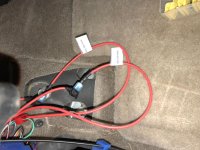
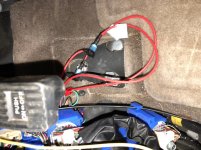
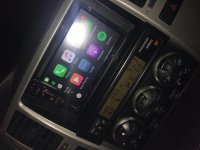
This build has gone on for a while, roughly 2 and a half years to be exact and couldn't be happier with the final result. The first part of the build that I did was to upgrade the speakers and add a subwoofer along with plastidipping the wheels and emblems. Unfortunately I do not have any pictures from when I did that. I do have pictures on my next major mod which was a new radio.
 

Attachments
  • IMG_0672.jpg
    IMG_0672.jpg
    128.2 KB · Views: 1,050
  • IMG_0670.jpg
    IMG_0670.jpg
    114.5 KB · Views: 1,037
Last edited:
Register to hide this ad
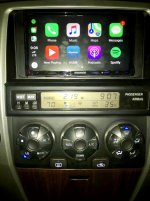
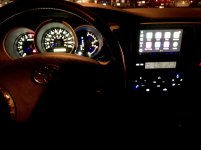
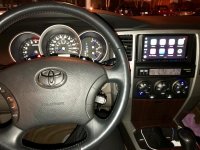
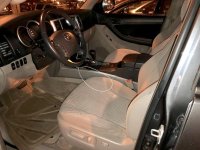
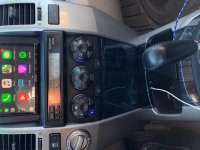
Unfortunately I was having trouble with it and changed to a new radio the Kenwood Excelon 9903s
 

Attachments

  • IMG_1488 2.jpg
    IMG_1488 2.jpg
    128.1 KB · Views: 1,029
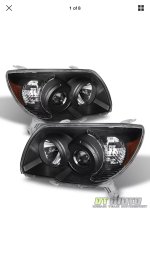
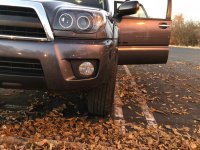
My next order of business were the headlights which originally I had gotten black ones which began to melt so I later returned these for a new set of black halo lights.
 

Attachments

  • IMG_0891.jpg
    IMG_0891.jpg
    118 KB · Views: 1,022
  • IMG_0892.jpg
    IMG_0892.jpg
    121.3 KB · Views: 1,027
  • IMG_0894 2.jpg
    IMG_0894 2.jpg
    125.4 KB · Views: 1,015
  • IMG_0893 2.jpg
    IMG_0893 2.jpg
    122.6 KB · Views: 1,009
  • IMG_0812.jpg
    IMG_0812.jpg
    117.2 KB · Views: 1,011
  • IMG_1497 2.jpg
    IMG_1497 2.jpg
    134.4 KB · Views: 1,018
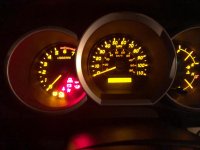
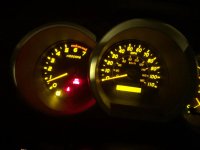
Next I replaced all of the instrument panel lights with blue and white leds
 

Attachments

  • IMG_1238.jpg
    IMG_1238.jpg
    125.7 KB · Views: 1,007
  • IMG_1234.jpg
    IMG_1234.jpg
    114.9 KB · Views: 1,017
  • IMG_1486 2.jpg
    IMG_1486 2.jpg
    114.4 KB · Views: 1,018
  • IMG_1487 2.jpg
    IMG_1487 2.jpg
    137.9 KB · Views: 1,021
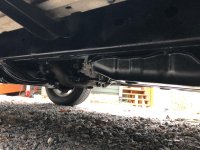
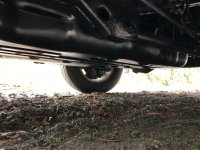
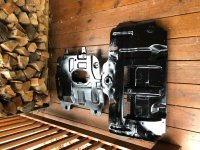
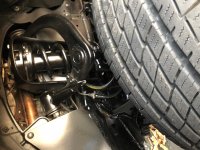
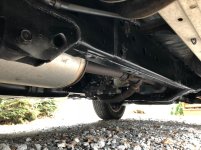
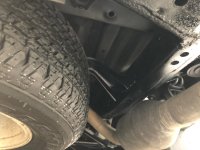
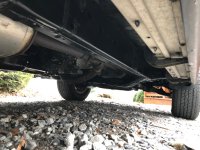
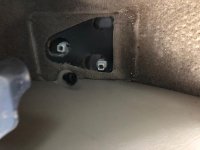
My next order of business was to clean up the underside and install a leveling kit up front.
 

Attachments

  • IMG_1289.jpg
    IMG_1289.jpg
    134.3 KB · Views: 1,006
  • IMG_1290.jpg
    IMG_1290.jpg
    134.1 KB · Views: 1,006
  • IMG_1295 2.jpg
    IMG_1295 2.jpg
    138.3 KB · Views: 1,014
  • IMG_1163 2.jpg
    IMG_1163 2.jpg
    134.1 KB · Views: 1,004
  • IMG_1293 2.jpg
    IMG_1293 2.jpg
    132.8 KB · Views: 997
  • IMG_1292.jpg
    IMG_1292.jpg
    128.4 KB · Views: 990
  • IMG_1294 2.jpg
    IMG_1294 2.jpg
    132.8 KB · Views: 1,000
  • IMG_1291.jpg
    IMG_1291.jpg
    127.6 KB · Views: 987
Last edited:
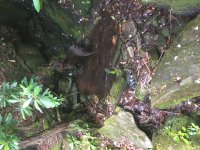
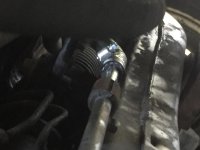
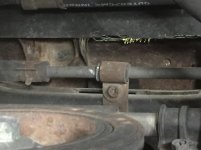
Repair time :(

long story short my power steering return line blew out and instead of paying toyota for a 400 dollar hose, I used a regular piece of power steering line. Has held up for a year with no problems
 

Attachments

  • IMG_0463.jpg
    IMG_0463.jpg
    109.2 KB · Views: 989
  • IMG_0462.jpg
    IMG_0462.jpg
    118.5 KB · Views: 1,010
  • IMG_0461.jpg
    IMG_0461.jpg
    119.4 KB · Views: 986
  • IMG_0460.jpg
    IMG_0460.jpg
    97.1 KB · Views: 971
  • IMG_0459.jpg
    IMG_0459.jpg
    111.9 KB · Views: 986
back to work

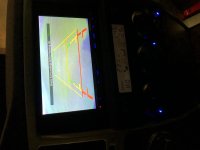
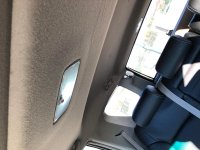
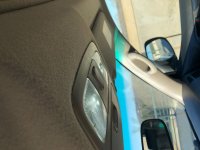
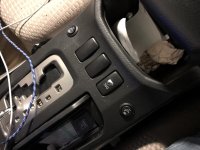
My next mods took place later on but included my backup camera install. sorry for the poor quality, there was a lot of light from my flash. Along with this I installed led lights in the interior.
 

Attachments

  • IMG_1586.jpg
    IMG_1586.jpg
    125.4 KB · Views: 983
  • IMG_1911.jpg
    IMG_1911.jpg
    127.3 KB · Views: 981
  • IMG_1912.jpg
    IMG_1912.jpg
    119.1 KB · Views: 990
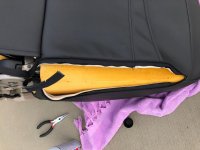
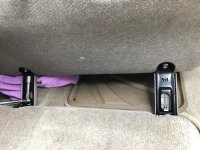
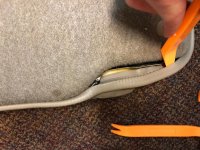
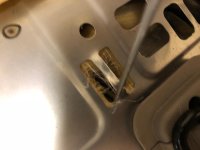
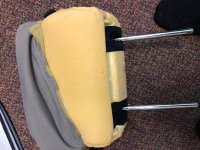
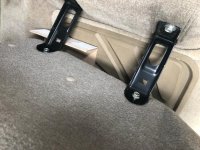
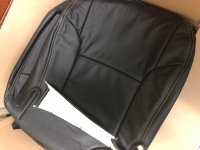
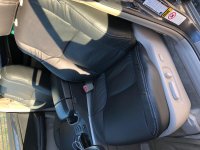
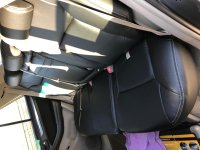
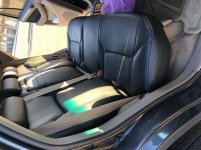
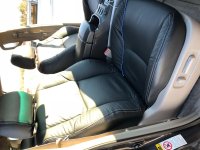
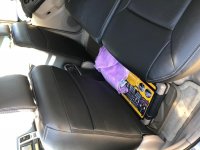
Leather upgrade!!

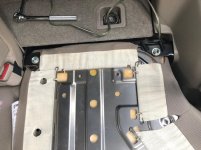
I had started another thread about wether it was worth it to upgrade or not but it definitely was! here are a few pics of how I did the install
 

Attachments

  • IMG_1703.jpg
    IMG_1703.jpg
    137.1 KB · Views: 975
  • IMG_1713.jpg
    IMG_1713.jpg
    138.9 KB · Views: 975
  • IMG_1704.jpg
    IMG_1704.jpg
    137.7 KB · Views: 1,002
  • IMG_1707.jpg
    IMG_1707.jpg
    137.6 KB · Views: 968
  • IMG_1710.jpg
    IMG_1710.jpg
    124.7 KB · Views: 982
  • IMG_1706.jpg
    IMG_1706.jpg
    138.3 KB · Views: 972
  • IMG_1702.jpg
    IMG_1702.jpg
    137.3 KB · Views: 978
  • IMG_1708.jpg
    IMG_1708.jpg
    125.4 KB · Views: 968
more pics
 

Attachments

  • IMG_1701.jpg
    IMG_1701.jpg
    121 KB · Views: 962
  • IMG_1705.jpg
    IMG_1705.jpg
    117.9 KB · Views: 962
  • IMG_1904.jpg
    IMG_1904.jpg
    133.2 KB · Views: 957
  • IMG_1906.jpg
    IMG_1906.jpg
    126.4 KB · Views: 976
  • IMG_1907.jpg
    IMG_1907.jpg
    131.8 KB · Views: 974
  • IMG_1908.jpg
    IMG_1908.jpg
    133.1 KB · Views: 961
  • IMG_1905.jpg
    IMG_1905.jpg
    133.6 KB · Views: 964
  • IMG_1493 2.jpg
    IMG_1493 2.jpg
    134.9 KB · Views: 978
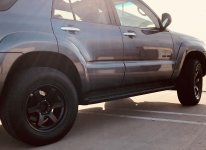
New Wheels installed!

Upgraded from the factory wheels to level 8 MK6 and removed the mud flaps
 

Attachments

  • IMG_1166 2.jpg
    IMG_1166 2.jpg
    140.7 KB · Views: 987
  • IMG_1498 2.jpg
    IMG_1498 2.jpg
    140.4 KB · Views: 959
  • IMG_1669 3.jpg
    IMG_1669 3.jpg
    121.4 KB · Views: 990
  • IMG_1670 3.jpg
    IMG_1670 3.jpg
    129.4 KB · Views: 978
  • IMG_1671 3.jpg
    IMG_1671 3.jpg
    118.8 KB · Views: 961
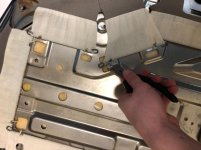
A little out of order but here are some pics from when I wired the seat heaters haha
 

Attachments

  • IMG_1577.jpg
    IMG_1577.jpg
    136 KB · Views: 954
  • IMG_1580.jpg
    IMG_1580.jpg
    125.3 KB · Views: 947
  • IMG_1581.jpg
    IMG_1581.jpg
    129.6 KB · Views: 948
  • IMG_1583.jpg
    IMG_1583.jpg
    136.9 KB · Views: 944
  • IMG_1582.jpg
    IMG_1582.jpg
    139.5 KB · Views: 964
  • IMG_1579.jpg
    IMG_1579.jpg
    129.8 KB · Views: 947
  • IMG_1578.jpg
    IMG_1578.jpg
    120.6 KB · Views: 950
  • IMG_1587.jpg
    IMG_1587.jpg
    126.5 KB · Views: 939
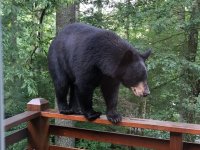
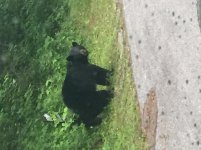
Welcome to the wild

Some pictures I got while I was home
 

Attachments

  • IMG_0571.jpg
    IMG_0571.jpg
    142.6 KB · Views: 971
  • IMG_0455.jpg
    IMG_0455.jpg
    122.4 KB · Views: 936
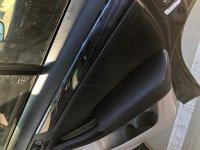
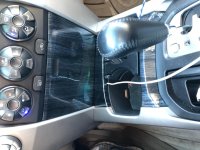
My latest order of business was to replace the vinyl wrap on the trim with something a little better
 

Attachments

  • IMG_1909.jpg
    IMG_1909.jpg
    134.1 KB · Views: 954
  • IMG_1913.jpg
    IMG_1913.jpg
    131.3 KB · Views: 953
  • IMG_1914.jpg
    IMG_1914.jpg
    126 KB · Views: 940
  • IMG_1910.jpg
    IMG_1910.jpg
    125.4 KB · Views: 952
Saw my first car

My car before I bought my 4runner was this 1990 suburban I saw when I was home. Was a great vehicle and well kept too wish I still had it sometimes haha.
 

Attachments

  • IMG_0760.JPG
    IMG_0760.JPG
    64 KB · Views: 936
What did you use for the trim pieces on the sides of the radio? I just replaced mine and was trying to find something that looked decent.
 
What did you use for the trim pieces on the sides of the radio? I just replaced mine and was trying to find something that looked decent.

Check on Crutchfield. When I ordered my radio it matched the adapter but I’m not sure of the model number. If you put in your car info then search your radio it will under install gear show the proper trim ring. Hope that helps
 
Ask if you need help!!!

If anyone has questions about how I went about doing any of these mods feel free to ask. I didn't go into too much detail with the initial post but will explain if asked.

Thanks!
 
Where did you purchase the leather for your seats? Thanks.

Hey,
I ordered them from leatherseats.com
their website is pretty straight forward and has a lot of options. I went with black leather with a fawn contrast stitching(they will send several different samples for free). The leather to vinyl ratio is about what it would have been from the factory and it took them about 3 weeks to be made. The kit also included leather for the door cards which I may tackle at a later date. All in all the install is pretty straight forward. I didn't have any experience before but if you take your time it will turn out well. I would recommend doing a seat heater upgrade while you are at it as well. I can explain the process of that if you would like.
 

Members online

Forum statistics

Threads
278,307
Messages
3,554,056
Members
248,016
Latest member
Advally Service

Trending content

Back
Top