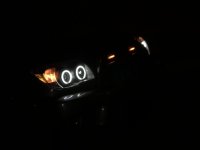
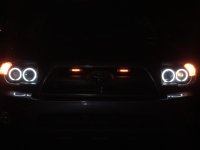
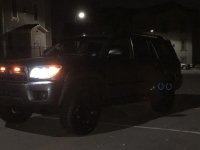
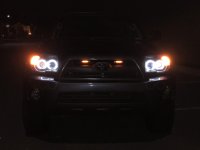
Midnight Runner build

Which axles did you go with? I will need to do this soon.

I’m not sure which brand I know they cost 100 each. The shop that did the work is having to redo their work as they bend my skid plate beyond repair, broke my ABS, traction control, put the axle on the wrong side, and now I have a major vibration in my front end so needless to say they will be repairing everything for free. The owner of the place is a good guy so I trust him but the person that did the work must have been new.
 
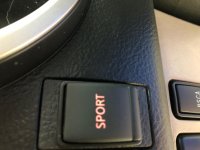
while I am waiting for car repairs I decided to go ahead and do a few mods. One of which is a sport mode using a pedal commander (started a new thread)

Next I replaced all of my rusted coil pack bolts

I also replaced my pcv valve which was really dirty

I also installed a usb panel in my center console blank spot.

I will add pictures of these when I get the chance
 

Attachments

  • IMG_2997.jpg
    IMG_2997.jpg
    117.7 KB · Views: 439
Continuously stuck calipers.... Time for an upgrade

Long story short my second set of calipers just seized up again so I am going to need new brakes up front. I've decided to undertake the 5th gen brake swap.

I ordered all (2010-2015 4runner) napa parts (I understand the 2016-2018 calipers have a slightly different design) and plan to replace everything this weekend. Since mine has the smaller rotors I plan to trim the dust shield while I am in there to avoid scraping. Does anyone have any tips that have already done this swap? I know there are several threads floating around about this but any pointers would be great! Thanks!

also the vibration in my front end is still there. I believe it is caused by the needle bearing and plan to have toyota take a look at it.
 
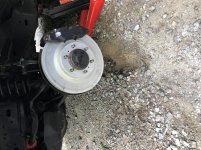
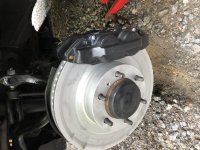
brake upgrade complete

After doing the brakes this morning I just got everything finished up! My 4runner is the sr5 model meaning it had the smaller 319 mm rotors. The only issue with this is that the brake shield on this model are meant for that size rotor. My solution was that at the top and bottom where it flairs out I simply bent those points until they were away from the rotor about a quarter of an inch. Next I cleaned and painted them to prevent further rusting. Once the rotors were on I kept them in place with 2 lug nuts. After connecting the new caliper and placing all needed components in them I transfered the metal brake line to the new caliper and bled the system. In total it took about 3 hours. My father helped with the bleeding process. Now the brakes shouldn't have any issue of seizing and now the braking feels much sportier.
 

Attachments

  • IMG_3063.jpg
    IMG_3063.jpg
    140.4 KB · Views: 407
  • IMG_3064.jpg
    IMG_3064.jpg
    139.5 KB · Views: 415
  • IMG_3066.jpg
    IMG_3066.jpg
    128.3 KB · Views: 414
  • IMG_3067.jpg
    IMG_3067.jpg
    132.3 KB · Views: 428
  • IMG_3065.jpg
    IMG_3065.jpg
    132.2 KB · Views: 405
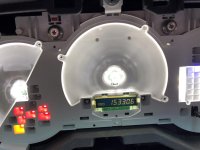
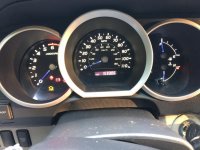
Reverse polarity mod

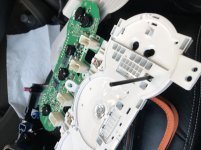
Today I had some time and undertook the reverse polarity mod for my odometer. It looks much more up to date now and a lot better than before. The color in the pics is a little different than in person. In person it is almost black for the background and white for the numbers.
 

Attachments

  • 7A2CC5E0-129E-4F1D-823A-ABA57698CE9D.jpg
    7A2CC5E0-129E-4F1D-823A-ABA57698CE9D.jpg
    142.6 KB · Views: 377
  • 4C668644-8AE9-4B0B-9B9F-589FA479E4D2.jpg
    4C668644-8AE9-4B0B-9B9F-589FA479E4D2.jpg
    121.2 KB · Views: 386
  • 009227FD-1140-482A-9C22-4A293BA4173D.jpg
    009227FD-1140-482A-9C22-4A293BA4173D.jpg
    123.1 KB · Views: 379
  • 73157814-0E4F-4C04-A39C-08139EE1CDBA.jpg
    73157814-0E4F-4C04-A39C-08139EE1CDBA.jpg
    126 KB · Views: 387
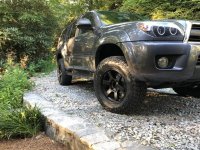
New shoes for yota

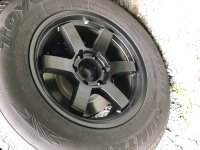
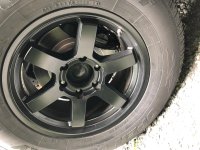
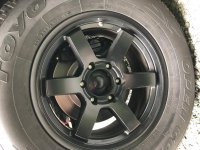
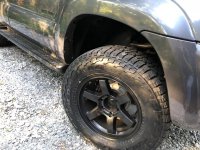
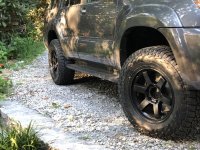
I ended up going with the stock sized 265/65r17 Falken Wildpeak AT3/W tires. I went back and forth several times but after looking at a lot of pics these tires would in my opinion have looked stuffed with a 265/70r17 and the front probably would have had some slight rubbing issues. I think it turned out great though!
 

Attachments

  • IMG_3263.jpg
    IMG_3263.jpg
    146.8 KB · Views: 362
  • IMG_3264.jpg
    IMG_3264.jpg
    144.1 KB · Views: 362
  • IMG_3265.jpg
    IMG_3265.jpg
    142.5 KB · Views: 374
  • IMG_3266.jpg
    IMG_3266.jpg
    146.4 KB · Views: 381
changes over time...

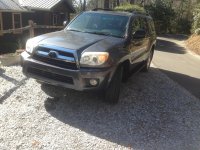
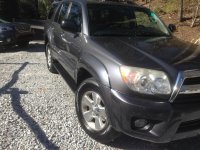
Thought I had lost the pictures from my old computer but found out I had a backup saved somewhere. I found a picture of my 4runner when it was almost stock minus the plastidipped emblems. A pretty big transformation from then until now haha.
 

Attachments

  • IMG_0635.jpg
    IMG_0635.jpg
    138.6 KB · Views: 342
  • IMG_0636.jpg
    IMG_0636.jpg
    137.6 KB · Views: 350
  • IMG_3350.jpg
    IMG_3350.jpg
    143.3 KB · Views: 353
Love the color you painted the bezel. Did you also paint the silver handle on the door trim? My driver side is worn and I may just try to replace it.
 
Love the color you painted the bezel. Did you also paint the silver handle on the door trim? My driver side is worn and I may just try to replace it.

Appreciate it! and I did paint the door handles as well as trim on the back. The front door handles are easy to remove. The rear ones are pretty difficult to get out. It was definitely worth the 50 dollars in supplies. I just posted a thread with the other pictures.
 
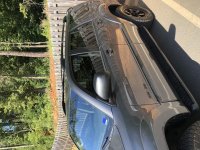
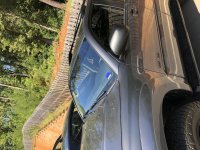
Window tint

Had been looking to do this for a while but didn’t feel comfortable doing it myself so I had a shop install 35 on the front 2 windows and a 5 percent stripe on the windshield. Really happy with the results
 

Attachments

  • A986A324-6BD1-4034-8315-12B8A6DE9449.jpg
    A986A324-6BD1-4034-8315-12B8A6DE9449.jpg
    141.6 KB · Views: 309
  • 5E85C61A-6C85-40F1-886C-E84CDB449D3F.jpg
    5E85C61A-6C85-40F1-886C-E84CDB449D3F.jpg
    141.4 KB · Views: 314
  • 48330FD9-29D6-497F-BF0D-74F4233556DC.jpg
    48330FD9-29D6-497F-BF0D-74F4233556DC.jpg
    140.8 KB · Views: 307
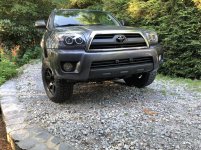
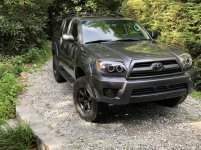
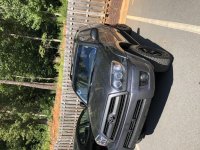
The Midnight Runner

Finally came up with the name for my 4Runner. I’m calling it the midnight runner because of the blacked out appearance. I also took off the running boards today. Here are some pics
 

Attachments

  • 956C0EA3-30B1-42A3-9293-B7A7B4FF7E68.jpg
    956C0EA3-30B1-42A3-9293-B7A7B4FF7E68.jpg
    98.4 KB · Views: 290
  • F2724E43-213F-48A8-A9D9-285014F0BC0B.jpg
    F2724E43-213F-48A8-A9D9-285014F0BC0B.jpg
    118.2 KB · Views: 298
  • 2D99D689-D73B-44AE-9936-104FBF700AD6.jpg
    2D99D689-D73B-44AE-9936-104FBF700AD6.jpg
    156.9 KB · Views: 295
  • 3D4F4FD0-C1EB-4BE6-A32A-B6E9D2479AA2.jpg
    3D4F4FD0-C1EB-4BE6-A32A-B6E9D2479AA2.jpg
    159.4 KB · Views: 303
My latest project today was to repaint all the silver trim to be a darker grey color. The paint I went with was a Carbon mist metallic and used a 2K clear-coat on top for gloss and protection. For having 100 percent humidity today the results turned out pretty great haha

Side note I also replaced all of my rubber vacuum and gas lines under the hood as I was having evap system leak codes. This seemed to solve my problem along with a new gas cap

What kind of vacuum line did you use? I've considered using some generic silicone line from Mcmaster
 
What kind of vacuum line did you use? I've considered using some generic silicone line from Mcmaster

Hey the kind I used was from advance auto parts. I believe it was 3/8 fuel safe hose. I got that kind because I also replaced the rubber lines from the pcv valve. It came in 2 foot sections in a bag. I hope that helps
 
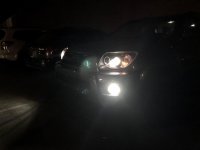
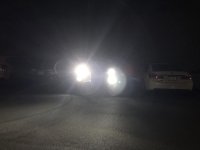
HID upgrade

I upgraded from the bulbs I originally had for the low beam to an H11 HID kit from amazon. I ended up going with 6000K color temperature to match my fog lights. These are so much brighter than the halogen bulbs I had and you can actually see the projector cutoff line now. I actually had to adjust the projectors down to keep from blinding everyone. So far I'm very happy with the light output. Here are a few pics. I'll add a few more once I am able to get pics of the cutoff line.
 

Attachments

  • IMG_3836.jpg
    IMG_3836.jpg
    174 KB · Views: 603
  • IMG_3837.jpg
    IMG_3837.jpg
    183.9 KB · Views: 601
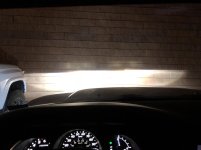
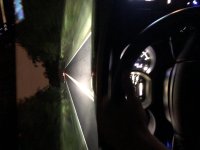
HID light output and reverse polarity

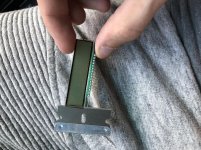
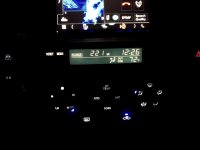
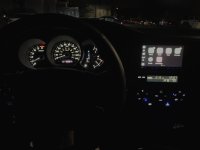
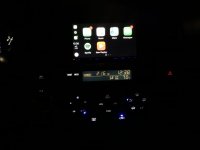
Here’s a pic of the light output on the road for my new HIDs and here are some pics of the reverse polarity mod I did for my HVAC controls. The reverse polarity was relatively easy. I bought some premade white led replacements for behind the screen and ran the positive wire to the 12 volt cigarette lighter wires. I hope to figure out a way to incorporate the dimmer at some point with a diode.
 

Attachments

  • D1A96B0A-4A4E-4E39-A96B-80BF5AC41665.jpg
    D1A96B0A-4A4E-4E39-A96B-80BF5AC41665.jpg
    126.9 KB · Views: 596
  • EB517A2D-A240-4CF6-AE33-903EA0AD6AFC.jpg
    EB517A2D-A240-4CF6-AE33-903EA0AD6AFC.jpg
    97.2 KB · Views: 613
  • 72BCCE93-473E-40C8-86A6-2AE8A9527778.jpg
    72BCCE93-473E-40C8-86A6-2AE8A9527778.jpg
    93.5 KB · Views: 595
  • B5C15FF1-9036-46C9-852D-E27072A2A356.jpg
    B5C15FF1-9036-46C9-852D-E27072A2A356.jpg
    93.3 KB · Views: 609

Members online

Forum statistics

Threads
278,307
Messages
3,554,054
Members
248,016
Latest member
Advally Service

Trending content

Back
Top