NoOneBetter's build/photo thread.

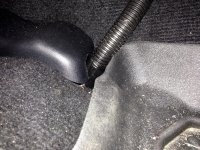
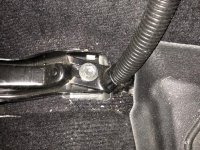
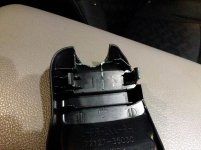
From what I remember, plastic piece is held on by a small prong on each side of it. pushing down the plastic allows the prongs to hook onto the rail. Just carefully pull the sides out and up and you should be able to remove it.

I wonder if you can install the RAM pod and then notch the bottom of that plastic piece so you can reinstall it.
 
I wonder if you can install the RAM pod and then notch the bottom of that plastic piece so you can reinstall it.

That thought did cross my mind and I believe you can. I opted not too just to save that piece and you don't really see the seat mount once you have the seat back in forward position.
 
That thought did cross my mind and I believe you can. I opted not too just to save that piece and you don't really see the seat mount once you have the seat back in forward position.

Thanks. I got it off. I think I may notch it. I may buy a spare of that part in case I want to revert it back to stock.

I'm going to probably reverse the direction that you did and just bend the bracket.

Thanks man.
 
Thanks. I got it off. I think I may notch it. I may buy a spare of that part in case I want to revert it back to stock.

I'm going to probably reverse the direction that you did and just bend the bracket.

Thanks man.

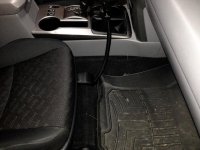
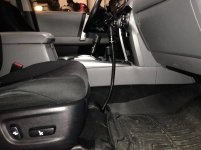
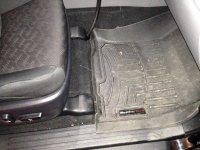
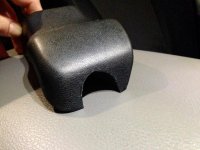
I cut the Ram Mount foot bracket pretty short and notched the beauty cover to fit around it. It pushes the Weathertech mat forward about an inch. The foot is solidly installed but there is still a significant amount of vibration at the top of the pole. It's annoying when I use it for my iPhone and pretty pronounced with an iPad Air in it. I've tightened up the bottom bolt a number of times and it isn't making much of a difference. I find that the pole also cuts into the passenger space. I don't like sitting on that side of the truck because it's right where my knee rests. At this point I think I'm going to pull this one out and put a mount on the side of the centre console like I've seen on here. That should be enough to hold the phone which is all I really use anyway.
 

Attachments

  • IMG_4047.jpg
    IMG_4047.jpg
    138.2 KB · Views: 3,808
  • IMG_4048.jpg
    IMG_4048.jpg
    140.9 KB · Views: 3,833
  • IMG_4050.jpg
    IMG_4050.jpg
    134.9 KB · Views: 3,809
  • IMG_4051.jpg
    IMG_4051.jpg
    132.7 KB · Views: 3,849
  • IMG_4052.jpg
    IMG_4052.jpg
    137.2 KB · Views: 3,883
  • IMG_4053.jpg
    IMG_4053.jpg
    142.5 KB · Views: 3,880
  • IMG_4056.jpg
    IMG_4056.jpg
    135 KB · Views: 3,870
  • IMG_4057.jpg
    IMG_4057.jpg
    134.5 KB · Views: 3,893
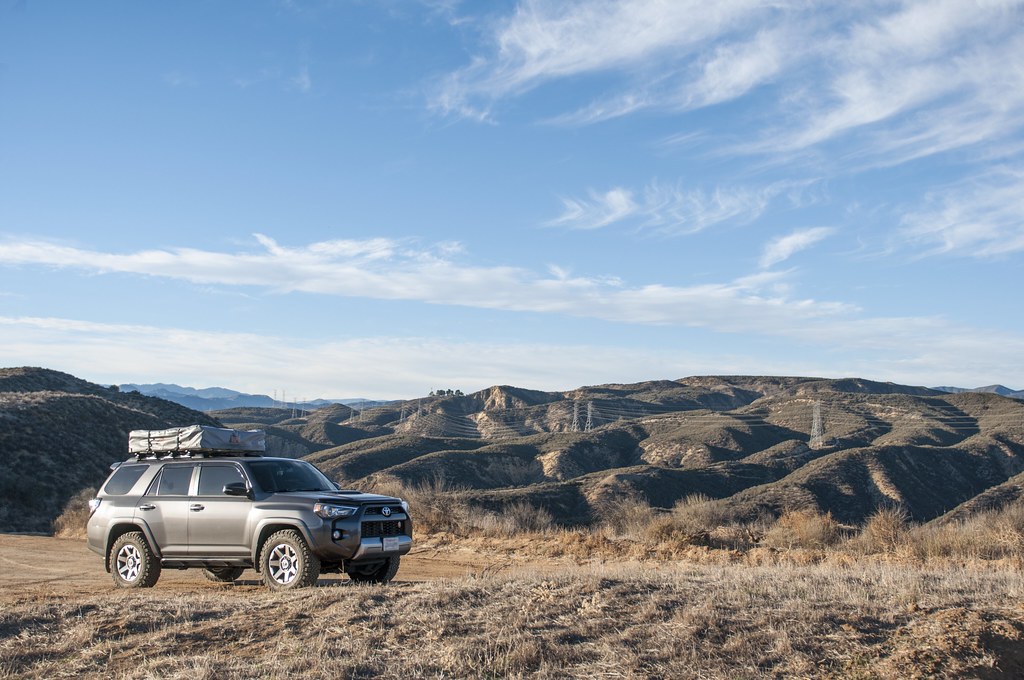
Back home for the holidays and decided to explore some of the hills near where I grew up in Castaic. Never knew these trails existed until today.

 
Back home for the holidays and decided to explore some of the hills near where I grew up in Castaic. Never knew these trails existed until today.

That's in my neck of the woods. I didn't know they were there either. Can you share some details on location and access? Thanks!
 
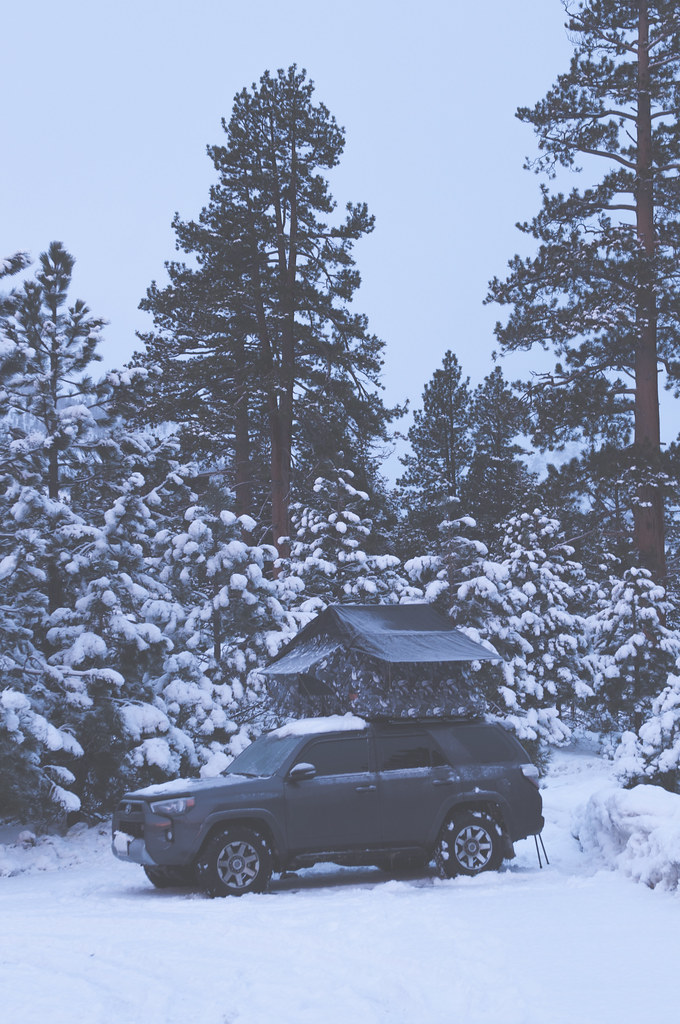
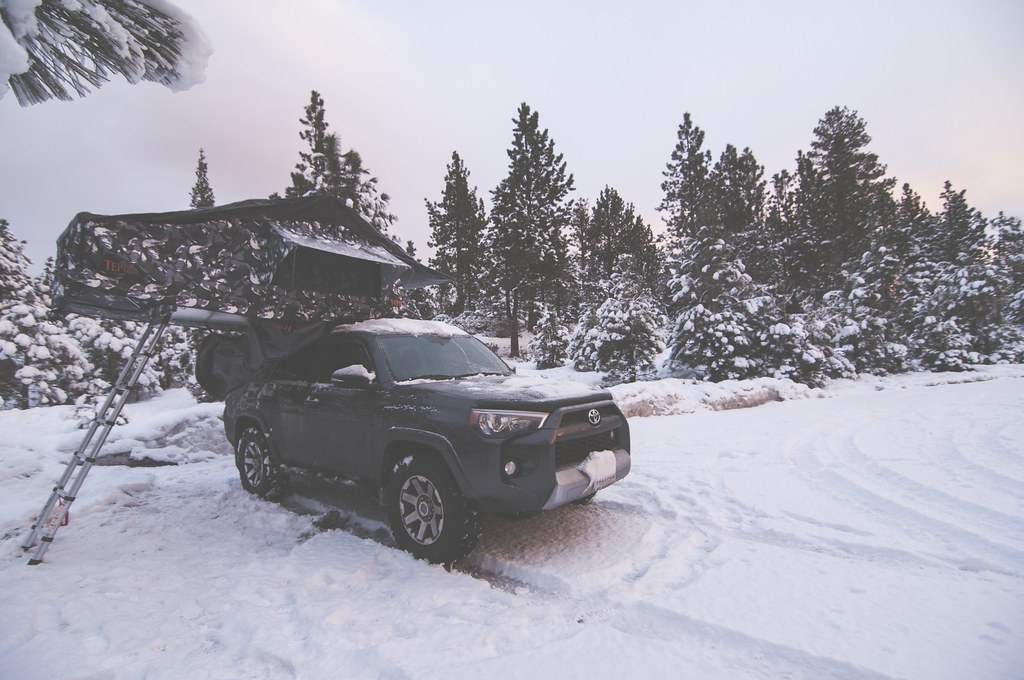
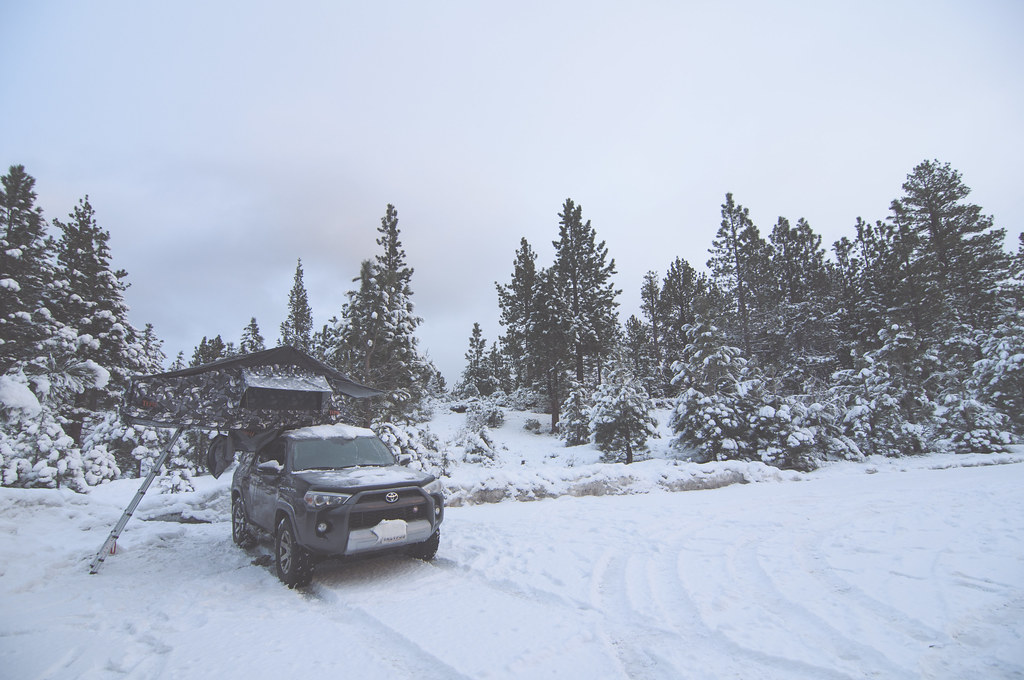
Went out to Tahoe this weekend for some camping and skiing. The KO2s handled the snow flawlessly. Very impressed with them so far.


Bonus:
 
Rtt

Great looking truck. Thanks for taking the time to share your build and adventures. Would you mind sharing the details of how you mounted the RTT to the factory rack? Any issues/advice for others of us considering the RTT route? Thank you. Looking forward to seeing more pics of the rig and beautiful outdoors!
 
Tahoe

Just found the "more photos" section! [MENTION=56922]NoOneBetter[/MENTION] haha.

Mind sharing your camping location? I have been debating on doing this same thing for some time. Much cheaper than renting a cabin :)
 
Great looking truck. Thanks for taking the time to share your build and adventures. Would you mind sharing the details of how you mounted the RTT to the factory rack? Any issues/advice for others of us considering the RTT route? Thank you. Looking forward to seeing more pics of the rig and beautiful outdoors!

I am using the Thule Crossroad feet and Thule square bars to mount the RTT to the stock side rails. 2 bars are enough to hold the RTT but I added 2 more for a total of 4 bars just so the load would be evenly distributed. Definitely not necessary. I just happen to pick them up for cheap, used. The biggest issue I have right now is putting the tent on and off and storing it. It takes up a good amount of space. Also, I have yet to figure out a way to mount/remove the RTT by myself and I can't get into my garage with the RTT mounted so a pulley system is not an option.
 
Killer spot! The KO2s are amazing, especially in snow and ice. I was just up in Tahoe as the last spot on my NYE 6 day camping trip and I didn't even realize the hill up to my friend's cabin was an issue for everyone until I was talking to her about it last night. She said everyone else has to get up to 30 mph on the road up to the hill/driveway and hit it as hard as they can. I just casually went up.
 
Haven't been doing too much to the 4Runner lately except for making trips to Tahoe. 18 days so far this season :smow: I also picked up a Yakima Holdup for my bikes. Now I can carry bikes while I have my RTT on :)


Last edited:
I picked up a rear camera overide dongle from here as well as a aux input override so that I could install a front camera. I also got an AOB switch to for the front camera and a CH4x4 switch for the rear camera override dongle. So far I've wired the switches up and have the rear camera override working and have only tested the front camera. I still need a source selector switch and to mount the front camera in the front emblem. Heres a random assortment of photos from the install. More to come once I get a selector switch.


AOB switch on the left, CH4X4 on the right. The AOB switch is definitely better quality and fitment.


Aux in video working.


Photo of the dongles in the rear of the navi.


Photo of everything apart.


Lights on.


Buttons Pressed.
 
Nice job with your AOB switch install! How did you tap into the dash lights to make them come on with the others? I installed my AOB switch last weekend, but skipped attaching the wires to OEM dash light wire on the windshield heater switch. Thanks!
 
Nice job with your AOB switch install! How did you tap into the dash lights to make them come on with the others? I installed my AOB switch last weekend, but skipped attaching the wires to OEM dash light wire on the windshield heater switch. Thanks!

Actually, thats exactly what I did, I tapped into the green and grey wires from the windshield heater switch using posi-taps. Green for Power, grey for ground.

 
Actually, thats exactly what I did, I tapped into the green and grey wires from the windshield heater switch using posi-taps. Green for Power, grey for ground.


Looks like I have some wiring to do :thumb3:

I just got my wire wrap in yesterday, so I was planning on re-wiring the whole thing anyways so I can finish my write up. Where did you pick up your posi-taps? Was it local here in SJ?
 
Looks like I have some wiring to do :thumb3:

I just got my wire wrap in yesterday, so I was planning on re-wiring the whole thing anyways so I can finish my write up. Where did you pick up your posi-taps? Was it local here in SJ?

Picked em up from amazon. Not sure where I would find these in SJ.
 
I've got the camera override dongle and the CH4X4 switch her in my pile of parts waiting for my Trail Premium to arrive. You've answered one of my questions as far as what switch openings are available in the TEP. Aside from those two shown, are there any other blank spots? Right now, I'm only thinking of front LEDs and the rear camera switch, but just curious in case I come up with something else I want to switch.

I didn't wait for the AOB switch in blue/blue to come back in stock and ordered the CH4X4 version. Is the quality difference enough that I might want to order an AOB instead? I'll already be ordering one for the LED light bar.

Thanks!
 

Members online

Forum statistics

Threads
278,316
Messages
3,554,120
Members
248,016
Latest member
Advally Service

Trending content

Back
Top