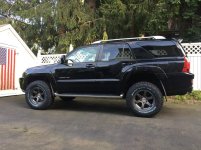
Not-So-Krazy Build Thread! (Picture Heavy!!)

Krayziekid

New member
Hey everyone! Read through a ton of build threads over the past few weeks, and I am getting some parts together to do some work on my car, so I figured I would put a build thread together too!

Modifications as of November 15th, 2015:

Suspension
-Toytec 3" Lift (Front 5100s, Rear BOSS Shocks)
-Toytec Diff Drop
-Toytec Sway Bar Relocation Kit
-New Sway Bar Bushings

Wheels/Tires
-17x8 Level 8 MK6s Gunmetal
-275/70/R17 BFG AT KO2s

Engine/Performance
-K&N Air Filter

Interior
-White LED Interior Lights
-OTRATTW Switches

Exterior
-03->06 Headlight Conversion
-03->06 Taillight Conversion
-Miromoto XB LED Bulbs
-32" Stealthed LED Bar
-T4R Decals

Communications
-Cobra 75
-3' Firestik on Comet RS720

Electrical
-National Luna Battery Monitor
-ARB Twin Compressor

Armor
-Painted Stock Skids Red
-RCI Metalworks LCA Skids
-RCI Metalworks Sliders
-Running Board Delete

Trips
-Rausch Creek 10/24/15
-George Washington National Forest 4/15/16

Not doing anything crazy (hence the title) like I have seen on some threads, but I've learned a ton through build threads and it really inspired me to get some work done, so I figured it could help someone else in the future too! Plus you guys are all so kind and helpful. I'm also a photographer :photo: so expect plenty of photos, and some cheesy artsy crap too :thumb:
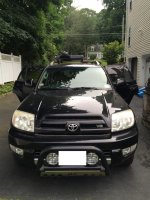
IMG_1062 Blurred.jpg

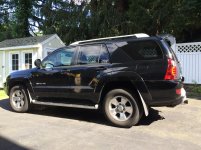
My baby is my 2003 4Runner Limited V8. Currently sitting at 115k miles on it, and it has been bone-stock for the 12 years it has been a part of my family. My current plans are this:

-ToyTec Lift Kit (Bilstein 5100s)
-03 -> 06 Headlight Swap
-03 -> 06 Taillight Swap
-TRS Bulbs all around
-New wheels (Level 8 MK6s) 17x8
-New tires (BFG KO2s) 275/70/17
-New filter and HCF Delete
-New sway bar bushings

So yea! That's what I am planning to do just within the next few weeks! Here are a few pics of the Christmas deliveries that are currently going on at my house lol

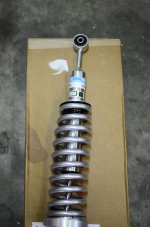
ToyTec Lift Kit
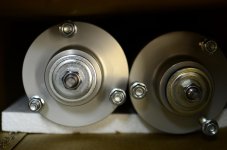
_DSC4692.jpg
_DSC4694 Edited.jpg
_DSC4697.jpg
_DSC4691.jpg

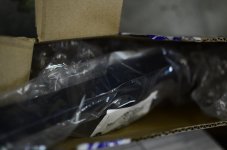
Funny story about these. So I ordered the normal lift kit from them, but they called me after and said the rear Bilstein 5100s were out of stock and backordered. So I gave them a week and called them back. They said that it is super backordered and it will be a while, but I can swap out those rear bilsteins for their BOSS shocks at no extra charge and they can ship today. See as I really needed them, I went with that. Should be here really soon!

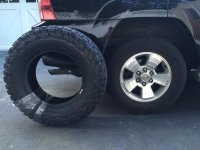
BFG KO2s. Ended up going 275/70/17
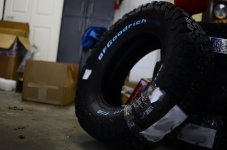
_DSC4705 Edited.jpg
IMG_1073.jpg
 

Attachments

  • _DSC4692.jpg
    _DSC4692.jpg
    117.6 KB · Views: 5,065
  • _DSC4694 Edited.jpg
    _DSC4694 Edited.jpg
    127.1 KB · Views: 5,051
  • _DSC4697.jpg
    _DSC4697.jpg
    114 KB · Views: 5,040
  • _DSC4691.jpg
    _DSC4691.jpg
    124.3 KB · Views: 5,030
  • _DSC4705 Edited.jpg
    _DSC4705 Edited.jpg
    116.9 KB · Views: 4,980
  • IMG_1062 Blurred.jpg
    IMG_1062 Blurred.jpg
    139.1 KB · Views: 5,026
  • IMG_1073.jpg
    IMG_1073.jpg
    129.5 KB · Views: 5,024
Last edited:
Register to hide this ad
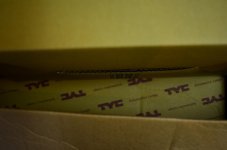
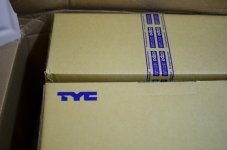
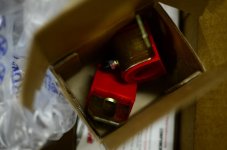
06 Headlights/Taillights. Haven't taken them out of the box yet, but soon!
_DSC4712.jpg
_DSC4676.jpg

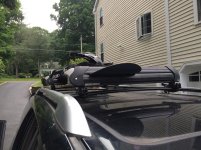
On a side note, got a Yakima Ski Rack that was in really good shape with the keys and mounting gear and everything for 10 bucks at a garage sale.
IMG_1063.jpg

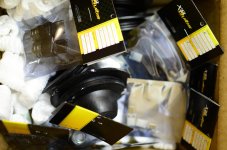
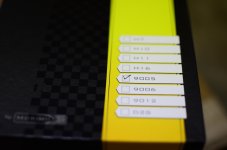
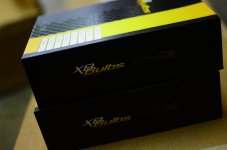
An assortment of Miromoto Bulbs.
_DSC4669.jpg
_DSC4672.jpg
_DSC4675.jpg

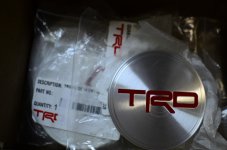
Some TRD caps for that +10hp :dance:
_DSC4684.jpg

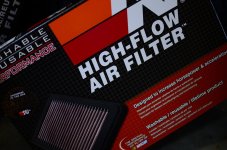
And a K/N filter for the intake. Just a little something I have been meaning to do for a while.
_DSC4680.jpg
 

Attachments

  • _DSC4712.jpg
    _DSC4712.jpg
    127.8 KB · Views: 4,984
  • _DSC4676.jpg
    _DSC4676.jpg
    121.1 KB · Views: 4,961
  • IMG_1063.jpg
    IMG_1063.jpg
    137.4 KB · Views: 4,950
  • _DSC4669.jpg
    _DSC4669.jpg
    129.1 KB · Views: 4,939
  • _DSC4672.jpg
    _DSC4672.jpg
    99.9 KB · Views: 4,958
  • _DSC4675.jpg
    _DSC4675.jpg
    105.4 KB · Views: 4,941
  • _DSC4680.jpg
    _DSC4680.jpg
    138.4 KB · Views: 4,907
  • _DSC4684.jpg
    _DSC4684.jpg
    114.6 KB · Views: 4,923
Some new bushings!
_DSC4686.jpg

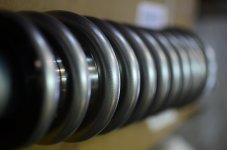
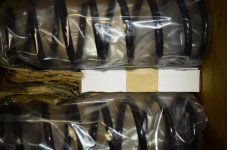
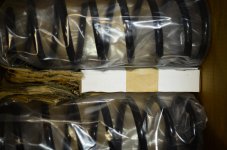
And just some other miscellaneous pics. Got the trim pieces for the 06 headlight swap from RockAuto and a shot of the springs from the lift kit.
_DSC4681.jpg
_DSC4691.jpg

And here is something for people who are thinking of doing the headlight swap. The 2006 headlights looks awesome and I am so pumped to put them in, but you need different bulbs. I'm sure this is common knowledge for folks, but I made an easy to read comparison sheet of most of the bulbs in the car if you want to take a look.
View attachment 03 - 06 Bulb Comparisons.pdf

On a side note, I am thinking a next upgrade might be a CB radio once I start wheeling some more. I have most of the antennas and that kind of stuff picked out already, but what do people recommend for the radio itself? Any suggestions would be great!
 

Attachments

  • _DSC4686.jpg
    _DSC4686.jpg
    113.2 KB · Views: 4,912
  • _DSC4681.jpg
    _DSC4681.jpg
    113.5 KB · Views: 4,973
  • _DSC4691.jpg
    _DSC4691.jpg
    124.3 KB · Views: 4,896
  • 03 - 06 Bulb Comparisons.pdf
    03 - 06 Bulb Comparisons.pdf
    121 KB · Views: 1,118
Last edited:
The lift is DONE.

So after a hectic 10 hours of work, the ToyTec Lift Kit is installed. There was plenty of hammering, banging, cursing, and drinking to get all of this installed.

First and foremost, I just want to give a shout out to ToyTec for being absolutely awesome. I ordered the base (I think its about 900 bucks) suspension lift kit from them. They called me about 10 minutes after I ordered to tell me that the rear Bilstein 5100s were out of stock and backordered, and that I should I call back in a week to ask what the status is. That is exactly what I did and they told me the Bilsteins were still heavily backordered, to which I replied saying that I am running out of time in my summer to do this due to work and travel plans. They instantly said that they would ship me their BOSS Shocks as a replacement and they would be express shipped the same day. Awesome customer service and I am really pleased with everything I received from there.

So now onto the pics! I didn't take as many as I had wanted (because I was so dang excited!) but I took a few and I am always open to questions if anyone has any.

Here is how it sat at stock height. Pretty standard stuff.
IMG_1134.jpg

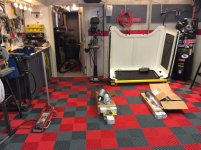
And this was some of the prep work. All of the parts laid out and ready to go. New coilovers, shocks, springs, sway bar bushings and end links, diff drop, sway bar relocator, and of course, one of several jacks we used. This is my old man's garage and as you can tell, he is an absolute grease monkey and loves to hoard tools :p
IMG_1135.jpg

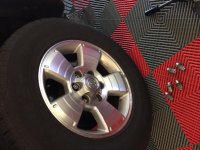
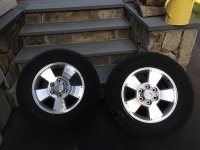
This was the stock tire coming off. Limited wheels with some 265/65 continental tires on there. I am considering selling these wheels locally (Southwestern CT), so if anyone is interested, let me know!
IMG_1136.jpg
IMG_1138.jpg

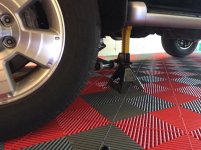
Again, another shot of the many jacks and supports.
IMG_1137.jpg

An impact wrench/gun. The greatest tool I have ever used. Extremely useful in getting through 12 years of rust collecting and settling on the front coilovers. Many other tools were used as well haha. To get through the rust, a ton of PB Blaster was used, as well as wrenches/sockets, some breaker bars, and even a blowtorch to try and get some of the metal/rust to be a little more pliable.
IMG_1139.jpg

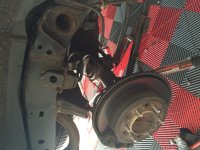
The front coilover installed. The first stock coilover took us over 2 hours to get out. It was a pain and honestly, I was really afraid of tearing the CV Axle boot or joint or something. I was trying to figure out how far I could push it and was really taking my time. And of course, the second coilover took 15 minutes to get out :ybrick:
IMG_1140.jpg

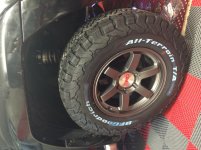
And this is how it looks with the new tires and wheels. The wheels are Level8 MK6s. They are 17x8 wheels with 275/70 BFG KO2s on them. Very minimal rubbing at full lock. Had to trim the mudflaps and then the driver side wheel well plastic stuff. Also picked up some TRD caps for that extra HP.
IMG_1141.jpg

More pics/story in the next post :D
 

Attachments

  • IMG_1134.jpg
    IMG_1134.jpg
    137 KB · Views: 4,798
  • IMG_1135.jpg
    IMG_1135.jpg
    139.7 KB · Views: 4,761
  • IMG_1136.jpg
    IMG_1136.jpg
    131 KB · Views: 4,758
  • IMG_1137.jpg
    IMG_1137.jpg
    129.7 KB · Views: 4,773
  • IMG_1138.jpg
    IMG_1138.jpg
    132.7 KB · Views: 4,765
  • IMG_1139.jpg
    IMG_1139.jpg
    137.4 KB · Views: 4,696
  • IMG_1140.jpg
    IMG_1140.jpg
    129.1 KB · Views: 4,792
  • IMG_1141.jpg
    IMG_1141.jpg
    132.5 KB · Views: 4,709
Part 2

Here are some more pics and backstory on the lift.

So after the front was done, we moved on to the back, hoping it would be a little more simple. Definitely not. So first we removed the sway bar end links and stuff, and then we moved on to the shocks. 12 years of rust was not kind to these shocks. Both were essentially blown, and they were essentially fused to the strut tower. Since we weren't going to be needing the stock top bolt or rubber washer (as the BOSS shock came with new ones) we finally got to the point where we simply broke out a saw and but the top bolt off. It was simple and relatively painless and after seeing how stripped the threads were inside the shaft, we were glad we did it. There was no way we would have wrenched it out properly.
IMG_1143.jpg

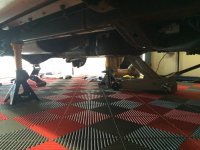
A bonus pic of all of the support we were using. The driver side back was sort of tough to support with the gas tank and skid plate there, so we had a second floor jack backing it up just to be safe.
IMG_1145.jpg

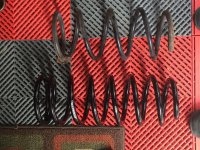
Then came the springs. Another piece that surprised us. They were wayyyyy bigger than the stock. I had seen pictures but dayum. We slowly lowered the back axle until they easily popped out, along with 12 years of dust, rust and other crap. And then went the install. Honestly, I have no clue how anyone could get these in without spring compressors. We compressed, and then recompressed about 3 times just to get one side in. There was absolutely no way it was getting in any other way.
IMG_1146.jpg

But dang do they look nice :D
IMG_1147.jpg

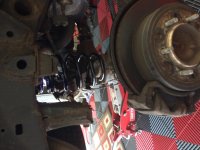
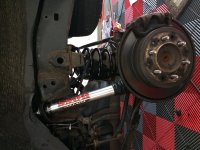
We got the BOSS shocks in without too many problems. The bottom slide in very easily, but the top was slightly problematic. Couldn't really get the stop nut on with the huge rubber stoppers they come with, so we carefully trimmed just a tiny bit off the rubber in order to get a thread to show so we could torque it down and compress the rubber stoppers. Not too bad.
IMG_1148.jpg

And then we finally have the lift at the end of the tunnel. 10 hours later, it is done. Really happy with how it turned out. Drove it around a bit and it feels great. The new sway bar bushings definitely seem to offer less body roll on the corners. Hoping the back will settle just a tiny bit more over the coming week, but overall very happy.
IMG_1149.jpg

And as always, if you have any questions, let me know!
 

Attachments

  • IMG_1143.jpg
    IMG_1143.jpg
    136.5 KB · Views: 4,667
  • IMG_1146.jpg
    IMG_1146.jpg
    147 KB · Views: 4,668
  • IMG_1147.jpg
    IMG_1147.jpg
    129.4 KB · Views: 4,744
  • IMG_1148.jpg
    IMG_1148.jpg
    135.8 KB · Views: 4,694
  • IMG_1149.jpg
    IMG_1149.jpg
    136.7 KB · Views: 4,667
  • IMG_1145.jpg
    IMG_1145.jpg
    133.3 KB · Views: 4,683
Amazing what tires, rims and 3" of lift does isn't it..... I love those rims. Truck looks amazing.
 
Last edited:
She's a real beaut Clark. Good job man. Like seeing fellow members doing their own work also.

Thanks man! Yea I am definitely glad I did the work myself as opposed to a shop. It was an unbelievable learning experience. Having to MacGyver some solutions was fun and in the end, seeing it all come together and look awesome really puts the icing on the cake.

Now I just have to figure out the wheel/tire alignment.
 
Any chance you could take measurements from the ground up to the fender for each corner?

Thank you

Sure thing dude. I'll get those to you when I get home later tonight. Do you want straight from the ground to the top of the wheel well? Bottom of the wheel well? Right where the side fender starts? Let me know.
 
To the bottom of the wheel arch/fender. Measuring in front of the center of the wheel. :frisky:
Hey man, so here are the measurements I got. Take these with a grain of salt because this was definitely NOT a level surface lol, but it was the best I had.

This is from the ground to the bottom of the wheel well/fender.

Front Driver: 19"
Front Passenger: 19 1/4"

Rear Driver: 20 1/2"
Rear Passenger: 20 1/4"

Let me know if you need anything else.
 
Hey man, so here are the measurements I got. Take these with a grain of salt because this was definitely NOT a level surface lol, but it was the best I had.

This is from the ground to the bottom of the wheel well/fender.

Front Driver: 19"
Front Passenger: 19 1/4"

Rear Driver: 20 1/2"
Rear Passenger: 20 1/4"

Let me know if you need anything else.


Appreciate it!!

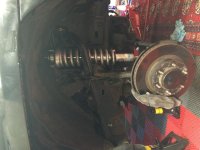
Were those measurements taken like this? Your numbers seem a bit low


Members online

Forum statistics

Threads
278,312
Messages
3,554,083
Members
248,016
Latest member
Advally Service

Trending content

Back
Top