Official home improvement/ remodel thread.

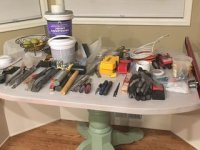
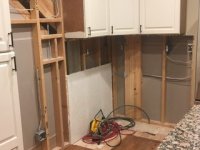
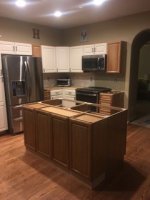
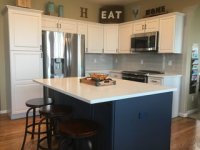
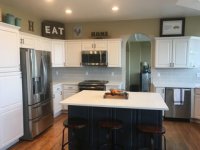
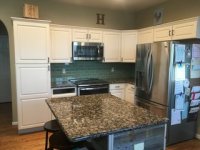
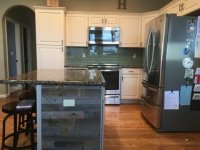
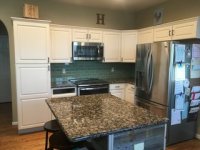
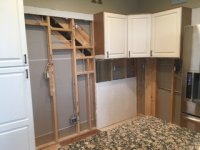
Not done yet, but phase 1 of kitchen remodel is "almost" complete. Moved range, micro and refer to new location. Moved the 220, 110, and H20 to new locations. Unfortunately, new cabinets have a different reveal so we have to trouble shoot before we install. Once this is resolved we're going to add some cabinets to make the island larger (phase 2). Once island is "bigger" we will be ordering new countertops and then the wife takes over with installing the new backsplash.

Sadly, I think I have more tools to work on this stuff than I do to work on my T4R! :lol:

...and of course I used my 4Runner to get the materials, cabinets, and drywall!
:cheers:
 

Attachments

  • OMkogNcm.jpg
    OMkogNcm.jpg
    17.8 KB · Views: 311
  • poOkTafm.jpg
    poOkTafm.jpg
    15.5 KB · Views: 313
  • MxDlzM5m.jpg
    MxDlzM5m.jpg
    17.9 KB · Views: 296
  • qn7hO7ym.jpg
    qn7hO7ym.jpg
    15.6 KB · Views: 322
  • Airo8fvm.jpg
    Airo8fvm.jpg
    15.3 KB · Views: 307
  • Jstrfckm.jpg
    Jstrfckm.jpg
    17.3 KB · Views: 315
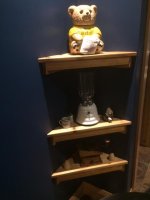
Our kitchen had a small dead corner space, only suitable for the dogs water & food dish, on floor.
But the stub wall needed to be spruced up, so an artifacts shelf was custom framed - to hold family heirlooms.
a) made out of scrap wood, from curly maple & cedar cutoffs

Top shelf - holds Moms cookie jar, a Xmas present (from decades ago)
Mid shelf - Oster beehive blender, granny used to make milk shakes in, for us kids / using icecream, coca & raw egg
Bottom shelf - My dads coffee grinder he got from his GF / used it to grind grain for pet guinea pigs on the family farm
 

Attachments

  • KitchenNook1.jpg
    KitchenNook1.jpg
    21.4 KB · Views: 308
  • KitchenNook2.jpg
    KitchenNook2.jpg
    20.7 KB · Views: 291
Last edited:
Not done yet, but phase 1 of kitchen remodel is "almost" complete. Moved range, micro and refer to new location. Moved the 220, 110, and H20 to new locations. Unfortunately, new cabinets have a different reveal so we have to trouble shoot before we install. Once this is resolved we're going to add some cabinets to make the island larger (phase 2). Once island is "bigger" we will be ordering new countertops and then the wife takes over with installing the new backsplash.

Sadly, I think I have more tools to work on this stuff than I do to work on my T4R! :lol:

...and of course I used my 4Runner to get the materials, cabinets, and drywall!
:cheers:
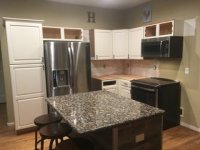
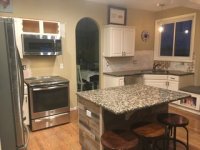
New cabinets and island installed! Time to order counter tops, paint cabinets, and install the backsplash.
 

Attachments

  • CPlSWWum.jpg
    CPlSWWum.jpg
    13.3 KB · Views: 252
  • jsXZFxVm.jpg
    jsXZFxVm.jpg
    17.7 KB · Views: 266

Last edited:
Should not have come in here. Now I want to start a remodel at home :lmao:. Lots of good stuff. :thumb:
 
Should not have come in here. Now I want to start a remodel at home :lmao:. Lots of good stuff. :thumb:

Same here this thread means more work ...now I have to go through the pics on computer and post what we have done.

Great thread!
 
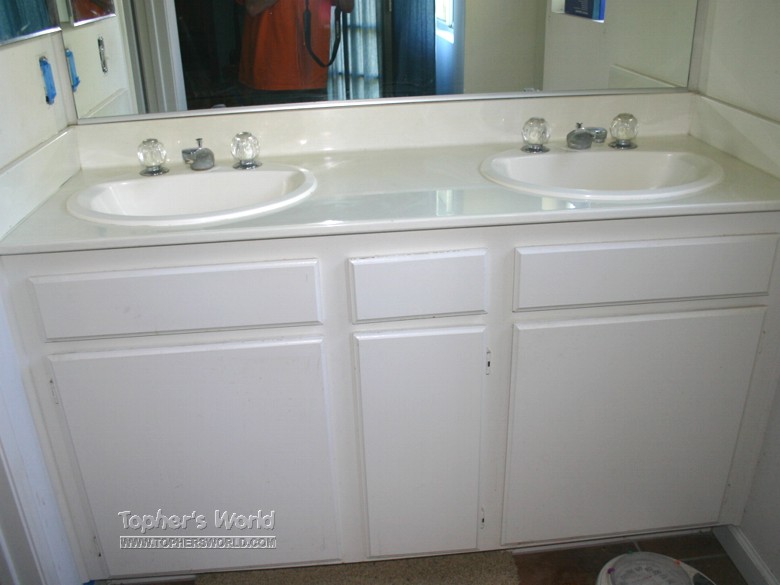
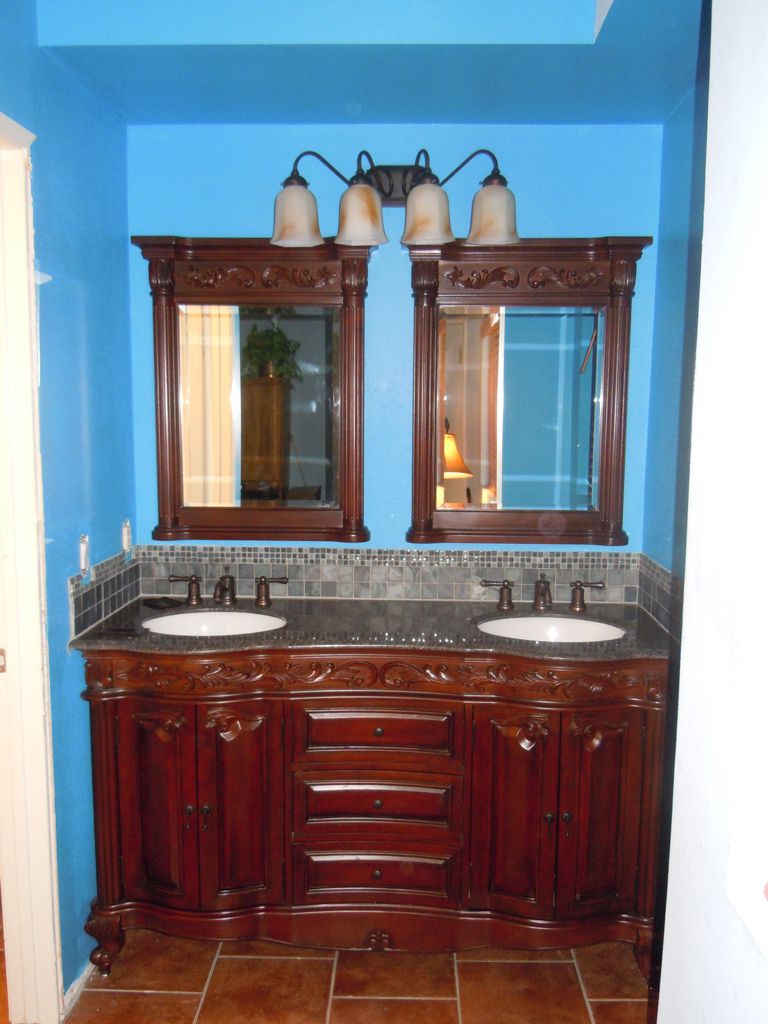
A couple years ago I did a makeover of my bathrooms. They were just cheap stock stuff you see in many homes.

sink_001.jpg


This is the master before the fit and finish, not sure why I don't have a completed pic of this.

master_bath_001.jpg


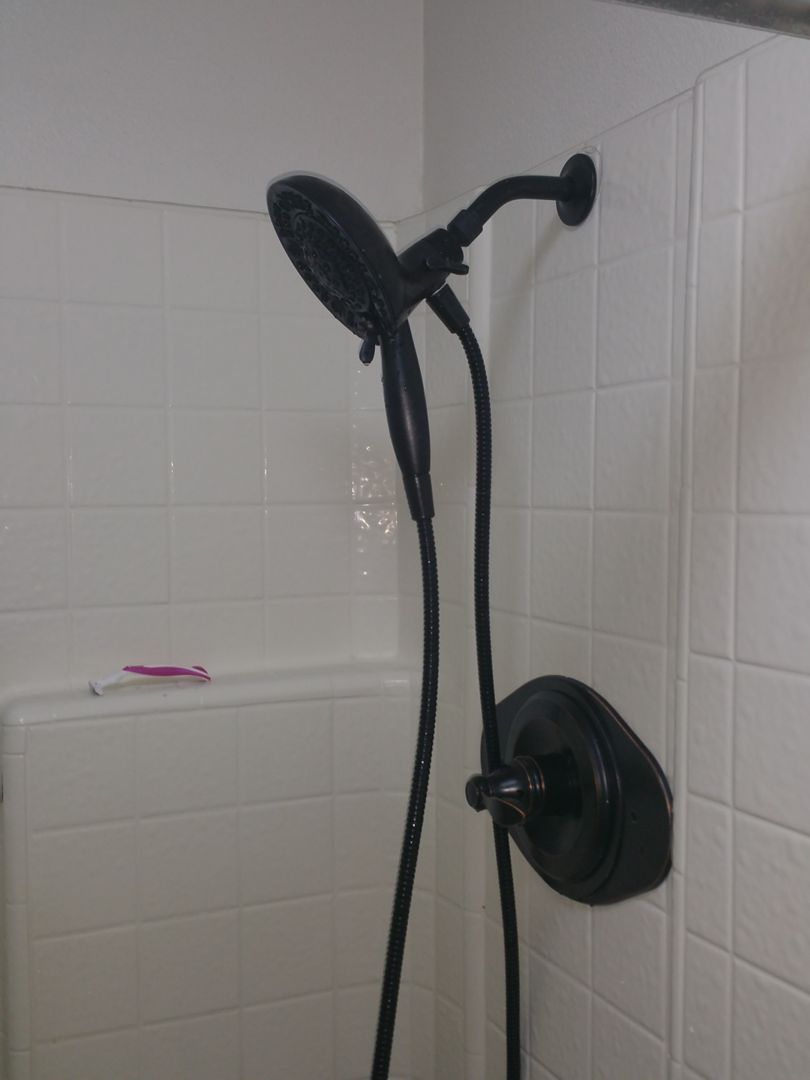
So today I was getting tired of the shower handles falling off from the screws being stripped out. Since I was going to have to cut open the wall to replace the valves anyway I decided to convert it to a single handle in bronze to match the rest of the bathroom.

master_shower.jpg


The guest bathroom

bathroom_renovation_001.jpg
 
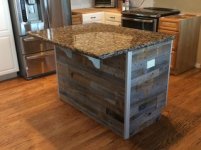
...and the kitchen is done!!!
A couple pics from the completed kitchen.

Done #1
u2WR8vEm.jpg
Done #2
nDwgdugm.jpg
Before #1
OMkogNcm.jpg
Before #2
7q9B8sjm.jpg

Next project...installing sliders on my 4th gen, unless my wife wants to do something else around the house! lol
 

Attachments

  • u2WR8vEm.jpg
    u2WR8vEm.jpg
    15 KB · Views: 331
  • nDwgdugm.jpg
    nDwgdugm.jpg
    14.6 KB · Views: 346
  • OMkogNcm.jpg
    OMkogNcm.jpg
    17.8 KB · Views: 321
  • 7q9B8sjm.jpg
    7q9B8sjm.jpg
    17.4 KB · Views: 322
A little shiplap action in the nursery. Just waiting for the puddy to dry to sand down then paint.
804e4c8a4d550a703d622748fb1a5ebe.jpg


Shelf from a friend made from a tree that predates European Colonization of North America
298c87e84e073c9a62cb2a9bfe52f578.jpg
 
A little shiplap action in the nursery. Just waiting for the puddy to dry to sand down then paint.
804e4c8a4d550a703d622748fb1a5ebe.jpg

Sweet!!! I call it tongue and groove to keep smart a$$es like me from making fun of you.

chip.jpg

No but really, looks good. Congrats on the little one too! :rockon:
 

Attachments

  • chip.jpg
    chip.jpg
    137 KB · Views: 374
Last edited:
A little shiplap action in the nursery. Just waiting for the puddy to dry to sand down then paint.
804e4c8a4d550a703d622748fb1a5ebe.jpg


Did you use actual T&G or cut down boards? It looks good. I think I've installed 9,000 feet of bead board at this point between several houses. I love redoing kids rooms. Congrats on the baby. I imagine he's not born yet though. Nesting has to take place ahead of time.
 
A little shiplap action in the nursery. Just waiting for the puddy to dry to sand down then paint.
804e4c8a4d550a703d622748fb1a5ebe.jpg


Did you use actual T&G or cut down boards? It looks good. I think I've installed 9,000 feet of bead board at this point between several houses. I love redoing kids rooms. Congrats on the baby. I imagine he's not born yet though. Nesting has to take place ahead of time.

Actually being my first time I can admit that we cheated and did precut boards. Made the project that much more doable for me. And thanks he was a little bit of surprise, and by that I mean we were in the adoption process and just completed our home study and not even 2 weeks later while on vacation we got a call that we were chosen. Needless to say has been a rollercoaster for the beginning of the year, but I would have it no other way. Right now he sleeps in our bedroom so no rush on getting him in the nursery/bedroom as he will have plenty of time in the up and coming years.

But yes the boards were precut, primed, and made it go quickly. Would recommended DAP or some time of sealeant along the edges or did you just leave it as is?
 
Would recommended DAP or some time of sealeant along the edges or did you just leave it as is?
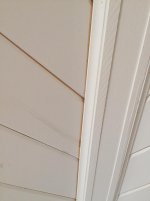
[MENTION=84680]wadle5[/MENTION] You may want to pop that trim off there, paint, then put the trim back on. The wood will expand and contract with the seasons. After I did my ceiling, of course after...., I talked to a guy that does it for a living. They paint the boards before install to avoid seeing the unpainted joints like I have in the winter on mine. If you caulk yours only caulk along the wall, the caulk will crack on the wood side when the humidity changes in the room.

Also if you do more of that and don't want to fill nail holes, you can blind nail it on the tongue part and its covered up by the next groove piece. See Russ, no nails!

wall.jpg
 

Attachments

  • wall.jpg
    wall.jpg
    144.4 KB · Views: 340
Last edited:
[MENTION=84680]wadle5[/MENTION] You may want to pop that trim off there, paint, then put the trim back on. The wood will expand and contract with the seasons. After I did my ceiling, of course after...., I talked to a guy that does it for a living. They paint the boards before install to avoid seeing the unpainted joints like I have in the winter on mine. If you caulk yours only caulk along the wall, the caulk will crack on the wood side when the humidity changes in the room.

Also if you do more of that and don't want to fill nail holes, you can blind nail it on the tongue part and its covered up by the next groove piece. See Russ, no nails!

View attachment 243077
Legit! brilliant fix on nailing on the tongue. I was wondering about the caulk or even if it was necessary and I guess we will just wait for now. Get it all painted later this week then go from there. Thanks for the quick tip though, totally makes sense.
 
A little shiplap action in the nursery. Just waiting for the puddy to dry to sand down then paint.
804e4c8a4d550a703d622748fb1a5ebe.jpg


Shelf from a friend made from a tree that predates European Colonization of North America
298c87e84e073c9a62cb2a9bfe52f578.jpg


Great looking stuff man! Love that shelf!!
 
Came up with an unorthodox way of attaching the toilet paper holder in the half bath. Wifeys idea. Love it though. Cool character.
847070882ac5648a98b88710ec44dcfb.jpg

5803c2f02b18e67901611bb346b5d55d.jpg

628e424d6d3db5f1a2e7dc24b9f7b187.jpg
 

Members online

Forum statistics

Threads
278,313
Messages
3,554,090
Members
248,016
Latest member
Advally Service

Trending content

Back
Top