

jham
New member
Call me crazy, but I'm obsessed with lighting. I always enjoy finding new ways to add light to my vehicles. After a few months of research, here's an option for any of you looking to add some additional lighting to the rear of your 3rd generation.
Project: Additional rear work lighting
Install time: ~2 hours
Cost: ~$35
Materials needed: electrical T-taps, butt connectors, male connectors, 16 gauge wire, heat shrink, liquid electrical tape, electrical tape, zip ties, various hand tools.
Power for this project will be drawn from the rear 12v plug, thus, you'll need to send constant power to it. To do this, go to the fuse box behind your battery. Notice the "PWR OUTLET" relay is the bottom right corner.

You'll need to make a jump wire, I recommend 14 gauge. 3 inches is enough. Crimp a male connector on both ends, shrink wrap it, and then apply liquid electrical tape. This may be overkill, but I prefer a better-than-factory install on everything I do.
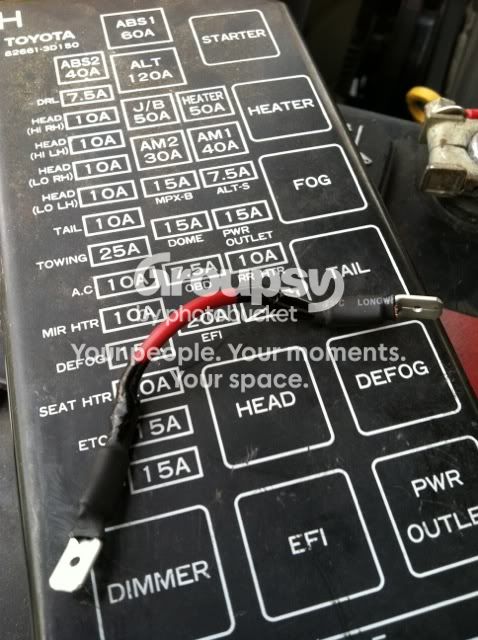
Jump the two holes closest to the fender with the wire, and test your outlet without the keys in the ignition.
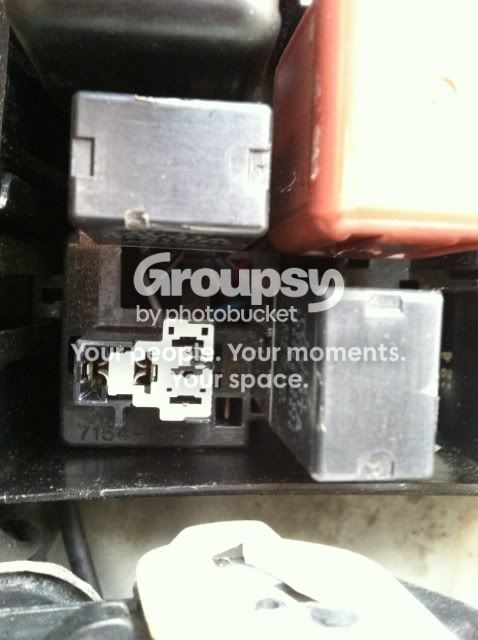

In the rear of your truck, pull the panel off that holds the 12v plug. Remove the ceiling panel that holds the rear cargo light. There are 4 screws under the light cover that need to be removed. Everything else is snap clips and remove easily with a little tugging.
Run your primary/ground wires from that hole where you removed the 12v panel, up to the grommet that goes through the rear door on the top left.
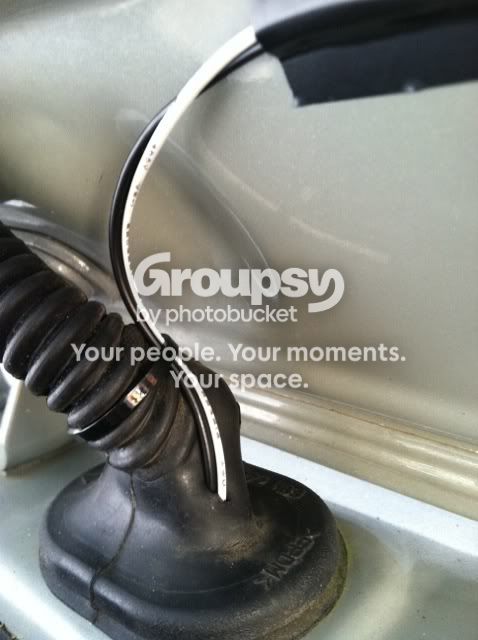
Many ways to feed wire, but I just tucked it in on the side with a flathead, then threaded it through the hole accordingly.
If you want to add a lighting strip to the small cargo compartment on the right, you'll need to drill a small hole to feed wires through. You can choose where. I did it at the bottom of the right side so it would be hidden. Feed more primary/ground wires through there. Tape the light strip on the top of the compartment on the inside.

At this point, you should have all of your wires coming out through the hole where you removed the 12v panel. Add a T-tap to both wires going into the 12v socket. One wire from your switch will tap into power there. The other wire from your switch will be tied into your new power leads for your LEDs.
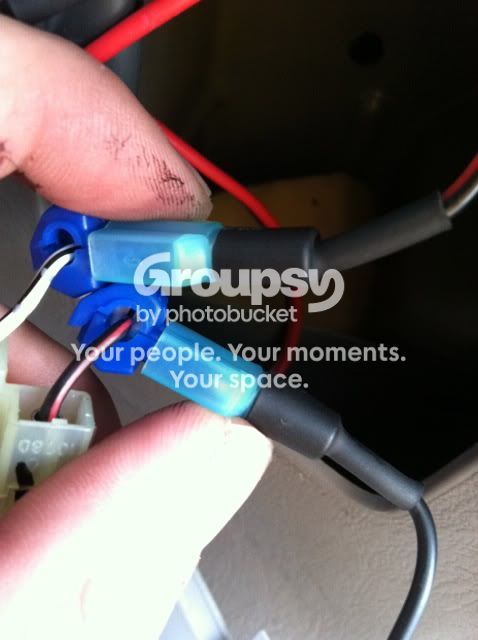
Take your ground wires from your LEDs and crimp them together, and plug them into the T-tap on the ground wire going into the 12v socket. Now your LEDs are grounded, and your switch has power coming to it, and when you flip it on, power will be sent to your LEDs.
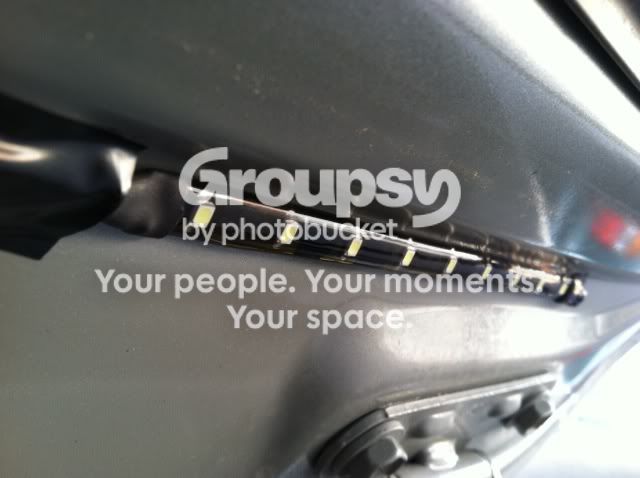
For the lights, I used the 6inch waterproof LED strips from Oznium in cool white. $8.99 each. Remove the 3m backing and place them on the rear door, just below where the rubber door seal comes in contact with the door. In the picture below, you can see residue from the contact point with the door seal. Just below that, there is a small down slope. Put your lights there, and they won't get crushed.

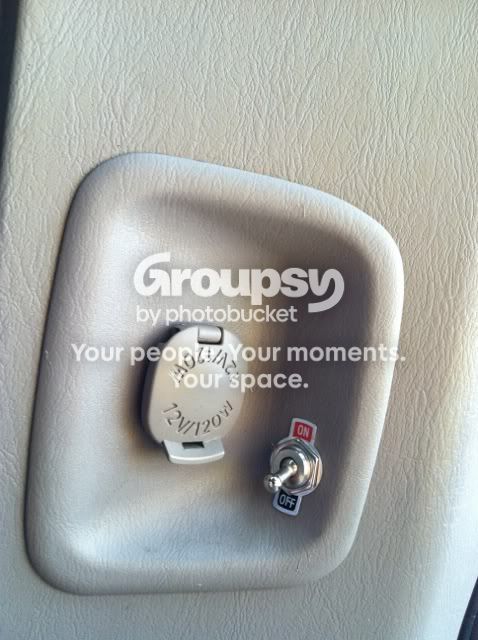
I mounted my switch on the 12v socket panel. I didn't get one with an LED indicator, simply because this requires one more ground cable, and let's be honest - there's no need for an LED indicator on the switch. If your lights are on, you'll know it.
Conclusion:
After this install, you'll have constant power to your 12v socket, and you'll have available lighting on the rear of your truck at any time. The only visible change is the small switch, and the lights when the door is open.
I'll post pictures of light output after it gets dark.
Project: Additional rear work lighting
Install time: ~2 hours
Cost: ~$35
Materials needed: electrical T-taps, butt connectors, male connectors, 16 gauge wire, heat shrink, liquid electrical tape, electrical tape, zip ties, various hand tools.
Power for this project will be drawn from the rear 12v plug, thus, you'll need to send constant power to it. To do this, go to the fuse box behind your battery. Notice the "PWR OUTLET" relay is the bottom right corner.
You'll need to make a jump wire, I recommend 14 gauge. 3 inches is enough. Crimp a male connector on both ends, shrink wrap it, and then apply liquid electrical tape. This may be overkill, but I prefer a better-than-factory install on everything I do.
Jump the two holes closest to the fender with the wire, and test your outlet without the keys in the ignition.
In the rear of your truck, pull the panel off that holds the 12v plug. Remove the ceiling panel that holds the rear cargo light. There are 4 screws under the light cover that need to be removed. Everything else is snap clips and remove easily with a little tugging.
Run your primary/ground wires from that hole where you removed the 12v panel, up to the grommet that goes through the rear door on the top left.
Many ways to feed wire, but I just tucked it in on the side with a flathead, then threaded it through the hole accordingly.
If you want to add a lighting strip to the small cargo compartment on the right, you'll need to drill a small hole to feed wires through. You can choose where. I did it at the bottom of the right side so it would be hidden. Feed more primary/ground wires through there. Tape the light strip on the top of the compartment on the inside.
At this point, you should have all of your wires coming out through the hole where you removed the 12v panel. Add a T-tap to both wires going into the 12v socket. One wire from your switch will tap into power there. The other wire from your switch will be tied into your new power leads for your LEDs.
Take your ground wires from your LEDs and crimp them together, and plug them into the T-tap on the ground wire going into the 12v socket. Now your LEDs are grounded, and your switch has power coming to it, and when you flip it on, power will be sent to your LEDs.
For the lights, I used the 6inch waterproof LED strips from Oznium in cool white. $8.99 each. Remove the 3m backing and place them on the rear door, just below where the rubber door seal comes in contact with the door. In the picture below, you can see residue from the contact point with the door seal. Just below that, there is a small down slope. Put your lights there, and they won't get crushed.
I mounted my switch on the 12v socket panel. I didn't get one with an LED indicator, simply because this requires one more ground cable, and let's be honest - there's no need for an LED indicator on the switch. If your lights are on, you'll know it.
Conclusion:
After this install, you'll have constant power to your 12v socket, and you'll have available lighting on the rear of your truck at any time. The only visible change is the small switch, and the lights when the door is open.
I'll post pictures of light output after it gets dark.
Last edited:


