Reviving this older thread for those that may be looking into doing this.
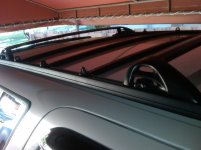
My "new to me" 2000 Limited had rack side rails where the paint was 70% flaked off. The main top rails were worn off as well.
I removed the entire roof rack as one piece by simply unscrewing the torx screws holding the side rails to the roof. Once on the ground, everything disassembles logically.
I also took off the rear deflector, so that everything on the roof will match when this project is all done.
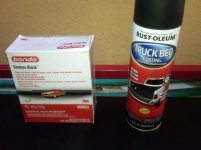
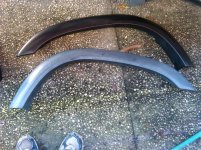
Everything that was plastic was treated with an automotive plastic restorer - Bondo 800 black restore. Everything that was rubber was treated with automotive rubber restorer - but the rubber pieces actually looked like new anyway.
Everything that was metal was given a quick sanding and dropped off for sand blasting and powder coating. Looked up a few "metal finishing" places online, and took the 8 pieces (7 rack pieces plus 1 deflector piece). They charged $125 for sand blasting and a single coat. I paid $150 total to also have a second semi-gloss coat, which they said would most closely match the original texture visible on the underside of the deflector.
The next day I picked up the pieces, reassembled, and it doesn't just look new - it is basically the same as new. The powder coat shop said, if parked outside and driven normally, should last 5-7 years before showing any signs of wear. To me, that was easily worth the money so I don't have to disassemble every year or two to touch-up.
Some notes - confirming what others have said about power coating:
-Before you do anything, snap a couple pictures of how it should look when you put it back together.
-Disassembly is very easy if you just go slowly and don't force anything.
-To replace the missing rubber tape padding at each screw hole, I used double-sided 3M body tape available for $7 at any auto parts store. I cut about a 3/4" piece and used a hole punch to make an opening for the screw. Pretty simple.
-During reassembly, start by screwing the side rails onto the roof, with the tape at each hole and filling each hole with silicon sealant first. *Leave the back end caps off of each side rail*.
-Then reassemble each rail and slide it on in the right direction and right order referencing the picture you took before disassembly.
-Finally, put the back end caps onto each side rail.
You could try reassembling the entire thing on the ground and then placing it on the roof, but that gets tricky to line up all the tape and silicon. Maybe with a partner it would be possible.
Sorry I don't have pictures - but you basically can't distinguish it from a new rack - the texture is smooth, dark, and consistent. The match between the plastic and rubber pieces is spot on.