
ramonortiz55
New member
I decided to create a writeup for Replacing the valve cover gaskets on my 2001 4runner since I couldn't find a true write up on here.
Most of the valve cover gaskets involved no pictures, not enough, or missing information.
So here we go:
Decided to do a detailed writeup for swapping the valve cover gaskets on my 2001 4runner.
This job took me nearly two days - It was my first time doing this and I do like to take my time while working on cars. I've been known to start working on a car, leave it alone and come back and finish it a few days later. LOL.
I know some of you are not as patient as me, I just am never in a rush when working on cars.
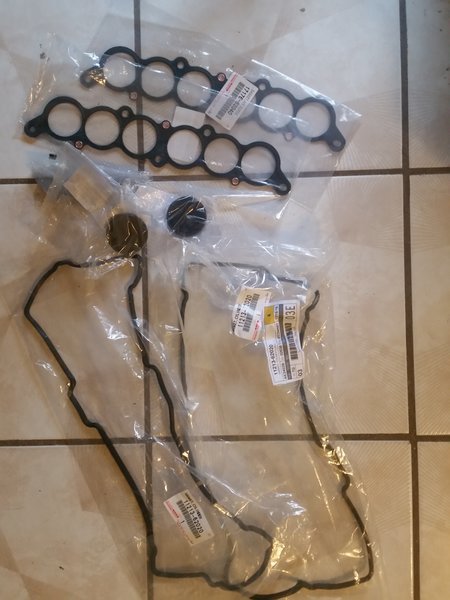
So this it the list of items needed with Toyota Part numbers:
1. Valve cover gaskets - Part #11213-62020 - 2 Total
2. Spark Plug Tube gaskets - Part #11193-16010 - 6 Total
3. Intake Plenum Gaskets - Part #17176-62040 - 2 Total
4. Washer Seals - Part #90210-05007 - 16 Total
5. Camshaft Plugs - Part #11188-62010 - 2 Total
6. Halfmoon Plugs - Part #11183-62010 - 4 Total
7. PCV Valve Grommet - Part #90480-18001 - 1 Total
8. Toyota FIPG seal packing - Part #00295-00103 - 1 Tube
**Throw the PCV Valve Grommet and Spark Plug Tube Gaskets in the Freezer a night before. I will explain why later**
Mandatory parts picture:
My research links:
http://www.toyota-4runner.org/3rd-gen-t4rs/91765-valve-cover-gasket.html
http://www.toyota-4runner.org/3rd-g...e-cover-gasket-replacement-part-s-n-pics.html
http://www.yotatech.com/f2/5vzfe-leaky-valve-covers-fixed-56k-beware-149594/
http://www.toyota-4runner.org/3rd-gen-t4rs/109197-valve-cover-gasket-replacement-job.html
Now let's tackle this job!
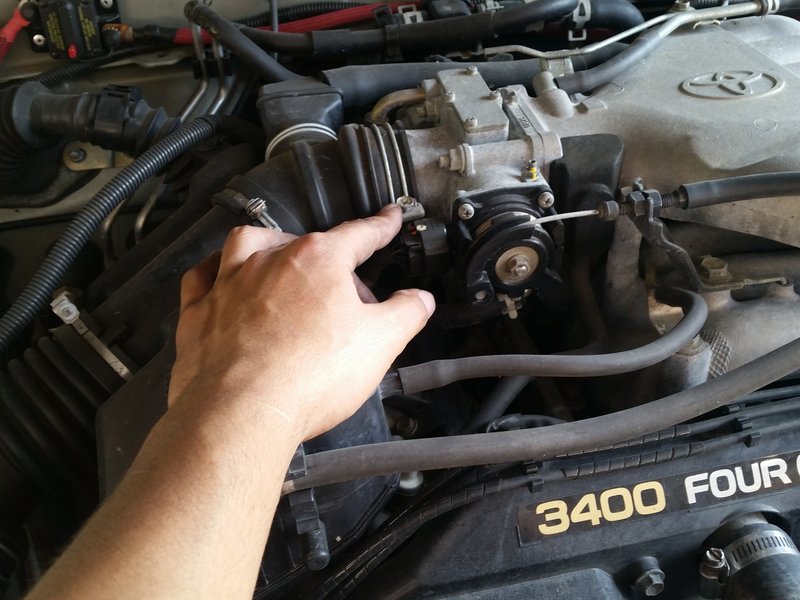
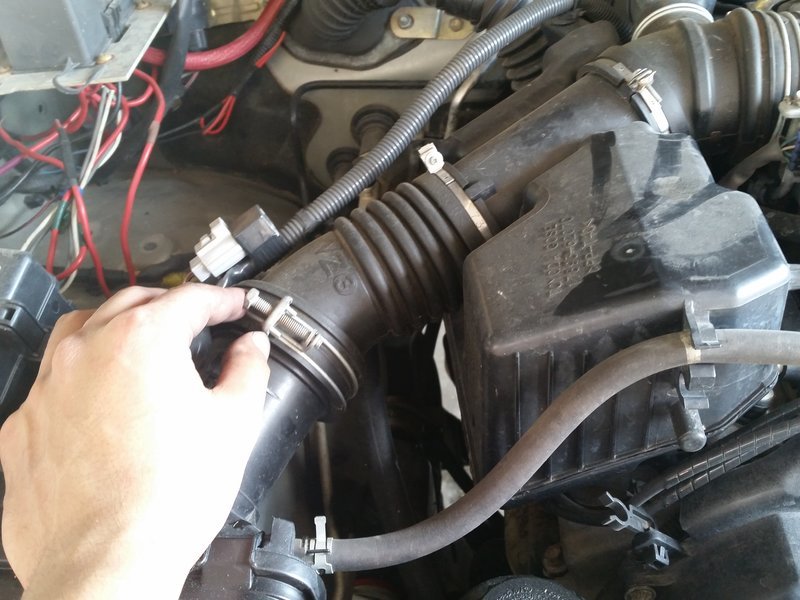
First step is removing the airbox assembly, loosen airbox bolts and straps:
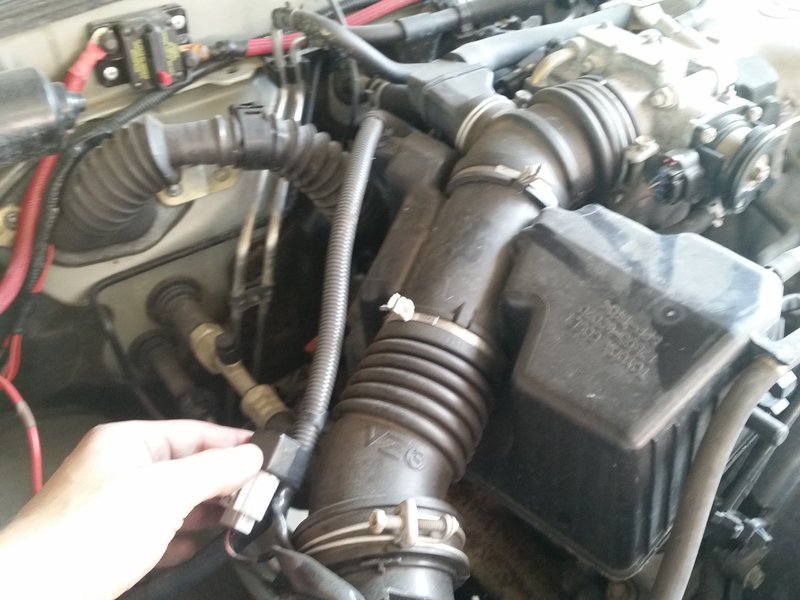
unplug mass airflow sensor and any other connectors in the vicinity:
There will be a smaller airbox towards the firewall with some airlines connecting into it, remove the airhoses and the small airbox:
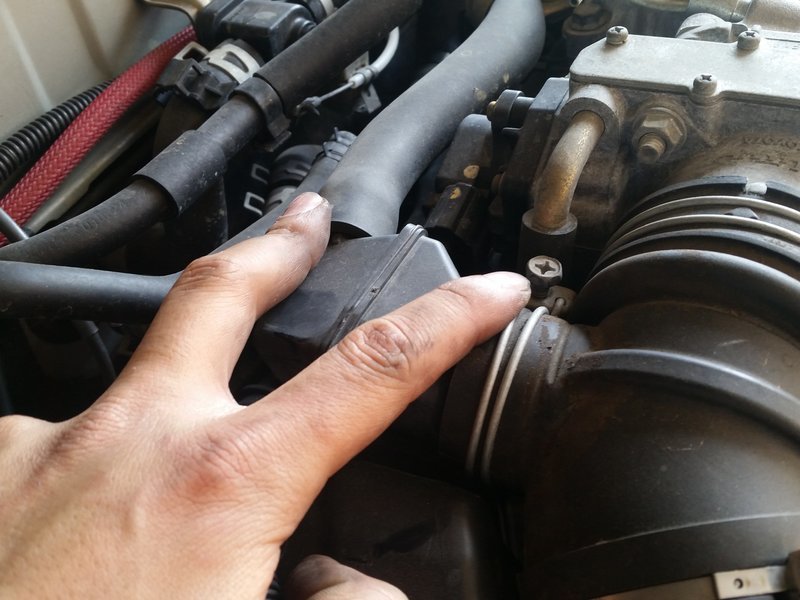
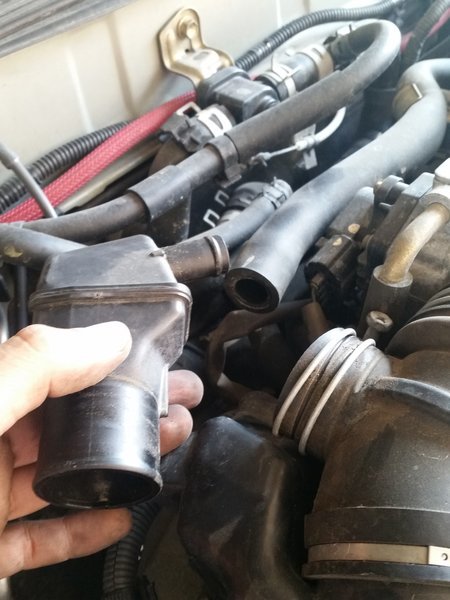
Don't forget the airhoses that run towards the front of the engine towards the piping of the airbox:
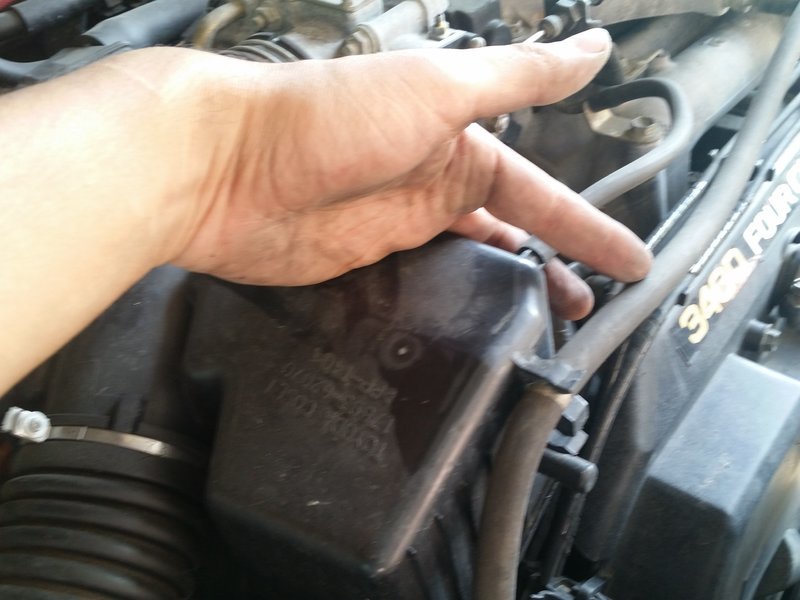
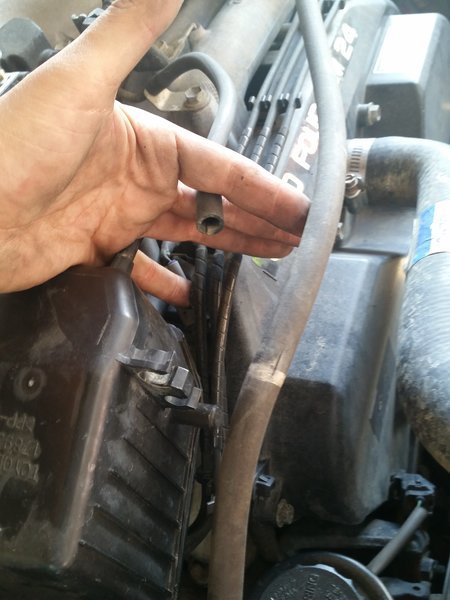
Loosening these thinner clamps will help removing the piping to the airbox:
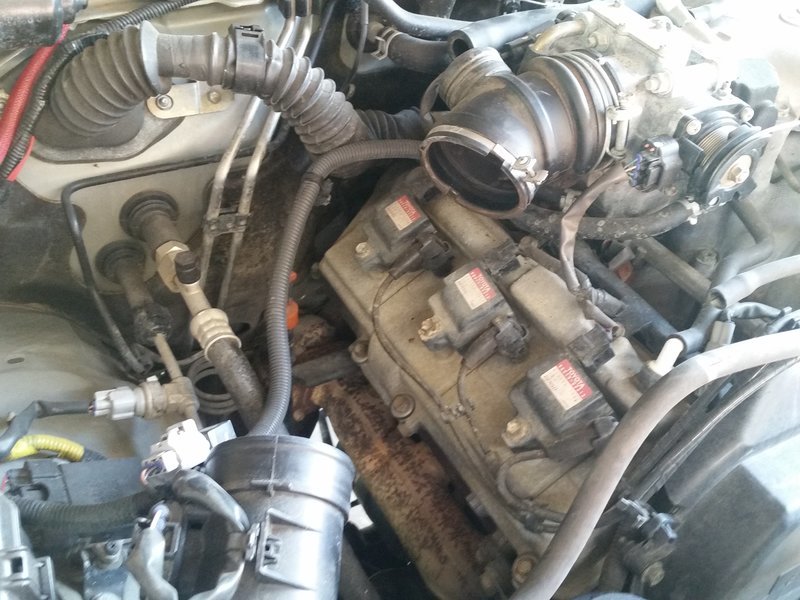
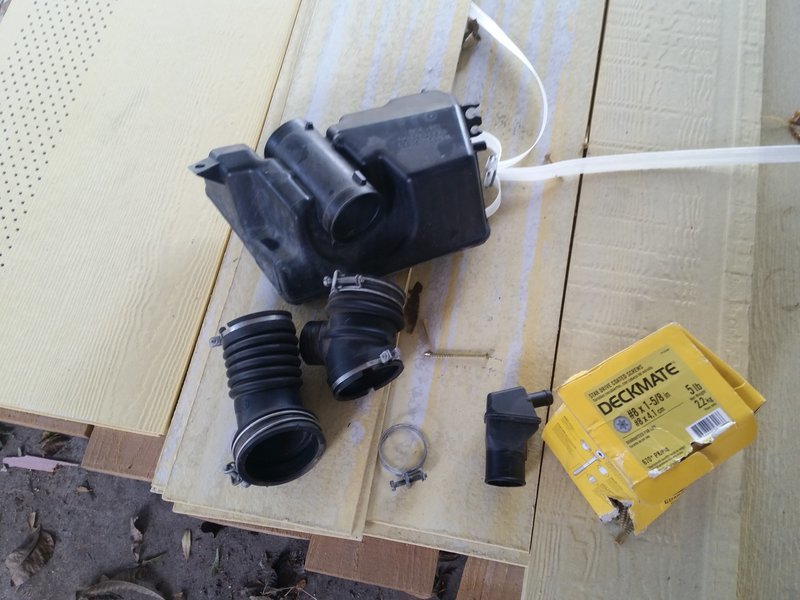
Remove another plug, this one is right besides the accelerator cable:
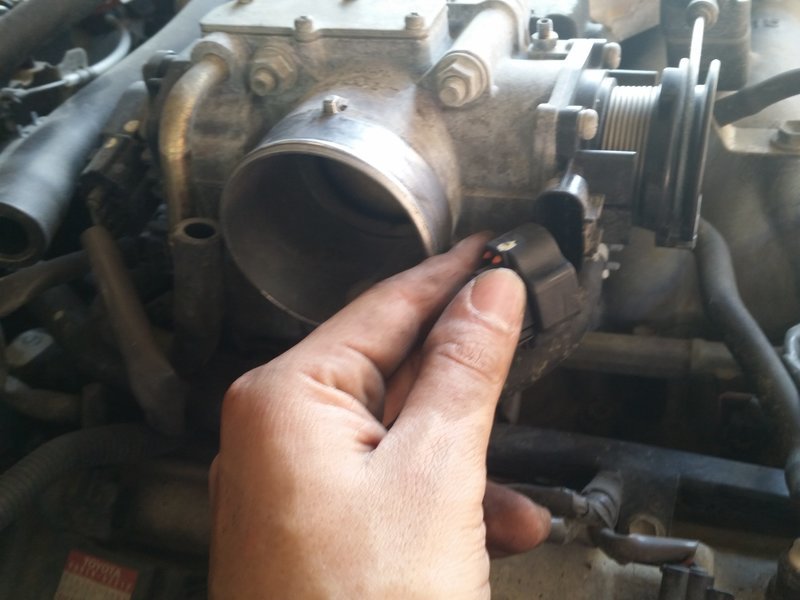
Three cooling lines will be feeding into the throttle body, these can be removed also:
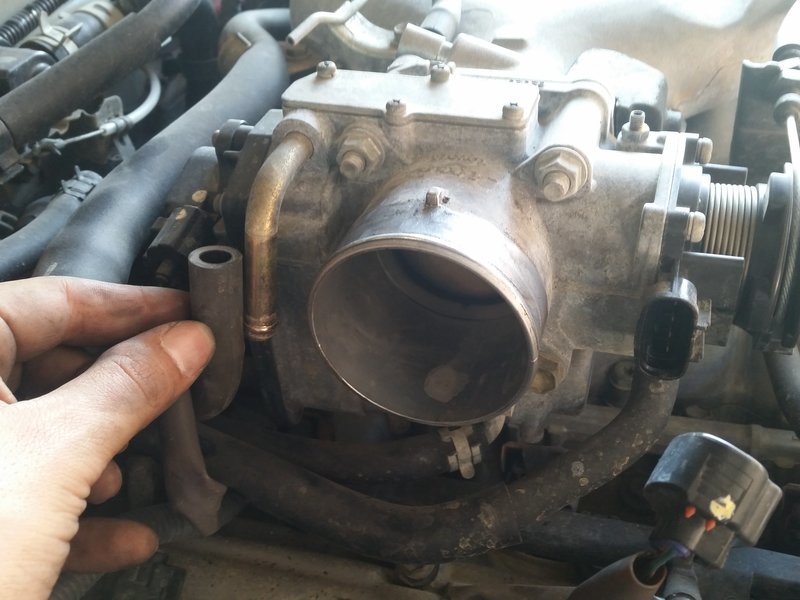
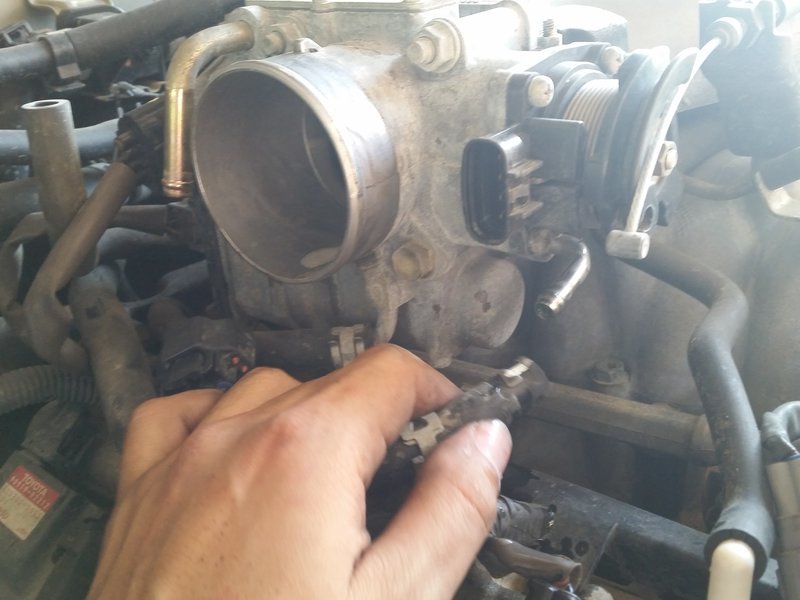
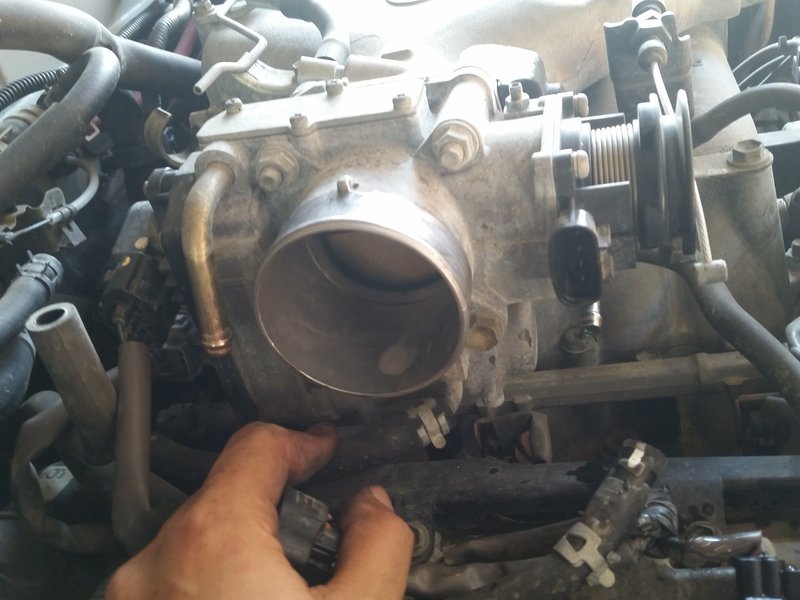
Another plug:
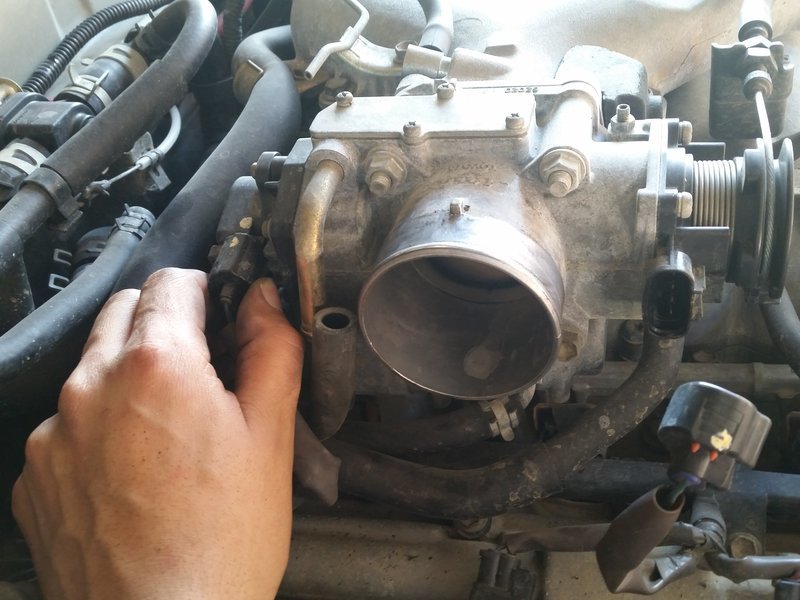
Remove the accelerator cable off the throttle, this can be done by clocking the body of the spring and sliding it out carefully:
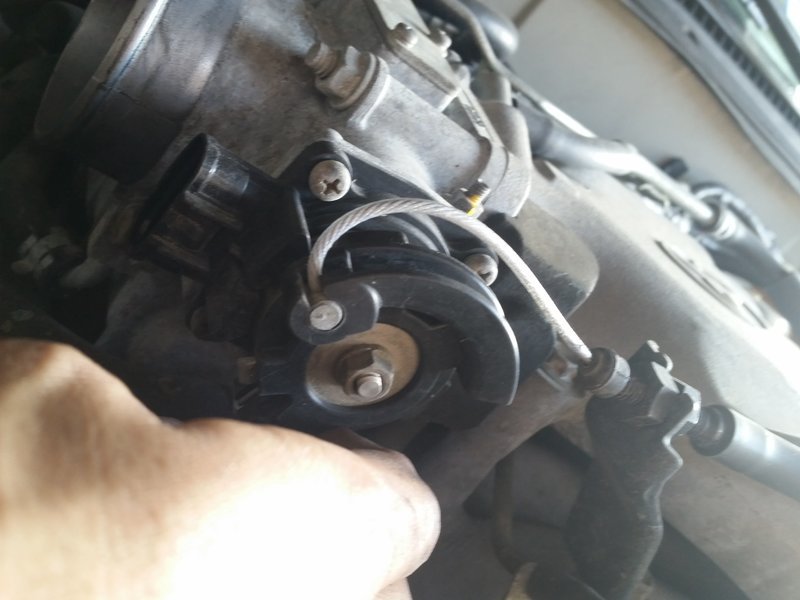
Another picture of everything removed:
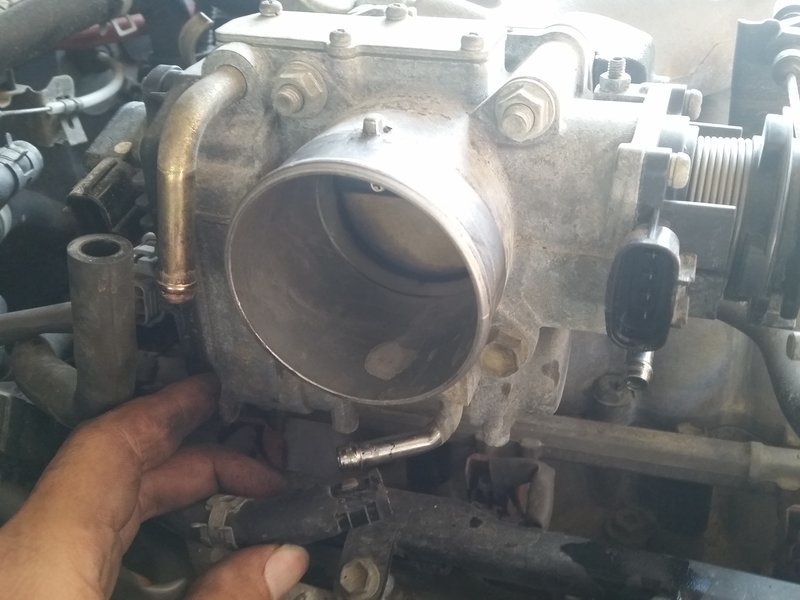
Remove the two top nuts that are holding the throttle in position:
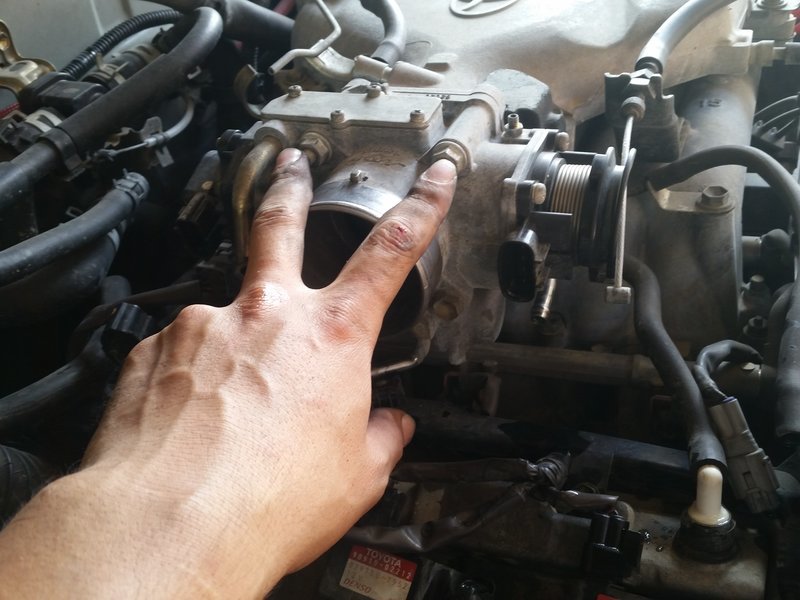
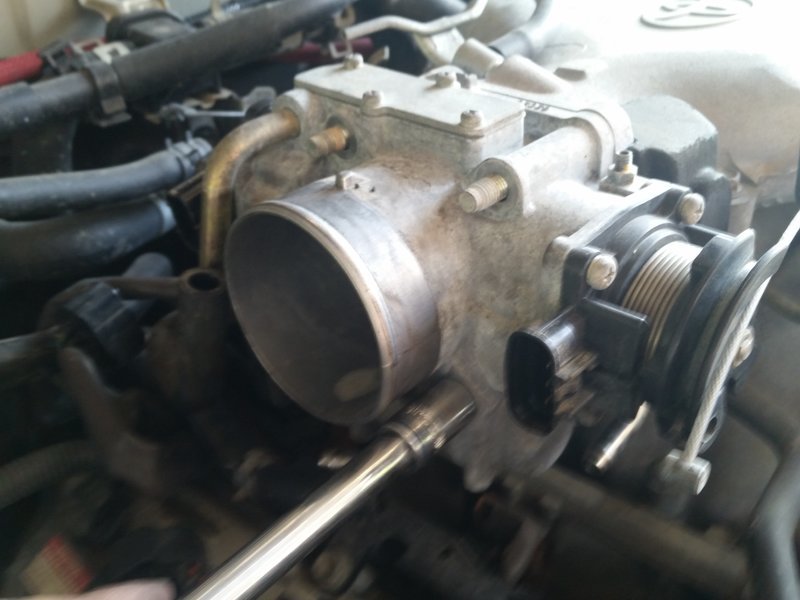
Now remove the bottom bolts that are holding the throttle in position:
Most of the valve cover gaskets involved no pictures, not enough, or missing information.
So here we go:
Decided to do a detailed writeup for swapping the valve cover gaskets on my 2001 4runner.
This job took me nearly two days - It was my first time doing this and I do like to take my time while working on cars. I've been known to start working on a car, leave it alone and come back and finish it a few days later. LOL.
I know some of you are not as patient as me, I just am never in a rush when working on cars.
So this it the list of items needed with Toyota Part numbers:
1. Valve cover gaskets - Part #11213-62020 - 2 Total
2. Spark Plug Tube gaskets - Part #11193-16010 - 6 Total
3. Intake Plenum Gaskets - Part #17176-62040 - 2 Total
4. Washer Seals - Part #90210-05007 - 16 Total
5. Camshaft Plugs - Part #11188-62010 - 2 Total
6. Halfmoon Plugs - Part #11183-62010 - 4 Total
7. PCV Valve Grommet - Part #90480-18001 - 1 Total
8. Toyota FIPG seal packing - Part #00295-00103 - 1 Tube
**Throw the PCV Valve Grommet and Spark Plug Tube Gaskets in the Freezer a night before. I will explain why later**
Mandatory parts picture:
My research links:
http://www.toyota-4runner.org/3rd-gen-t4rs/91765-valve-cover-gasket.html
http://www.toyota-4runner.org/3rd-g...e-cover-gasket-replacement-part-s-n-pics.html
http://www.yotatech.com/f2/5vzfe-leaky-valve-covers-fixed-56k-beware-149594/
http://www.toyota-4runner.org/3rd-gen-t4rs/109197-valve-cover-gasket-replacement-job.html
Now let's tackle this job!
First step is removing the airbox assembly, loosen airbox bolts and straps:
unplug mass airflow sensor and any other connectors in the vicinity:
There will be a smaller airbox towards the firewall with some airlines connecting into it, remove the airhoses and the small airbox:
Don't forget the airhoses that run towards the front of the engine towards the piping of the airbox:
Loosening these thinner clamps will help removing the piping to the airbox:
Remove another plug, this one is right besides the accelerator cable:
Three cooling lines will be feeding into the throttle body, these can be removed also:
Another plug:
Remove the accelerator cable off the throttle, this can be done by clocking the body of the spring and sliding it out carefully:
Another picture of everything removed:
Remove the two top nuts that are holding the throttle in position:
Now remove the bottom bolts that are holding the throttle in position:


