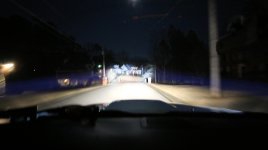
RIGID SR2 10" HyperSpot Mounted to C4 Fab Hood Scoop Kit

HiVel-JR

New member
One more Rigid install. Just ran across C4 Fab's thread when i was doing my CBI hood mounts. So I figured... why not.

The install was easier than the CBI hood mount install. I took my time so it took about half a day.

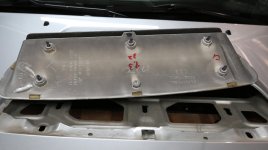
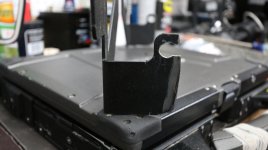
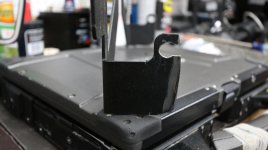
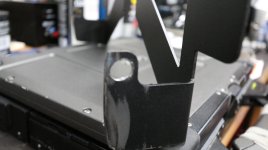
So it all started with the mount from C4 Fab.
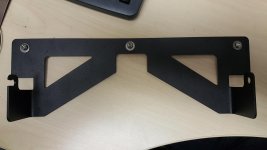
20160122_144112.jpg

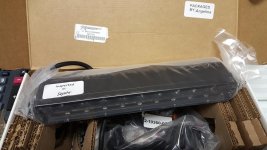
Then found the SR2 10" Hyperspot
20160122_150740.jpg

You will have to take your hood insulation out and i am a tard when it comes to taking these out, I broke every single one, so i went to advanced auto and bought replacements. problem solved.
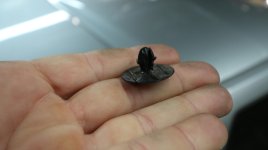
IMG_4178.jpg

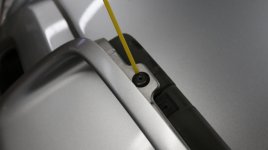
Took off 5 little bolts (10mm socket) and one phillips head screw (middle hole under the insulation.
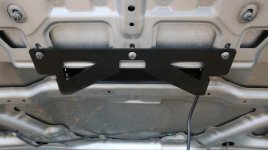
IMG_4181.jpg

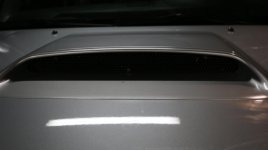
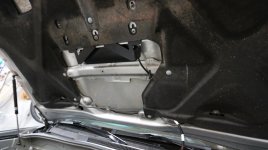
Scoop pops right out
IMG_4174.jpg

Looks strange without the scoop in there.
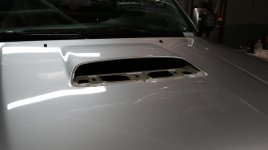
IMG_4173.jpg
 

Attachments

  • IMG_4178.jpg
    IMG_4178.jpg
    122.5 KB · Views: 1,122
  • IMG_4181.jpg
    IMG_4181.jpg
    133.3 KB · Views: 1,136
  • 20160122_144112.jpg
    20160122_144112.jpg
    143.2 KB · Views: 1,118
  • 20160122_150740.jpg
    20160122_150740.jpg
    136 KB · Views: 1,119
  • IMG_4174.jpg
    IMG_4174.jpg
    129 KB · Views: 1,179
  • IMG_4173.jpg
    IMG_4173.jpg
    124.2 KB · Views: 1,226
Register to hide this ad
Next comes the fun part. Drilling out the rivets that hold the scoop together.

One rivet on bottom and two on top. I think i used a 11/56 bit or something like that and the drill right out.

IMG_4175.jpg

IMG_4176.jpg

IMG_4177.jpg
 

Attachments

  • IMG_4175.jpg
    IMG_4175.jpg
    124.1 KB · Views: 1,103
  • IMG_4176.jpg
    IMG_4176.jpg
    130.8 KB · Views: 1,128
  • IMG_4177.jpg
    IMG_4177.jpg
    117.1 KB · Views: 1,111
Once the scoop is apart there are three bolts that are provided with the kit.
Use those three bolts to put just the mesh back in the scoop.

Place the scoop back into the hood. Put the front two bolts in and the phillips screw back into the scoop.

IMG_4180.jpg
 

Attachments

  • IMG_4180.jpg
    IMG_4180.jpg
    123.1 KB · Views: 1,081
  • IMG_4185 - Copy.jpg
    IMG_4185 - Copy.jpg
    130.6 KB · Views: 1,096
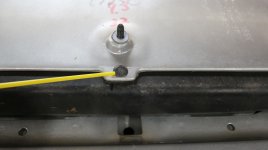
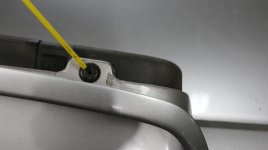
The next two pics are a little modification i had to make to the mount due to the Rigid light being a little taller than i thought.

I drilled out and down the holes for the bolts. - maybe an 1/8 inch?
Then ground the pillars down 1/8 inch and finally used some large washers between the mount and the hood to create a little more room for the light up inside the scoop. It worked out great and only took me about 15 minutes for the minor adjustment.

IMG_4185.jpg

IMG_4186 - Copy.jpg
 

Attachments

  • IMG_4185.jpg
    IMG_4185.jpg
    130.6 KB · Views: 1,041
  • IMG_4186 - Copy.jpg
    IMG_4186 - Copy.jpg
    128.5 KB · Views: 1,033
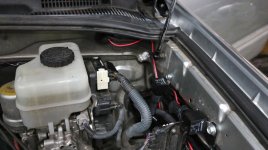
Used a tap screw to bolt the relay on and then busted through the fire wall once more with the wire.
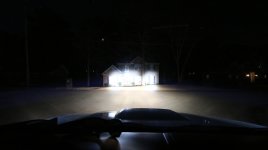
I also took about three feet out of the wire from the light to the relay and solder the wires back together. Result - shorter wire to the light.

IMG_4234.jpg

Bolted everything down tight with the mount. - NOT TOO TIGHT, just snug enuff.

IMG_4235.jpg
 

Attachments

  • IMG_4234.jpg
    IMG_4234.jpg
    136.9 KB · Views: 1,055
  • IMG_4235.jpg
    IMG_4235.jpg
    132.6 KB · Views: 1,069
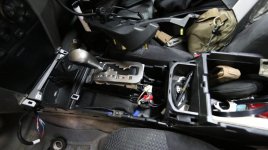
Ran wires over the brake and gas pedal and under the center console.
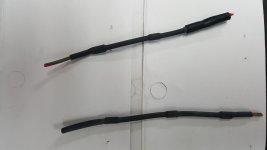
IMG_4236.jpg

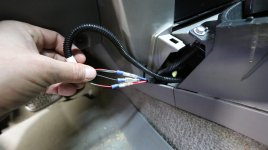
Here are the factory wires from the FJ switch running to the wires from the Rigid light. (to get the green light to work when turning on the switch)

1-cut out the relay on the red wire coming from the FJ switch
2-join the top wire (Red/blue) from the FJ switch and green wire to the blue wire.
3- and obviously black to black and red to red.

IMG_4239.jpg

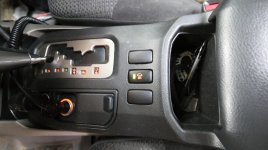
And yes I figured it seemed only fitting to use the center button to control the center light. Cyclops?

IMG_4241.jpg
 

Attachments

  • IMG_4236.jpg
    IMG_4236.jpg
    134.7 KB · Views: 1,068
  • IMG_4239.jpg
    IMG_4239.jpg
    134 KB · Views: 1,175
  • IMG_4241.jpg
    IMG_4241.jpg
    135.3 KB · Views: 1,064
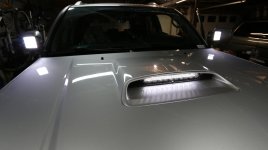
Its all buttoned up and looks great.
SO... if a cyclops closes his eye... is that a wink or a blink>? stupid joke...

From the garage
IMG_4243.jpg

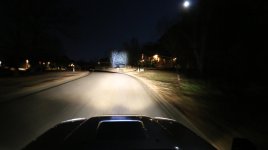
Just with the center light on
IMG_4256.jpg

Center light and the hood pillar lights.
IMG_4261.jpg
 

Attachments

  • IMG_4243.jpg
    IMG_4243.jpg
    127.4 KB · Views: 1,612
  • IMG_4256.jpg
    IMG_4256.jpg
    131.9 KB · Views: 1,151
  • IMG_4261.jpg
    IMG_4261.jpg
    133 KB · Views: 1,260
Found these wires on the floor under my work bench.

These are the relays in the wire that you need to cut out/delete in the FJ switch wire assembly in order to get the lights on the switch to work.


Red with a green stripe. The relays are covered by plastic heat shrink.

20160127_222214.jpg
 

Attachments

  • 20160127_222214.jpg
    20160127_222214.jpg
    134.6 KB · Views: 921
In case anyone is wondering, I checked my engine bay last night after the drive home on the interstate in a heavy rain.

No water on or in the engine with the hood scoop opened up. It appears that the water sits still on the hood around the hood scoop, even while going 75 mph.
 
I'm currently attempting to install mine.

Is the method of installing from Rigid extremely frustrating? What am I missing? The "compression spacer" allows the supplied bolt to spin while attempting to tighten the bolt…

How is anyone suppose to install the brackets into these lights?
 
I am not sure i understand the issue. I did not have any spinning bolts. Maybe the light is broken? Are you referring to the studs/bolts that stick out on both sides of the light.

the only thing that spun was the washers and the nuts. They tightened right up to the mount.

The mount bolted onto the hood scoop bolts. (Not too tight the bolts on the hood scoop can break.)
 
I'm currently attempting to install mine.

Is the method of installing from Rigid extremely frustrating? What am I missing? The "compression spacer" allows the supplied bolt to spin while attempting to tighten the bolt…

How is anyone suppose to install the brackets into these lights?

Kyle, did you figure it out??? What was the issue?
 
Kyle, did you figure it out??? What was the issue?


Yeah, manufacturing issue on Rigids part. But got it bolted up and mounted with a little help from an extra set of hands.

This is my first LED bar. It surprised me how bright it really is. Love it.
 
Yeah, manufacturing issue on Rigids part. But got it bolted up and mounted with a little help from an extra set of hands.

This is my first LED bar. It surprised me how bright it really is. Love it.

I figured it was something wrong with the light based off of what you said.

AND yeah an extra pair of hands would have been nice when i did mine.

Put some pics on if you get a chance.

thanks
 

Members online

Forum statistics

Threads
278,316
Messages
3,554,122
Members
248,016
Latest member
Advally Service

Trending content

Back
Top