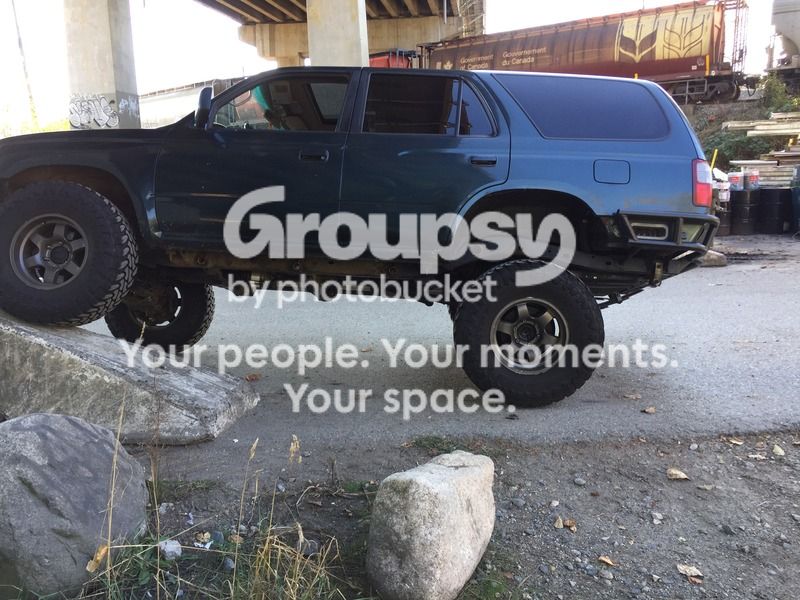
S.Beaty's 1996 Sr5

S.Beaty

New member
Hi everyone.

Its been a while since I've made a build thread for a vehicle but I wanted to for my 4Runner now that its becoming a little less of a cookie cutter build. Ifind its a good way to keep me motivated and look back at the progress I've made. My dad likes to check them from time to time to see what i'm up to as well :)


Here is my 1996 SR5 5 speed with factory Elocker :lookout:

The first few post are a copy and paste from another forum. sory for the confusion ...


When I first got it...
Picking it up at the shipping yard.

IMG_0361.jpg~original

IMG_0364.jpg~original

IMG_0380.jpg~original

IMG_0392.jpg~original

IMG_0410.jpg~original

IMG_0412.jpg~original

IMG_0409.jpg~original


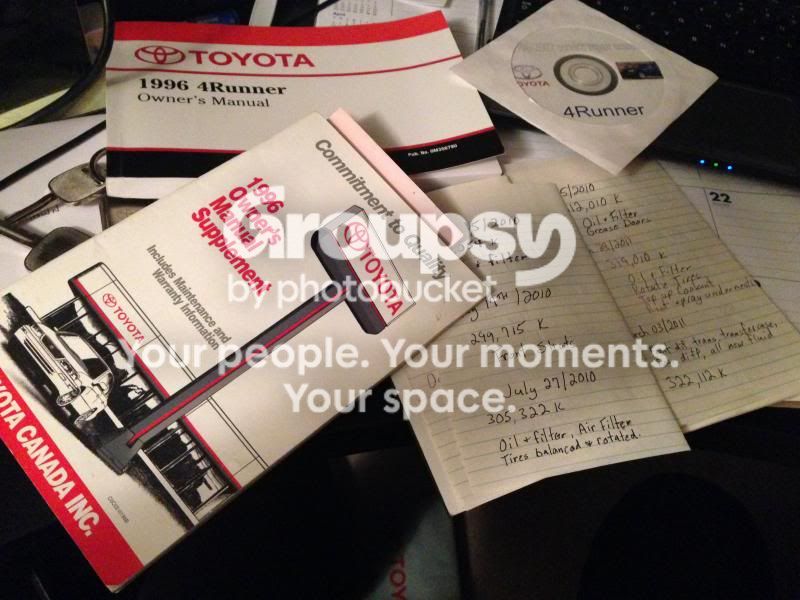
Dad knows about maintenence.
IMG_0369.jpg~original

IMG_0367.jpg~original


Had to break it in :)

IMG_0421.jpg~original

IMG_0420.jpg~original
 
Last edited:

Register to hide this ad
Then some maintenance.

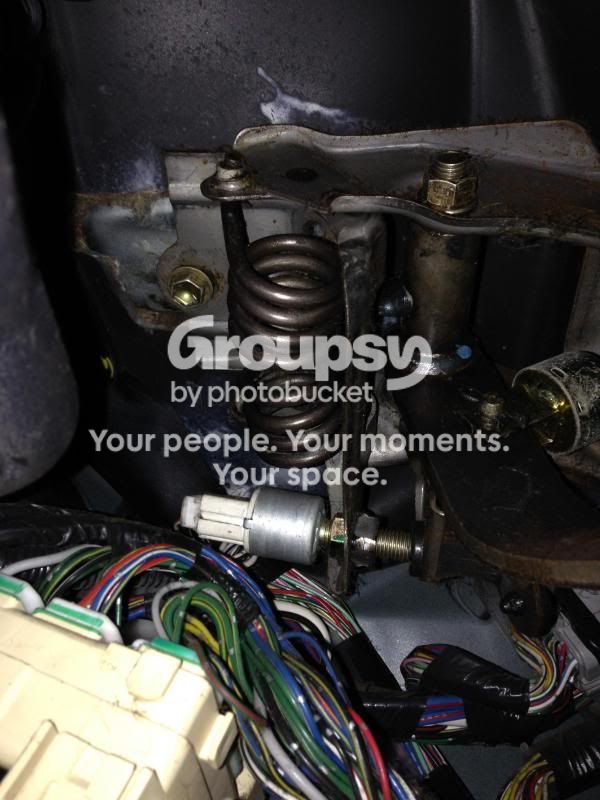
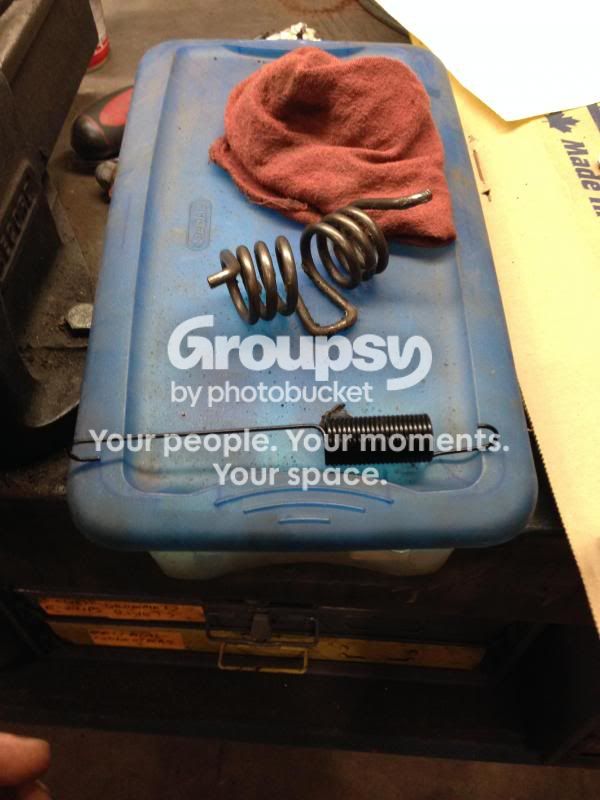
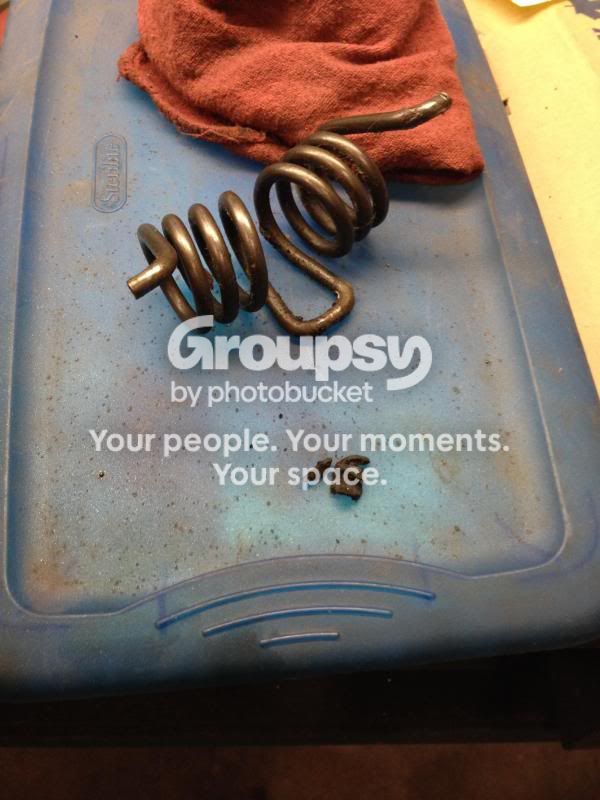
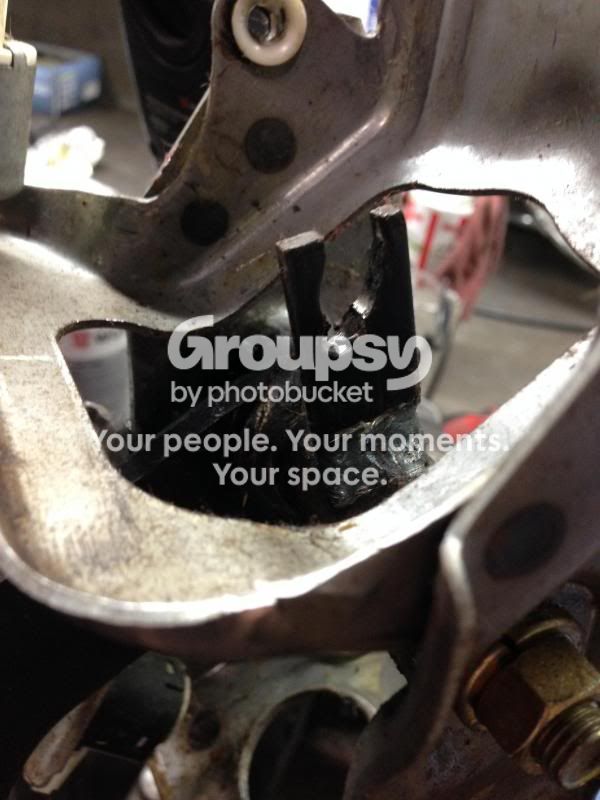
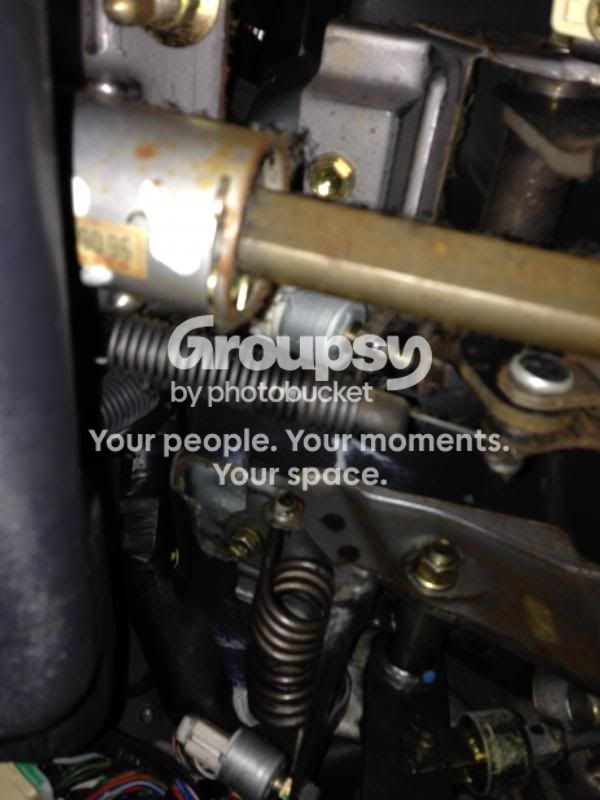
Changed the clutch return spring to a more conventional style as there are a "problem" on 3rd gen 4runners. easy peasy. it already had provisions for it.
IMG_0432.jpg~original

IMG_0433.jpg~original

IMG_0444.jpg~original

IMG_0442.jpg~original

IMG_0443.jpg~original

IMG_0445.jpg~original

IMG_0435.jpg~original


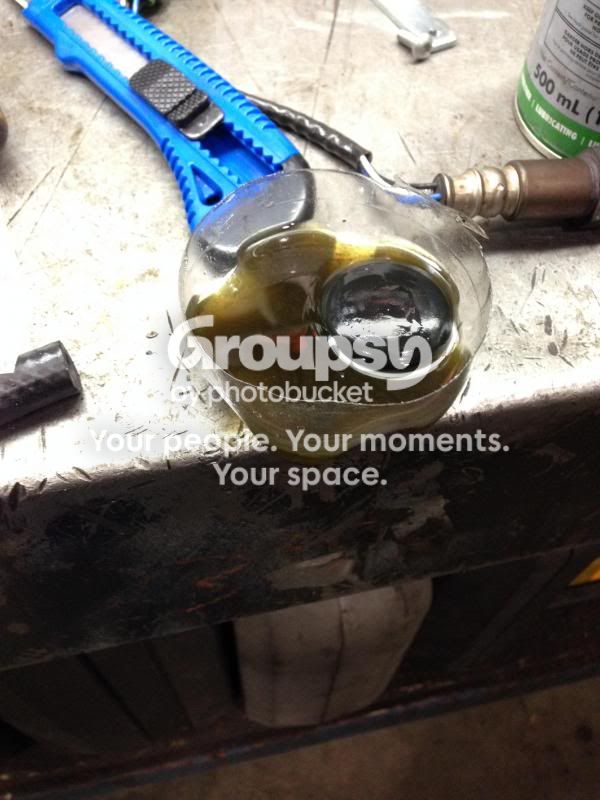
Nasty brake fluid from clutch master.
IMG_0439.jpg~original


New one in its home :)
IMG_0447.jpg~original


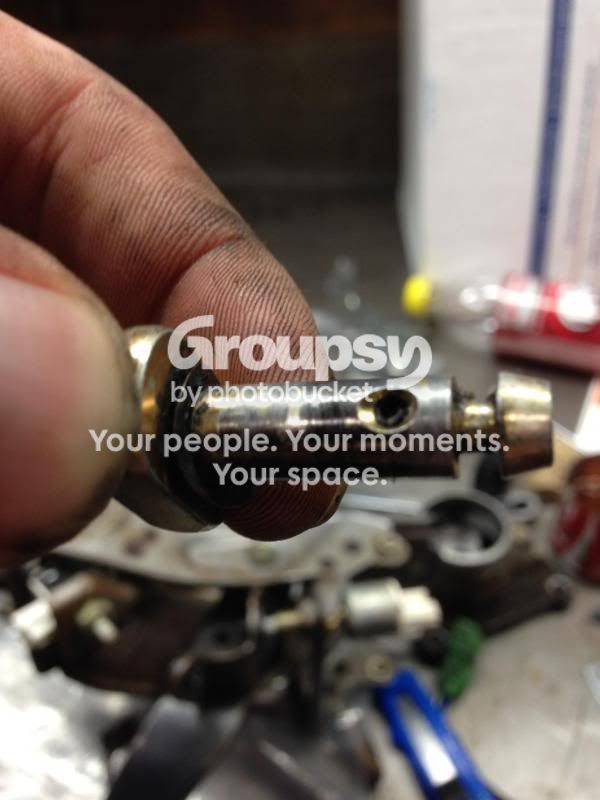
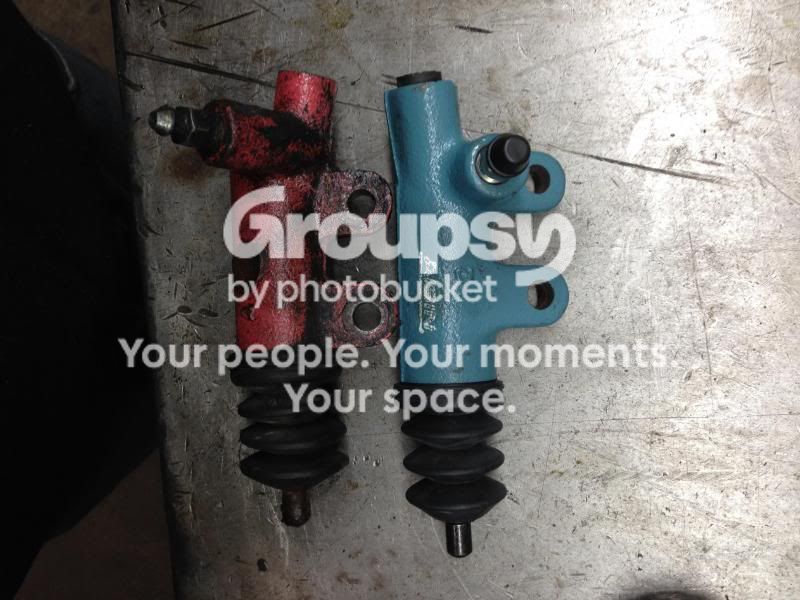
It had a 3rz clutch slave. new 5vz one ready to go in (bolt spacing vs. end of cylinder is different)
IMG_0449.jpg~original


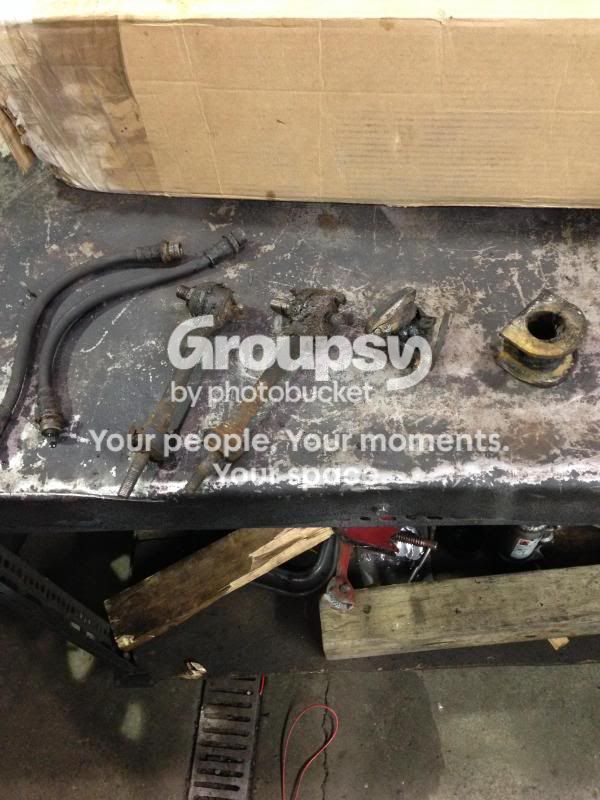
Needed to replace this to pass out of province inspection .??? :-??
IMG_0479.jpg~original

IMG_0478.jpg~original


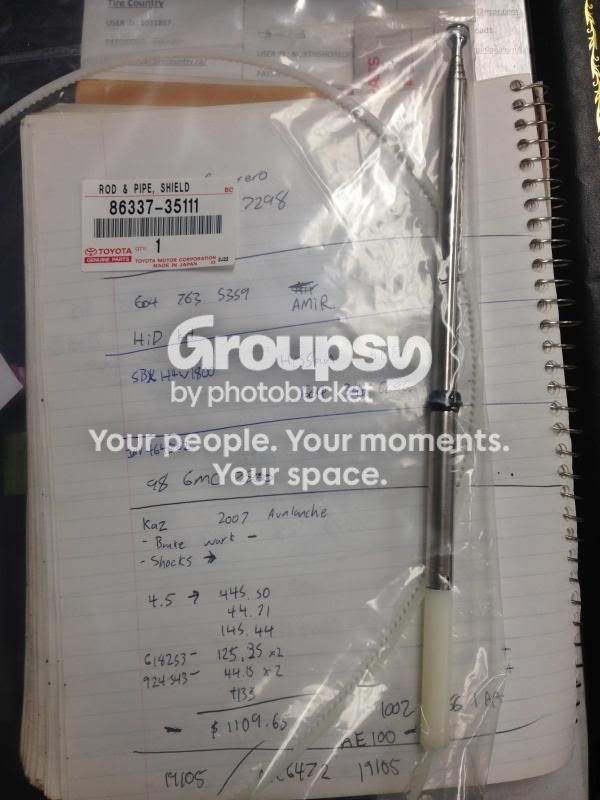
New antenna mast because the other was broken. and i wanted to make sue everything worked. I also don't like the whip mod. why wouldn't you want an antenna that can go down. Now it won't get hit by trees!
IMG_0465.jpg~original


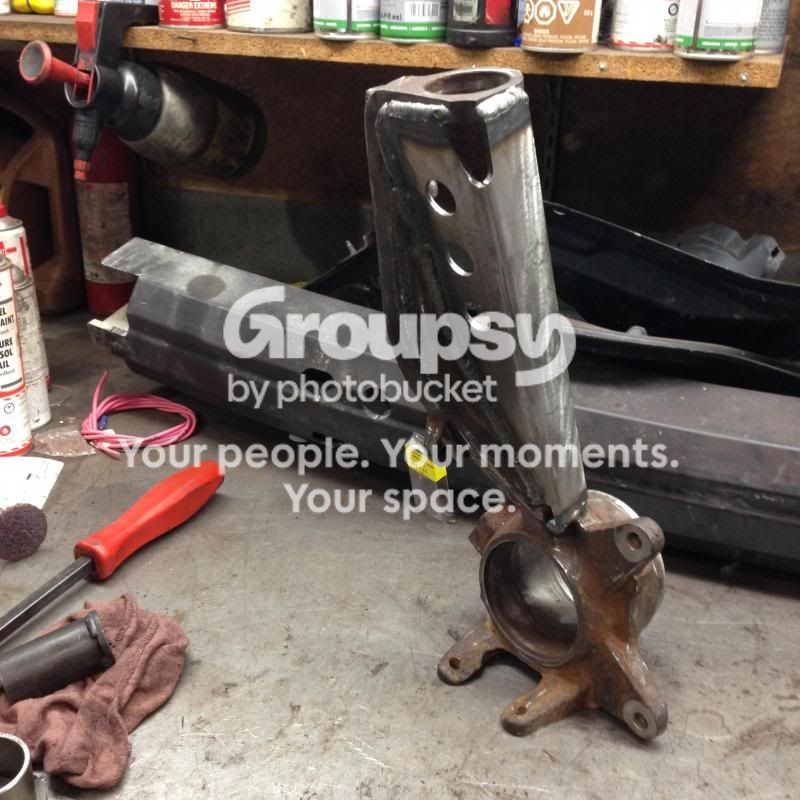
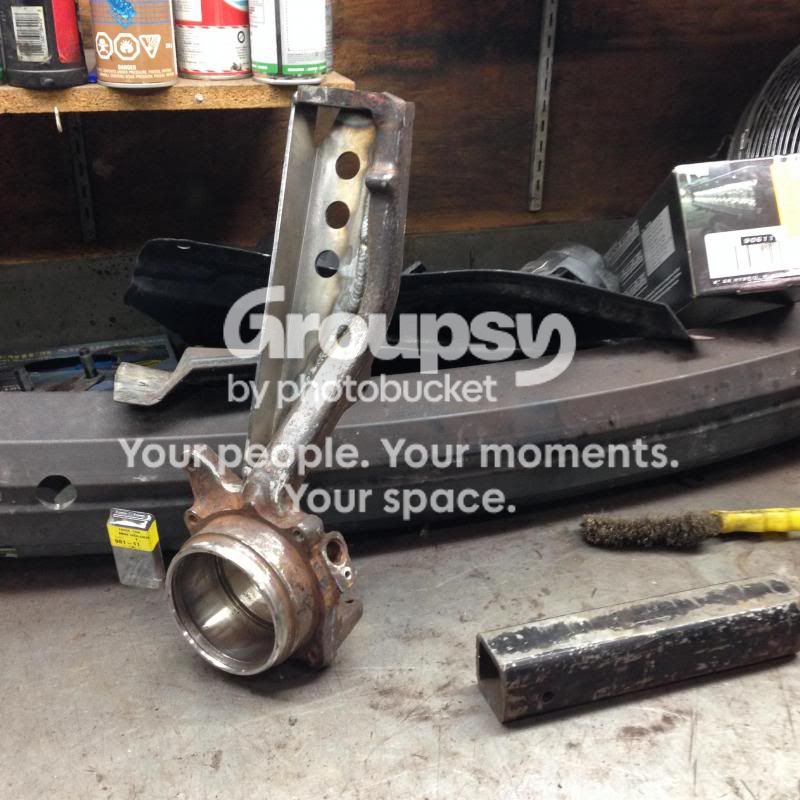
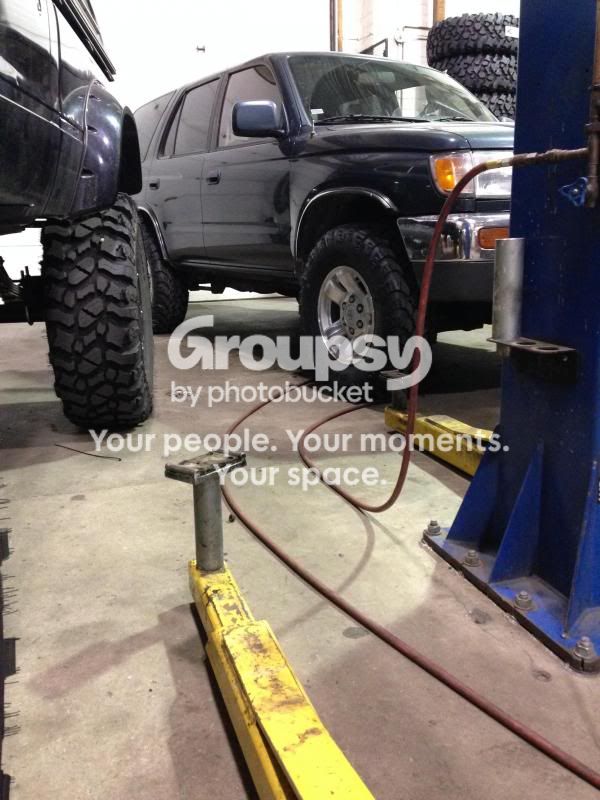
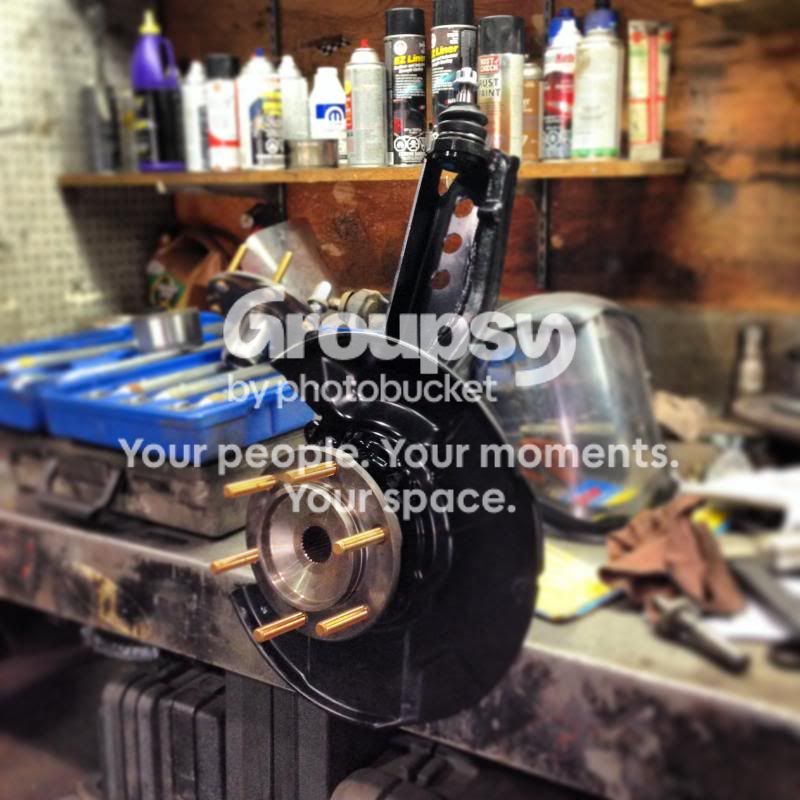
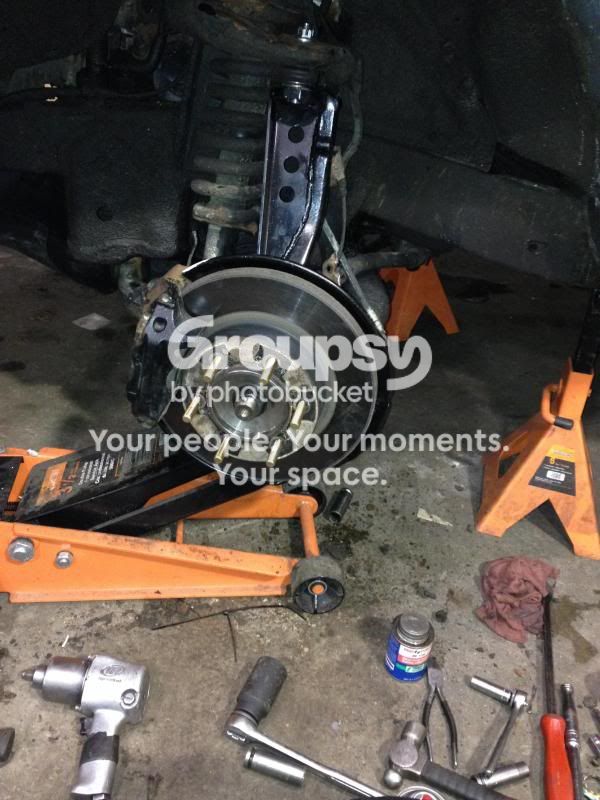
It also needs front wheel bearings like nobodys business. since they are press in they are not very easy to change. in an effort to reduce down time on the truck and since i barley have a driveway to work in i bought spare knuckles from the wreckers to rebuild. it was fun learning how they came out at the wreckers without consequence. Of course ow that i was doing a whole knuckle I realized there may be more things i should do at the same time. this spiraled out of control and now I am here...
IMG_0570.jpg~original

IMG_0612.jpg~original

IMG_0611.jpg~original

New wheel bearings
Inner and outer seals
High angle outer cv boots
new inner boots
upper and lower ball joints
new dust shields
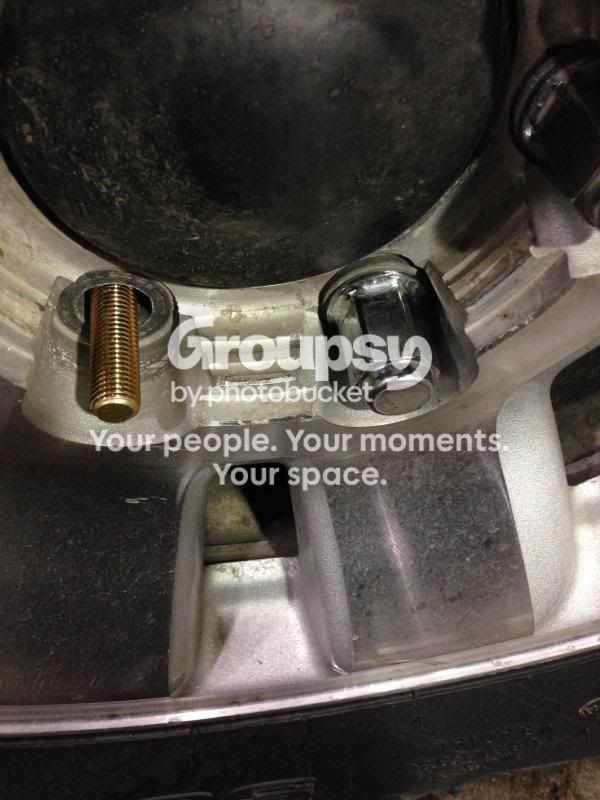
wheels studs
Total chaos spindle gussets.
:ymsmug:
 
Last edited:
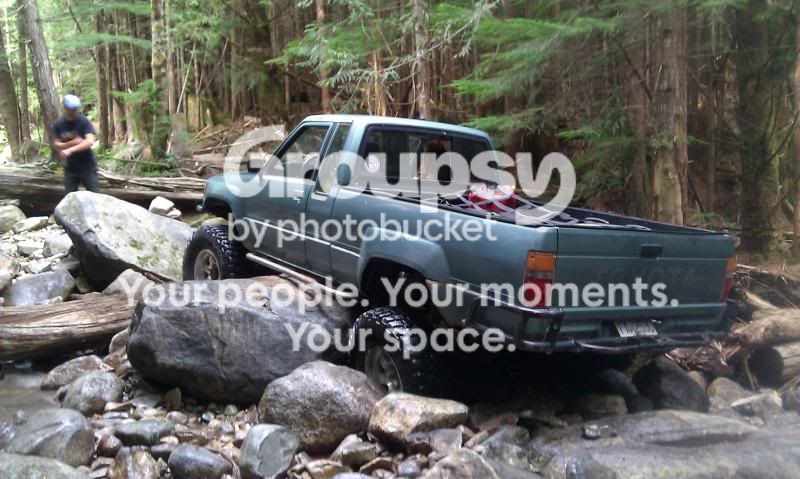
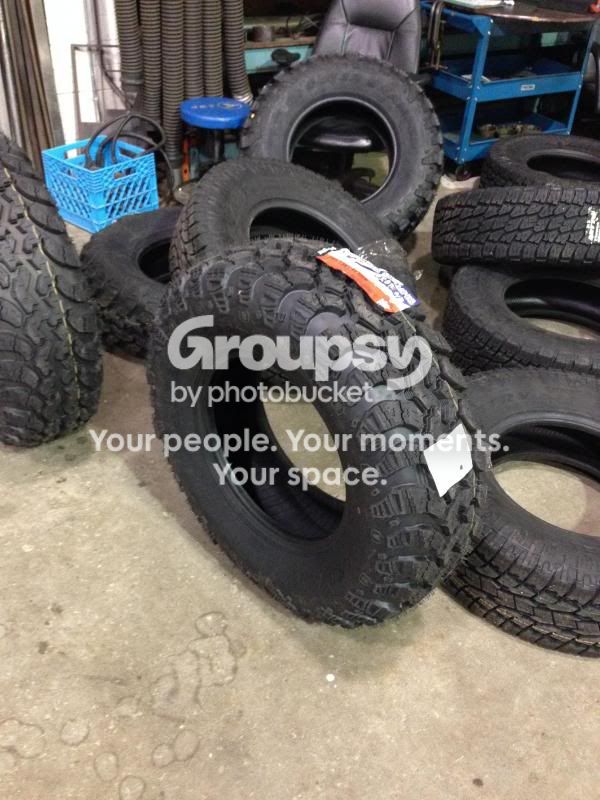
Then some tires, and running board removal and more wheeling.
BC fresh Oem wheels :p
IMG_0520.jpg~original

Little itty bitty iroks.
IMG_0621.jpg~original

IMG_0624.jpg~original

IMG_0625.jpg~original

IMG_0632.jpg~original

IMG_0633.jpg~original

IMG_0634.jpg~original


This is in the works as well....
IMG_0637.jpg~original

IMG_0647.jpg~original


Went with 881's and 906's. trim packers on deck for the rear in case its a little too butt low for my liking. at least its less expensive and easier to change than leaf springs.
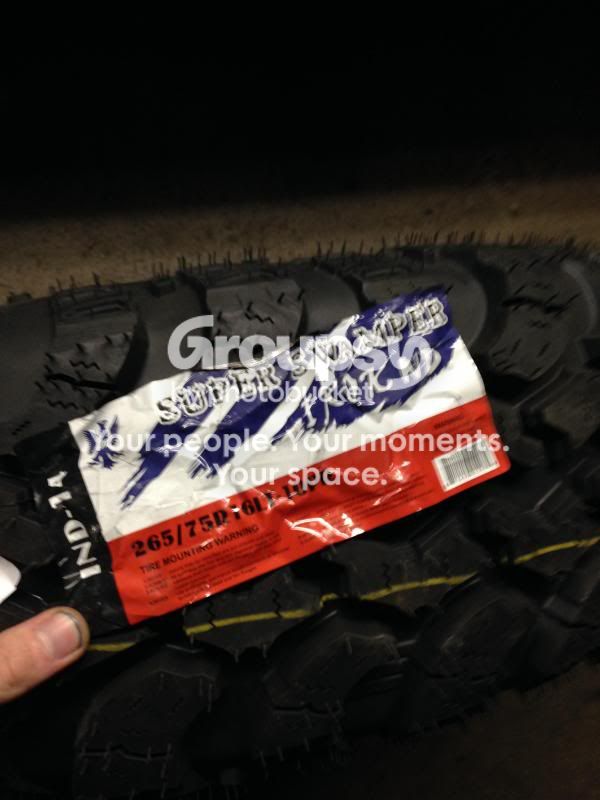
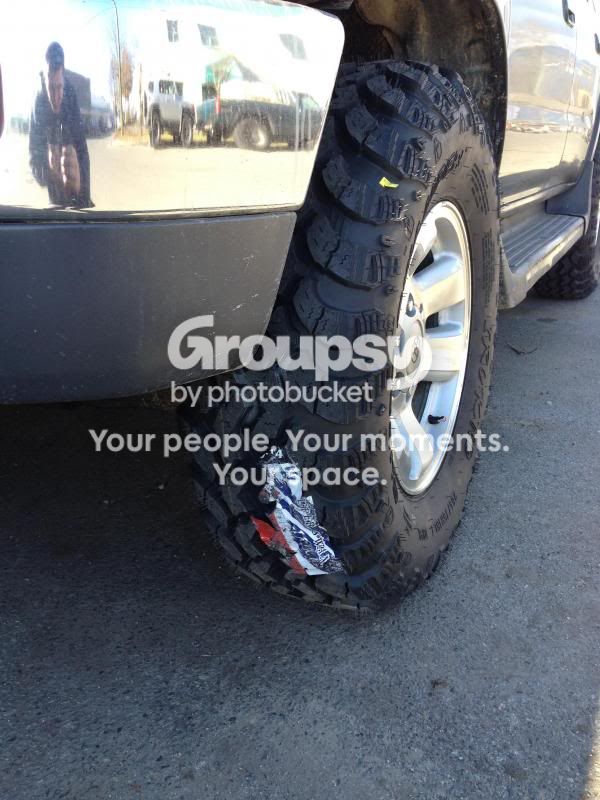
wanted to keep it lowish and look good on 265/75r16s. went with 265/75's because I don't want it to rub at all. and i'm not ready to cut and trim on this truck...yet. this will go in once i get my spindles/ wheel bearings sorted.

I'll leave you with this... :ymsigh:
the source of funding for the new truck.
IMG_0648.jpg~original
 
A little about my old truck. I wanted a really low truck that handled well and wheeled well. it had as much up travel as you could squeeze out of it by running as much arch and as short of shackles as the frame/springs/everything else would allow and it worked absolutely awesome for what i used it for. It even made the move with me from Hamilton Ontario to Vancouver BC. My dad came with me on the drive and had no complaints driving it. it simply worked without and quirkiness. unfortunately the rot got to the frame and I didn't have the space, tools or time to pull off a frame swap. I didn't want to sell it and see it driving around or getting butchered so i parted out what i didn't want, kept what i did and scrapped the rest.

build thread... TEAL 85 extra cab - Southern Ontario Toyota Trucks

IMAG1053.jpg

IMAG1060.jpg

IMAG1061.jpg

IMAG1063.jpg


to put into perspective how low it was...
999398_286411968165614_1452724187_n.jpg
 
back to the 4Runner.

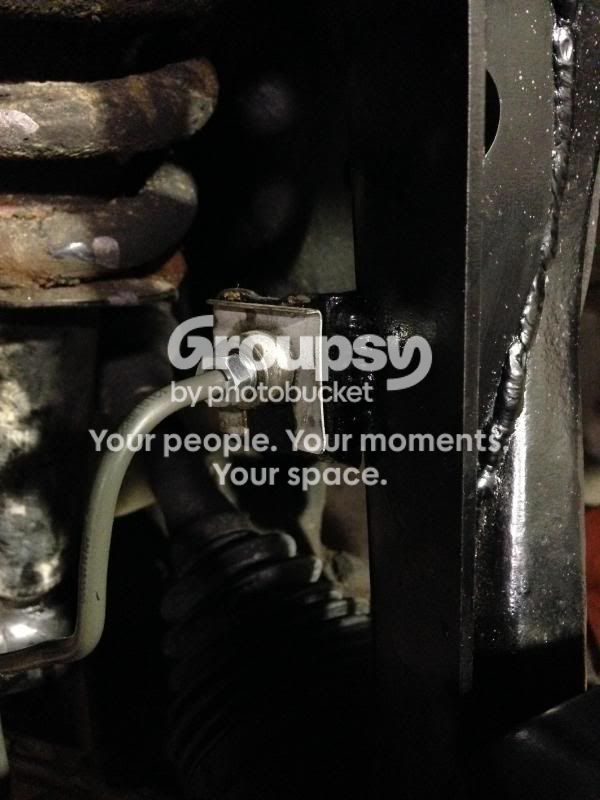
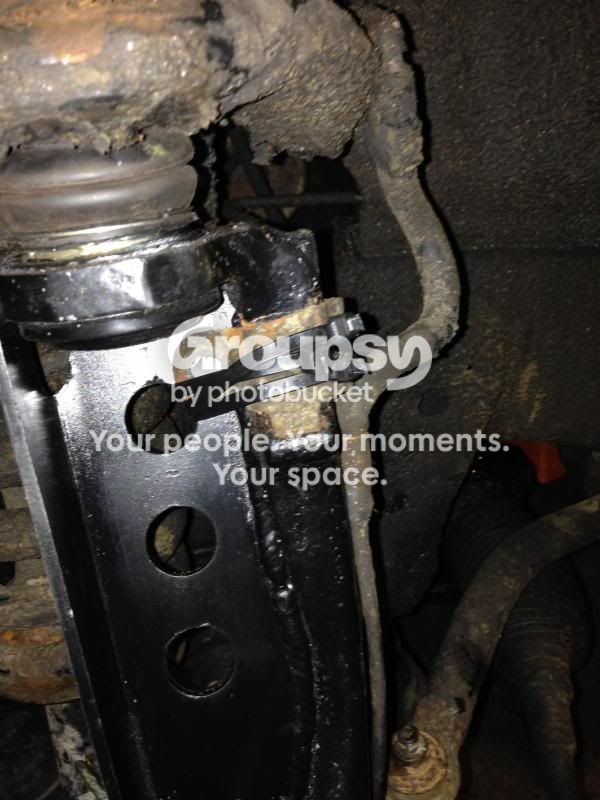
Installed the spindles with ghettofabulous ziptie ABS wire mounts. Hated ABS so much its already disconnected anyways and installed the OME lift. PICS!!!!


IMG_0678.jpg~original


IMG_0682.jpg~original


IMG_0695.jpg~original


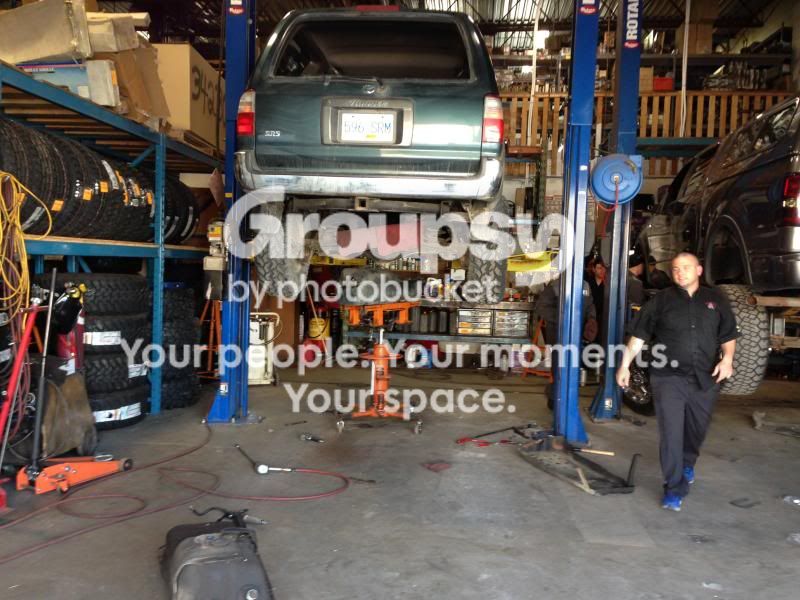
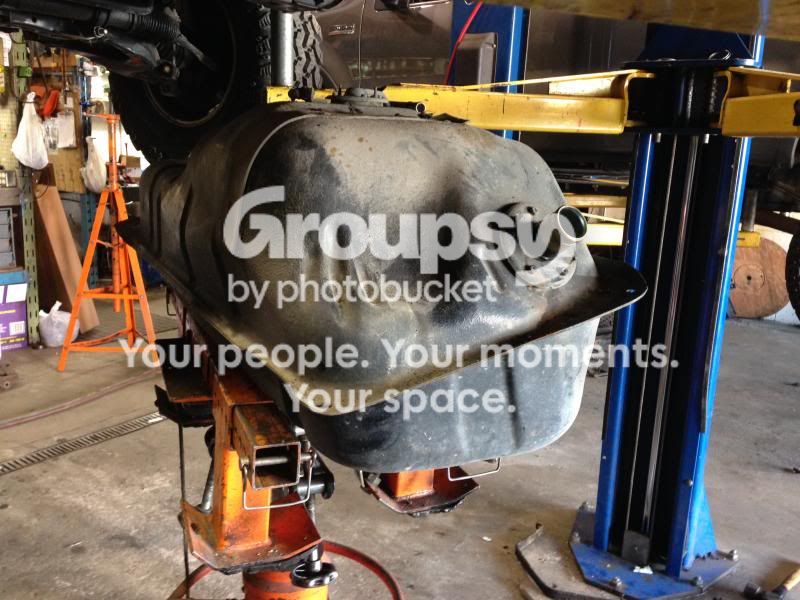
Leaky gas tank... sourced a low km used one, BC FRESH! haha

IMG_0746.jpg~original


IMG_0747.jpg~original


Fresh Spindle

IMG_0710.jpg~original


IMG_0809.jpg~original

legit brake mount...

IMG_0814.jpg~original


not so legit... :-?

IMG_0813.jpg~original


ARP studs are LONG. but they just fit.

IMG_0816.jpg~original


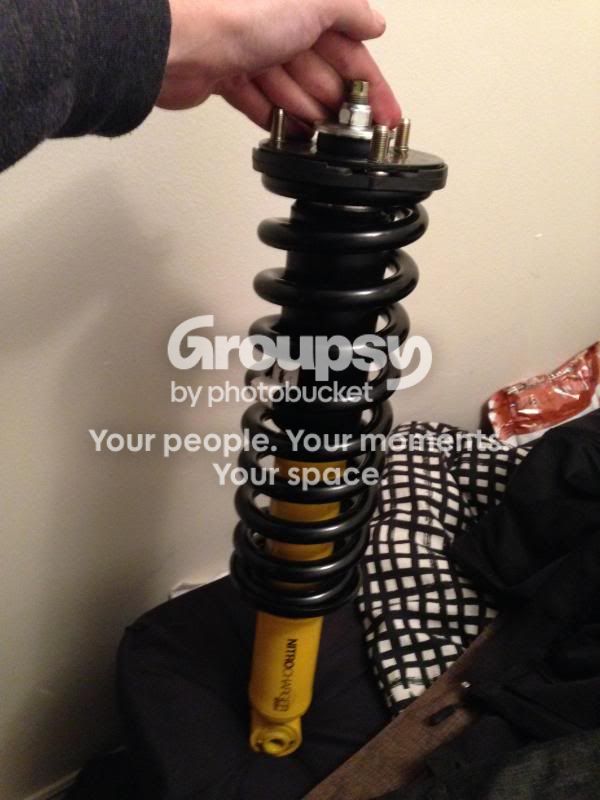
then came the OME lift. I used 881 front springs and 906 rear springs with a 10mm trim packer. ended up with 2" of lift total.

Before...

IMG_1002.jpg~original


After...

IMG_1011.jpg~original


went wheeling...

IMG_1040.jpg~original


Quick Video: https://www.youtube.com/watch?v=9SOylsAQpz0&feature=youtu.be

Post Break-in/ wheeling.

IMG_1039.jpg~original


I had too much stuff sliding around the back on the fire roads and this happened.

IMG_1113.jpg~original


Legit sticker repair....

IMG_1116.jpg~original


and i'll leave you with this.

IMG_1131.jpg~original
 
I've been taking care of a few maintenance things. I had to do a steering rack and put in poly rack bushings at the same time. also replaced a leaky CV boot and changed the front brakes. (used the calipers pads and rotors from my teal truck lol.

Anyways. onto more interesting stuff.

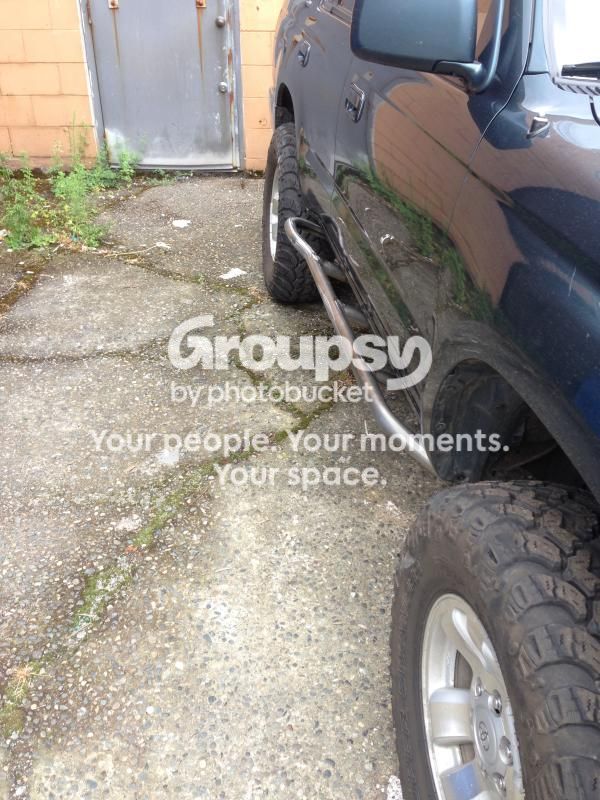
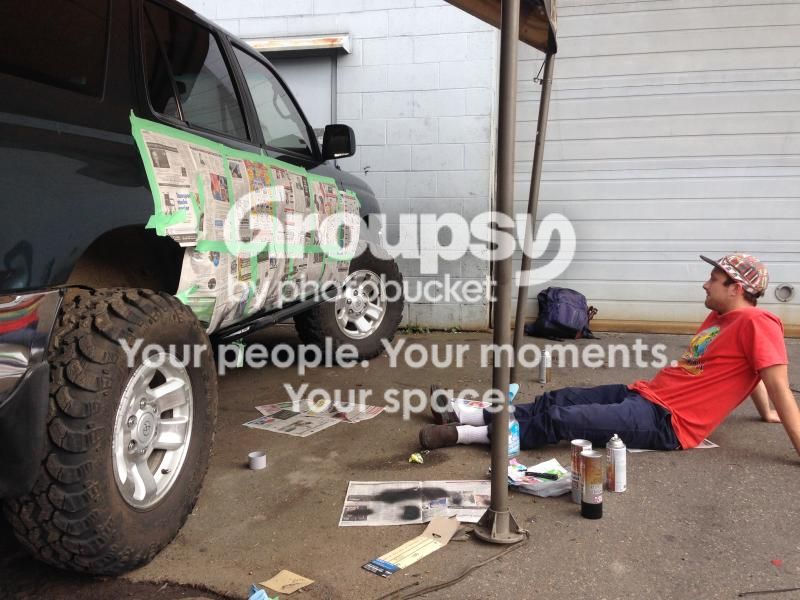
I Really liked the 4x innovations sliders for my other truck so I got a set for the 4runner! these are tucked in a little more as the main tube is tucked right under the pinch weld. They are angled up a bit more as well. so far they've worked to keep things off of my rockers and away from the doors. I may consider getting the rear plate bumper as well. its a really clean bumper. I've already tagged the stock one a few times lightly.

iphonesummer819.jpg~original


iphonesummer817.jpg~original


iphonesummer818.jpg~original


iphonesummer821.jpg~original


iphonesummer820.jpg~original


iphonesummer822.jpg~original


iphonesummer824.jpg~original


iphonesummer829.jpg~original


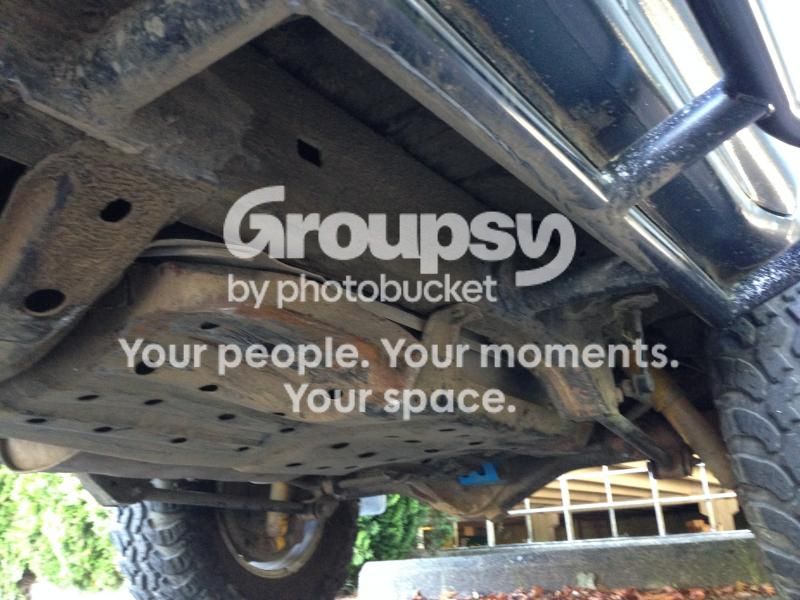
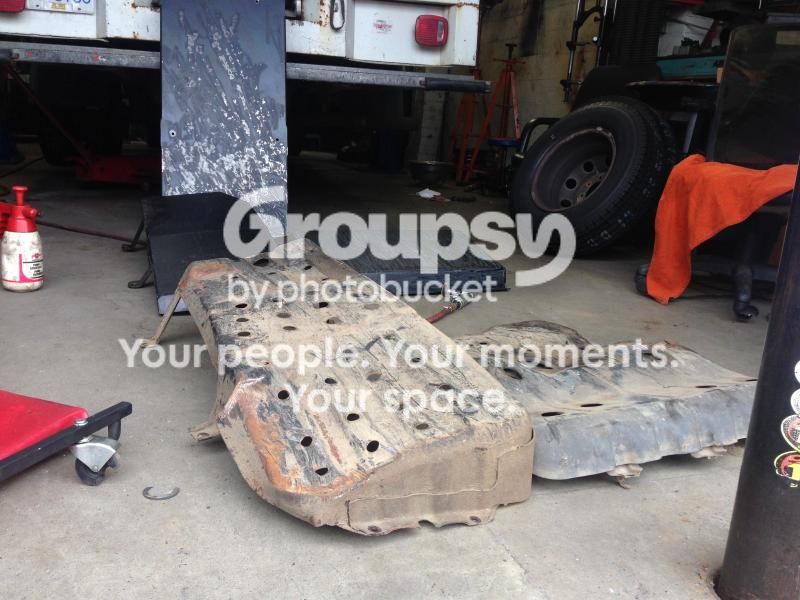
In More Recent news. I had an unfortunate incident with the LOW hanging gas tank on these trucks. I pretty much had the truck resting right on top of it after I slid sideways off of a rock. b-(

IMG_2101.jpg~original


The front has been taking a bit of abuse as well.

IMG_2102.jpg~original


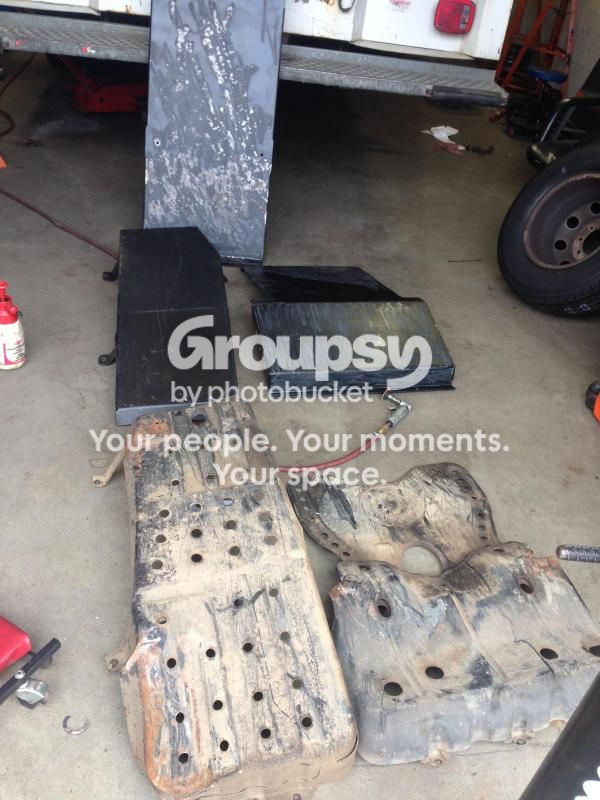
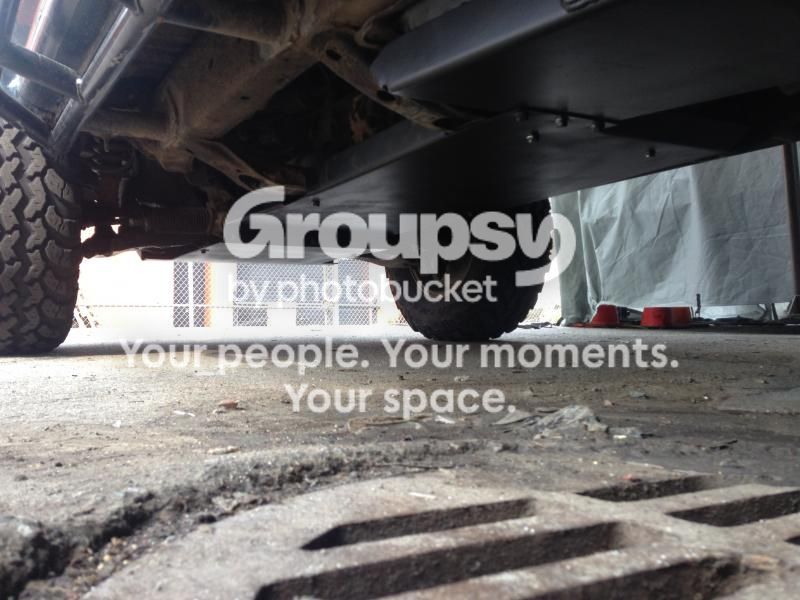
I would have liked to make my own skidplates for this truck but i dont really have the shop time available to make them.
So I picked up a full set off of a friend who was going to produce these in sets but never got around to it. I got his 1 off set! :ymsmug:

IMG_2163.jpg~original


IMG_2164.jpg~original


IMG_2166.jpg~original


IMG_2171.jpg~original


IMG_2170.jpg~original


IMG_2167.jpg~original


IMG_2168.jpg~original


I won't be up to too much more for a while but I really want to get some kind of lower gearing in this thing. I'd like to get a lefty kit for my 4.7 case and a v6 adapter obviously as well. $$$$$$$ but I've already got the case. It will keep my driveshafts the same, and there are no extra shifters. just extra slow. You wont have any indication that its there... just how I would like it. I really don't understand how people put up with stock gearing and larger tires/ difficult obstacles. it sucks :-s . I'm also going to need new tires in the future. The Iroks wear SUPER fast and vibrate always. they were cheap but i'll be going back to KM2's for sure. they are soo much smoother and easy to balance.

That's all for now. \m/
 
thanks. i'm actually not done updating. just got tired last night. heres where things get a little unconventional.

I bit the bullet and bought the Verso Kit when it became available so that I could make use of my 4.7 marlin crawler competition series gears. Its awesome having a really low low range with a 5 speed. no more stalling it like a noob lol. I pressed the gears that needed to be pressed at work. clearanced the case and shifter at a buddies house and assembled it on my kitchen counter. Since the 4Runner is quite a bit heavier i added the heavy duty output for good measure.


Some simple wiring made the 4wd switch work with the add. You do need to cut and weld the gear drive shifter to have it come up in the stock location, which I did so it looks stock on the interior.

Not long after I installed a lunchbox front locker. It works great and would do it again in a heartbeat as I wouldn't want to spend ARB money on ifs myself.

 
Last edited:
After Tons of research I decieded i wanted an allpro Apex front bumper. I also decied i wanted to use the 16x8 3.625"bs wheels off of my old truck. I got them powdercoated because their finish was starting to look a little crusty. went with 285/75r16 Open country Mt's... wishing i went 35's now.


And then IFS derped...


So as of right now (Nov 25th 2015) the truck is undergoing some changes I really want to put an 80 series front axle in it so I no longer need to worry about wearing out ifs parts. I plan to use the whole suspension setup from an fj80. I know it has limits but its simplicity and reliability is what I like. But that costs a lot of money so I started addressing some other issues.

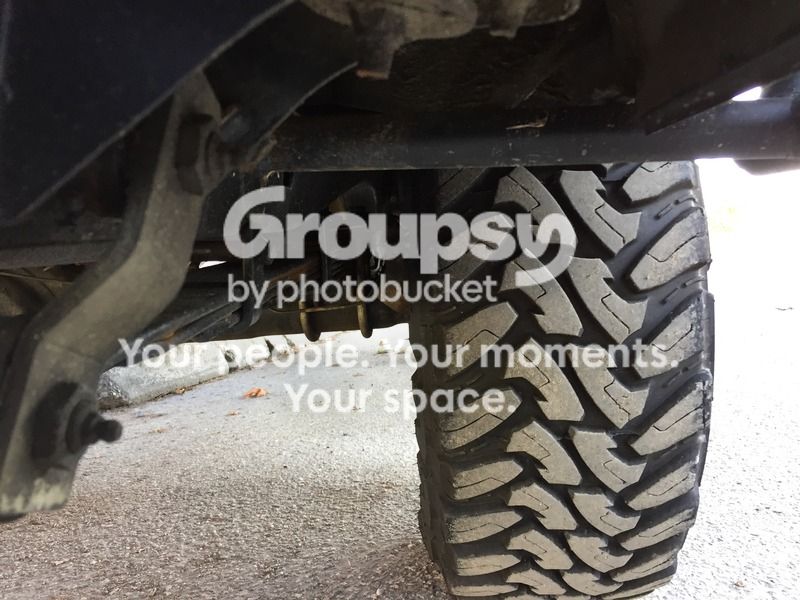
I've never been a fan of the rear link setup. It puts the power to the ground but feels more quirky at speed than the leaf spring setup in my old truck. the lower link mounts ( and Gas tank) have been a constant issue offroad getting hung up. i'd rather have more clearance without having to lift the truck muchso they both had to go. I have my All-pro 3" Tacoma springs from my old truck that I am Using on the 4runner. To keep the ride height down I'm using OEM 3rd gen mini truck spring hangers (14mm hole not 18mm) Old Man Emu front shackles for a solid axle truck (3.5" long) run through the frame with some SAS shackle tubes.

In order to make this setup work I had to run the shackle tube through the rear body mount bracket of the frame. there was no other option. from there I measured the distance i wanted between the shackle tube and the front mount. I cam up with this measurement by determining the springs flat length and making the mounts just far enough apart that the spring wont contact the frame when the spring is flat. Again this is to keep it low as possible and since the maximum shackle angle I can have without the spring hitting the frame is 45* i know my shackle angle will be less than that by a bit which will work out well. if anyone is curious of this measurement it is 53.25"


Shackle angle with the axle hanging.


And at ride height


I know what you are thinking... the spring is going to hit the frame! Its so close! BUT Since the spring is close to flat at ride height there is very little spring growth. I Was to lazy to unbend the spring clamps to cycle it with just the main leaf but i am confident it will not touch.

Mounting the springs to position the shackle mount inside the body mount moves the wheelbase back a little to far for a stockish truck so i re drilled the perches and U bolt plats to move the axle forward 1.25" it will be an easy stretch if i ever decide to. Having a nice fresh center pin hole on the axle is nice too. they tend to wallow out over the years.


I still need to figure out shock mounts and shorten the ebrake cable a little as the axle i am using is a Minitruck IFS width axle out of my old truck as well. :)

Next up is a rear cross memebr and f150 gas tank.
 
I'd say you're off to a great start, but you're well past that. Great build, perfect example of, "if you can dream it you can build it". I applaud your DIY practical engineering approach.
 
I'd say you're off to a great start, but you're well past that. Great build, perfect example of, "if you can dream it you can build it". I applaud your DIY practical engineering approach.

Thanks, I always like to question the purpose and effectiveness of whats available aftermarket and think of things that may work better for my application. Often times it leads me down a different path than the norm.
 
Great build! I would love to have a dual t-case setup with stock gears in each, but I'm going to live with my stock gears. I guess I'll just have to stall all the time haha. Those skid plates look sweet! I hope to build a belly skid similar to yours this winter.
 
Back from the dead.

Slow Progress as I haven't been wheeling or doing truck stuff much. This has all happened since my last post so my memory regarding some of it will be a little rusty.

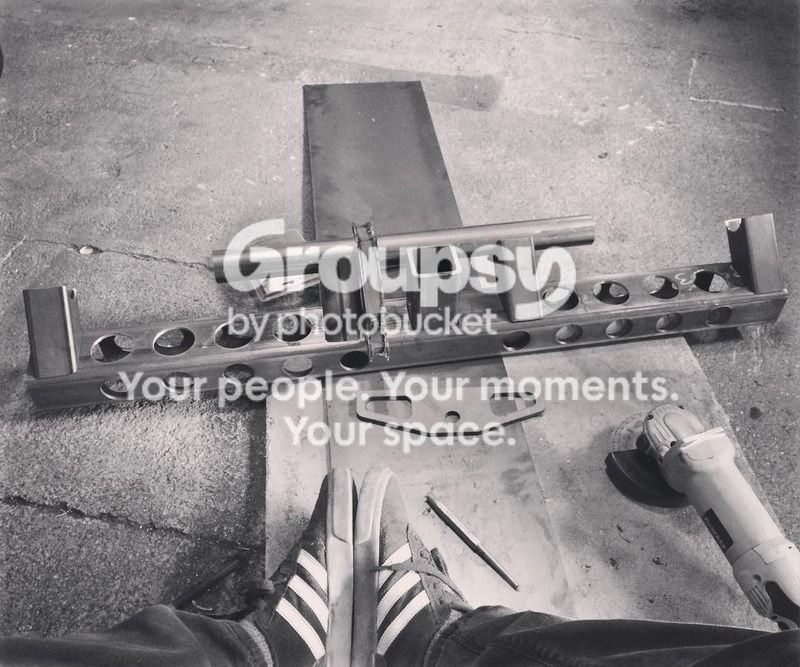
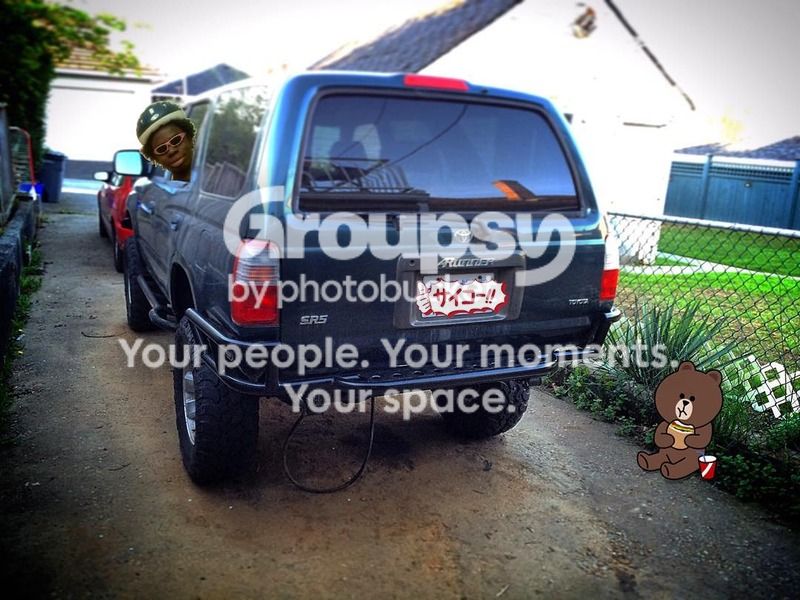
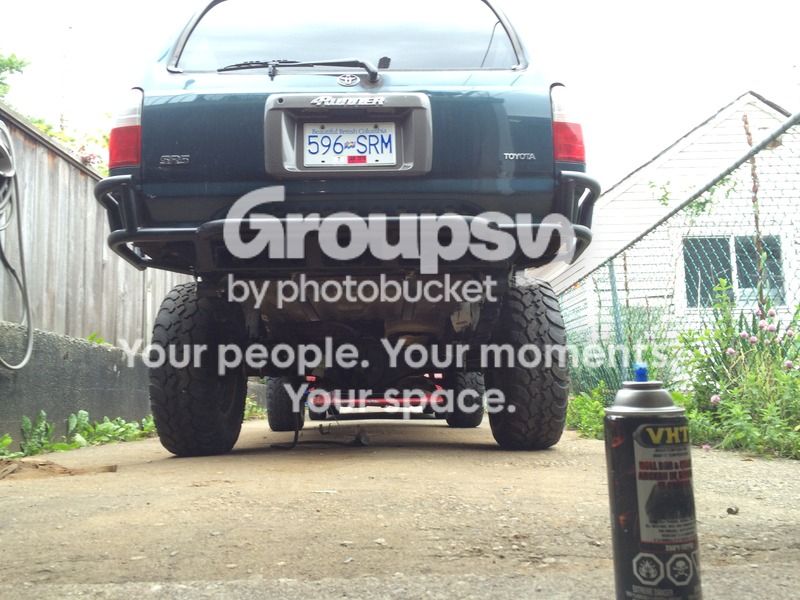
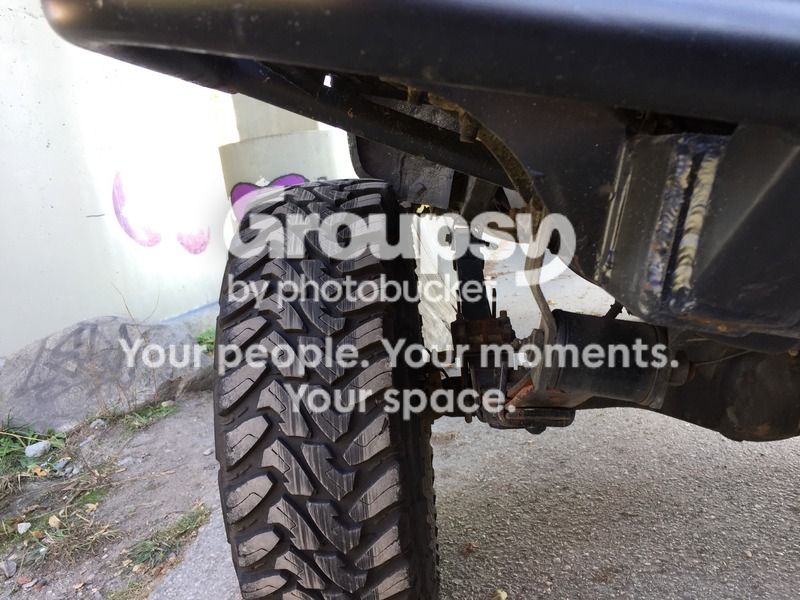
Firstly I built a rear bumper because i needed a rear crossmember because i was removing the factory spare tire crossmember for an f150 tank. I didn't like the options available because a lot of bumpers seem to be geared towards the overland types. They are bulky, heavy, and sacrifice ground clearance. I'm also not one for having all sorts of junk hanging off of the back of my 4Runner :crazy: I couldn't find many pictures so i stole some from my Instagram...

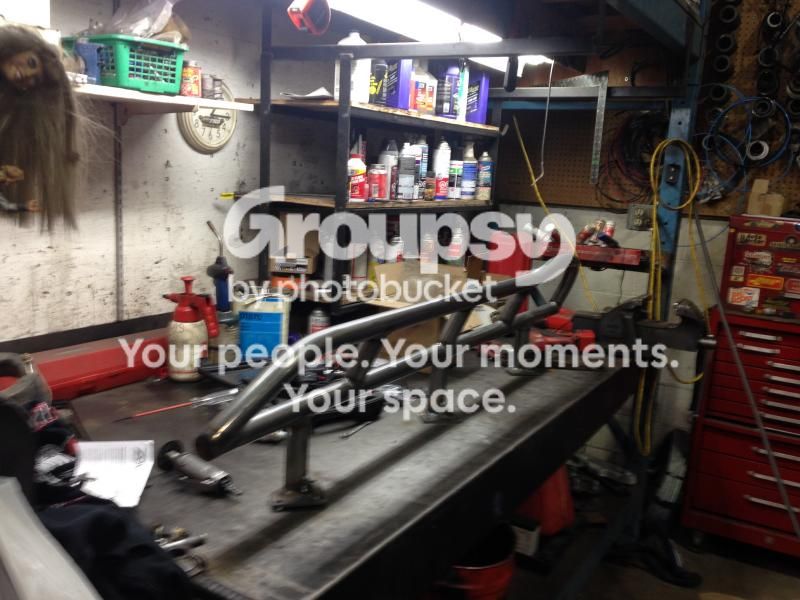
I took Trail-Gears Tacoma rear crossmember kit and put an unnecessary amount of holes in it in an effort to keep the weight down where it isn't needed.

12825769_111147329280847_39860028_n.jpg


Here it is Almost done test fit into place. No step yet. I actually had a local shop bend the tube. It took some careful measuring on the truck. I actually made a jig to get the correct bend angle and distance between the bends as the shop was a 40 minute drive away. it worked out perfectly!

925248_1103791656308902_28278014_n.jpg


And on + painted with the rear step. I used TMR Customs dimple dies in a makeshift press to make the dimples.

12965179_211160819262627_582105185_n.jpg


Next. I moved onto the F150 tank project. I spent a long time removing the old coil brackes and factory spare tire crossmember. No pics, who cares.

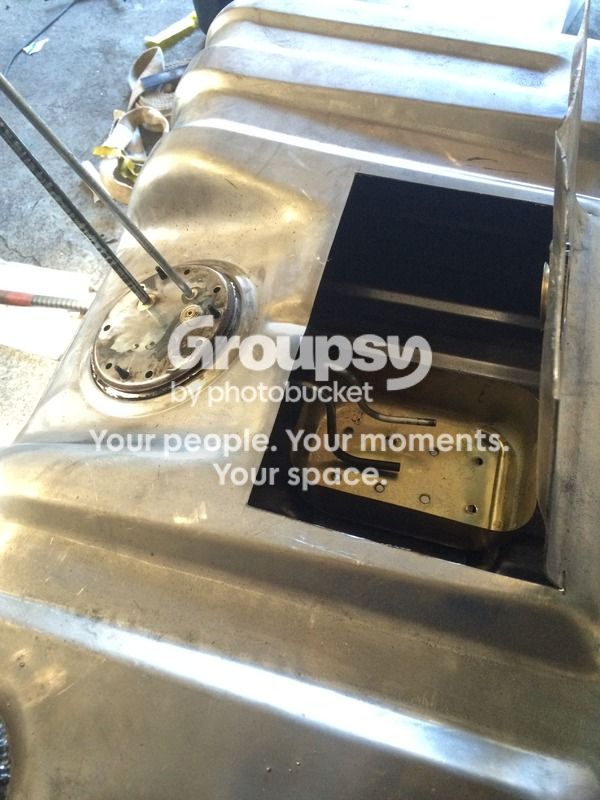
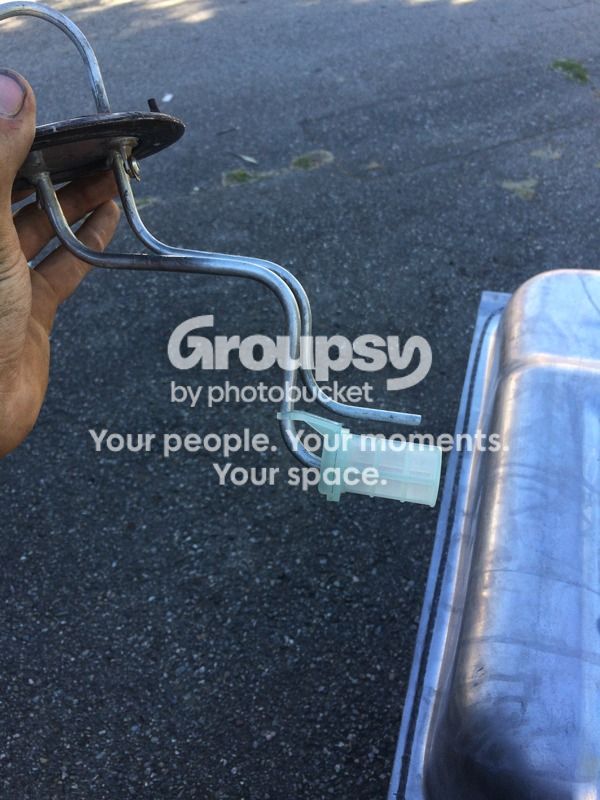
I used all of the bits and pieces from a T100 tank to make it into a Toyota tank. Unfortunately do to the odd shape of the tank i was unable to use the factory sending unit and baffle together instead switched to an external walbro unit. I never hear it and it hasn't performed any differently than a stock pump so far. however its much easier to change if i need to :) next time I would retain the ford fuel pump setup but use the Toyota fuel level sender etc.

Mock up tank...

2016%20iphone%20226.jpg


New Tank

2016%20iphone%20352.jpg


2016%20iphone%20664.jpg


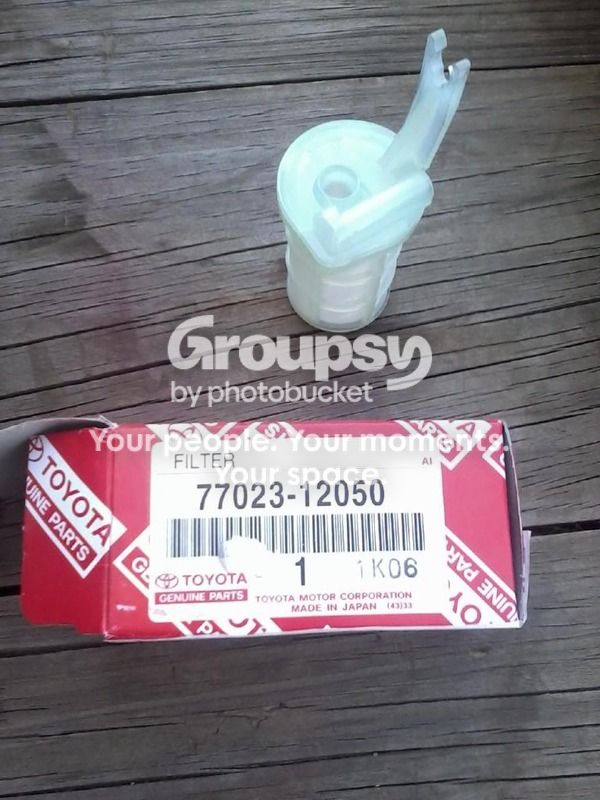
22R Fuel Strainer
2016%20iphone%20351.jpg


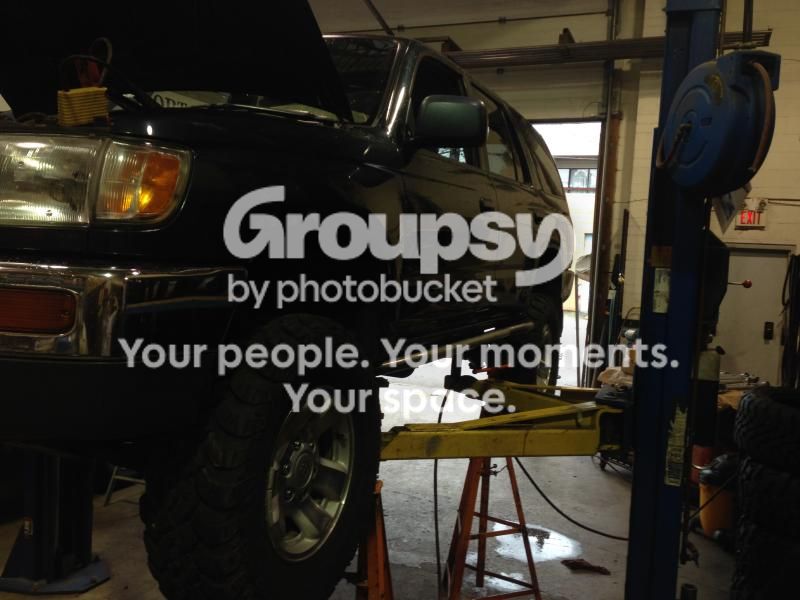
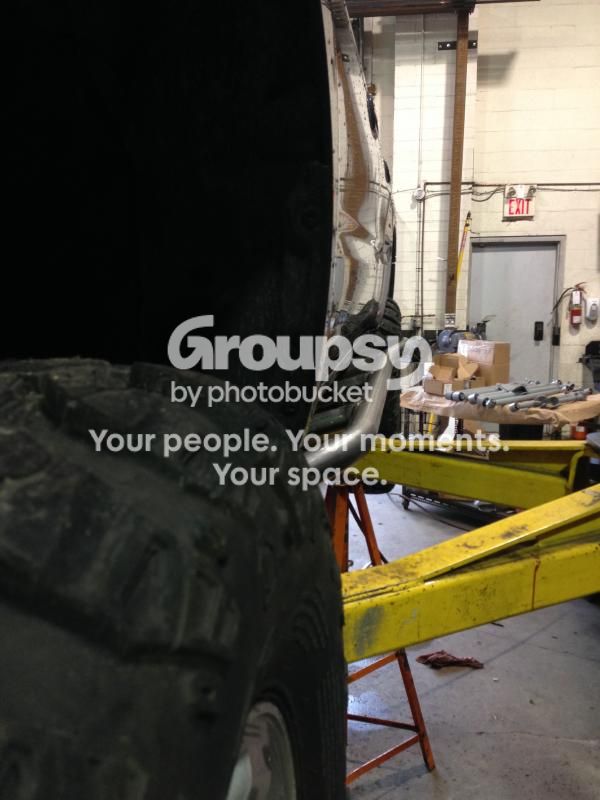
Not Much has happened since. but here are some pictures testing for shock length. No Shocks or Bumpstops. This ammount of flex would only use aproximatly 7" of shock travel when they are mounted just inboard of the leafspring and tilted slightly forward. I'll be using OME shocks for a FJ60 that have about 9" of Travel.

3DE286E4-0721-4ACC-98E8-883EE6989268.jpeg


06450D3C-E89A-4A87-BC82-7CB2150E0154.jpeg


Notice how the tire does not suck way forward on droop :) and no low hanging tank or suspension mounts. Skid plates or not it nice to just not hit them.

128BCC0E-4235-46C6-8544-5C32C16F81FD.jpeg


89CD9420-6A97-412C-84FA-72716BD58771.jpeg


7F4F3DEB-E5F3-49C5-AC27-5D4A30543459.jpeg


Front doing nothing. I may switch to 882's from the 883's I'm currently running. The 883's are a shorter free height but higher spring rate. 881's will be too low.

76B2C0C3-A2DA-4DAD-8507-6945B0C81B14.jpeg


0094DB10-3BD0-45C0-BAFA-E9CCD0F65E12.jpeg


48B30579-16FE-4284-BD77-0CB64DA30A8E.jpeg
 
Last edited:

Members online

Forum statistics

Threads
278,309
Messages
3,554,069
Members
248,016
Latest member
Advally Service

Trending content

Back
Top