Shwell's Gen 5 Build Thread

Shwell11

New member
This is my First post from Scratch and thought sharing the transformation of my Gen 5 into a more than capable Grocery getter on steroids.

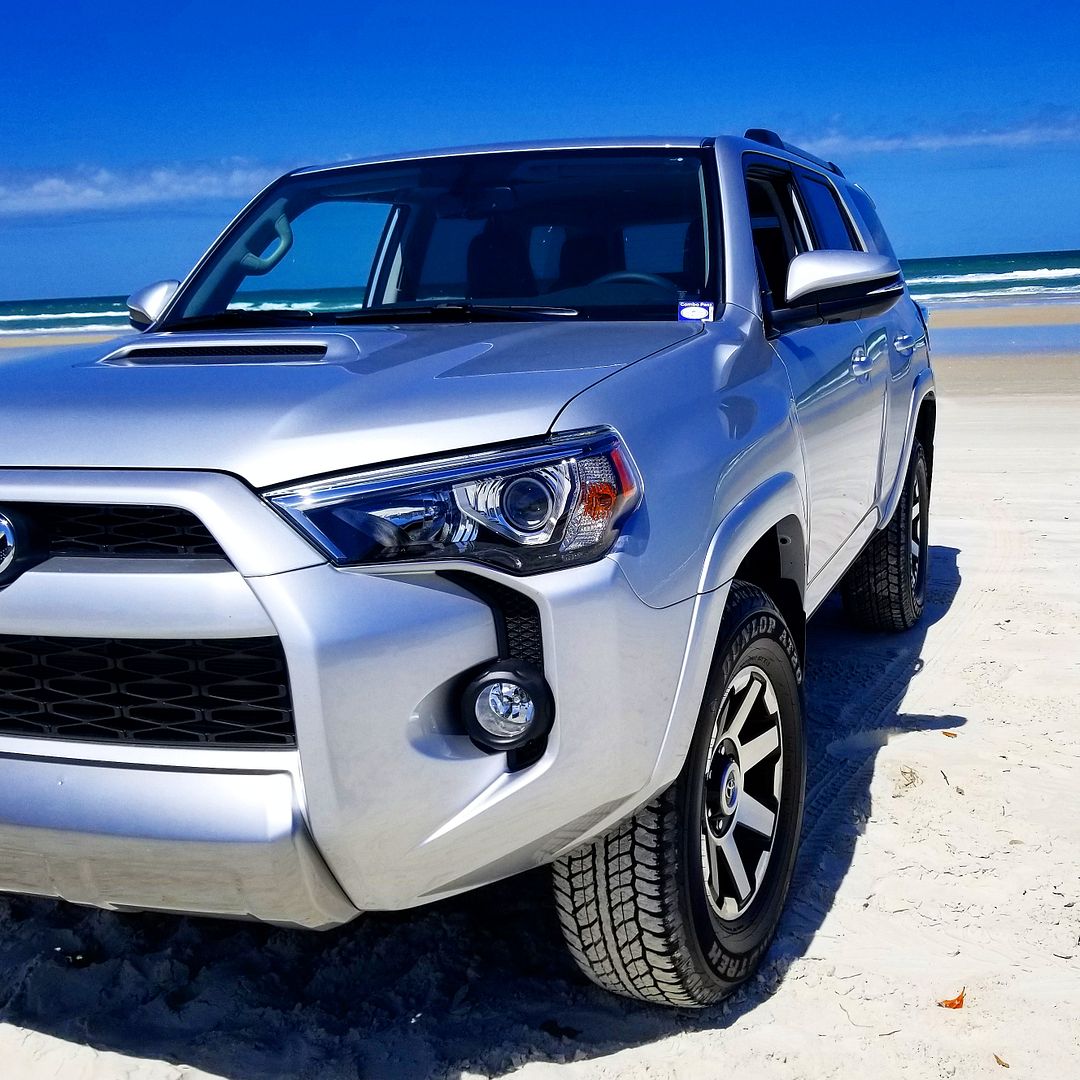
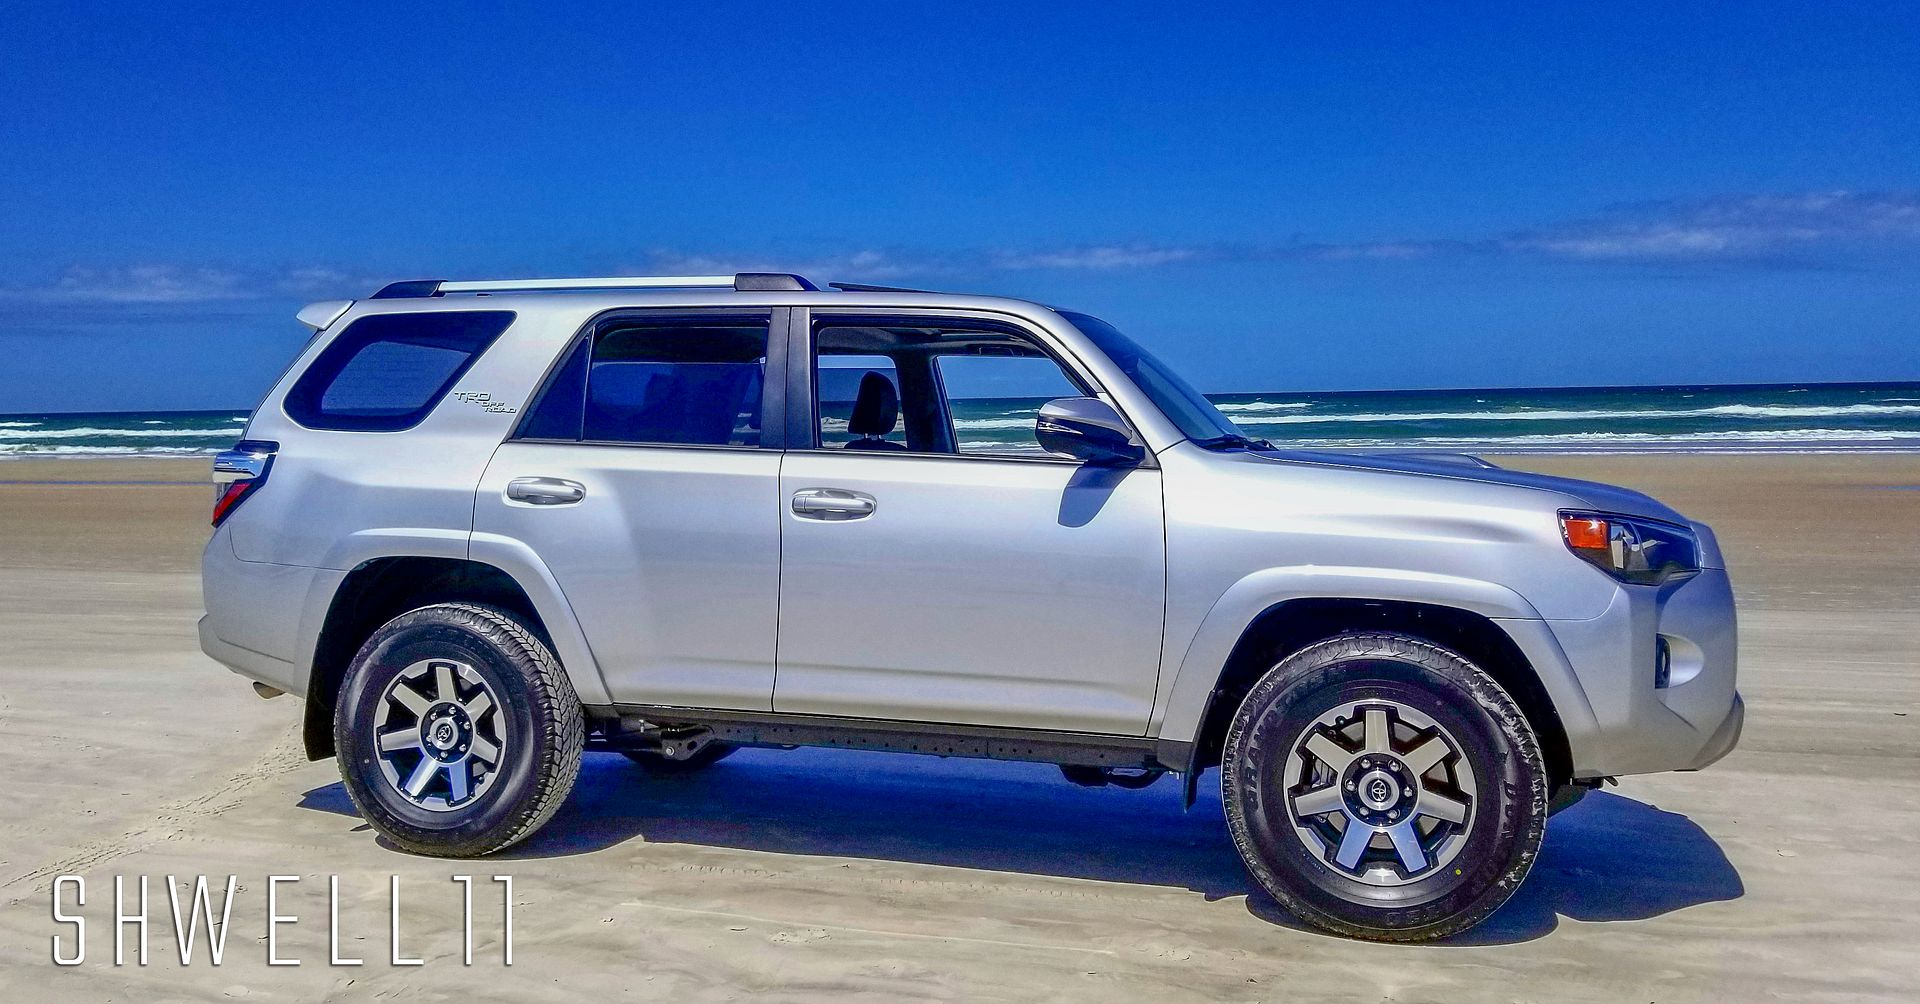
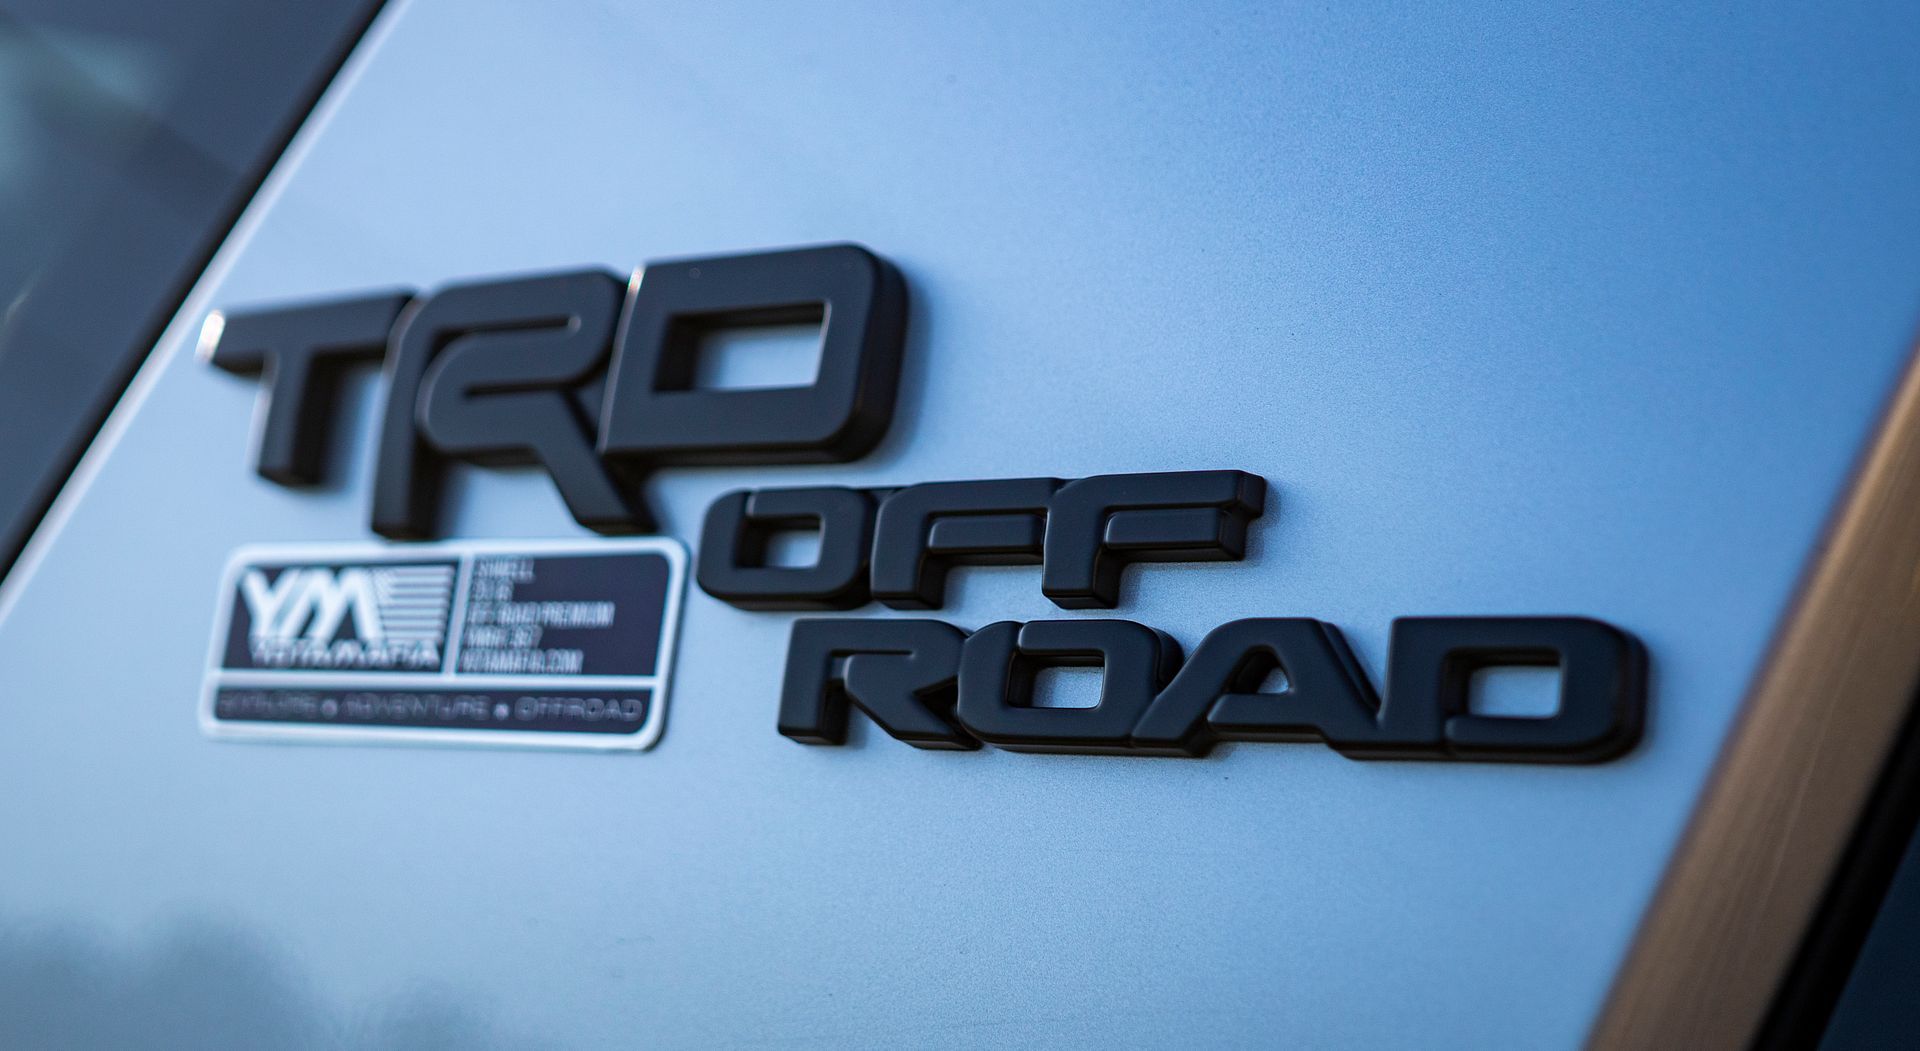
2018 ORP with Predator Pkg (XP Badging)

Purchased on 1 May 2018 with 12 miles on it. It had to go through some changes in Week 1 since I had a very specific setup in mind and they did not have one in stock, so they took what they had back to port and added everything I needed.

This pkg includes:
TRD PRO Grill
Black Badging all around
NFAB style Side Steps
TRD PRO Wheels

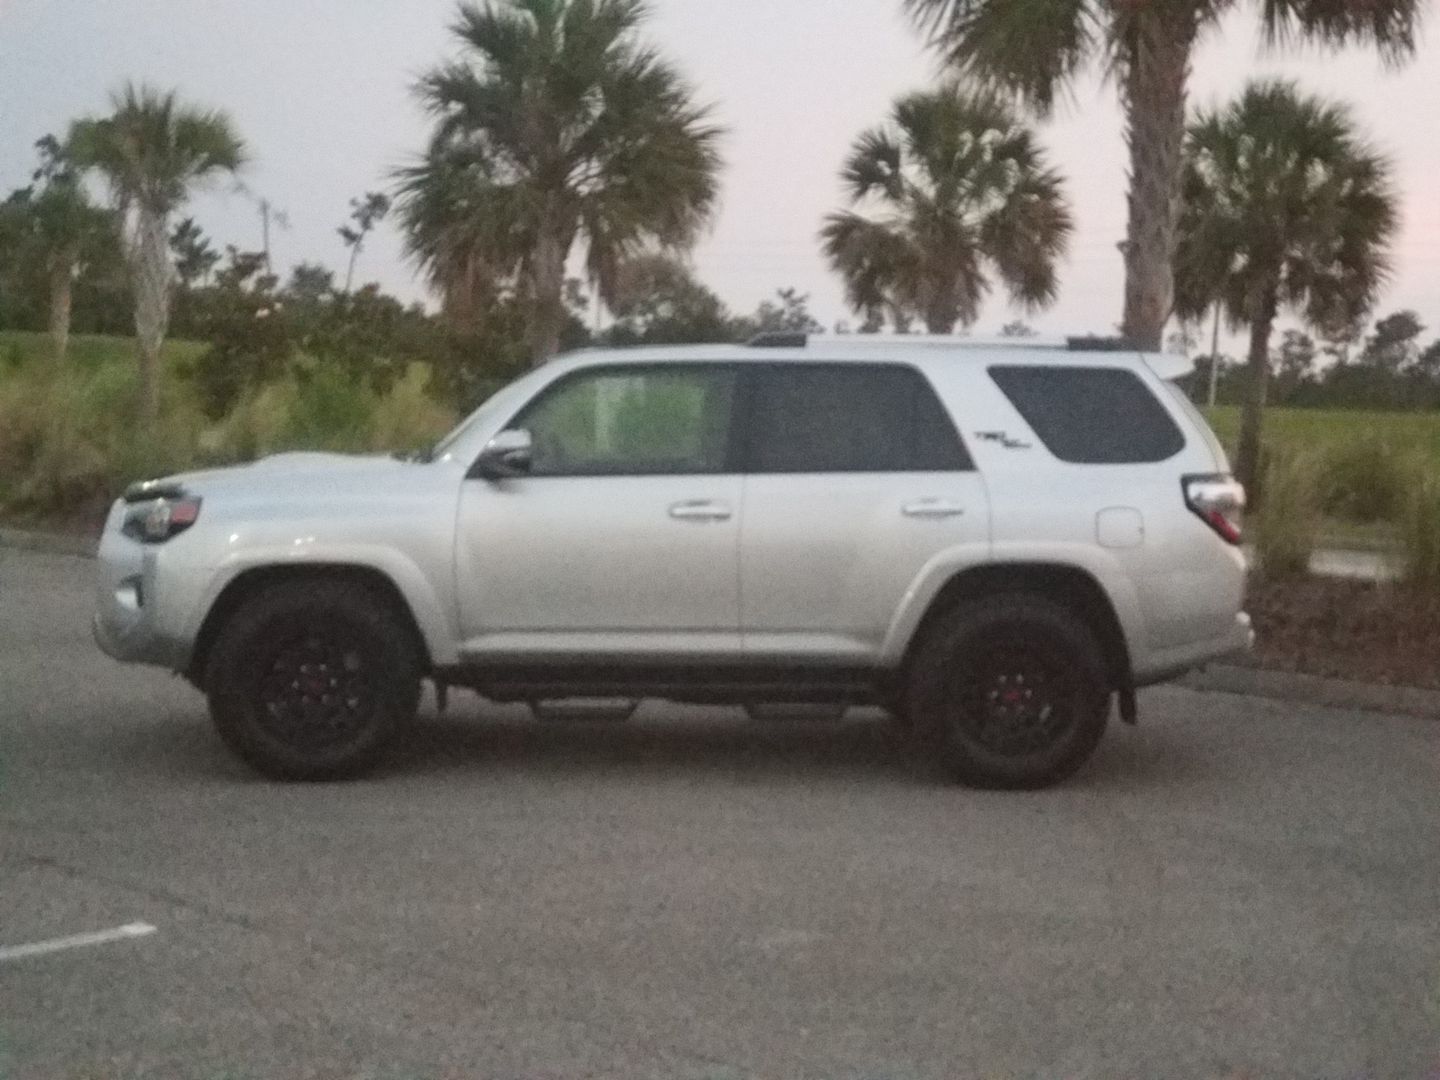
Here are a few pics of what it looked like the day I picked it up..

IMG_20180501_152020_161.jpg


IMG_20180502_140349_898W.jpg
 
Last edited:
Register to hide this ad
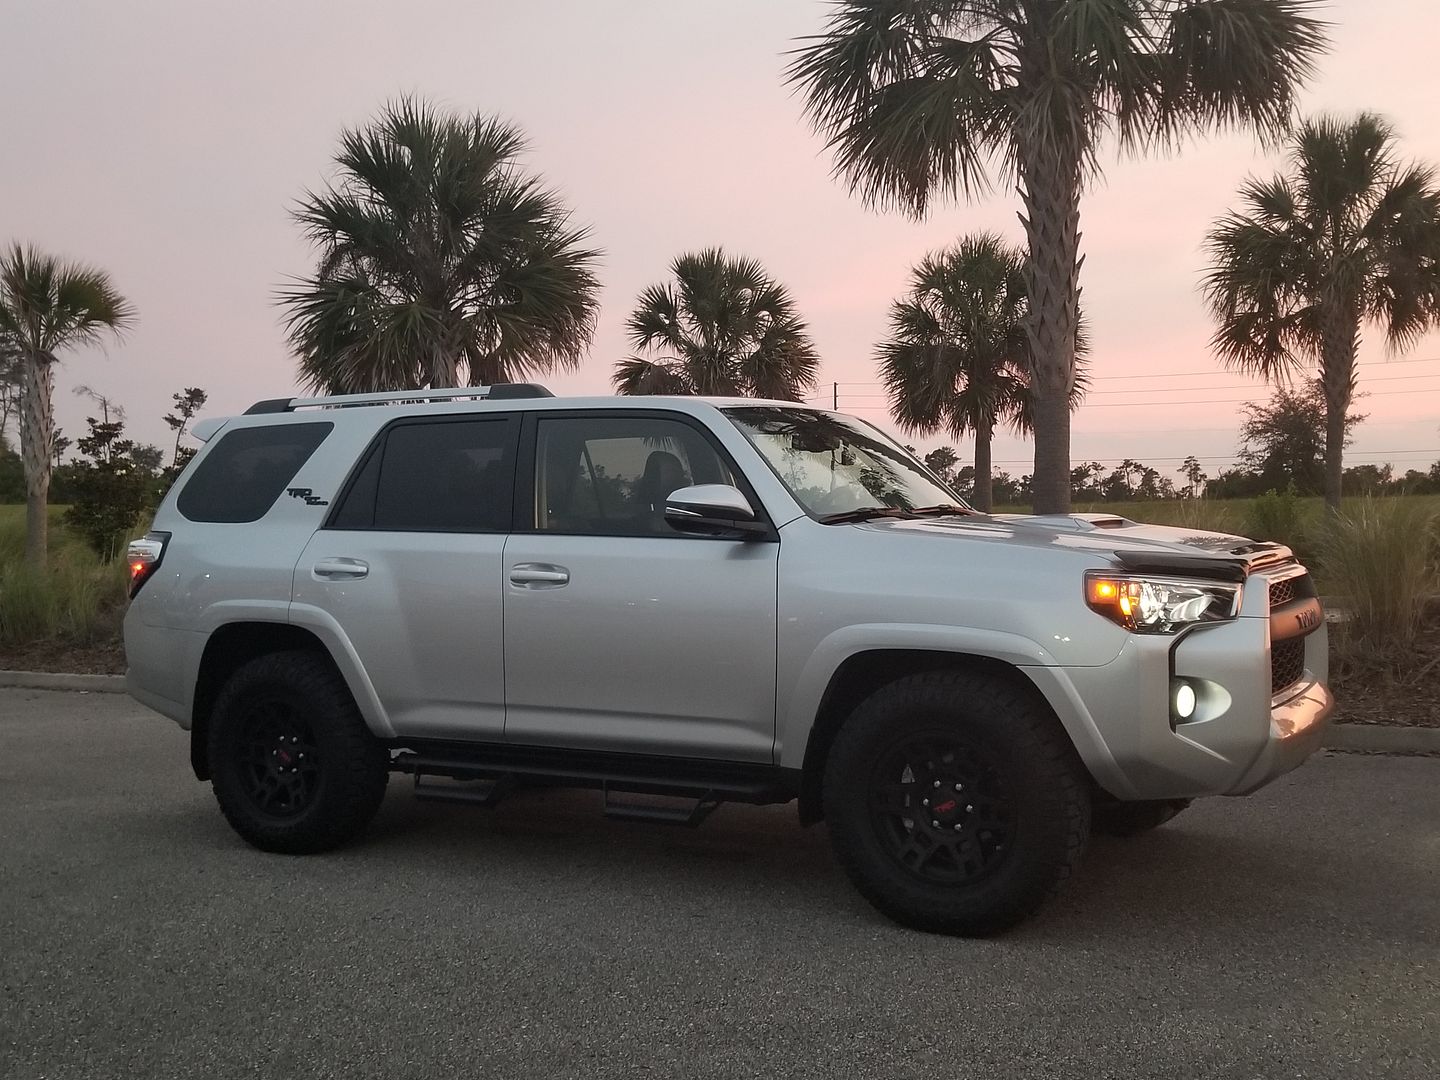
Once the Dealer made the necessary changes I ended up with this.
These pics also include a few items I was able to acquire while I waited for redelivery. Saved a bit of money with FB Marketplace buys..

Front Bug Guard
Weathertech Mats (All of them, even for the rear slide out)
Crossbars for Rails
Rear deck Cover
All the above for $200

*Side note, I got the PRO Wheels and also got to keep the other wheels as well.

20180511_201654.jpg


20180511_201817-3.jpg


20180511_201941.jpg
 
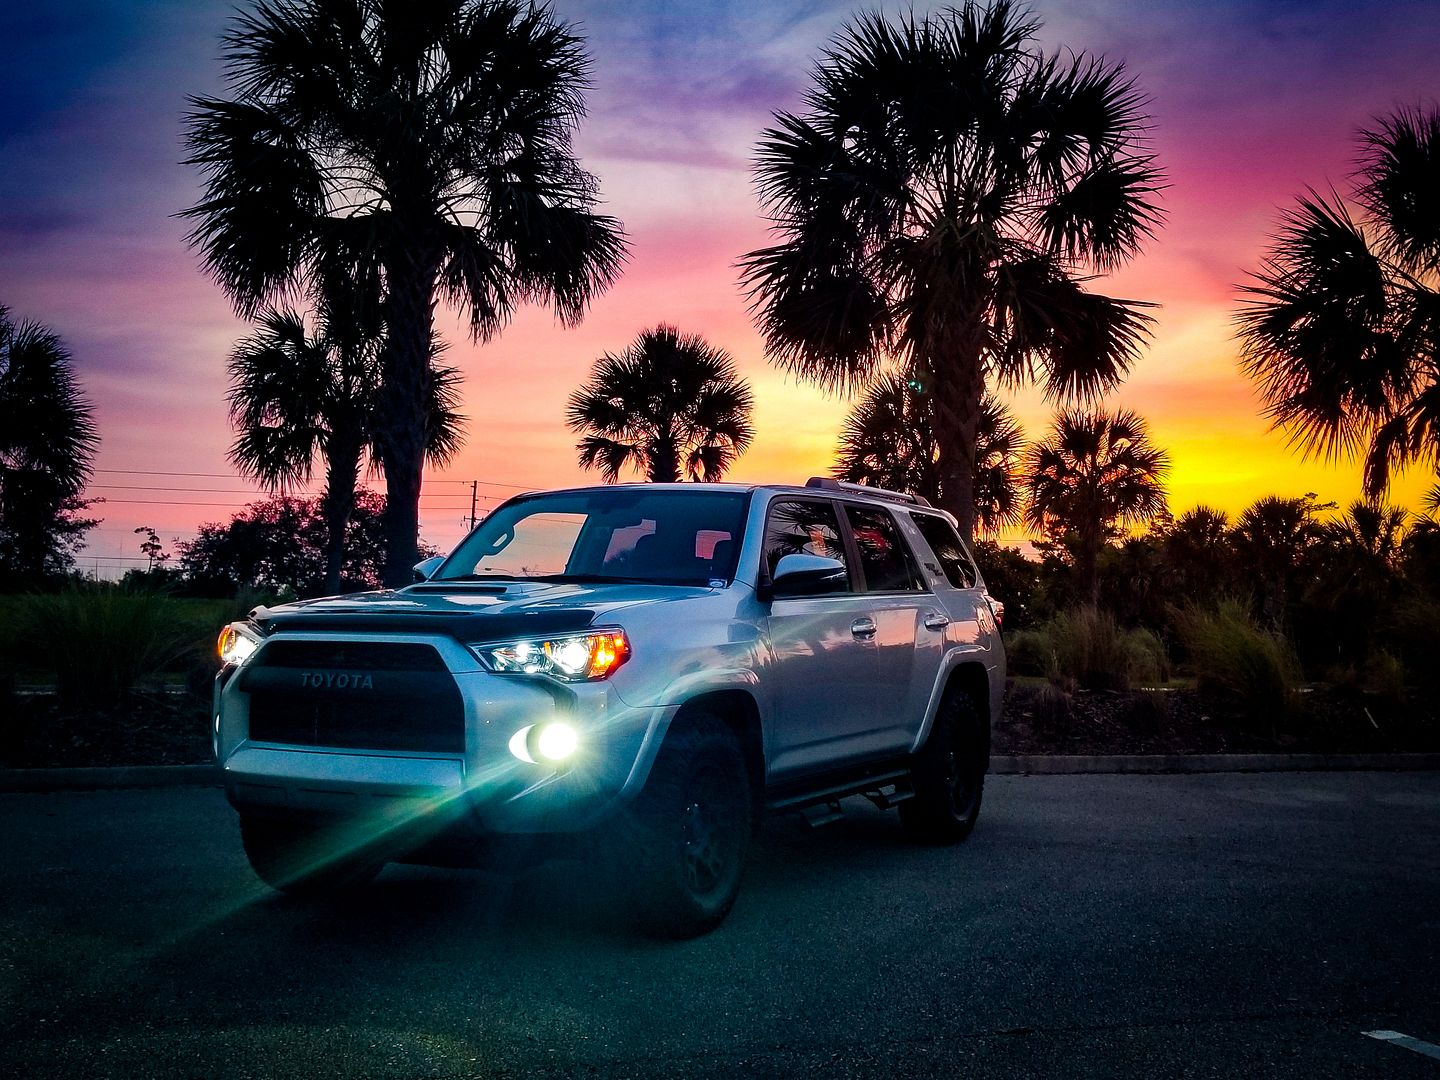
Fast Forward to this week and even more Marketplace deals helping me get closer to the completion of phase 1 of the transformation..

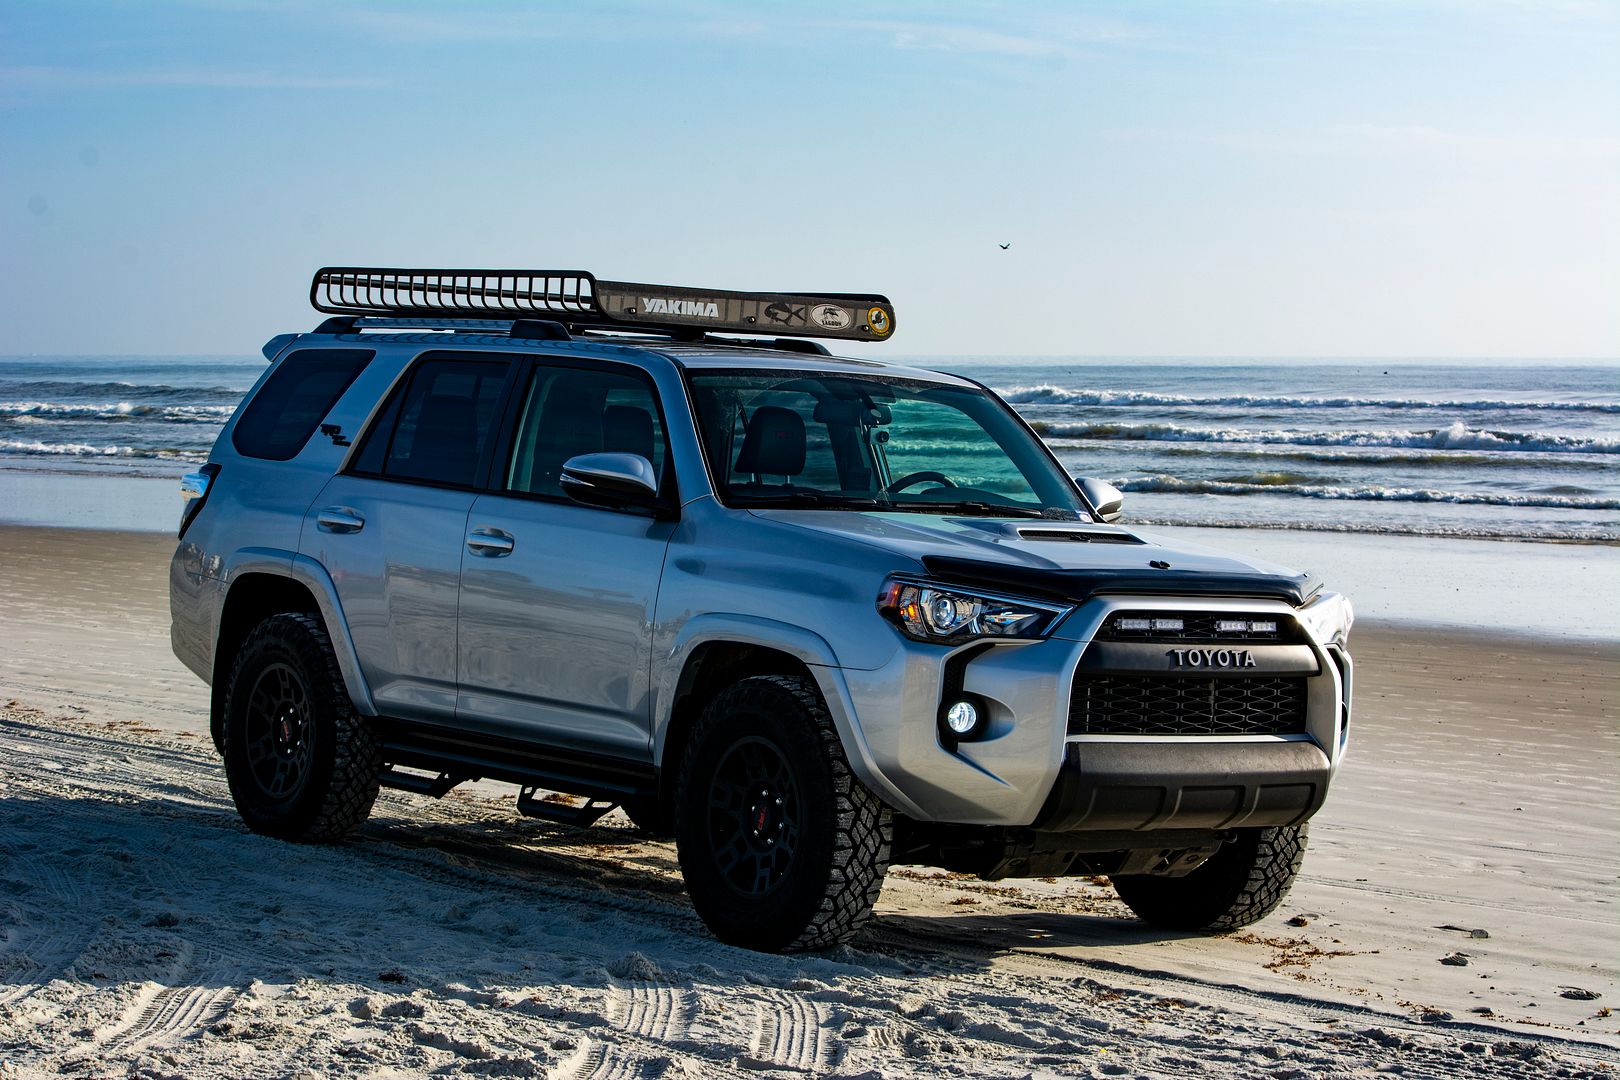
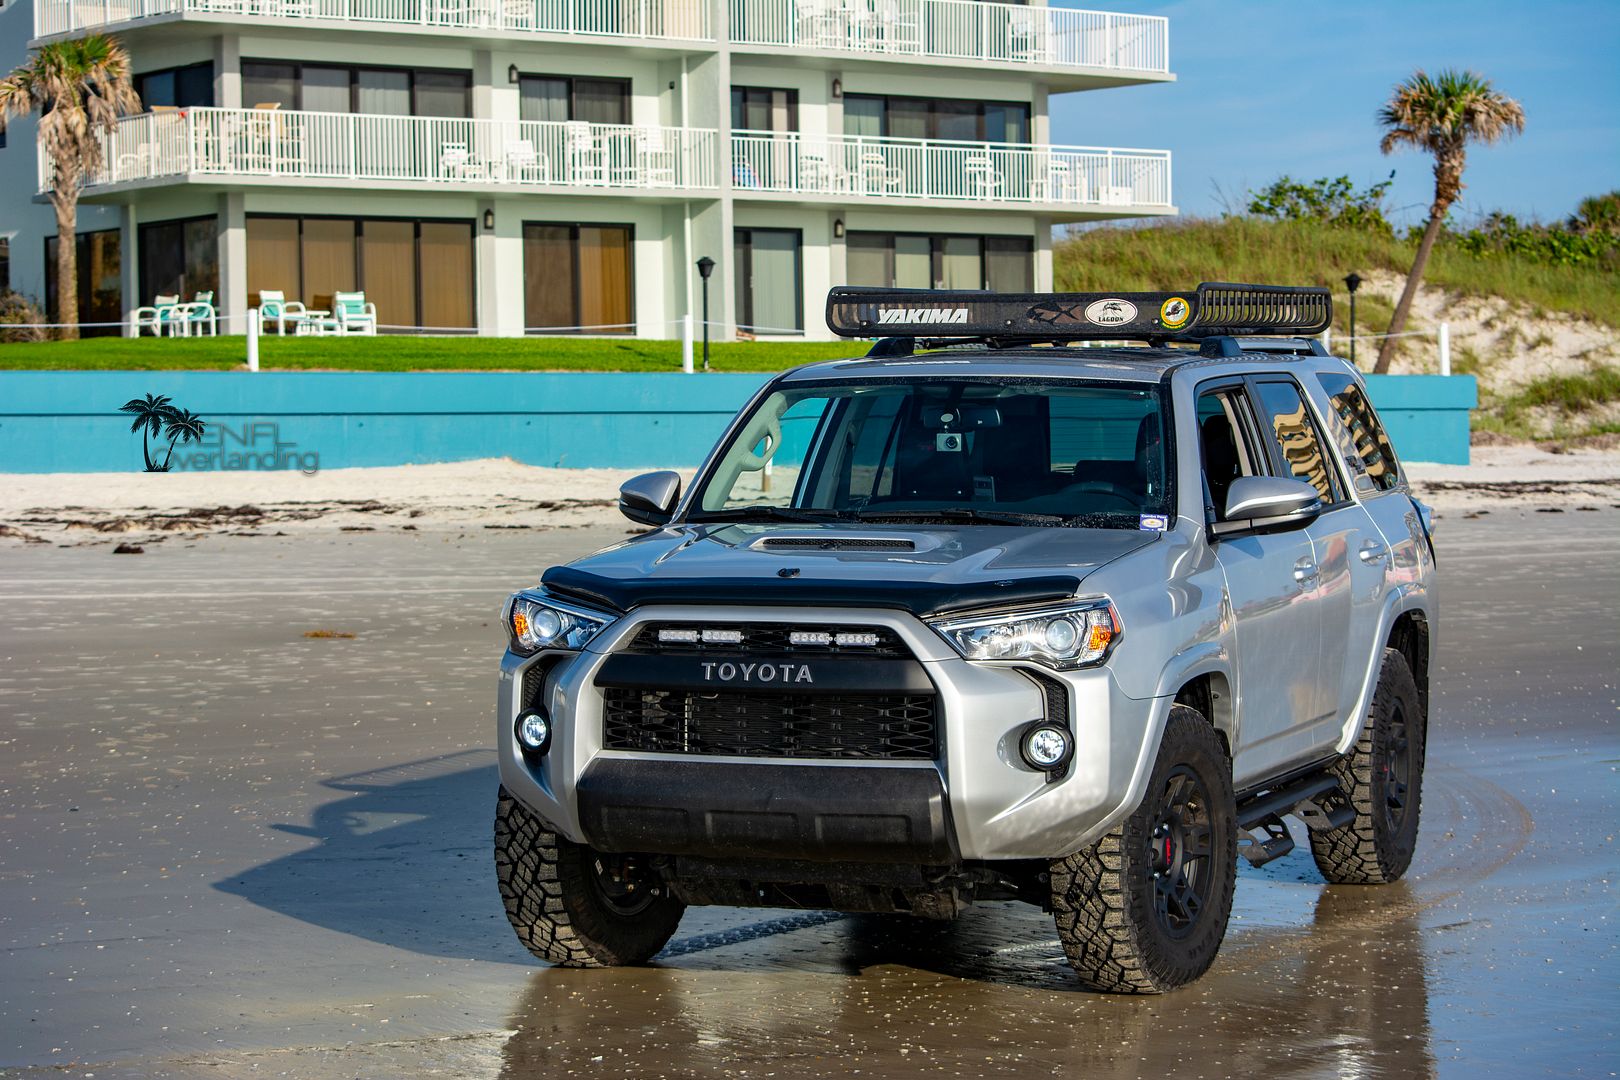
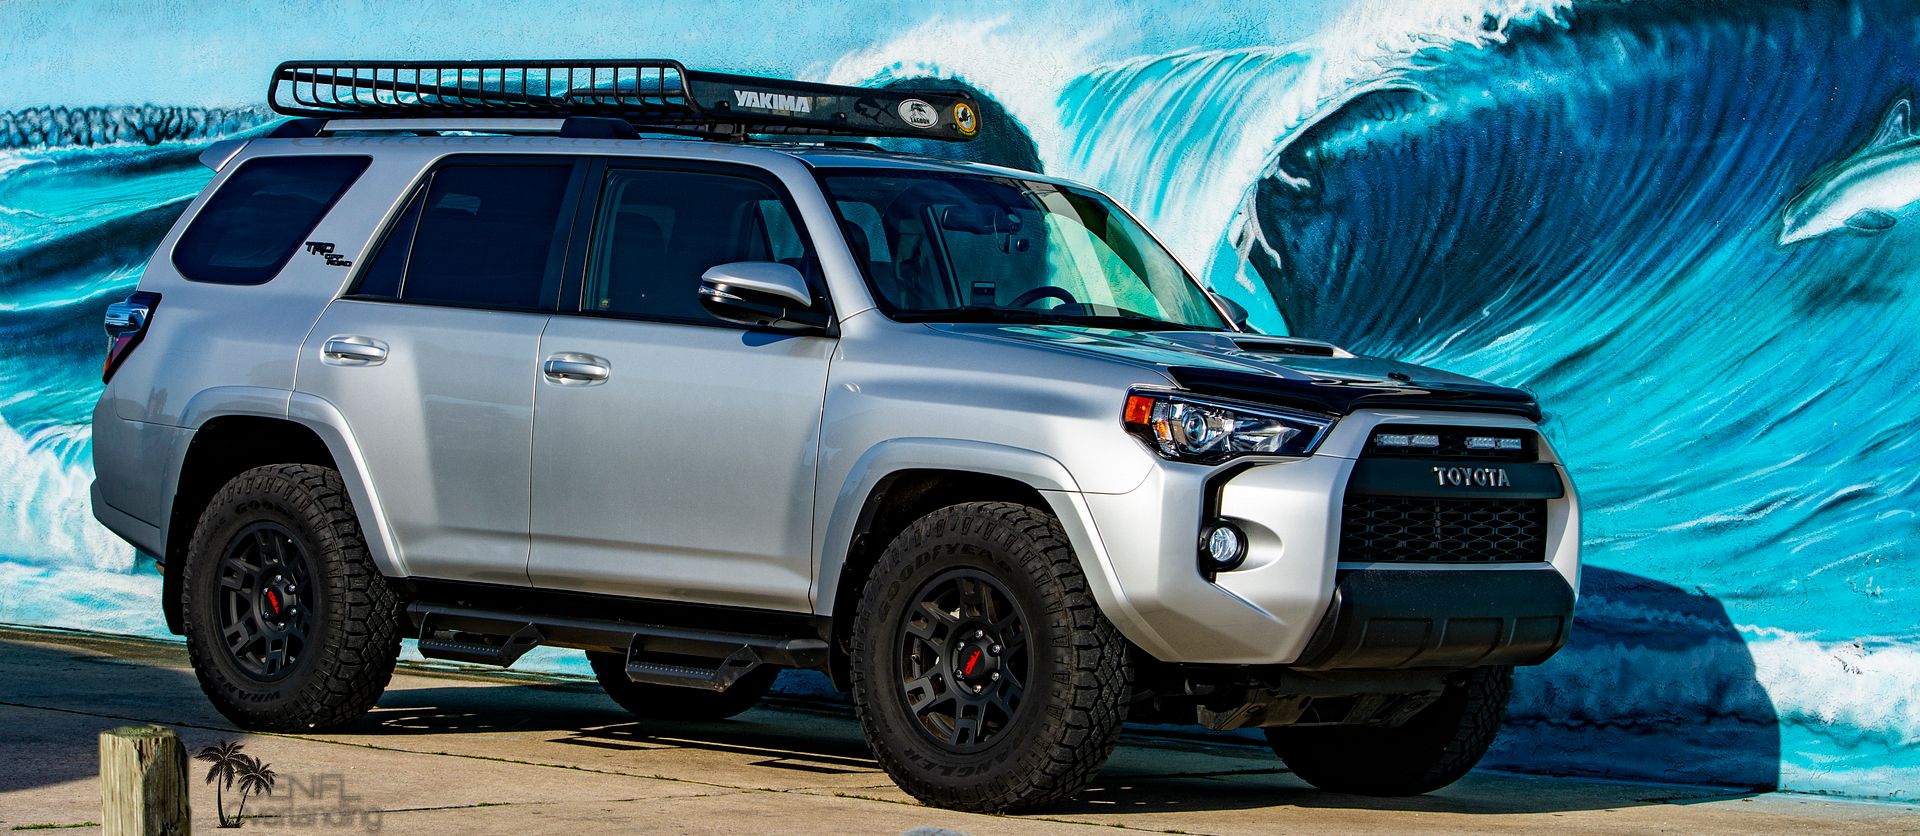
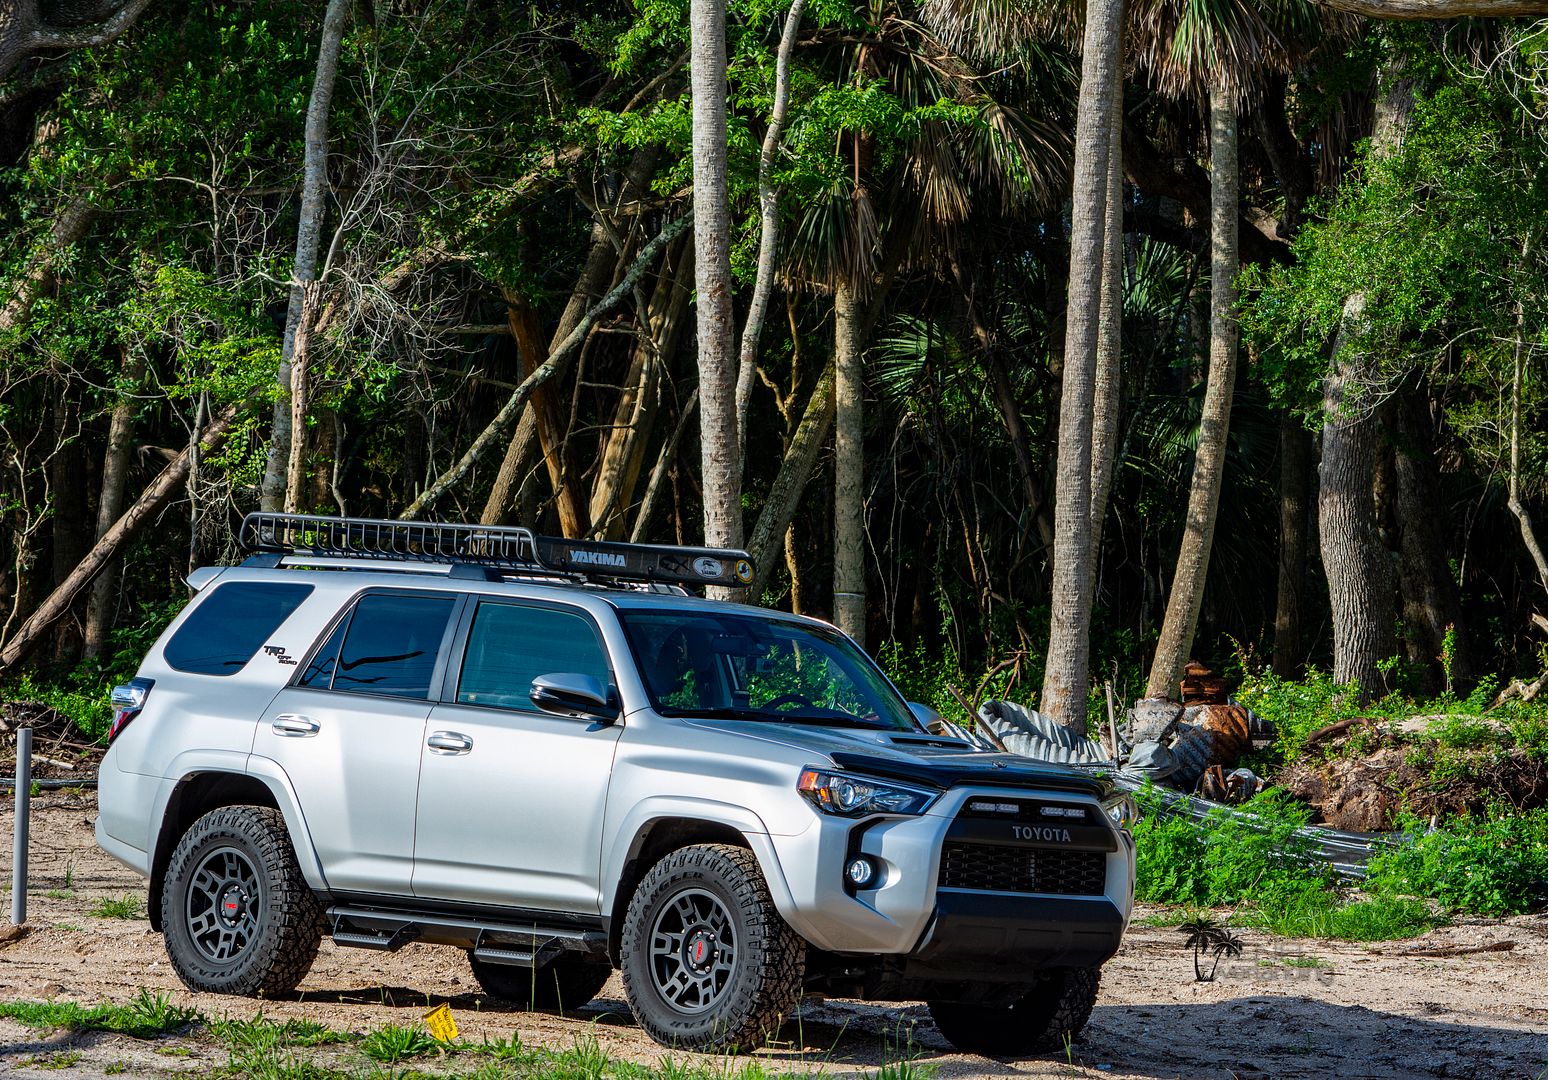
I added a MegaWarrior Roof Rack by Yakima (Will upgrade to a flat unit, I was to make my Rack a shooting platform) $200
Upgraded all the Lights
Added the Tail to Turn Mod
Added LED under the Hood
Added Amber Lights to Grill
Swapped out the LED's low beams I put in with an HID setup (Huge improvement)
Viair 400P Compressor Hard Mounted in the Rear
Gobi Ladder from B Marketplace ($150 with Gobi Struts)

*Ordered a Gun Metal Plastidip Kit for the Wheels, Mounts for Shovel and Hi Lift arrive today, along with a new Visor. Window Visors should arrive today as well. I have some 1.25" spacers as well, not sure if I want to install them or not.


As it sits today:
DSC_2930edit.jpg


DSC_2943j.jpg


DSC_2969j.jpg


DSC_2981j.jpg
 
Last edited:
All of these Mods are basic in nature. I regard everything to date as "Phase 1" of this project. I want to go off road, I want to travel and push the limits of this vehicle.

Phase 2 will include the following upgrades:
Bumper upgrades (Not sure how extreme I want to go with the Rear)
Sliders
3" Lift
Winch
Under Carriage Protection
Intake/Exhaust Upgrades
Dual Battery
 
Rear Hatch Lighting

I am hoping this is the policy, but I plan to update this post whenever I Add a new Mod/Upgrade? or just figure something new about the 5th..


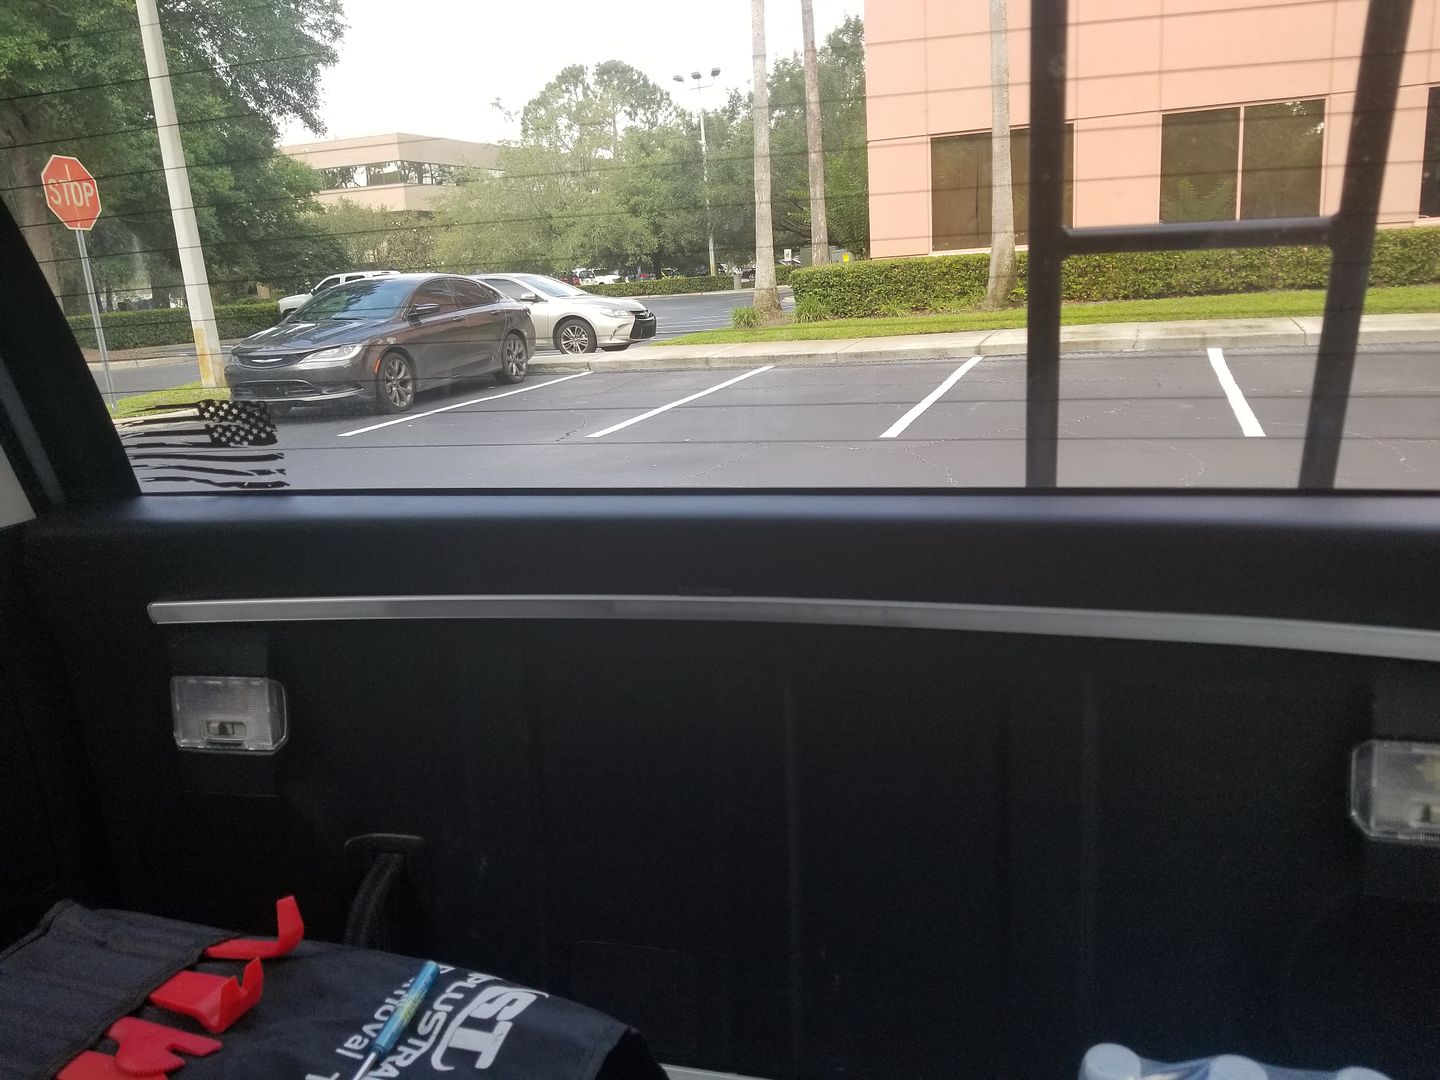
This newest Mod happened while waiting for the Wife to get an Out Patient Procedure done. So with minimal Tools and a Parking lot of on lookers wondering WTH I was doing.

Tools:
Drill
Dykes
Molding Removal Tool

Supplies:
-Under Hood LED Kit (*I purchased the below kit expecting a single 24" Strip of LED's, I was surprised to find that it was 4 24" connected strips)
https://www.ebay.com/itm/Underhood-LED-Light-Kit-w-Hood-Switch-Size-and-Color-Options-Available/291157773341?ssPageName=STRK%3AMEBIDX%3AIT&var=590308031148&_trksid=p2057872.m2749.l2649
-Clear Double Sided Tape
https://www.amazon.com/gp/product/B01M9GPJM9/ref=oh_aui_detailpage_o08_s01?ie=UTF8&psc=1
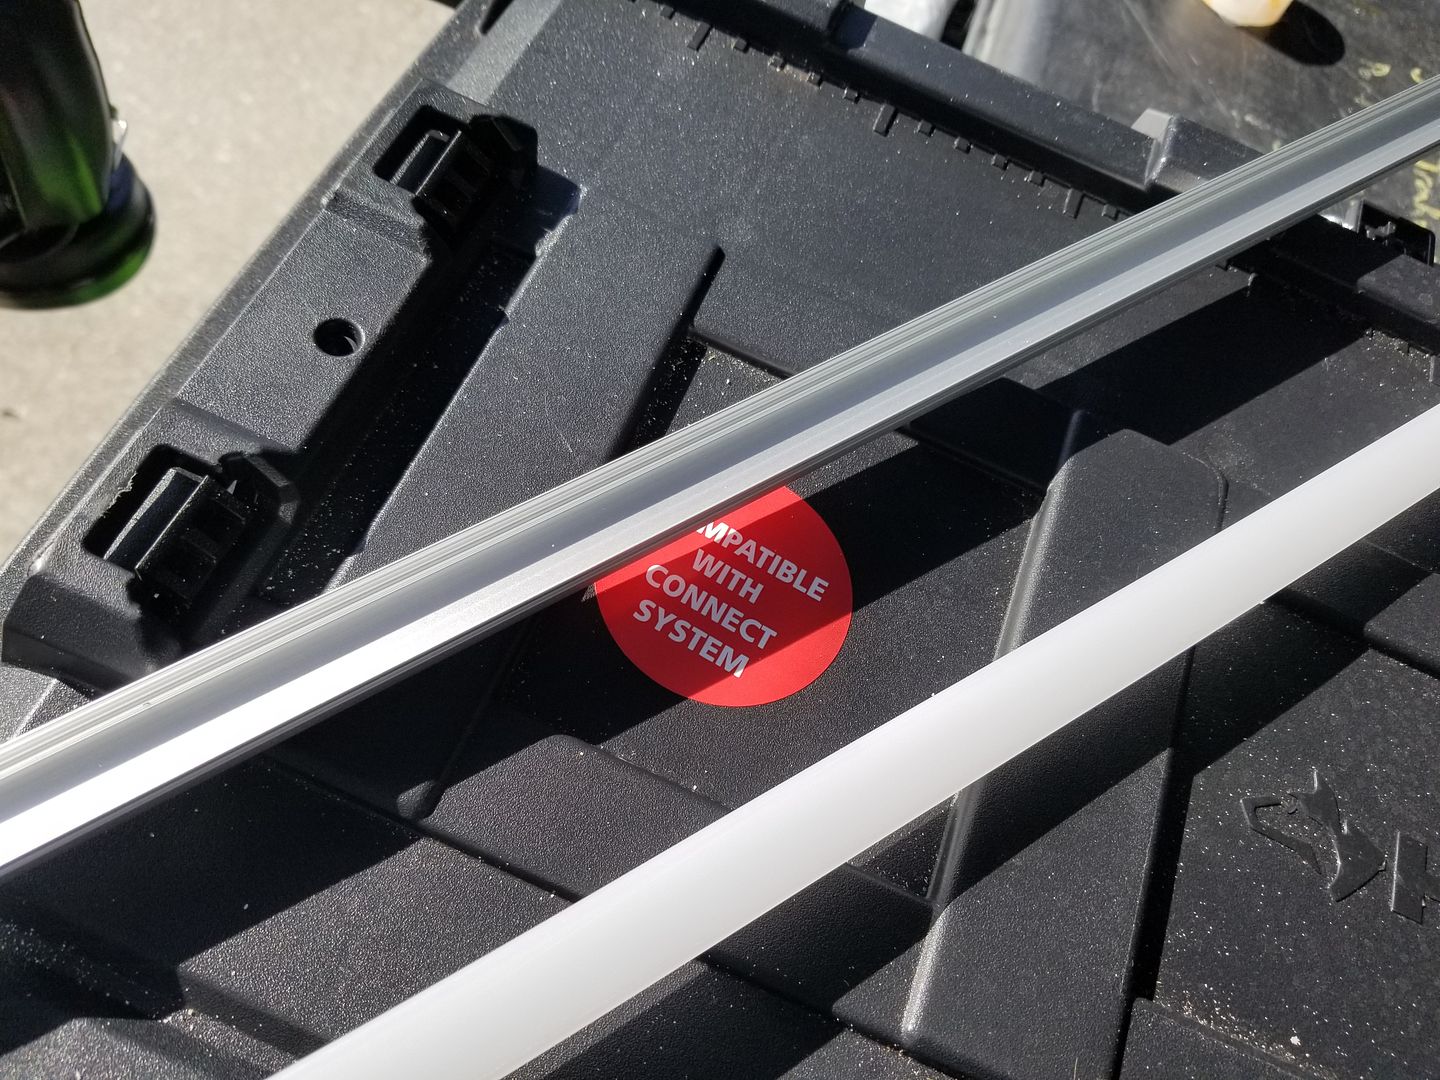
-1 Meter LED Channel with Cover (I ordered a 6 pack, only needed 2)
https://www.amazon.com/gp/product/B01M09PBYX/ref=oh_aui_detailpage_o00_s00?ie=UTF8&psc=1


First thing I did was measure to make sure everything would fit, and it was perfect without having to cut anything. I did have to overlap LED strips in order to avoid Soldering (I was in a parking Lot, not home).. I marked where the end of the channels would fall. These marks were important when it was time to drill holes for the Wiring.

-Once the measuring was complete, I added the double sided Tape to the Aluminum Strips (Cleaned with Alcohol Wipes).

20180609_173759.jpg


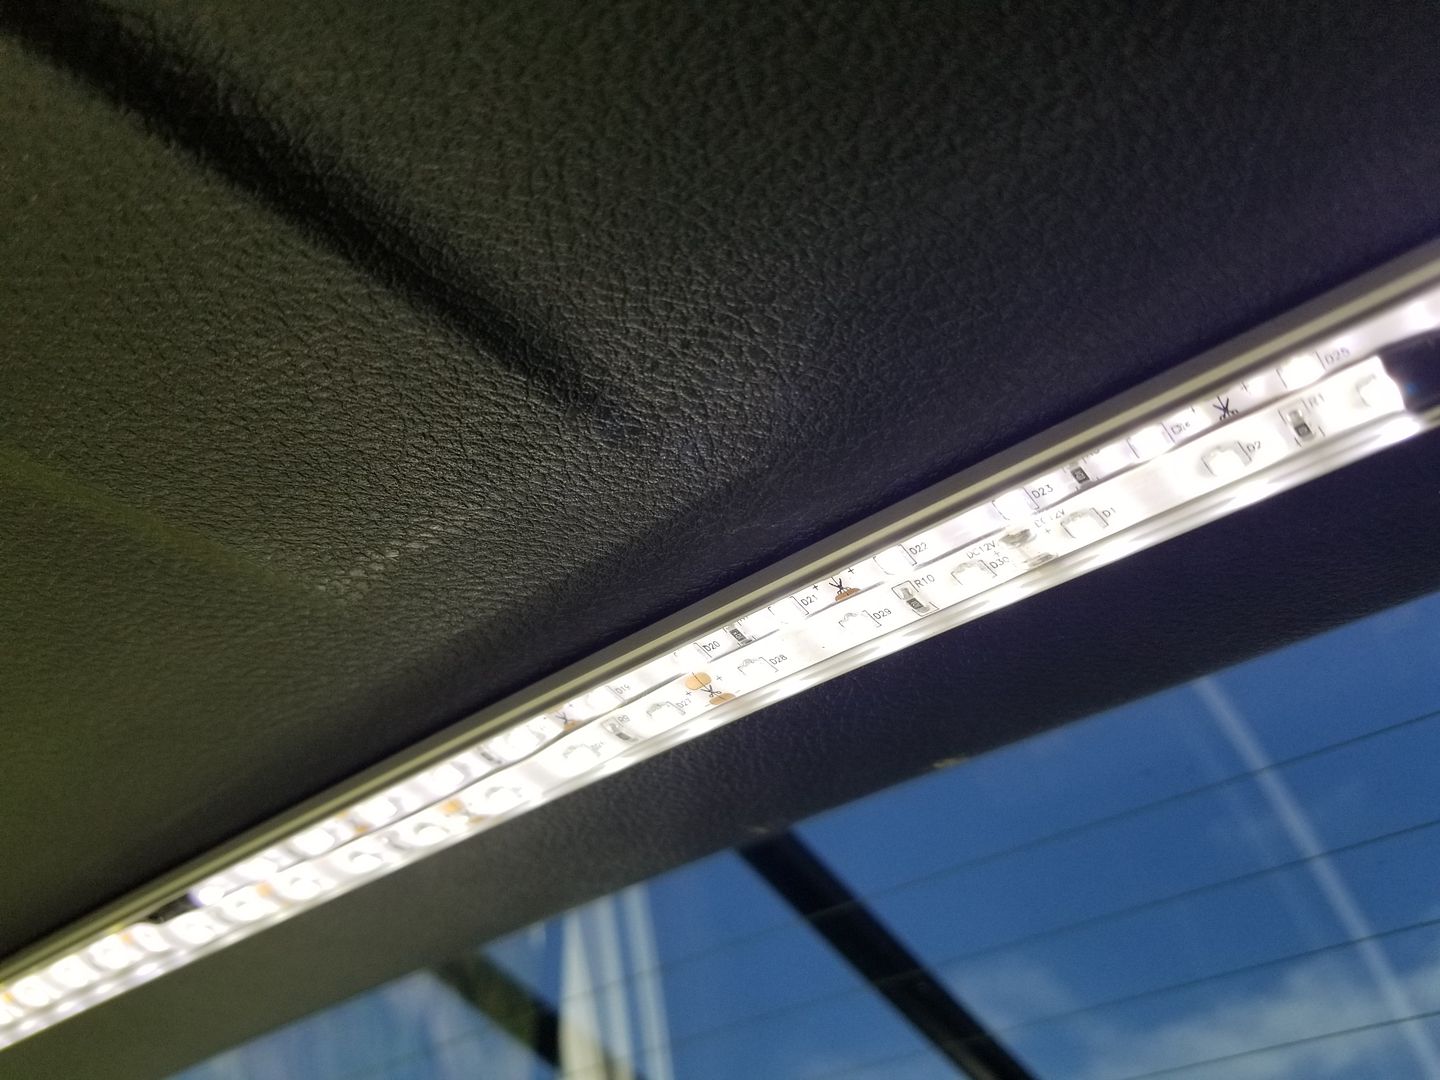
-The next step was to add the LED strips to the Aluminum Strips.
*At this point I cut 2 of the strips off, leaving me with 2 sections of 2 LED strips. Because of where I cut the wire, I did not have to do any soldering, I had wiring at the end of each pair.
Just peel the backing and apply pressure with your fingers.. Keep in mind, I did overlap the LED strips. It wasnt much, and not necessary. I could have cut the LED strips and resoldered the leads, but decided overlapping wouldnt hurt output or performance. *Pic shows what I mean when I say I overlapped*

20180609_175008.jpg


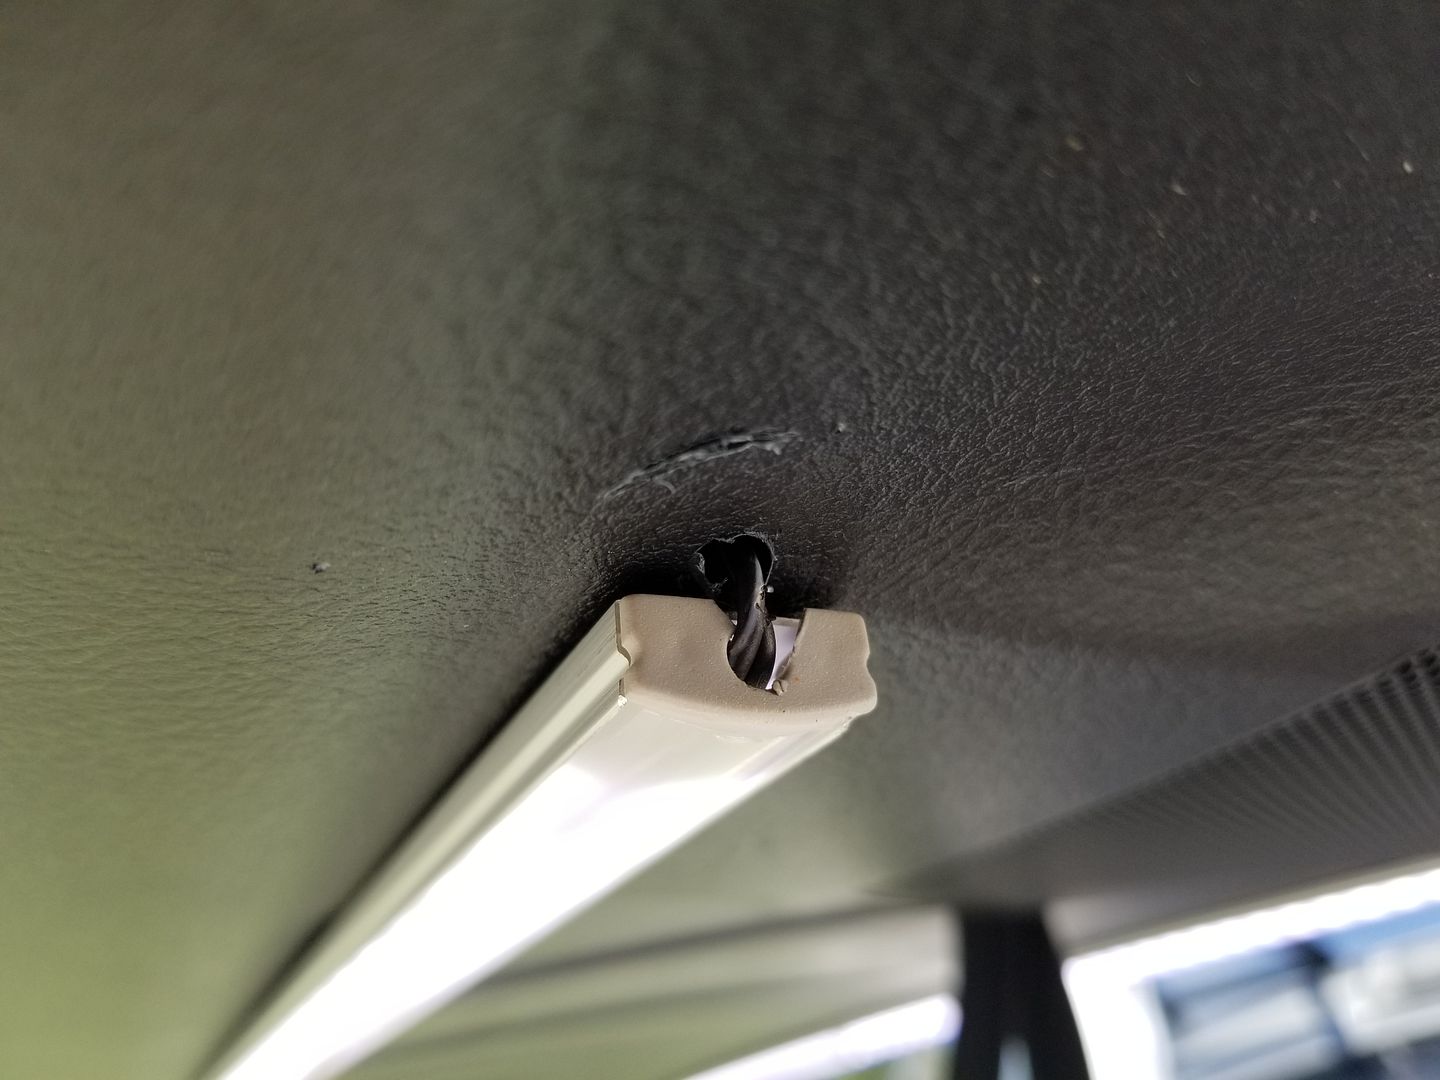
-Based on my marks, it was time for me to drill the holes I needed in order to run the wires behind the Hatch Panel. I wanted it to appear as clean as possible, so I drill the holes as reasonably close as possible to my marks. *Sorry I dont know the size of the Bit I used, but it was tiny, the smallest one I own.
*I also didnt take pics, so the below pic is after the installtion was complete.

20180609_175126.jpg


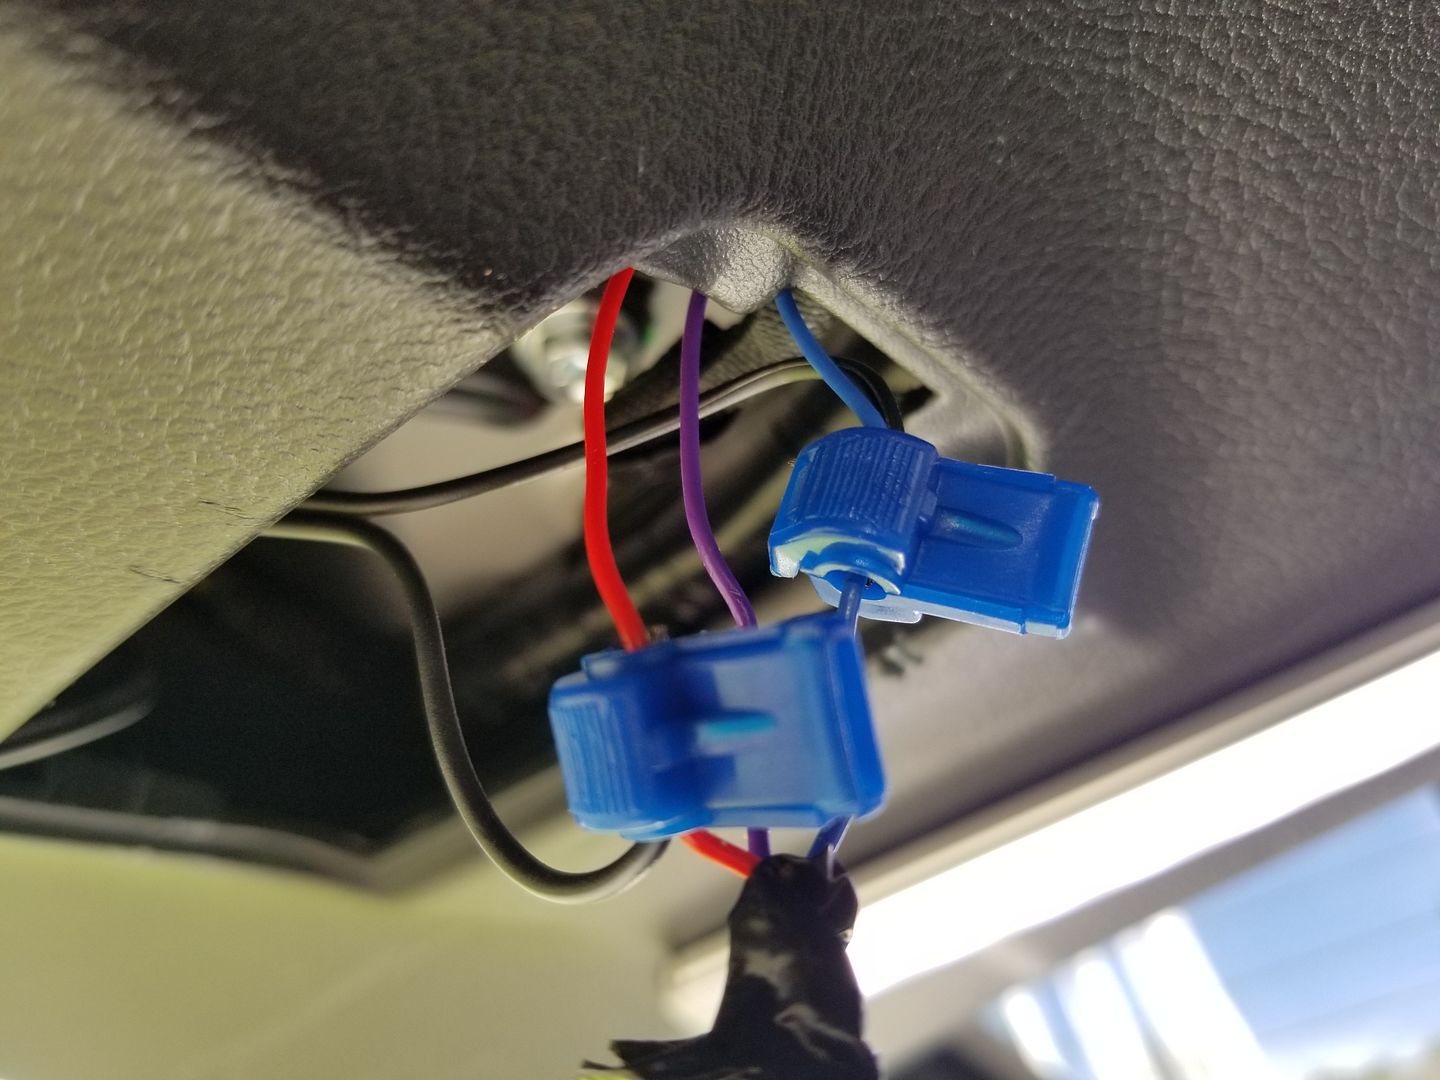
Before setting the Lights in place, I needed to figure out which wires I wanted to tap into for the Lights to function as needed. To do this I use my molding tool to remove one of the Hatch light housing and take a look at how it works. I determined the Red Wire and the Solid Blue Wires were the ones I needed. These Wires allowed the LED's to be on whenever the Hatch is open.
* I have since soldered these connections, but while in the parking Lot, I just spliced the wires with what I had on hand as seen in the pics.

20180609_173939.jpg


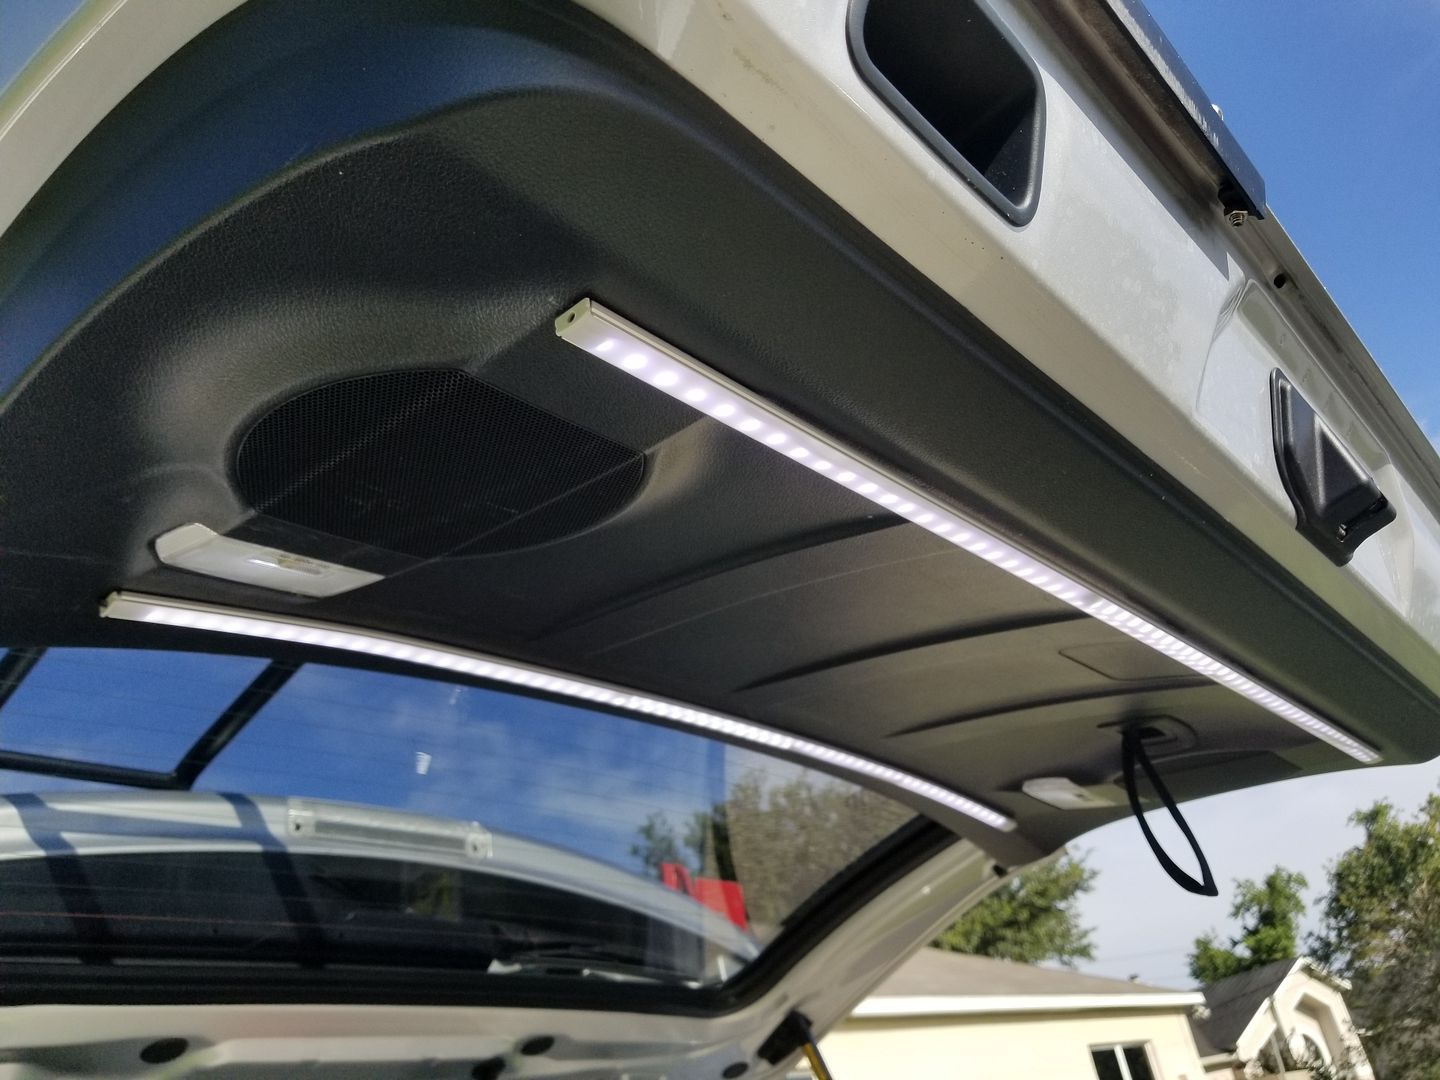
- I cleaned the Hatch panel with Alcohol wipes and prepared th strips by peeling the backing off the Double sided Tape. Placed the Strips and added the needed pressure to ensure proper seating. These Aluminum Strips are flexible, and were able to bend as much as needed to conform to the curves of the panel.

*The Panels come with mounting Hardware, but because of my setting, I decided to hold off on using them, but I saved them just in the case the Double Sided Tape doesnt hold up. I'd prefer to not add any unnecessary holes in the panel. So far I have had no issues, even though it has been quite hot here in Central FL.

-Added the End Caps that came with the Aluminum Channels
20180609_175126.jpg


- To get to the wires of the Hatch lights, I used my Molding tool and pried the panel down and ran the wires to the lights.


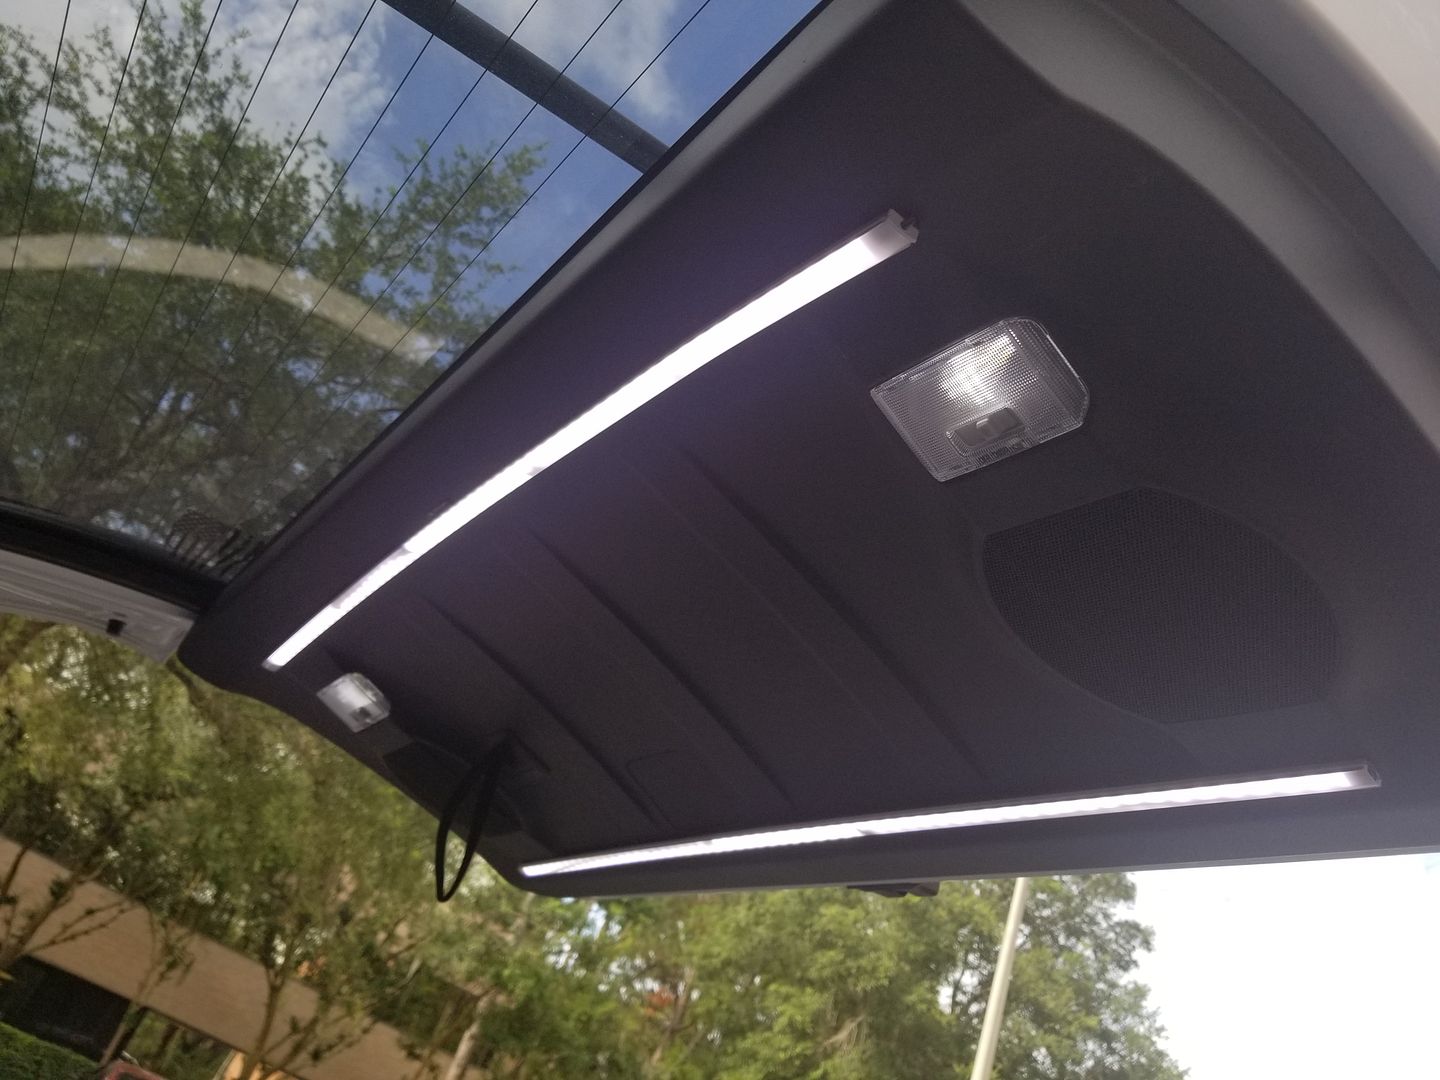
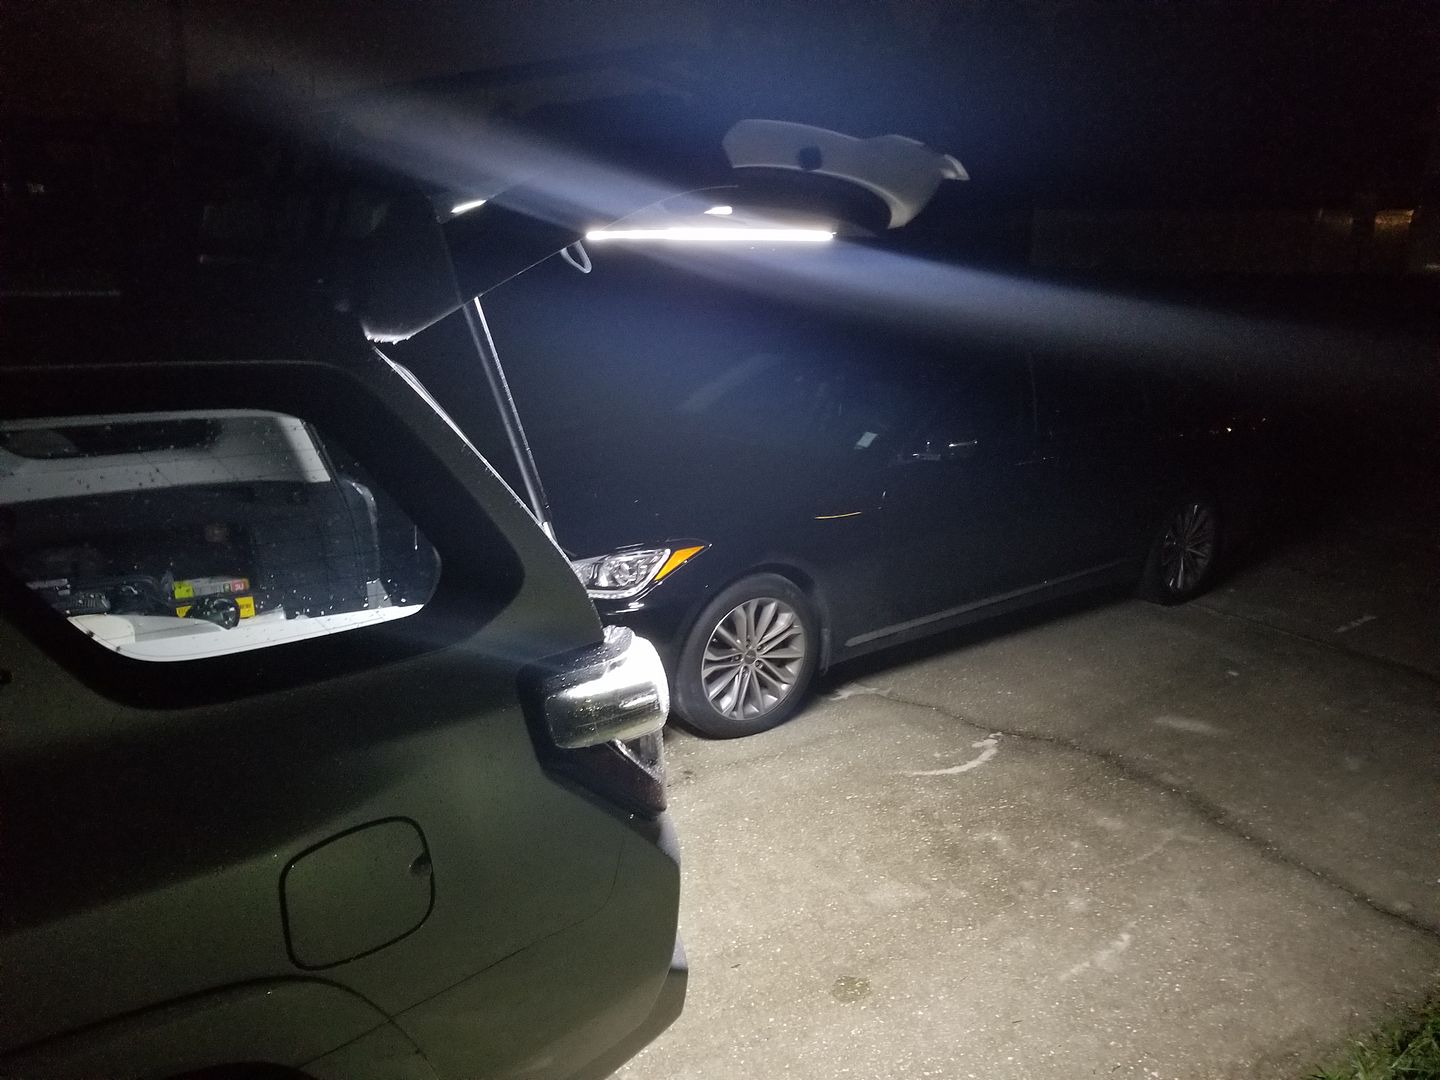
-This is what you see when closed.
20180601_093921.jpg


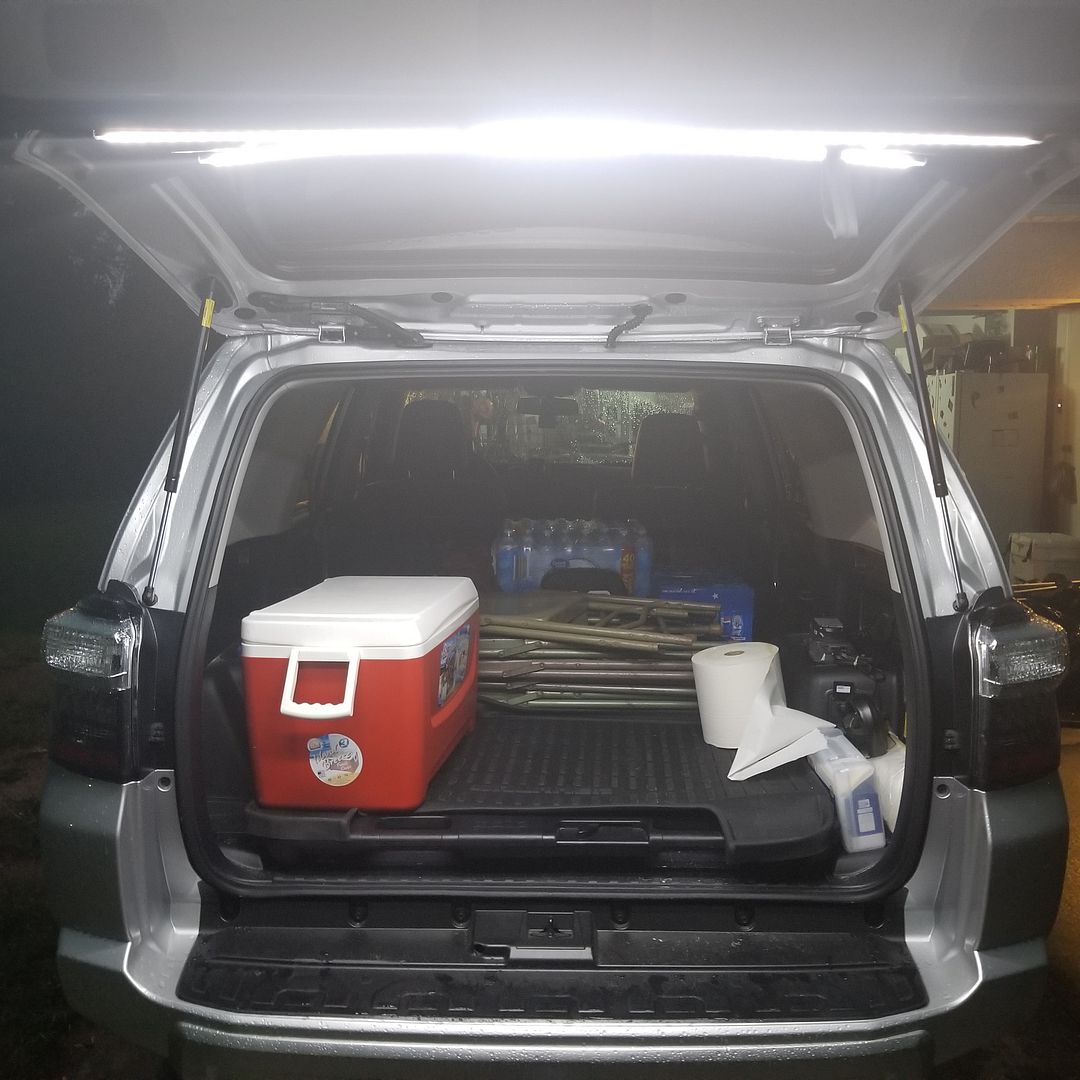
When Open
20180601_093731.jpg

20180609_175149.jpg


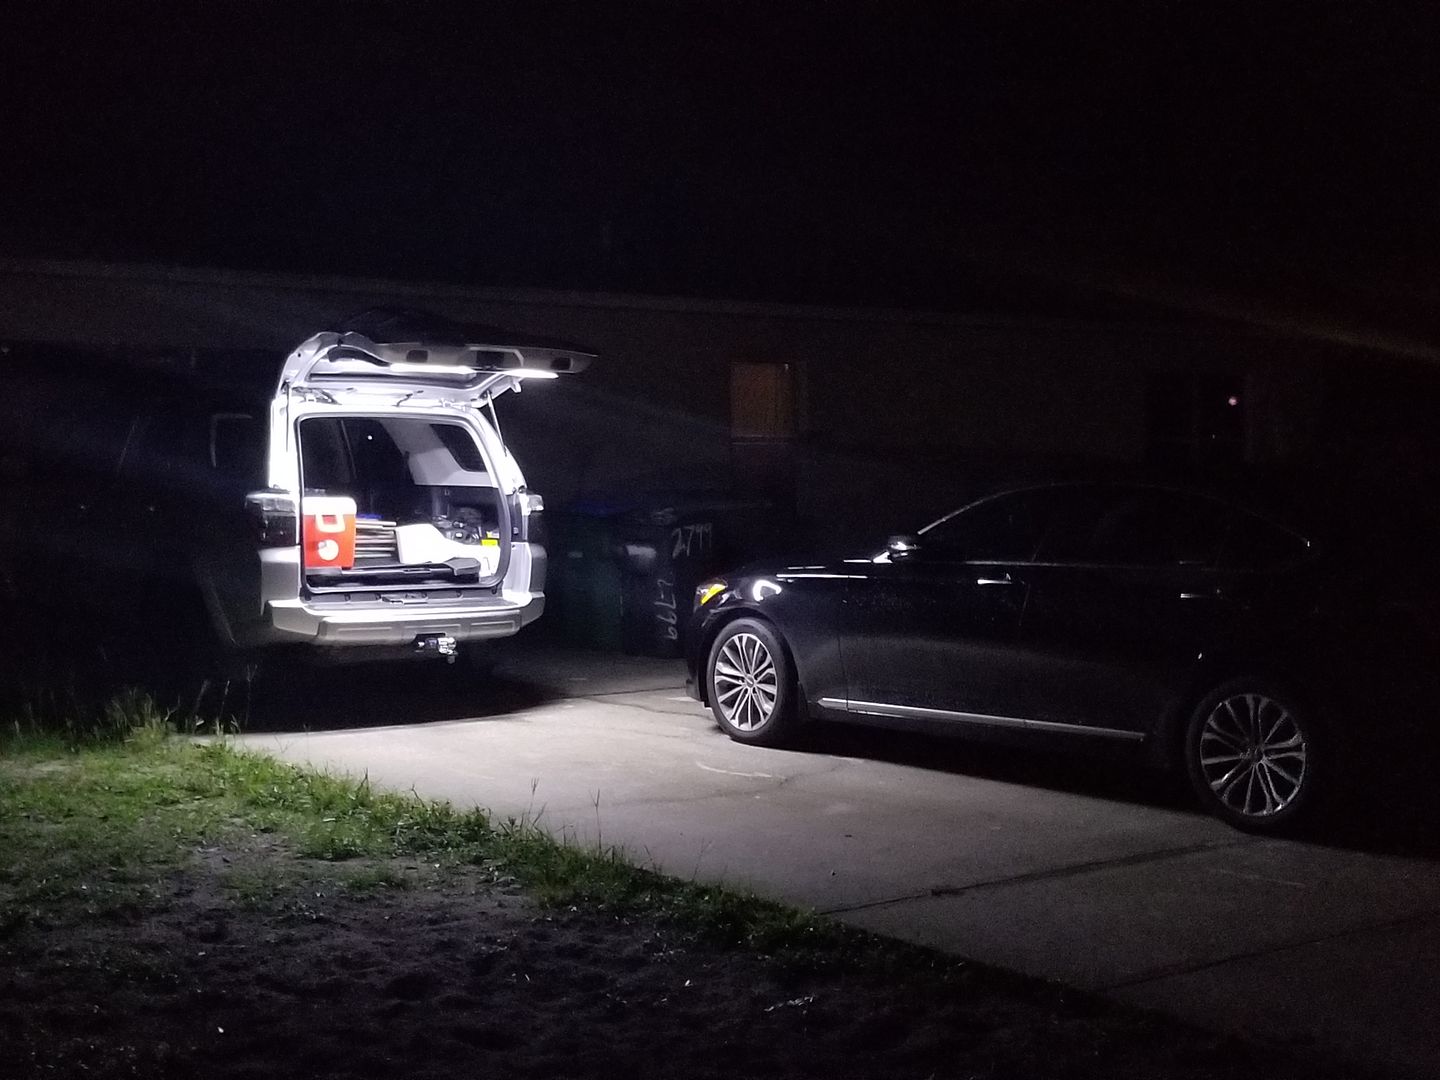
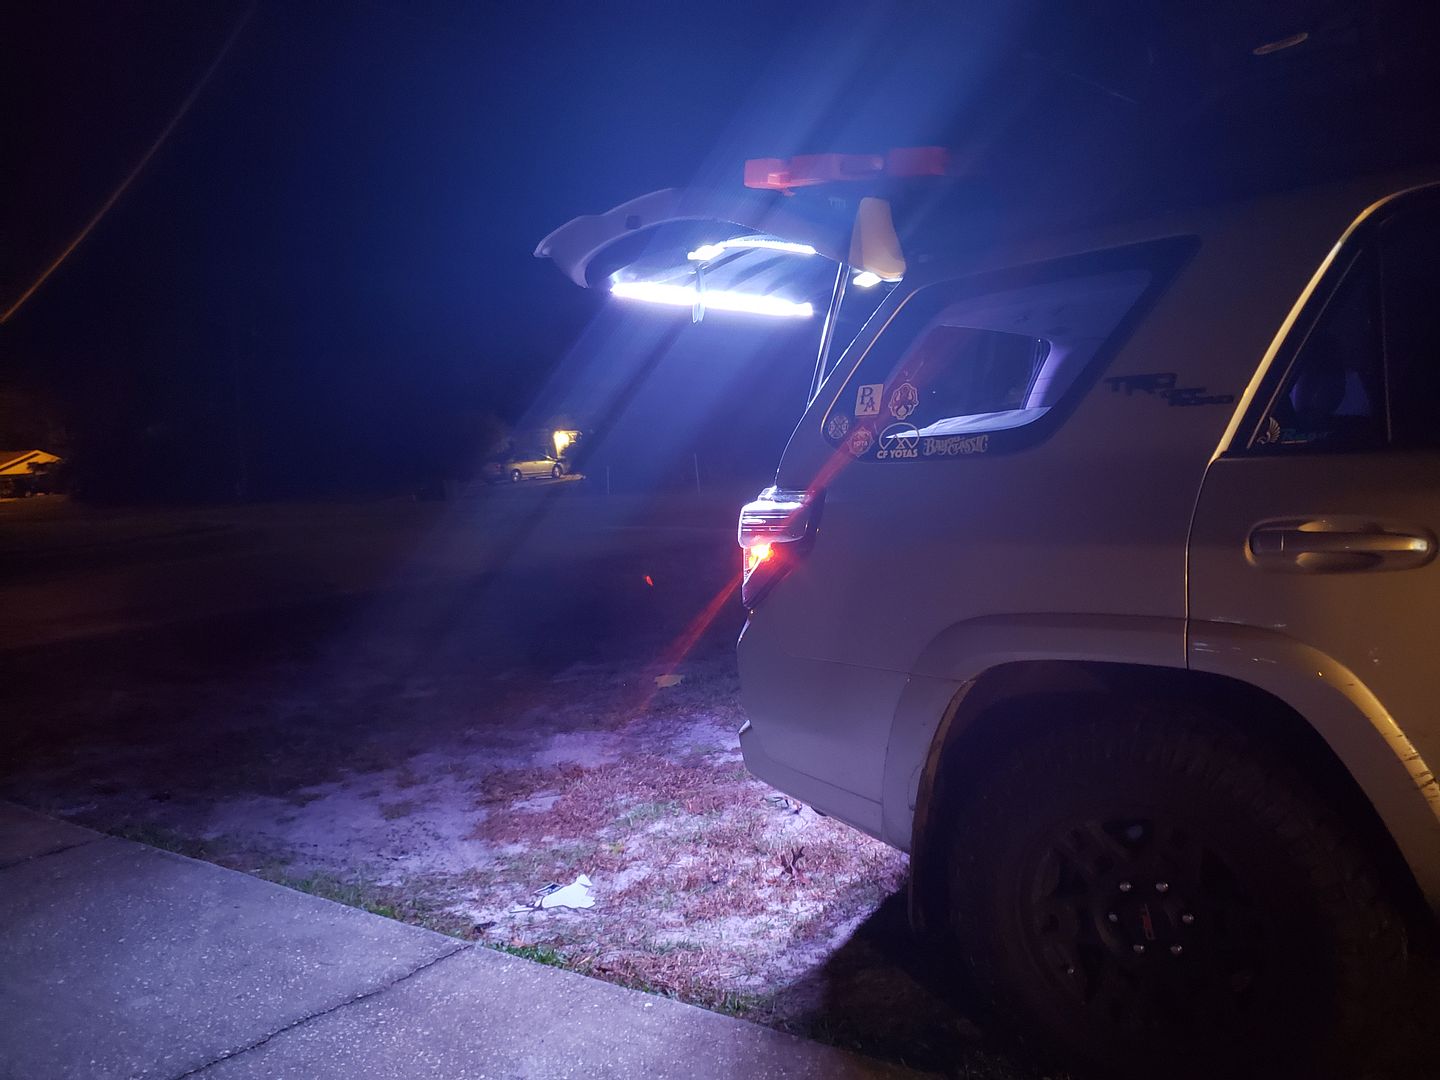
Shots at Night
20180601_230733.jpg

IMG_20180601_230538_996.jpg

20180601_231220.jpg
 
Looks really good man. You got some balls to be drilling into your brand new rear trunk trim. Haha Brave man!
 
Sorry, but life always seems to get i nthe way of updating threads I start. My last post was June 2018 in this thread. There have been a lot of additions and upgrades.

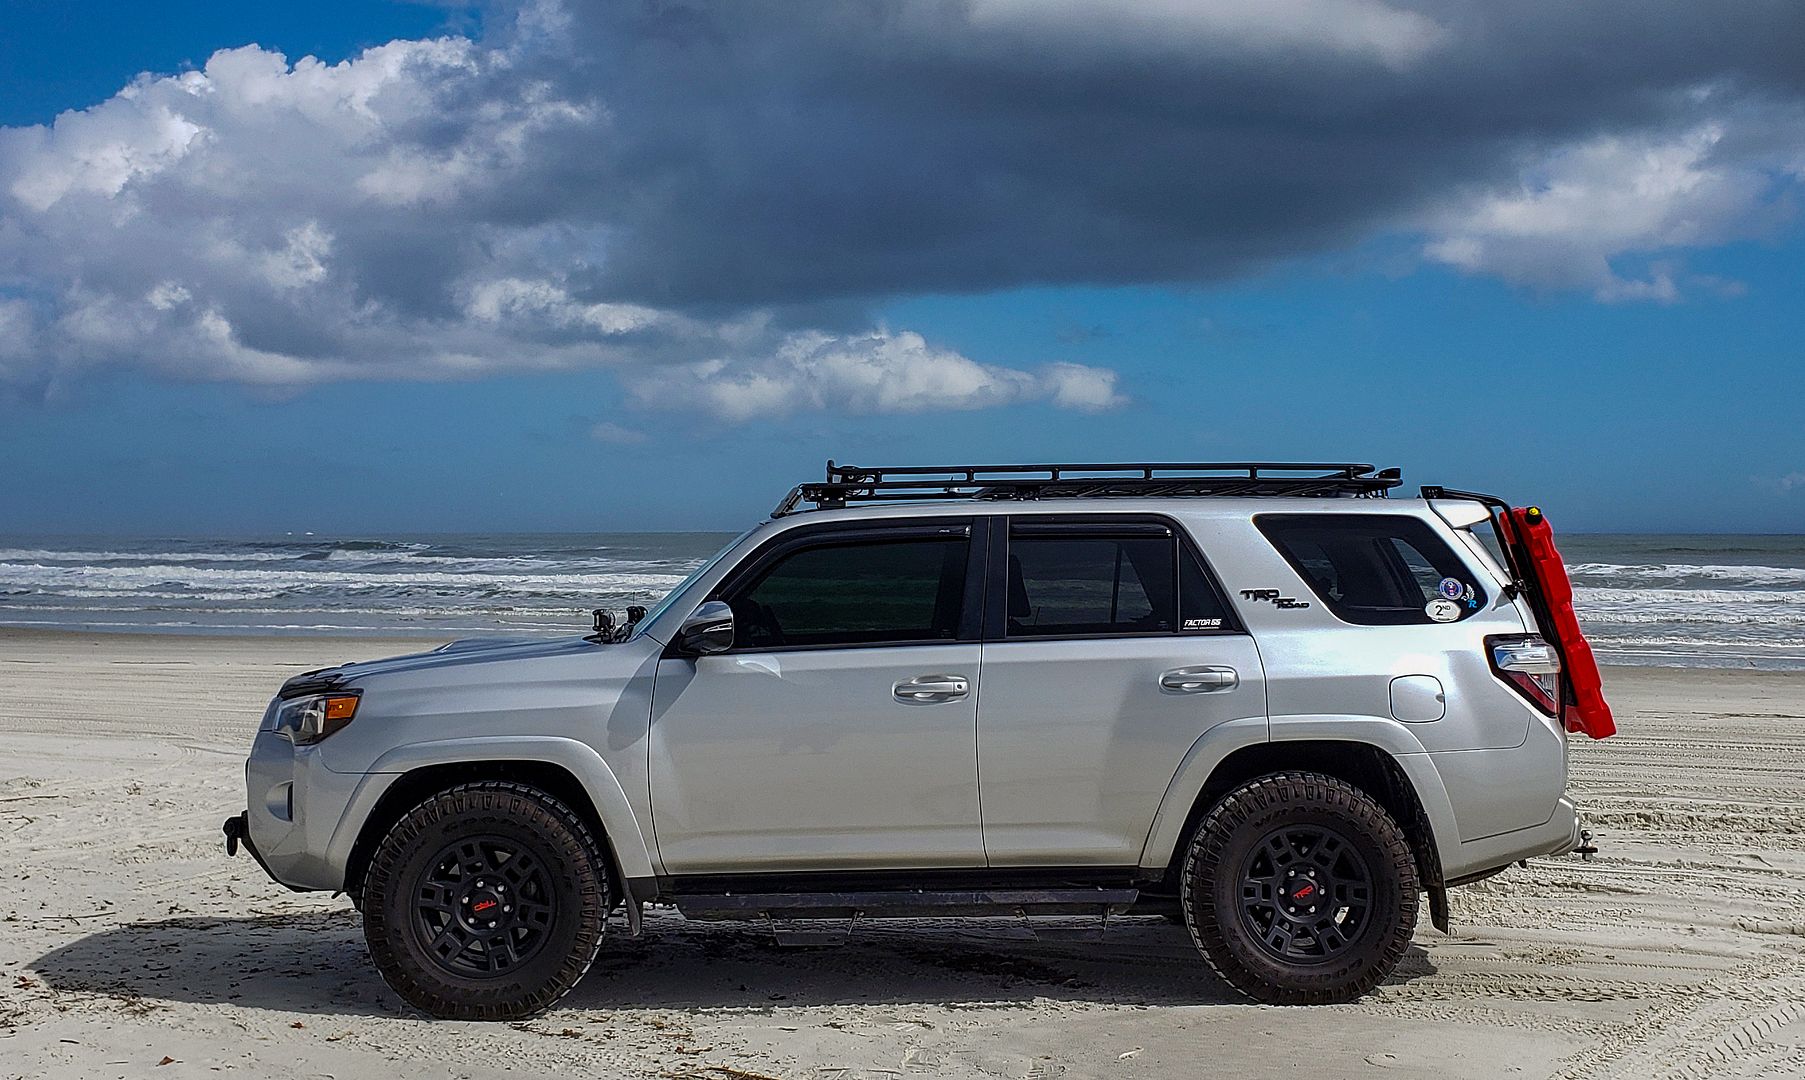
The height of the Yakima Rack always bothered me, and the inability to add a RTT was bugging me as well. The Mega Warrior with extension was quite big, and very useful for the most part. But the limitations based on size and height werent what I wanted. No regrets though, that price was great (Yakima Rack, Extension, and Yakima Cross Bars and mounts for $200 on FB marketplace)..
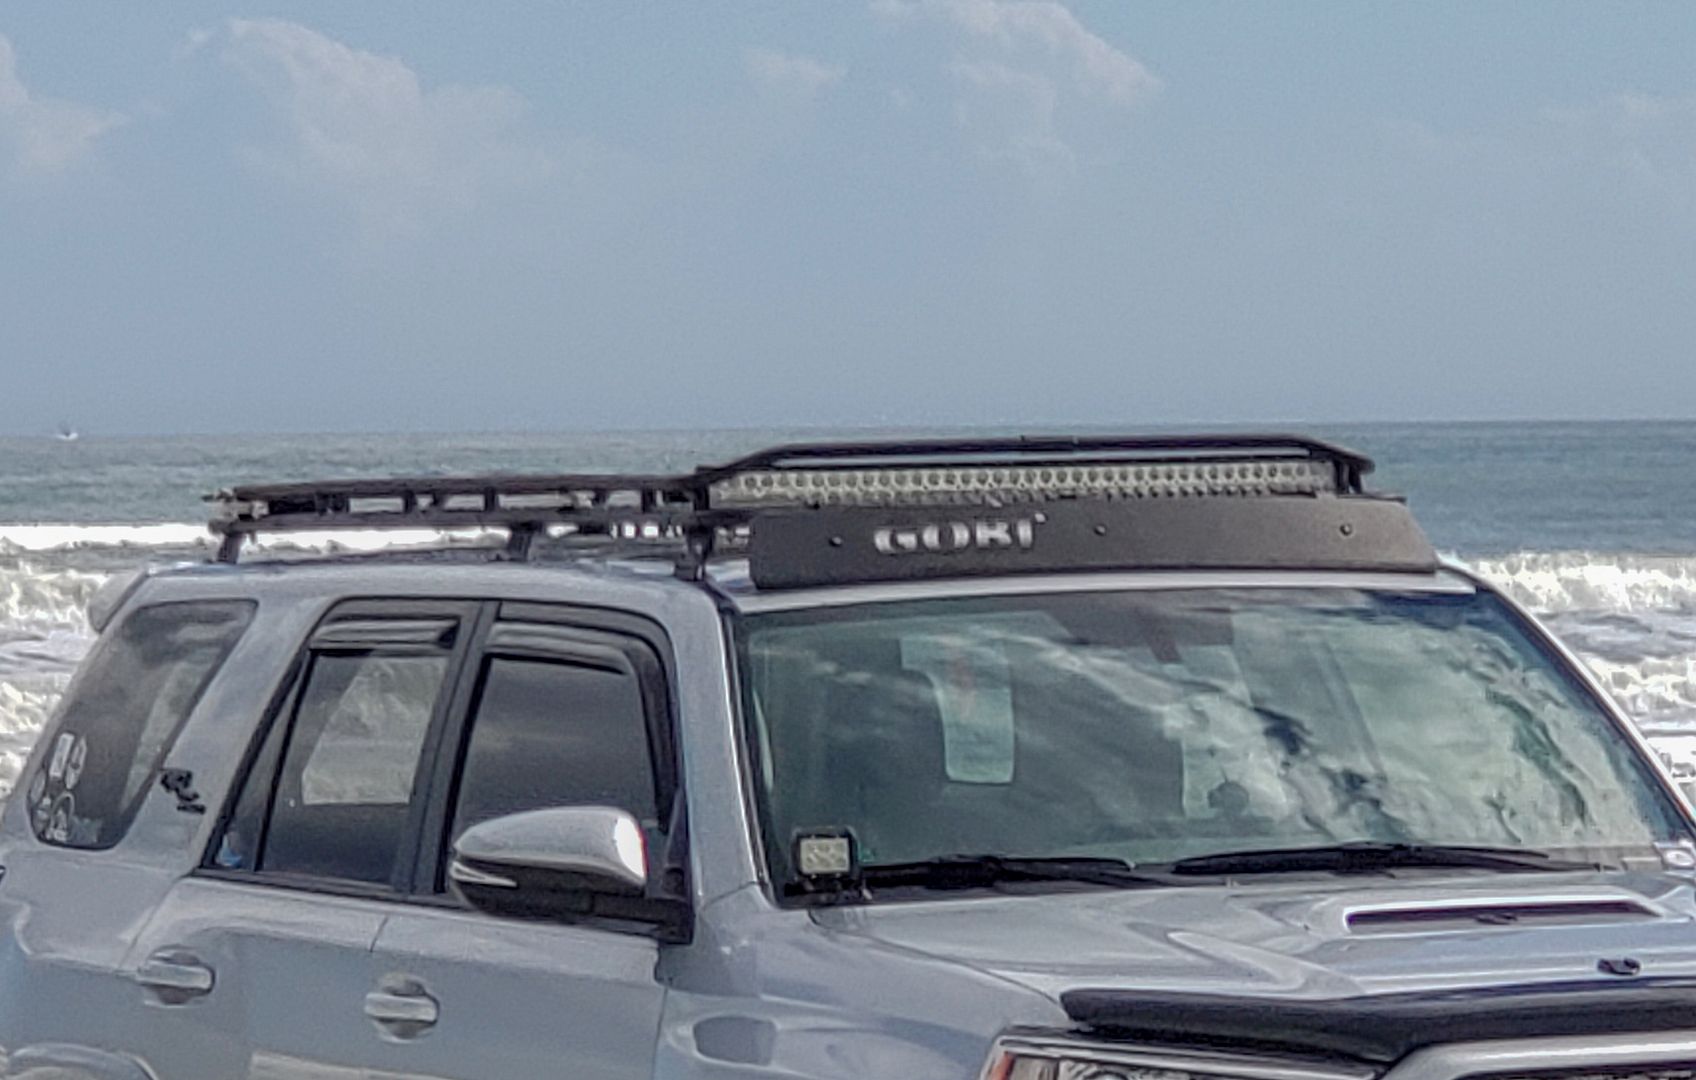
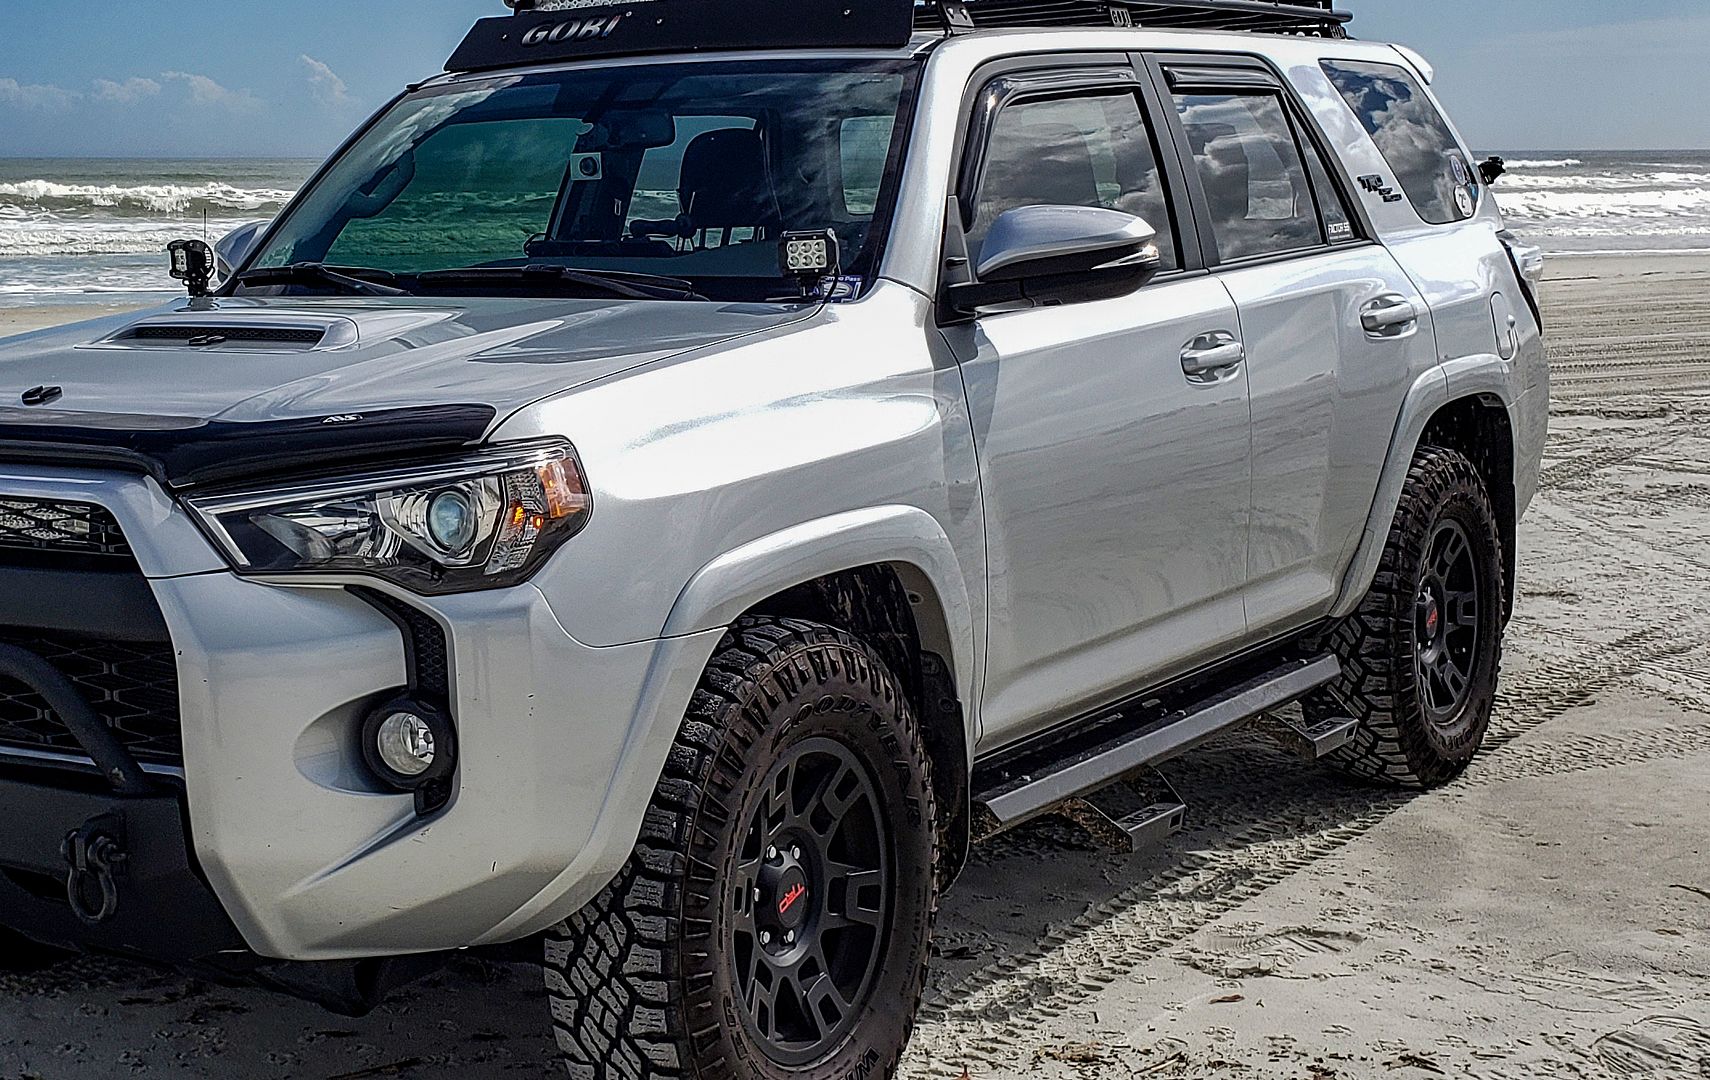
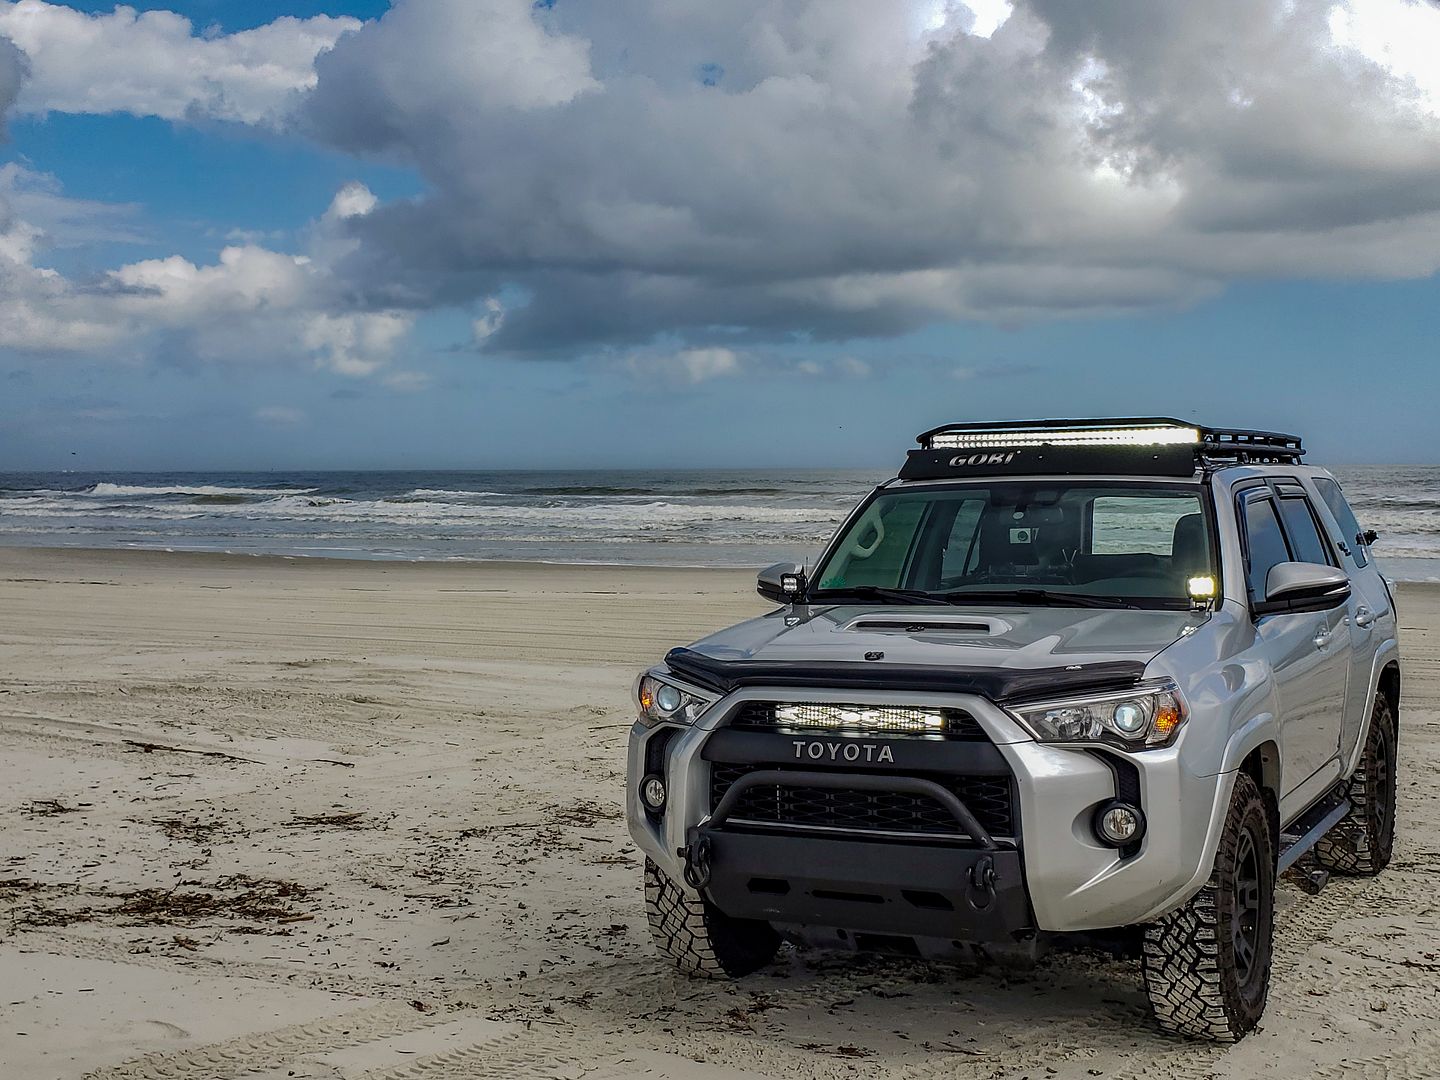
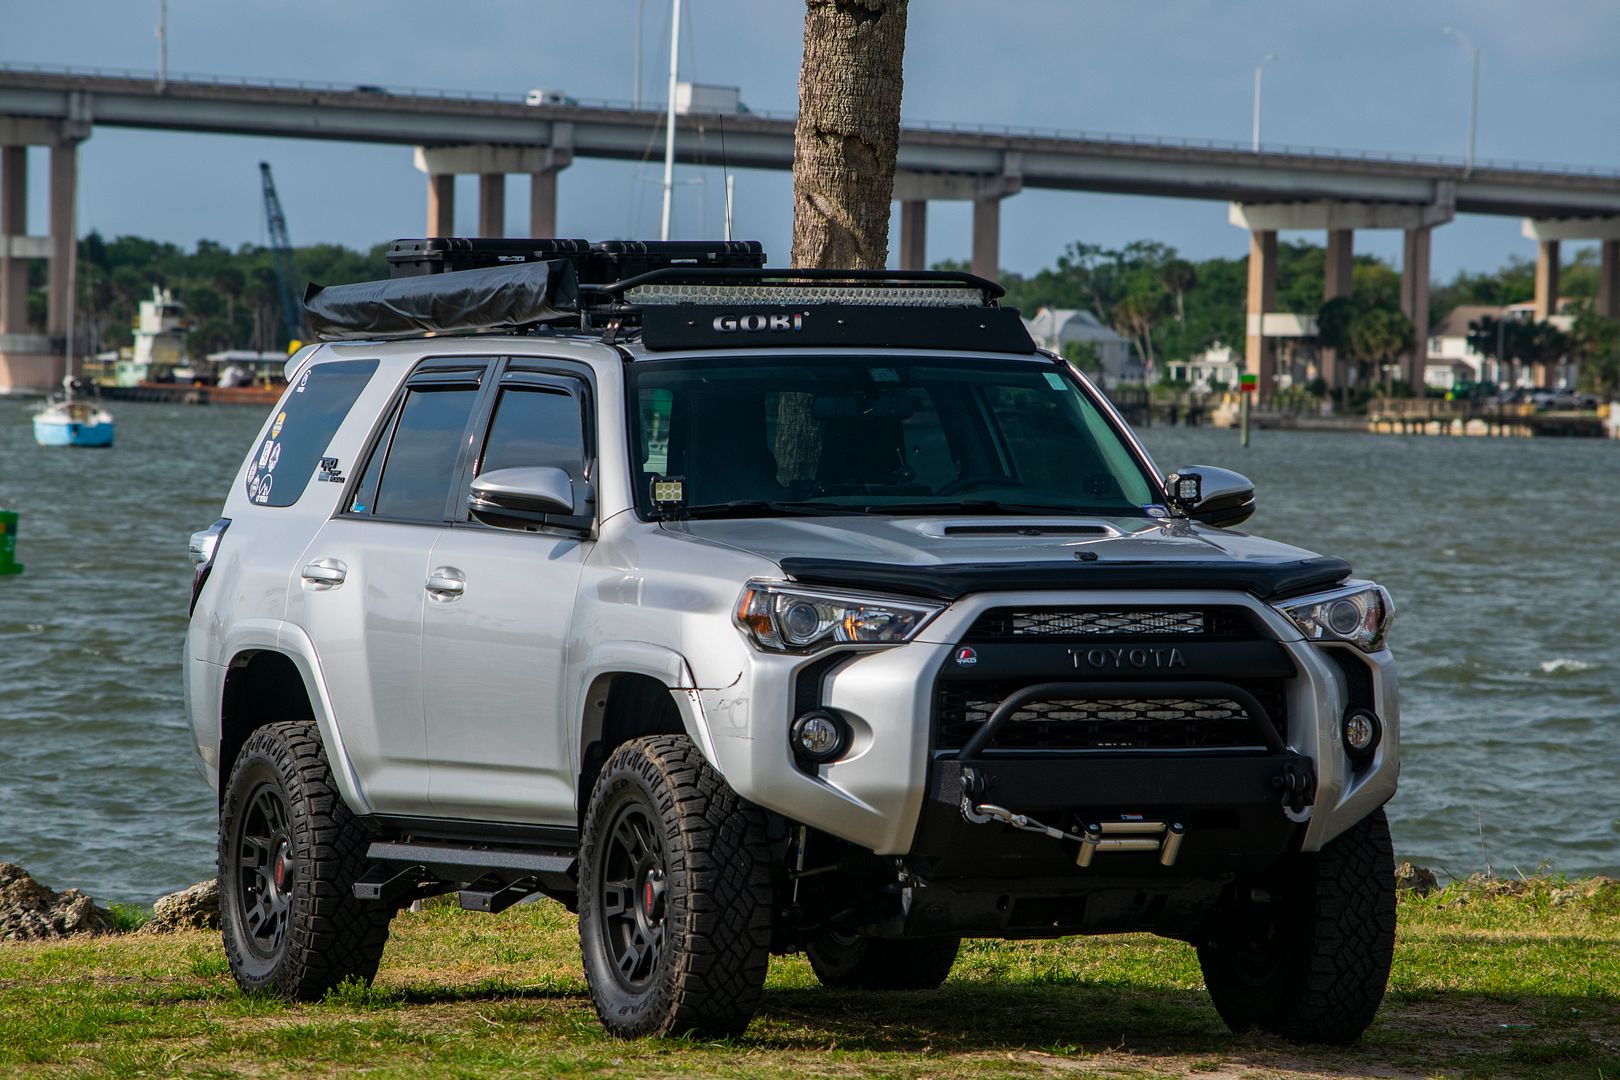
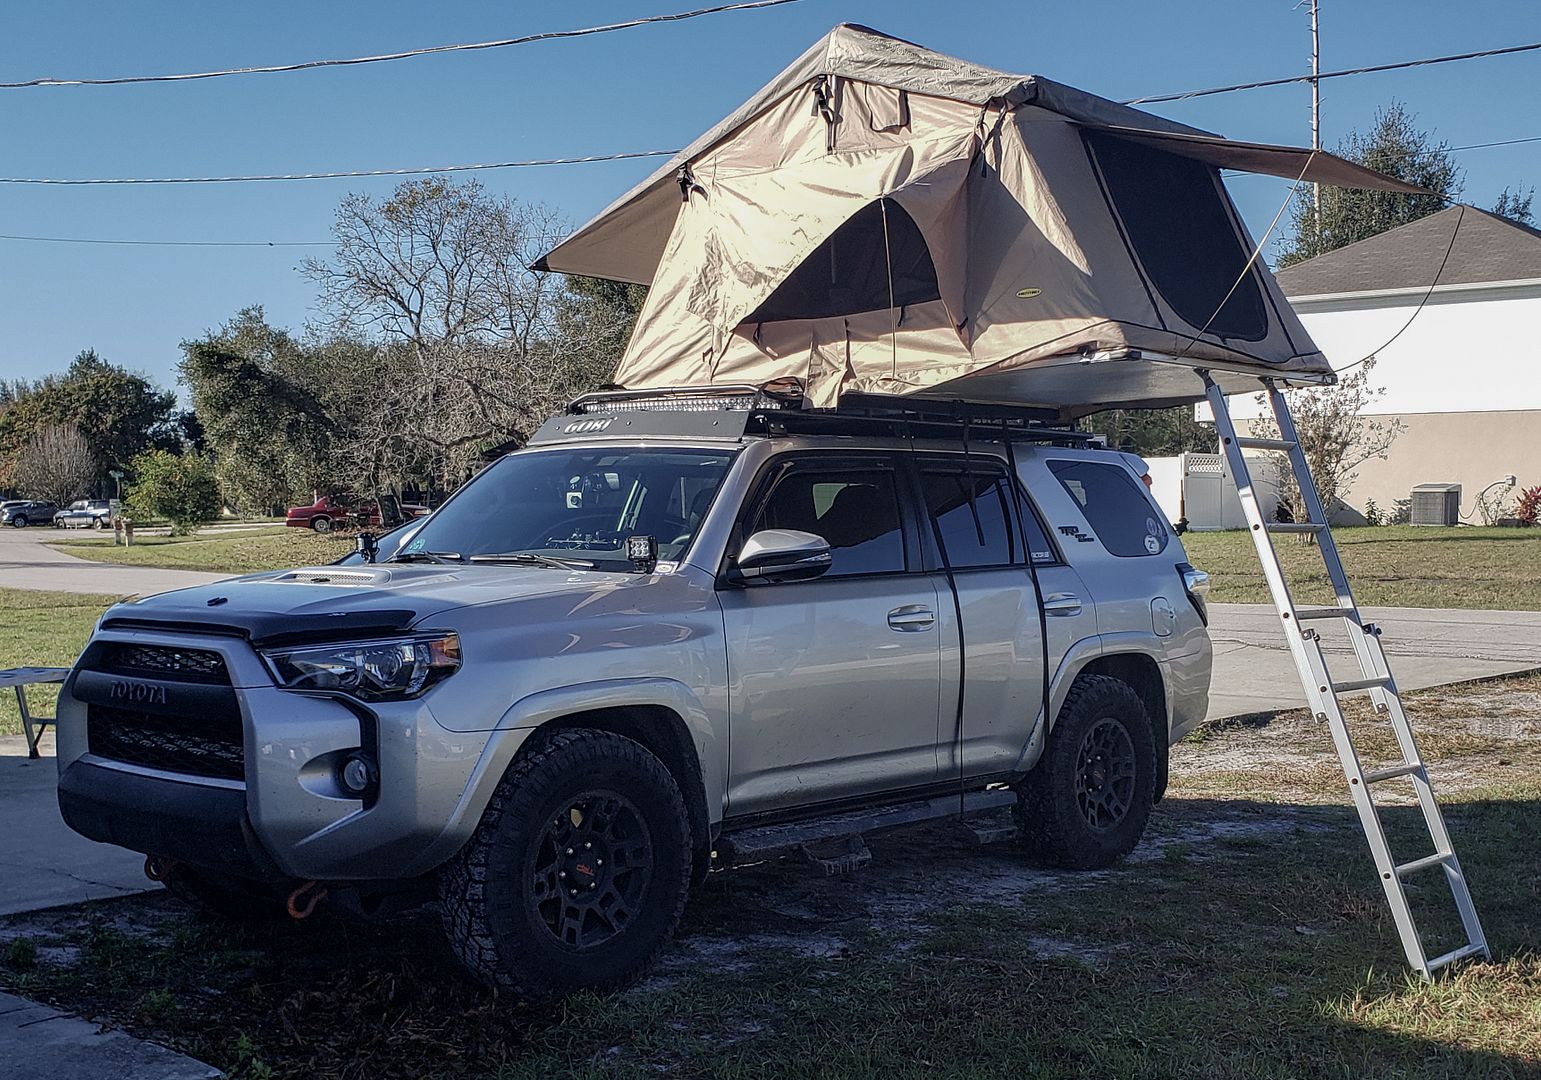
As usual, things always seem to fall in my lap when ideal for me financially. I scored a Smittybilt RTT, 40" Curved Light Bar, and Gobi Stealth Rack from a seller on FB. My wait time was 2 hours (The drive from Daytona to Tampa). Paid a decently avg price for it. The Roof Rack was as straight forward as any Mod Ive done so far.
gobi%20stealth.jpg


Extremely low profile compared to Yakima Rack.
beach%206.jpg
 
RTT by Smittybilt was something I had been wanting for months. It is the perfect size for the wife and I. We arent trying to reinvent Glamping, and we live in FL. Most of our Trips will be in the SouthEastern US, so the only extremes we need to deal with are the heat of Summer. I'll figure that out once the temps get to the point of experimentation.

rtt%20smity.jpg


Not too many pics of this, as I am sure most have seen it a lot.

*The Smittybilt RTT is great, and I got more than I spent as far as quality is concerned (I personally think RTT segment is overpriced). The shortcoming in my experience has been the ladder. The mounting of the ladder isnt very resilient and doesnt really give much confidence as it ships. I added bigger Nuts and Bolts, as well as bigger flat washers to the mounts. This made a huge difference in confidence.
 
Let's back up a bit... The Side Steps. I originally had Side Steps from Toyota. On our first Trail Run, I hit a root (The Strongest Root in the Universe by the way). Ripped the front Passenger Step Clean off. Took the step and the welds with it. Clean...

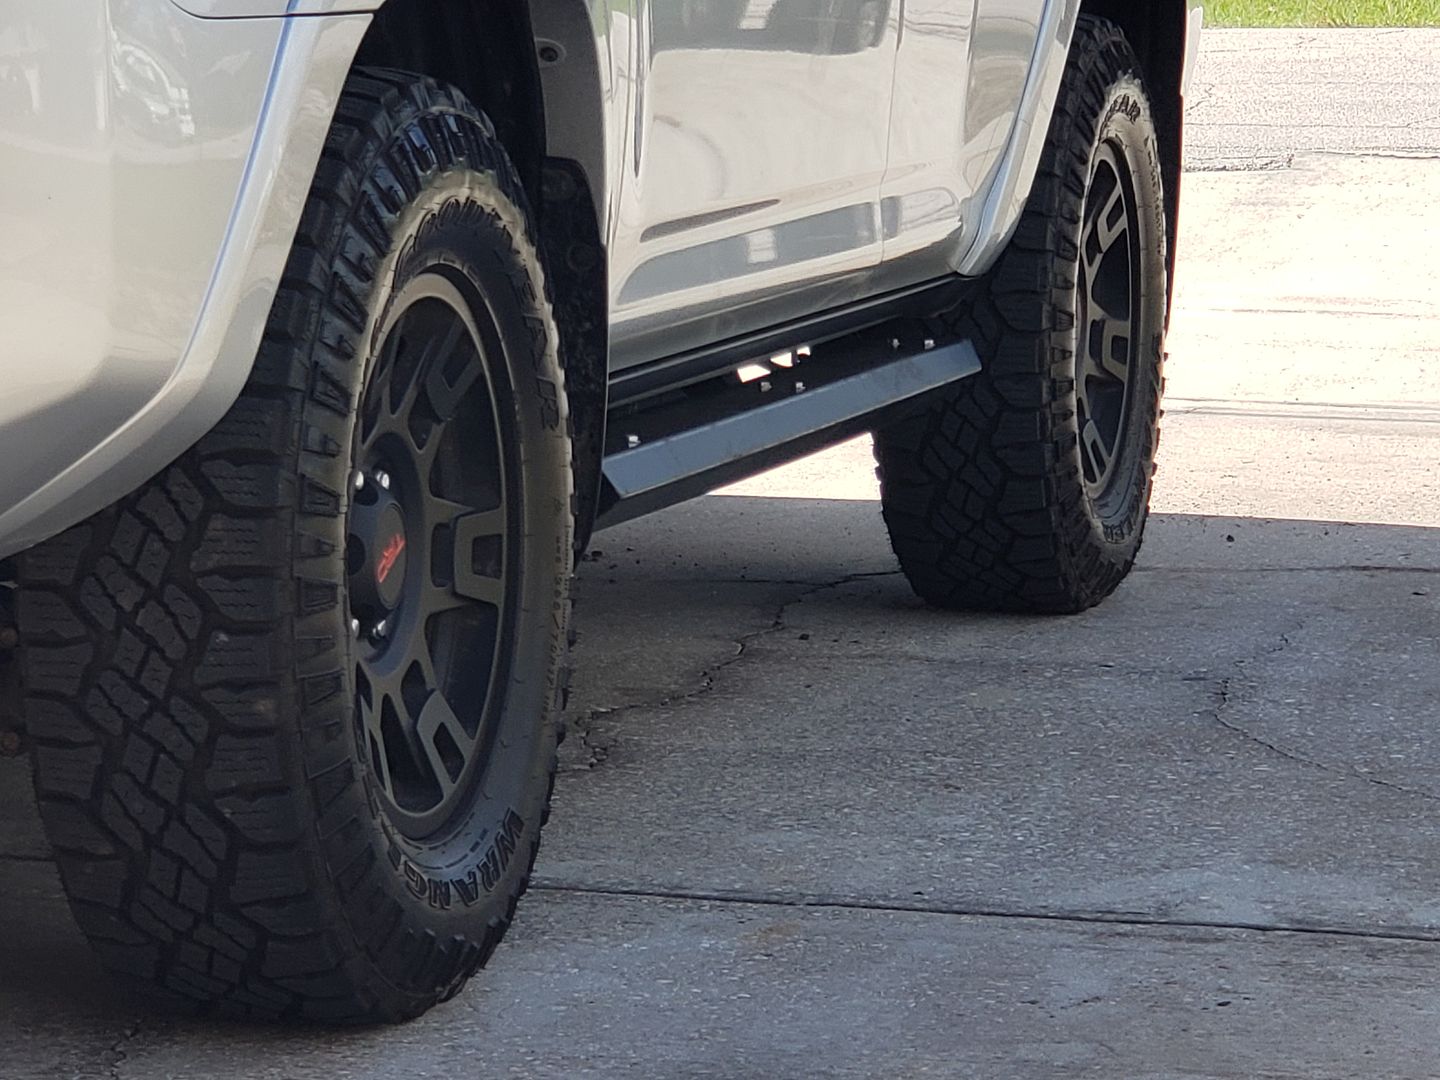
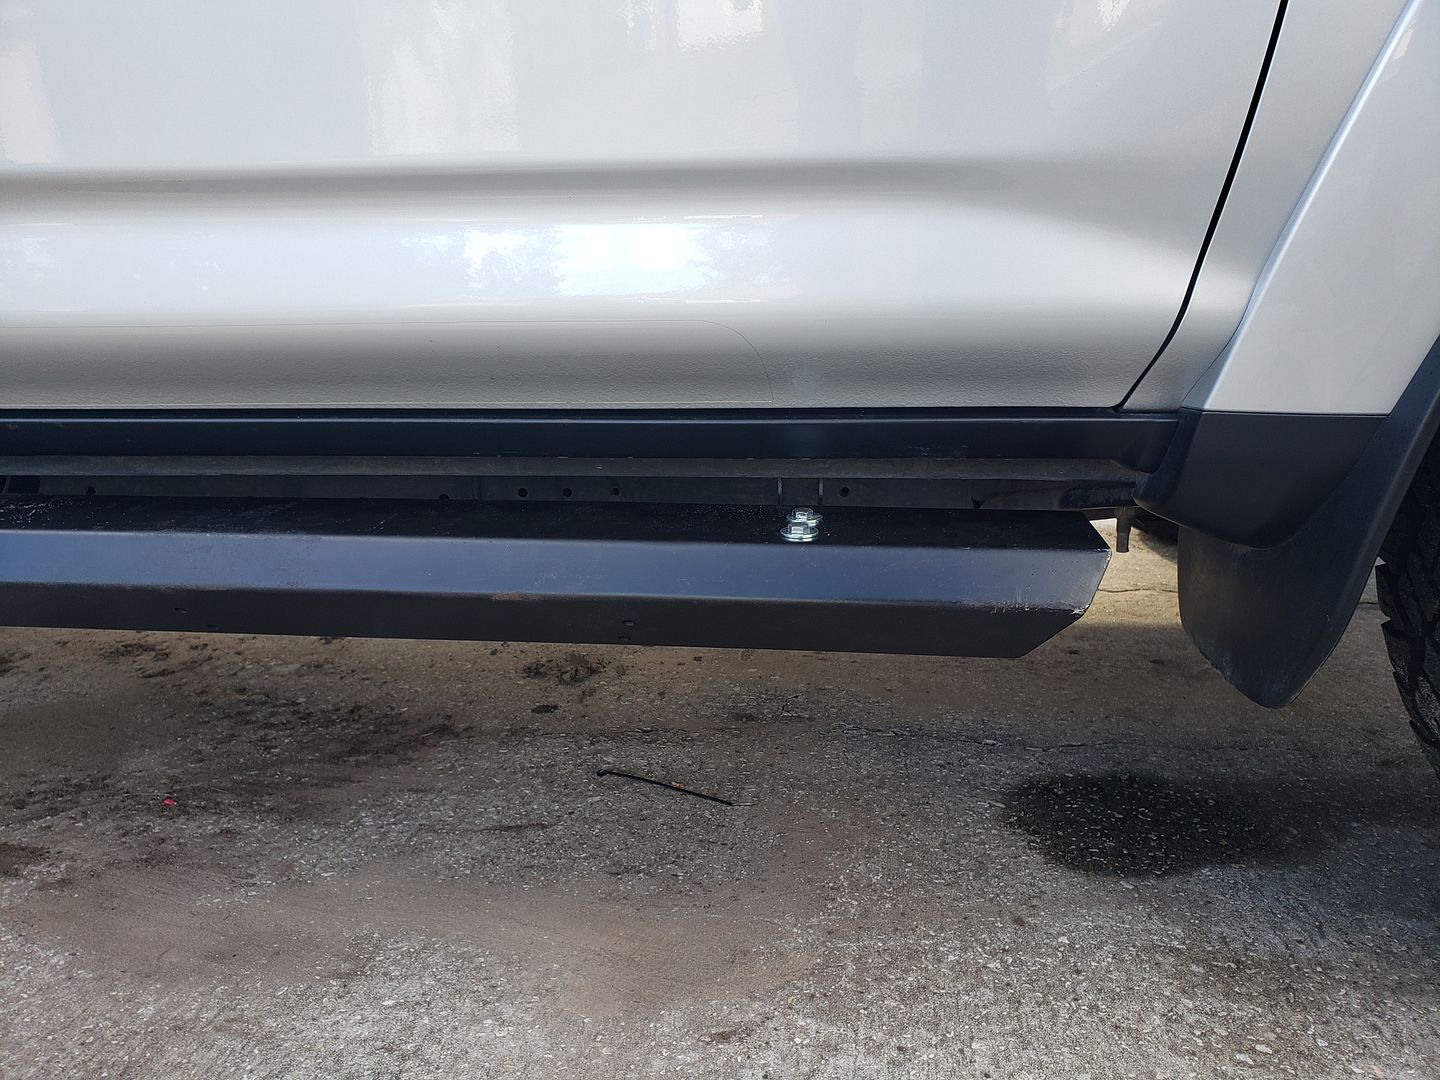
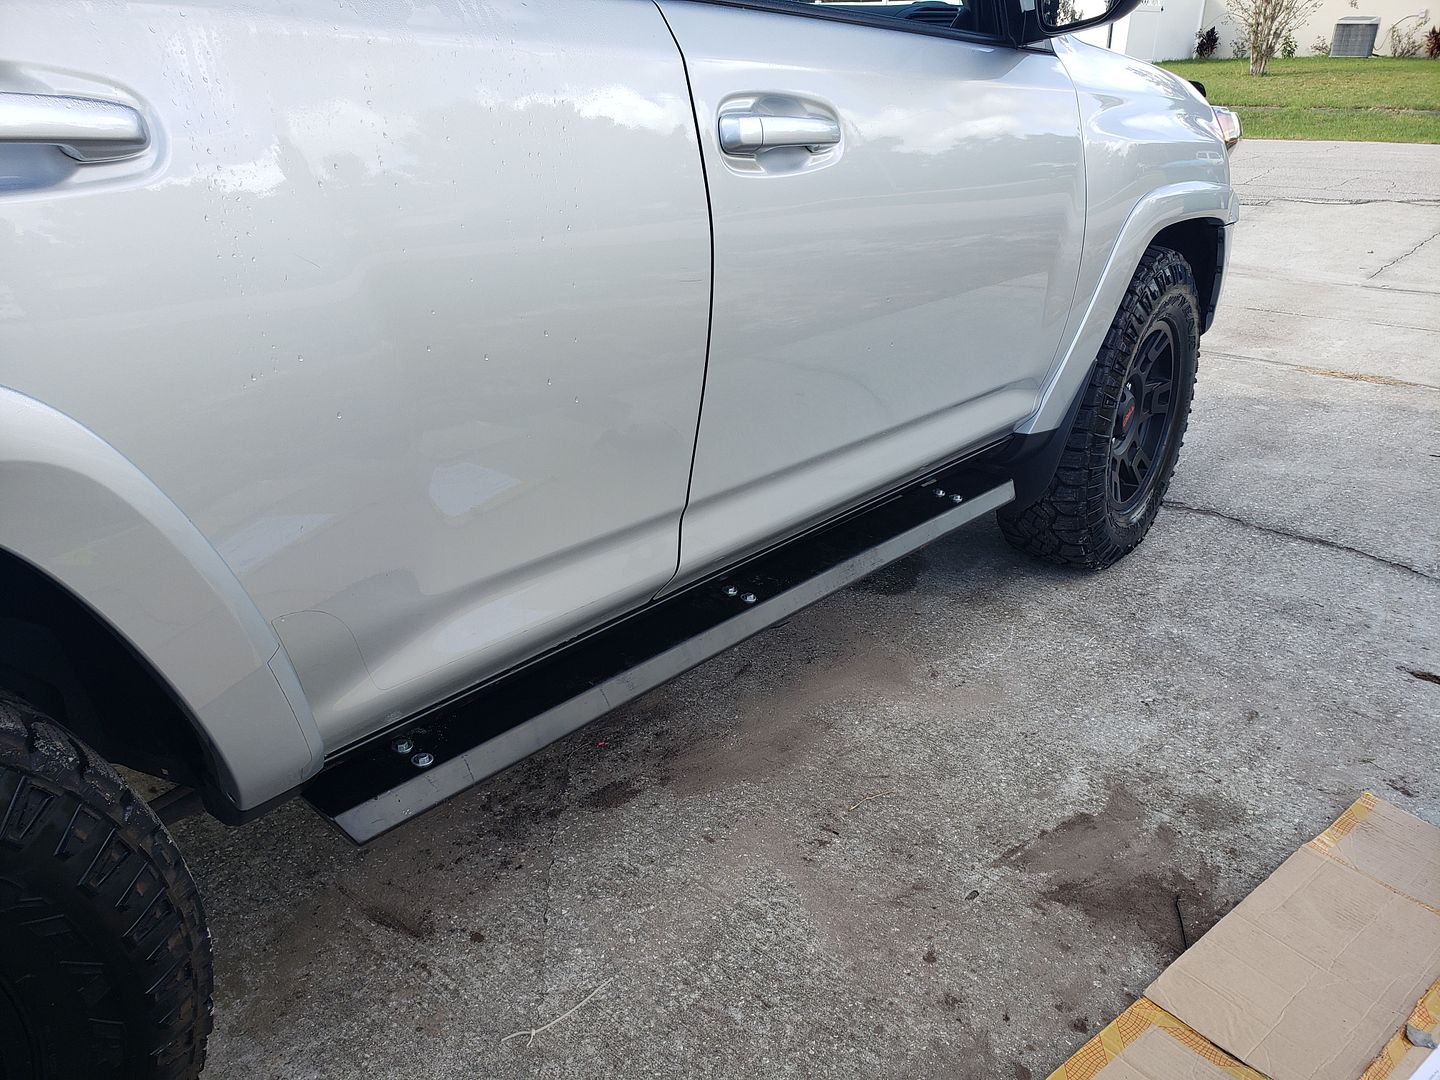
August 2018 I had posted pics of it on IG and was approached by RCR4WD out of Venezuela. They offered me a set of their "Slider"/Step combos for $365 shipped. I was also offered a few freebies for under armor.. I thought, what the hell. I was intrigued by the removable steps because of a disability I have, so I took a shot with them. It wasnt until I ordered that I started researching what is needed to make a decent/good Slider. And based on pics, these are not it. . I have a plan to rectify the shortcoming. As they shipe, they are designed to mount to the body. I plan to have them bolt to the Frame with a little fab work.

3 weeks promised for shipping ended up being 3 months


Without Step
20181123_122416.jpg


20181123_093542.jpg


20181123_093533.jpg


With Steps
side%20step.jpg


A few notes...
-The Finish it shipped with was purely for shipping. I plan to Raptor Line them soon

-I think they look great, initailly I thought the steps protruded too much, but they have grown on my. *No door dings from inconsiderate shoppers

-They are solidly built and much stronger than the Aluminum units the Runner came with.

-I am thinking of going with "Traditional" Sliders though. Just have to encounter someone with a set to see if I can manage to climb in with my limitations.

If it werent for the mention of "Slider" in the product description, I think I would be 100% satisfied with what I got for the money.
 
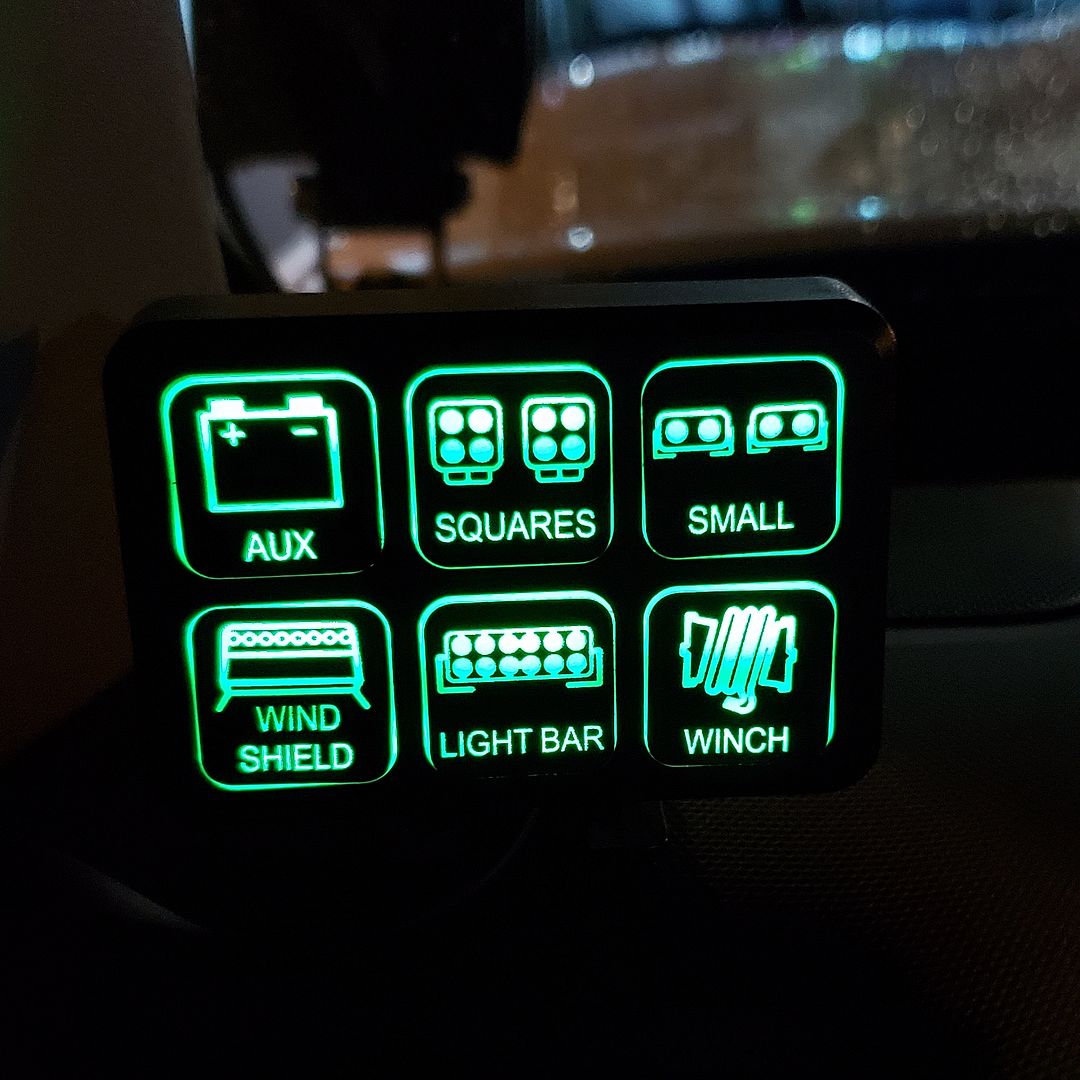
Let's get back on Track.. Christmas 2018 I purchased a 6 Gang Switch pkg from amazon for myself (On behalf of the Wife)..

There is a theme here. I refuse to spend too much on things that I am not using daily. Things that are simple enough to fix on my own if they ever go down. This setup isexactly what I wanted and within a budget that the wife wont/didnt notice when I ordered it (She was surprised by what she got me). $100 spent and control of all my lights, *Winch, and *Compressor (Purchased, but yet to be installed)..

I only have one pic of the Switch panel:
IMG_20181228_192952_437.jpg


Wish the back light was Blue to match gauges, but whatever, Im sure there is an SPOD in my future as the build continues.
 
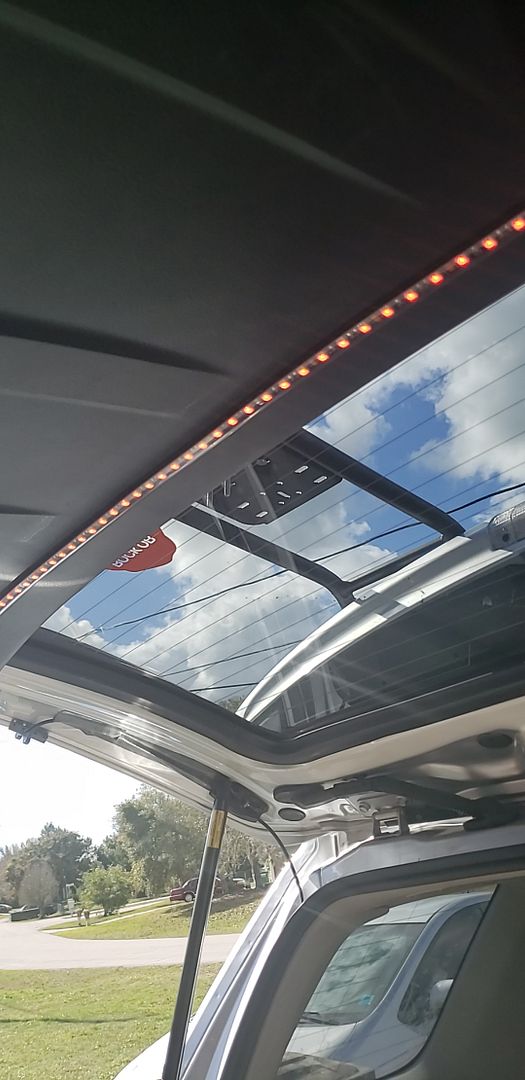
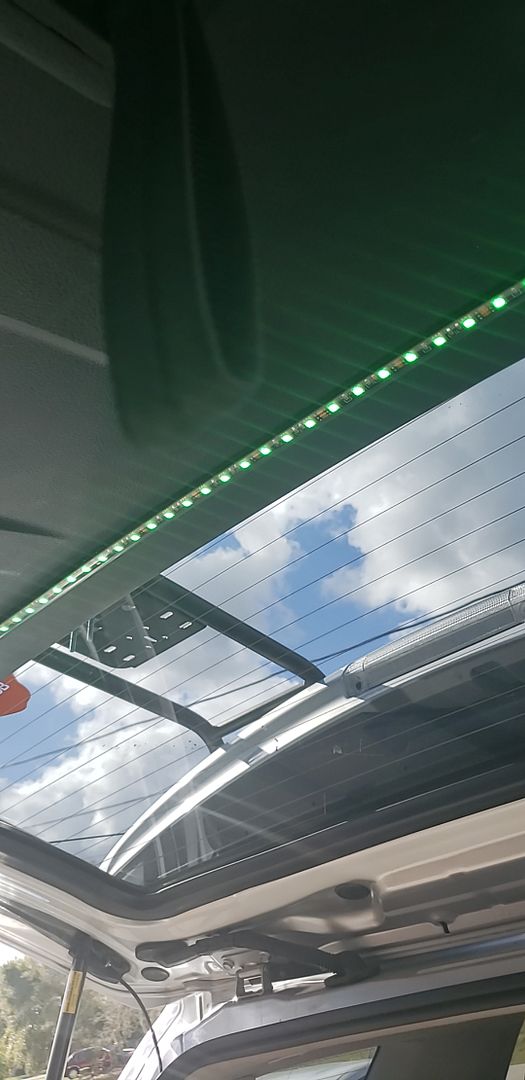
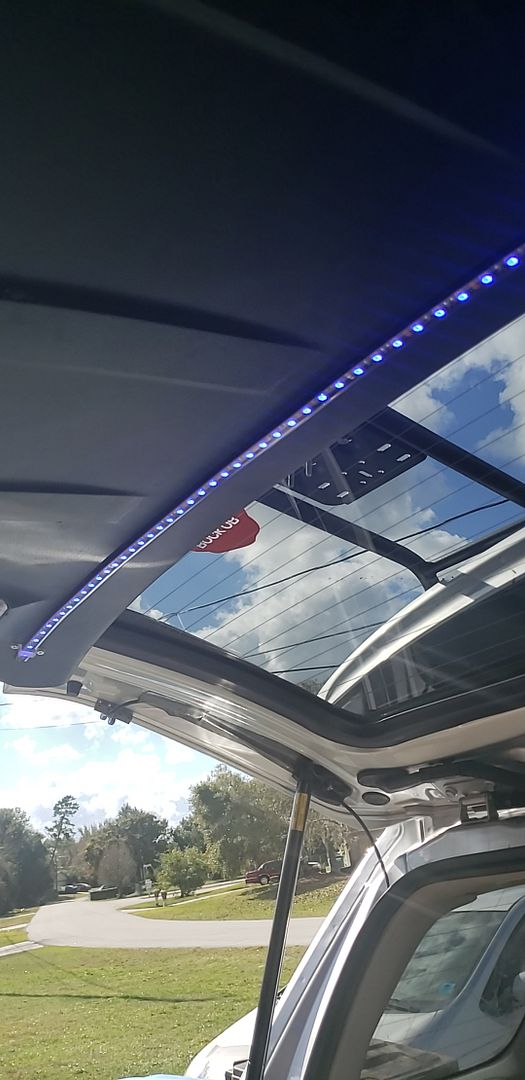
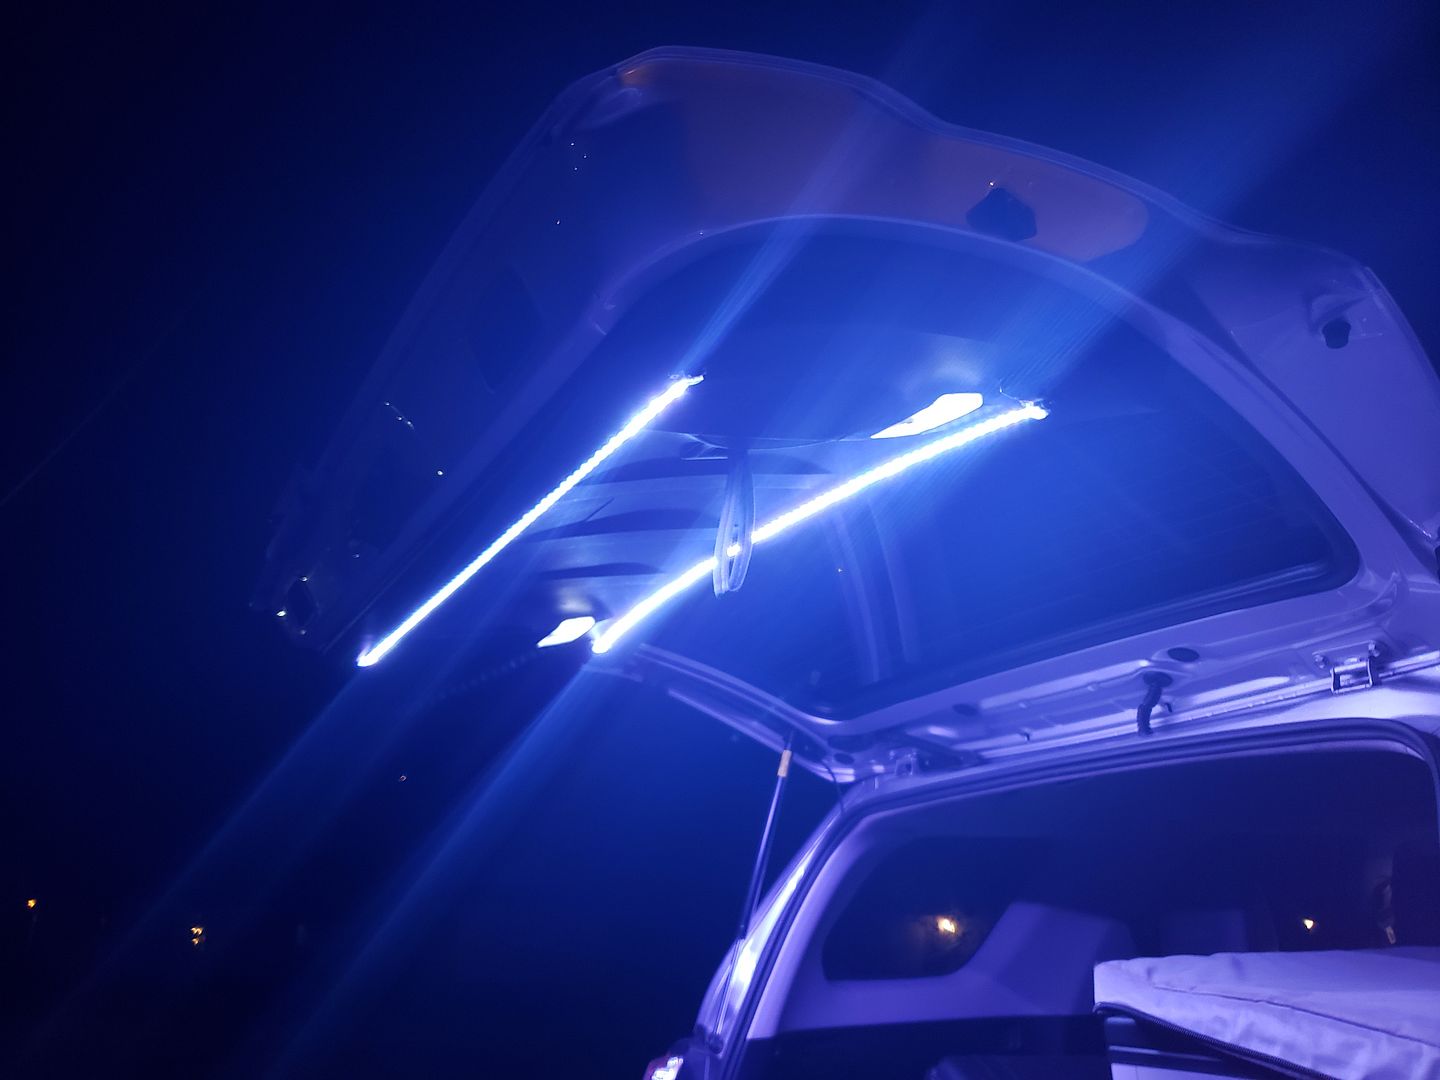
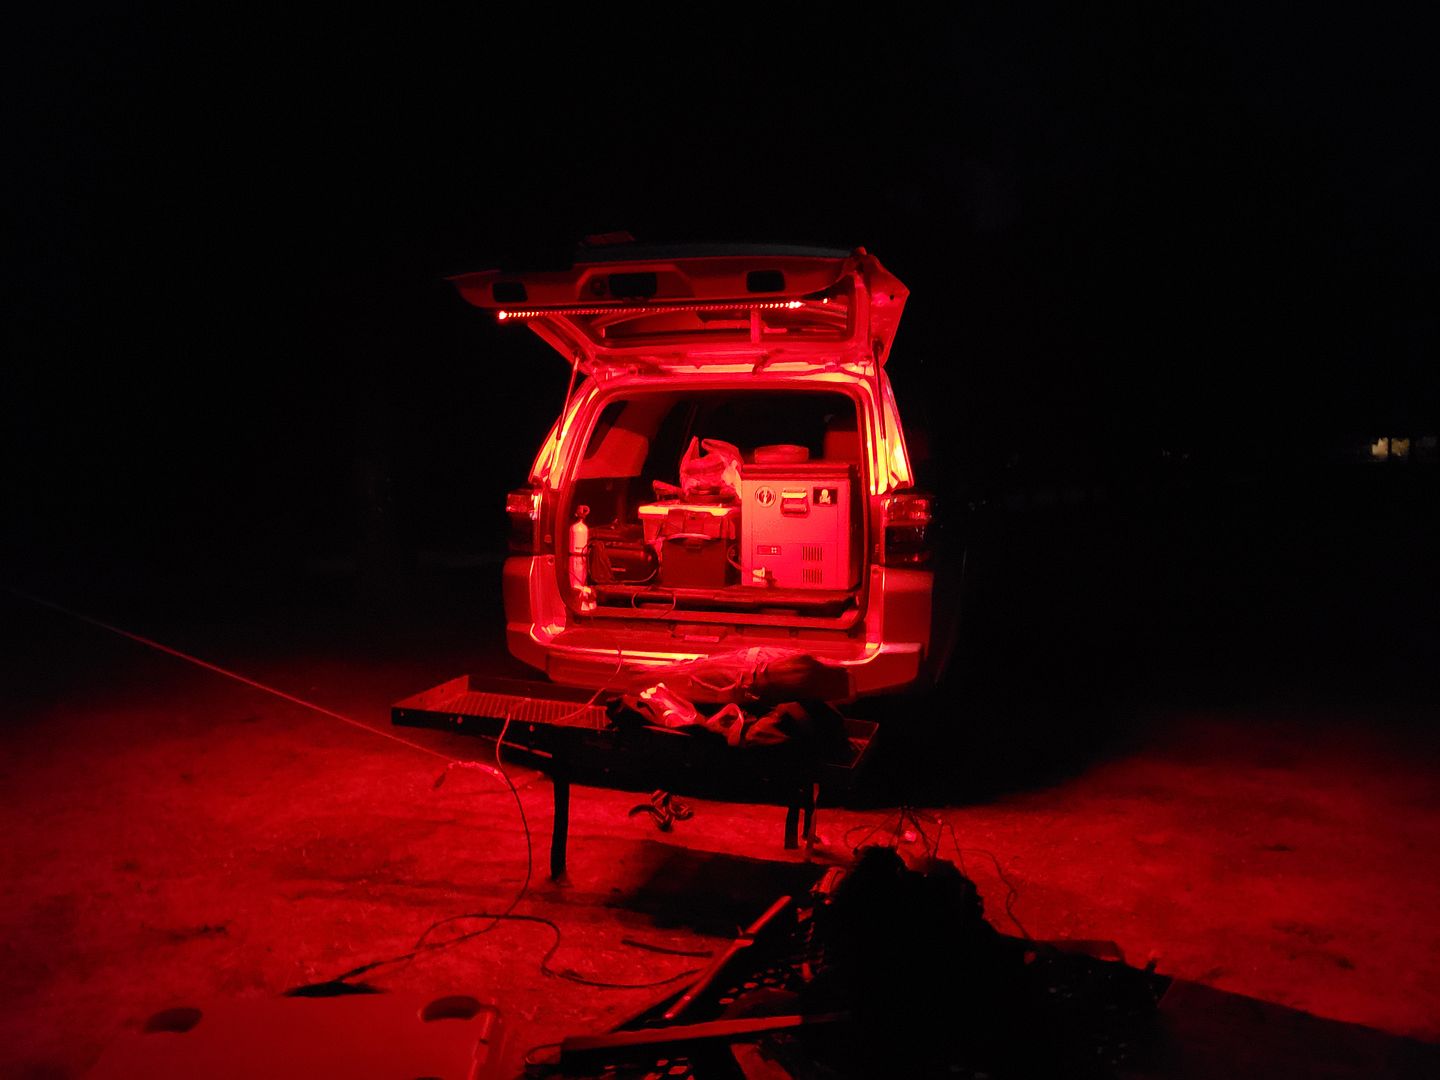
Those Rear Hatch Lights.. I wasnt super happy with how they physically looked. The light Output was Fantastic and worked extremely well. The throw of light was unexpected when I put it together. Tons of Light. But it wasnt as clean as i wanted it to be, I also wanted to be able to run Red Light when the bugs were a problem (Almost daily here in FL), so I went with a RGB setup by Auxbeam. I didnt need the aluminum tracks I used above, these are sealed for the most part and easy to modify. Light output is slightly lower, but still effective.

40523.jpeg


40524.jpeg


40522.jpeg


You get the idea.

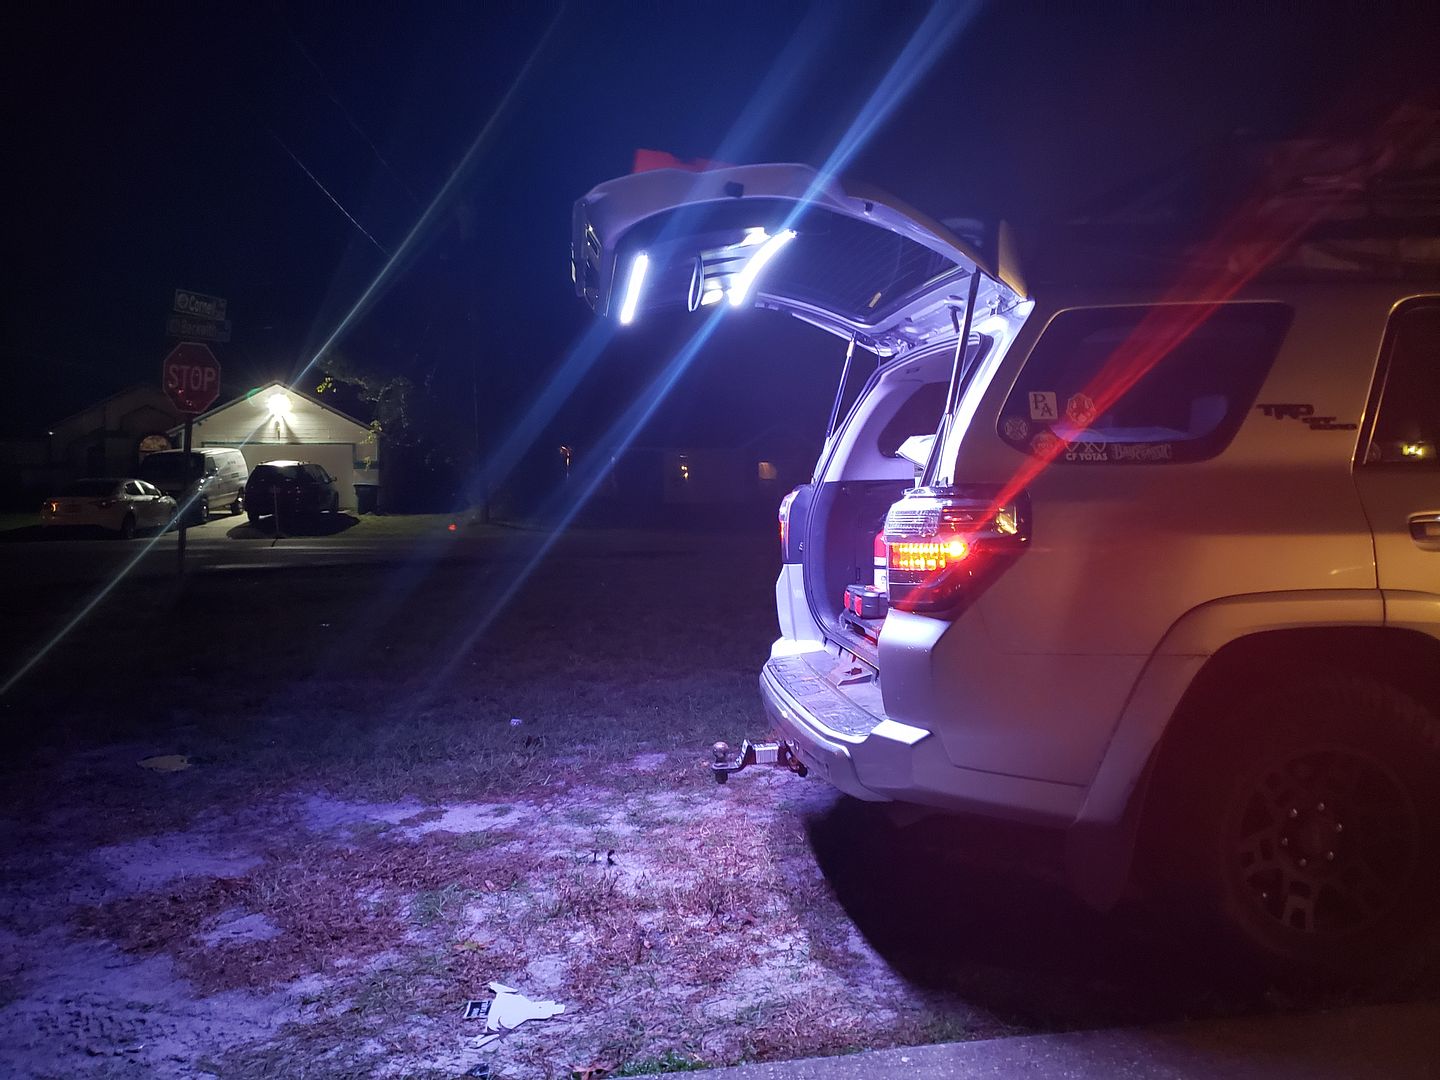
But the night effect is great

20190104_222415.jpg


20190104_222431.jpg


20190104_222438.jpg


20190215_220455.jpg


This setup has more features than I need, but it isnt bad having them. 7 colors that are adjustable. Also has settings that make the lights "Dance" to music.
 
Last edited:
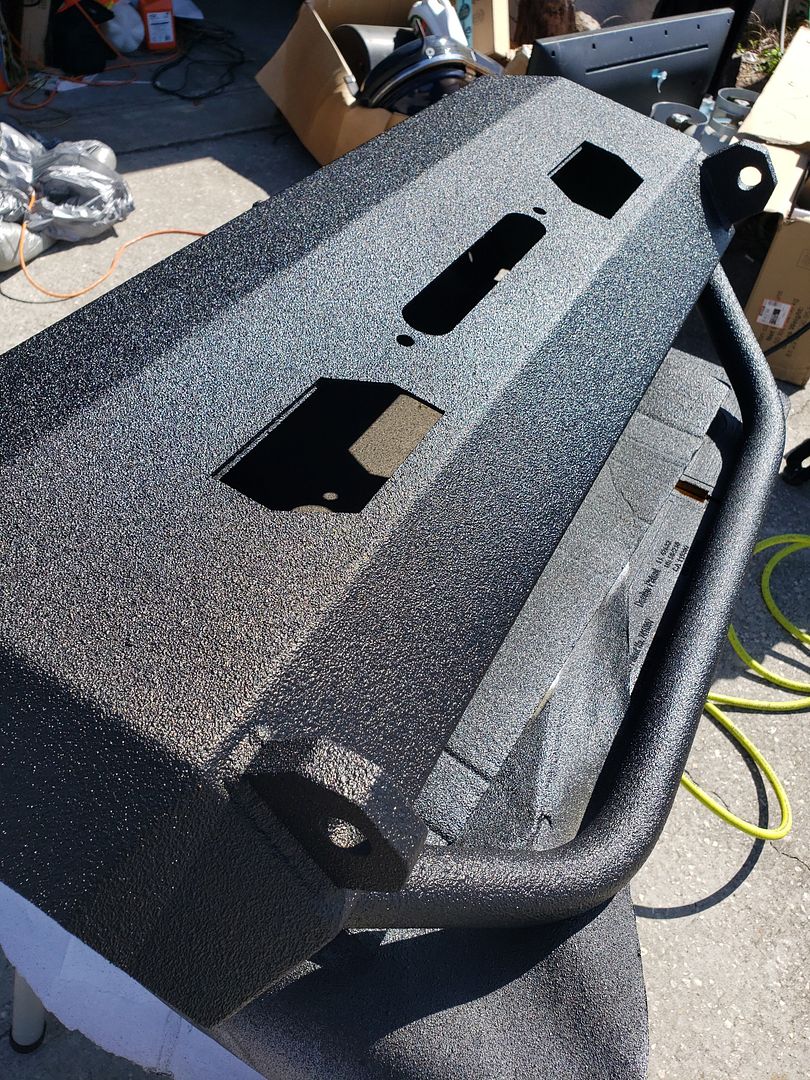
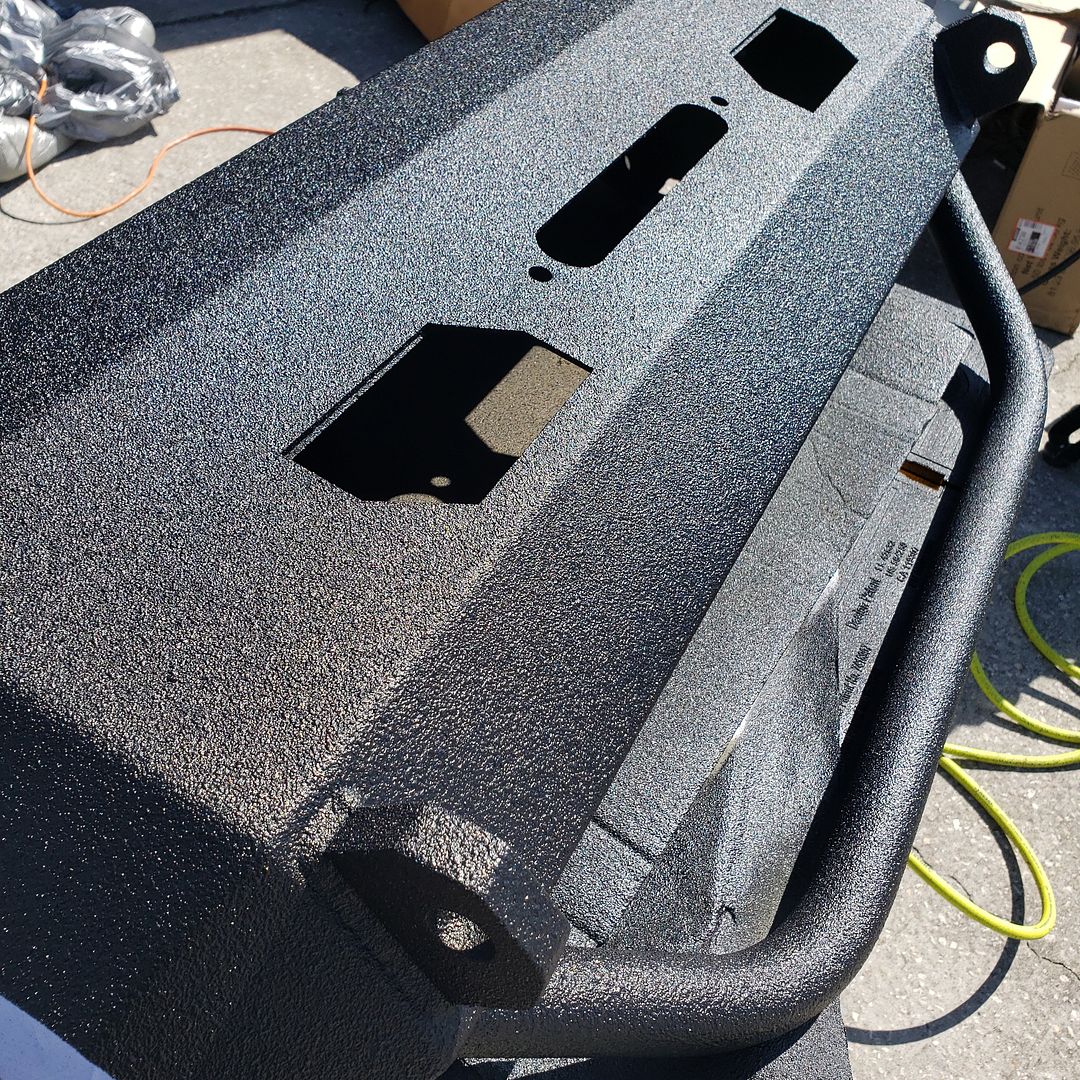
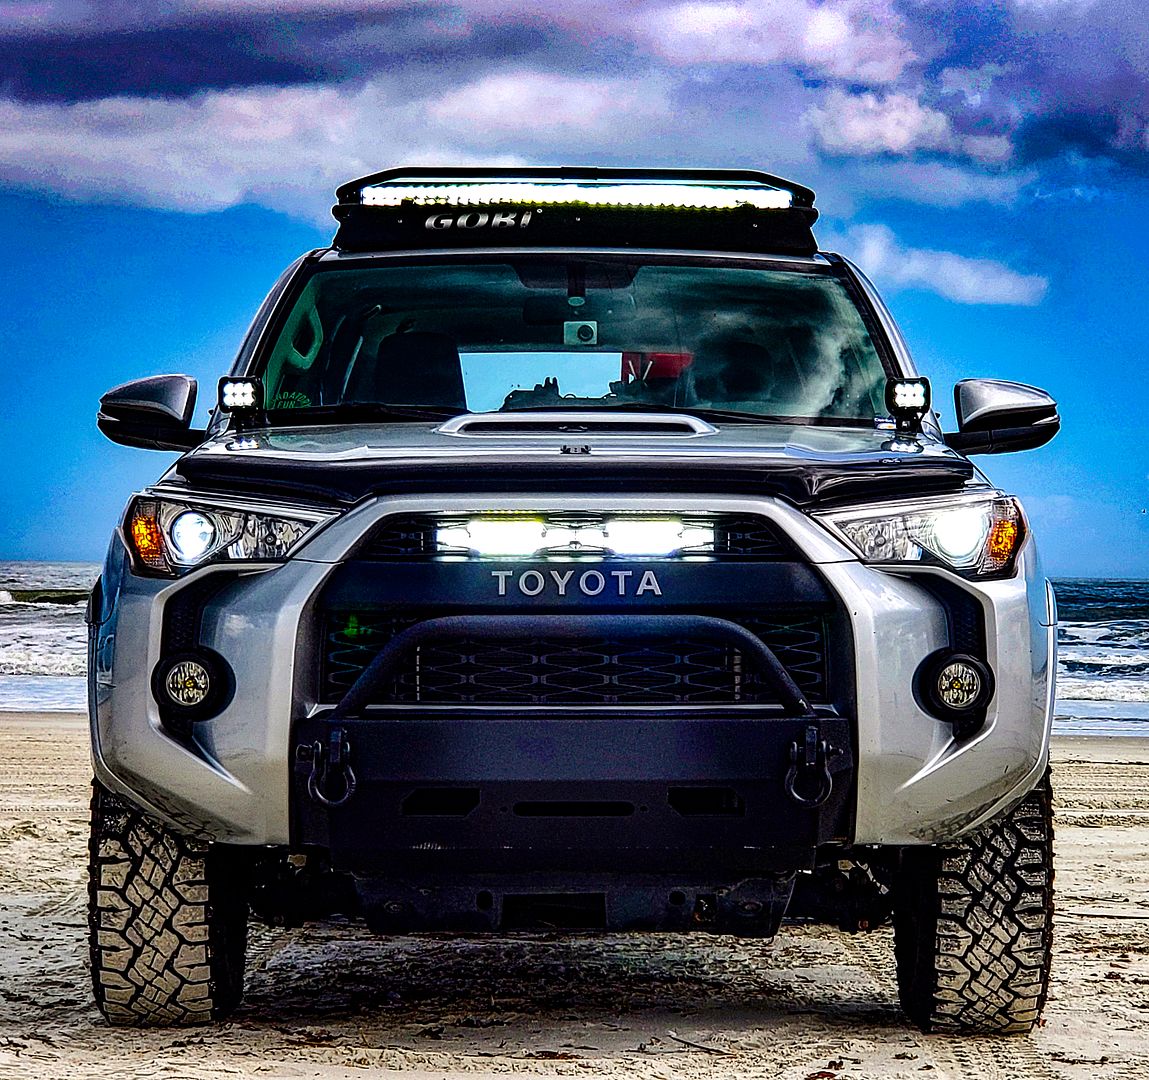
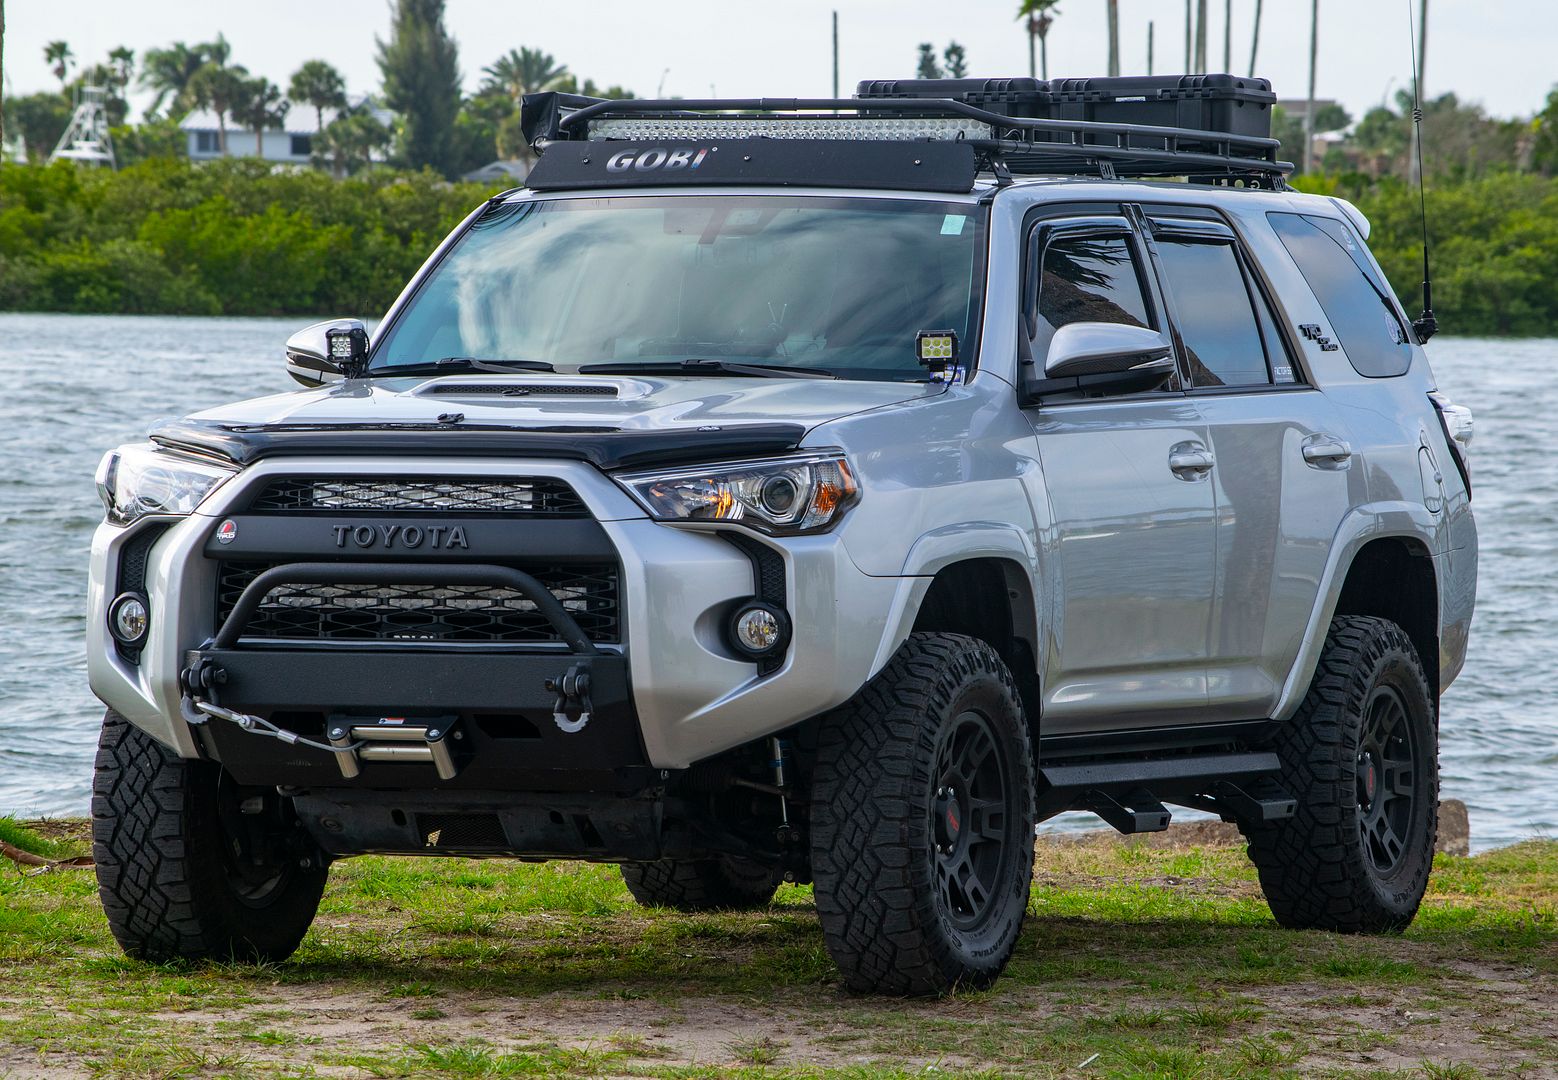
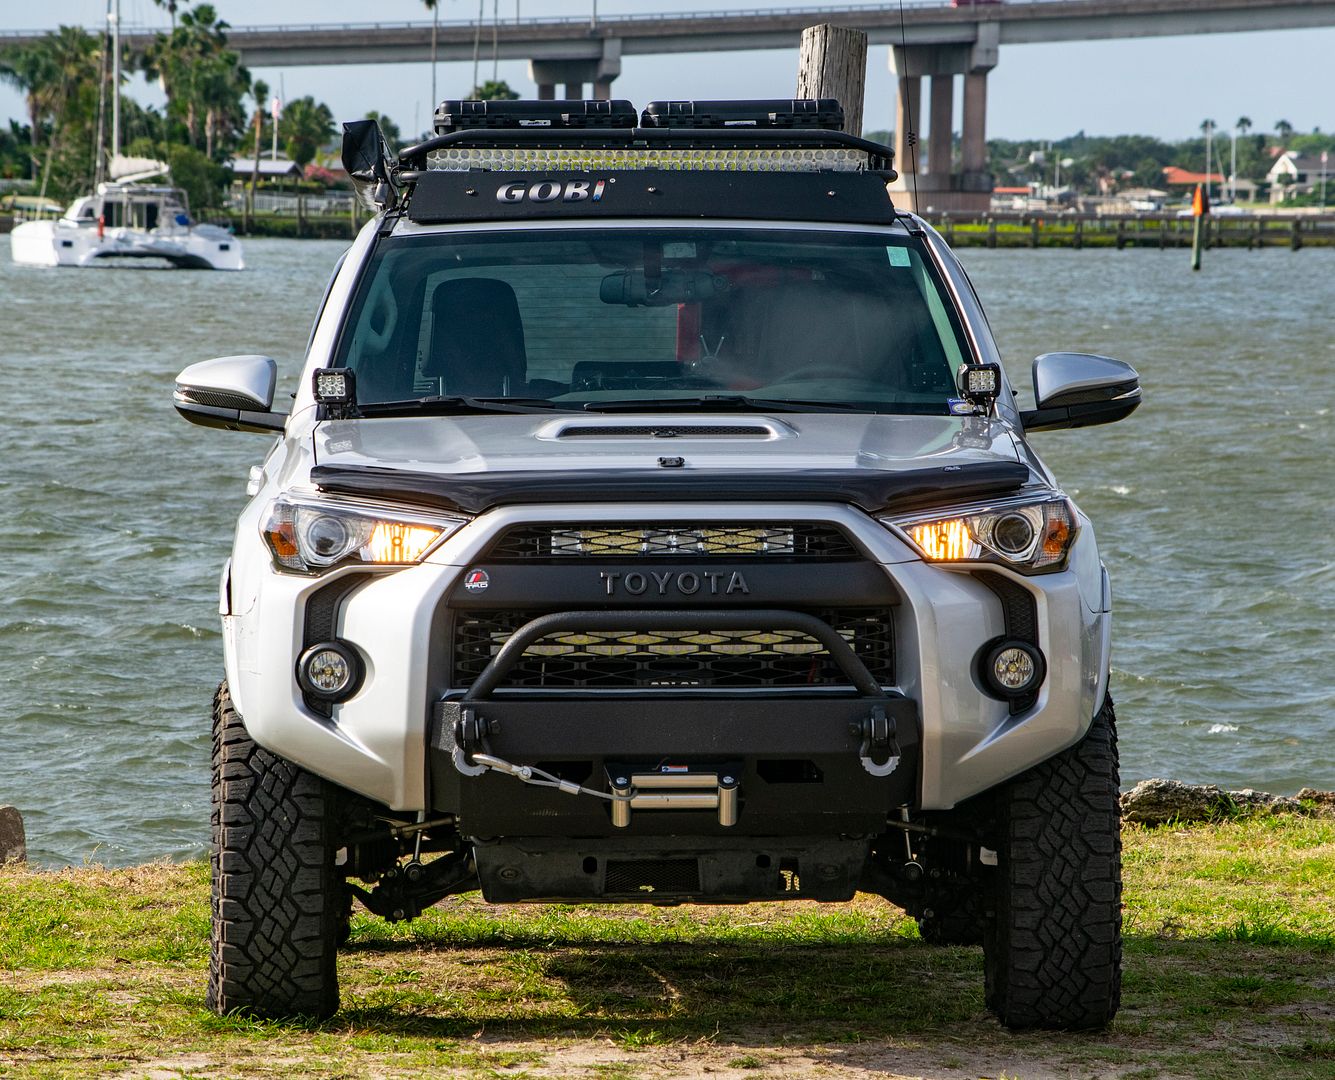
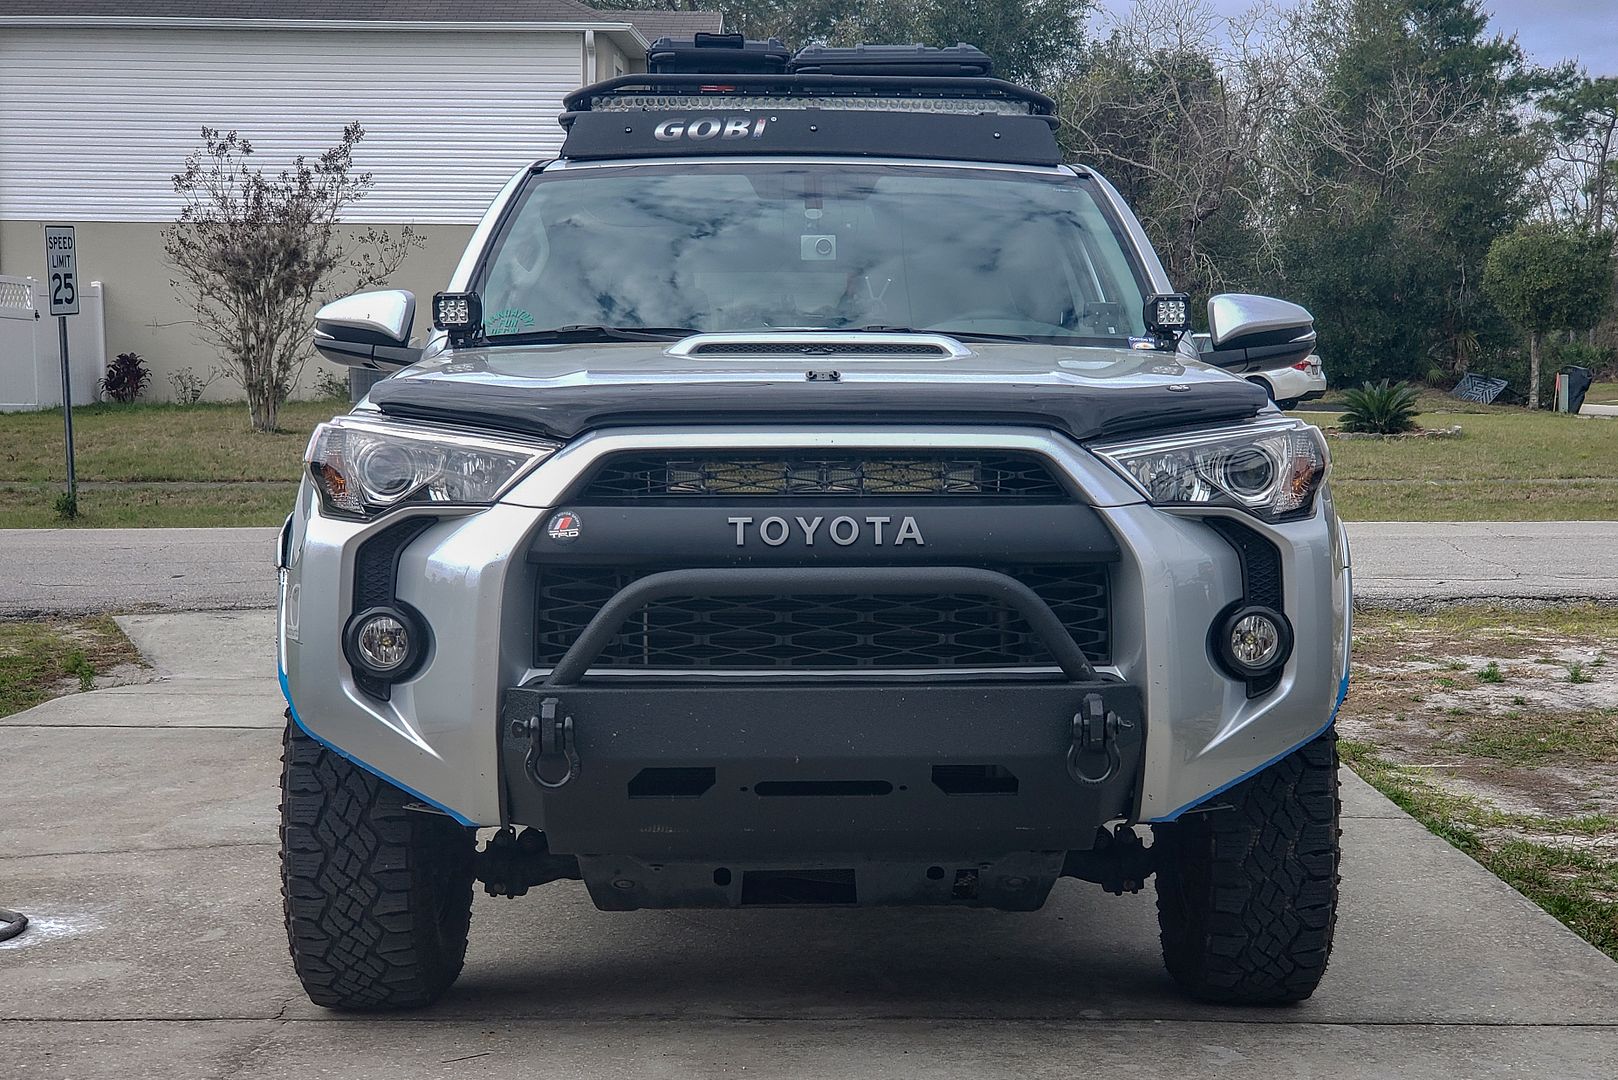
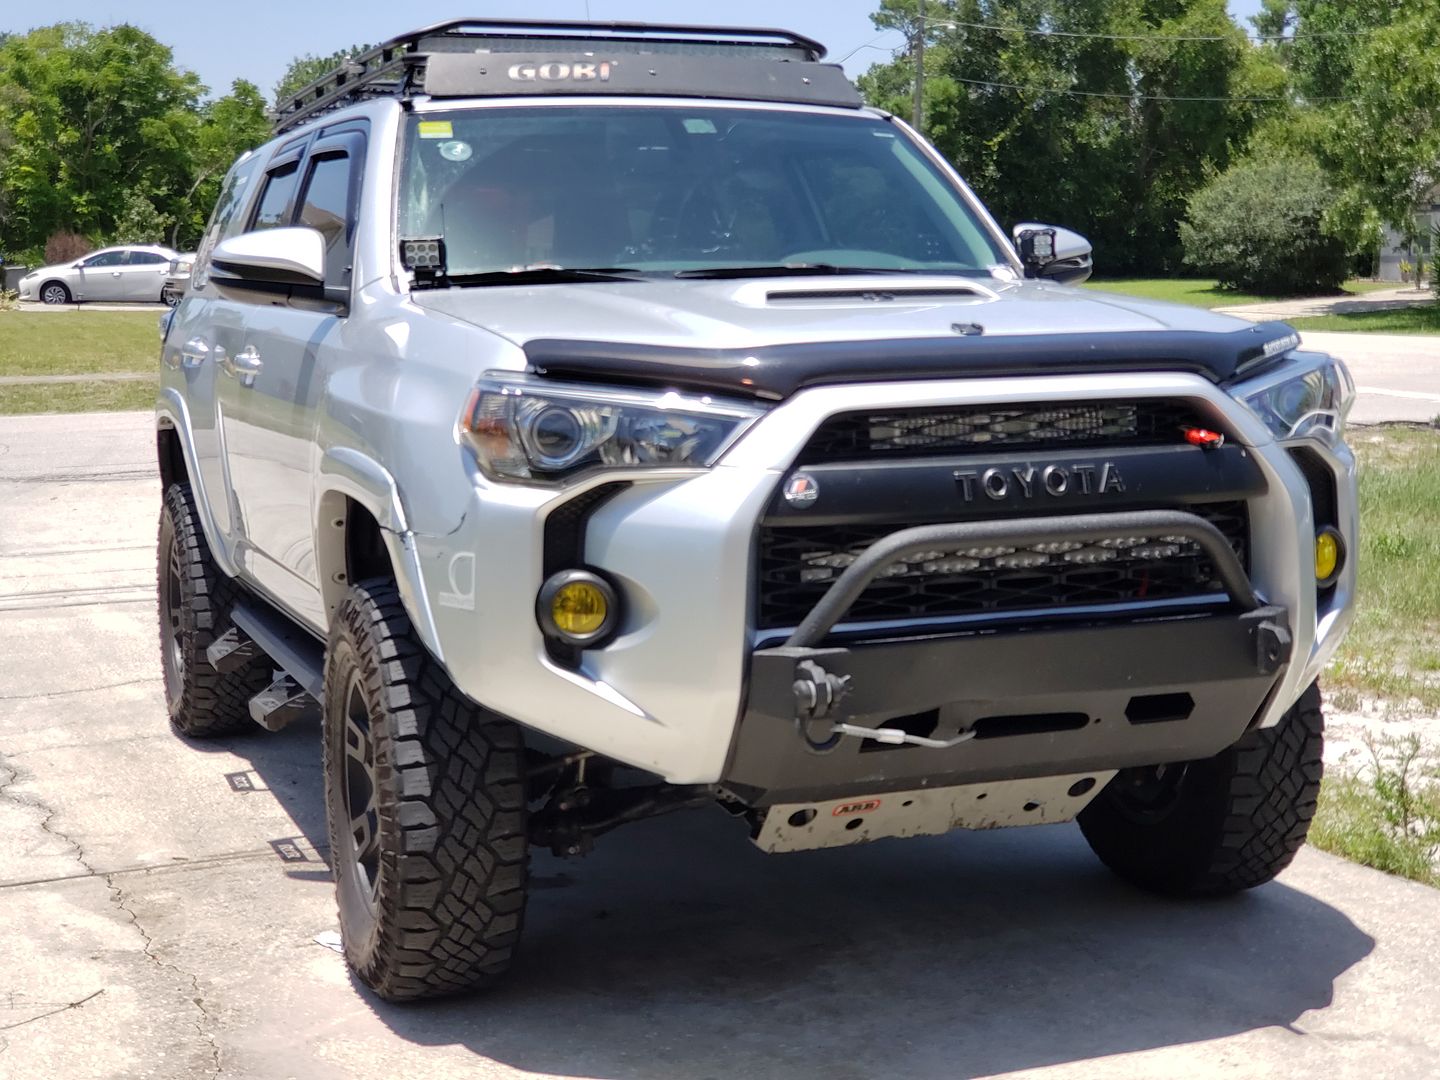
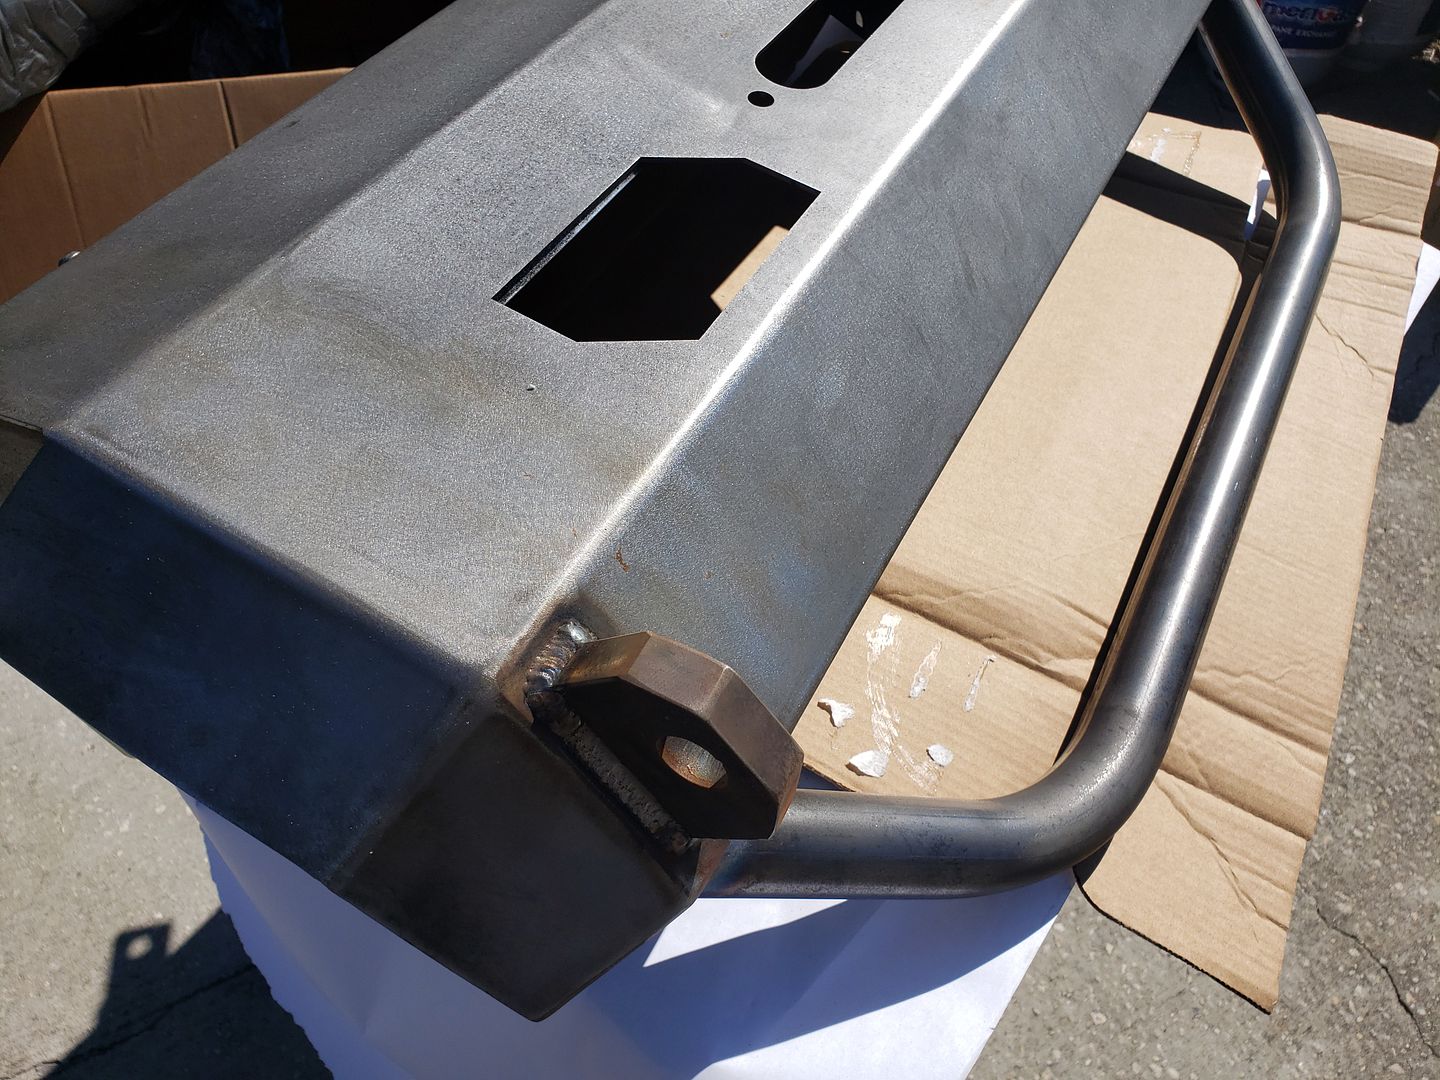
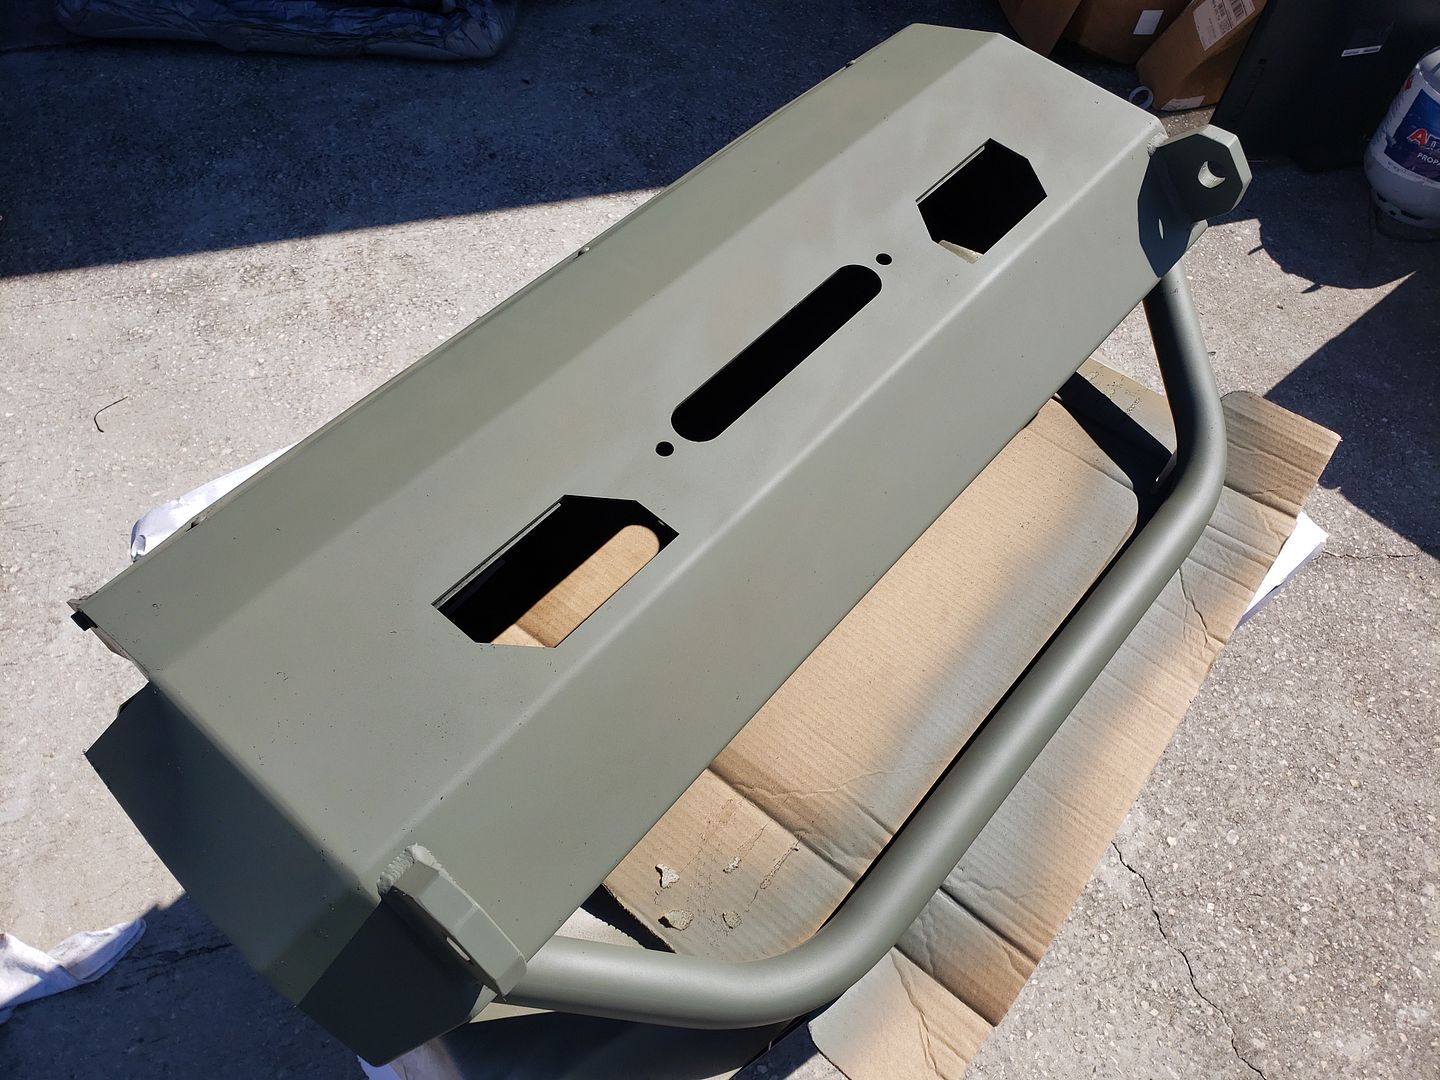
Latest Mod is one of my favorites (They all are actually). I wanted a new front bumper and the slimline by SSO was perfect. Low profile, Recovery points and Winch capable. Ordered it naked as I thought that would speed things up to my door (Wrong!, post about that is on the board already). I Raptor lined it the day I got it. Painless process. Very happy with the Raptor Lining Kit.

20190206_113557.jpg


20190206_115415.jpg


20190206_124006.jpg


IMG_20190206_124452_437.jpg


beach%203.jpg


Beach%202.jpg


I opted for no Light bar cutout since I already had Hidden Light bar brackets from SDHQ and Rago Fab..
 
June 2019 Update

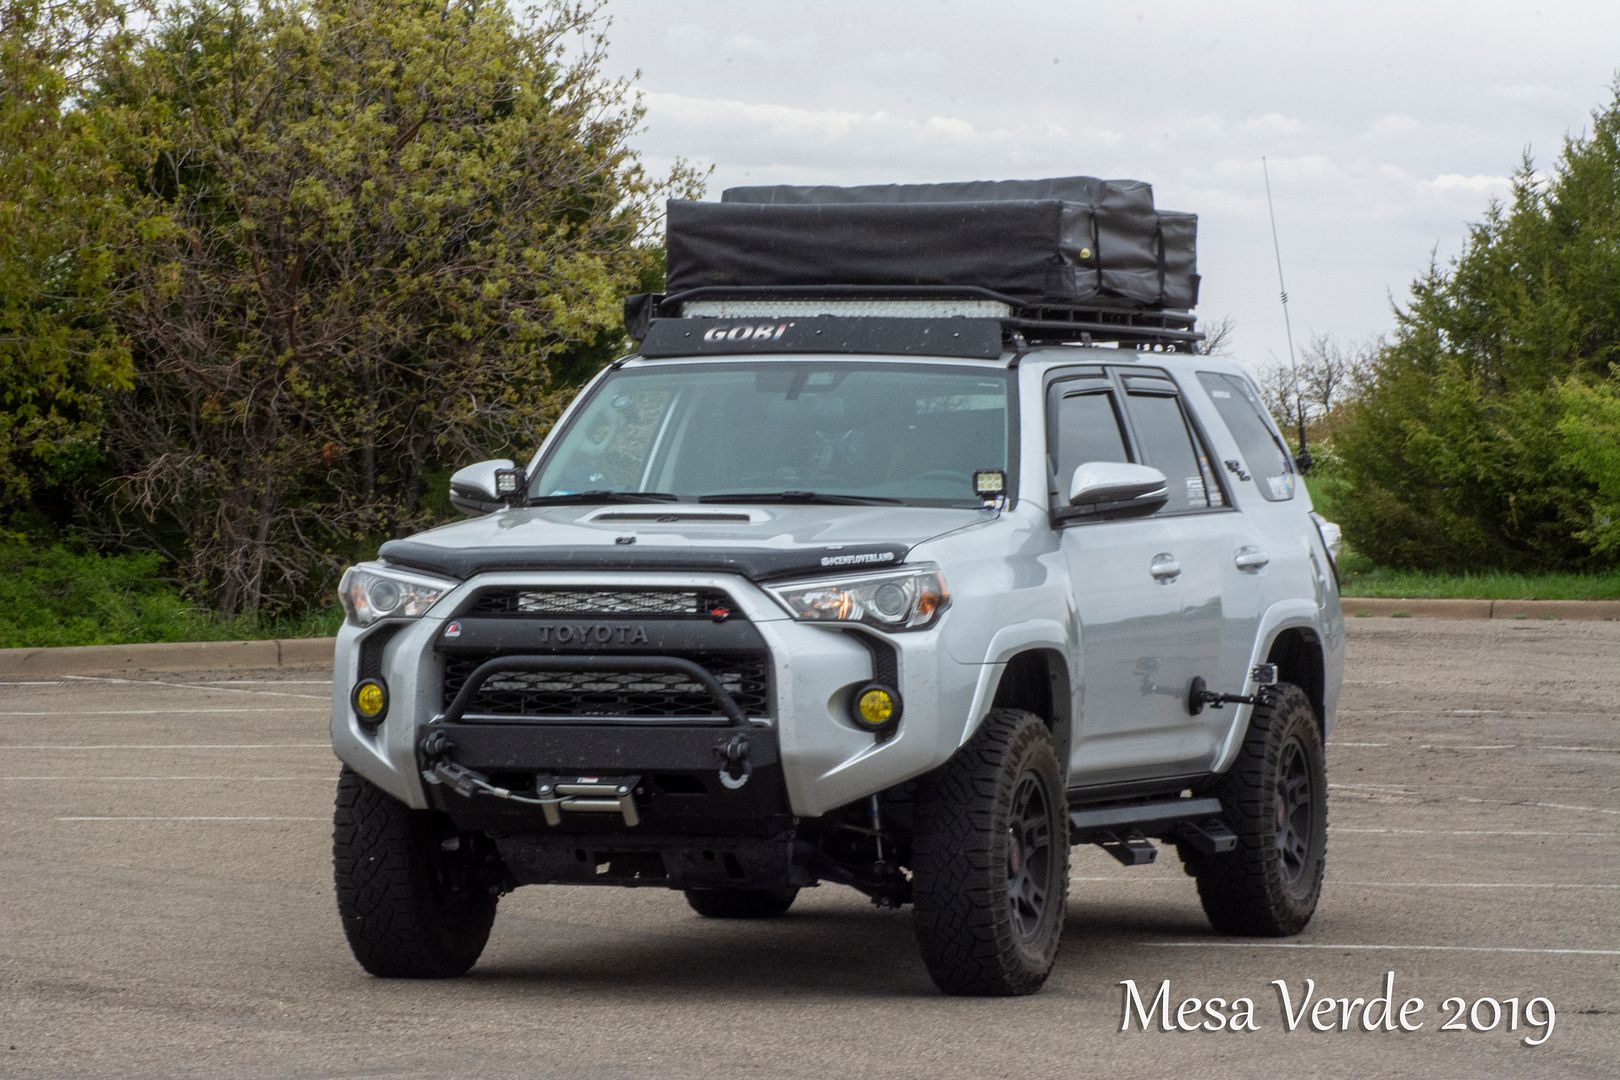
Things are coming together nicely. Since the last post I have made a few changes, but I have also made a few trips. Ohio, Moab Utah, AZ for Expo West, Colorado.. I learned a few things, and identified a few things I may change. The most important thing is, I am still having FUN with the entire ownership experience.

Last update was the SSO Slimline Hybrid Bumper.. I ended up adding a Badlands (Harbor Freight) Winch to it. I ordered a 12000 winch that did not fit without major modification, so I returned it (I love Amazon) and was gifted the Badlands Winch by some close friends. It has been great. I will upgrade the cable soon.. Maybe upgrade the Winch, maybe..

Sinnce the last update we have finally Lifted the ORP. This mod has had the biggest impact on the driving experience daily. With my Disability, getting in and out is a chore, but I deal with it.. Man Shit! lol

I went with a Bilstein/OME combo. I got the setup through YotaMafia.com and spent about 6 hours installing it.. I recommend anyone buying a kit like this to pay the extra money to have the front assemblies assembled. It was a PITA getting those springs compressed since our system didnt work.

I also purchased a Toytec 3/4 spacer and Dobinsons Diff Drop kit.

DSC03148e.jpg


DSC_7836e.jpg


DSC_7547e.jpg


DSC_7540e.jpg


DSC_7537e.jpg
 
*As I have mentioned previously, I refuse to over spend on mods I wont be using daily. But I am willing to make improvements once i identify shortcomings. The biggest category that is evident is in external lighting. I have ordered new pods to replace all the current pods on the vehicle. All pods currently installed are inexpensive Amazon generic pods.

I have ordered some Baja Design S2 Pro sets to replace the Ditch Lights and Rear flood lights I have installed. I wanted something low profile but still effective. Not sure how long they take to ship, but I will update this post once they arrive.

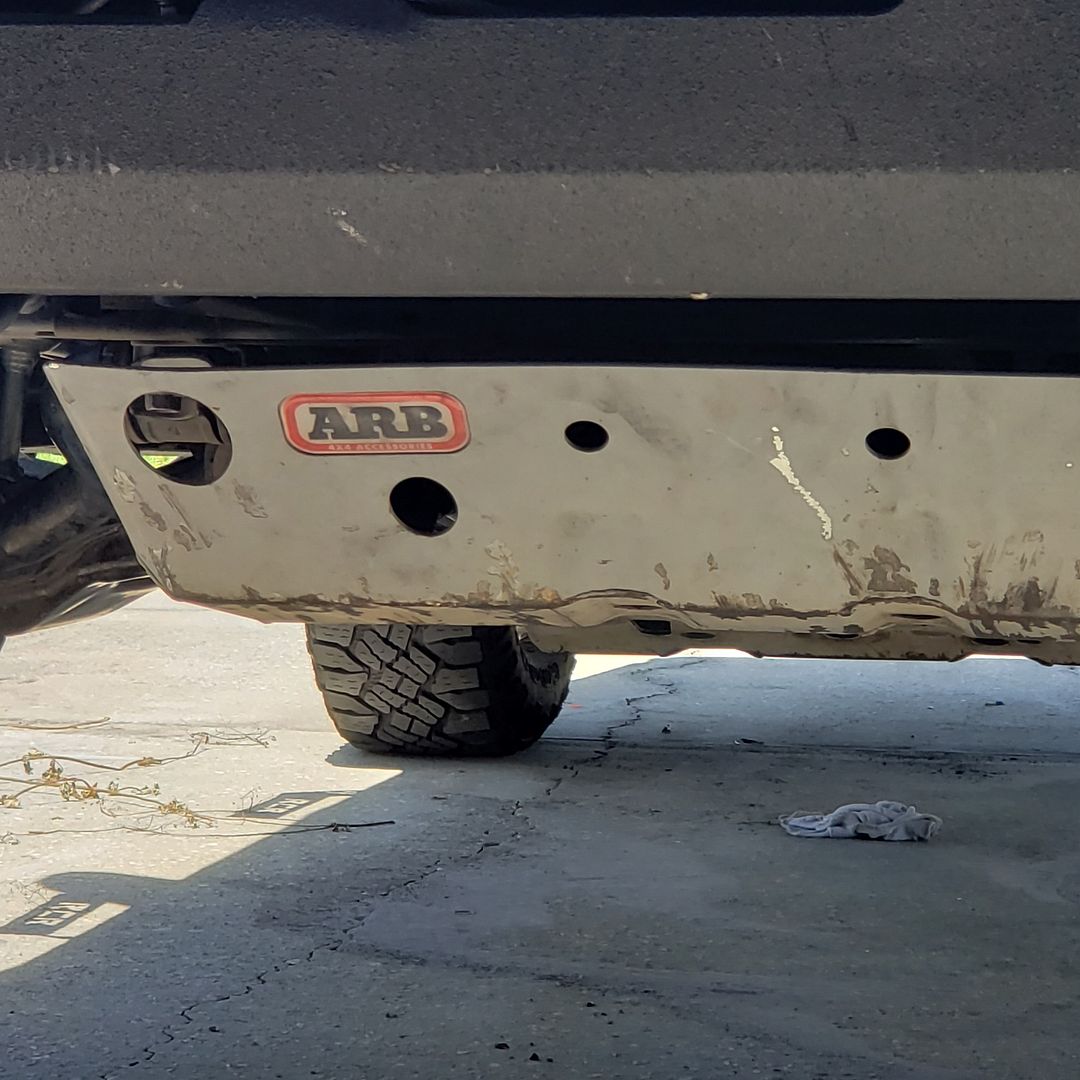
*I have an ARB Skid setup sitting in my Garage waiting for me to install it. I should have that done this weekend.

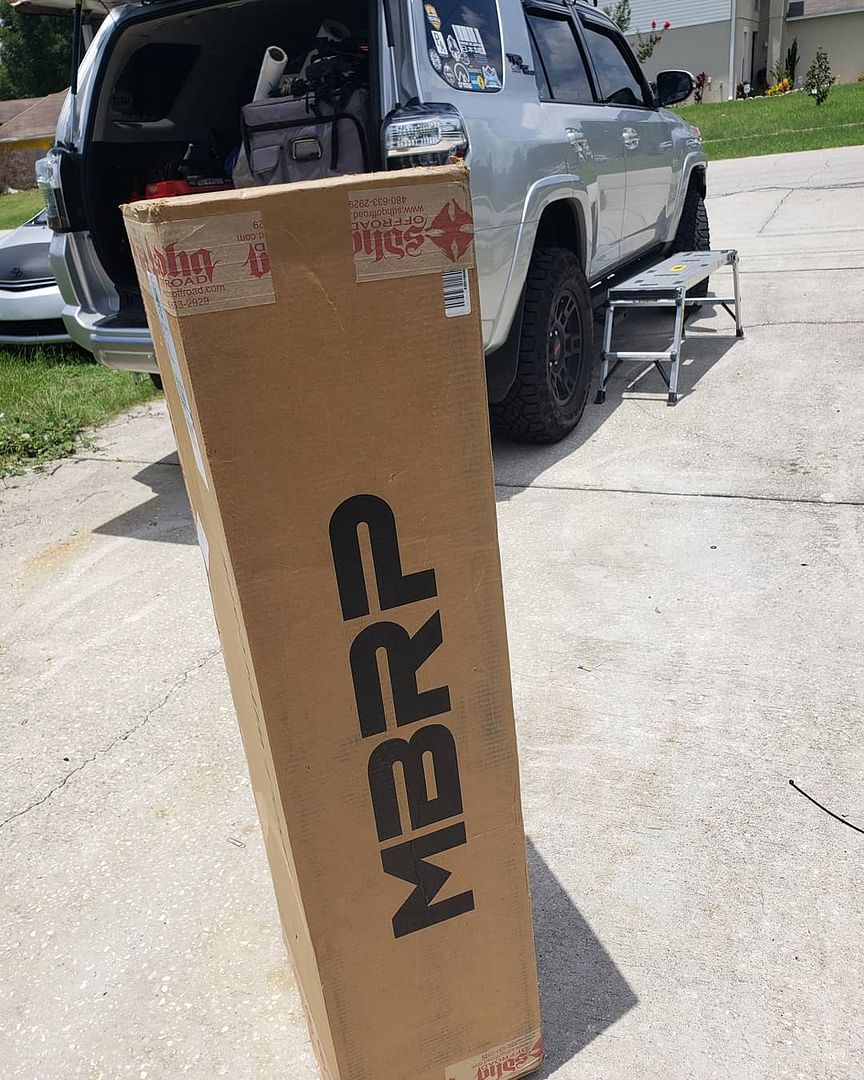
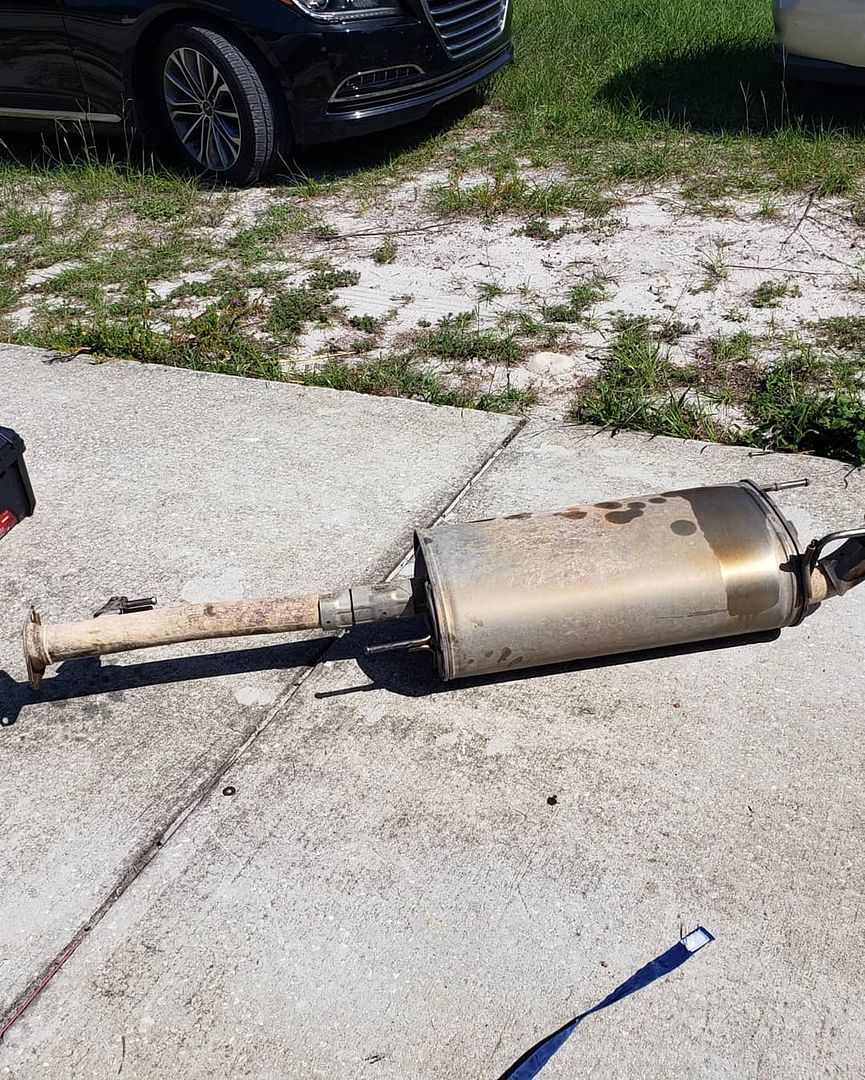
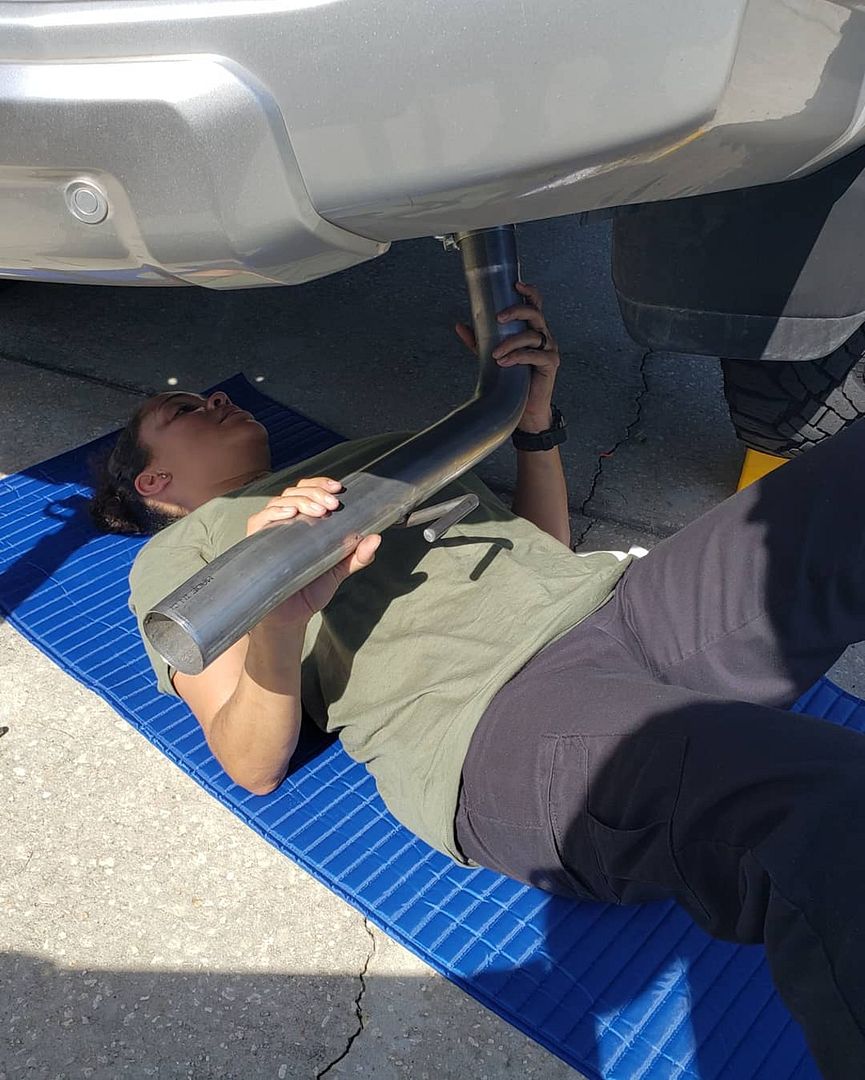
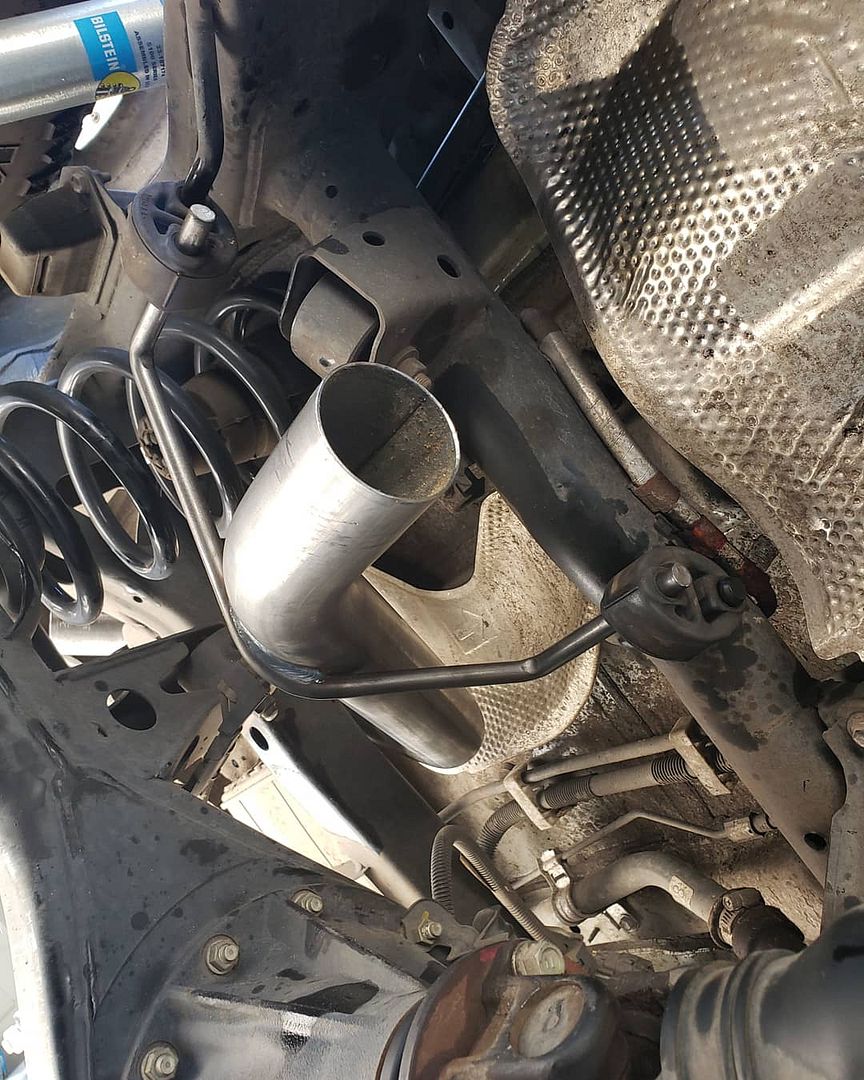
*I ordered a MBRP Exhaust that should be here any day. Looking forward to a deeper sounding exhaust note.

*I have a Prado 150 Snorkel in the garage as well. I will get that installed shortly as well. That is going to take a bit of guess work to fit, but I know it can be done. I originally ordered the TJM Snorkel through AJC Custom, but that was taking too long to ship so I gave up on it.
 
So the ARB Skids are installed... I remember why I avoided doing them now. No clear instructions, but I got it done.

IMG_20190624_122254_402.jpg


We also got the MBRP Exhaust Installed on Saturday. Direct Swap, no modification needed. I will be eliminating the Spare tire Heat shield (Spare is going on Swing out)..

Nice consistent Tone. I like it so far.
IMG_20190623_105428_405.jpg


IMG_20190623_105428_406.jpg


IMG_20190623_105428_407.jpg


IMG_20190623_105428_408.jpg


If you look closely where the Failead should be, you'll notice damage to the Bumper. Great opportunity to swap out the Winch line for Synthetic.. Coming soon.
20190624_132448.jpg
 

Members online

Forum statistics

Threads
278,307
Messages
3,554,048
Members
248,016
Latest member
Advally Service

Trending content

Back
Top