CS223
Member
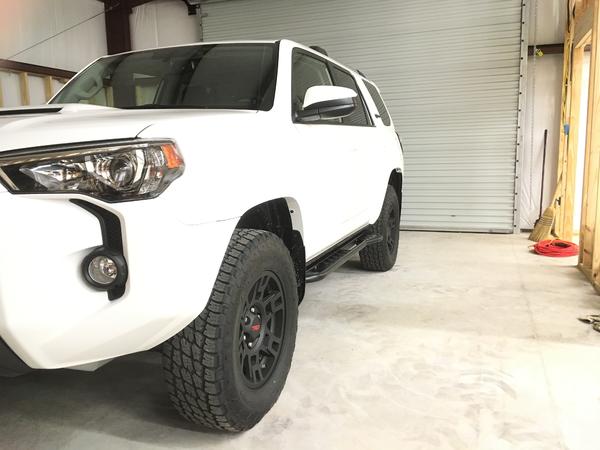
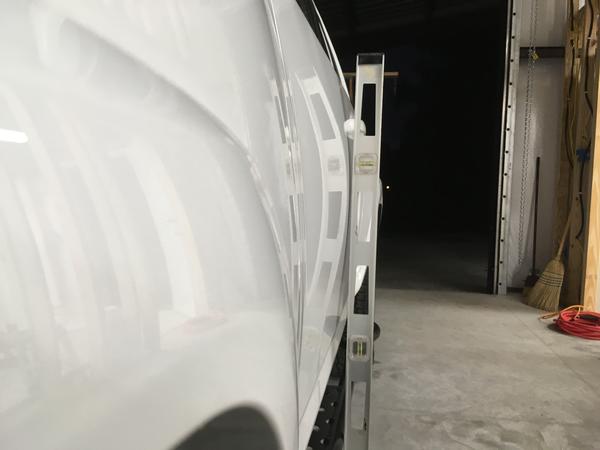
I finally got around to getting my SSO sliders installed. I said I’d post an update in another thread but I thought they deserved a thread of their own that would be easy to find in a search.
The SSO sliders were my third choice when I was shopping, knowing what I know now, I would have made them my first. Dollars to doughnuts, they were the best value. My first slider choice was nearly $1000 once shipping was factored in from the west coast, my second choice was part of a group buy that was slow to get off the ground and after no communication from the organizer after a week, I called it quits. About that time SSO put their sliders on sale for $499 delivered. I didn’t think much about the rock slider side of things at the time. Being a flat lander, I wanted them more for a running board alternative that would be easy to clean the mud from since I drive 2 miles of dirt road twice a day every day.
I placed the order online on Aug 11th, I wasn’t in any hurry, I had a vacation coming up and tons of other work on my plate. SSO emailed me & kept me in the loop, they had a manufacturing delay due to issues with the dimpling machine. I give them kudos for keeping me in the loop, I understand that stuff happens, most folks do. Keeping your customers informed is only good business.
They sent the shipping notification email with tracking on Sept 15th and the sliders arrived via FedEx Ground. The poor little driver asked me if I could unload them because they were too heavy for him. They were stretch wrapped, hardware was packed inside with them. They are beefy, I wasn’t expecting them to be quite as heavy as they are, specs say 56 lbs each.
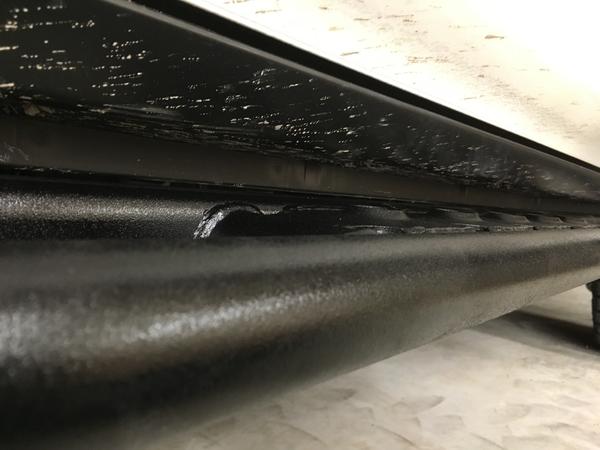
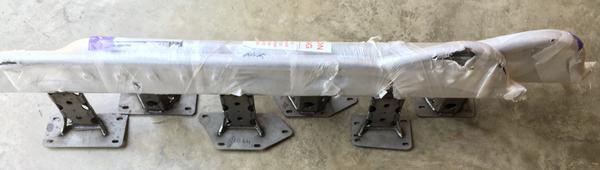
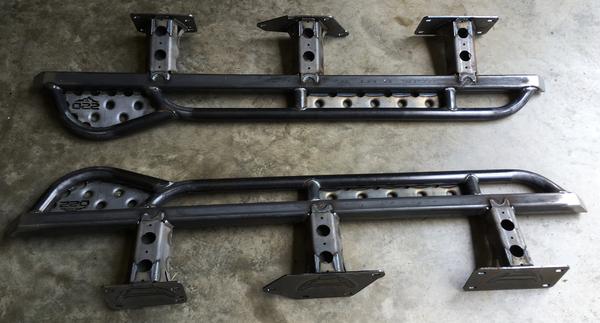
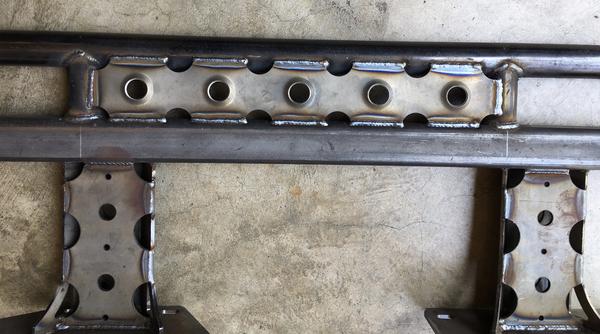
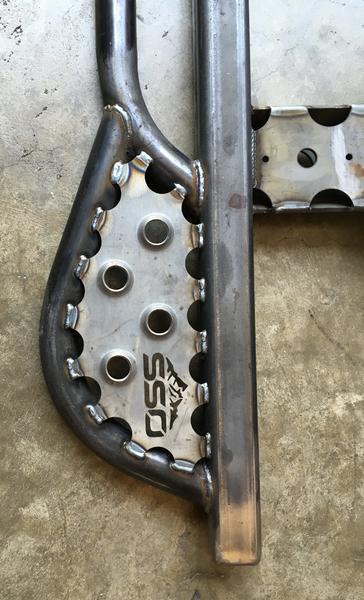
They are mill finish, there are no other options for coating. They are beautifully welded and all parts are precision cut, I presume with laser as is SOP these days. Here are a few close up pics of various portions with them in the raw.

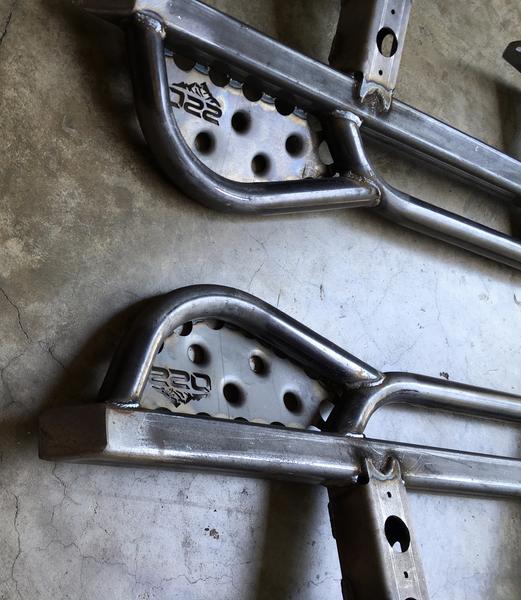
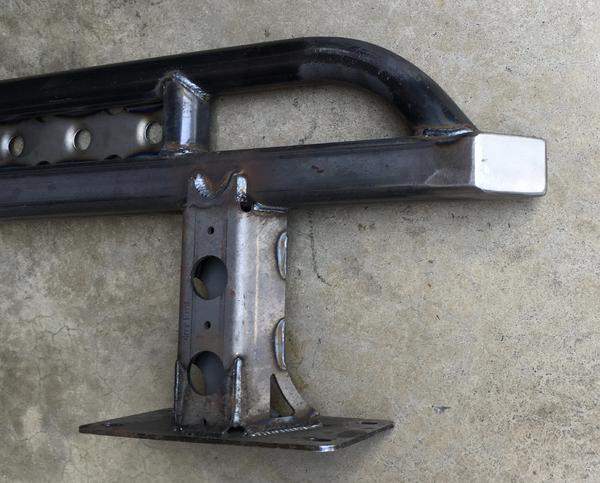
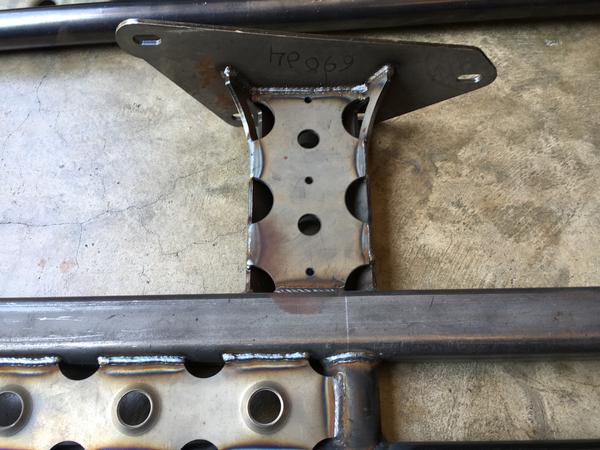
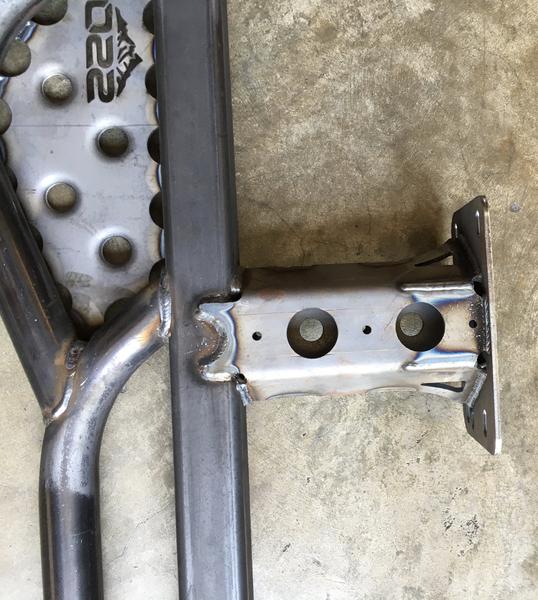
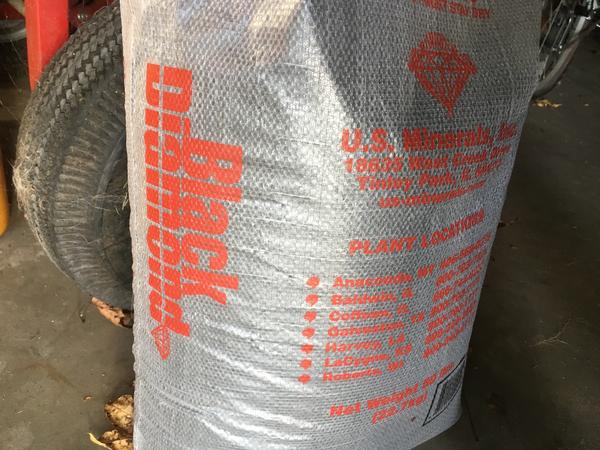
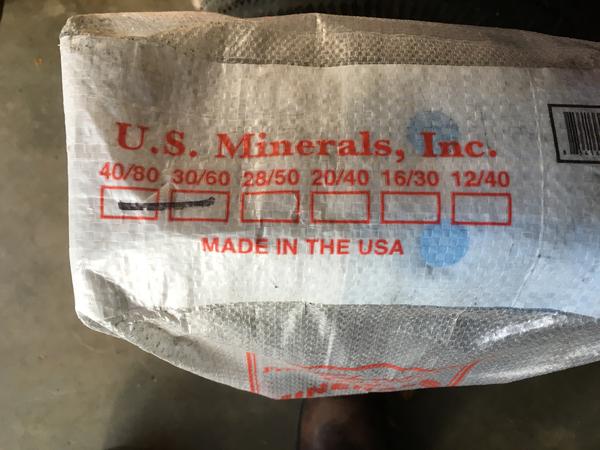
I didn’t have time to deal with them so they sat in the shop until I could block out a weekend. I called a local powder coater for a quote and they wanted $200 plus tax to PC them. It was too close to half the cost so it I decided not to go that route. Research kept coming up with the Rustoleum Bed Liner spray being a popular option so I decided to go with that. The local Lowes stocked it, and the ease of future repair appealed to me. Next was deciding how to prep them. Since I had access to a pressure-pot sandblaster I decided to go that route. I tried some run of the mill sand then tried Black Diamond which is coal slag. Tractor supply stocks it and it was relatively cheap. I bought the Red Bag Fine grit. $8 for a 50# bag, it took 5 bags with some left over. I used 50-PSI of air pressure and it took me a couple hours total including the leg work, interruptions etc. The finish was just what I wanted just coarse enough to give the paint plenty of bite.
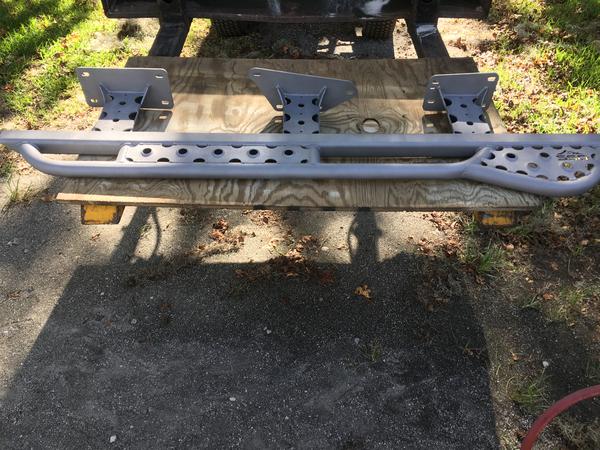
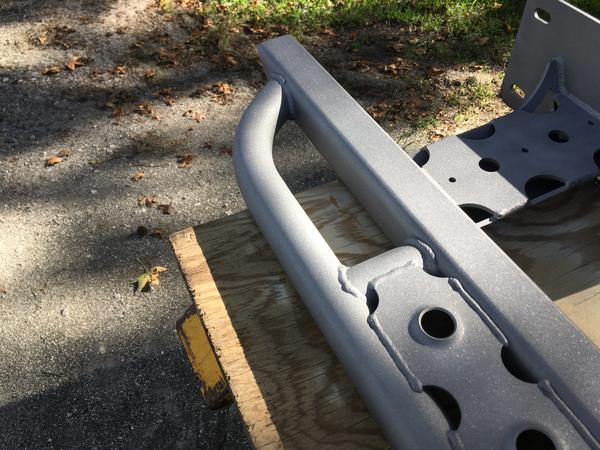
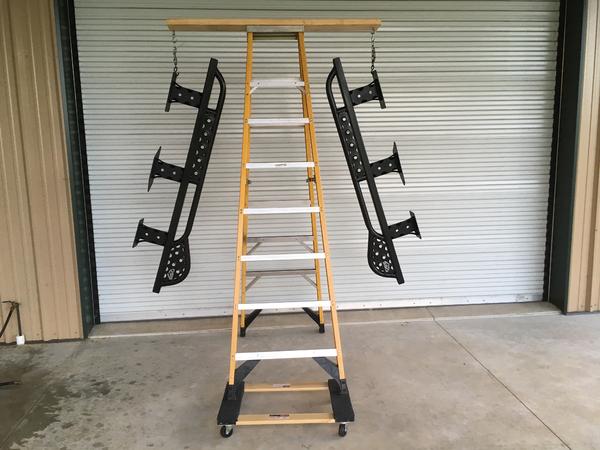
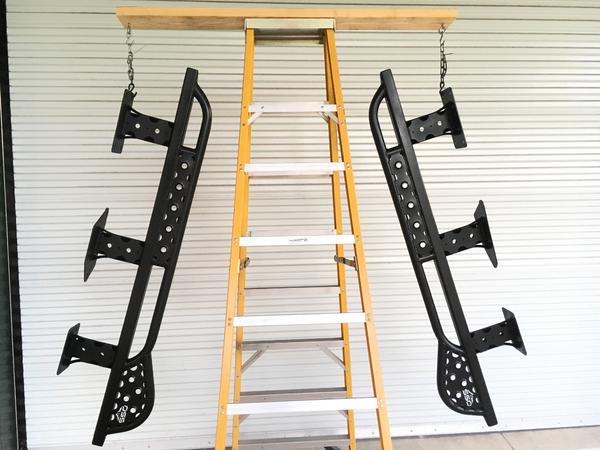
The next hurdle was how to hold them so that I could spray them all at once & not have to handle them risking messing up the finish. I ended up attaching a 2x6 to the top of my ladder, I added eyebolts that were double nutted above a flat washer. This gave me a swivel so I could rotate them toward the light. I added a short length of chain & a hook This allowed me the room to get at each end; high enough to get underneath and a step up the ladder to get the top. Had to get someone to stand on the ladder until both were hung. I also put a furniture dolly under one side of the ladder so that I could pick up the other side and roll it out of the way while they dried.
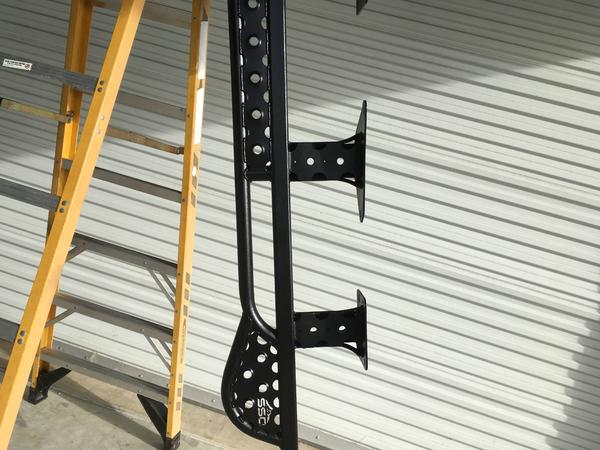
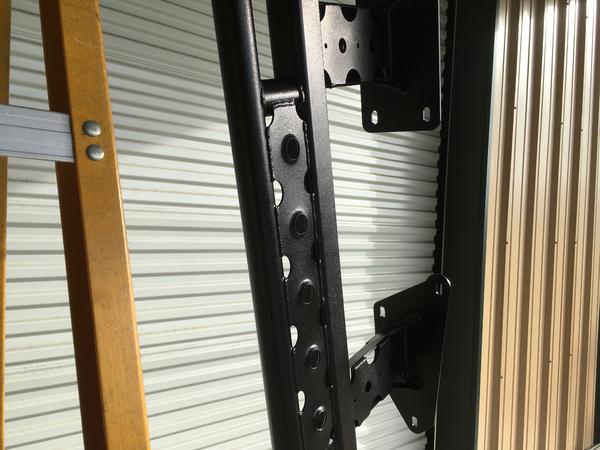
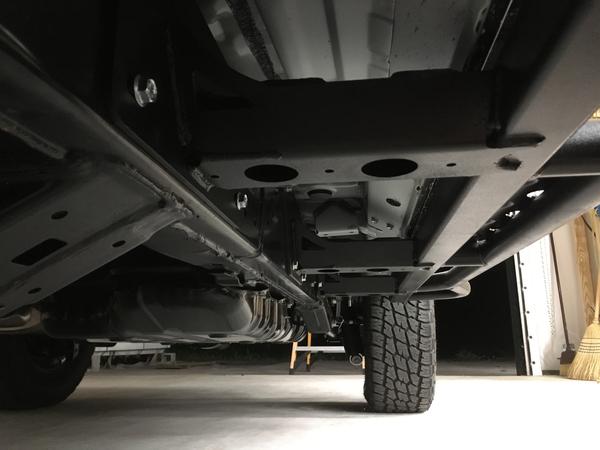
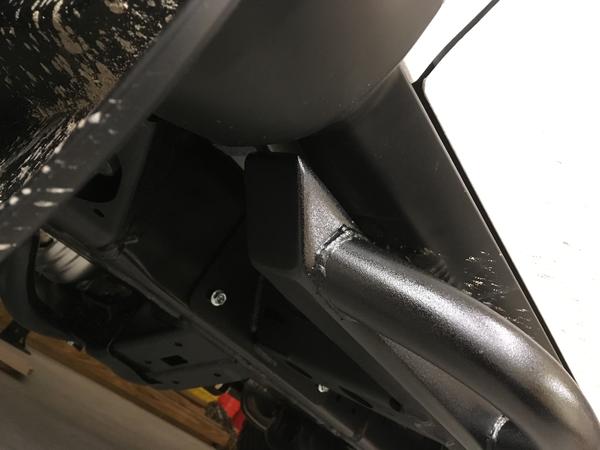
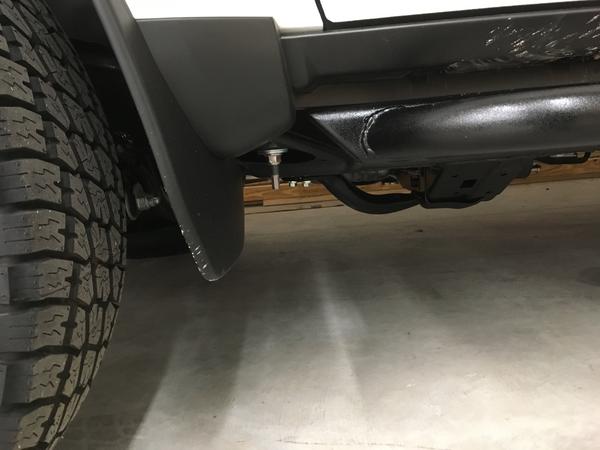
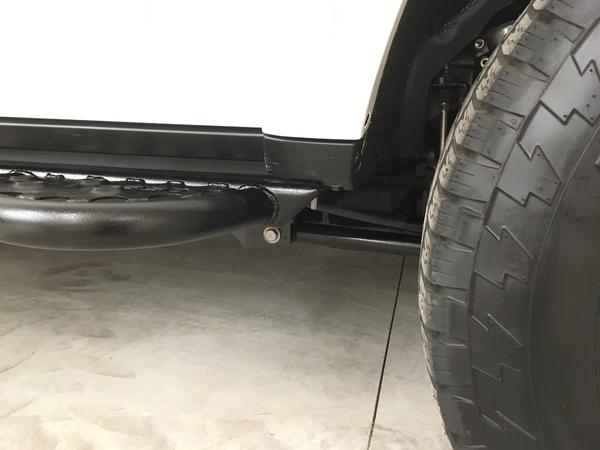
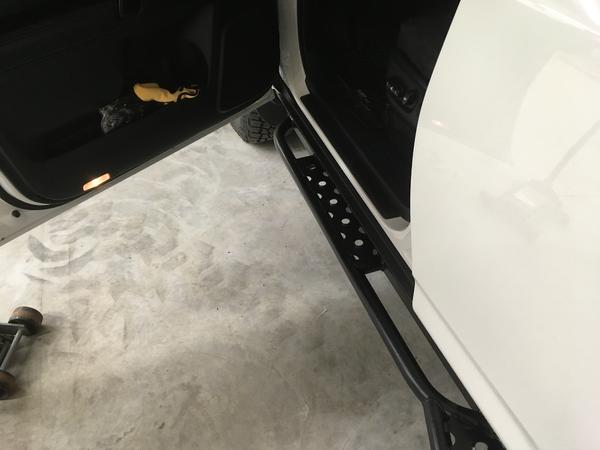
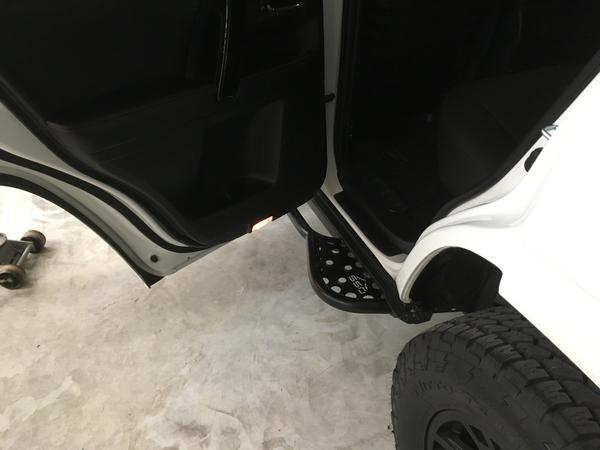
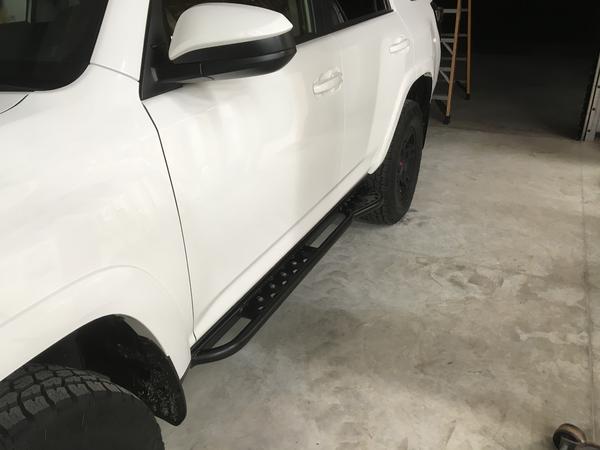
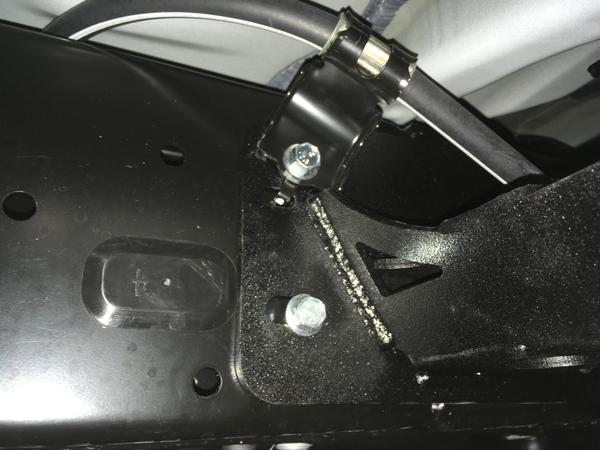
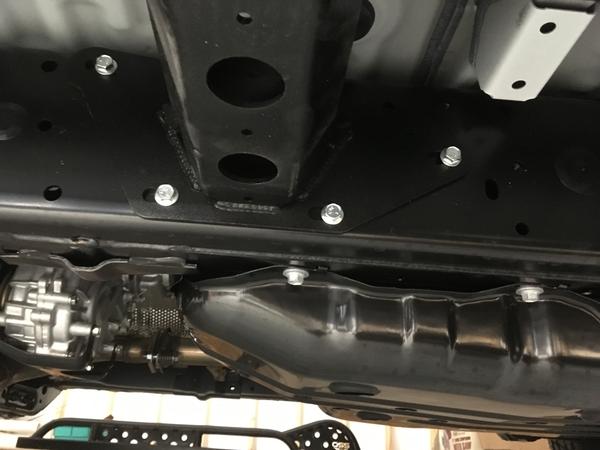
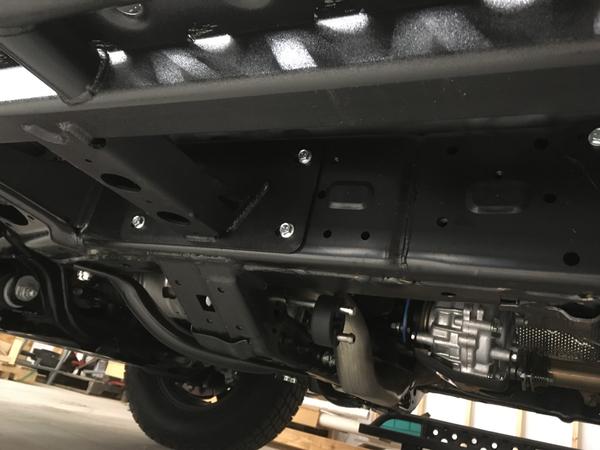
They are advertised as bolt on and they truly are. I popped out 3 of the frame plugs each side that would have been behind the plates and I took off the little plastic tabs at the rear of the rocker. I put a board and piece of cardboard on the floor jack and centered them up so they were balanced. I removed the bolt from the e-brake cable clamp. It was just a simple matter of jacking them into place, starting all the provided bolts and then tightening them up. If you have some mud time on your T4R, you'll want to blow out the bolt holes to clean the threads. There is an opening on the rear plates for the tab on the e-brake cable clamp so no need to bend them flat or cut them off. I torqued all the bolts to 30 lb. There were no fitment issues, no a single cuss word. Probably took an hour total to install both.
The SSO sliders were my third choice when I was shopping, knowing what I know now, I would have made them my first. Dollars to doughnuts, they were the best value. My first slider choice was nearly $1000 once shipping was factored in from the west coast, my second choice was part of a group buy that was slow to get off the ground and after no communication from the organizer after a week, I called it quits. About that time SSO put their sliders on sale for $499 delivered. I didn’t think much about the rock slider side of things at the time. Being a flat lander, I wanted them more for a running board alternative that would be easy to clean the mud from since I drive 2 miles of dirt road twice a day every day.
I placed the order online on Aug 11th, I wasn’t in any hurry, I had a vacation coming up and tons of other work on my plate. SSO emailed me & kept me in the loop, they had a manufacturing delay due to issues with the dimpling machine. I give them kudos for keeping me in the loop, I understand that stuff happens, most folks do. Keeping your customers informed is only good business.
They sent the shipping notification email with tracking on Sept 15th and the sliders arrived via FedEx Ground. The poor little driver asked me if I could unload them because they were too heavy for him. They were stretch wrapped, hardware was packed inside with them. They are beefy, I wasn’t expecting them to be quite as heavy as they are, specs say 56 lbs each.
They are mill finish, there are no other options for coating. They are beautifully welded and all parts are precision cut, I presume with laser as is SOP these days. Here are a few close up pics of various portions with them in the raw.
I didn’t have time to deal with them so they sat in the shop until I could block out a weekend. I called a local powder coater for a quote and they wanted $200 plus tax to PC them. It was too close to half the cost so it I decided not to go that route. Research kept coming up with the Rustoleum Bed Liner spray being a popular option so I decided to go with that. The local Lowes stocked it, and the ease of future repair appealed to me. Next was deciding how to prep them. Since I had access to a pressure-pot sandblaster I decided to go that route. I tried some run of the mill sand then tried Black Diamond which is coal slag. Tractor supply stocks it and it was relatively cheap. I bought the Red Bag Fine grit. $8 for a 50# bag, it took 5 bags with some left over. I used 50-PSI of air pressure and it took me a couple hours total including the leg work, interruptions etc. The finish was just what I wanted just coarse enough to give the paint plenty of bite.
The next hurdle was how to hold them so that I could spray them all at once & not have to handle them risking messing up the finish. I ended up attaching a 2x6 to the top of my ladder, I added eyebolts that were double nutted above a flat washer. This gave me a swivel so I could rotate them toward the light. I added a short length of chain & a hook This allowed me the room to get at each end; high enough to get underneath and a step up the ladder to get the top. Had to get someone to stand on the ladder until both were hung. I also put a furniture dolly under one side of the ladder so that I could pick up the other side and roll it out of the way while they dried.
They are advertised as bolt on and they truly are. I popped out 3 of the frame plugs each side that would have been behind the plates and I took off the little plastic tabs at the rear of the rocker. I put a board and piece of cardboard on the floor jack and centered them up so they were balanced. I removed the bolt from the e-brake cable clamp. It was just a simple matter of jacking them into place, starting all the provided bolts and then tightening them up. If you have some mud time on your T4R, you'll want to blow out the bolt holes to clean the threads. There is an opening on the rear plates for the tab on the e-brake cable clamp so no need to bend them flat or cut them off. I torqued all the bolts to 30 lb. There were no fitment issues, no a single cuss word. Probably took an hour total to install both.