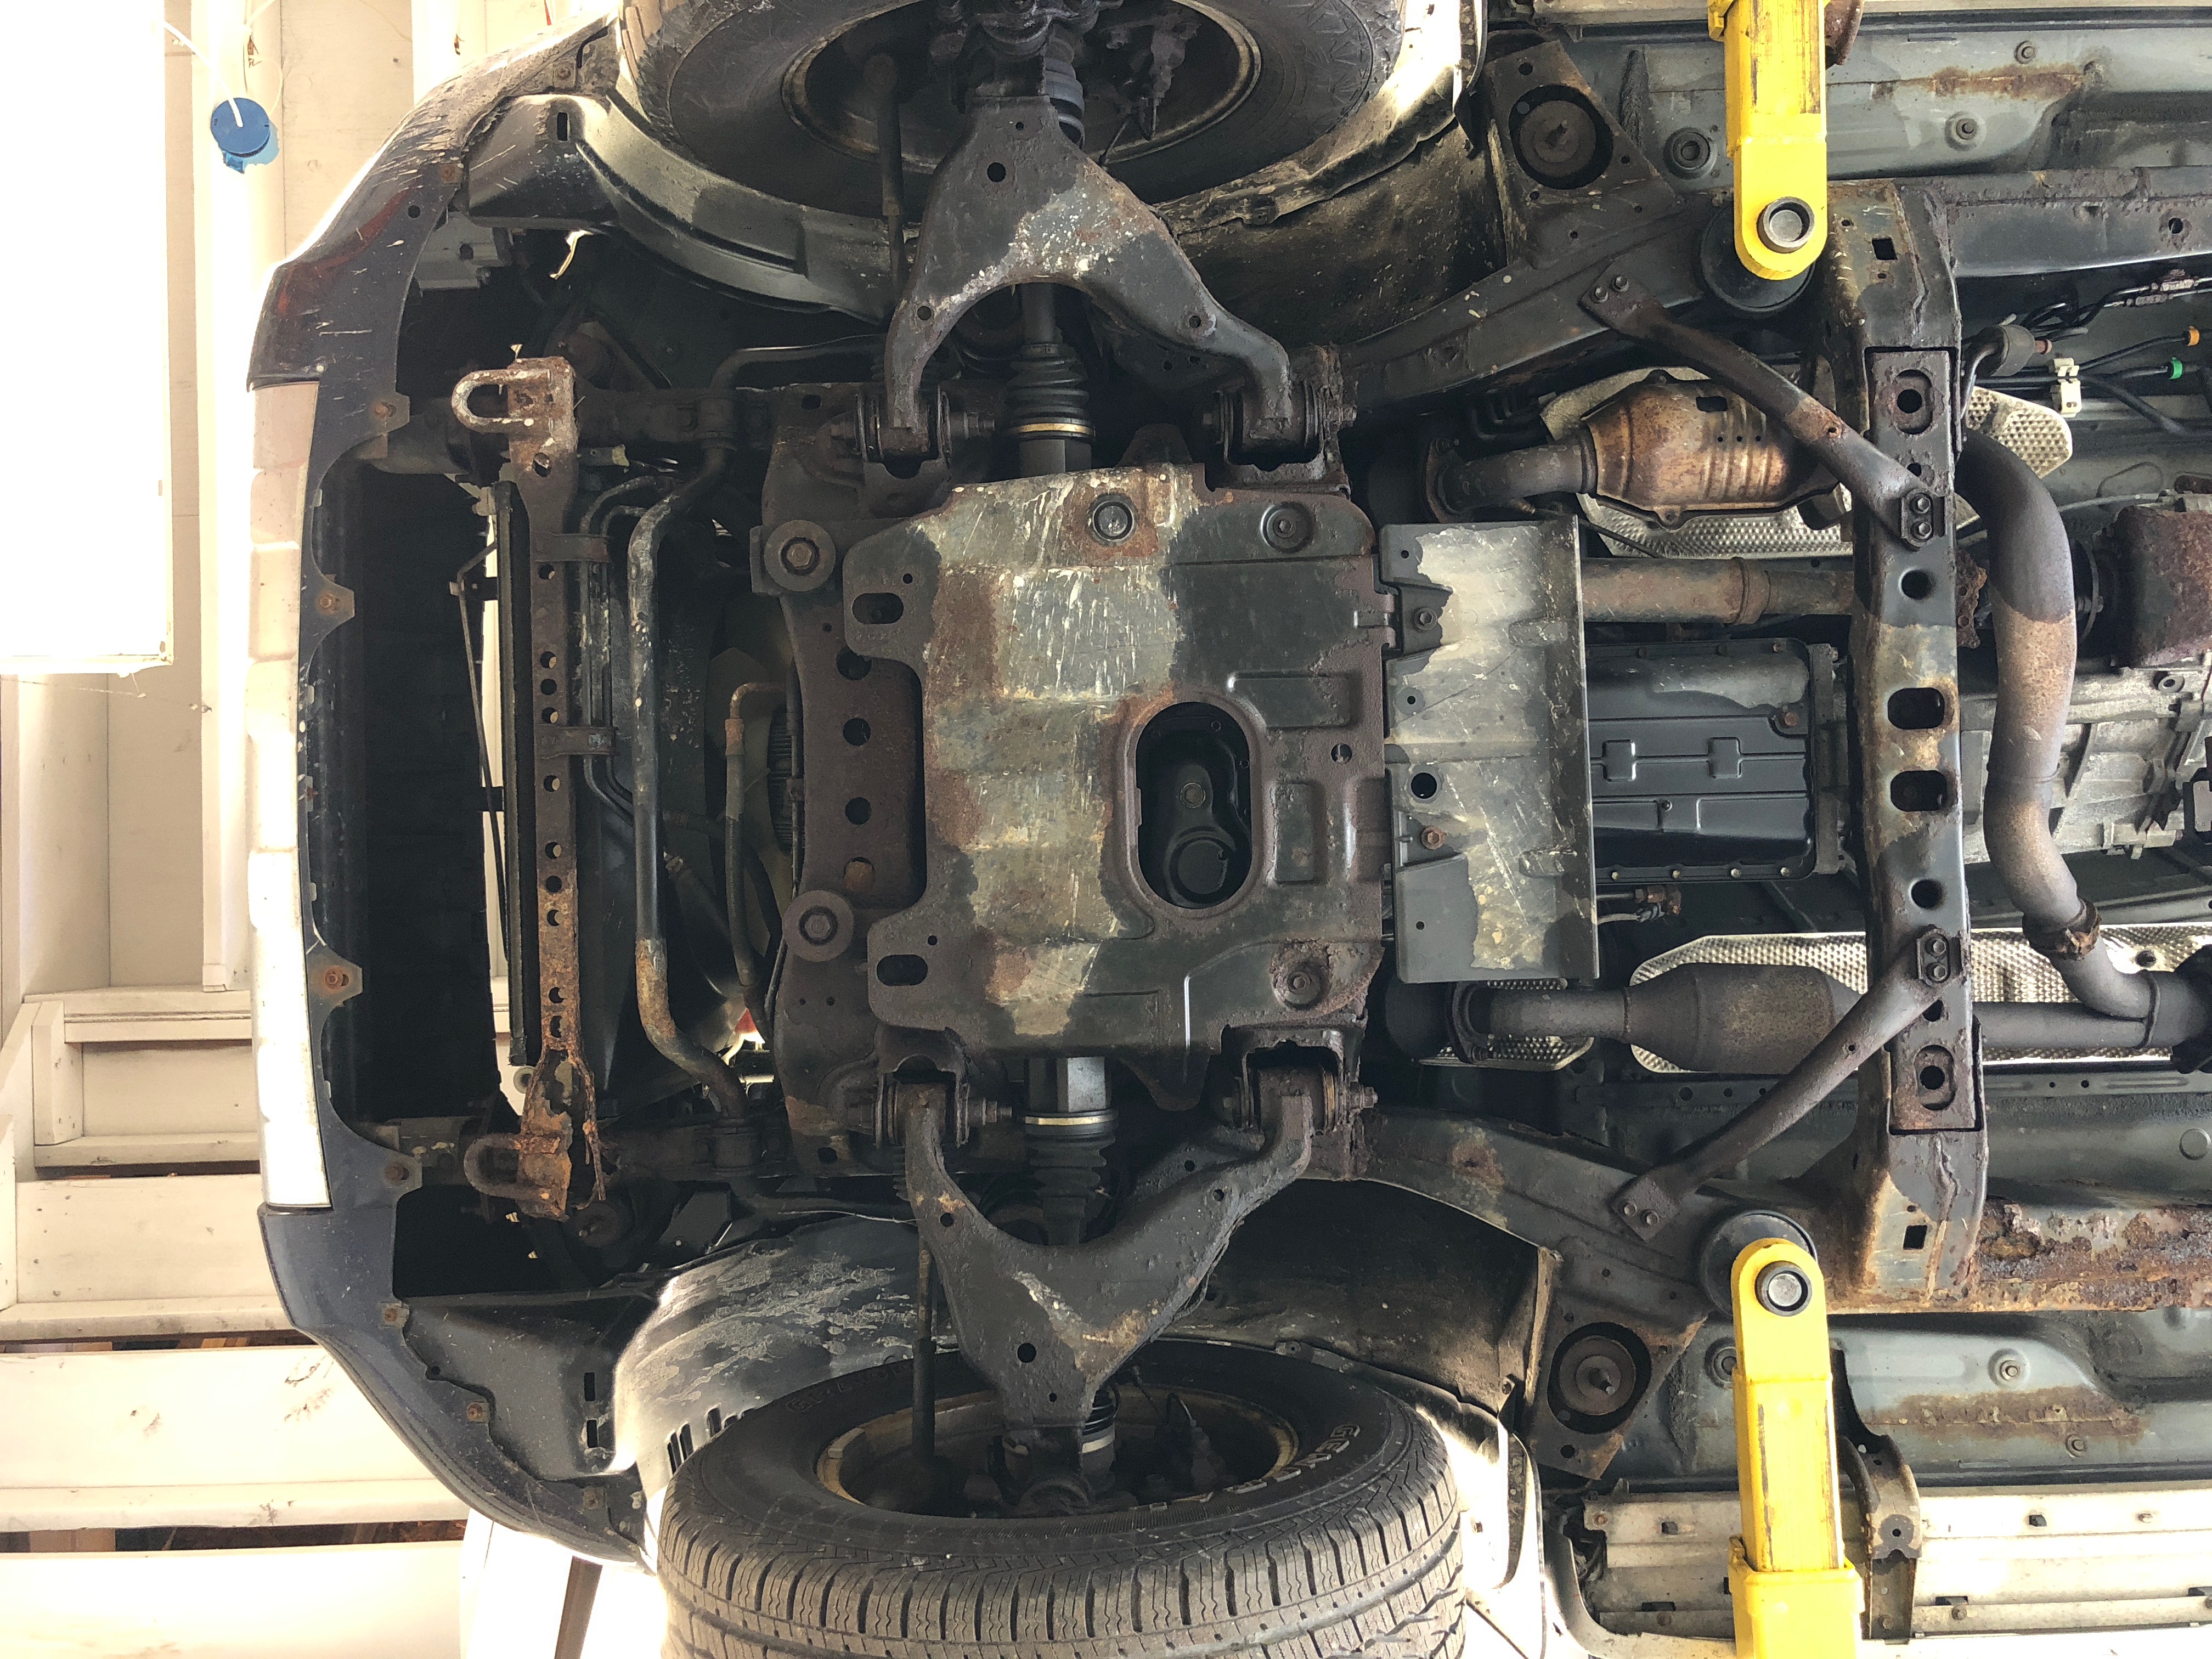
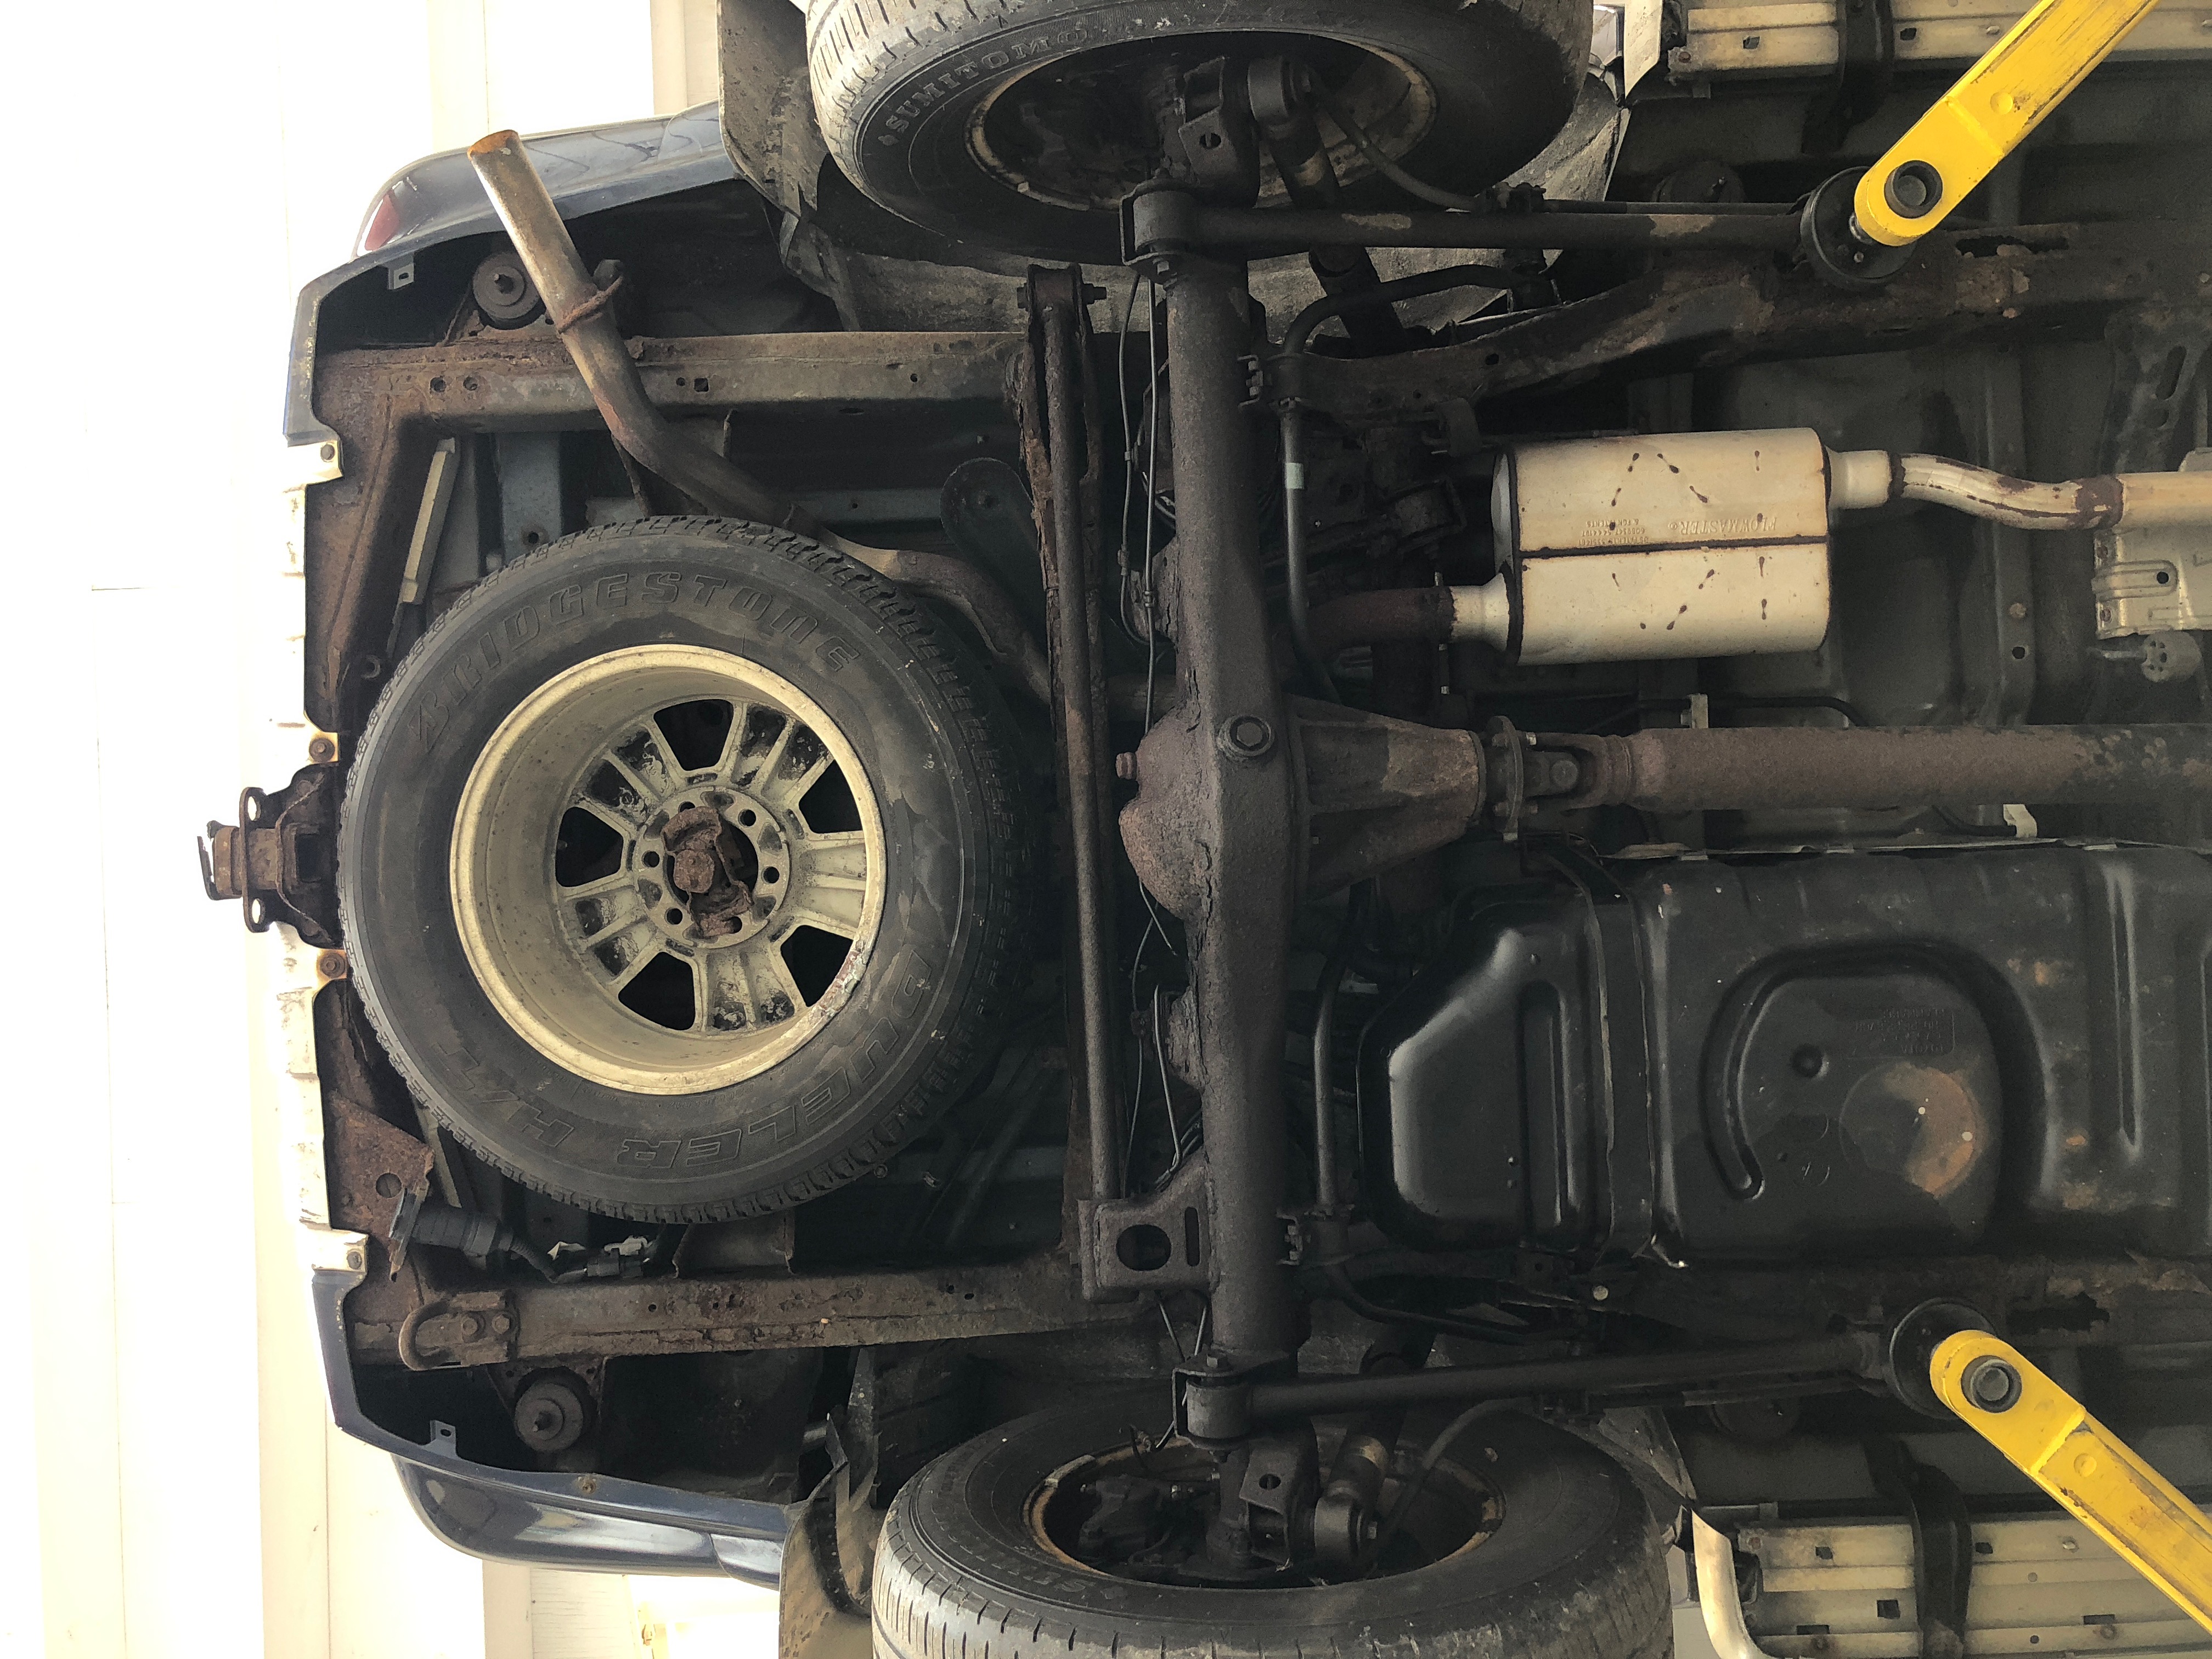
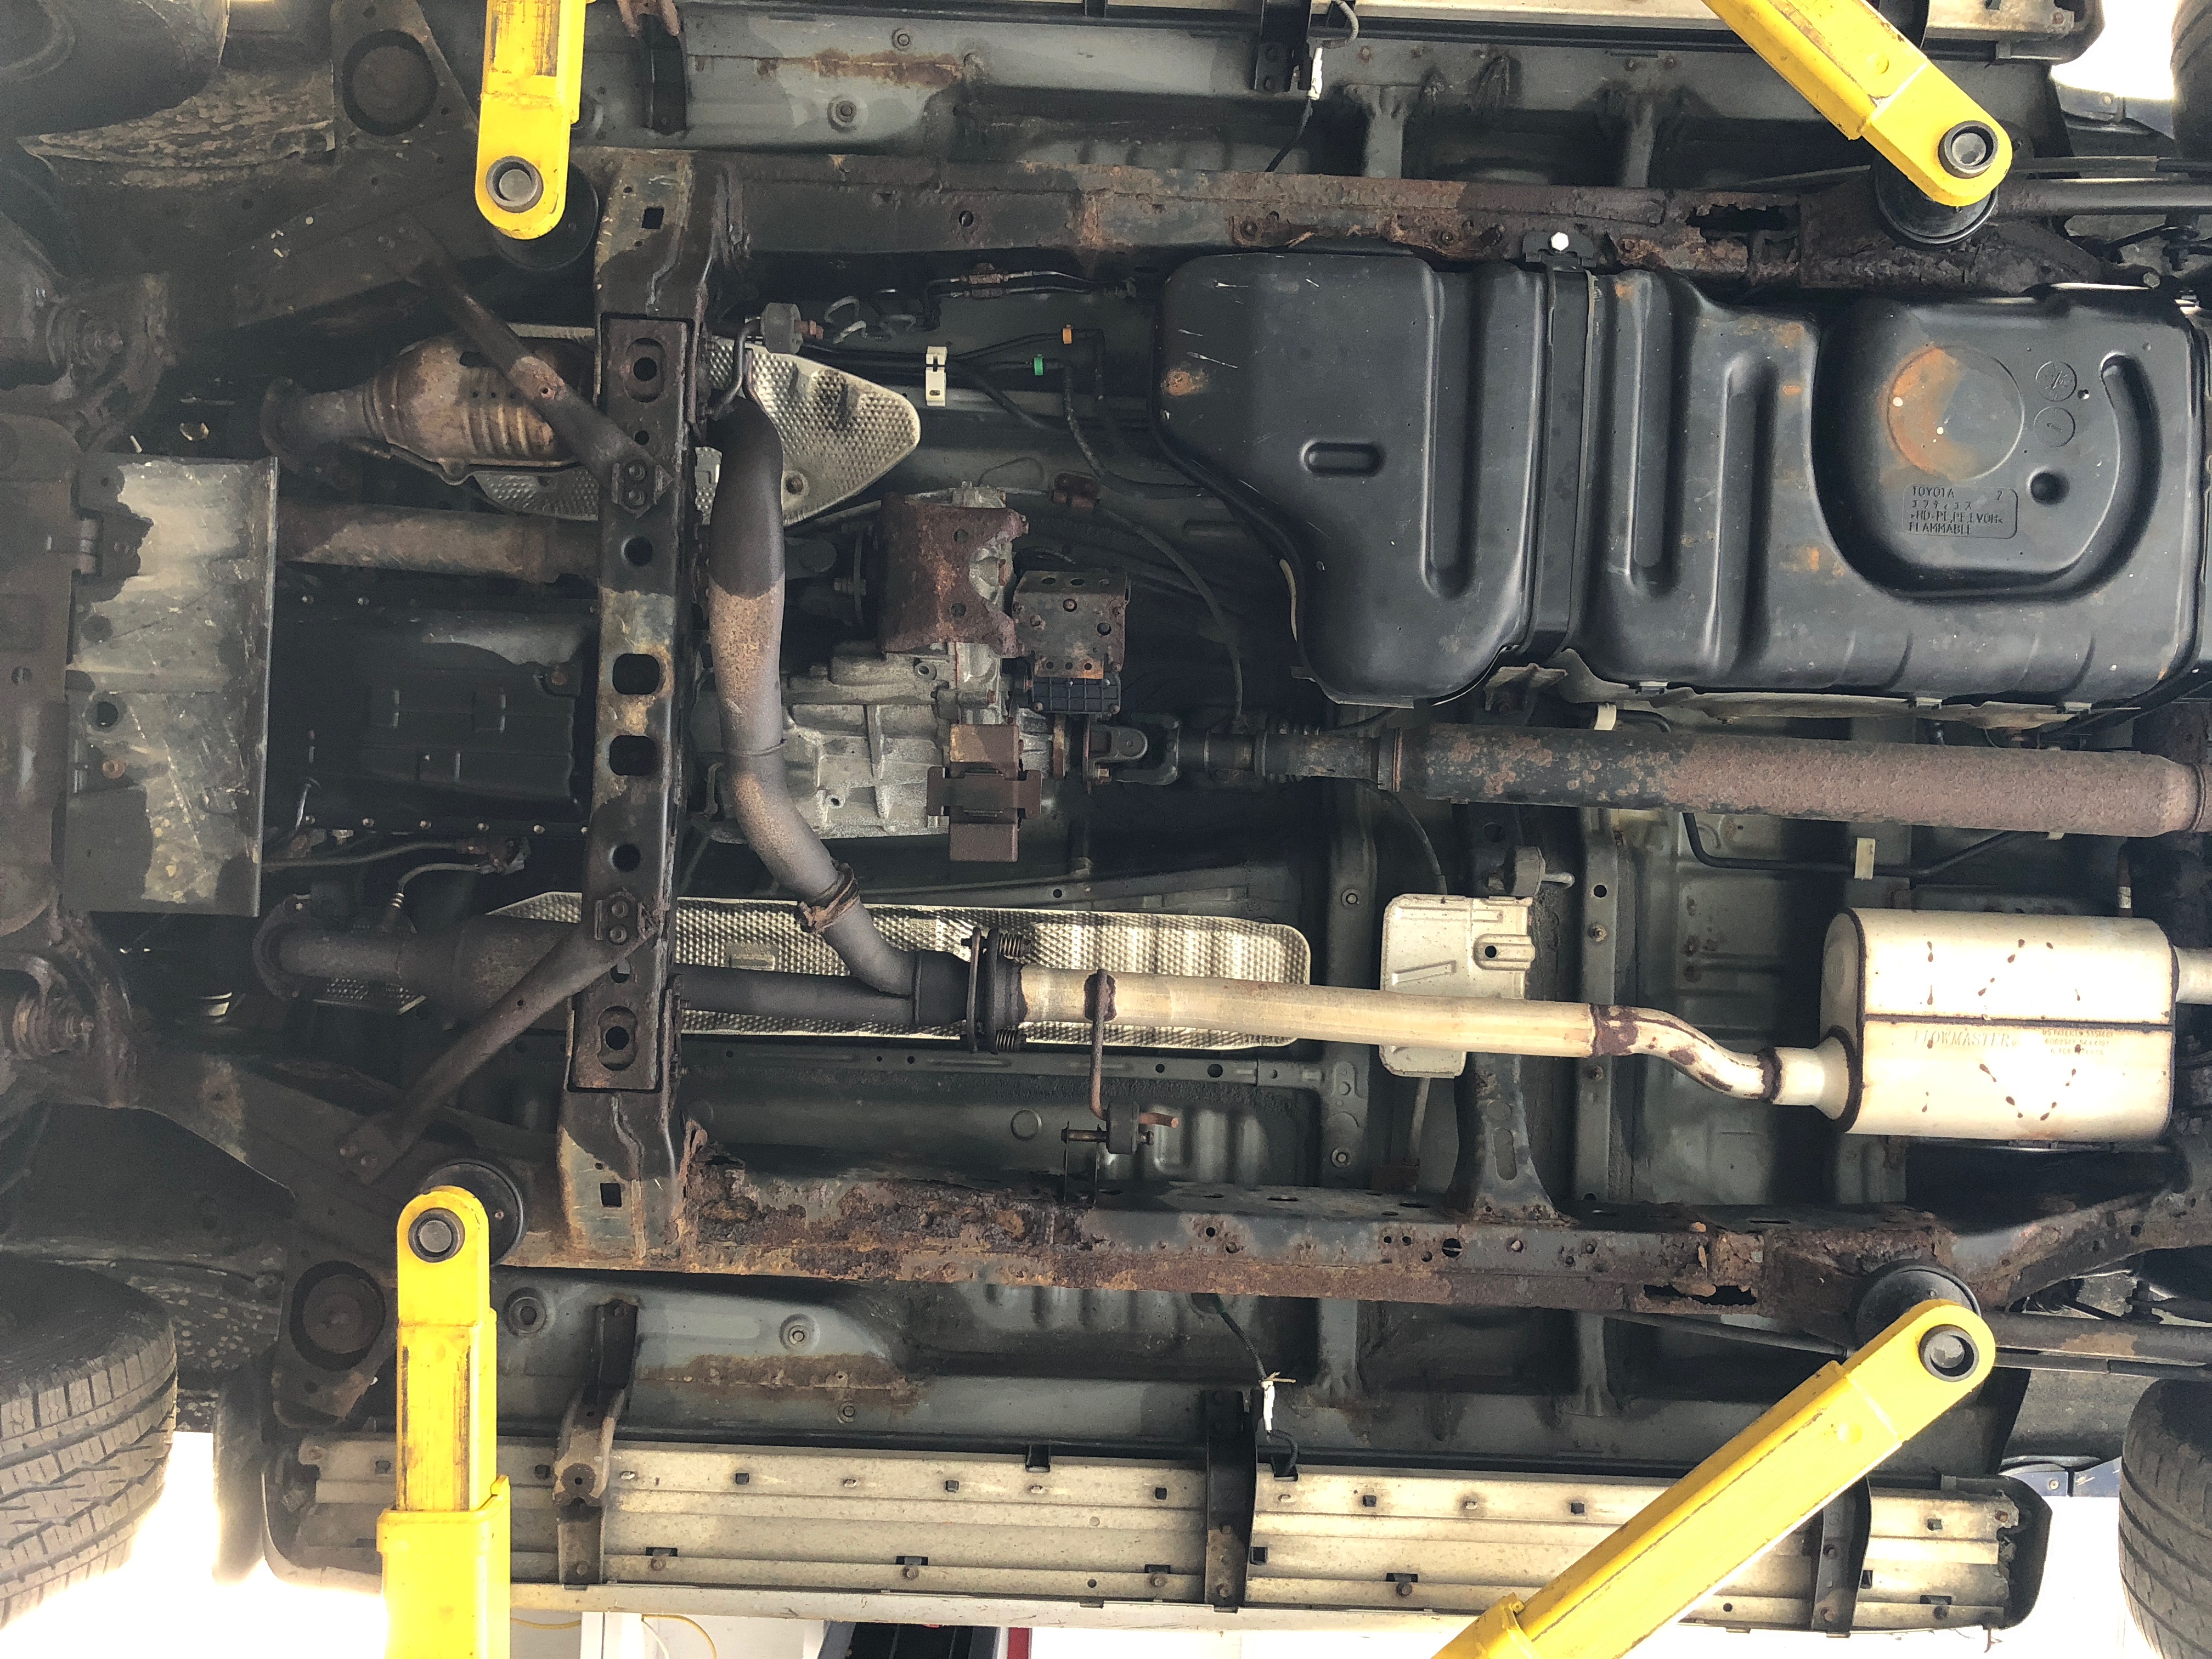
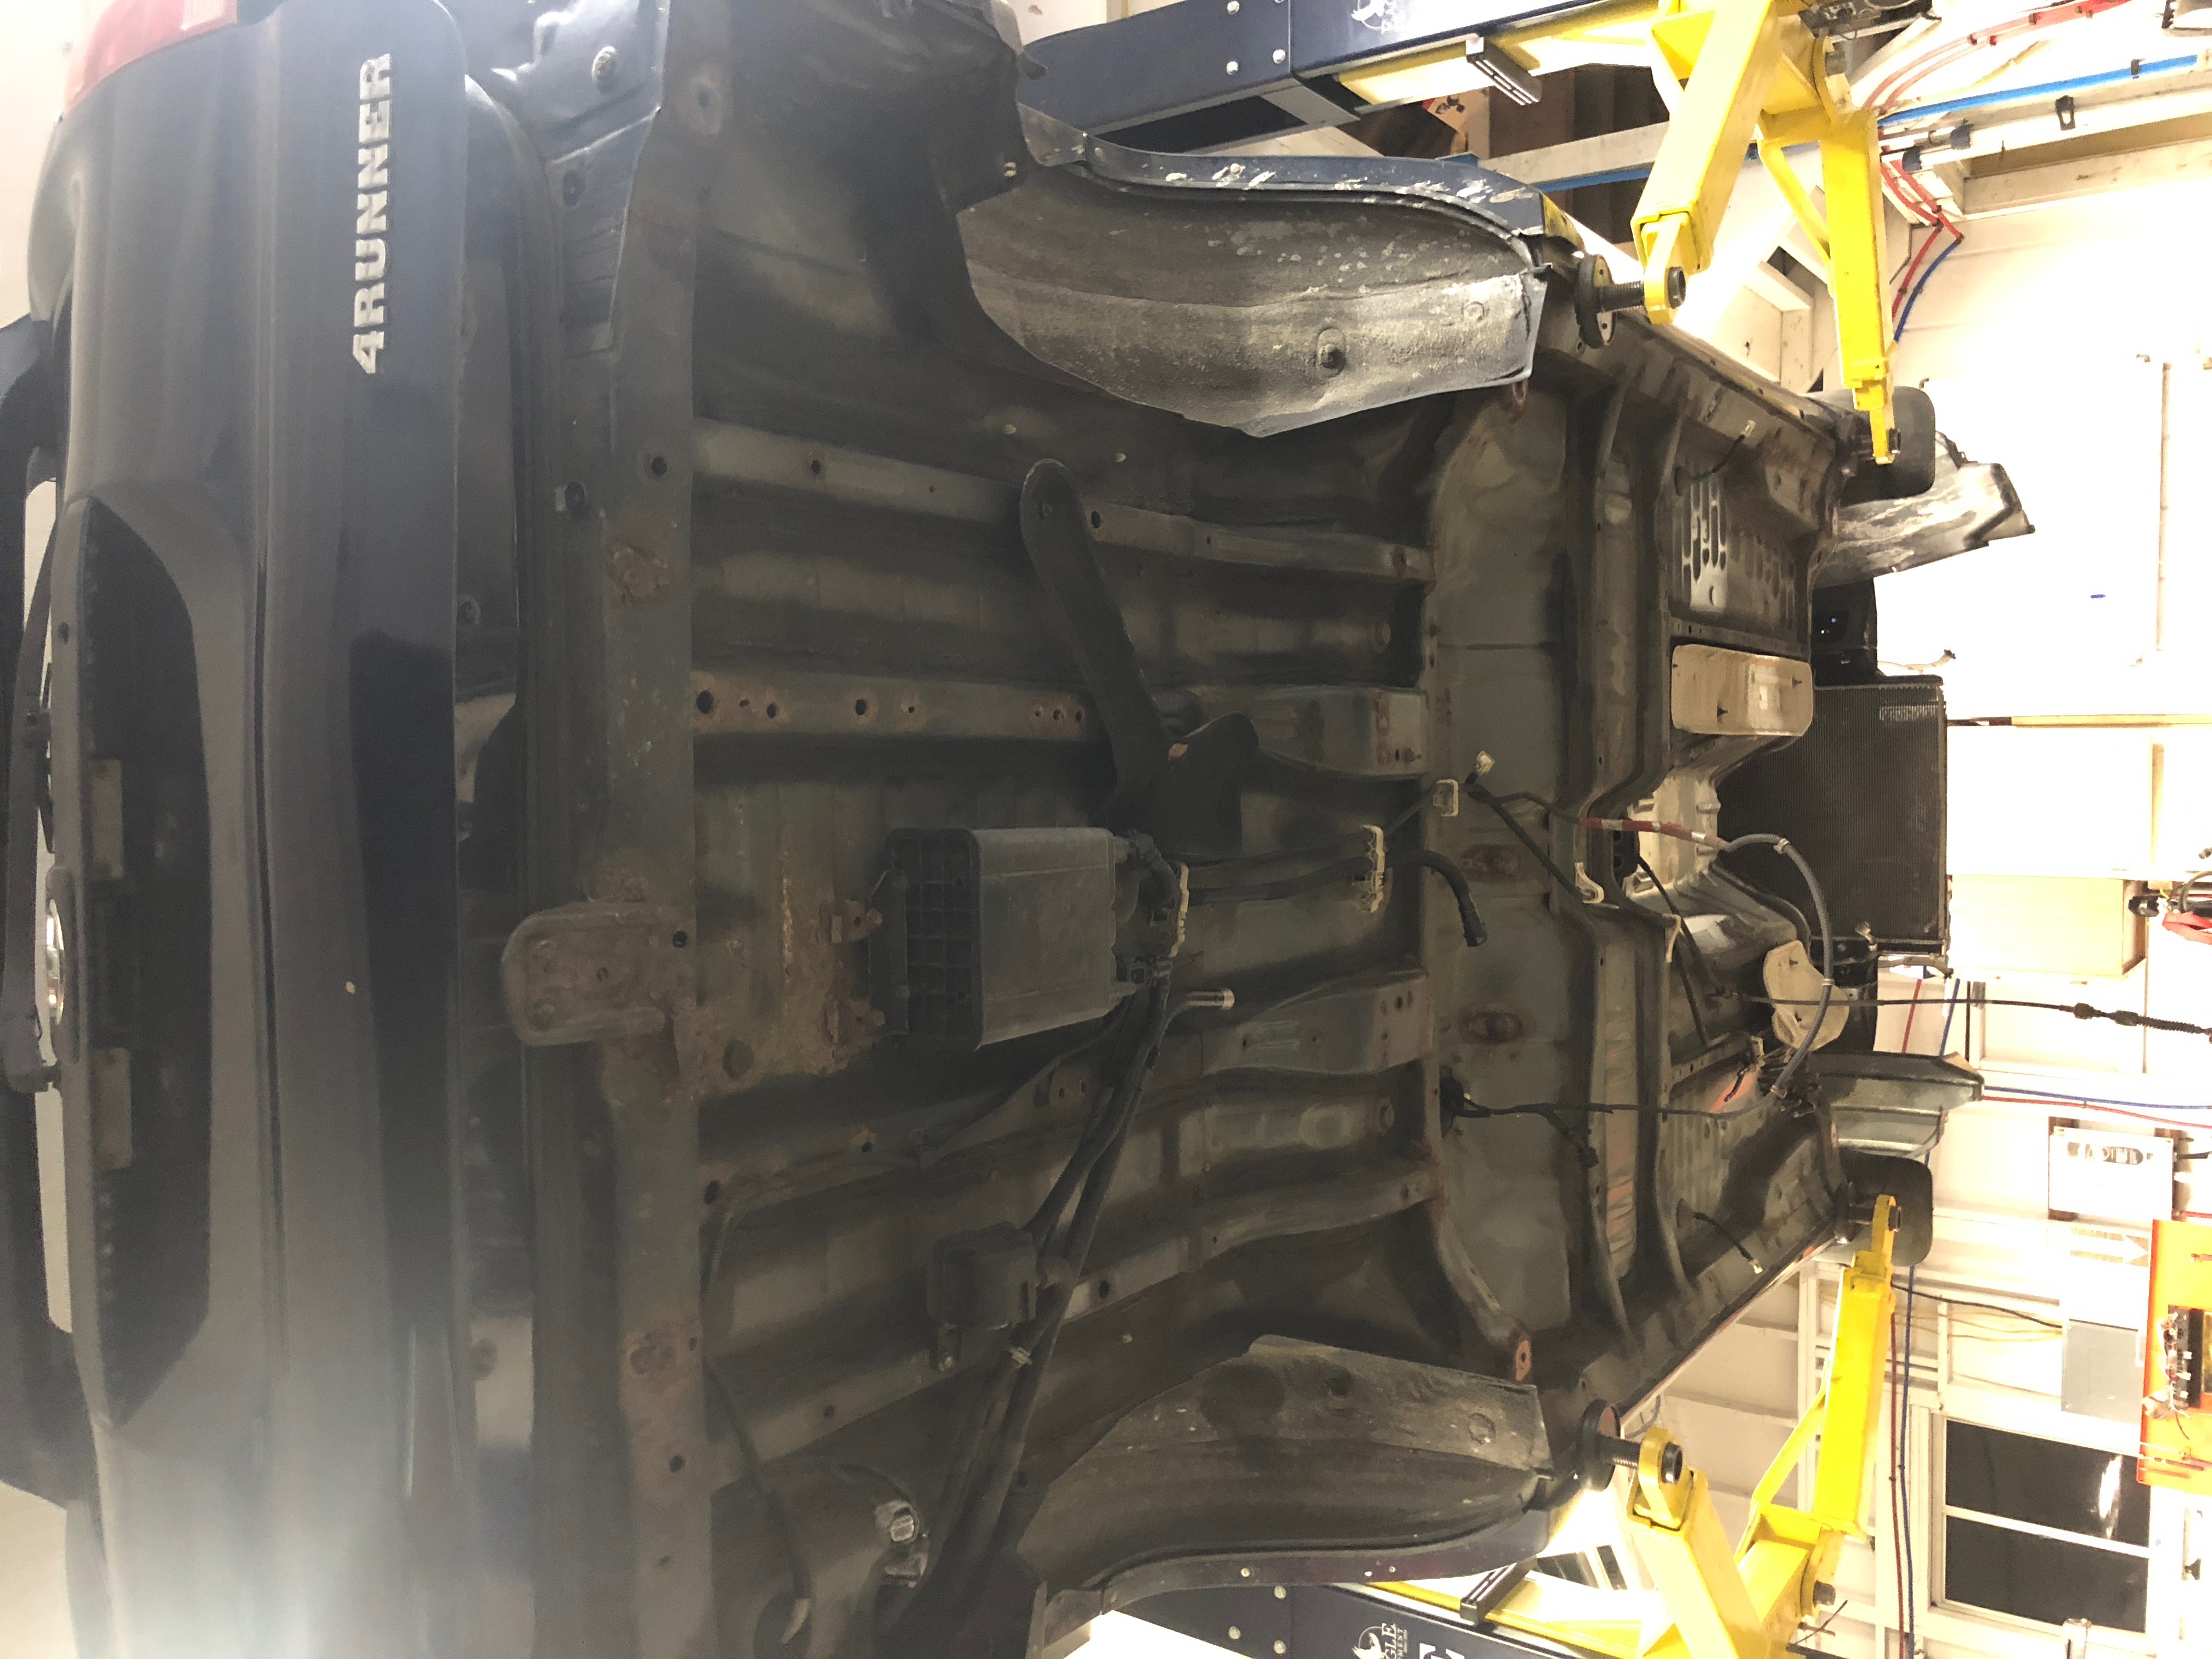
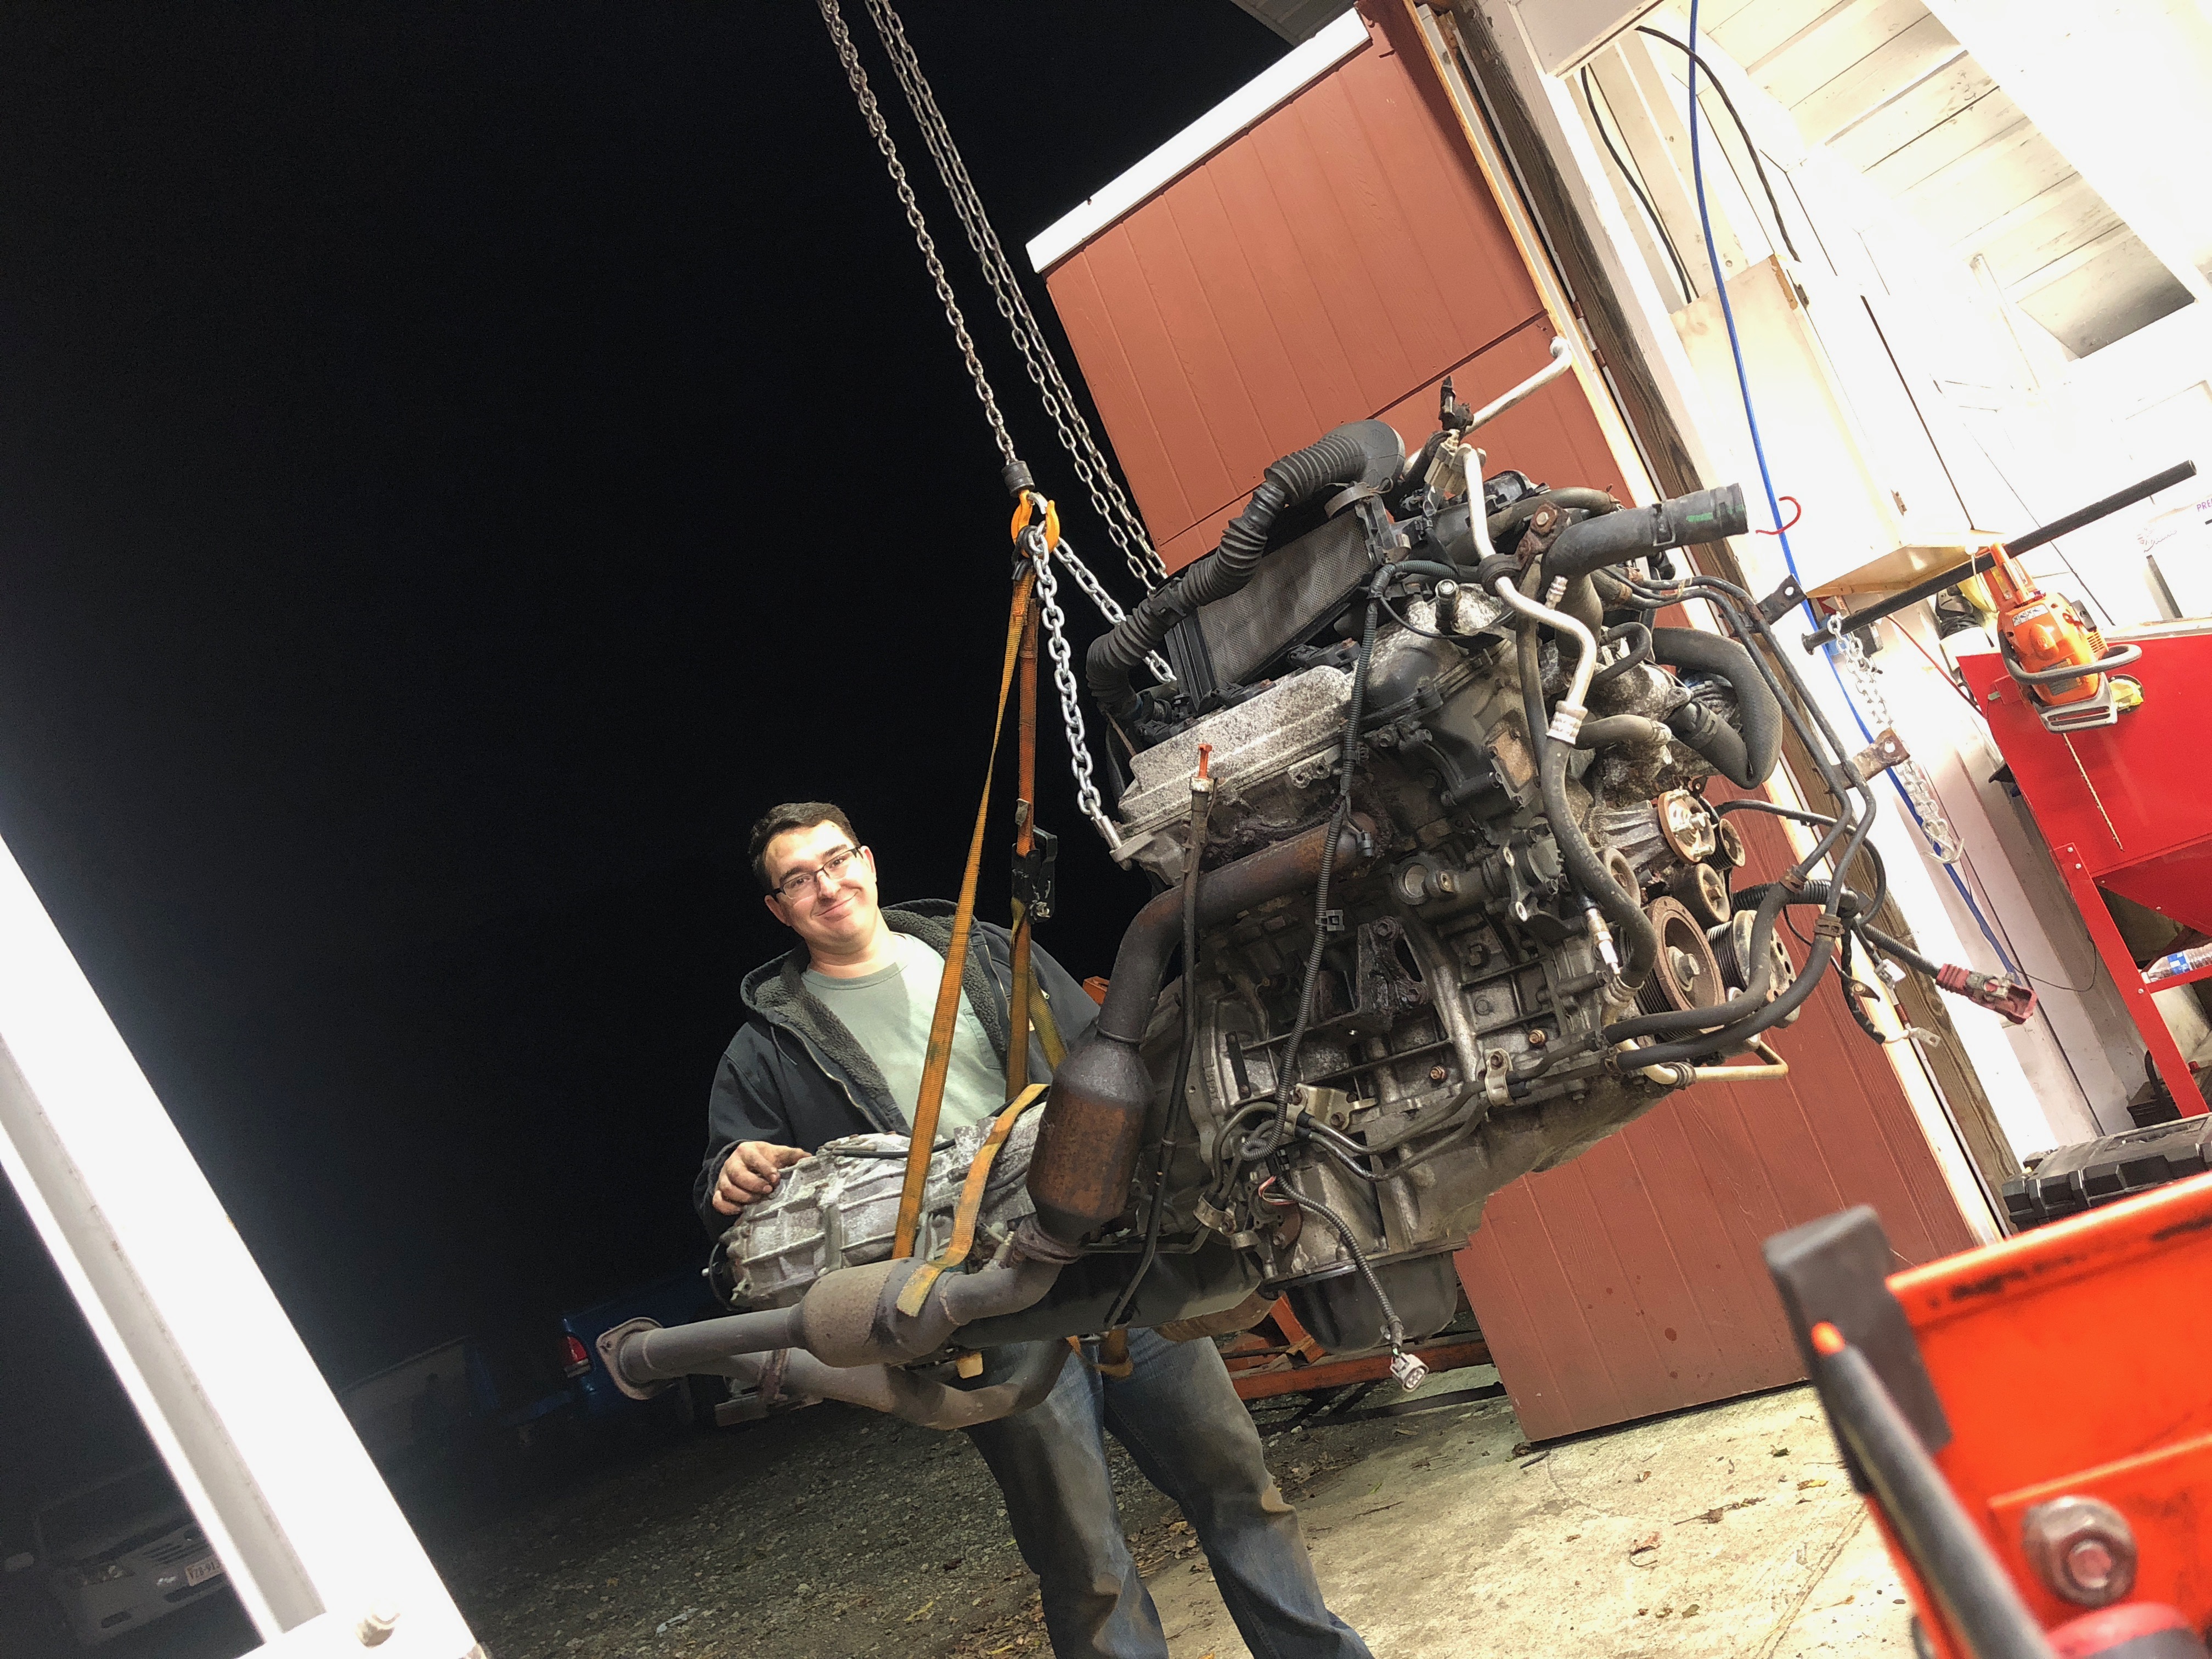
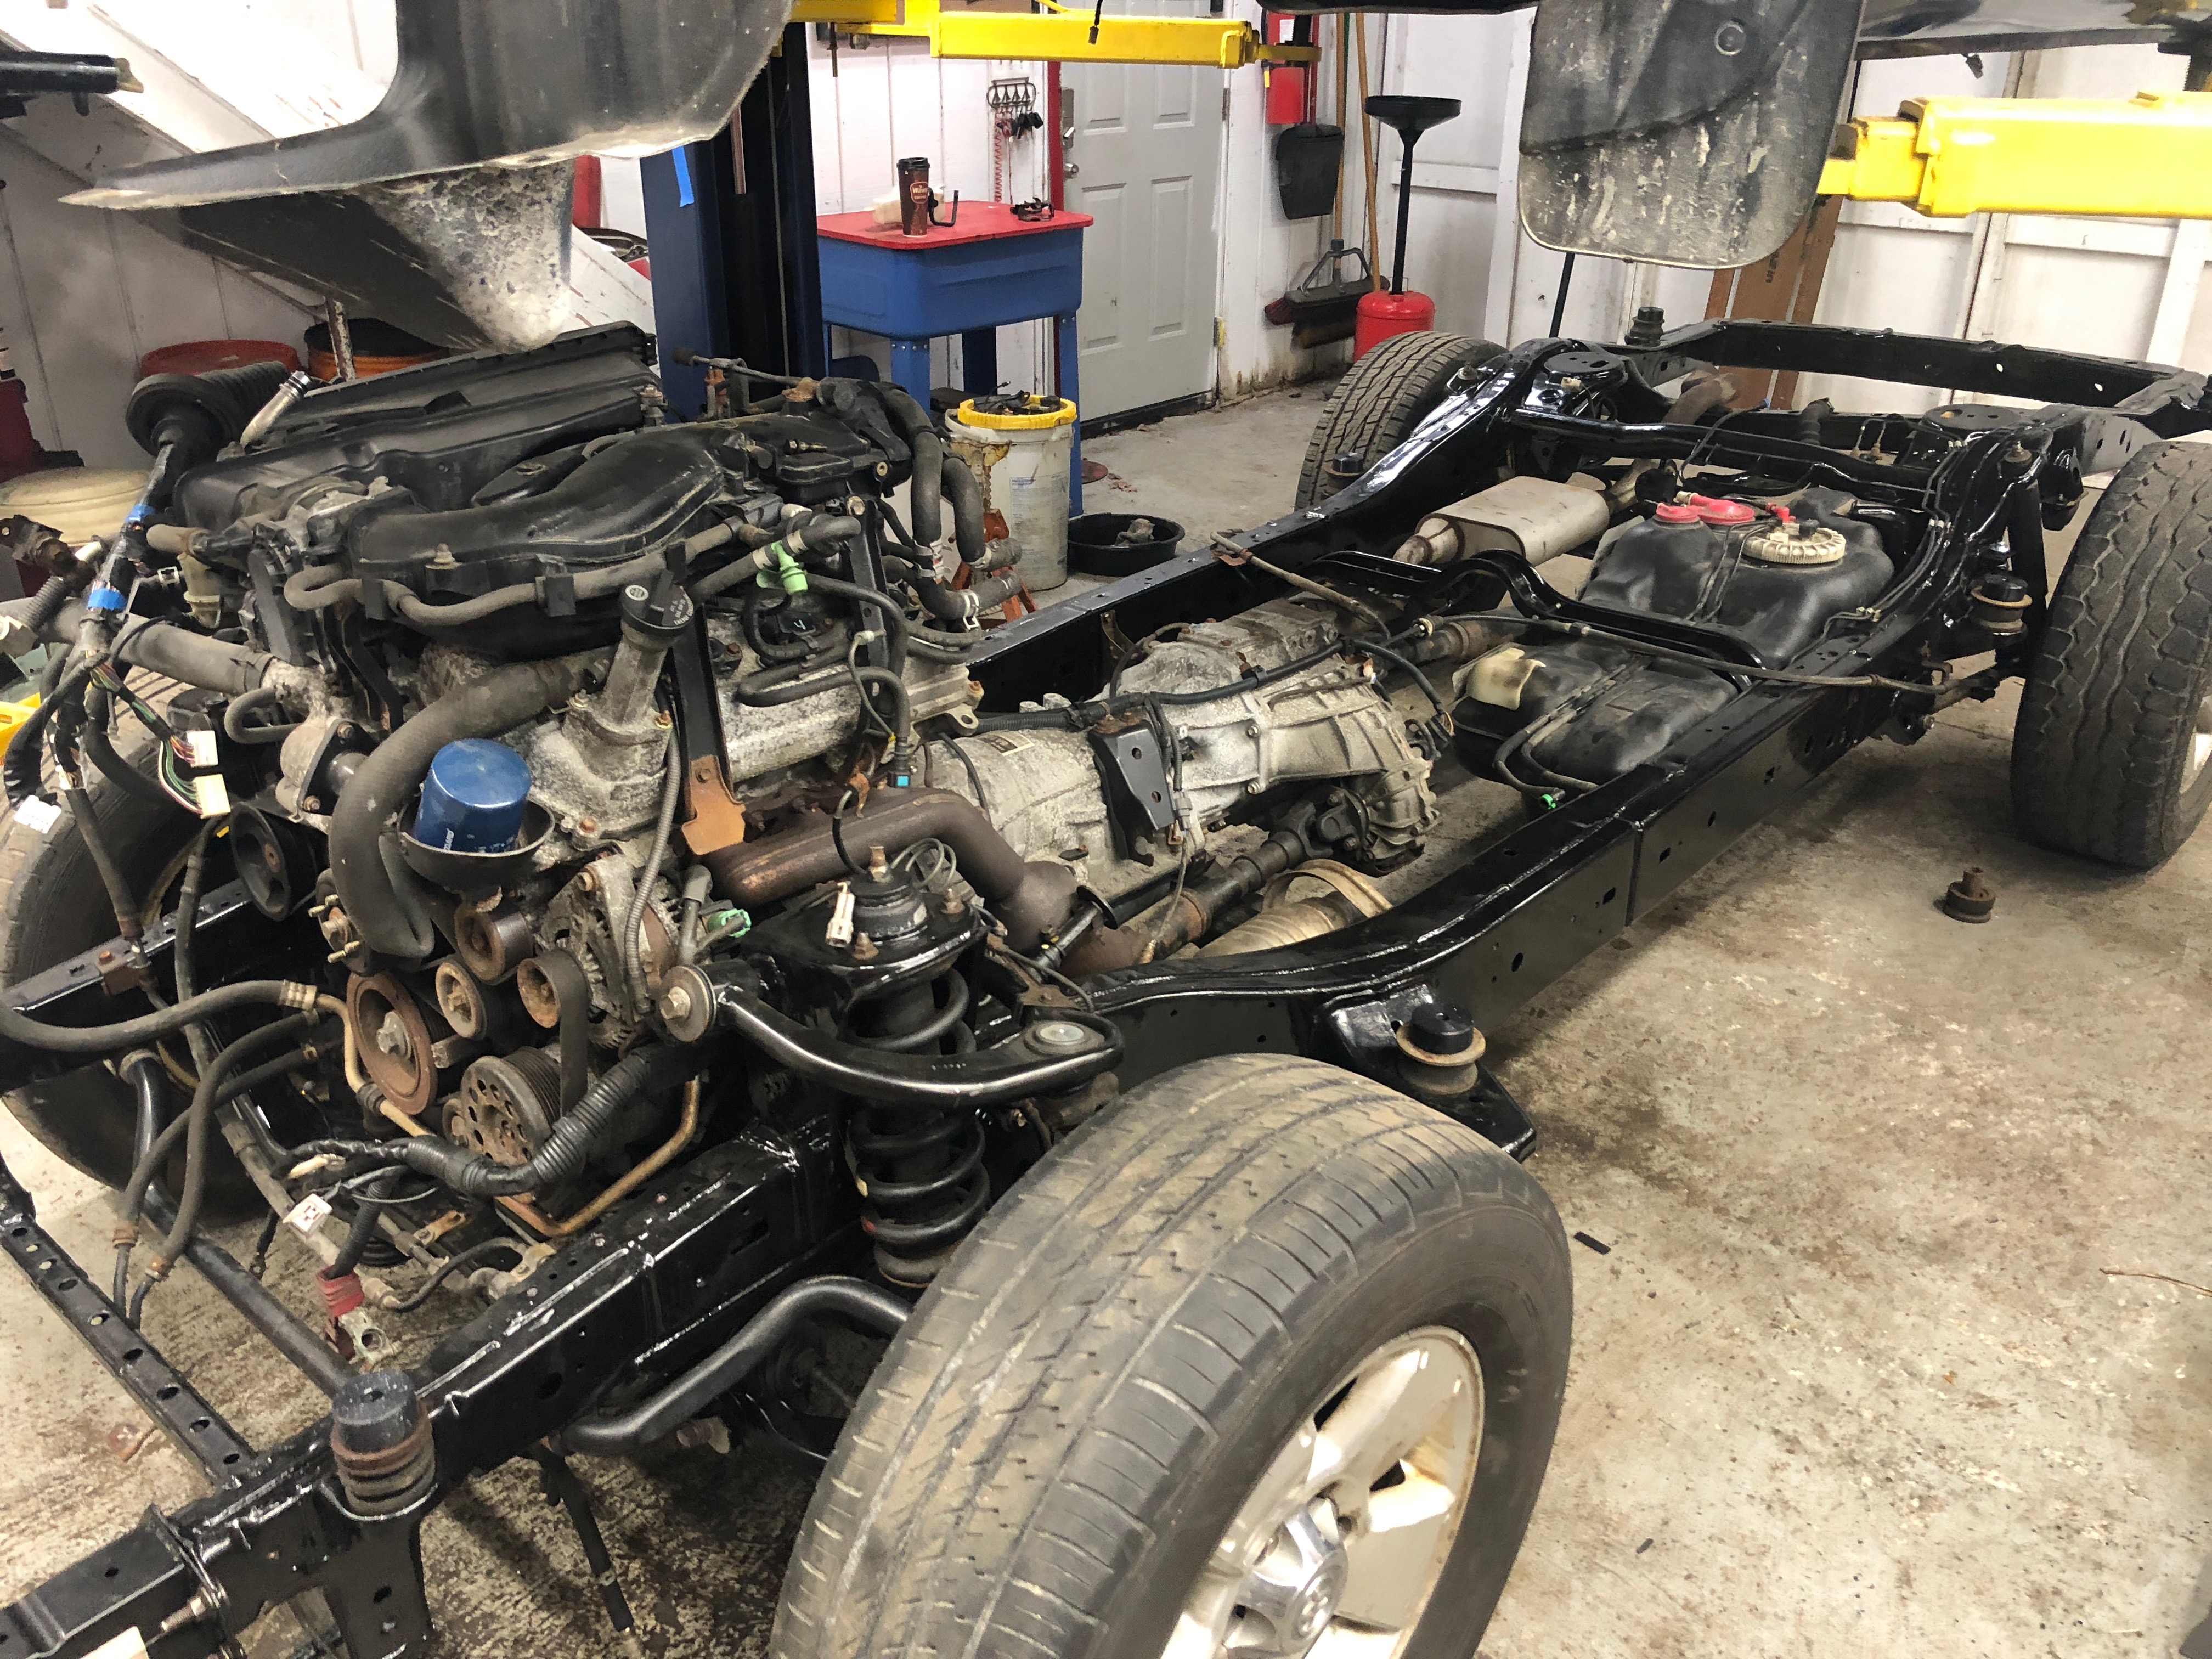
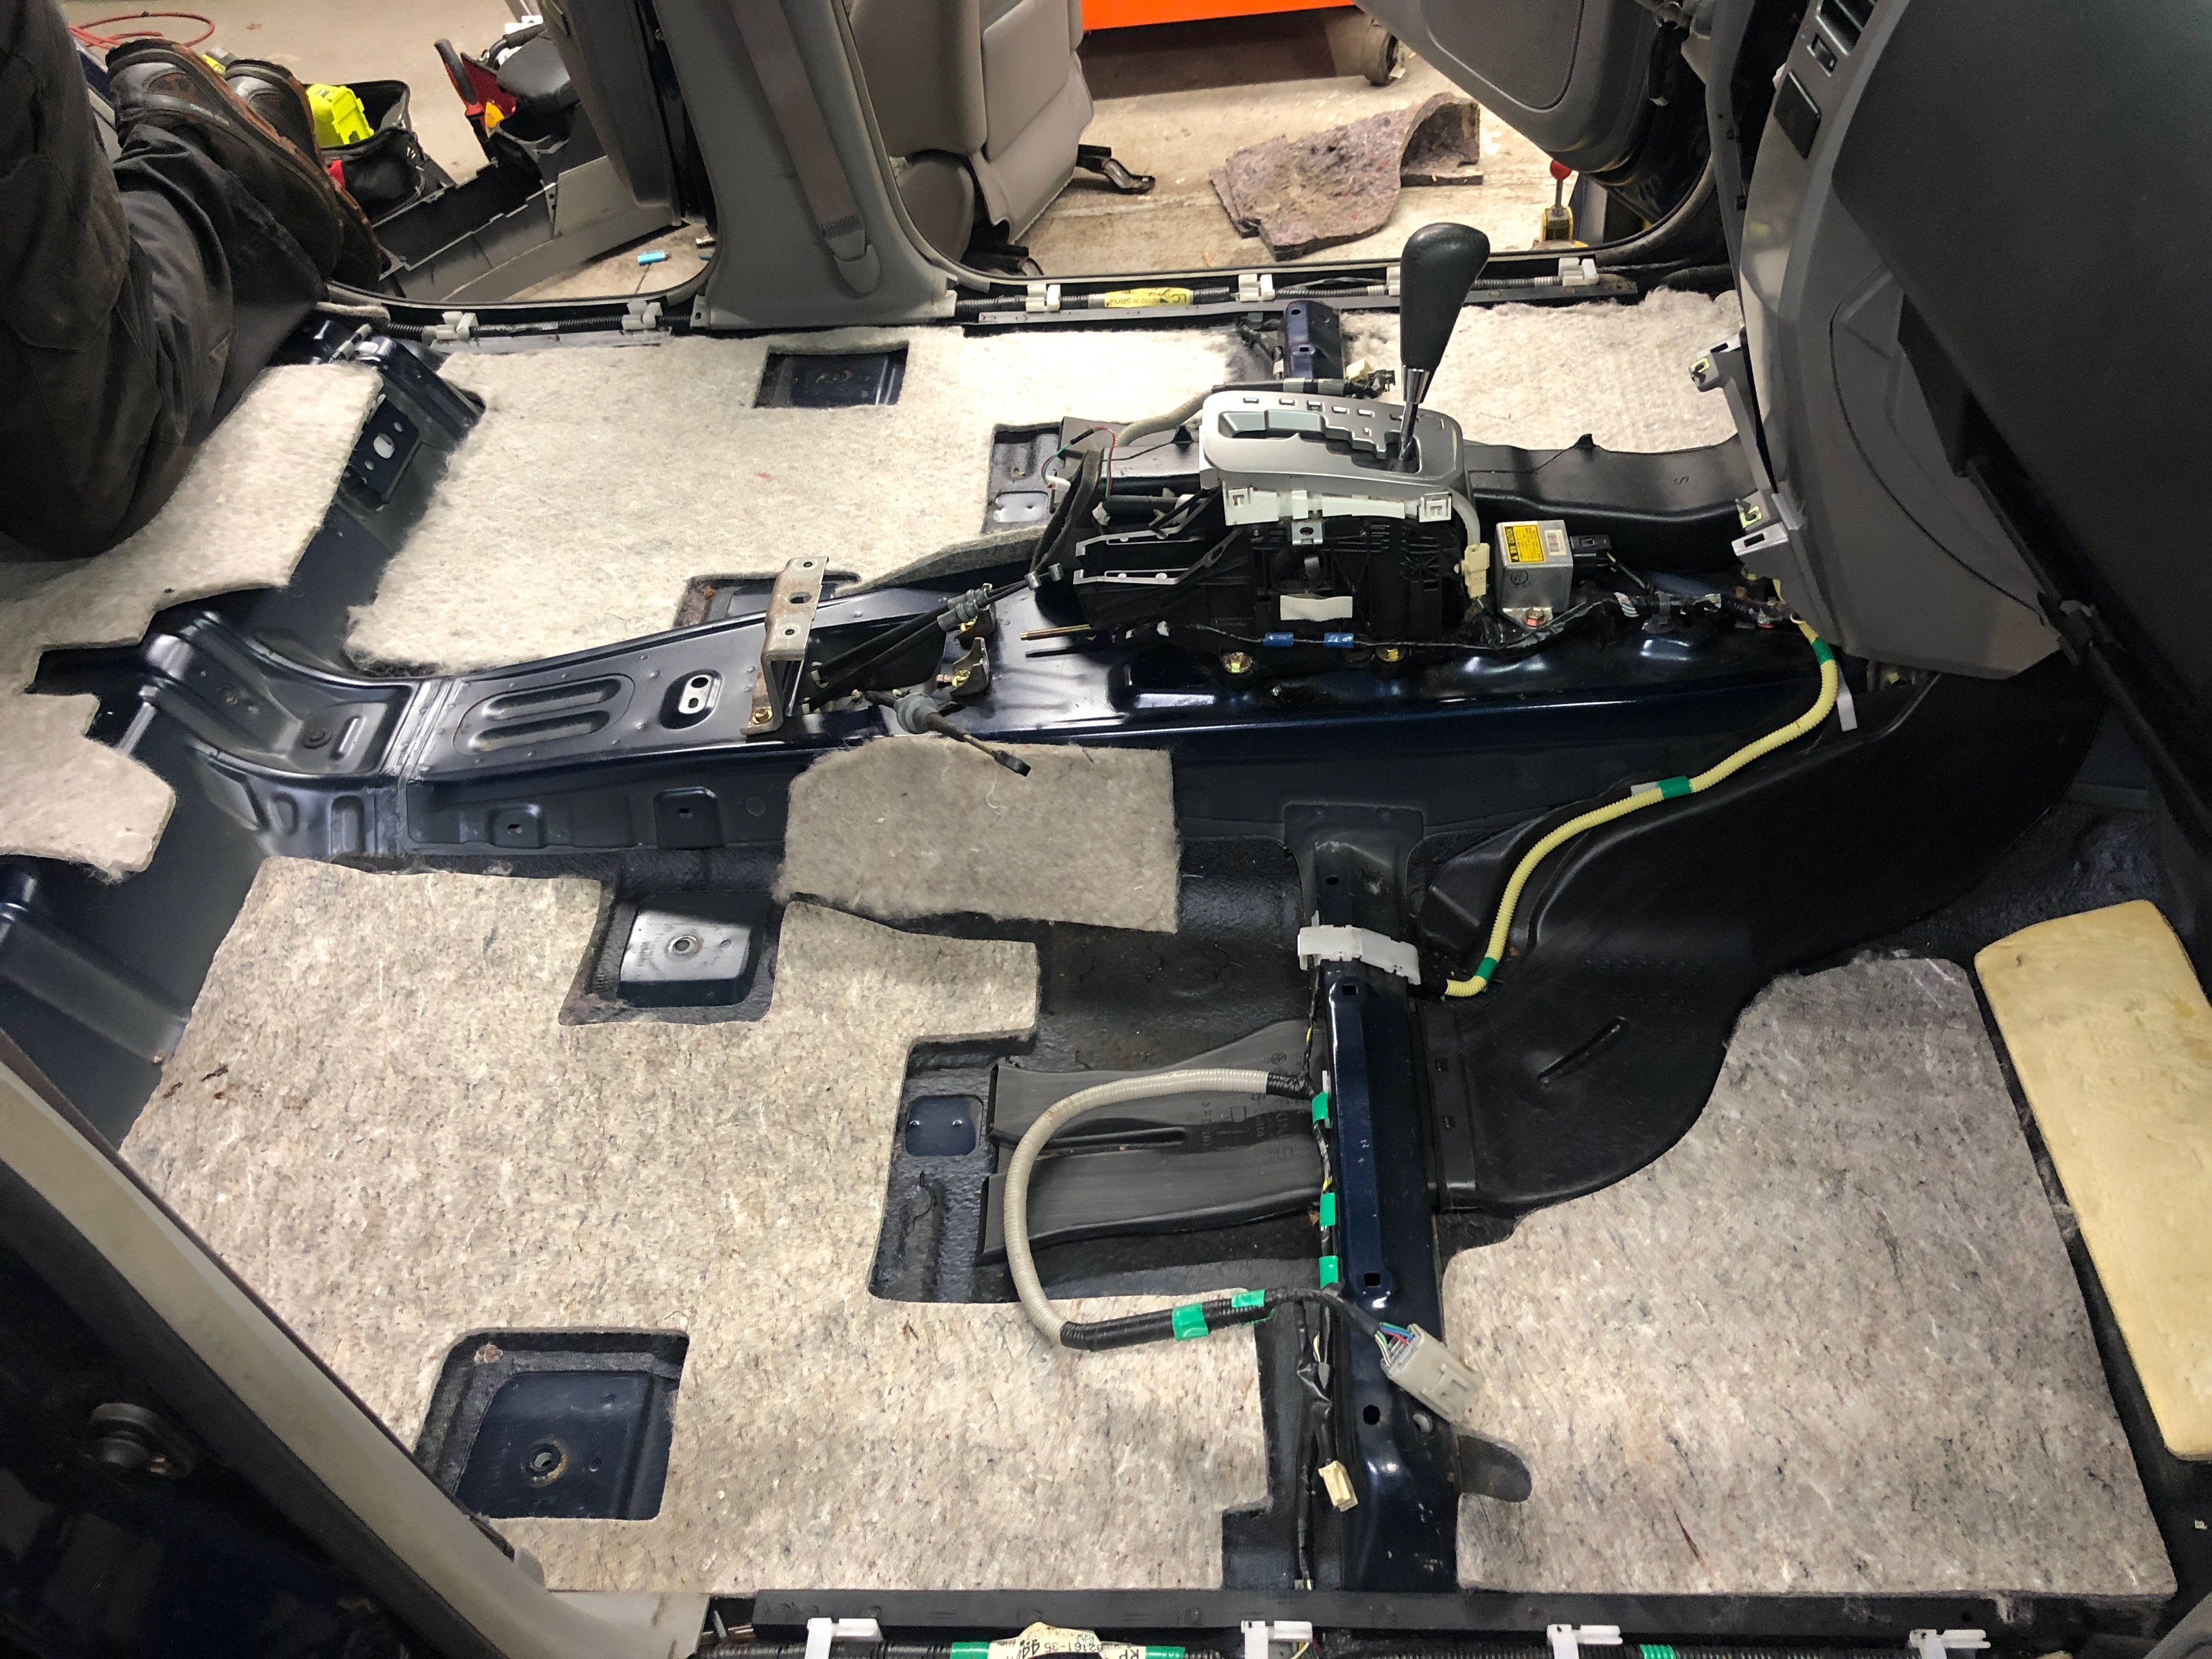
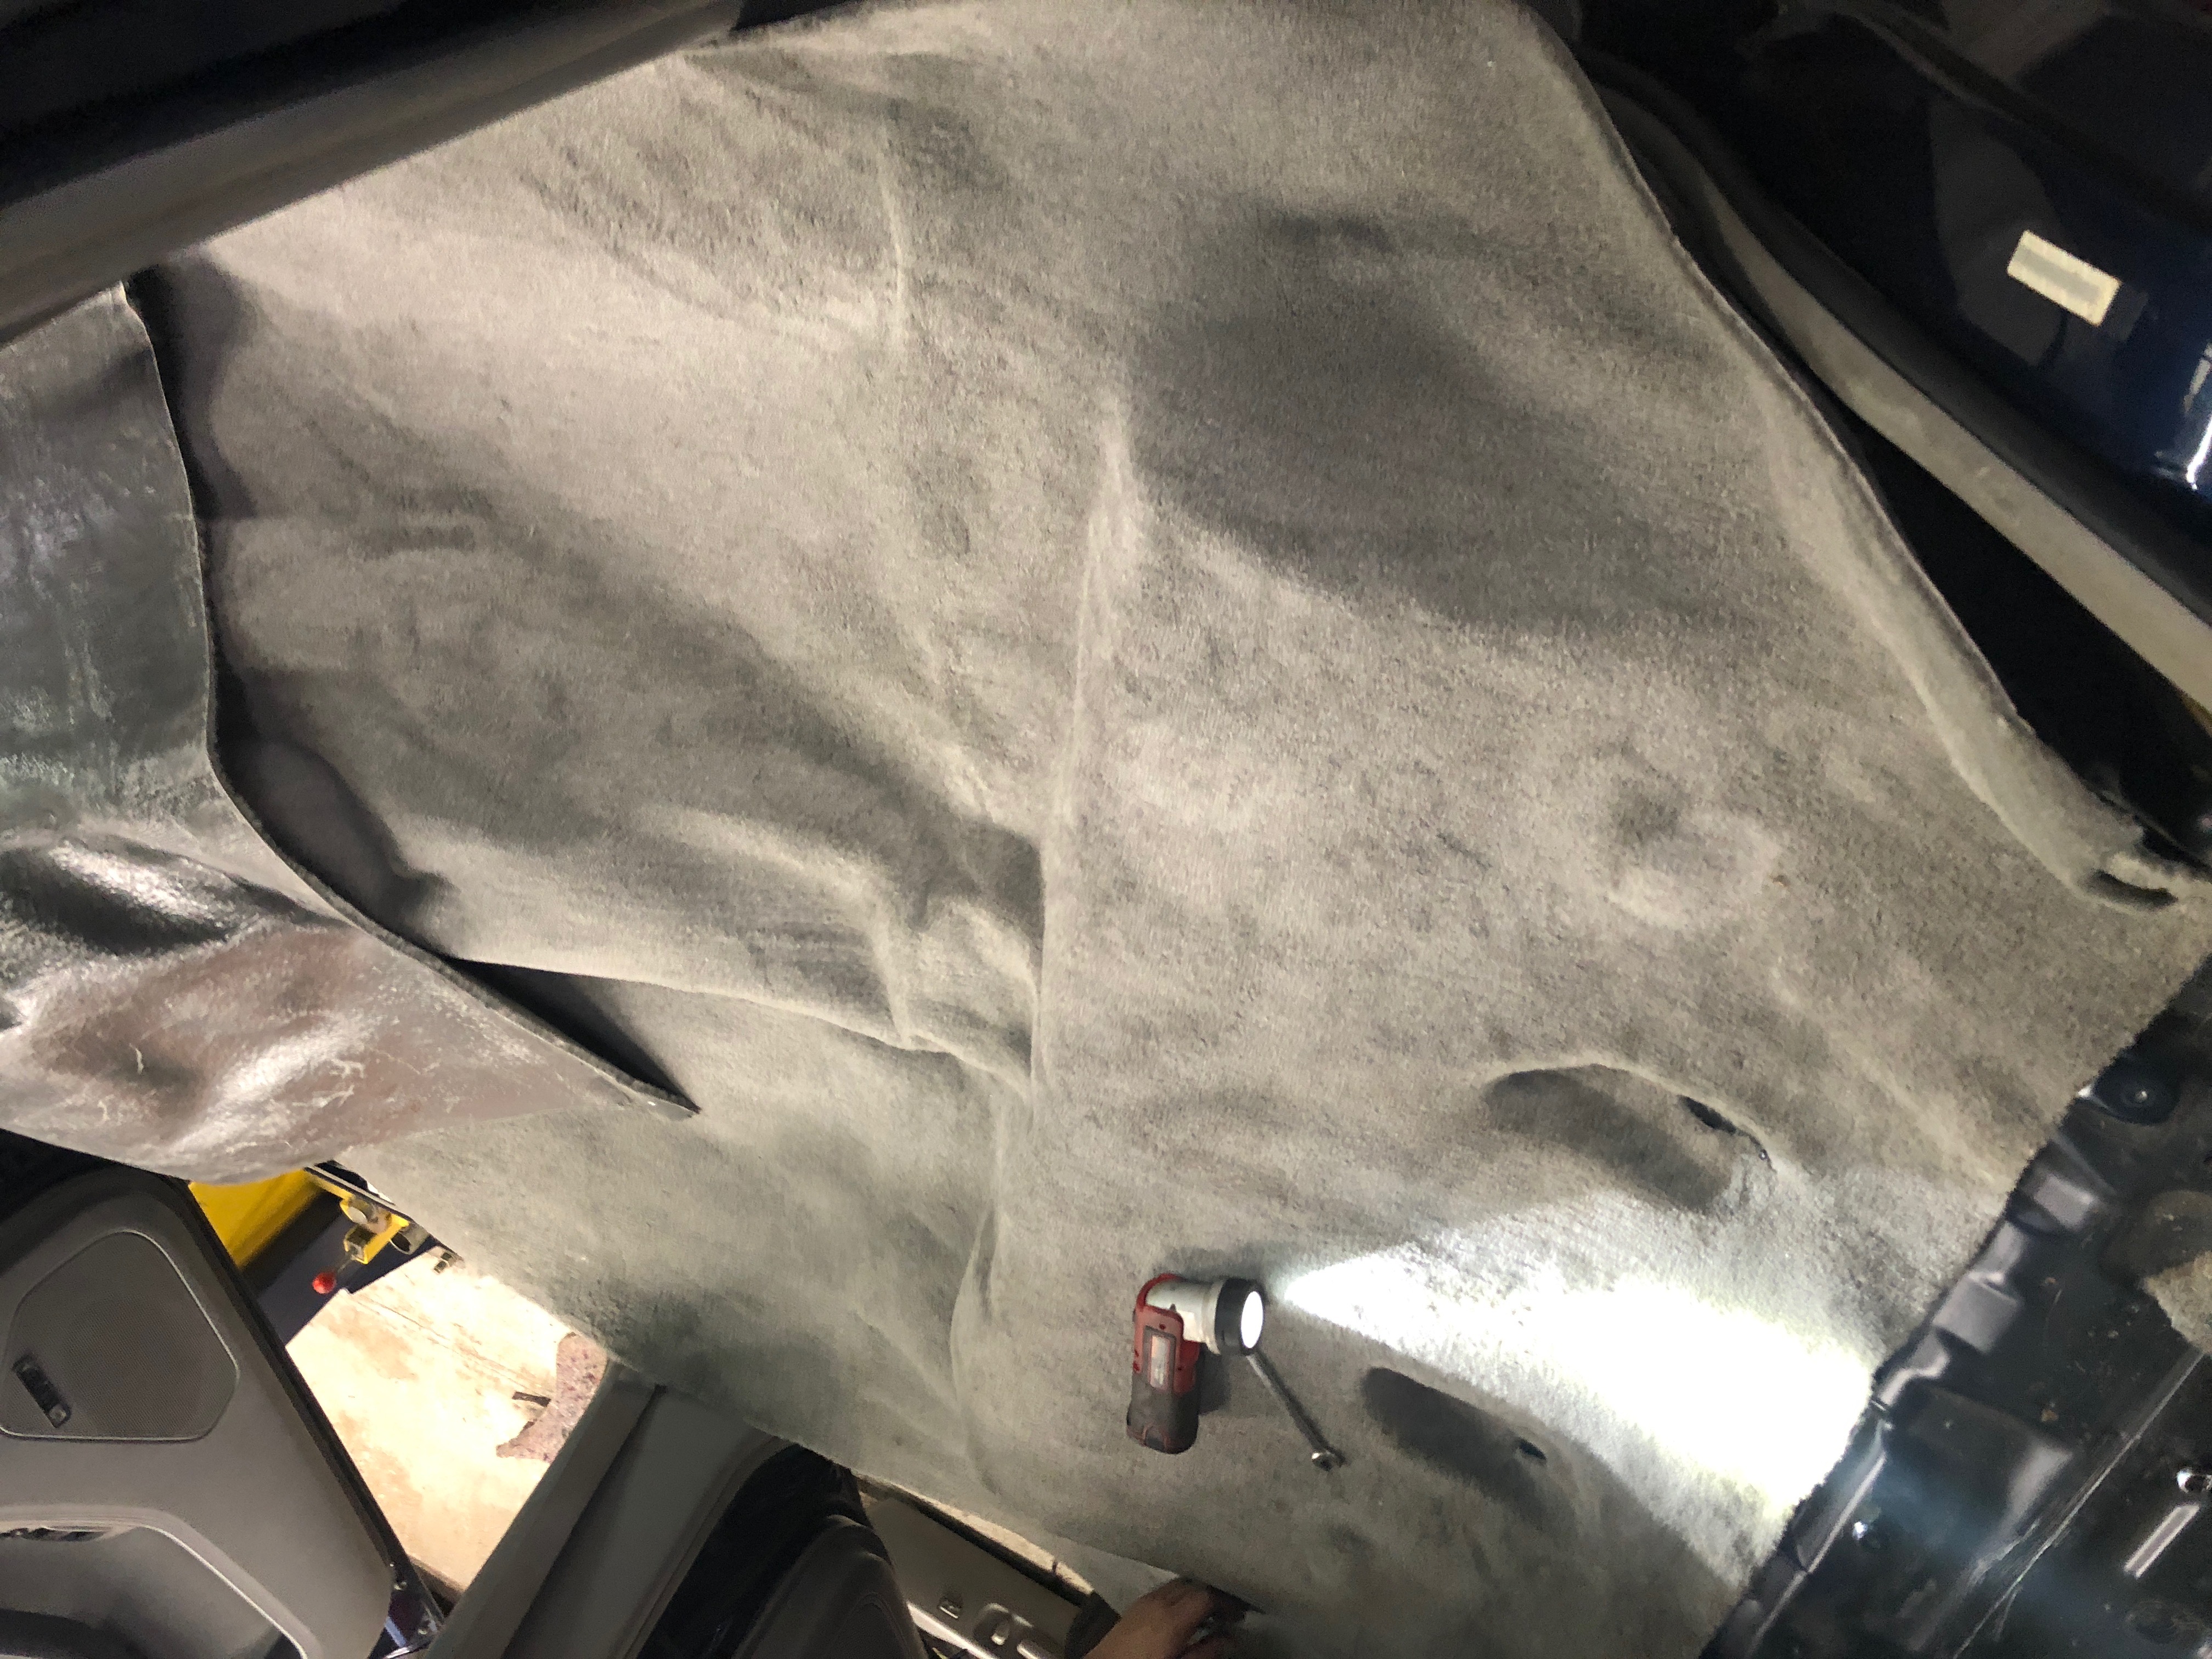
Swapping Frames. No clue what I’m doing.

Not sure if it's possible or what would really go into something like this, but it looks like the fuel tank occupies exactly half of that part of the frame. Would you be able to adapt the other somehow and fab some brackets so you could have dual tanks?
 
Not sure if it's possible or what would really go into something like this, but it looks like the fuel tank occupies exactly half of that part of the frame. Would you be able to adapt the other somehow and fab some brackets so you could have dual tanks?

The exhaust/ muffler occupy the other half. Driveshaft in between.

An easier way to do this is to buy an f150 fuel tank, an off-the-shelf 'racing' cell, (or have a tank custom-fabbed), remove/relocate the spare tire, and place the tank under the cargo area with a transfer pump and switch. I'm sure there are a few more things to be mindful of but that is the basics.
 
The exhaust/ muffler occupy the other half. Driveshaft in between.

An easier way to do this is to buy an f150 fuel tank, an off-the-shelf 'racing' cell, (or have a tank custom-fabbed), remove/relocate the spare tire, and place the tank under the cargo area with a transfer pump and switch. I'm sure there are a few more things to be mindful of but that is the basics.

Well I did cut out the spare tire mount under the back so maybe that's what I'll have to do with all that space!
 
Alright so I've taken the week of work and we're doing this!

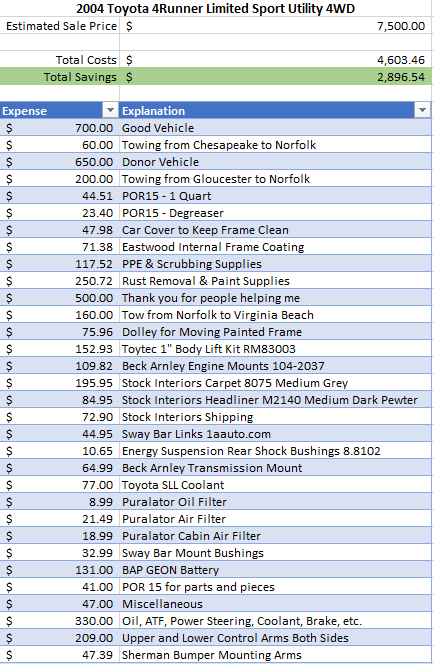
Here's a budget update

Budget Update.PNG


aaaand here's the progress for day 1

https://youtu.be/v-LQdCt75Pk

Enjoy!
 
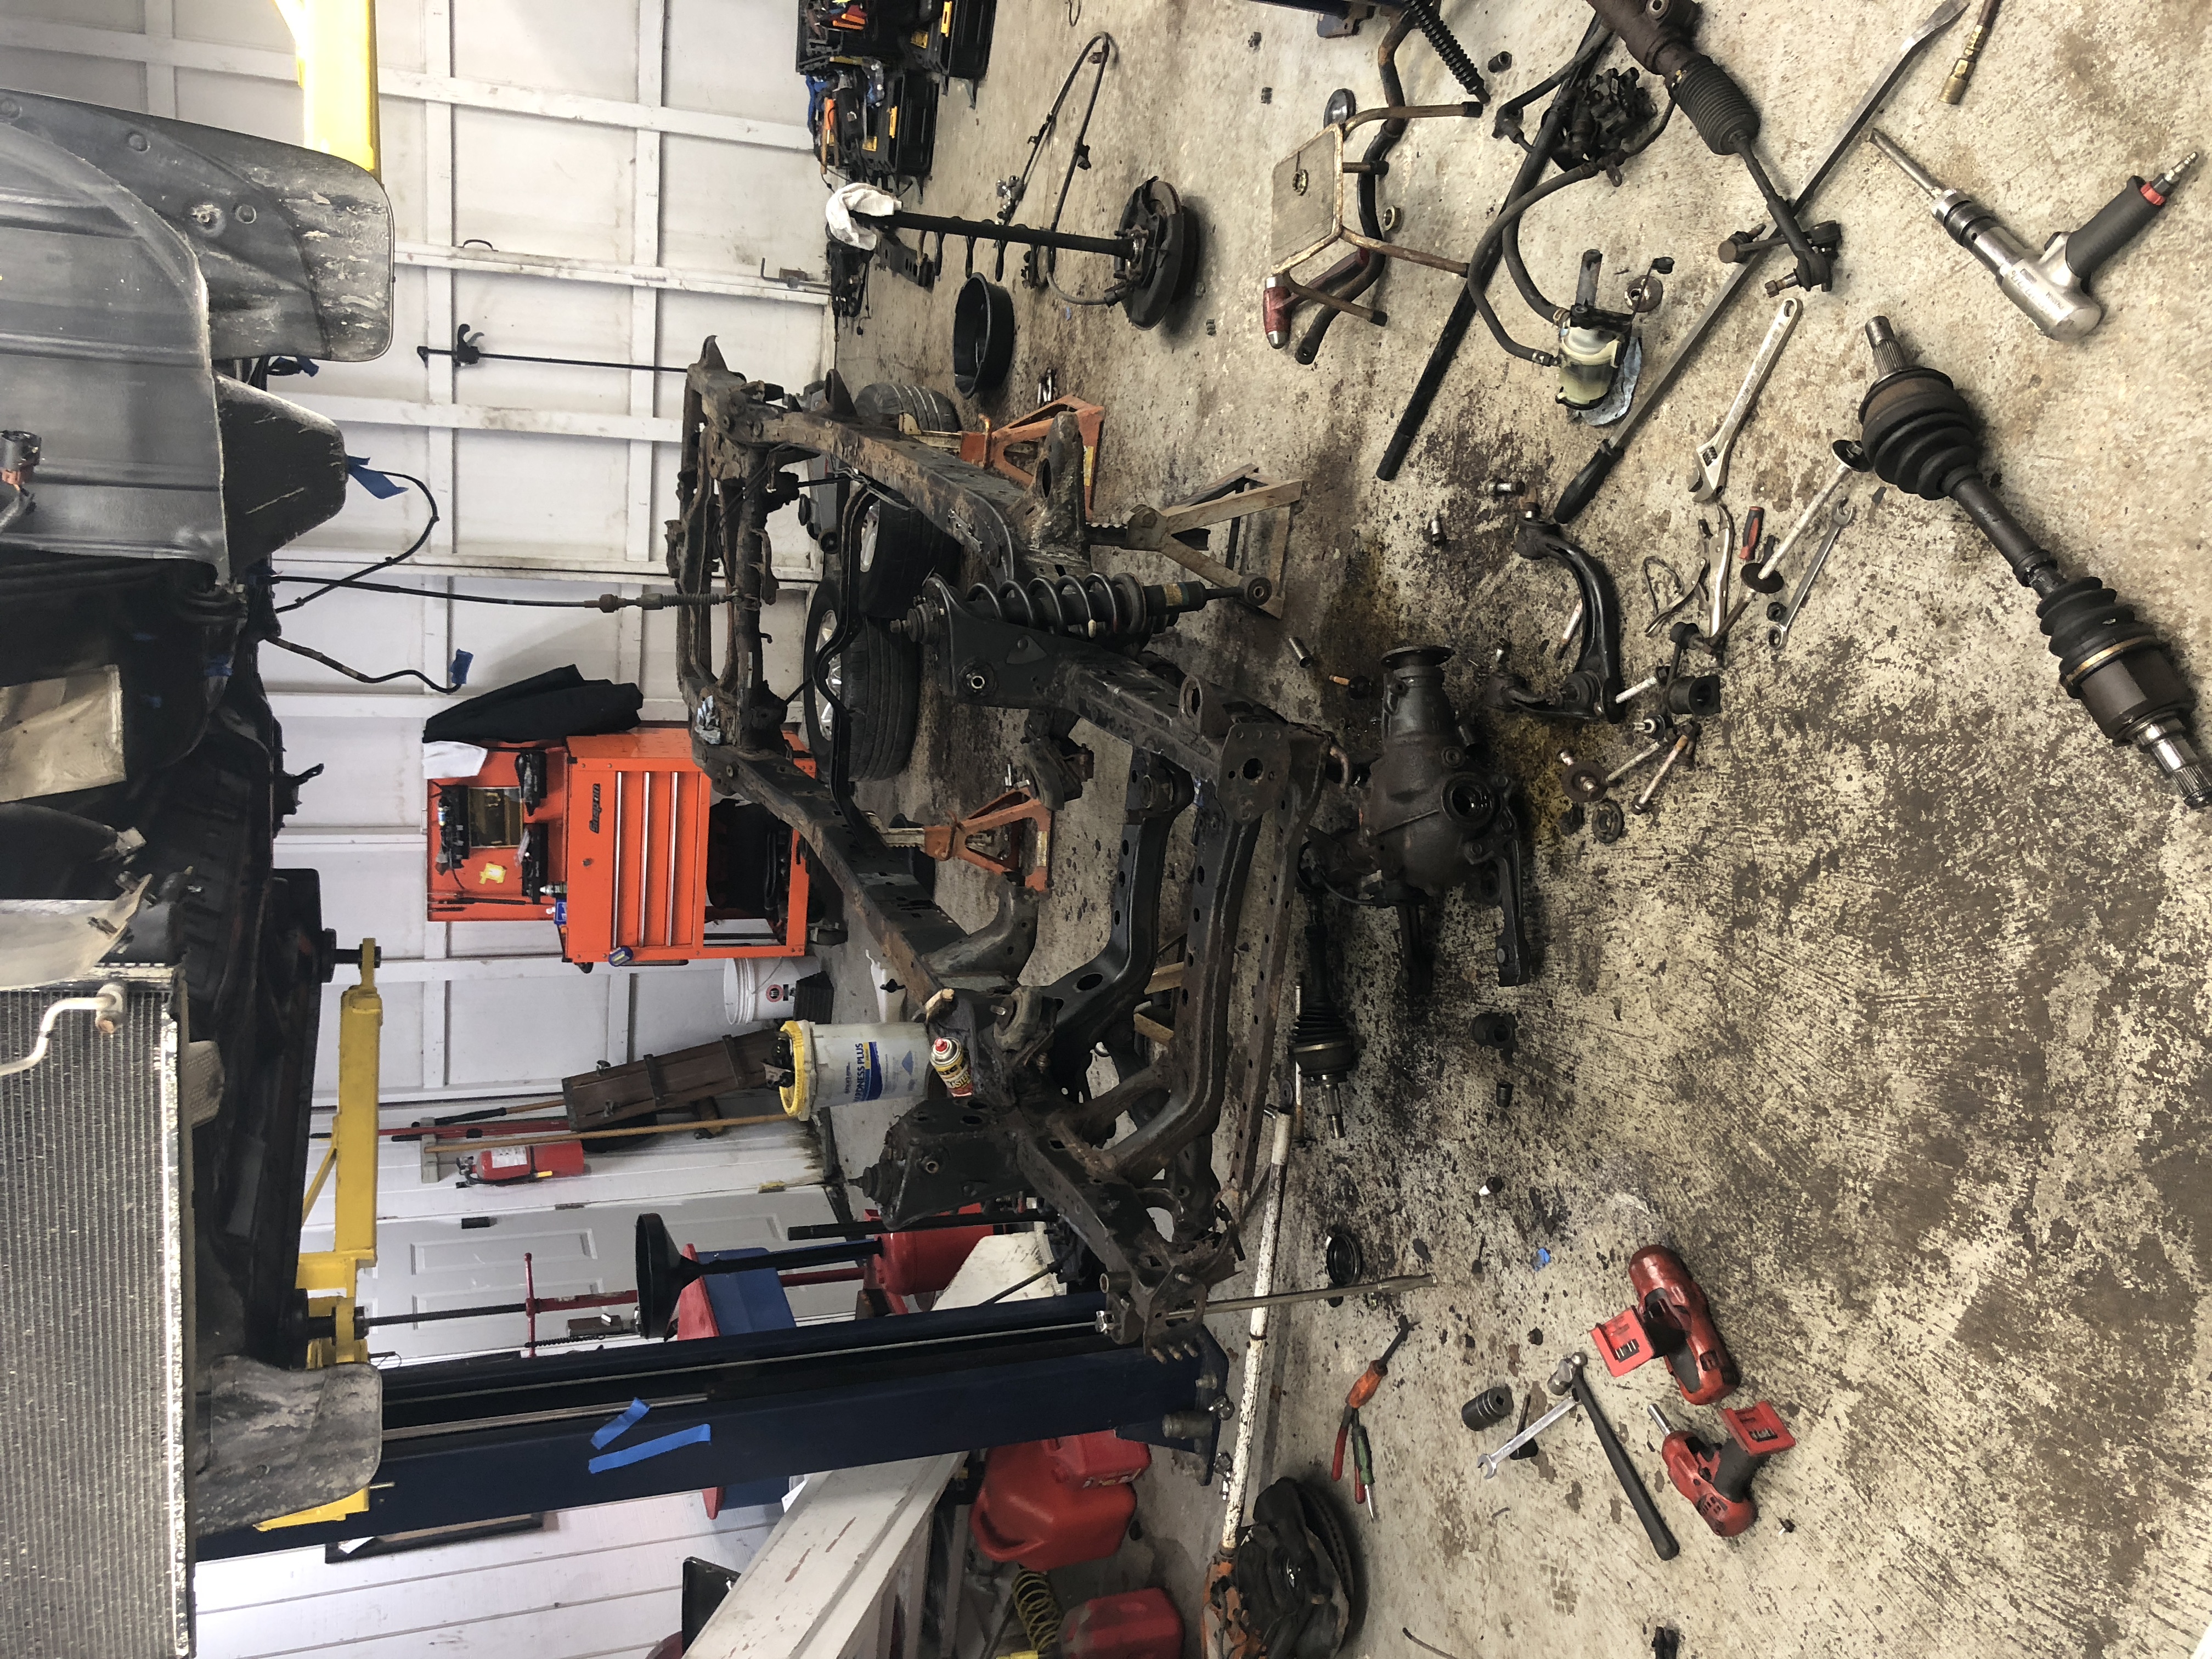
Day 2 is done. It went well. Found out the lower and upper control arms needed replacing yesterday and today we decided to also replace the bolts.

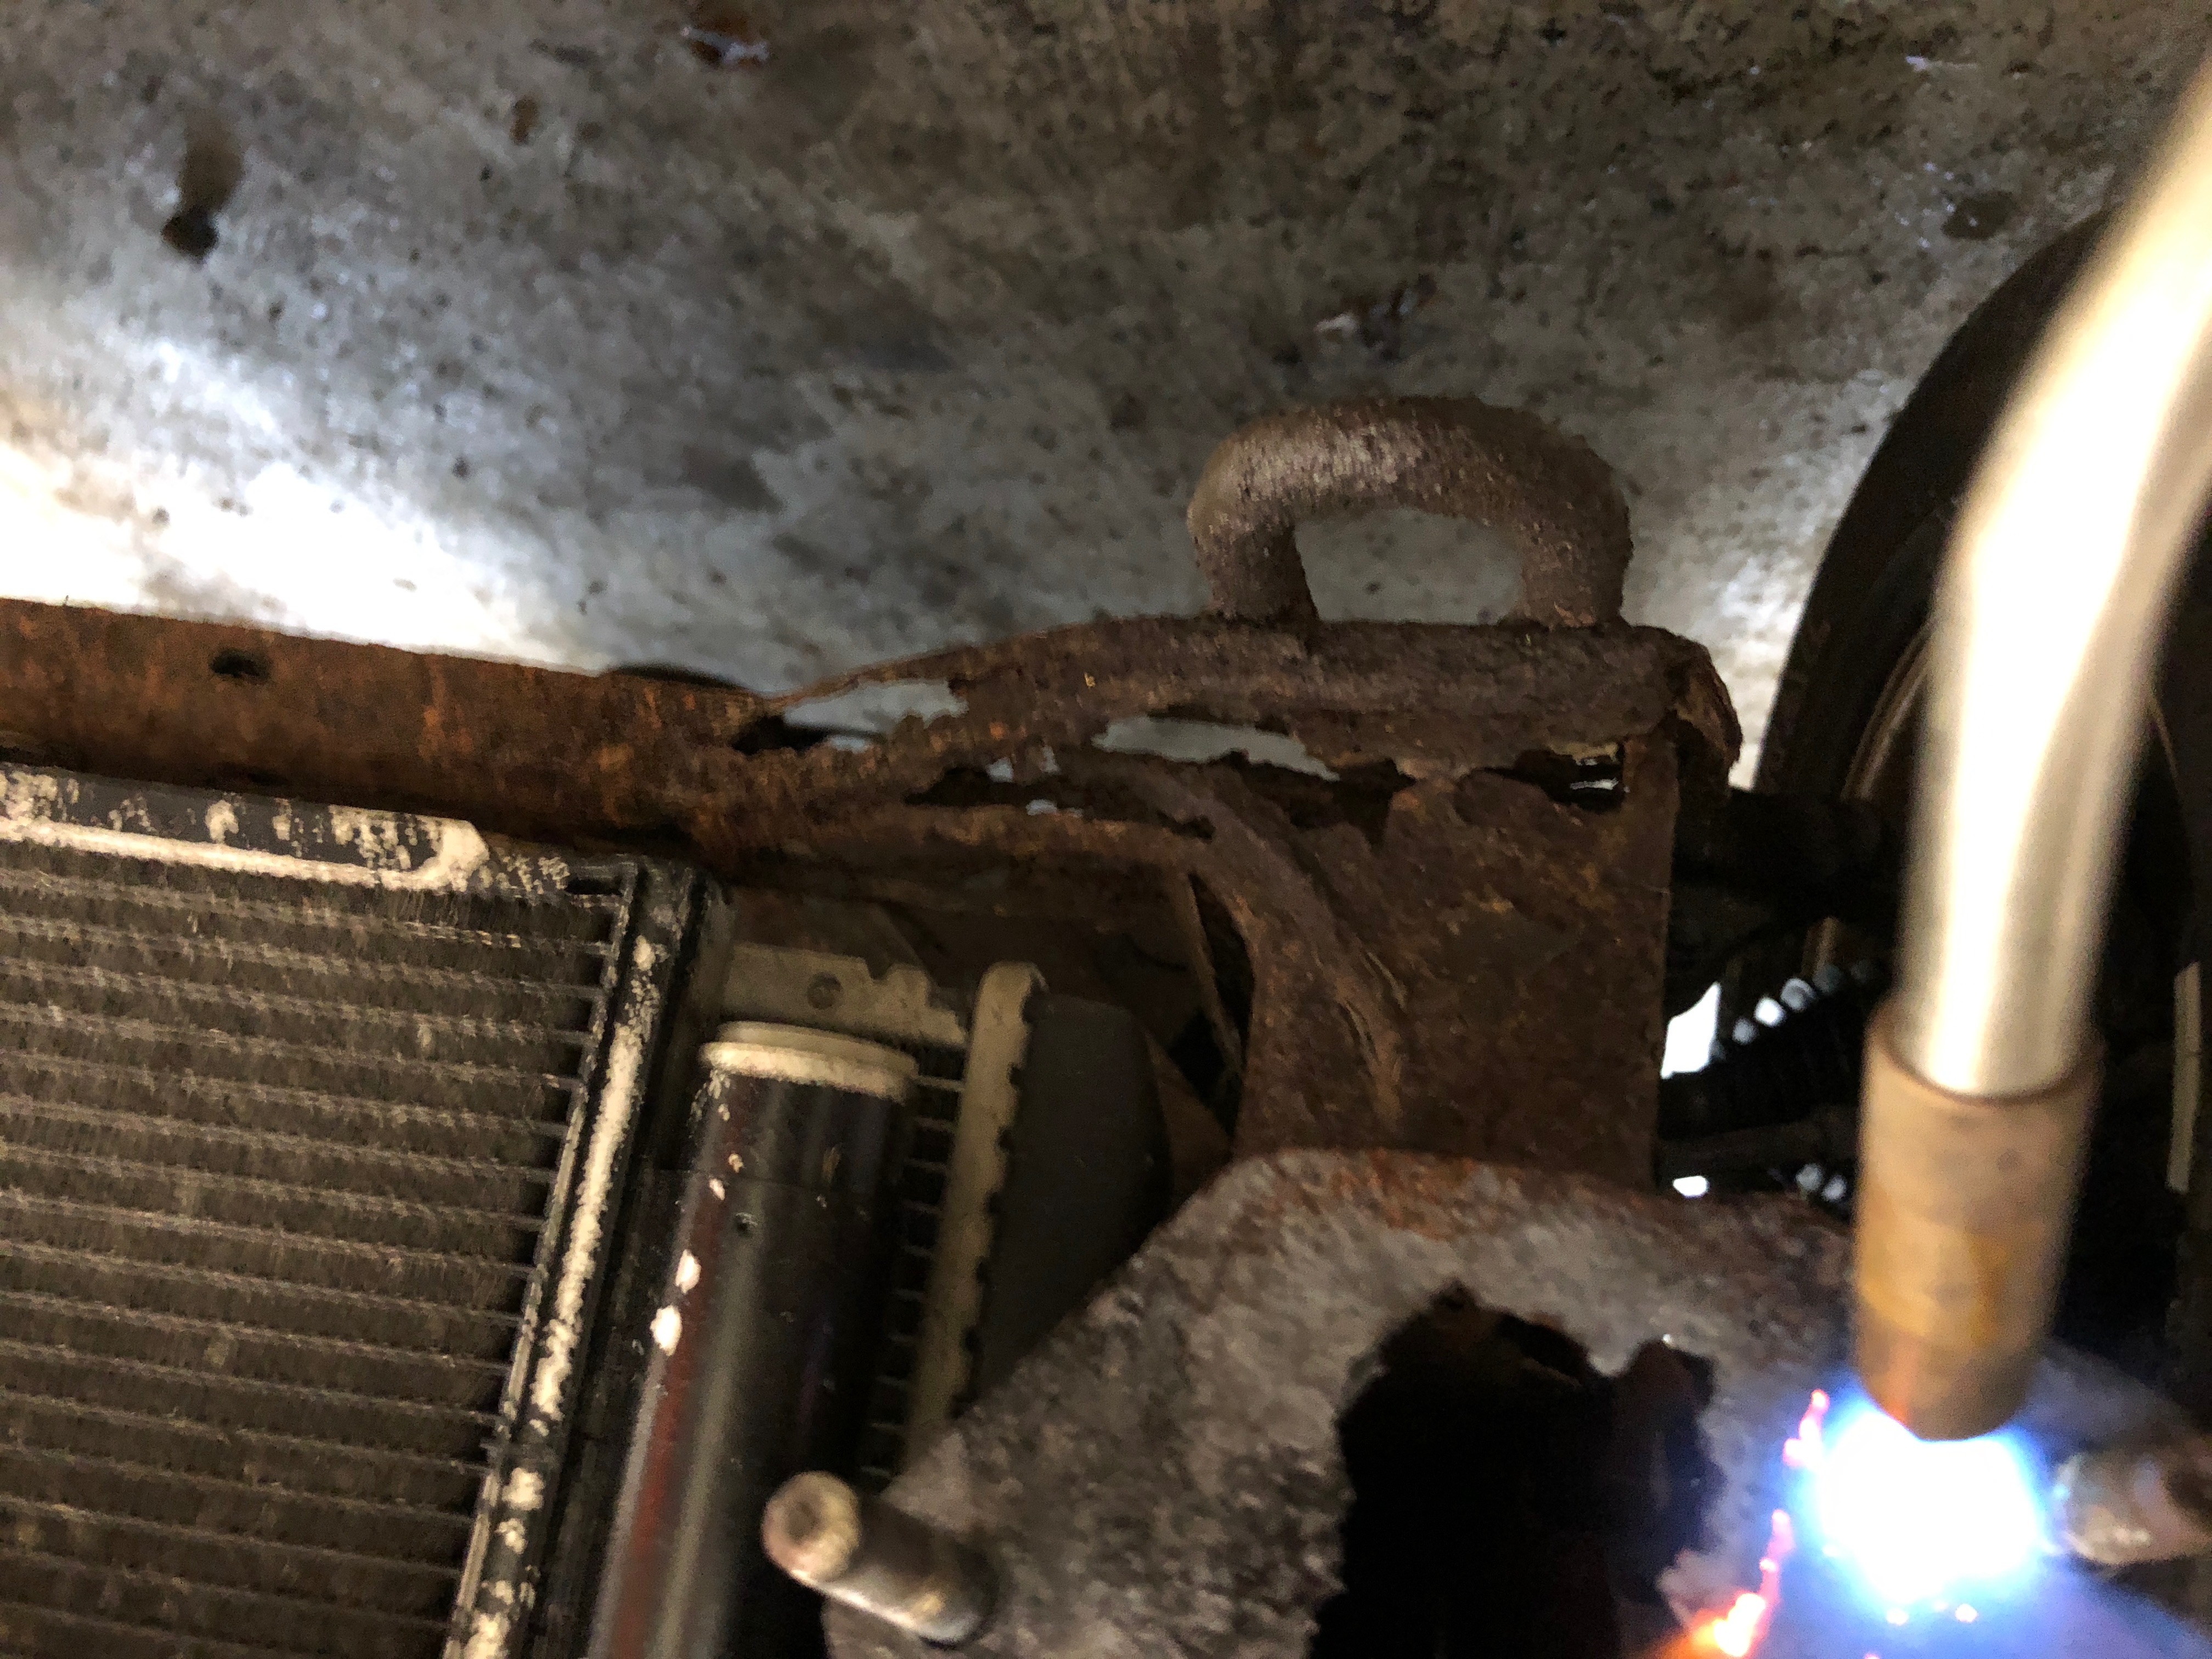
Torch, PB Blaster, and a breaker bar were our friend today. Everything was rusted in place. The frame was snapping apart and crumbling just wrenching on it.

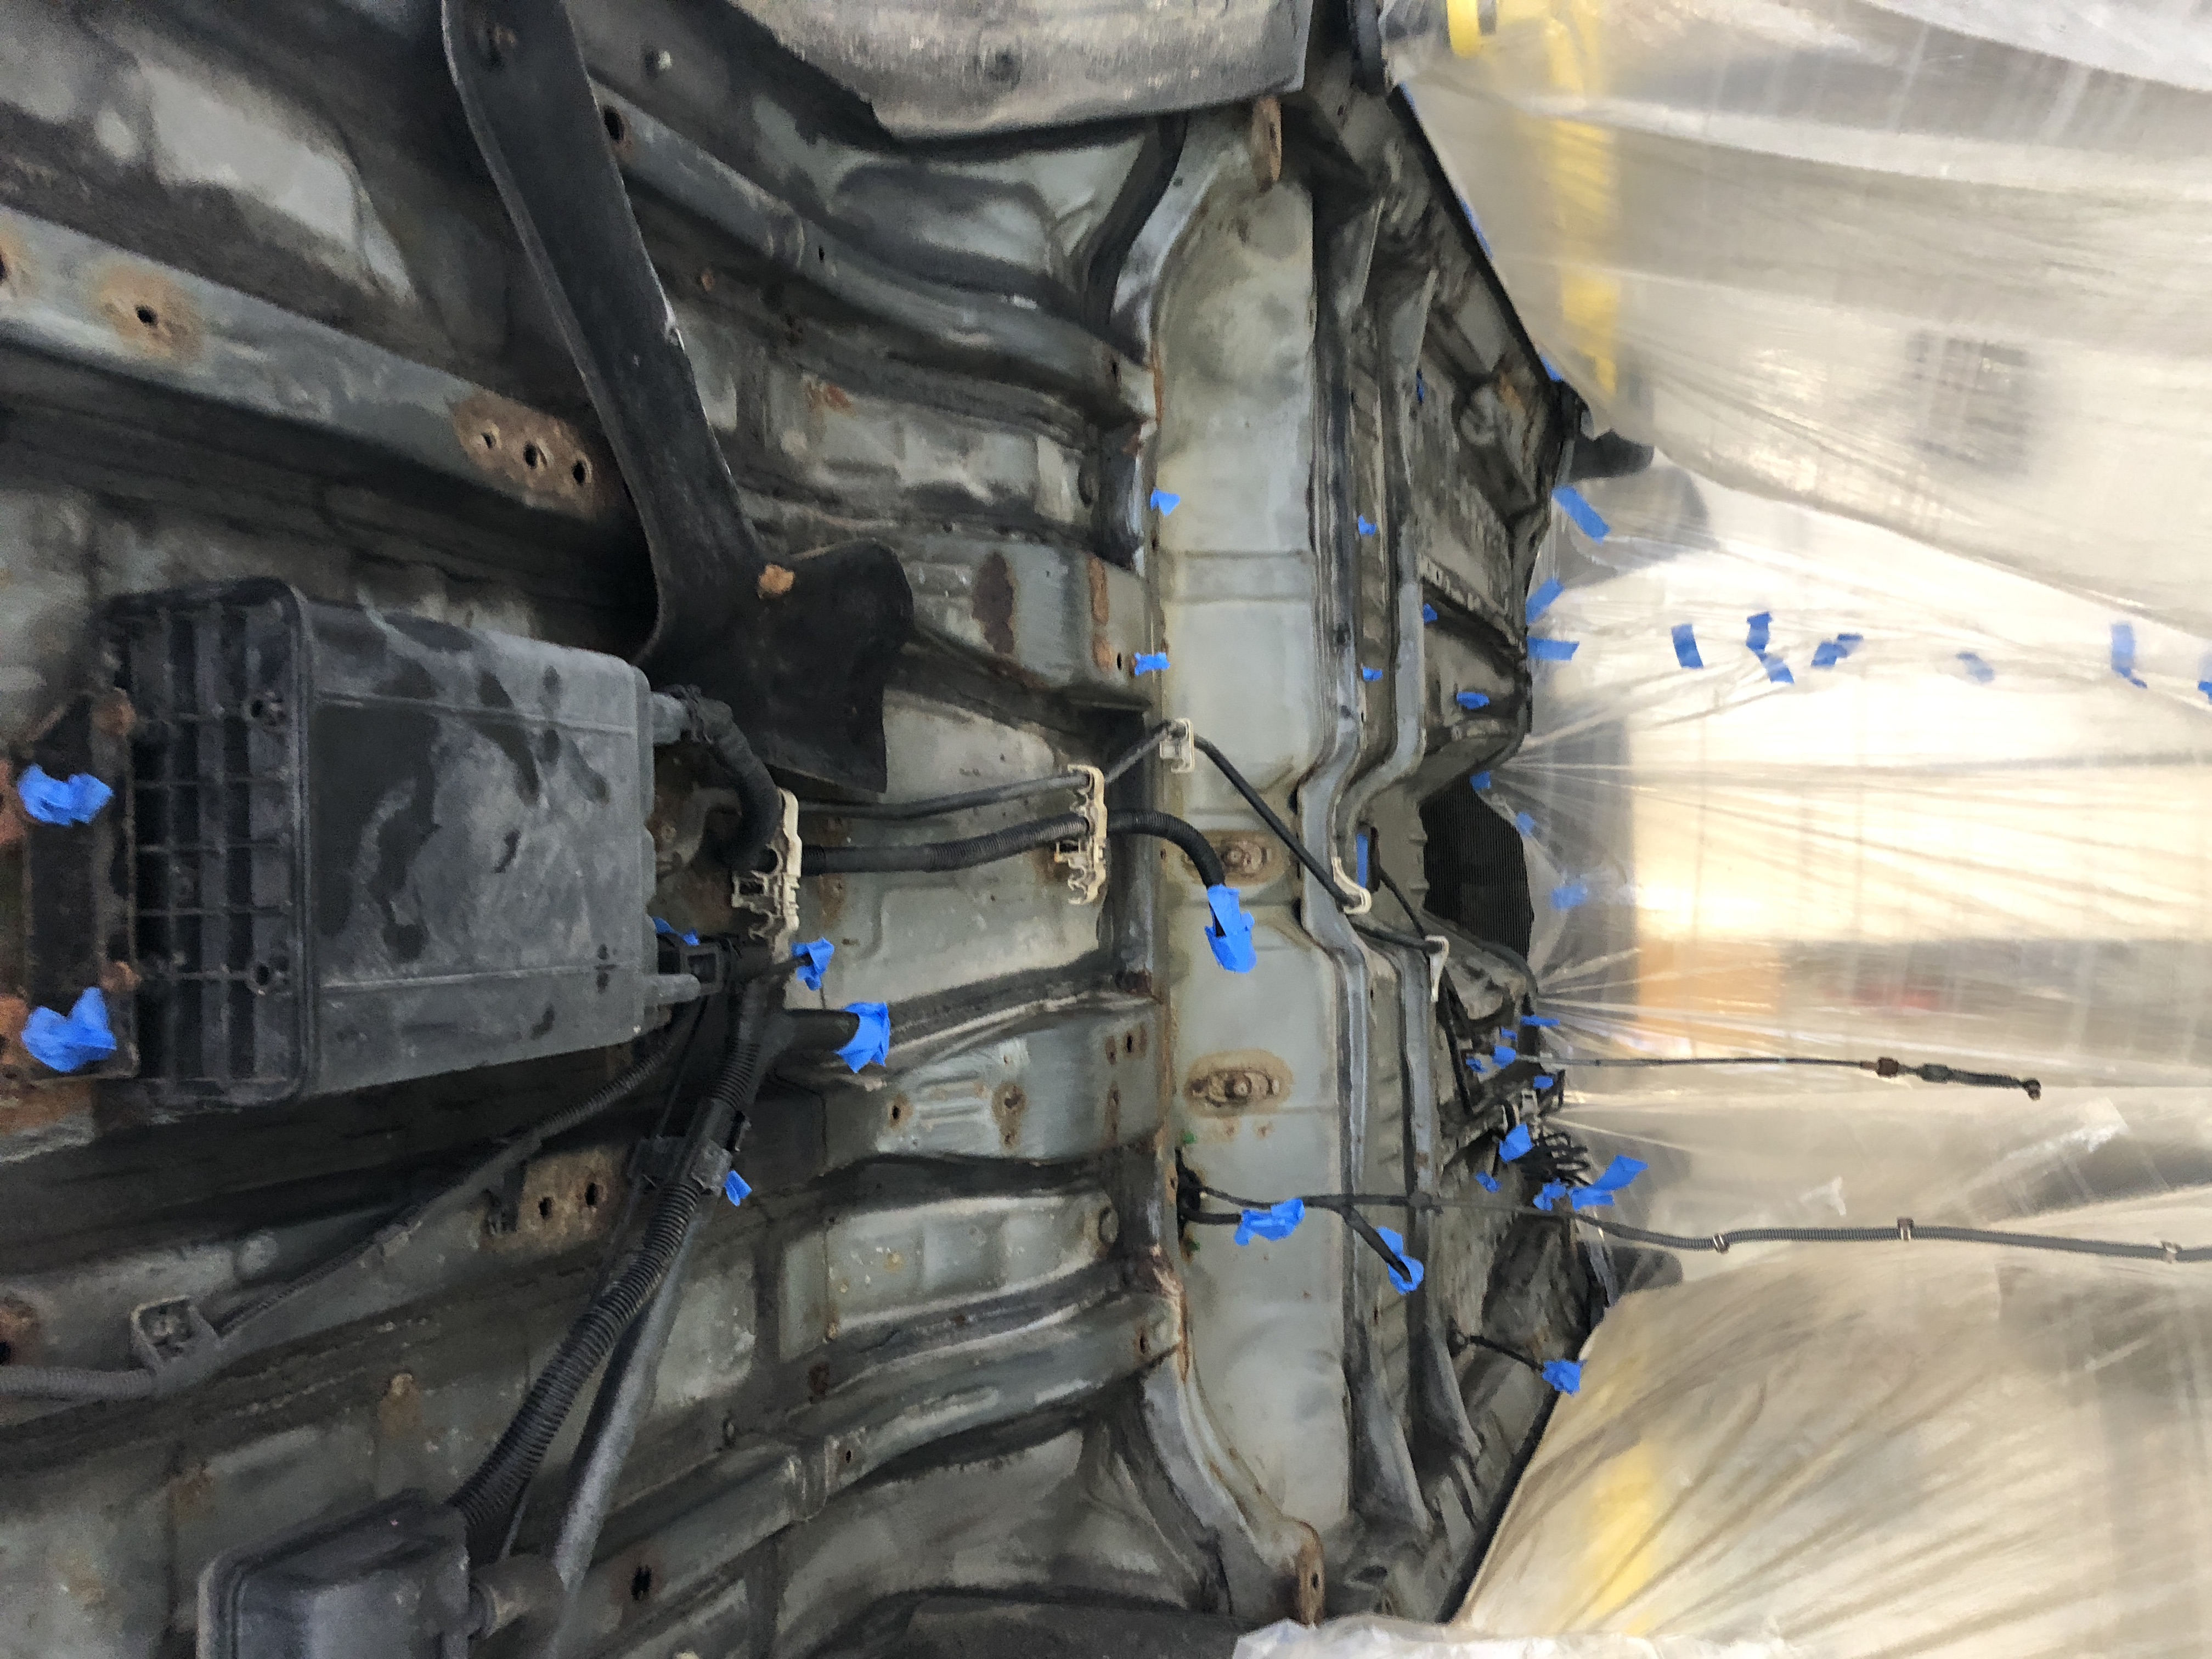
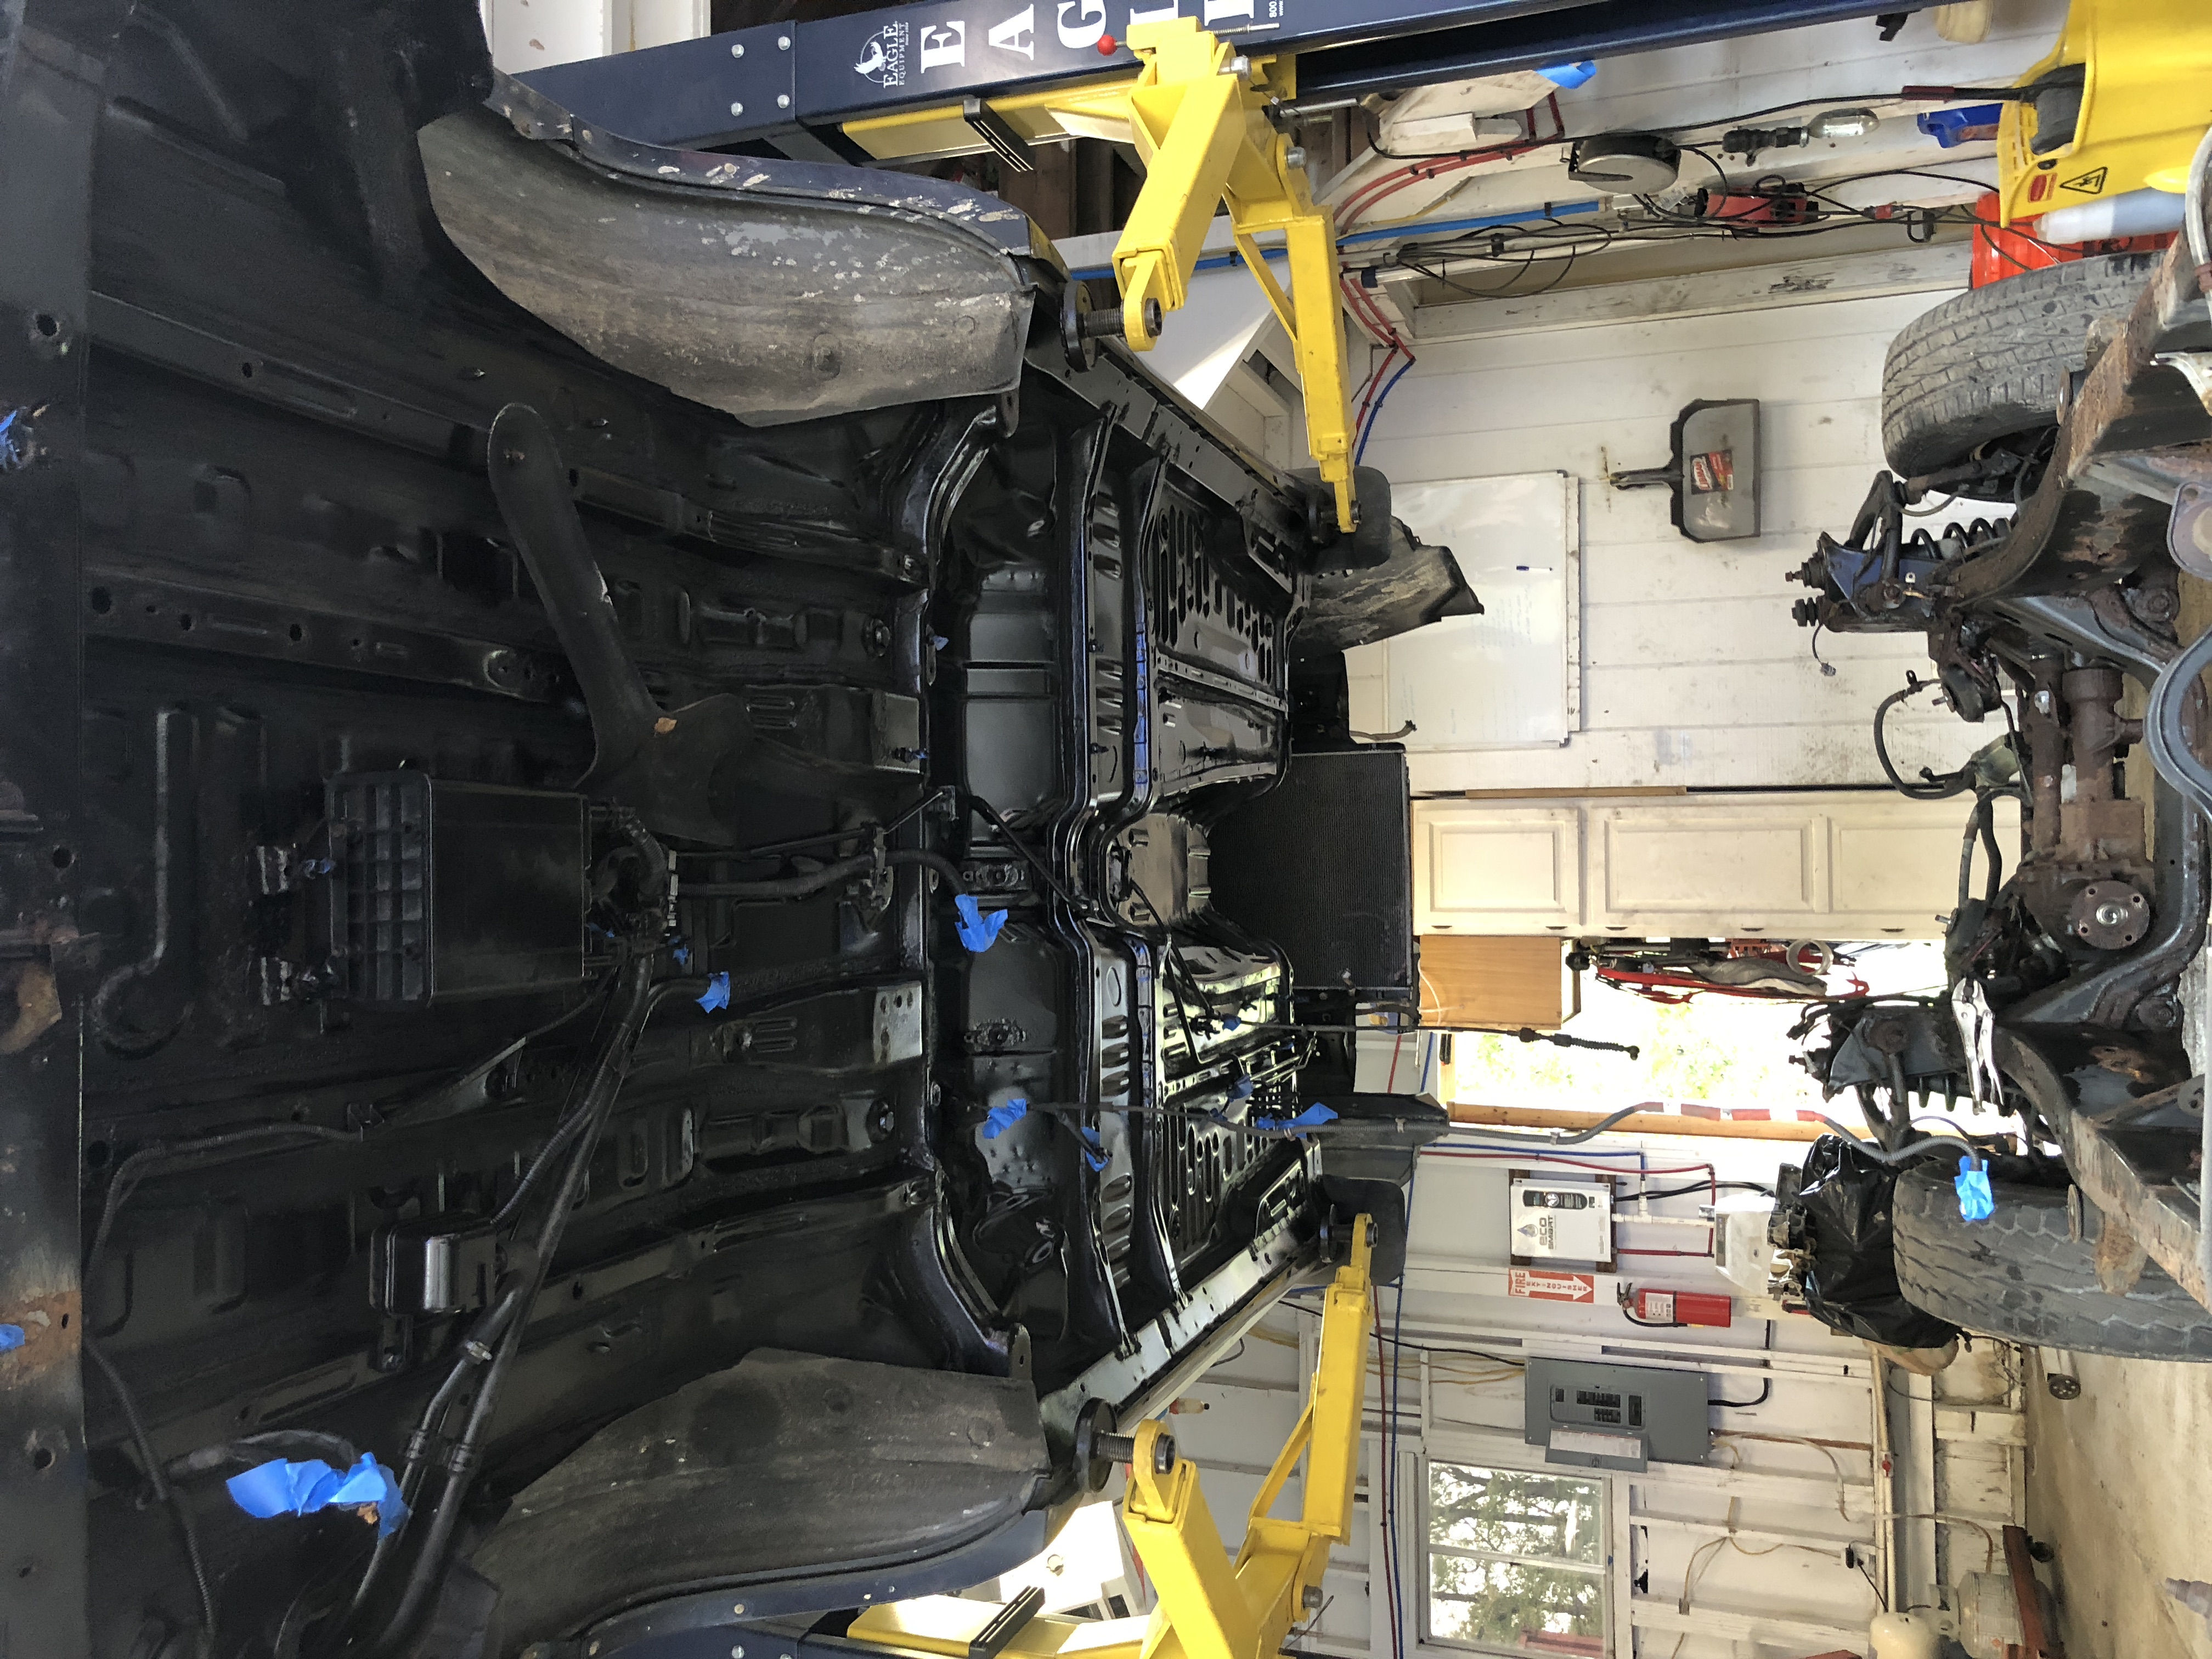
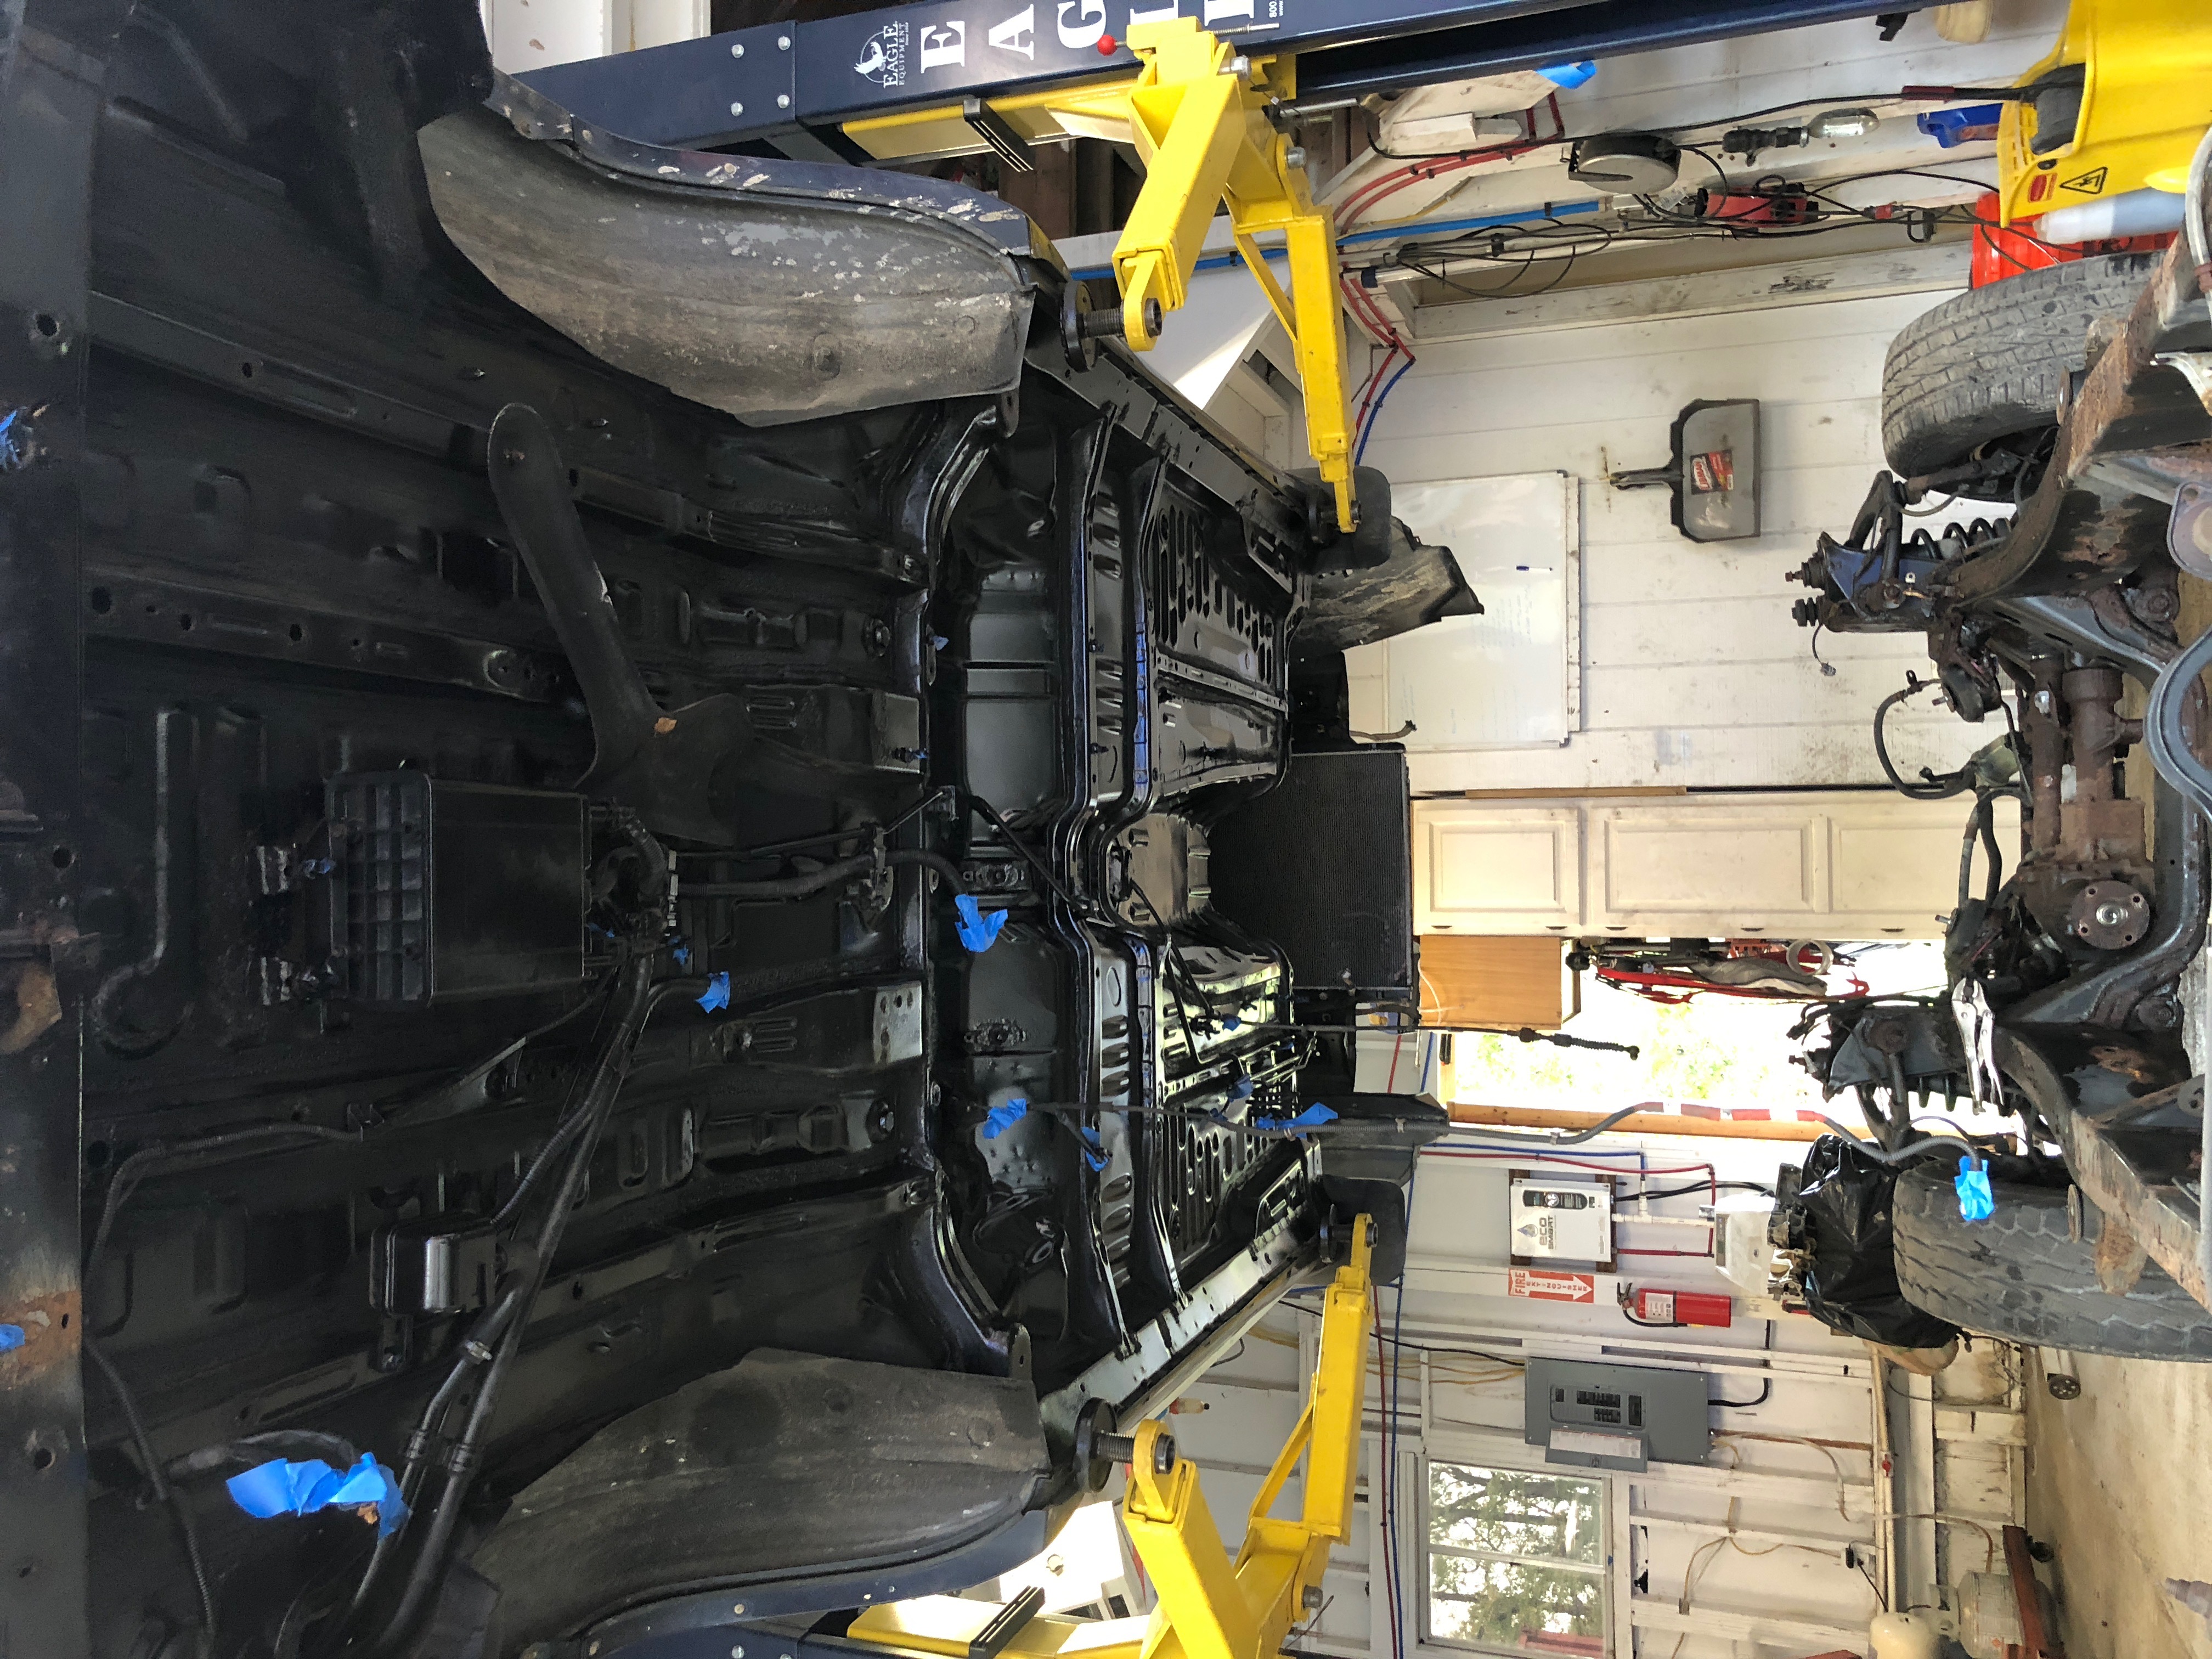
Got the underside of the body painted which was nice. Pour 15'd it. We'll see how that holds up.

17.JPG


18.JPG


19.JPG


And here's the timelapse
https://youtu.be/vtyAlOv6eRw
 
Great Project! Really interested to see the finished product...and what you do with it after.

The time lapse videos are a nice touch!
 
Today was a very successful day. Body lowered and driving. Some major gremlins showed up:

Broke bolt off in condenser - $$
3 Exhaust Leaks - $$$
CV Boots - $
Brake Calipers need replacing - $$$
Brake line assembly or T block is leaking - $

Other than that we're in the clear and ready for some driving after an inspection and alignment.
 
Also some pro tips and thoughts on the day:


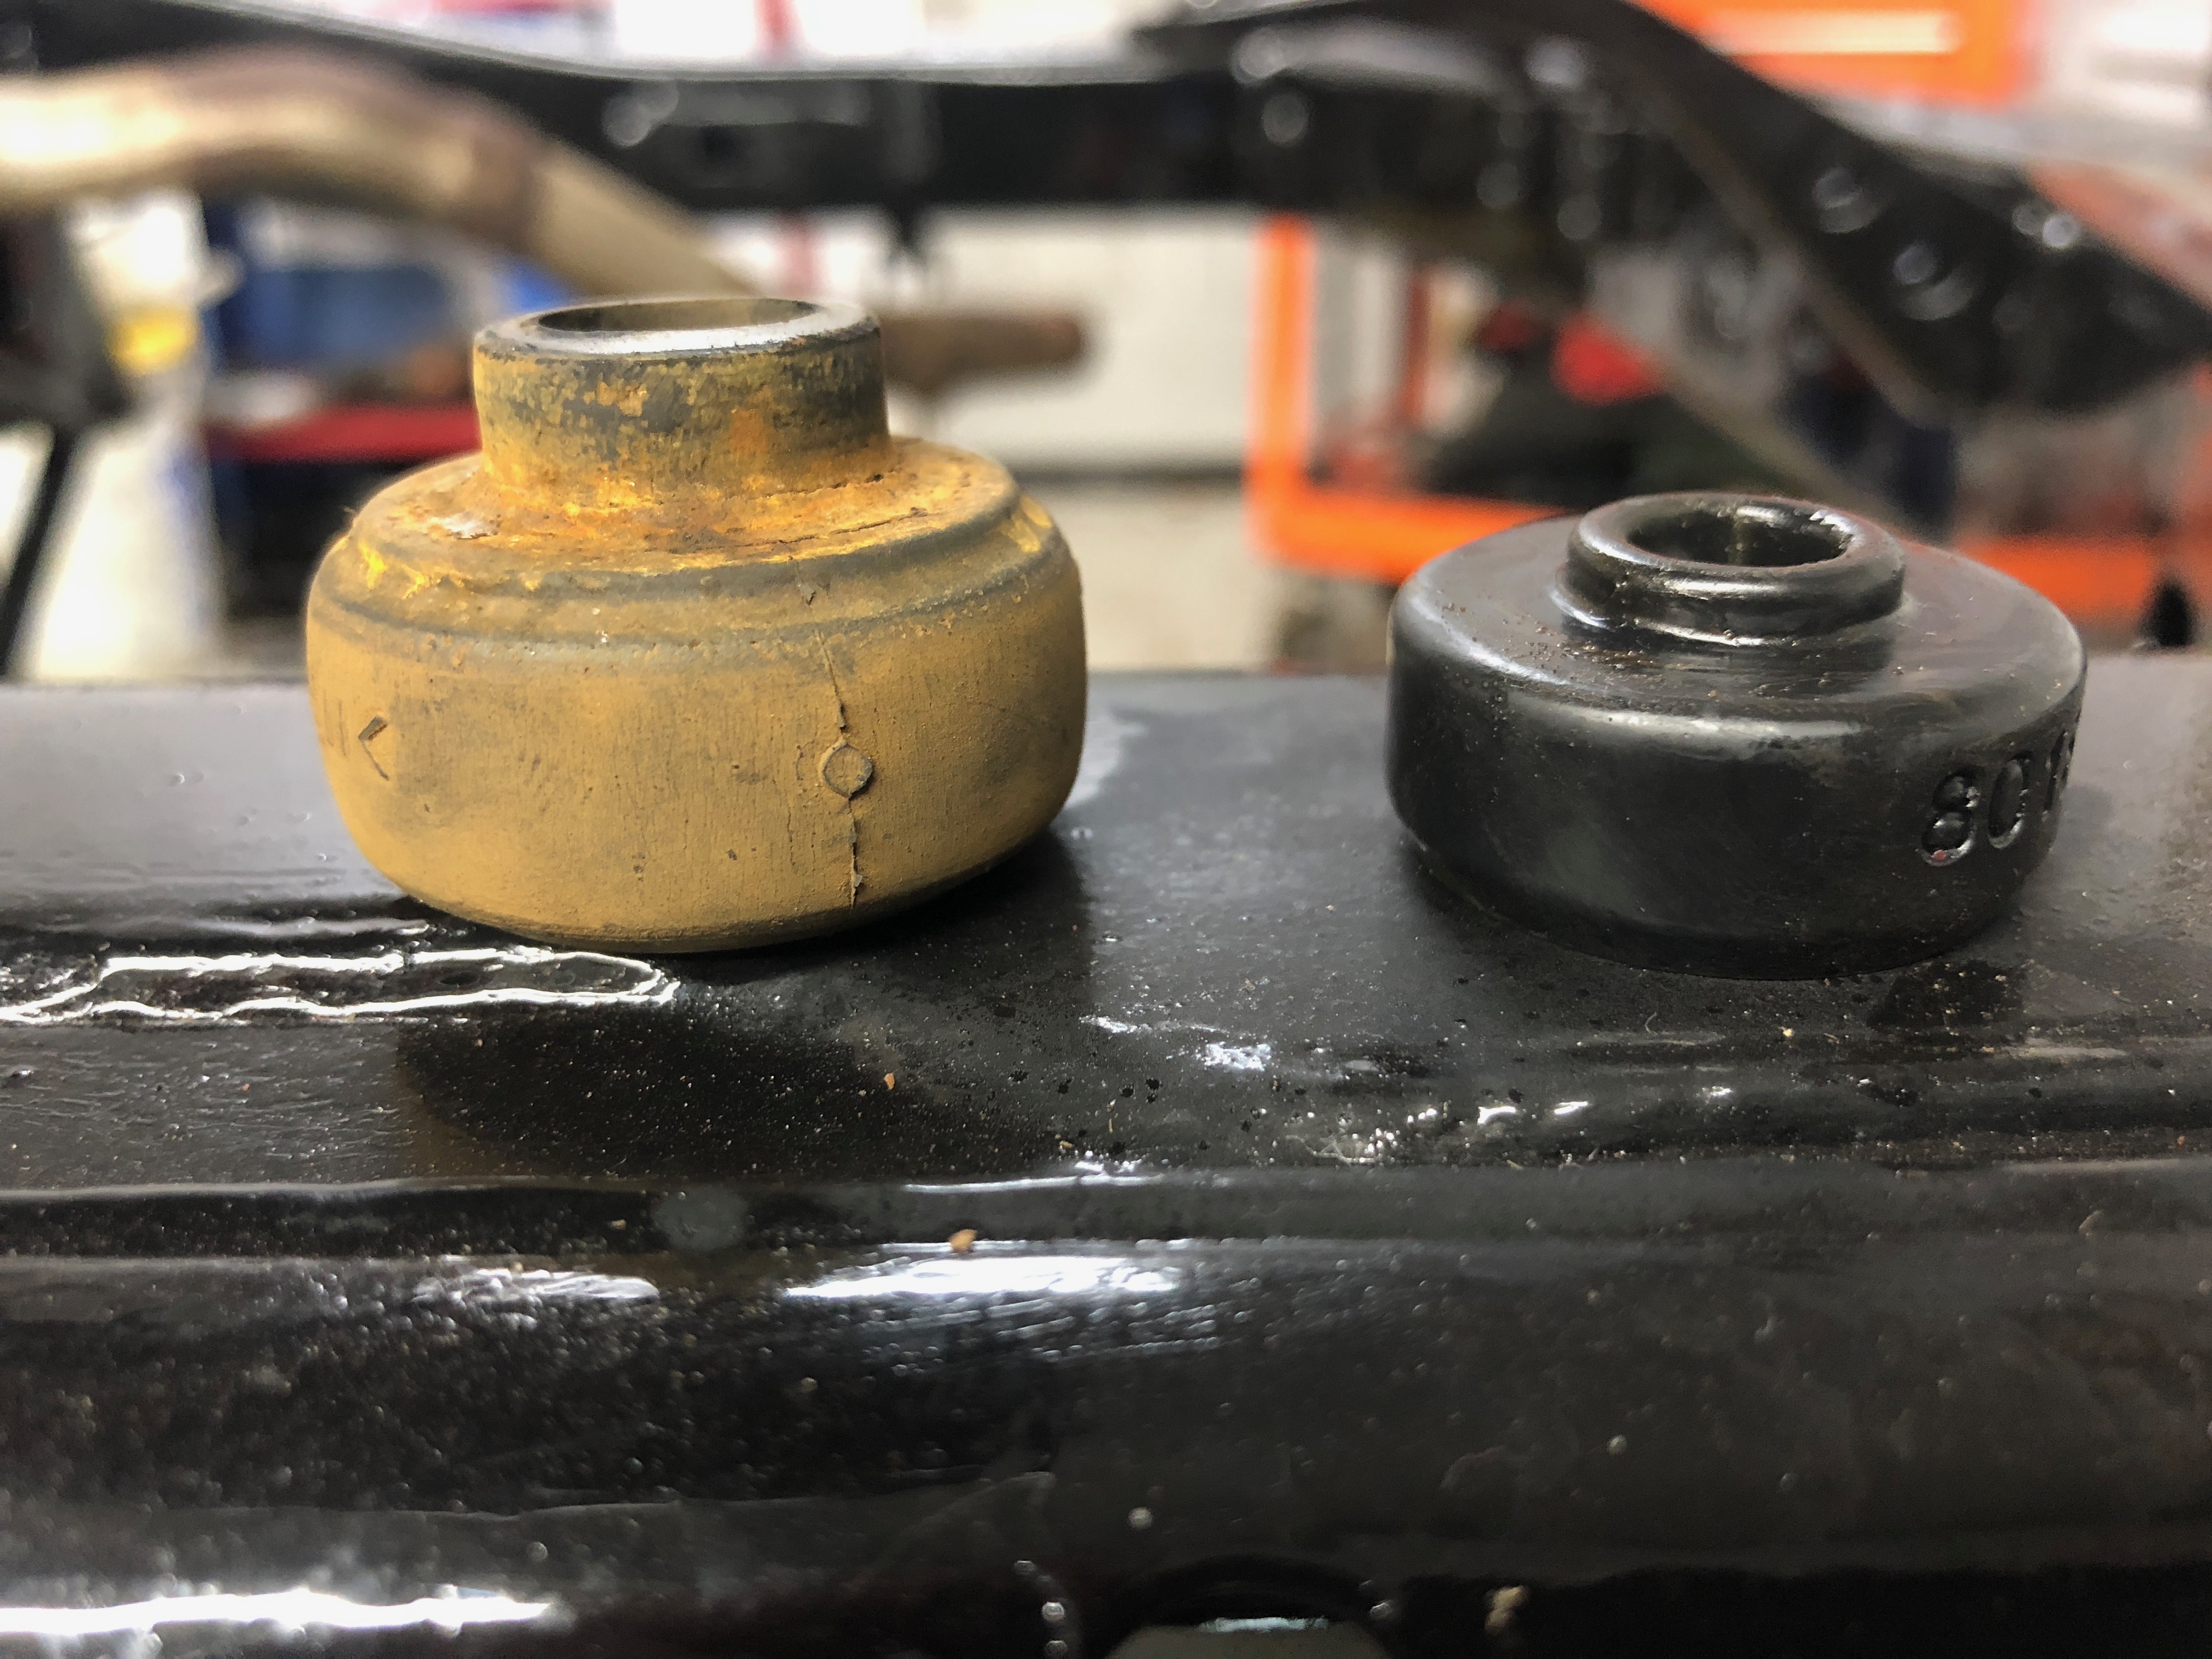
Firstly I'd like to know in what way does Energy Suspension consider the adorable little piece of plastic on the right a substitute for OEM rear shock bushings. They are too thin and so you can't thread down a nut on OEM shocks. So we put the old ones back in.
20.JPG


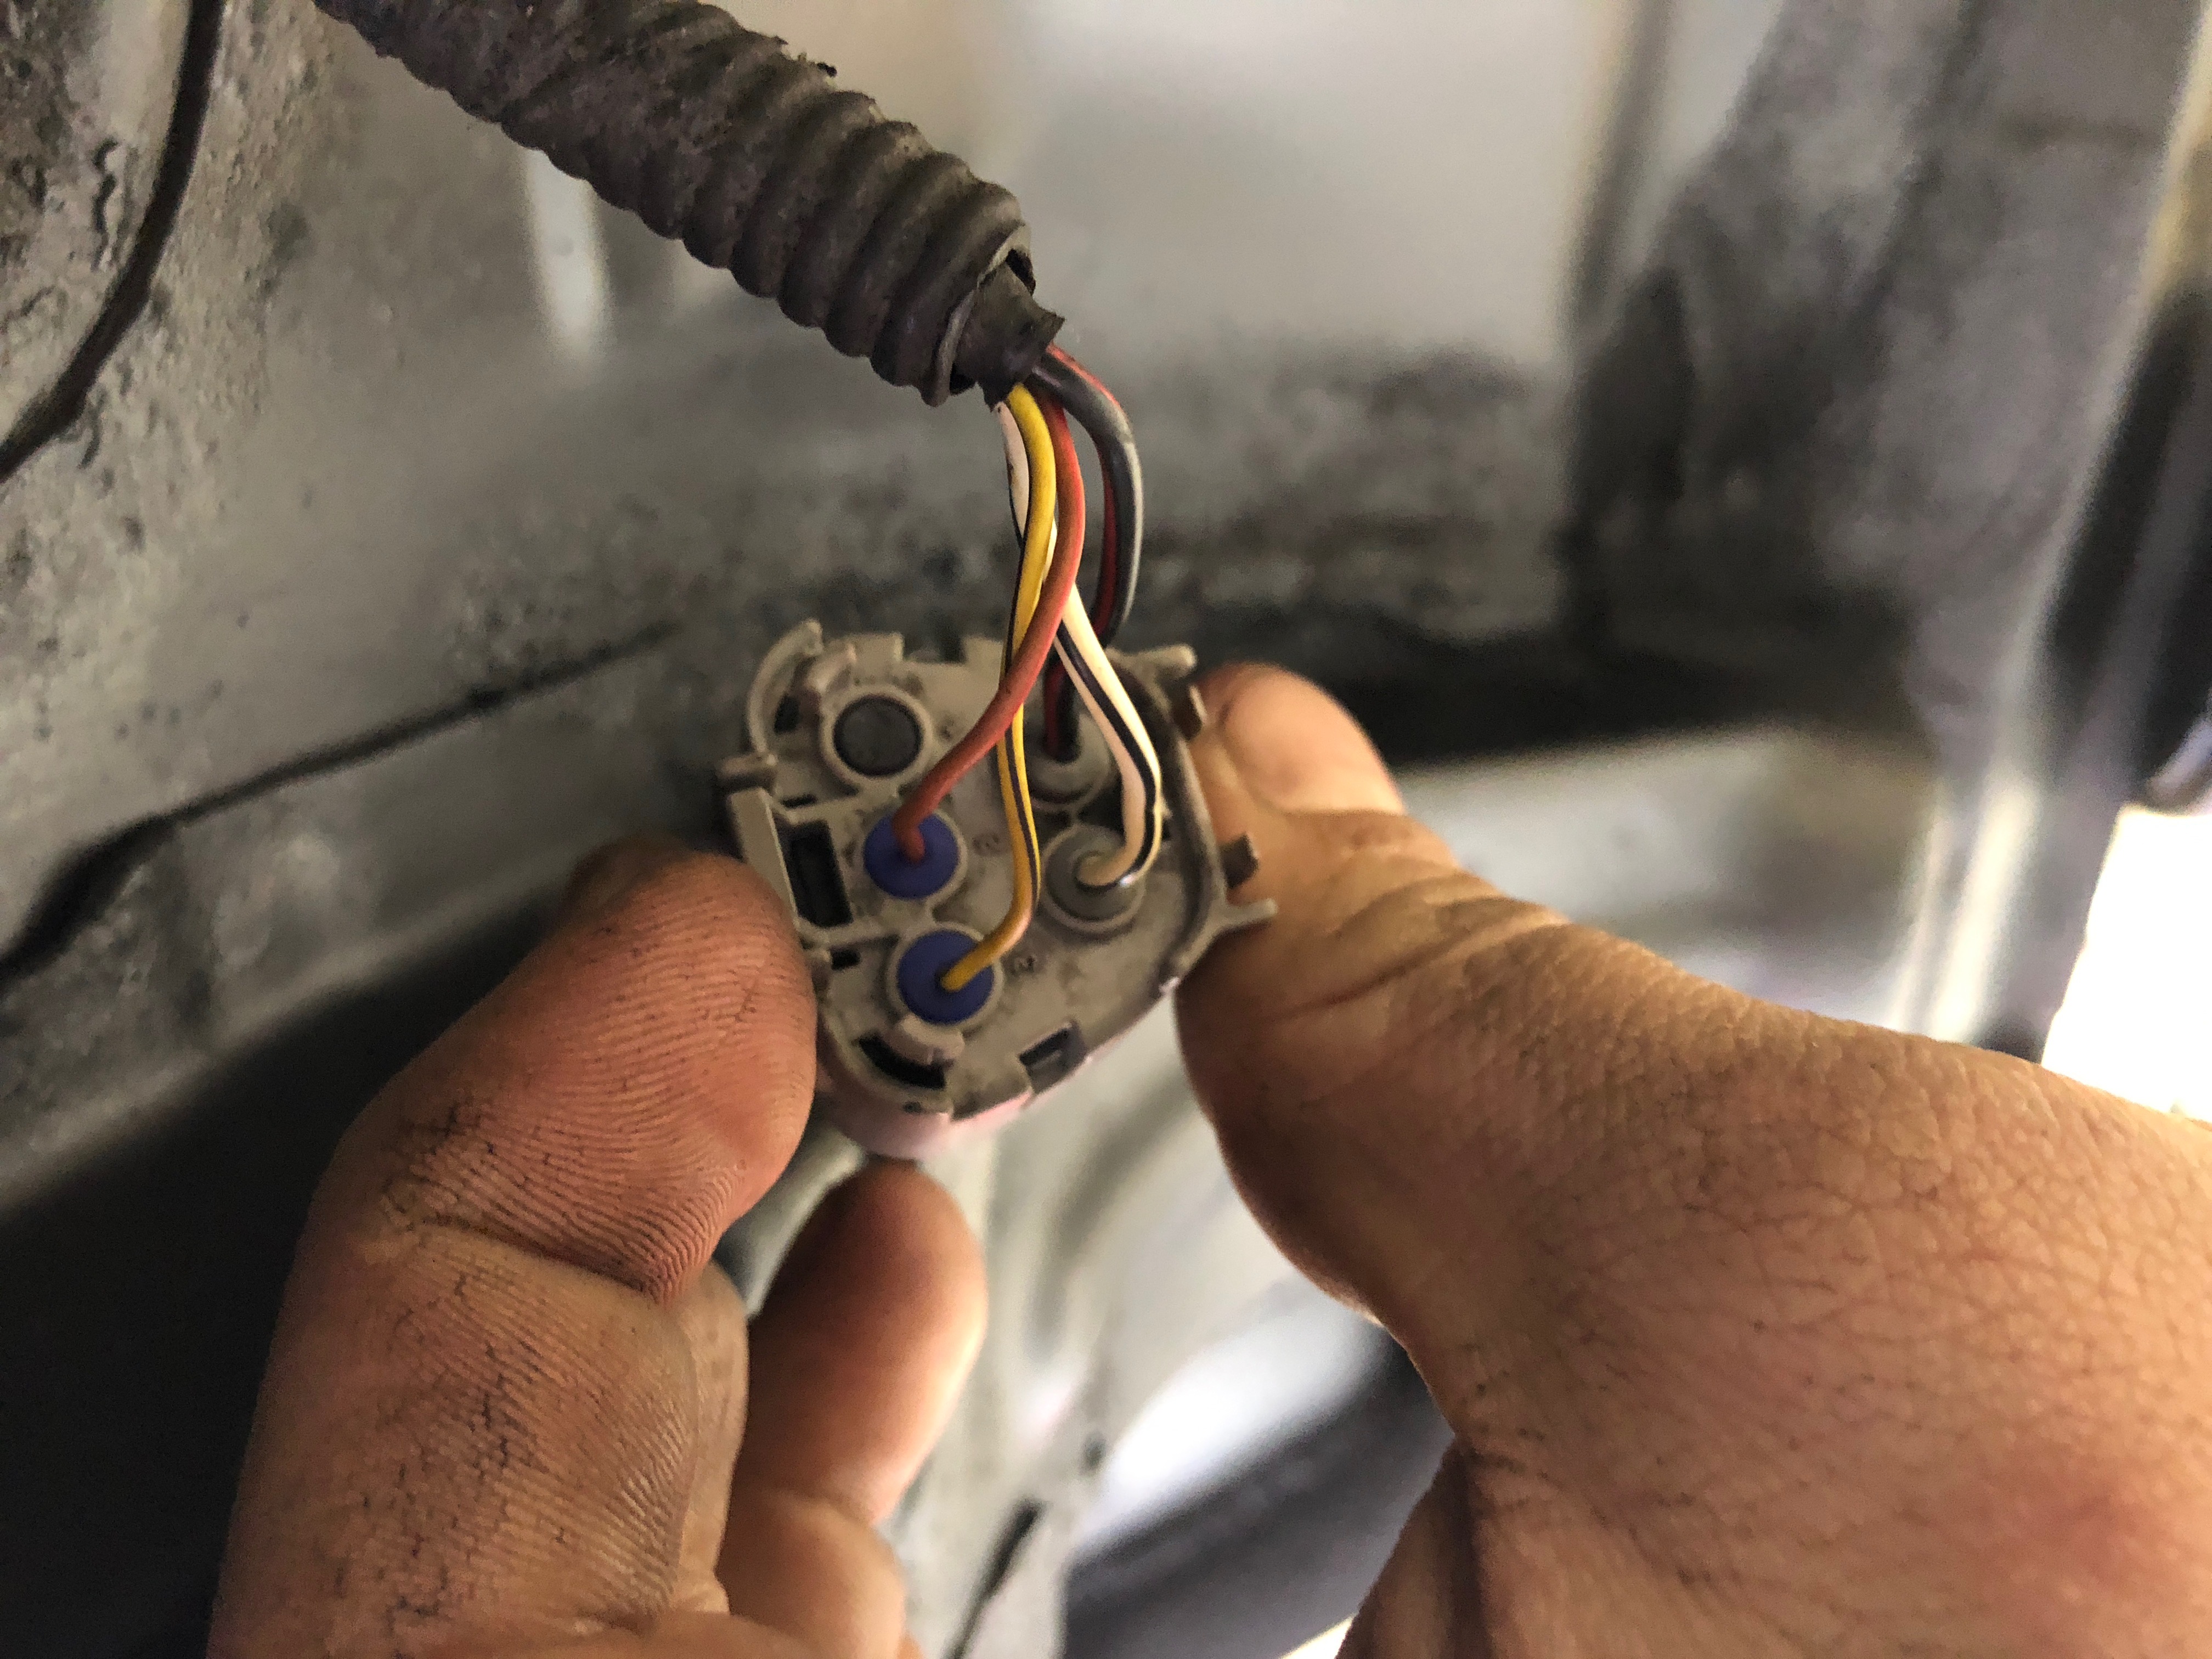
Secondly, if you lower your gas tank on a 2004 4Runner and rip the fuel sending unit harness out of the plug...well...now you have the pinout. I could not find the 04 and somewhere in the 4th gens they changed the wire colors it seems.
21.JPG


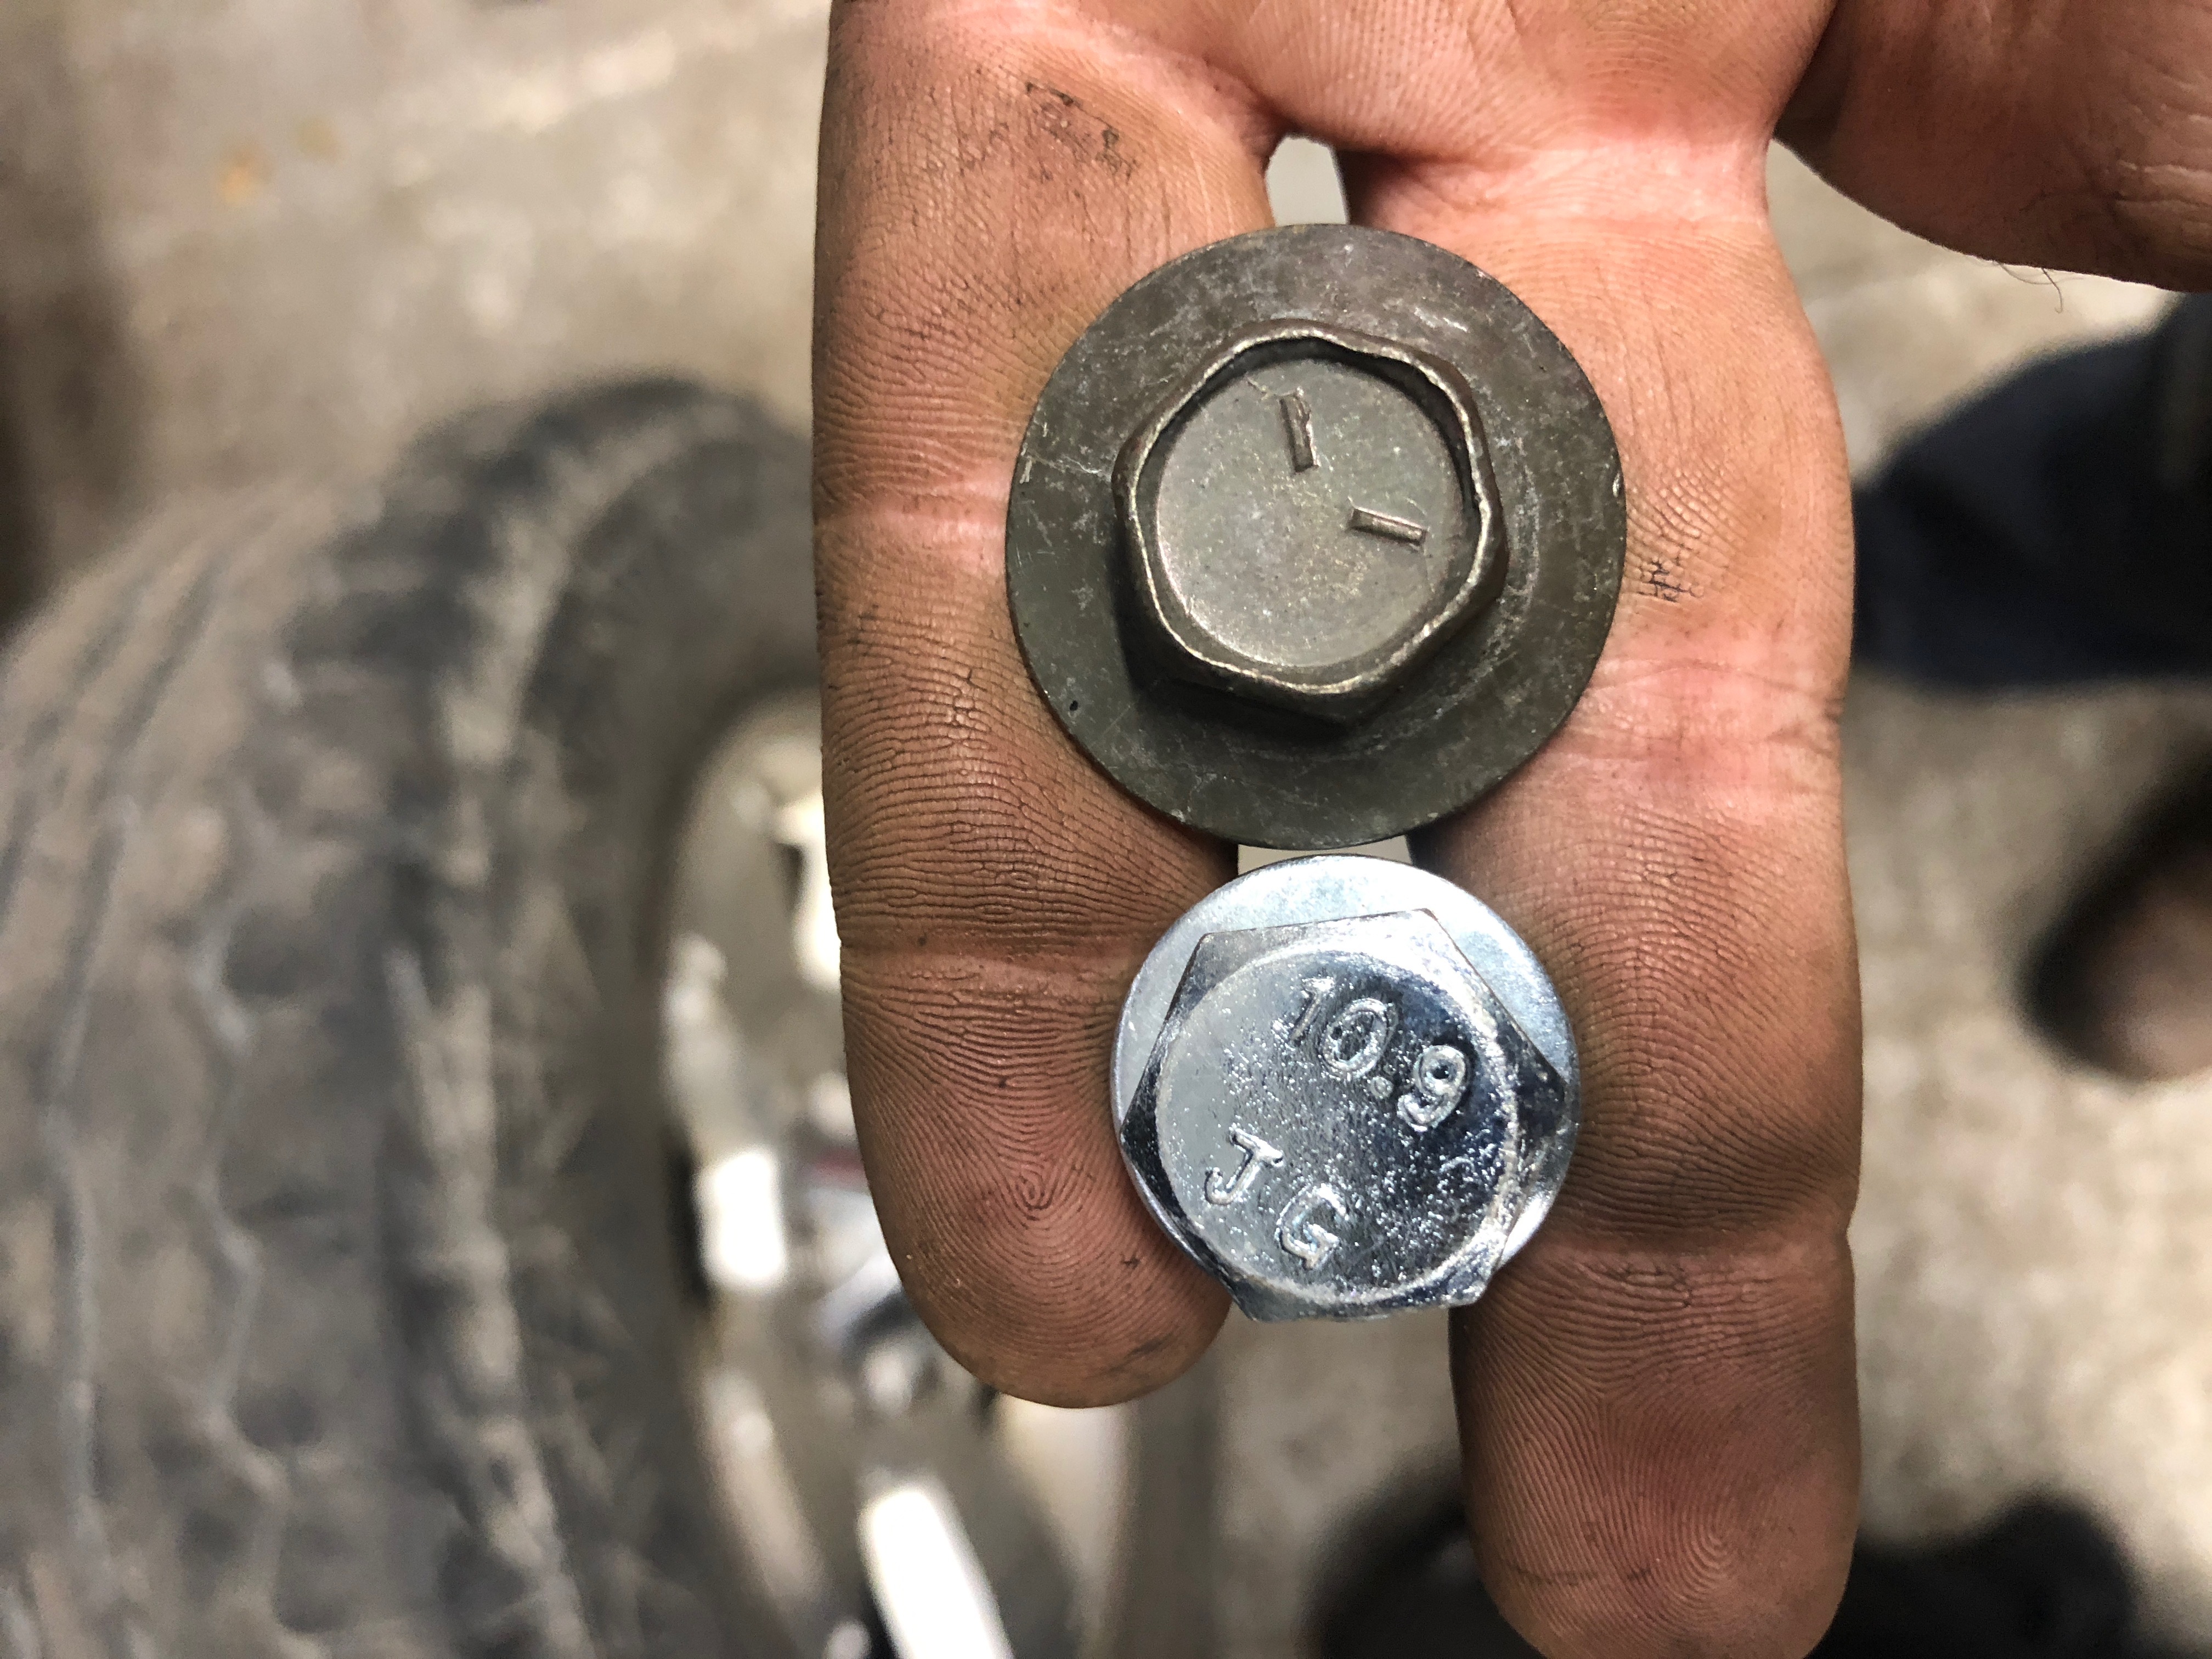
This one...now this one I have some thoughts about. I want to know what engineer over at TOYTEC decided to phone in this design for the 1" body lift kit. 3 extra seconds of thought would have made this a great kit. I spent $150 on their kit thinking they could do better than me and let me tell you. I was mistaken. Whoever they got to do this kit was absent on Load Dispersion and Surface Area day.

Why on god's green earth is the bolt shoulder smaller than the OEM. Are we trying to rip the sheet metal? It's not shown in the picture but the spacers are significantly smaller in diameter than the OEM bushings. Again, are we trying to stress the sheet metal? I could have grabbed some UHMW HDPE and turned a better set of spacers on a lathe.

I can't even talk about the radiator lowering brackets. At least for the 1" option they don't sit correctly so you just have to crank them down and just let everything bend.

Two ****ing seconds of thought could have fixed all of these issues. /End_Rant.gif
22.JPG


If anyone needs me I'll be manufacturing and selling online better 1" lift kits and fuel pump harness extension whips...


Otherwise a great day! Cab is on!

Enjoy!

https://youtu.be/8F4rIOYqutQ

 
I would love to see some pictures of the rusty frame you were replacing. Im picking up my 4runner later this week and the frame looked 14years old and from new england but it sti'' looked solid. From the distant pictures the one your replacing doesn't look terrible, where there certain spots that really deteriorated while the rest looked ok?

oh and i believe por15s gloss will fad in the sun but still remain a solid rust barrier for years. i did my entire trail truck inside and out with it. then topcoated everything that would see sun with por topcoat. expect the rear bumper because i didnt want that safety blue. its now faded black over the past year but i'm not worried at all of it coming of, painted on bare sandblasted metal following prep instructions
 
Would you consider doing 1.5in or 2in body lift kits as well? Cause I'd be interested in a quality body lift in the future, I don't know much about them but sounds like you've got it covered.

Sent from my Pixel using Tapatalk
 
To answer some of your questions:

This is the rust on the old frame.
23.JPG


24.JPG

27.JPG

30.JPG


Before of the underside of the cab
26.JPG

After of the underside of the cab
25.JPG


Very proud
28.JPG


New frame before the cab got lowered. Note the size of the TOYTEC spacers...
29.JPG


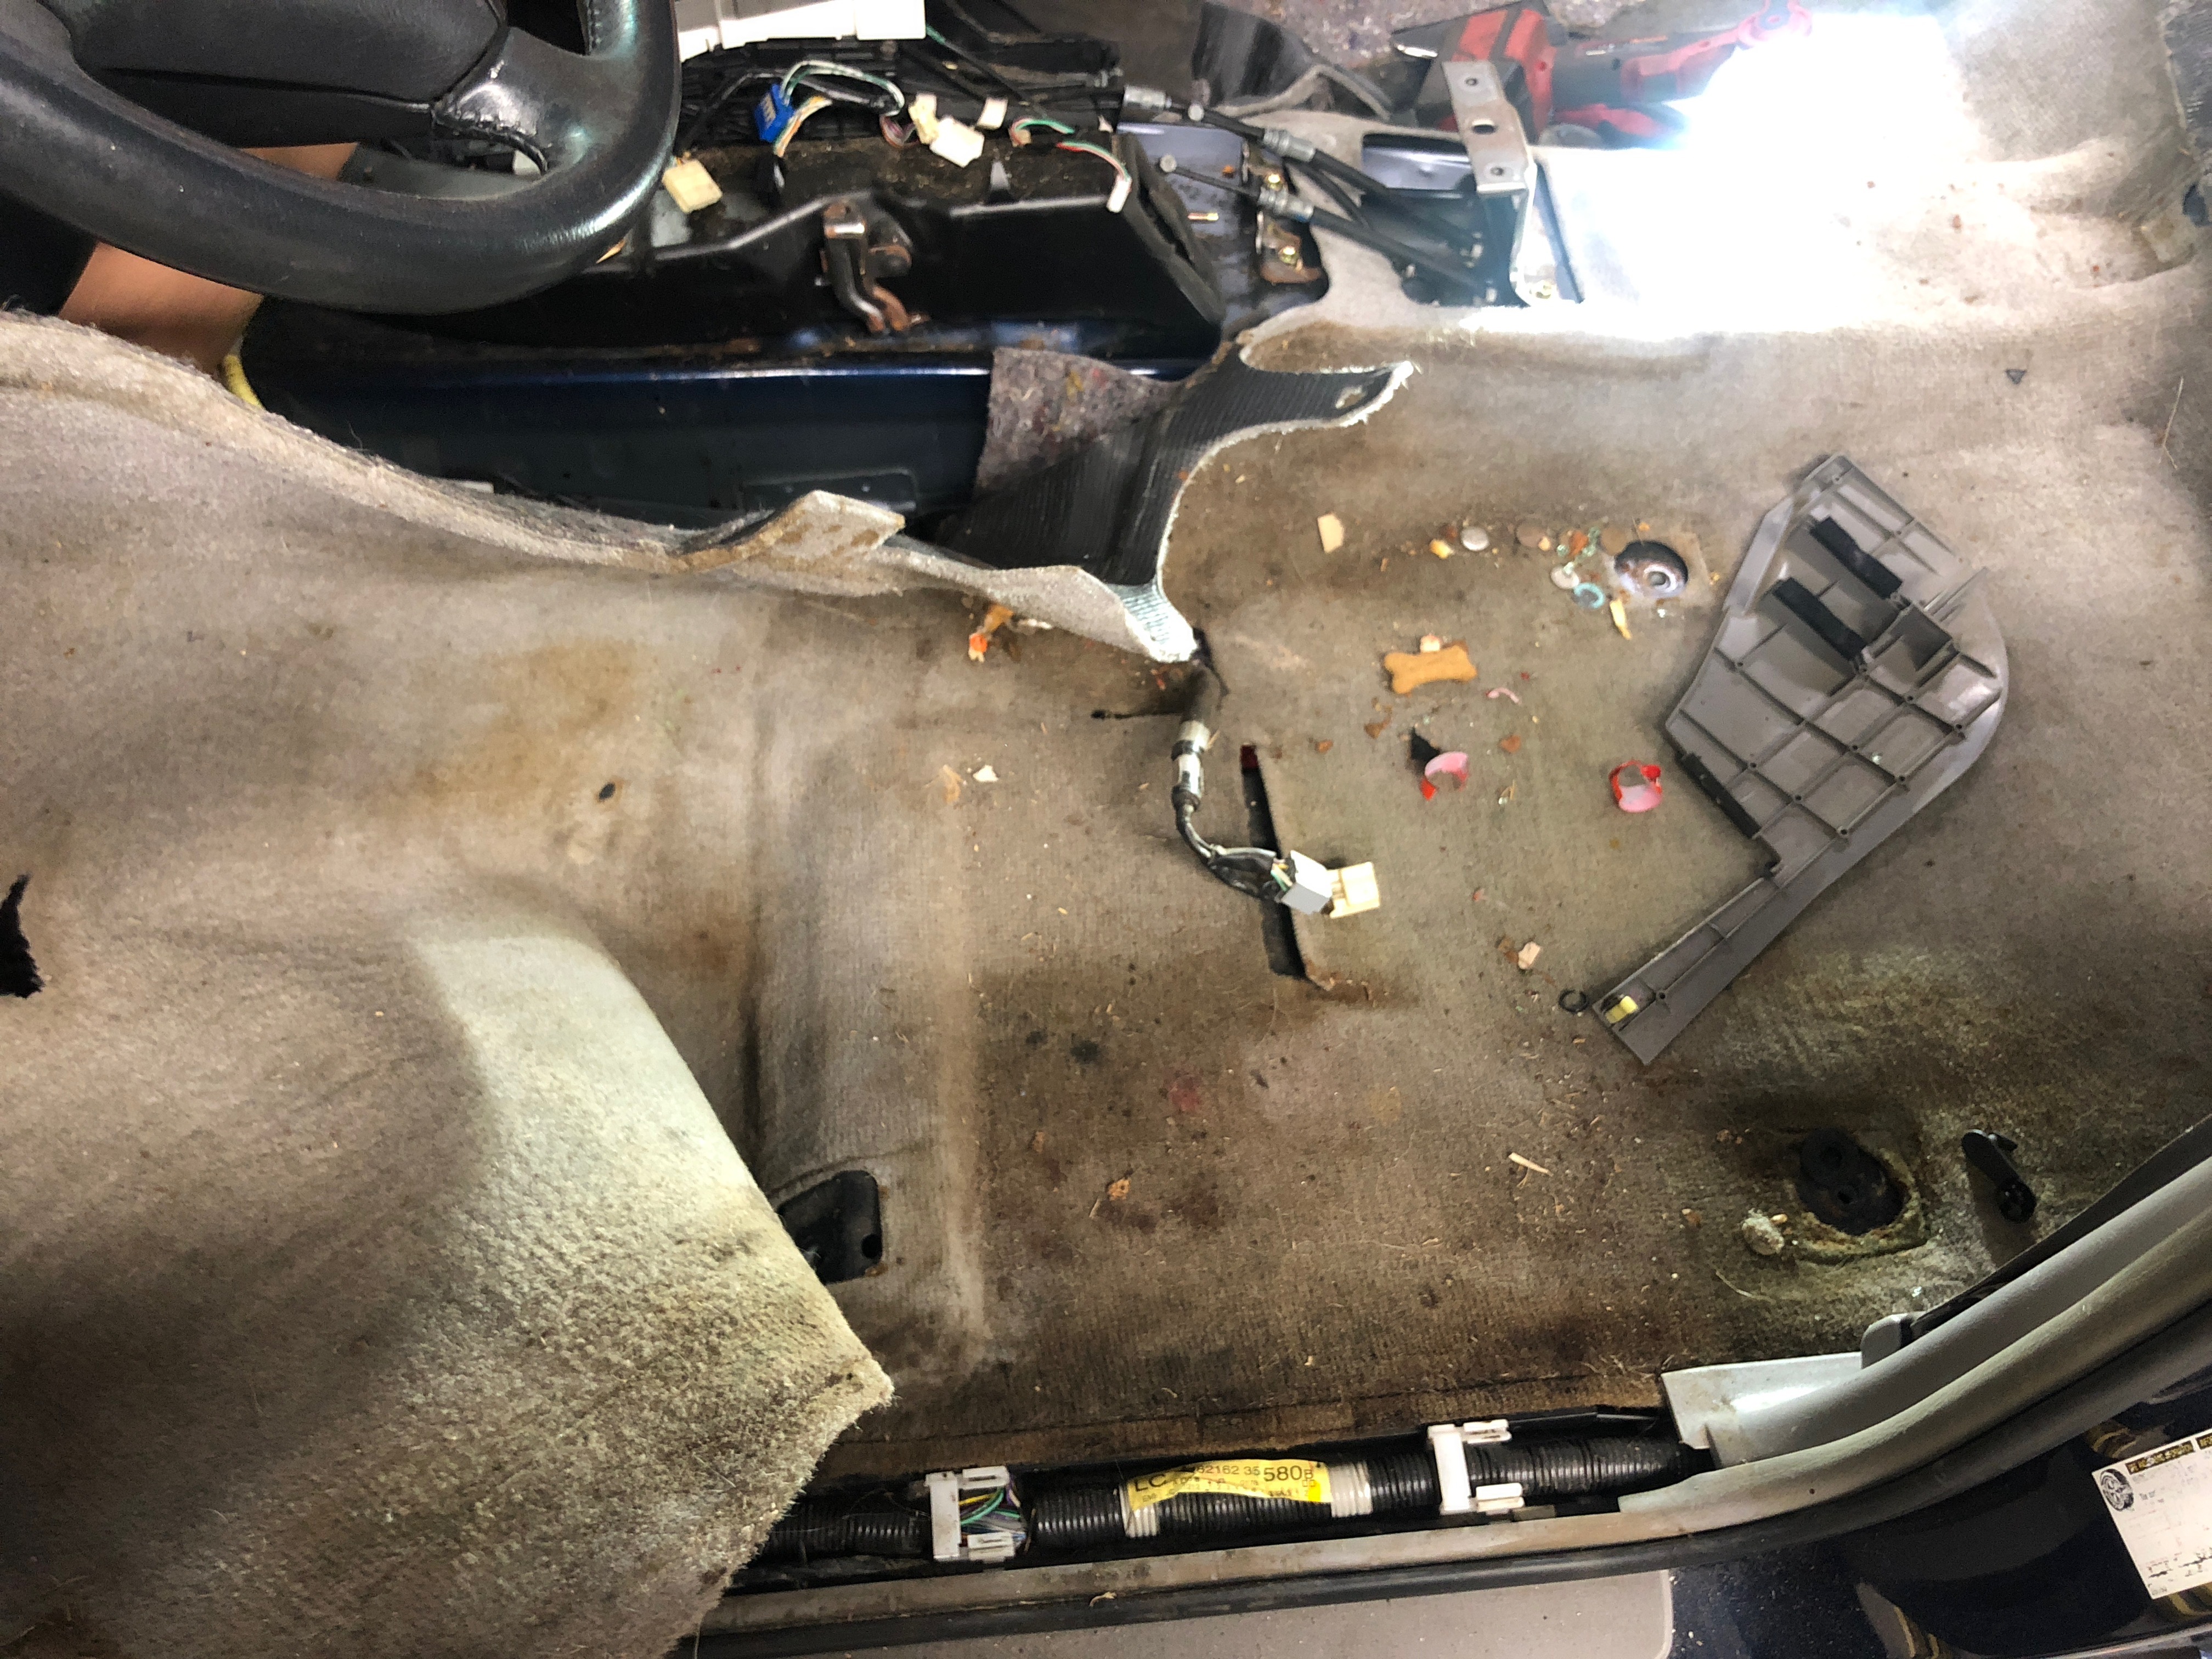
Before of the carpet
31.JPG


In progress of the carpet
32.JPG


Closed to finished of the carpet
33.JPG


And now the final day!
https://youtu.be/ixJHVukD_n4
 

Members online

Forum statistics

Threads
278,309
Messages
3,554,066
Members
248,016
Latest member
Advally Service

Trending content

Back
Top