Them Be Me Mods

Really wanted a fold down option for the antenna. My friend fabricated a bracket to integrate into the Gobi mount. The brass fold down mount is from Breedlove Machine and its really heavy duty. The Breedlove allows use when folded down which is great for keeping in contact with fellow trail riders while not worrying about branches.

JDCBMount3.jpg~original


JDCBMount2.jpg~original


JDCBMount1.jpg~original


JDCBMountdown2.jpg~original


JDCBMountdown1.jpg~original

I just ordered my Cobra 29 and was wanting to get a foldable antenna. I went to Breedloves website, but he has multiple foldove mounts. Do you recall which model you bought?
 
Replace / Relocate the 4WD Selector Switch

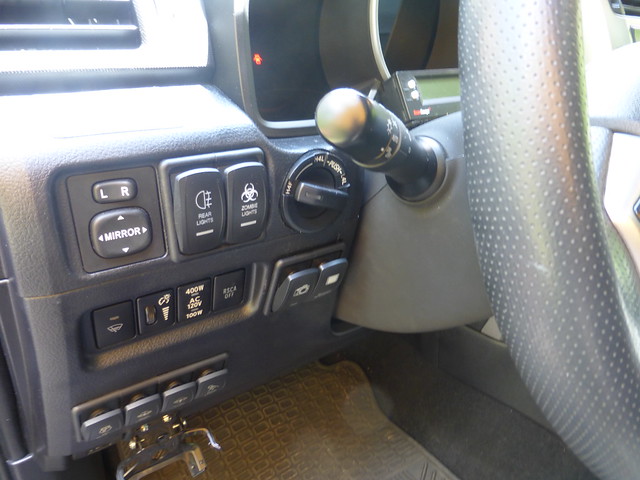
Hated the OEM position since my first test drive so I thought it would be no big deal to just move it somewhere else. Little did I know that it would be a multi-year international saga. I tried switches from the 4th Gen 4R, Tacoma, Tundra push buttons and even considered somehow modifying the existing switch. No joy. Despite many conversations and even some begging, the engineers at Toyota USA would not even entertain the concept.
 
Early discussions from 2012 can be found here: http://www.toyota-4runner.org/5th-gen-t4rs/103376-relocating-ltd-transfer-case-switch.html The picture of the LC Prado by jhawk give me some hope. I asked friends in Thailand, New Zealand, Malaysia and Jordon to ask their local Toyota dealers if they could help. Again, no luck. My good friend in NZ recommended Prada Point in AU so I signed up but was again disappointed at the news. However one member there finally pointed me into the right direction.

Details: 4WD Selector Dial

Toyota Japan Part Number 8422360030 (2011 Prada 2.7L Petrol) ordered from amayama.com shipped to my house for $ 64

All of the Toyota switches I’ve tried used the same connectors. But much to my annoyance my dream Prado switch worked exactly opposite of how I needed, L4L = H4F. While all of the connectors were the same they all used different pin configurations. Our OEM uses only 3 pins. The Prado uses 5 pins since it also lights up.

After all this frustration I finally gave up and put the box of switches away.

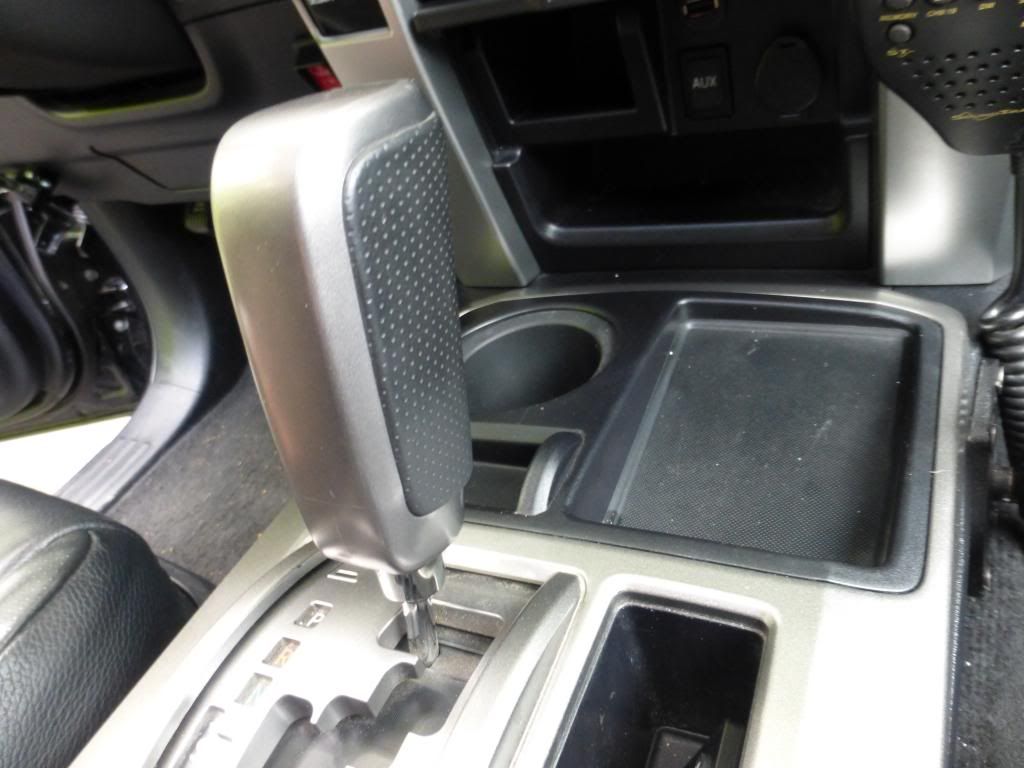
Fast forward 2 years....I was talking to friends at SAS Customs here locally about installing some side cameras and brought up the switch. John, SAS Customs owner, is a “CAN”T is not a word” type of guy so he gave it a look and decided that it was no problem to extend the wires and rearrange the pins. And damn if it didn’t work! Now the issue was where to put the thing. This is where SAS Customs really shines. Like me, John wants everything to look as OEM as possible and damn if he didn’t do exactly that!
 
The Console Tray is from a 2010 4R 2WD version sold for a short while. Part Numbers 58831-35030 & 58917-35050. BTW, I ordered these in 2011

2WDInsert_zpsd7b7d1ad.jpg~original
 
Side Camera

My car has a 360 degree view camera system which I think is simply brilliant and I thought something like that would be equally brilliant in the 4R. One of the very few things I miss about the Jeep is how you could practically see around the vehicle from the driver seat. After misjudging how close I was to the edge of death a few times, this mod moved to the top of my list.

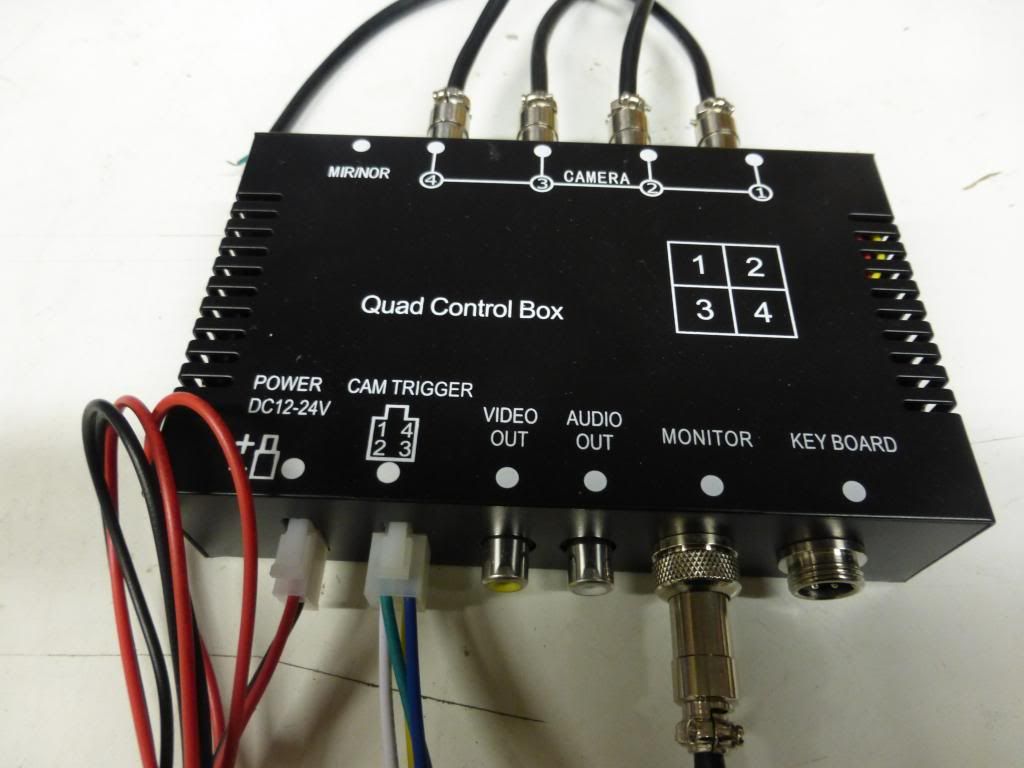
A few guys here went with off the shelve systems but for some unknown reason I need to be difficult. Finding exactly what I wanted turned out to be a real PIA. Online we found this 4 Channel Camera Control Box from the EBay of China which was selling for $ 185.

Wholesale Car Camera - Buy Car Camera Video Control Box For Four Channels With Quad Split NTSC/PAL Cameras Supported, $174.87 | DHgate

I also thought it would be neat to have some sort of on board DVR system to record from one of the cameras so from China we found the DVR ST504E which sells for $ 130

ST504E- H.264 SD card 3G and GPS optional mobile dvr for vehicles

And then we needed some wide angle cameras to go on the side mirrors which sell for about $ 25 each.

As anybody who has done business in China knows it’s a real crap shoot. So I called our import agent over there to help with the process. Good move as she bypassed the resellers and directly contacted the actual factories of these items. End result was one DVR, one Camera Control Box and two side cameras delivered with one of our usual shipments for under $ 200. Thought was that even if none of them worked we did not risk the family fortune.

Once all was here I dropped everything off with John as SAS Customs to do what he does best. ‘Oh yeah John, it all needs to work with the OEM Radio / Nav System – Good Luck & Best wishes!” I’ve seen John put Xbox systems into cars so I was filled with perverse pride when he said my truck was one of his most challenging jobs.
 
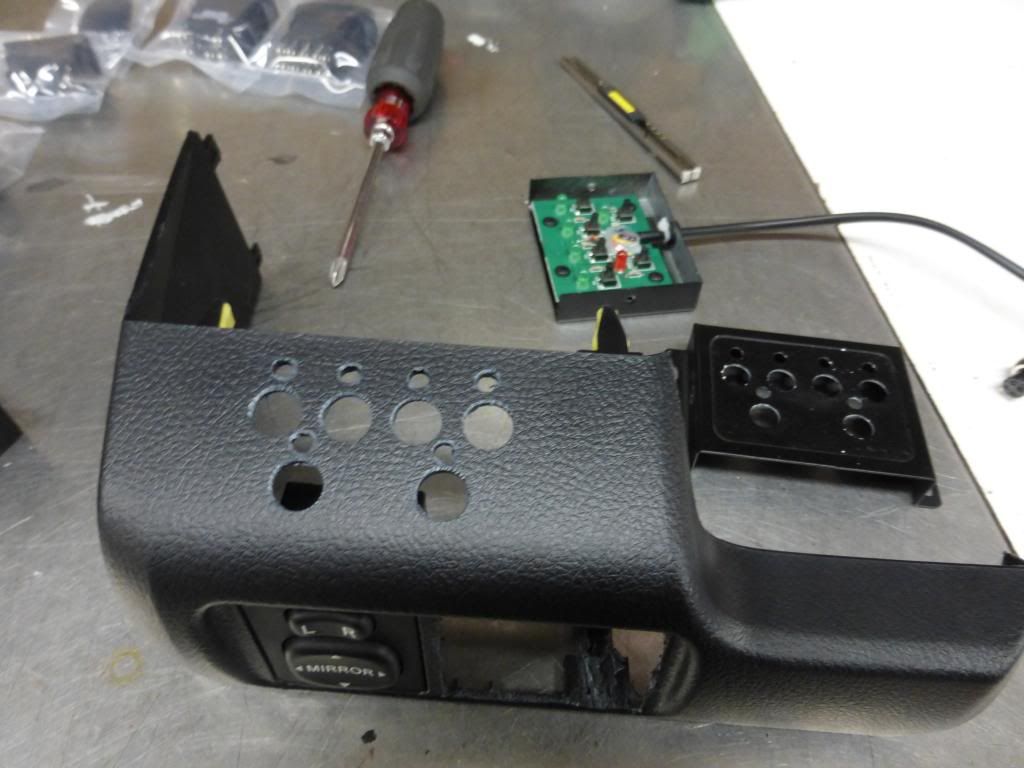
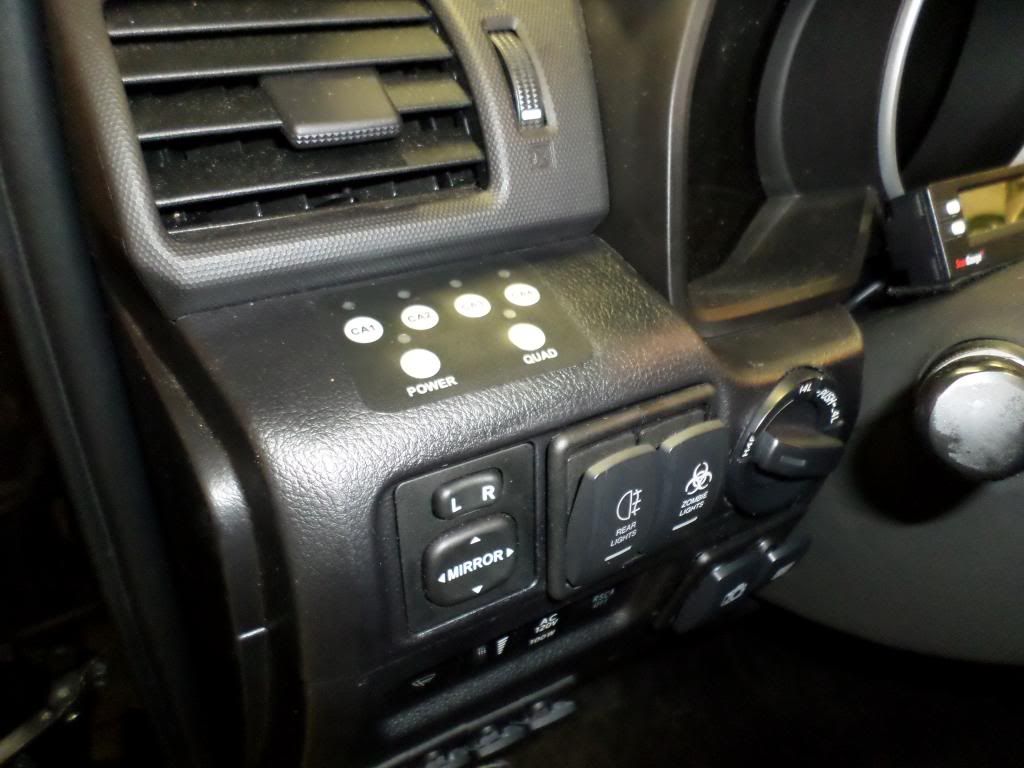
The Camera Control Box was installed in the center console next to the CB and its Switch Box was taken apart and frenched into the truck.

CameraControlBox_zps55da911f.jpg~original


CameraControlBoxswitches_zpsc8a1d148.jpg~original


CameraControlSwitchesAlone_zps511a960c.jpg~original


CameraControlBoxSwitchcutouts_zps33000e9e.jpg~original


CameraControlButtonInstalled_zpsc0da30a8.jpg~original
 
In addition to the side cameras we installed Kenwood CMOS-320 Programmable Cameras front and back with control buttons for each. These cameras can cycle between 4 different views just by pressing the button.

CMOSCameraButtons_zpsc2099e5f.jpg~original


Cmos320_zps412cb2a4.jpg~original
 
DVR installed in the glove box. To be honest this part is sort of a bust. It works but the problem is that it’s designed for commercial vehicles with much of the functions locked away so only managers can view the output. Startup is slow – it records in an obsolete .IFV format and all must be backed up to a USB drive just to view the video. Way too cumbersome of a process as I was just looking for a simple On / Record – Off function. The hunt continues for another more user friendly system, which I hope doesn’t take years.

DVRInstalled_zps4c37720f.jpg~original
 
While everything was apart may as well add some Stinger Roadkill Sound Damping to the doors, rear and hatch. They prefer this stuff over Dynamat – I don’t know which is what but the results are amazing. Doors feel solid as a rock and outside noise is noticeable less.

SoundProofDoor_zps2246068e.jpg~original


SoundProofRightRearCorner_zpsc5f1d8cf.jpg~original


SoundProofRearHatch_zpsa3a721c9.jpg~original
 
Rear Hatch Strap shamelessly stolen from Antman but the kid is happy that she can finally close it without risk of death.

RearHatchStrap_zps6b85e8a2.jpg~original
 
They had a good laugh at my rear storage lids which just sort of wobbled around after so many years of abuse and broken tabs. They took pity and installed a combination of straps and Velcro to firmly hold them back into place.

RearStorageCovers1_zpsf56445a0.jpg~original


RearStorageCovers2_zps7326cbc9.jpg~original
 

Members online

Forum statistics

Threads
278,309
Messages
3,554,075
Members
248,016
Latest member
Advally Service

Trending content

Back
Top