Yeah I’m not too sure why this rad didn’t work, but it’s definitely bigger. The old one slid back in easily. There’s some pics below, it’s hard to capture a picture showing this but hopefully it’s good enough for a return. I ordered the Koyo on eBay and I’m hoping I have better luck.
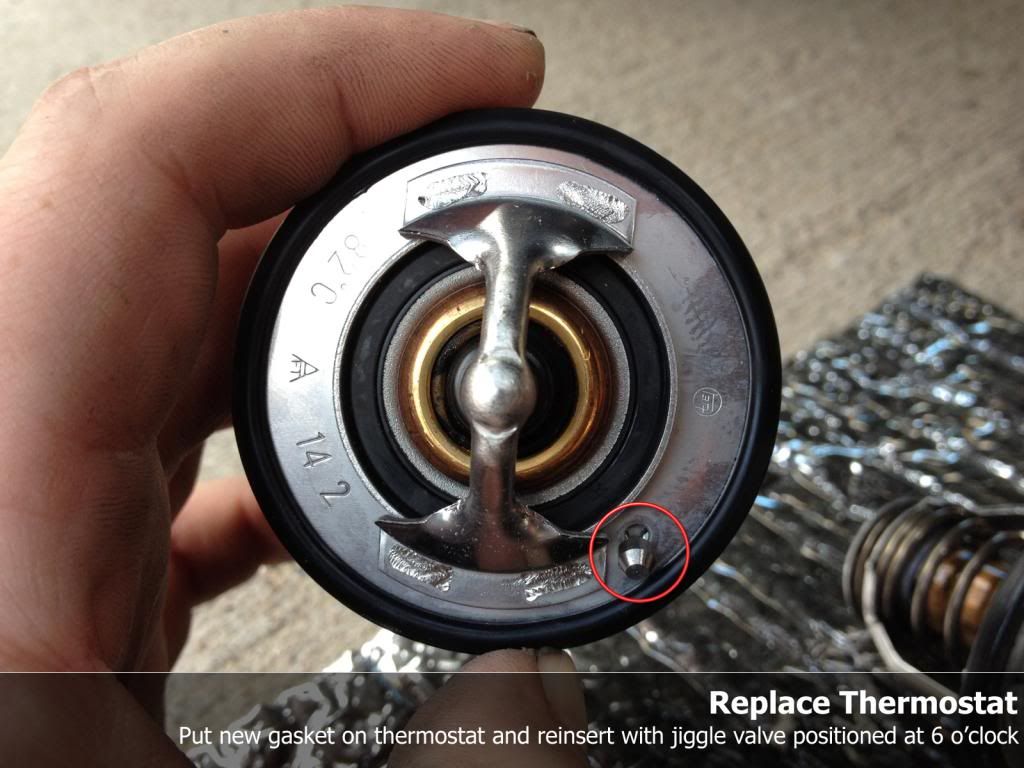
Once we got everything put back together it was like 12am Friday night, I started putting coolant back in and it start leaking a minute later from the engine block. I was sure it was the water pump and I was freaking out thinking I’d have to re-do everything I just did. Thankfully it was the lower radiator hose bracket/thermostat housing which is accessible. Seems obvious now but you have to add new RTV when you put that back. Didn’t occur to me at the time.
Once we did that it was leak free and it started up like a champ. It’s running great now. I didn’t expect it to sound and feel different but it does, in a good way. Now all I have to do is swap out the new rad next week. That’ll be cake after this. Feels so good to finish a big project like this successfully!
I will post a few tips that I found for myself, including a few tools I did buy that I didn’t need and a few that I didn’t buy that I did need. Feel like that would be helpful for others trying to figure out how to tackle this. I’m sure some of these are obvious but I was pretty clueless going into this. Was nice to learn how it all works.
* To get the crank bolt off, use the starter bump method, it’s so easy. I used my dad’s 24”+ breaker for this. It helps to remove the battery to have room to set the breaker bar against the frame.
* To get the crank bolt on, we used the 2x4 method suggested here. Thanks Durk for that one. My dad took the HB to Home Depot to fit bolts in there. Had to make SAE bolts work but it was fine. Also get a 250lb torque wrench. I ordered a $40 on Amazon overnight that got re-routed so I got an $80 one at Home Depot, worth the extra $40 to finish in time and it’s a great wrench. Bolts bent a little bit but it was easy to tighten to 215 ft lbs this way. Photo below.
* I bought the snap on tensioner compressor, not realizing what it did. You do not need this if you are changing the tensioner which is included in the kit I bought. However, if you screw it up and have to re-do the water pump gasket or something, you will wish you had it or you’ll need a vice.
* On that note, you do not need to remove the AC compress or bracket. You do this to get to the tensioner. The compressor is easy to pop off with a ratcheting wrench but the bracket it ridiculously hard to get to. You can use a really long thin (1/8") extension and some kind of wobble/offset drive to get to the inside tensioner bolt and leave the compressor where it is. Photo below of what I used for this.
* And leave the tensioner loose when you put it back until you get the timing belt on. I saw Durk’s suggestion too late and the belt was a pain to get on.
* I bought the cam pulley holder thinking it would hold the crank, but it doesn’t, just the cams. You still need it if you want to replace the cam seals, which I did. But perhaps you could make a tool for this or use the tool you make for the crank.
* I highly recommend a set of ratcheting wrenches, so useful for the many many bolts you have to get off.
* The spring clamps are essential! I used them to hold the timing belt on the cams while I was struggling to get it on everywhere else. Thanks for that suggestion. Got 2 small ones for $1 each at Home Depot.
* When you get your cam & crank seals in, take them to home depot and get a big socket or PVC pipe that's the same size, wish I'd had one, the seals were really difficult to get on evenly.
Thanks for all the help and suggestions guys. Will report back after the new rad gets here.