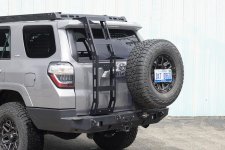
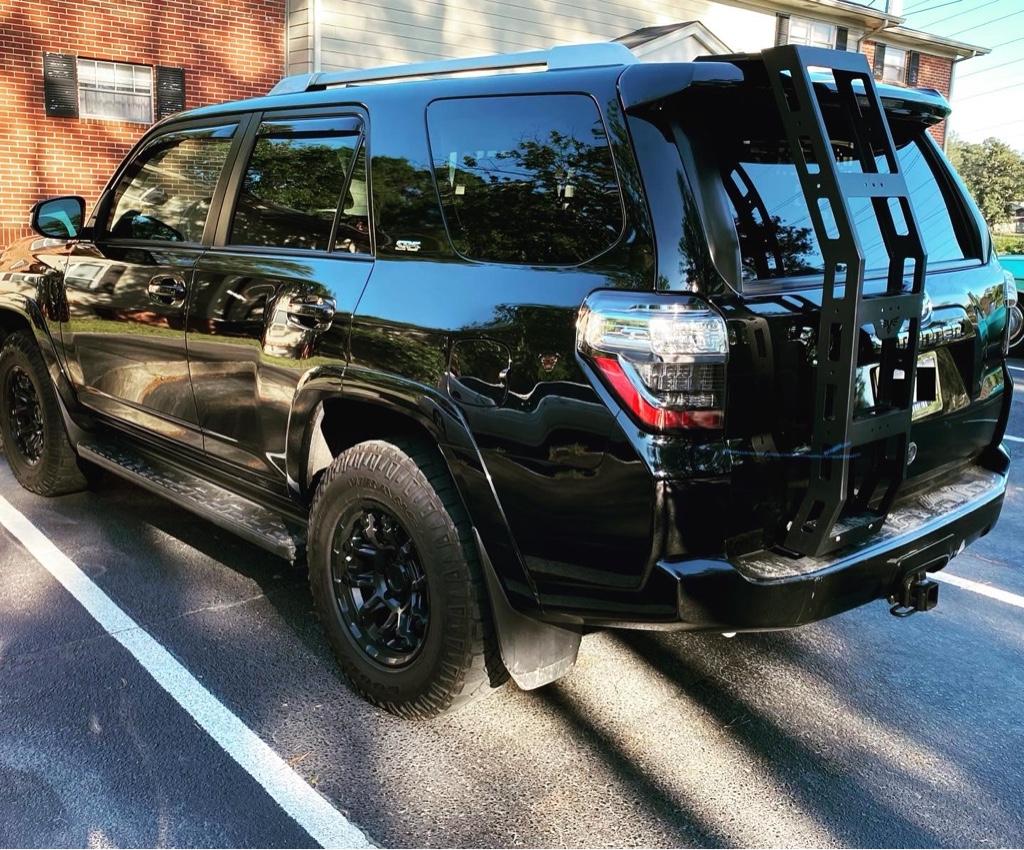
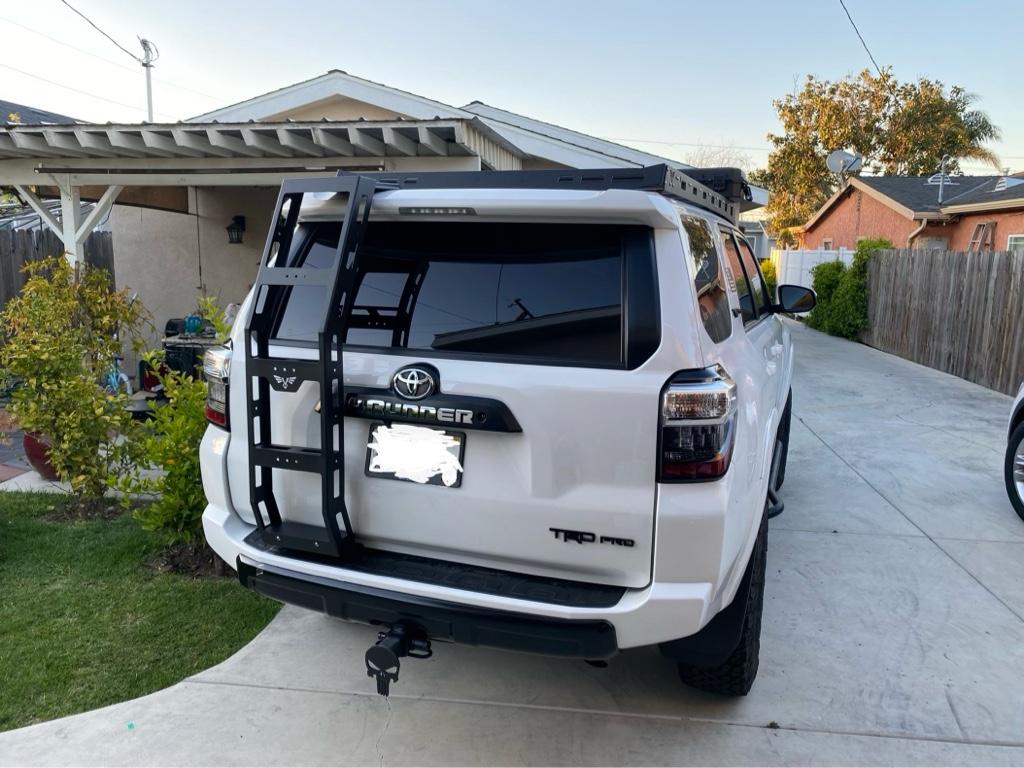
Victory 4x4 Hatch Ladder Prototyping

^^Looks great! I definitely prefer the look of the side rails on the Victory one!

Did you need to upgrade the hood struts?

Can someone photoshop this on a classic silver? I'm thinking of trading in my 2015 and trying to decide on my next color.
 
Last edited:
^^Looks great! I definitely prefer the look of the side rails on the Victory one!

Did you need to upgrade the hood struts?

Can someone photoshop this on a classic silver? I'm thinking of trading in my 2015 and trying to decide on my next color.

No, it’s only recommended if you’ll be carrying gear off the ladder. I will upgrade them eventually!
 
^^Looks great! I definitely prefer the look of the side rails on the Victory one!

Did you need to upgrade the hood struts?

Can someone photoshop this on a classic silver? I'm thinking of trading in my 2015 and trying to decide on my next color.

Close-ish. Hope this helps.
 

Attachments

  • V4RLDR-5G_silver.jpg
    V4RLDR-5G_silver.jpg
    92.8 KB · Views: 528
Also, install was super easy if you read the doc carefully. A video guide would be more efficient. The bottom bracket on the doc shows slotted top holes for ladder mounting whereas mine came with normal holes. I would preferred the slotted holes to make fitting/alignment easier
 
Also, install was super easy if you read the doc carefully. A video guide would be more efficient. The bottom bracket on the doc shows slotted top holes for ladder mounting whereas mine came with normal holes. I would preferred the slotted holes to make fitting/alignment easier

Glad it went well. We plan to make an install video as soon as we can get back to work! The slots were moved from the bracket to the bottom of the ladder instead, so you have the same adjustability, they are just hidden now.
 
Glad it went well. We plan to make an install video as soon as we can get back to work! The slots were moved from the bracket to the bottom of the ladder instead, so you have the same adjustability, they are just hidden now.

I figured the video would be coming once things are normal! Ah cool. I thought they might have originally been in both places. Wasn’t really an issue though. This look is probably cleaner anyways!
 
Also, install was super easy if you read the doc carefully. A video guide would be more efficient. The bottom bracket on the doc shows slotted top holes for ladder mounting whereas mine came with normal holes. I would preferred the slotted holes to make fitting/alignment easier


Odd, mine has slots on the top and the bottom.


Sent from my iPhone using Tapatalk
 
I got mine yesterday, installed in about an hour as well. Only thing I think it was missing was some rubber on the ladder itself where it touches the vehicle. Those parts will definitely get some movement, rub, and eventually scratch up and rust. But we improvised, and put some pieces in the way.
3b93f6177dabf540bd7b25284583562e.jpg

b34117d18cfe15539966f046eda4d463.jpg


Sent from my iPhone using Tapatalk
 
5cc8332256b8be4057e9bb386e6ff017.jpg

6167dbc3ddcca4a5ad07c21c64335357.jpg

I am not the most crafty with tools. This entire set up will take approximately 45-60 mins. Great craftsmanship and directions that are easy on the eyes. From top to bottom I have one complaint. I wish there was extra hardware. Just in case there was a miscount at the warehouse. With that being said, I had each and every piece of hardware. Maybe that’s their secret to keeping their prices so low, keep a meticulous count of every piece.


Sent from my iPhone using Tapatalk
 
I got mine yesterday, installed in about an hour as well. Only thing I think it was missing was some rubber on the ladder itself where it touches the vehicle. Those parts will definitely get some movement, rub, and eventually scratch up and rust. But we improvised, and put some pieces in the way.
Sent from my iPhone using Tapatalk
What did you use between the mounting bracket “hooks” and the hatch to prevent rubbing and eventual rust?

Wish I was having an easy go installing my ladder. I’m going to try a third time, but my top bracket refuses to stay tight to the hatch. I’m extremely anal and good with my hands and tool use. I followed the instructions, but I’m not having any luck. In the past I’ve installed the Victory winch bumper and Warn winch, Victory roof rack, Victory sliders (with KDSS), Victory Molle rear window panels and my Dobinsons lift plus years of working on all my cars, trucks and boats. This simple ladder install is kicking my butt!

 
The 3M tape was so thick it just hovers over the lift gate. Initially, I pull the hooks tight over the top of the rear door and held tightly until I lowered the 3M tape onto the body. Once the tape was set, the thickness of the tape allows the hooks to simply hover over the rear door. Close but no contact.


Sent from my iPhone using Tapatalk
 
Whatever the issue contact Corey. He will walk you through. I was very reluctant to drill into the body. This was one of the things that turned me off about the ladder assembly. I measured 4x, and I cut once. I was pleasantly surprised by the end result.


Sent from my iPhone using Tapatalk
 
Whatever the issue contact Corey. He will walk you through. I was very reluctant to drill into the body. This was one of the things that turned me off about the ladder assembly. I measured 4x, and I cut once. I was pleasantly surprised by the end result.


Sent from my iPhone using Tapatalk
Thanks for the post. Didn't realize that drilling was involved for this install.
 
What did you use between the mounting bracket “hooks” and the hatch to prevent rubbing and eventual rust?

Wish I was having an easy go installing my ladder. I’m going to try a third time, but my top bracket refuses to stay tight to the hatch. I’m extremely anal and good with my hands and tool use. I followed the instructions, but I’m not having any luck. In the past I’ve installed the Victory winch bumper and Warn winch, Victory roof rack, Victory sliders (with KDSS), Victory Molle rear window panels and my Dobinsons lift plus years of working on all my cars, trucks and boats. This simple ladder install is kicking my butt!

I used the edge trip that it came with. The instructions tell you to use it there. The only part I had to improvise was the the near bottom of the latter that touches the hatch right above the very bottom of the ladder.
 
Here are some pics for example. The left side isn’t touching so the piece is there just in case of rub.
fd32a5e4b0d9ec3b49cf9c7520fcddf1.jpg

b1d386d8708e44db8b6b2a37bb0253cf.jpg

c2ee32de5f0027200c2a035b6aae49ef.jpg


Sent from my iPhone using Tapatalk
 
I used the edge trip that it came with. The instructions tell you to use it there. The only part I had to improvise was the the near bottom of the latter that touches the hatch right above the very bottom of the ladder.

Are you saying that you used two small pieces of the longer thin edge trim on the hatch edge under the two hooks on the top bracket?

Unless I’m reading the instructions incorrectly, they don’t mention using anything between the small hooks on the top bracket and the hatch.

Here’s instruction number 2:
“2. Cut the smaller edge trim in half and install it on the bottom edges of the top bracket. Place the 3M tape squares across the front-most section of the bracket and remove the masking film. Measure 4.5” from the far left edge of the rain gutter as shown. Making sure that the hooked portion of the bracket is wrapped down around the tailgate and pulled backward as tight as possible, stick the top bracket down with the tape. You will want to make sure the hooked portion hugs the tailgate as closely as possible, so that it does not hit the body when the tailgate is opened.”

The smaller edge trim is the shorter thick one and it goes under the two side edges of the top bracket. Mine came pre cut into two short pieces.

The longer thinner trim was meant to go under the bottom bracket to protect the hatch bottom edge. Mine extended well beyond the bottom bracket.

I didn’t put anything under the ”hooks” at the top.

Am I missing something?
 
Here are some pics for example. The left side isn’t touching so the piece is there just in case of rub.
fd32a5e4b0d9ec3b49cf9c7520fcddf1.jpg

b1d386d8708e44db8b6b2a37bb0253cf.jpg

c2ee32de5f0027200c2a035b6aae49ef.jpg


Sent from my iPhone using Tapatalk


This is exactly what i was wondering about if anyone else had the same issue. I will have to go find something like this to use as well
 
Are you saying that you used two small pieces of the longer thin edge trim on the hatch edge under the two hooks on the top bracket?

Unless I’m reading the instructions incorrectly, they don’t mention using anything between the small hooks on the top bracket and the hatch.

Here’s instruction number 2:
“2. Cut the smaller edge trim in half and install it on the bottom edges of the top bracket. Place the 3M tape squares across the front-most section of the bracket and remove the masking film. Measure 4.5” from the far left edge of the rain gutter as shown. Making sure that the hooked portion of the bracket is wrapped down around the tailgate and pulled backward as tight as possible, stick the top bracket down with the tape. You will want to make sure the hooked portion hugs the tailgate as closely as possible, so that it does not hit the body when the tailgate is opened.”

The smaller edge trim is the shorter thick one and it goes under the two side edges of the top bracket. Mine came pre cut into two short pieces.

The longer thinner trim was meant to go under the bottom bracket to protect the hatch bottom edge. Mine extended well beyond the bottom bracket.

I didn’t put anything under the ”hooks” at the top.

Am I missing something?


1297c813f62a3cb4de1e9715b6216c12.jpg


de009eca819ea08f538518331d1429f8.jpg


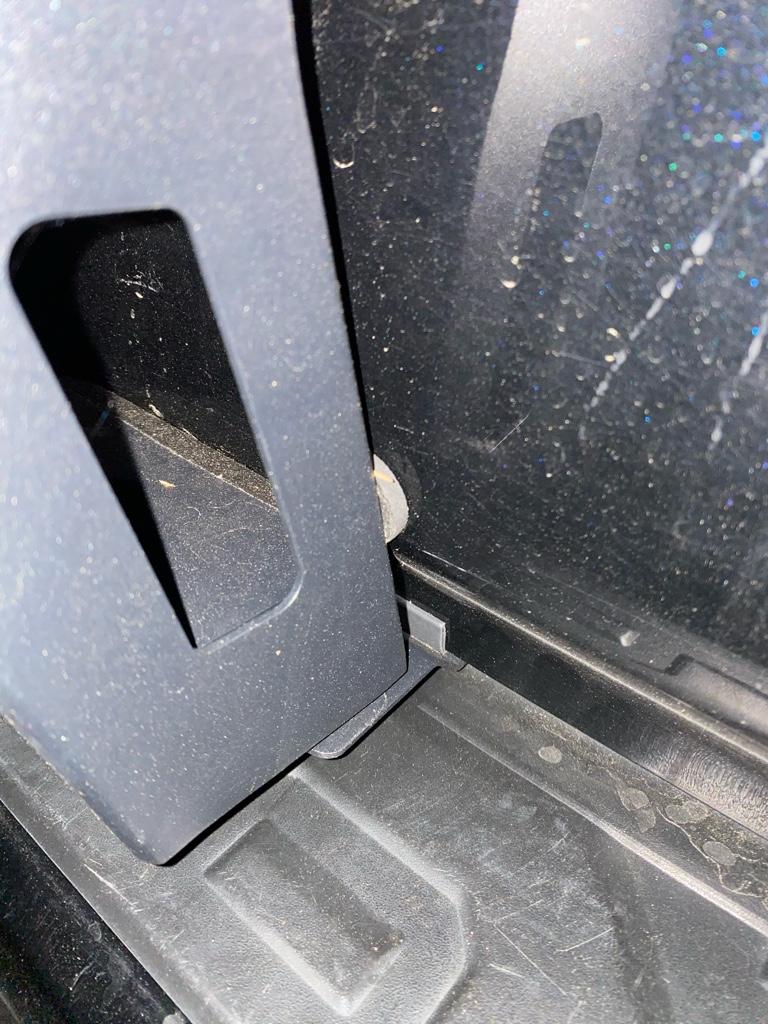
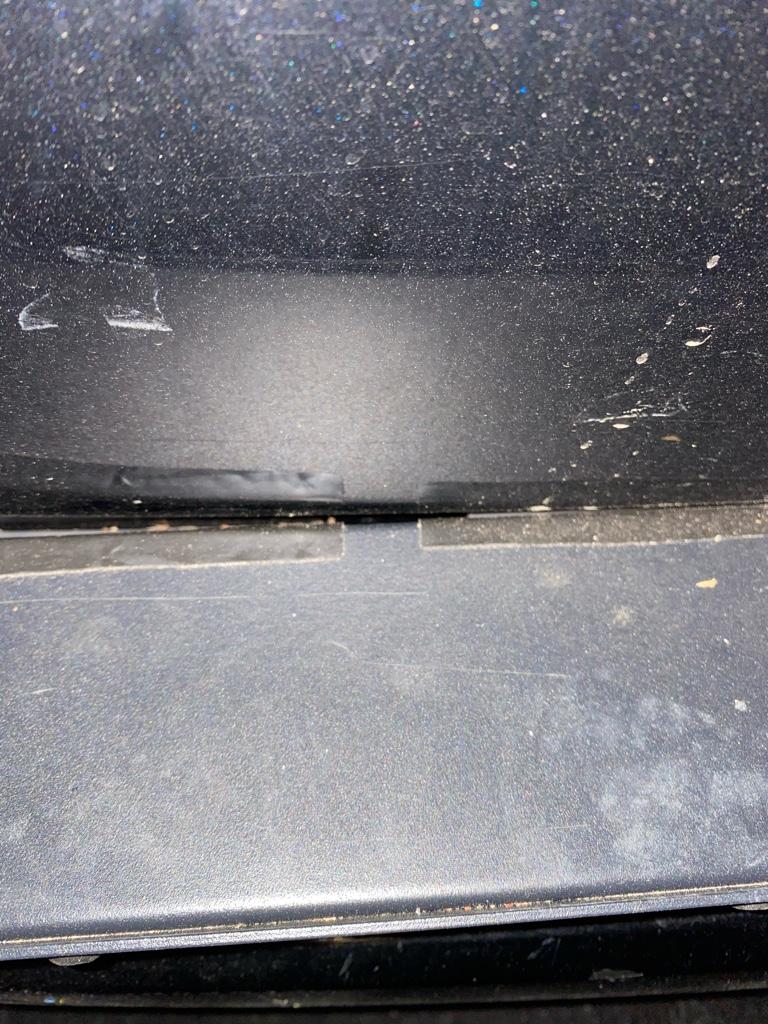
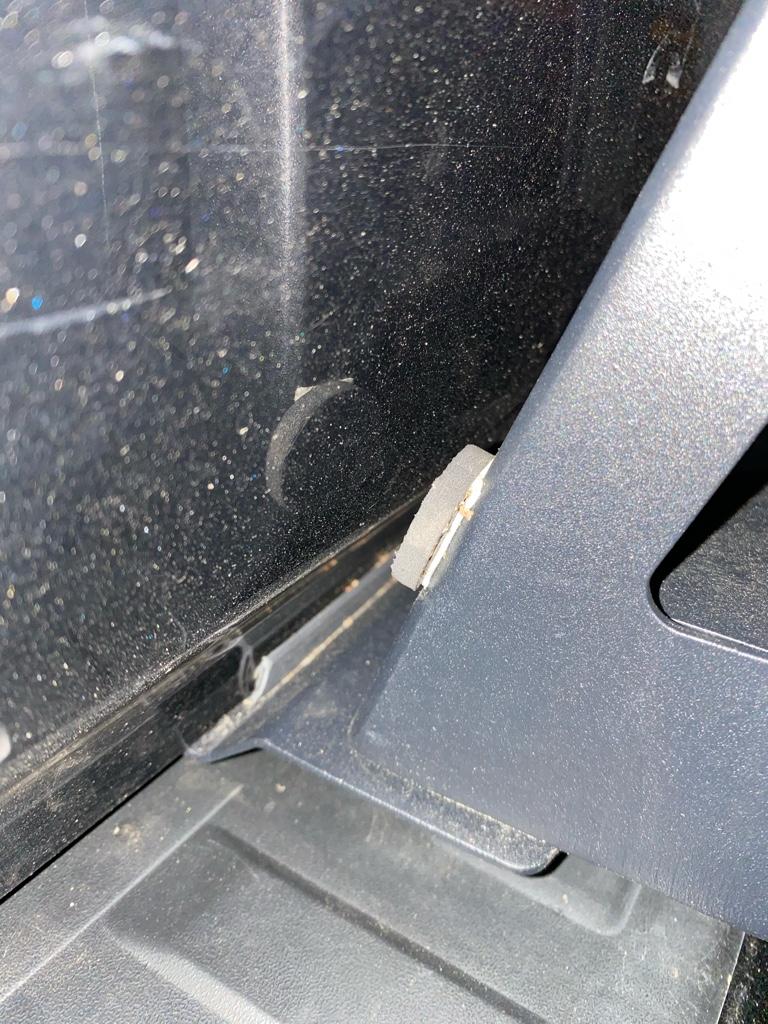
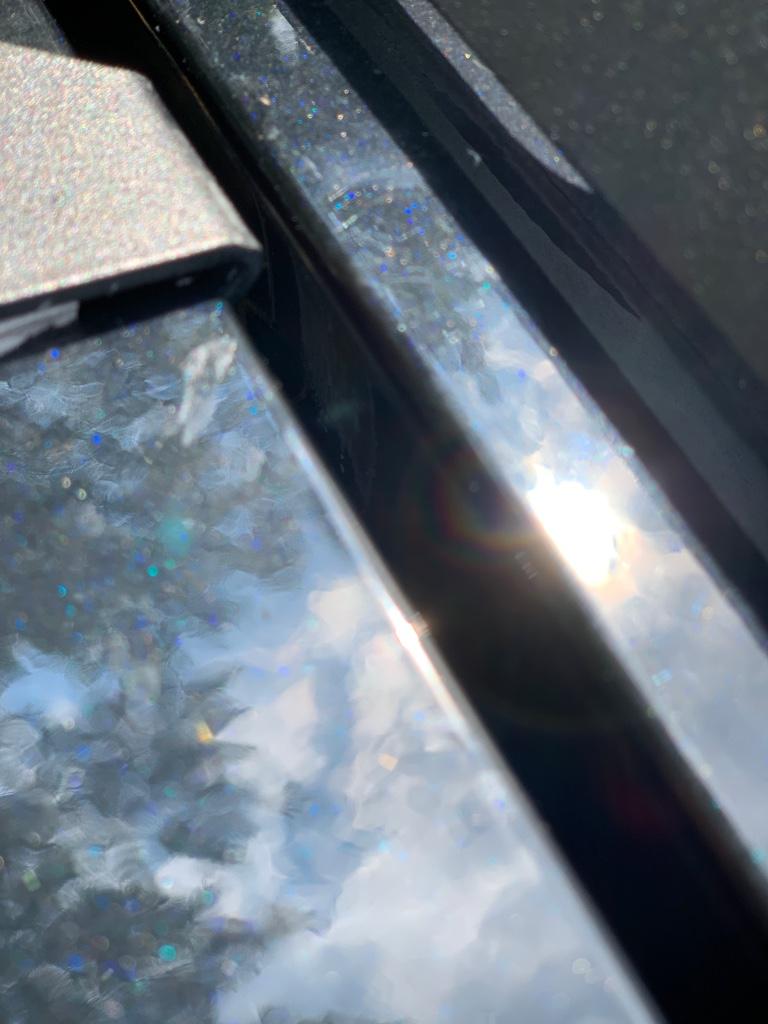
any help would be great the passenger side hook rubs against the body on the inside curve.

does anyone else have this issue? i’ve pulled it as tight as it goes and stuck it but still seems to rub against the body which i’m sure will cause rust [emoji26]


Sent from my iPhone using Tapatalk
 

Members online

Forum statistics

Threads
278,315
Messages
3,554,104
Members
248,016
Latest member
Advally Service

Trending content

Back
Top