Jon
New member
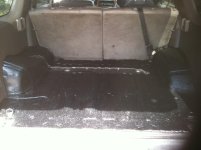
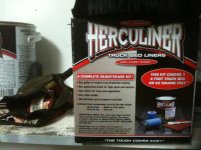
First of all, I'm a big fan of Herculiner. I've used it to coat my fender, side skirts and cargo area already. My carpet was toast after a little run in with some water so I had to decide to either replace the carpet or lay down some Herculiner (thanks to those who posted on that thread). I decided to go through with it. A quick run to Advance Auto and I had my Herculiner kit and extras totaled out to about $100.
ITEMS REQUIRED
Herculiner Kit ($90)
Paint roller tray ($6)
Drill type paint mixer ($4)
Coarse sanding sponge ($4)
10, 12 and 14mm sockets
Philips screw driver
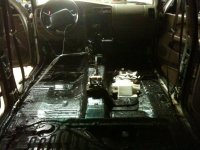
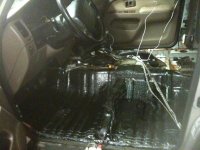
Removing the interior is pretty simple.
Front seats have (4) 14mm bolts and electrical connections if you have power/heated seat.
Rear seat comes out in one piece with (8) 12mm bolts
Pull all four floor door moldings
Pull front kick panels, center seat belt cover and rear bottom corner molding.
Center console comes apart with a few Philips screws on the sides and (2) 10mm bolts inside the armrest.
The area of application will have to be clean dry and roughed up with the coarse sanding sponge or sand paper.
I'm going to reuse the door moldings so it is not necessary to tape the wires. I came to this conclusion half way through so the driver's side is taped all the way down, it was a waste of time.
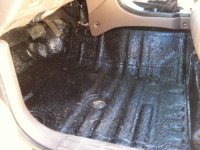
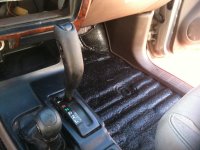
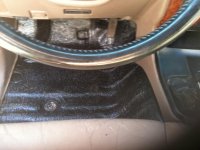
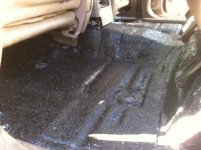
Now for the fun part! Mix the Herculiner up real good cuz all hardening agent is at the bottom. From there on it's just like painting. Big spots are covered with the roller and cut in with the brush. When using the brush, use a stabbing motion instead of strokes. Allow a couple hours for drying and apply a second coat and 3rd if necessary.
Warning: these fumes are toxic and will make you loopy!:frog::bravo::lol::cheers: arty: Do this in a well ventilated area. Your Runner will smell like a$$ for a week even if you ride with the windows down but the smell will dissipate eventually. I cant wait to see what it looks like with the trim and seats all back in! I'd allow at least 24hrs before driving. I'm done with the first coat now...
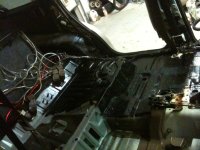
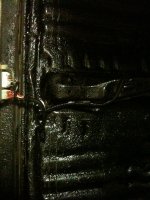
already had rear Herculined
ITEMS REQUIRED
Herculiner Kit ($90)
Paint roller tray ($6)
Drill type paint mixer ($4)
Coarse sanding sponge ($4)
10, 12 and 14mm sockets
Philips screw driver
Removing the interior is pretty simple.
Front seats have (4) 14mm bolts and electrical connections if you have power/heated seat.
Rear seat comes out in one piece with (8) 12mm bolts
Pull all four floor door moldings
Pull front kick panels, center seat belt cover and rear bottom corner molding.
Center console comes apart with a few Philips screws on the sides and (2) 10mm bolts inside the armrest.
The area of application will have to be clean dry and roughed up with the coarse sanding sponge or sand paper.
I'm going to reuse the door moldings so it is not necessary to tape the wires. I came to this conclusion half way through so the driver's side is taped all the way down, it was a waste of time.
Now for the fun part! Mix the Herculiner up real good cuz all hardening agent is at the bottom. From there on it's just like painting. Big spots are covered with the roller and cut in with the brush. When using the brush, use a stabbing motion instead of strokes. Allow a couple hours for drying and apply a second coat and 3rd if necessary.
Warning: these fumes are toxic and will make you loopy!:frog::bravo::lol::cheers:
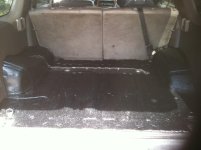
arty: Do this in a well ventilated area. Your Runner will smell like a$$ for a week even if you ride with the windows down but the smell will dissipate eventually. I cant wait to see what it looks like with the trim and seats all back in! I'd allow at least 24hrs before driving. I'm done with the first coat now...already had rear Herculined
Attachments






Last edited: