What Did You Do To Your 3rd Gen Today?

Status
Not open for further replies.
7a22a1bcb4ac78d755490205c3935b6a.jpg
08b078e28d1cf117242e7189c226de0d.jpg

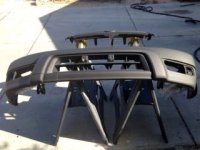
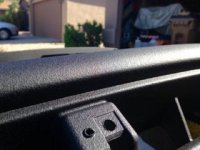
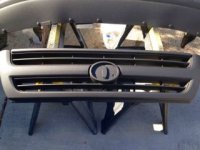
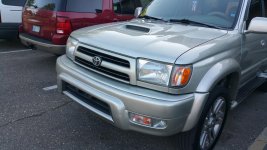
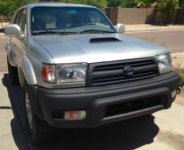
plasti dipped grill and bumper
 
Painted grille and front bumper. Sanded, primed and bed liner spray. Debating doing the scoop on my sport hood but can't get it off cause the studs are stripped.
 

Attachments

  • IMG_0457.jpg
    IMG_0457.jpg
    19.6 KB · Views: 551
  • IMG_0459.jpg
    IMG_0459.jpg
    19.7 KB · Views: 536
  • IMG_0456.jpg
    IMG_0456.jpg
    19.8 KB · Views: 550
changed both diff oils and transfer case, lubed the two drive shafts
crawled around underneath and admired how well these things are built
 
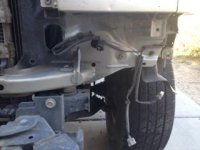
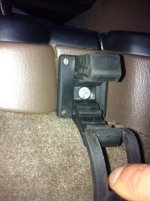
Anyone have an idea what the black plug top center of picture is for? Found it while removing Bumper. Looks factory.
 

Attachments

  • IMG_0461.jpg
    IMG_0461.jpg
    18.4 KB · Views: 532
Anyone have an idea what the black plug top center of picture is for? Found it while removing Bumper. Looks factory.

hmm. mysterious. page 1844 of the 2002 T4R FSM has an "ambient temperature sensor (auto ac)" thing plugged into a plug that is pretty much in that position. does your truck have auto ac? ours does, so that plug may be hooked up to the "OUT/T" button and other stuff.
 
hmm. mysterious. page 1844 of the 2002 T4R FSM has an "ambient temperature sensor (auto ac)" thing plugged into a plug that is pretty much in that position. does your truck have auto ac? ours does, so that plug may be hooked up to the "OUT/T" button and other stuff.

Nope no Auto AC. Interesting info though.
 
[MENTION=79156]aeroneer1[/MENTION] I read a few other posts about people doing them on NA engines and it really is just removing a slight obstruction for the incoming air; could only help imo although not nearly as much as if it was SC'd. Really, I already had access to it with me taking the throttle body off to clean behind it, so it was just a a couple extra minutes with a dremel.
 
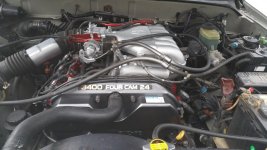
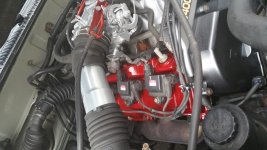
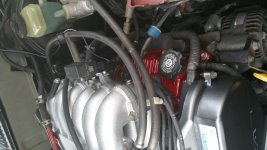
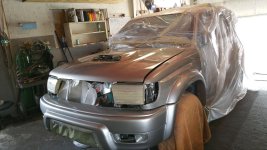
Valve cover replacement and trow some TLC to the engine and after finish that decide to repaint the front end thanks to Surfrunner for the scoop insert.:yield:
 

Attachments

  • 20150416_191024.jpg
    20150416_191024.jpg
    138 KB · Views: 490
  • 20150416_191030.jpg
    20150416_191030.jpg
    138.2 KB · Views: 462
  • 20150416_191034.jpg
    20150416_191034.jpg
    133.5 KB · Views: 521
  • 20150425_153759.jpg
    20150425_153759.jpg
    138.7 KB · Views: 487
  • 20150430_191842.jpg
    20150430_191842.jpg
    139.9 KB · Views: 461
Took out my Subaru Compass and put in my two Thermostats. DON'T JUDGE THE MOUNT PLATE! IT'S TEMPORARY!!!! I want to see how and if these last. If they hold up, I'll get a digital water temp and put in between them and make a new mounting plate for them hopefully on a C&C machine so it's nice and clean looking. The one on the left is cabin temp, the right is the engine compartment temp.

20150508_155046_zpsrlzqys38.jpg~original


20150508_154701_zpsjhdnyfmk.jpg~original


Ran the engine compartment probe through here (copper wire is what I taped it to and pulled it through).

20150508_141237_zpsgvdrgla8.jpg~original


That is right behind the glove compartment, so it's a perfect distance. I zip tied the probe on that support bracket holding the wiring harness to the right.



would it fit three gauges
id like to see, amp, oil pressure and trans temp
 
[MENTION=79156]aeroneer1[/MENTION] I read a few other posts about people doing them on NA engines and it really is just removing a slight obstruction for the incoming air; could only help imo although not nearly as much as if it was SC'd. Really, I already had access to it with me taking the throttle body off to clean behind it, so it was just a a couple extra minutes with a dremel.

what you talking about, something I can do to help my yota breathe if I have to take off my throttle body
(think Im having trouble with my IAC)
 
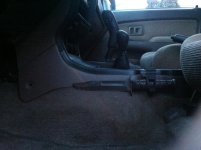
yes... but how did you mount your ka-bar? what's that clip? bolted or sticky-taped? are you happy with ease of access?

The clip is the Small QuickFist. You can order them online or since your in Seattle head out to Mule Expedition Outfitters. That's where I bought mine last year when I was living in Lower Queen Ann. I actually bought the QuickFist kit which was $40 for a bunch of different sizes. I have my shovel, ax, and fire extinguisher mounted with them along with the Ka-bar.

Where the ka-bar is mounted there is already a screw there, remove that and get one that is a bit longer for a better bite to make up the difference that the rubber mount takes up. Luckily I had one in my tool box. Simply use a washer (they usually come with little rectangle black washers) and longer screw in the existing hole there on the trim and your done! Took me all of 5 minutes to do.

I can get to the knife quickly and remove it. Its hidden so you cant tell its there when I'm sitting in the drivers seat as well. Here are some pictures from when I first installed it. I have since turned the blade the other way.
 

Attachments

  • IMG_4246.jpg
    IMG_4246.jpg
    141.2 KB · Views: 462
  • IMG_4247.jpg
    IMG_4247.jpg
    135.3 KB · Views: 469
Reinstalled my front sway bar with ES bushings on the end links. Couldn't use the sway bar bushings themselves because they are too big for the stock brackets! Wish I knew that before I wasted $30 on them.
Installed a rear diff breather extension, changed the front diff fluid and painted and reinstalled my front skid plate.
The hilux snorkel I order arrived today but won't be going on the truck til I get back from a couple weeks of work.
 
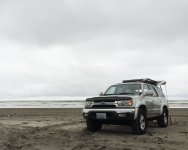
Back together. Got the scoop painted to match. Next step is wheel flares then back bumper.
 

Attachments

  • IMG_0462.jpg
    IMG_0462.jpg
    20.8 KB · Views: 679
Status
Not open for further replies.

Members online

Forum statistics

Threads
278,316
Messages
3,554,120
Members
248,016
Latest member
Advally Service

Trending content

Back
Top