What Did You Do To Your 3rd Gen Today?

Status
Not open for further replies.
It's a very useful mod for the pre-99 4Runners. My recent writeup still has working pictures I think - http://www.toyota-4runner.org/3rd-g...roof-console-dash-bezel-upgrades-my-97-a.html.

I would recommend getting the back mounting bracket that came with the donor console, then nothing will be flimsy and you would not have had to trim the console.

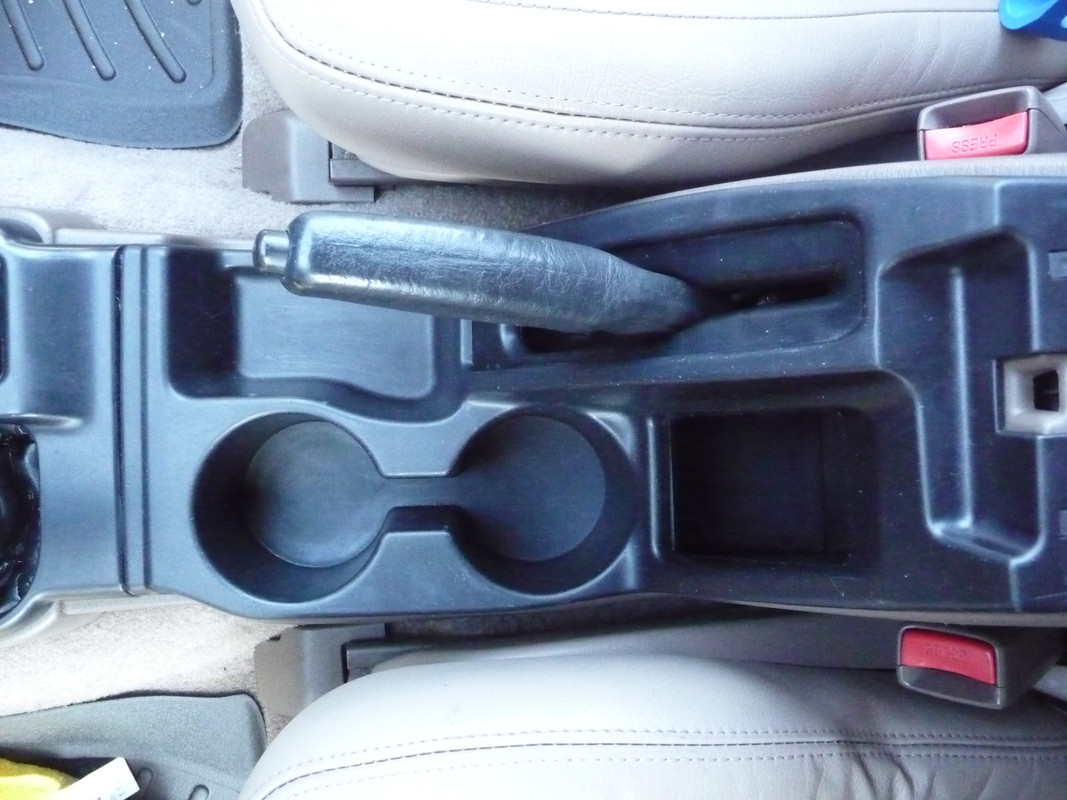
Thanks, there is one at the junkyard I am thinking of trying to salvage. I am wondering what is in that space behind the cup holders. Couldn't you put the switches there?

P1020936.jpg
 
Thanks, there is one at the junkyard I am thinking of trying to salvage. I am wondering what is in that space behind the cup holders. Couldn't you put the switches there


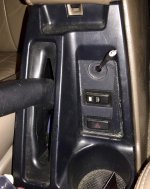
This is a bite off [MENTION=74071]Brilliant[/MENTION] OEM style switch mod, but that space def screams “put switches here”
.
 

Attachments

  • C716A690-9D1E-426C-8185-E2E20FA7C80C.jpg
    C716A690-9D1E-426C-8185-E2E20FA7C80C.jpg
    135.9 KB · Views: 416
I haven't changed my rear shocks yet. I know there is no chance that upper bolt is coming off. What about cutting the shock off from below with a disc?

That is what I did, you will need to cut above the step in shaft that holds bushings
in place, make your cut through rubber and you have it.
 
I'm tall enough to get my hand over the top and close it by the license plate bezel, no finger prints at all [emoji140]

Tried [MENTION=95183]octanejunkie[/MENTION]'s suggestion - genius! That license plate bezel was MADE for pulling down the tailgate, especially for those of us with the he-man 6815 Strongarm supports!

Thanks for the suggestion!
 
Tried [MENTION=95183]octanejunkie[/MENTION]'s suggestion - genius! That license plate bezel was MADE for pulling down the tailgate, especially for those of us with the he-man 6815 Strongarm supports!

Thanks for the suggestion!
Lol brother can spare a CV?

I also forgot to mention the other value of the rear license plate bezel, it's a key holder too

When you want to open the rear hatch without unlocking the entire vehicle, unlock and leave your key in the lock, open the hatch leaving your keychain in the bezel. The bezel acts as a basket for you keys protecting the paint on the hatch. Close door, lock the hatch and remove keys lol
 
Last edited:
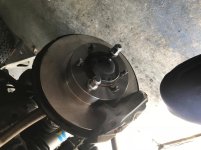
Yesterday it was lbj’s and end links, today it was front brakes..new pads/ rotors
 

Attachments

  • B2B676E9-F487-4759-A265-72B62A905A06.jpg
    B2B676E9-F487-4759-A265-72B62A905A06.jpg
    133.1 KB · Views: 517
Took a couple of days of claying, polishing and waxing but was able to finally bring some of the shine back from my ‘98.
3e1030fe2287bf94487f082b9911f352.jpg


Also, after a month of ownership I couldn’t take the lighting situation anymore. Found a very nice but inexpensive bull bar to mount some PIAA led fogs on.
c6c1ff4be5a4c87270d6b54c0657e67b.jpg

139af94e78ba410c985fb51323ce7703.jpg

174a4895aebc9ba87a24874b61e25cd5.jpg


Sent from my iPhone using Tapatalk
 
Painted my License plate holder

<a href="https://ibb.co/dLRESJ"><img src="https://preview.ibb.co/mB7zuy/IMG_7708.jpg" alt="IMG 7708" border="0" /></a>
 
Over the last couple days I changed my fan clutch according to Timmy's video. Being in the rust belt, the 4 nuts didn't come off so easy. For the 4th bolt I was lazy and tried to loosen it while it was down in the 6 o'clock position, I didn't feel like bumping the motor to turn it so it was at 12. Well of course I stripped the nut head. It would be nice to find a set of wrenches that actually fit snug over the nut. These are "12 mm".

43138395232_7236402c12_z.jpg


So then I had to bump the motor to get the bolt up top. Then I had to spend half an hour hand filing the edges of the nut down to 7/16". Of course that one fit nice and snug because I checked it frequently and stopped filing when the wrench just barely squeezed on. Then it came off nice 'n easy.

42469909984_c5a14acc4d_z.jpg


So that nut is toast and the other 3 aren't so hot either, being partially rounded off by the so-called "12 mm" wrench. So I called up Toyota today and they said I could stop by and check their bucket-o-nuts but I won't have time. I found some other nuts in my own bucket-o-nuts that fit, that came from somewhere else on my 4runner LOL and I'll use those until I can get some nice new ones.

New and old fan clutch:

29316501758_a23124d11b_z.jpg


There was a lot of dust and grunge in there so I cleaned it out

43138395052_75eef808ab_z.jpg


Also all the metal on there had rust but I wasn't going to fix that so I just hit it with rust inhibitor. It will be coming off again for the timing belt job sometime in the near future. The four 10 mm nuts holding the fan to the clutch were rusty too but they are in decent shape since they came off easier and the tight fitting socket didn't round them.

While I had the space available I decided to finally do something about that ugly rust on the frame that always stares me in the face while looking in the engine bay:

29316501928_35ab206d77_z.jpg


After an hour of screwing around with the dremel I had 10" of frame cleaned off, on 2 sides:

42469909814_be537a4062_z.jpg


Primer:

43138394842_abf3f2a216_z.jpg


Final coat with Rustoleum black wheel paint which I really like for underside repair:

43138394692_42dd140222_z.jpg


It always takes me 4 x longer to do anything than it should because 1) the bolts are always rusted, and 2) I take the opportunity while stuff is off to repair rust.

At this rate I'll have the truck rust-free when I'm 94. Next up: replace clutch hydraulic cylinders (and repair rust while I'm in there).

Edit: thumbs up for anyone who can tell me how many times I said rust in this post.

 
Last edited:
A question since I haven't taken the pulleys off before: When I tightened the fan clutch nuts back on they seemed to need several rounds to get them all tight. Tightening one would cause the others to not be tight anymore.

The pulley was loose after the clutch came off but I didn't think to check if there was some kind of seat that it had to go back into nicely. I just tightened up the nuts and pushed the pulley back. Did I screw that up?
 
Over the last couple days I changed my fan clutch according to Timmy's video. Being in the rust belt, the 4 nuts didn't come off so easy. For the 4th bolt I was lazy and tried to loosen it while it was down in the 6 o'clock position, I didn't feel like bumping the motor to turn it so it was at 12. Well of course I stripped the nut head. It would be nice to find a set of wrenches that actually fit snug over the nut. These are "12 mm".

43138395232_7236402c12_z.jpg


So then I had to bump the motor to get the bolt up top. Then I had to spend half an hour hand filing the edges of the nut down to 7/16". Of course that one fit nice and snug because I checked it frequently and stopped filing when the wrench just barely squeezed on. Then it came off nice 'n easy.

42469909984_c5a14acc4d_z.jpg


So that nut is toast and the other 3 aren't so hot either, being partially rounded off by the so-called "12 mm" wrench. So I called up Toyota today and they said I could stop by and check their bucket-o-nuts but I won't have time. I found some other nuts in my own bucket-o-nuts that fit, that came from somewhere else on my 4runner LOL and I'll use those until I can get some nice new ones.

New and old fan clutch:

29316501758_a23124d11b_z.jpg


There was a lot of dust and grunge in there so I cleaned it out

43138395052_75eef808ab_z.jpg


Also all the metal on there had rust but I wasn't going to fix that so I just hit it with rust inhibitor. It will be coming off again for the timing belt job sometime in the near future. The four 10 mm nuts holding the fan to the clutch were rusty too but they are in decent shape since they came off easier and the tight fitting socket didn't round them.

While I had the space available I decided to finally do something about that ugly rust on the frame that always stares me in the face while looking in the engine bay:

29316501928_35ab206d77_z.jpg


After an hour of screwing around with the dremel I had 10" of frame cleaned off, on 2 sides:

42469909814_be537a4062_z.jpg


Primer:

43138394842_abf3f2a216_z.jpg


Final coat with Rustoleum black wheel paint which I really like for underside repair:

43138394692_42dd140222_z.jpg


It always takes me 4 x longer to do anything than it should because 1) the bolts are always rusted, and 2) I take the opportunity while stuff is off to repair rust.

At this rate I'll have the truck rust-free when I'm 94. Next up: replace clutch hydraulic cylinders (and repair rust while I'm in there).

Edit: thumbs up for anyone who can tell me how many times I said rust in this post.

You need to try a product called AeroKroil. Available at industrial supply houses. best penetrant ever. Son had a 97 ranger that came from Ohio. When you slammed the hood Rust would drop out from under. Large amounts of it. Pretty much saturated the entire underside with this stuff. Worked like a charm.
 
O'Reilly's has a sale ending today: 5-quarts of Mobil Super Synthetic for $20, either 5-qt jug or individual 1-qt containers

They also have a deal on Valvoline Synthetic with WIX filter, 5-quarts for $34 or High Mileage for $35. Upgrade to WIX XP for $4 more. Deal ends July 24th.
Get a $10 gift card with this deal via mail-in rebate (limit 2 per household) which brings this deal down to $25

FWIW, WIX filters on Amazon have gone up in price, 51348XP is now over $13
 
Last edited:
Tire rotation.

Oil change (mobil 1, thanks costco).

I got a oil filter wrench but it didn't make it any less awkward than doing by hand. Would be useful for a filter that's stuck on though.

oil.jpg


And got some small size Treds. Summit Racing has the Tred storage bags on clearance for $9 BTW.

800.jpg
 
Status
Not open for further replies.

Members online

No members online now.

Forum statistics

Threads
278,316
Messages
3,554,120
Members
248,016
Latest member
Advally Service

Trending content

Back
Top