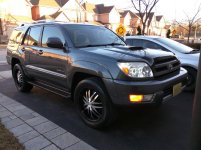
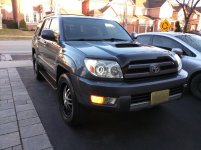
What did you do with your 4runner today?

Those look awesome! ^^

Not knocking the product or anything like that - I looked at the LED and it does indeed look like a plug and play product, it also looks very complicated - it has what looks like a resistor or something else on the wire.

Mine were only $60 and there is nothing other than the LED itself. See this Inertia L.E.D.

Unfortunately they don't make the front turn signal just yet. That's coming soon and I then I will swap mine out.
 
Those look awesome! ^^

Not knocking the product or anything like that - I looked at the LED and it does indeed look like a plug and play product, it also looks very complicated - it has what looks like a resistor or something else on the wire.

Mine were only $60 and there is nothing other than the LED itself. See this Inertia L.E.D.

Unfortunately they don't make the front turn signal just yet. That's coming soon and I then I will swap mine out.

Thanks! Actually my V3 Tritons were not difficult to install. PLug and Play. There is hyperflashing, but for only the first 0.5 seconds. $60? That's not bad. Thanks for sharing! The "amber" LEDs I was looking at were $150 (I can't bring myself to purchase rear turn signals for that price......... then of course I'm a moron so who knows...LOL).
 
f138f6f4965d5f510f986fc423bda1d2.jpg
2a51c68169b0f2f53be7fef0b5b6bd6e.jpg


Cleaned the interior a little
 
Did you just do a regular, manual bleed? How did it go? I installed new callipers and extended lines last week, but haven't had time to bleed yet.

Abs bleed for the rear. Hook up some tubing to the bleeder valve routed into a bottle. Turn key on, open valve, press brakes to push fluid through. Just make sure the reservoir is topped off and it's pretty quick. I haven't done fronts, but I believe it's the usual two person job.
 
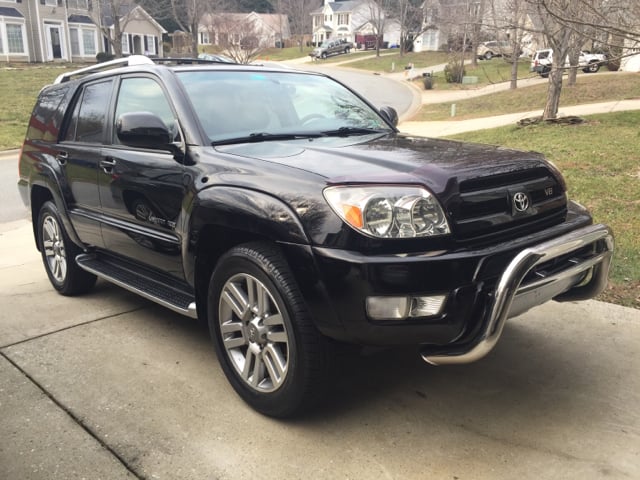
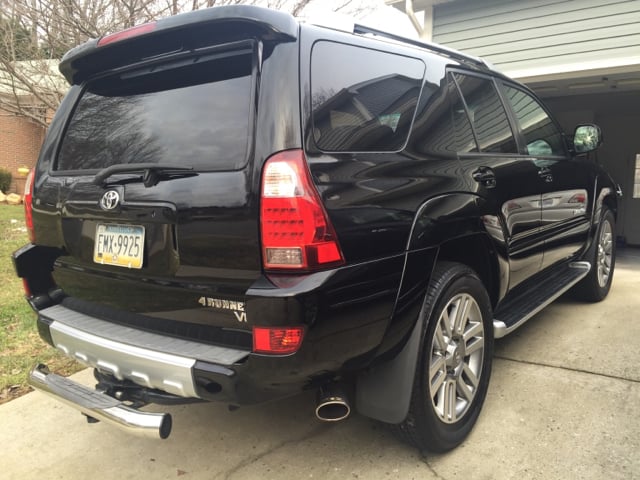
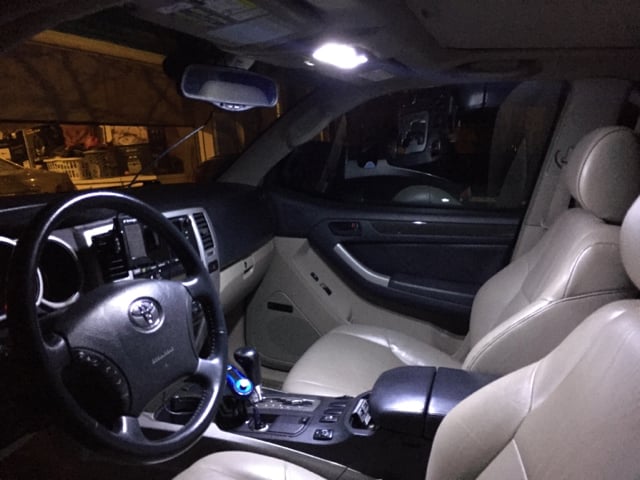
Did a wash and wax to clean off all the salt, polished and waxed the headlights, installed LEDs for the map lights, door lights, and running board lights (don't use the dome lights), and cleaned the interior.

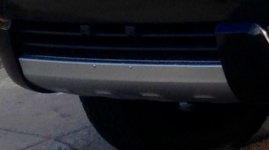
Still need to fix both fog light wires and plasti-dip the front and rear silver accents. PITA to keep a black suv clean... but so worth it after it's all cleaned up!

312136ecb7d025a9a204ef69b0fc486d.jpg
c6d04f2cb48b56db5aacad44f79551e5.jpg
b230ee067c83ca1ff1e48f9b6317f014.jpg
95090015cfd2a2f67e15249b834eea60.jpg
 
Last edited:
Just finished 'installing' RCI sliders. I put quotes around that because of how easy it was to bolt these on, I'd hardly call it an 'installation' and much more along the lines of just a quick add-on. Hopefully hitting some trails tomorrow.

Great bolt-on, easy-peezy, great quality finished product. Thanks [MENTION=90834]joshp767[/MENTION]!

Edit: upon further examination, with the sliders mounted as low as possible, I have a slight rear-door rub on both sides when opening. Not quite enough to scrape any paint off of either the door or the sliders I personally painted (maybe over time with repeated opening and closing). Nothing a little heat and bending of the very bottom of the door plastic can't fix I'm hoping. Will report back when I have time to mess with it in a week or so. I still think these sliders were a great value thus far and am impressed that's the only thing I've encountered.
 
Last edited:
Drove through an abandoned train tunnel...

<iframe width="1280" height="720" src="https://www.youtube.com/embed/8VQgfF5OIEg" frameborder="0" allowfullscreen></iframe>
 
Did a wash and wax to clean off all the salt, polished and waxed the headlights, installed LEDs for the map lights, door lights, and running board lights (don't use the dome lights), and cleaned the interior.

Still need to fix both fog light wires and plasti-dip the front and rear silver accents. PITA to keep a black suv clean... but so worth it after it's all cleaned up!

312136ecb7d025a9a204ef69b0fc486d.jpg
c6d04f2cb48b56db5aacad44f79551e5.jpg
b230ee067c83ca1ff1e48f9b6317f014.jpg
95090015cfd2a2f67e15249b834eea60.jpg


Our trucks look identical minus the wheels and badging, the LED running board lights look so fancy lol
 
Just finished 'installing' RCI sliders. I put quotes around that because of how easy it was to bolt these on, I'd hardly call it an 'installation' and much more along the lines of just a quick add-on. Hopefully hitting some trails tomorrow.

Great bolt-on, easy-peezy, great quality finished product. Thanks [MENTION=90834]joshp767[/MENTION]!

Edit: upon further examination, with the sliders mounted as low as possible, I have a slight rear-door rub on both sides when opening. Not quite enough to scrape any paint off of either the door or the sliders I personally painted (maybe over time with repeated opening and closing). Nothing a little heat and bending of the very bottom of the door plastic can't fix I'm hoping. Will report back when I have time to mess with it in a week or so. I still think these sliders were a great value thus far and am impressed that's the only thing I've encountered.

My passenger side is rubbing as well. How many carriage bolts did you get in on the driver side? I was only able to line up the holes for 1, but I think the cross member for their transfer case skid is blocking 1 or 2 more.
 
Did a wash and wax to clean off all the salt, polished and waxed the headlights, installed LEDs for the map lights, door lights, and running board lights (don't use the dome lights), and cleaned the interior.

Still need to fix both fog light wires and plasti-dip the front and rear silver accents. PITA to keep a black suv clean... but so worth it after it's all cleaned up!

312136ecb7d025a9a204ef69b0fc486d.jpg
c6d04f2cb48b56db5aacad44f79551e5.jpg
b230ee067c83ca1ff1e48f9b6317f014.jpg
95090015cfd2a2f67e15249b834eea60.jpg


Are those wheels off a Ford Explorer?

Also what LED lights did you use?
 

Members online

Forum statistics

Threads
278,316
Messages
3,554,113
Members
248,016
Latest member
Advally Service

Trending content

Back
Top