I'm 100% out of switch blanks... which is why I started using those sub-mini toggle switches. I really like those things.
You can get a lot more switches into a smaller area with those... I started installing them in a row right below the hazard light button... perfect area for switches.
I have them controlling some internal accessories, even one for the stereo system so I can turn it on without having a leave a key in the car.
For roof rack lighting, I might just keep it in a row, but a part of me thinks it would be more intuitive to lay the switches out in a + pattern so its very easy to identify front, rear, left right...
I recently replaced the stock muffler with a flowmaster super 10 series. I left the resonator on and it sounds pretty good. Now i'm just trying to convince myself I dont need the urd y pipe and headers.
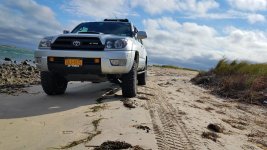
Went out to Moriches Inlet (long island NY) today to do a little fishing.. Very windy out.. not much fish.. but good lighting for pics.. Camera on the S7 edge is pretty good
I had that happen to me in a parking lot. Actually let the wheel go out far enough to split the CV axle. Don't want to even think about how scary that was at speed.
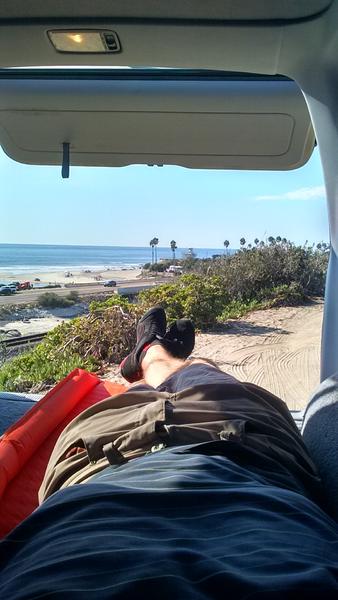
Installed 1.5" spacer on driver rear then cranked passenger front coil up to match driver side thread count. Came out just about perfectly level! Sick of waiting for my longer Fox rear shocks though, 5100s aren't made for this. Then I pulled rear seats, installed sleeping platform for this weekend at the KAT, adjusted my headlights down again. Got some Coyote Enterprises auto deflators in the mail and set them, man are they sweet, can't wait to really test them out this weekend. Calling it a day.
Installed new tie rod ends. Driver side was pretty worn/loose. Passanger side felt like new, but I have OCD and have to to everything in sets. :rofl:
Also removed LCA bolts and put never seize on them, figired may as well be safe then sorry down the road, what better time to do small stuff like that then right before an alighment.