What did you do with your 4runner today?

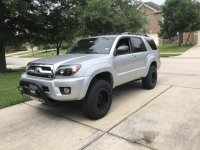
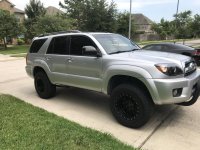
Got some new toyo open country's and took off running boards.

Hmmm..... I swear it was right side up when I parked it?

Well, there you go, Toyota designed these 4Rs with those running boards because these 4Rs are top heavy and then you take them off without adding heavy after market metal bumpers and you're surprised when you come back to where you parked it and it's upside down :redbrick:, some people will never learn!! LOL
 
Last edited:
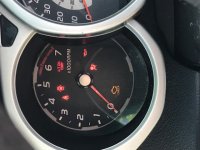
I put some miles on the ODO.
46f3b287c902d5eb69fb5051abbdca58.jpg
01f4705d0e87a0333e04127351fa42e1.jpg
e36aaa5958797b6584e10e328da417e7.jpg


Sent from my SM-N950U using Tapatalk
 
Replaced front wheel bearing assemblies and dust cover for the axles.
Also broke a wheel speed sensor in the process -_-
New one ordered and on the way!
 
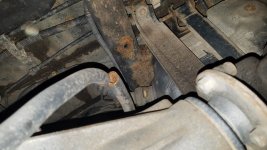
Last weekend, my cousin and I were replacing cv shafts and upper control arms on his Tacoma. While he was torquing everything up and putting the wheels back on, I took out the spare on my 4Runner and took the diff breather out, cleaned it up and put it back in. At this point, my wife called me in because she was busy with our 8-months old and the 4-year old needed some attention, so I asked my cousin to throw my spare back where it belongs. Later on he told me that he had some difficulties putting it back and I said it’s alright because that wire gets tough and I should probably replace the whole thing before it seized.

So fast forward to today. I was finally giving the 4Runner a wash today. When I was power washing underneath, I saw that the spare was hooked upside down, lol.

That’s what I did today: put my spare back the way it is supoesed to be sitting.

Nothing exciting, but I thought some of you might enjoy the “story”.
 
yotaguy674-albums-4runner-picture51369-img-20180602-183027-447.jpg


New rear brakes installed. Starting to get the loose ends tied up on the rig for our 10 day trip to Colorado and Utah in 2 weeks.:naughty:
 
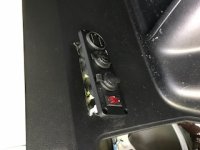
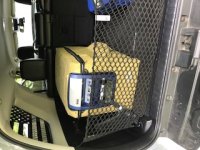
ran constant 12 volt to the back, replaced one of the plugs with the arb plug for the fridge. hole cut very easy with Dremel and the little grinder wheel. once done and cleaned up looked like it was done professionally. mind you I was crapping my pants the entire time, but I took my time and only went a little deeper with each pass. once I got deep enough I could just go all the way down. I choose this spot for easy usb charging and the fact there are too many support beams in there too. if anyone likes this cover (on the fridge) make me an offer, its basically brand new and the Velcro has never been attached. I would much prefer the blue one. also if anyone is interested, the place I got the 50 qt from sells it a lot of time for 800. it was 800 a couple weeks ago, now its not
 

Attachments

  • IMG_0810.jpg
    IMG_0810.jpg
    24.8 KB · Views: 287
  • IMG_0811.JPG
    IMG_0811.JPG
    38.3 KB · Views: 281
Last edited:
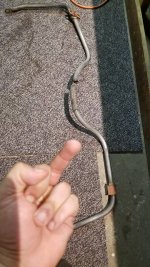
too much flexy for the stock rear sway bar.. I have no idea how long its been snapped for.. lol
 

Attachments

  • 34340969_10211822110413287_6469360301383876608_n.jpg
    34340969_10211822110413287_6469360301383876608_n.jpg
    97 KB · Views: 309
  • 34379713_10211824384670142_5012651409129078784_n.jpg
    34379713_10211824384670142_5012651409129078784_n.jpg
    122.6 KB · Views: 298
Removed the HC filter and then cleaned the throttle body and MAF sensor. Disconnected the battery to reset the ECU. Right away I noticed a quicker throttle response and it feels a lot smoother to drive now. It was pretty dirty. I’m at 123k currently and I’m sure it wasn’t cleaned before. Definitely worth the hour to do this!

Used this thread as my guide: http://www.toyota-4runner.org/maint...4th-gen-4-0l-throttle-body-cleaning-pics.html


c2ff74cc8fbe143420f86ae1d29280cc.jpg


Sent from my iPhone using Tapatalk
 
Last edited:
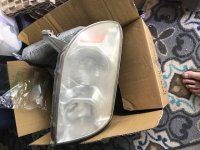
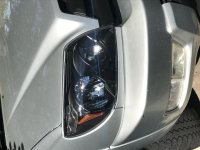
Replaced my cloudy old headlights with aftermarket black ones.

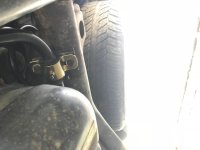
Installed rear sway bar bushings.

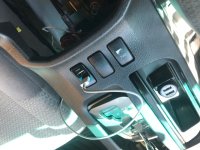
USB charge and audio port in console blank switch.

Disabled the TPMS so I don't need to look at my tire warning light.
 

Attachments

  • IMG_5925.jpg
    IMG_5925.jpg
    102.9 KB · Views: 298
  • IMG_5920.jpg
    IMG_5920.jpg
    85.9 KB · Views: 282
  • IMG_5924.jpg
    IMG_5924.jpg
    51.6 KB · Views: 293
  • IMG_5896.jpg
    IMG_5896.jpg
    106.1 KB · Views: 294
  • IMG_5921.jpg
    IMG_5921.jpg
    84.3 KB · Views: 295
Discovered my 5th gen Centric caliper has a seized piston. I knew something was wrong when it warped a brand new rotor in 20 days... :gun4::gun4:
It only lasted 18,000 miles. Any suggestions? Is it worth rebuilding or should I just buy a lifetime wearever one at advance auto...

On a plus side I ordered an Android stereo to replace my current HU... we'll see how that works out :D
 
This weekend, I installed an ARB air compressor in my engine bay, following this thread - LINK

I'm stoked with how well it turned out. Now, I just need to wire it up and I'll be done.

Bracket:

s6zvRu.jpg


Compressor on bracket:

v62RHo.jpg


And mounted in the engine bay:

kVVLhy.jpg


Anyone know where I can get a plug for the air outlet when I'm not using the compressor?
 
Today I replaced the glitchy LED fog lights with some Phillips halogens, pulled out the instrument cluster to get the part number so I can order a new one, and installed some nice and bright LED backup lights. Then I spent a damn hour working on the glove box light before I was able to get the tiny light bulb out of there. I'm going to replace it with an LED from VLEDS.

I also received a set of Bilstein shocks with 1.5" Daystar rear spacers so I can lift this truck a couple inches, level it out, and get the stance right. I'll be installing those over the next couple of days.
 

Members online

Forum statistics

Threads
278,316
Messages
3,554,111
Members
248,016
Latest member
Advally Service

Trending content

Back
Top