Troymclure
New member
So after posting a picture of my cut fenders, I had several people ask me to do a full write up on how I did it. So here it is.
1. Youre gonna wanna make a tool similar to the one shown below. Basically it is a skateboard wheel attached to a 2x2 piece of wood. I drilled a hole exactly 2in from the edge of the skateboard wheel with a 1/2'' drill bit. This allows a sharpie to slide into the hole.

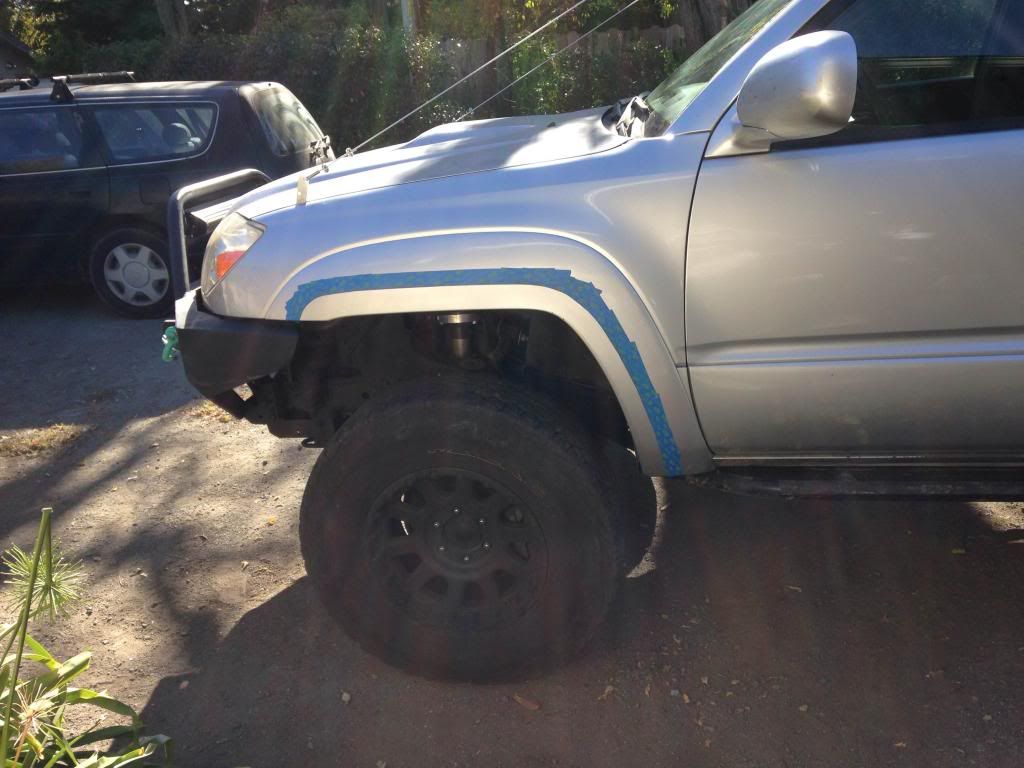
2. The tool can then be used to draw a line on the fender exactly 2'' up, making a perfect cut line. The wheel sits on the inside lip of the fender and the sharpie marks on the outside of the flare. I then used tape to make the line easier to follow.
3. Now, remove your fender liner. I just ended up ripping it out as I wasn't going to put it back in.
(I dont have pics of this, as I was freaking out about cutting my fenders, and forgot. But its pretty straight forward)
4. Next, you will want to remove the plastic flare from the metal of the fender. There are 3 or 4 bolts that hold it in and a bunch of plastic clips. Once unscrewed, just yank the flare off. Its almost guaranteed you will break every clip, but dont worry, well get to that in a bit.
5. Mark off a line to cut on the metal fender. This cut doesnt have to be perfect as the flare will hid it. Just make sure to leave about 1'' to the holes where the flare mounts.

Heres the saw I used. Its a little air saw I got from Harbor Freight for $10. It did the job wonderfully. If you do the same, just be sure pick up some non-harbor freight blades. I got mine at Home Depot. They are normal jig saw blades, with the U-shaped end.

6. Next, after making the cut on the metal, move over to the plastic flare. Follow the tape line carefully and GO SLOW. This is the cut that will be seen. After cutting, you can sand down the edges so its a nice, crisp cut.

7. Now its time to reattach the flare. I used some nylon nuts that have a square back, and fit in the holes in the plastic flare. You can then take some short #8 sheet metal screws and fender washers and screw the flare back in, without having to worry about those damn clips.


8. Finally, hit the inner fender with some black paint, I used some rust stop from Ace hardware. In retrospect I shouldve cleaned the inner fender better before painting, so Ill have to go back and hit it again.
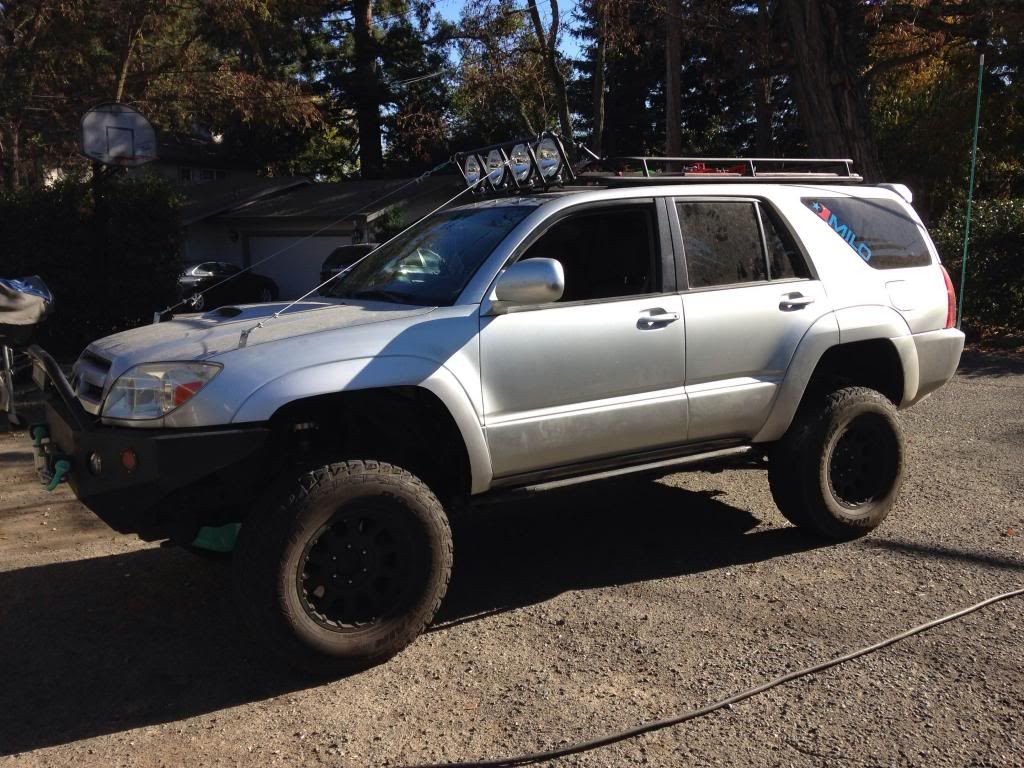
9. You're done! Enjoy your newly cut fenders and the extra clearance. My 285's look a little small now, but they are not even close to rubbing.
Heres some pics of it finished, as well as a closeup of what will show behind the cut. It basically looks just like if you remove the fender liner.

1. Youre gonna wanna make a tool similar to the one shown below. Basically it is a skateboard wheel attached to a 2x2 piece of wood. I drilled a hole exactly 2in from the edge of the skateboard wheel with a 1/2'' drill bit. This allows a sharpie to slide into the hole.
2. The tool can then be used to draw a line on the fender exactly 2'' up, making a perfect cut line. The wheel sits on the inside lip of the fender and the sharpie marks on the outside of the flare. I then used tape to make the line easier to follow.
3. Now, remove your fender liner. I just ended up ripping it out as I wasn't going to put it back in.
(I dont have pics of this, as I was freaking out about cutting my fenders, and forgot. But its pretty straight forward)
4. Next, you will want to remove the plastic flare from the metal of the fender. There are 3 or 4 bolts that hold it in and a bunch of plastic clips. Once unscrewed, just yank the flare off. Its almost guaranteed you will break every clip, but dont worry, well get to that in a bit.
5. Mark off a line to cut on the metal fender. This cut doesnt have to be perfect as the flare will hid it. Just make sure to leave about 1'' to the holes where the flare mounts.
Heres the saw I used. Its a little air saw I got from Harbor Freight for $10. It did the job wonderfully. If you do the same, just be sure pick up some non-harbor freight blades. I got mine at Home Depot. They are normal jig saw blades, with the U-shaped end.
6. Next, after making the cut on the metal, move over to the plastic flare. Follow the tape line carefully and GO SLOW. This is the cut that will be seen. After cutting, you can sand down the edges so its a nice, crisp cut.
7. Now its time to reattach the flare. I used some nylon nuts that have a square back, and fit in the holes in the plastic flare. You can then take some short #8 sheet metal screws and fender washers and screw the flare back in, without having to worry about those damn clips.
8. Finally, hit the inner fender with some black paint, I used some rust stop from Ace hardware. In retrospect I shouldve cleaned the inner fender better before painting, so Ill have to go back and hit it again.
9. You're done! Enjoy your newly cut fenders and the extra clearance. My 285's look a little small now, but they are not even close to rubbing.
Heres some pics of it finished, as well as a closeup of what will show behind the cut. It basically looks just like if you remove the fender liner.