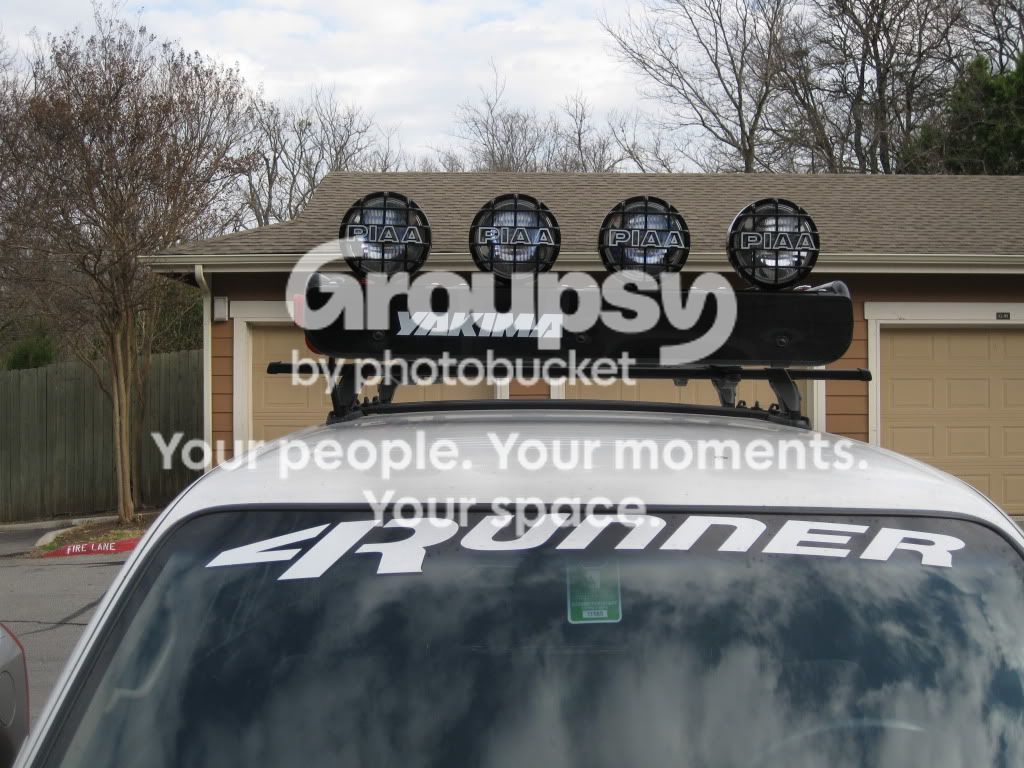
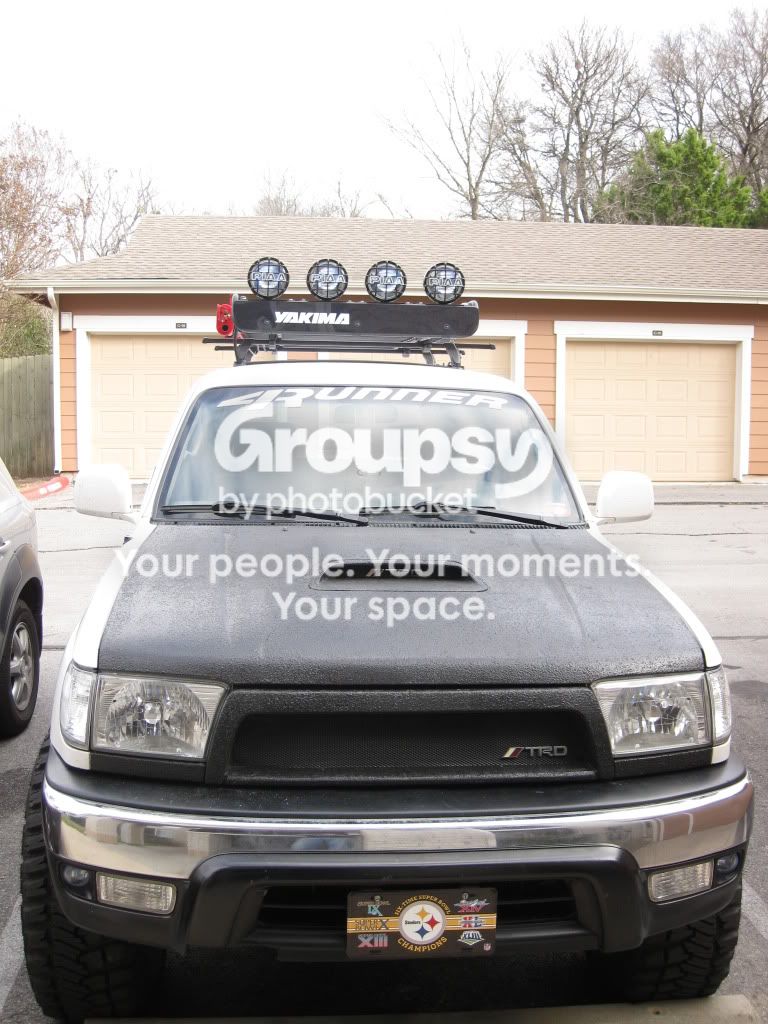
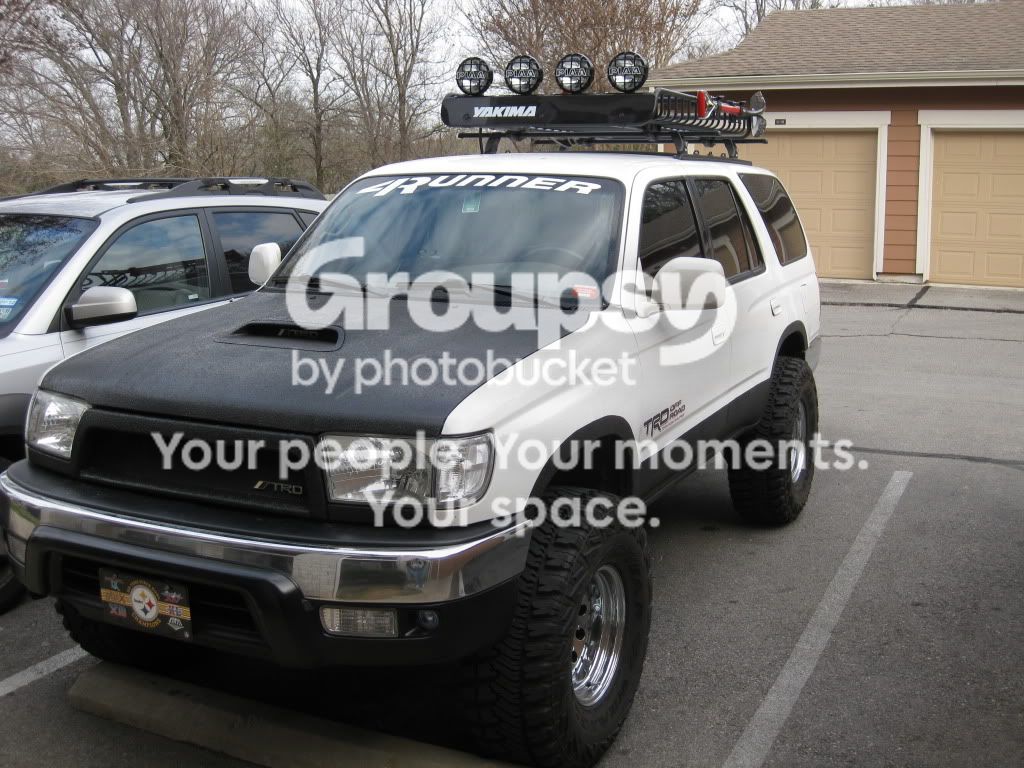
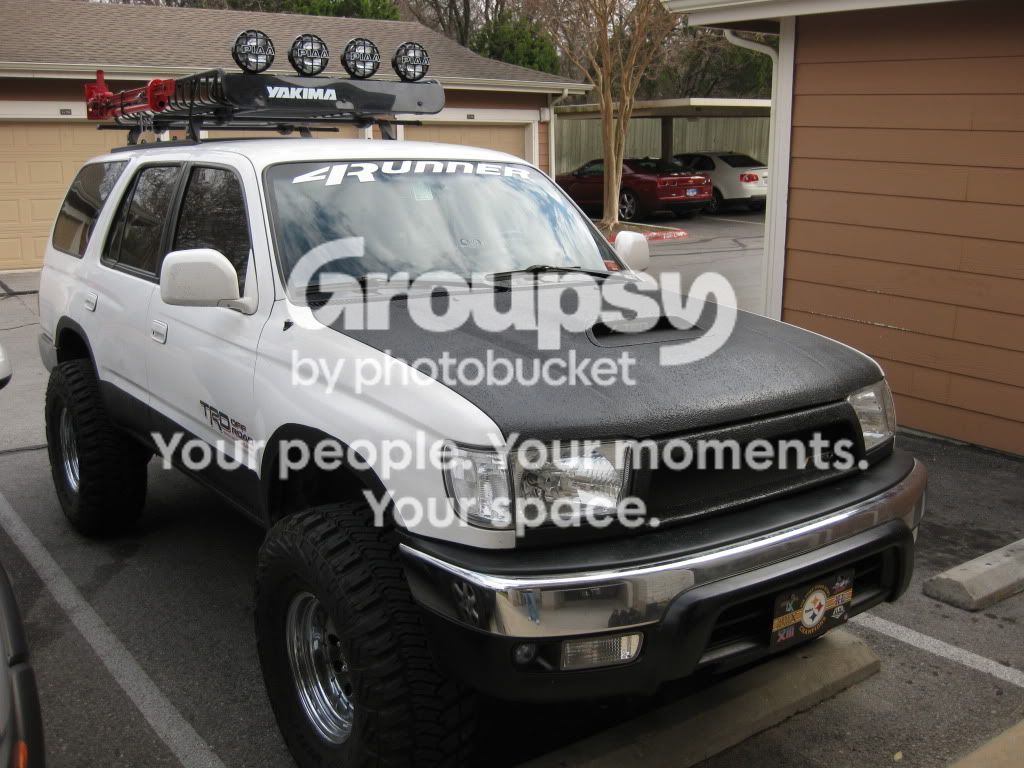
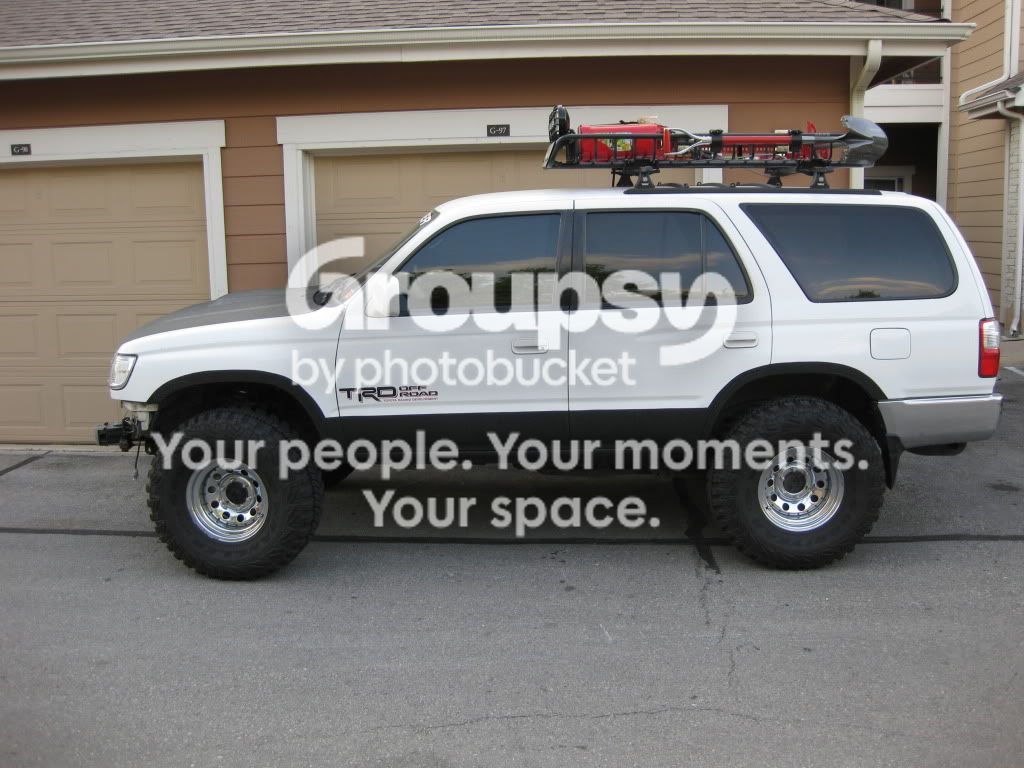
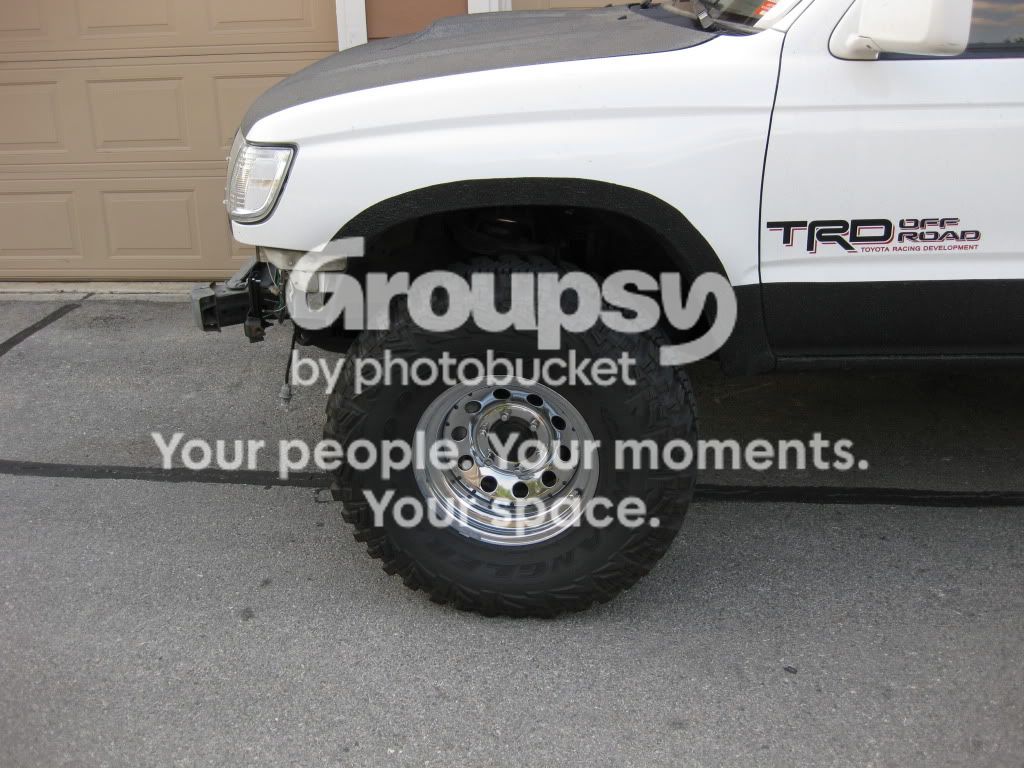
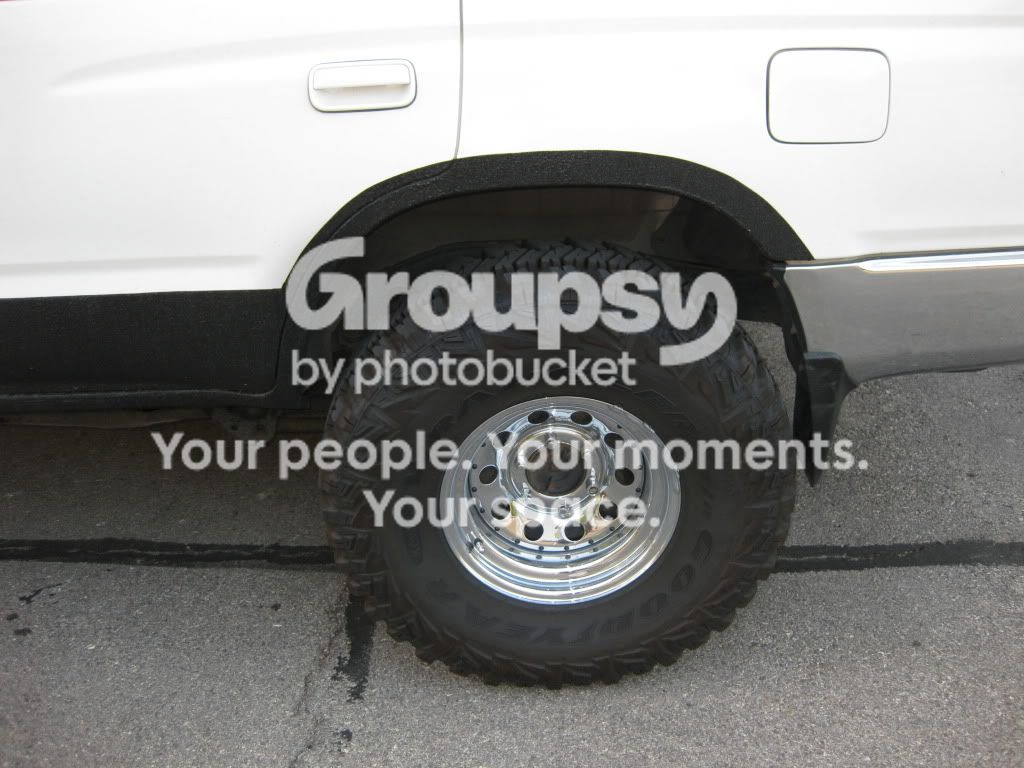
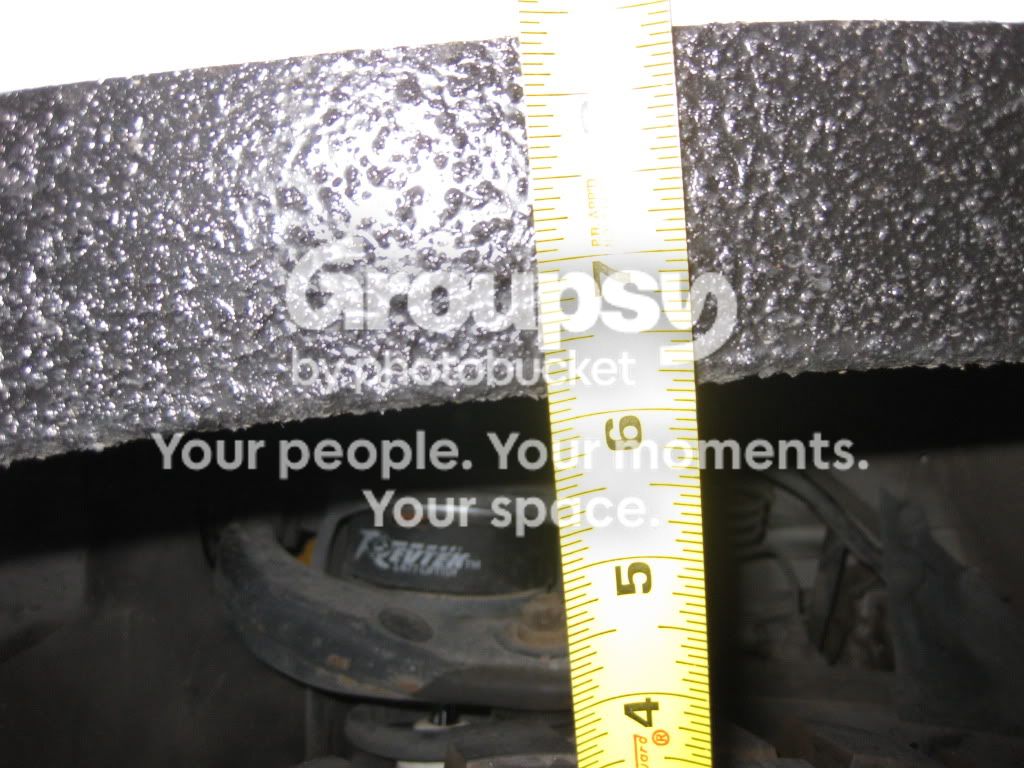
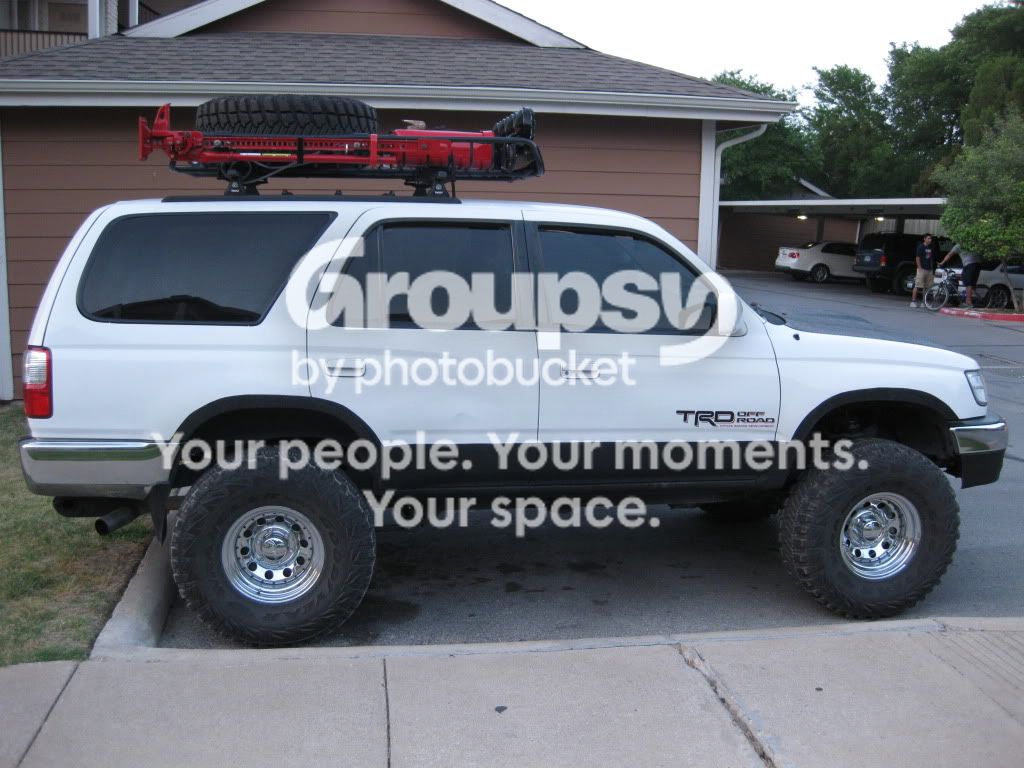
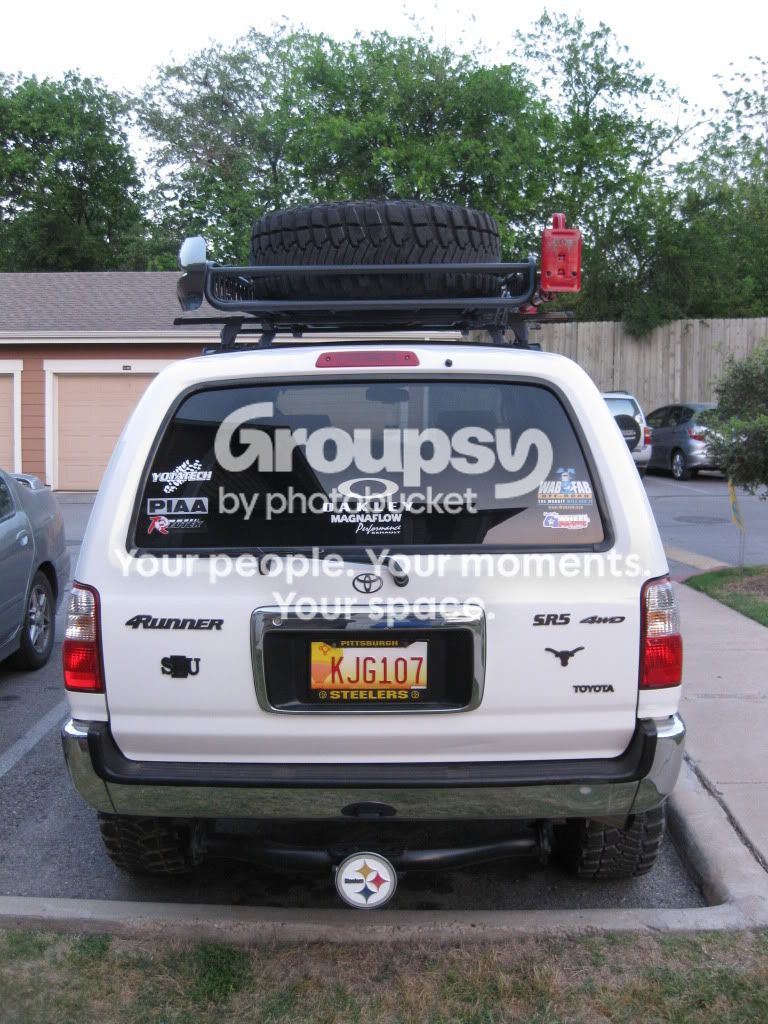
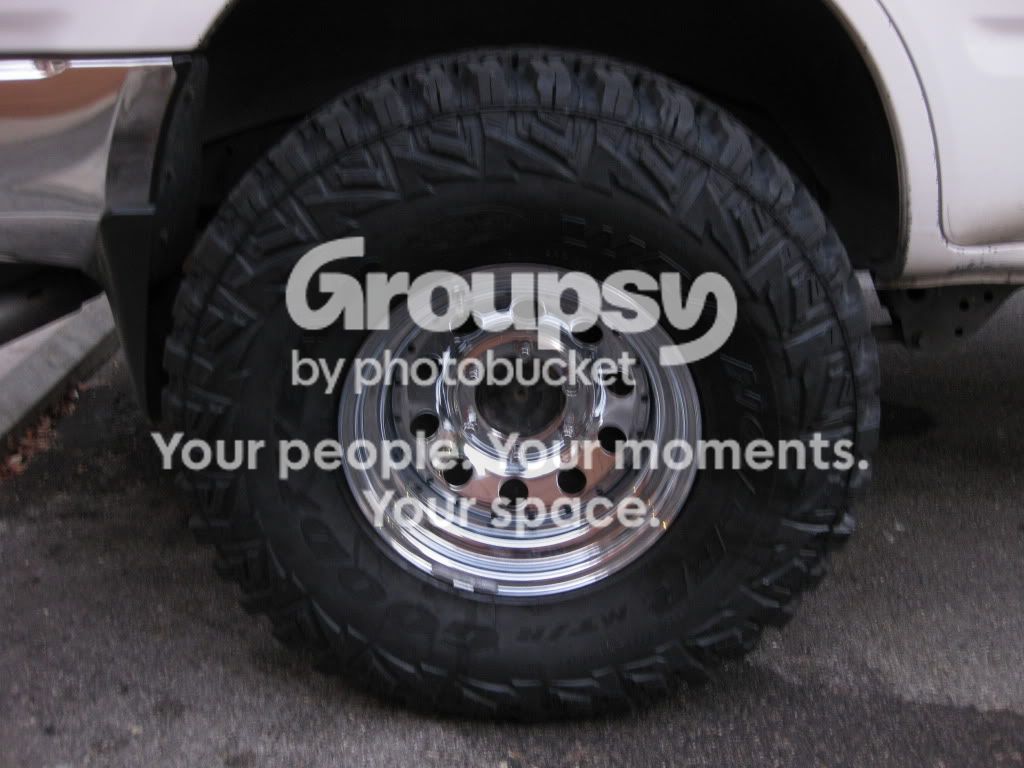
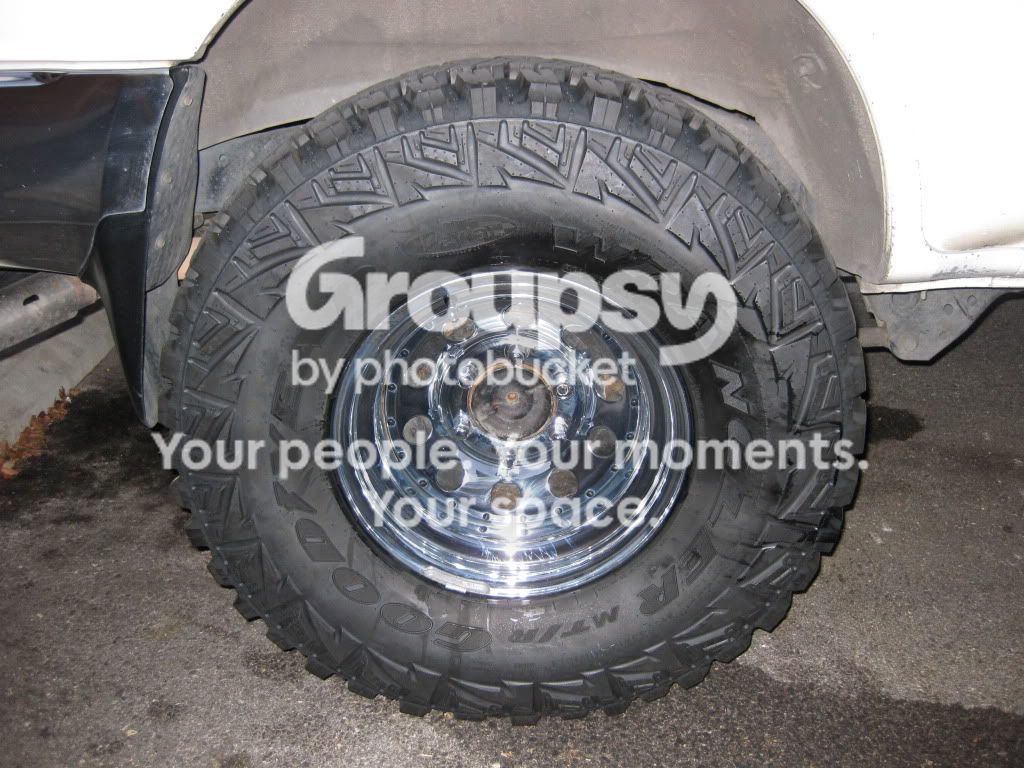
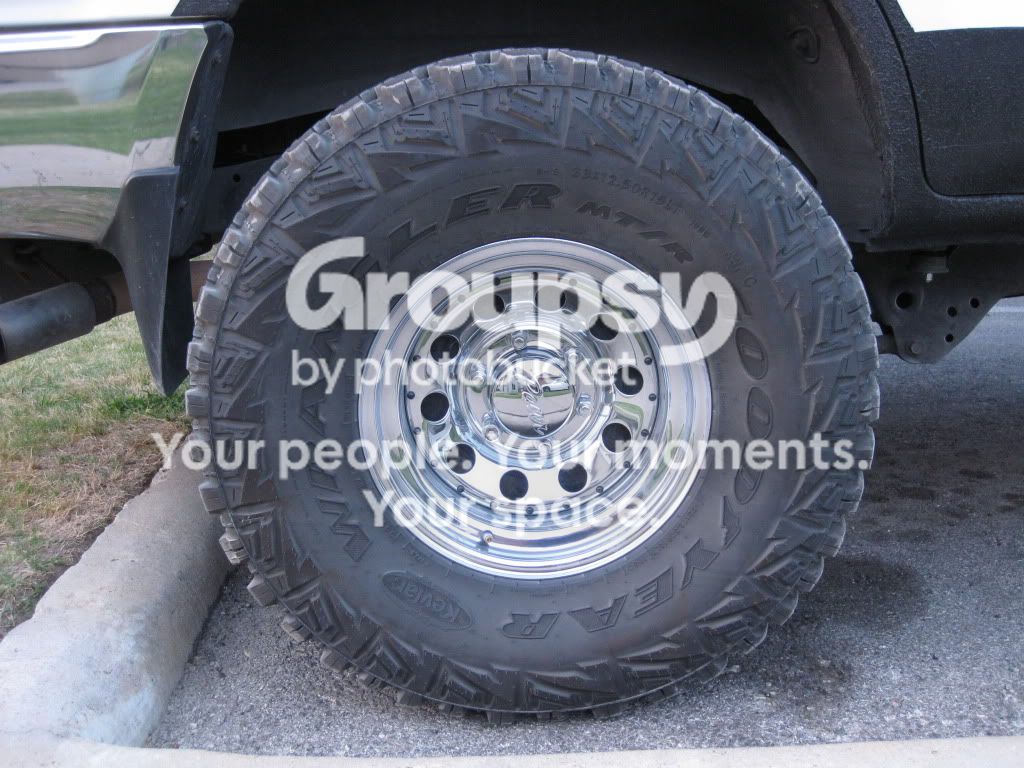
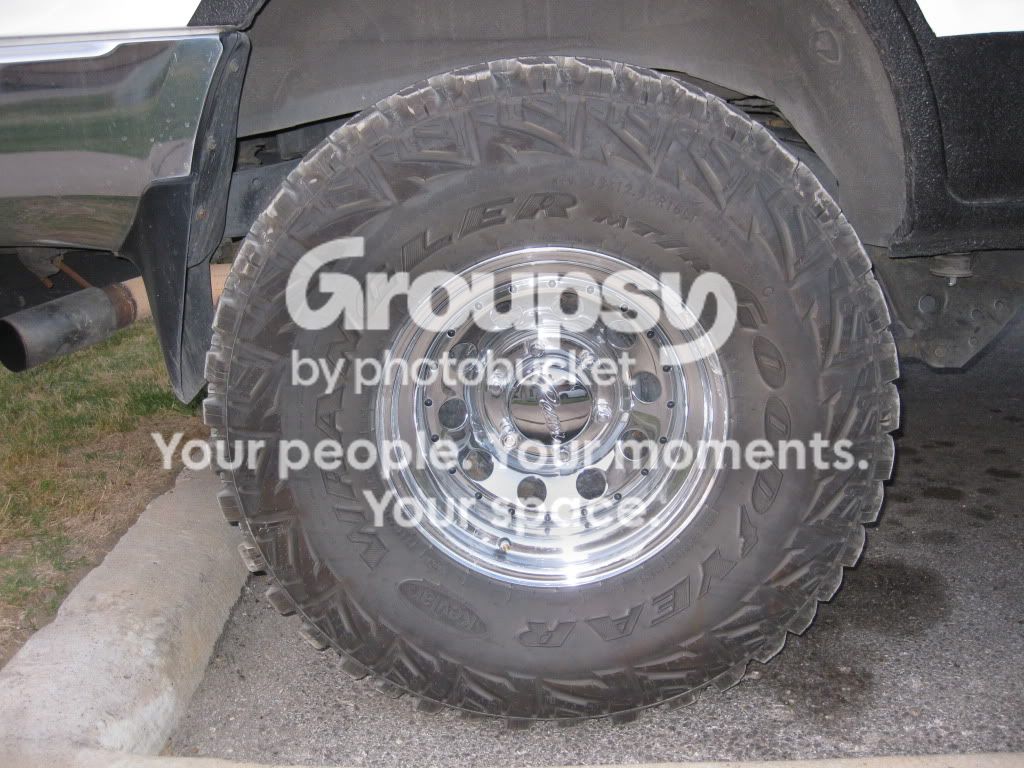
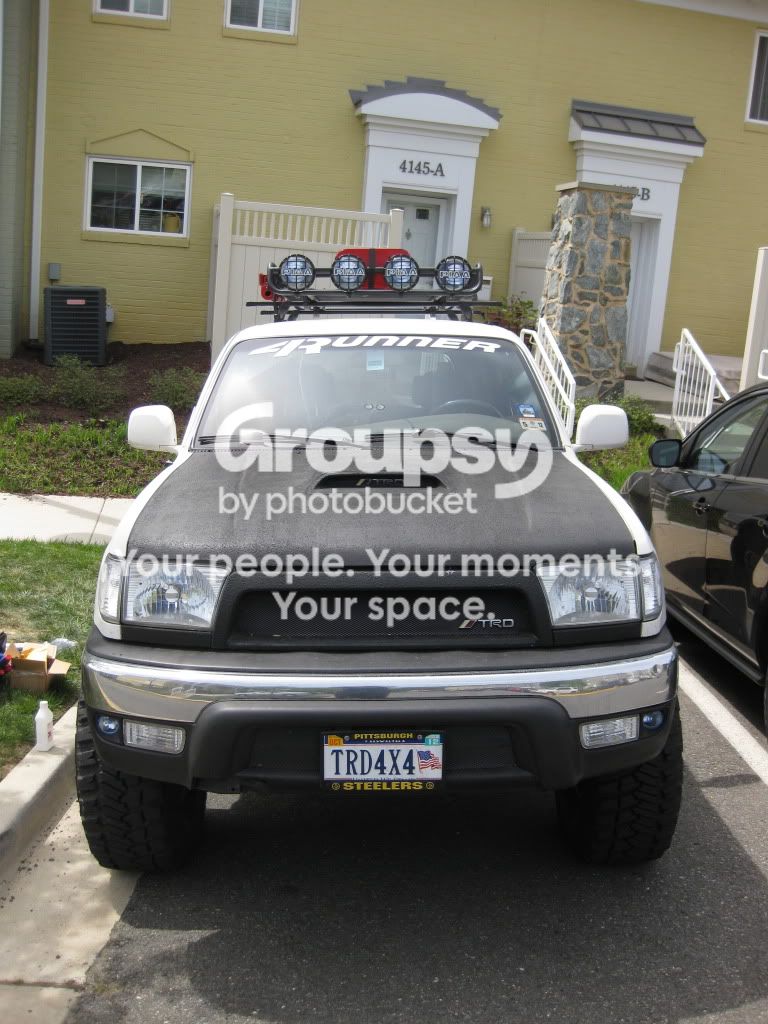
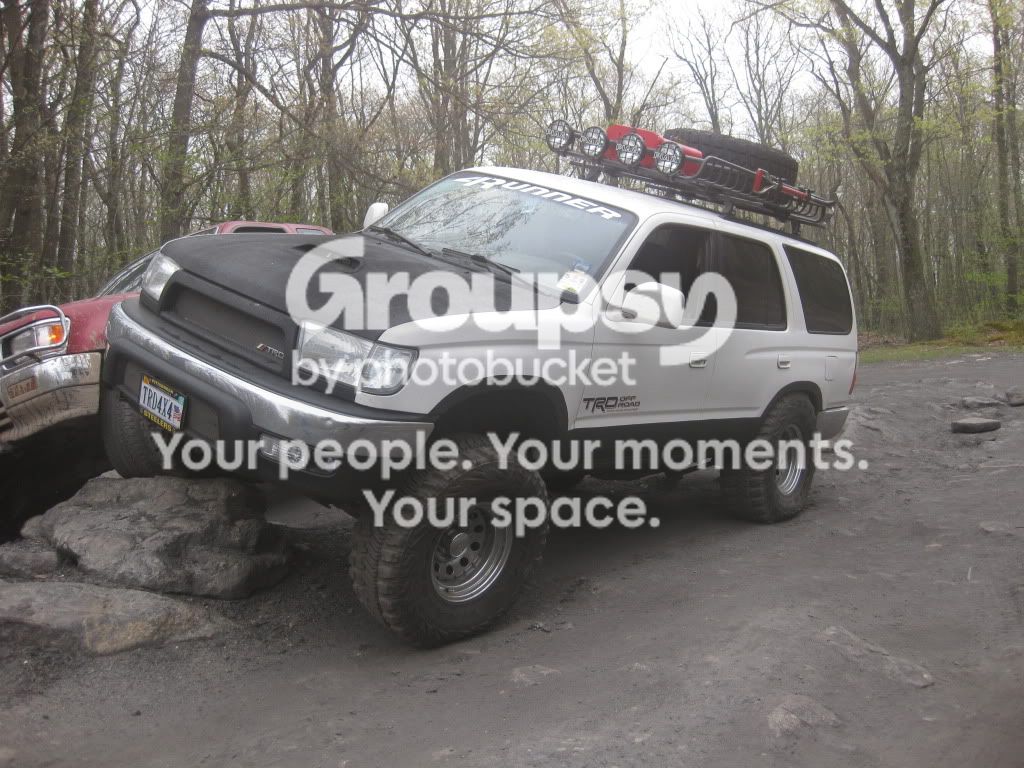
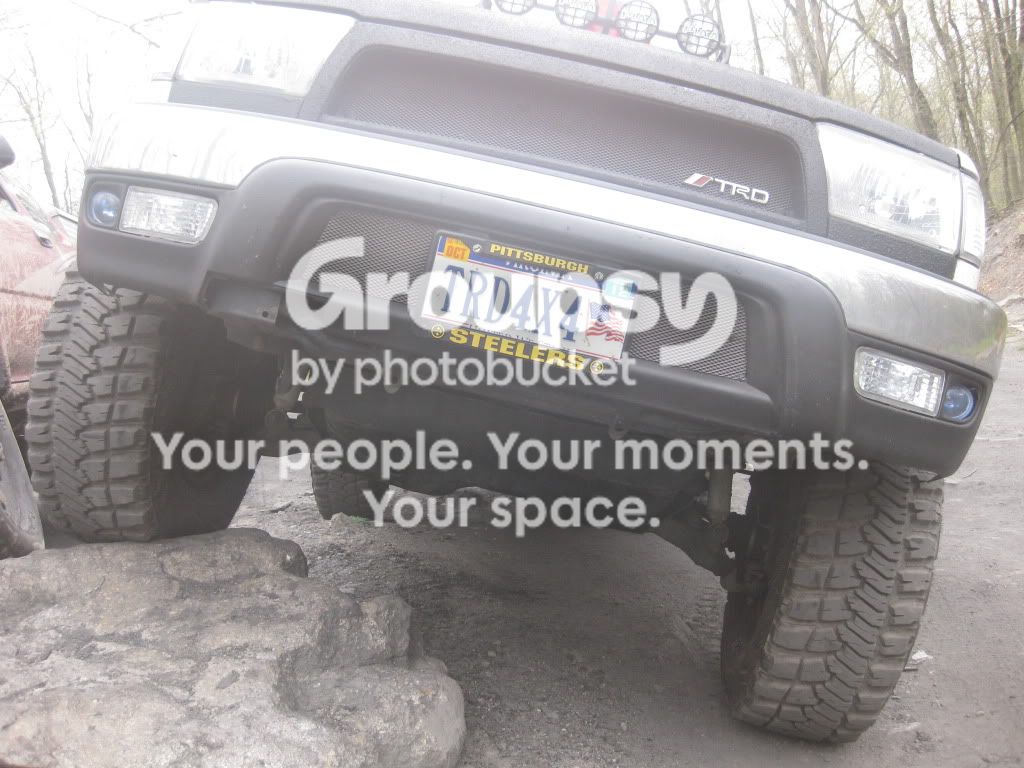
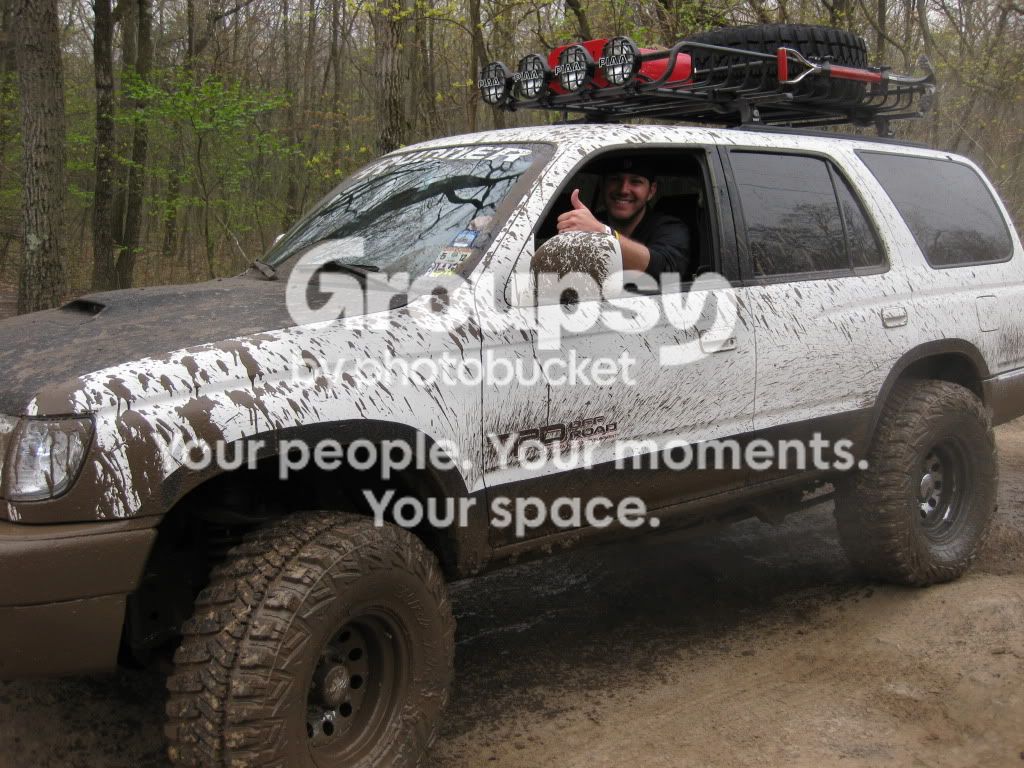
4ever4running's 2002 4Runner Build

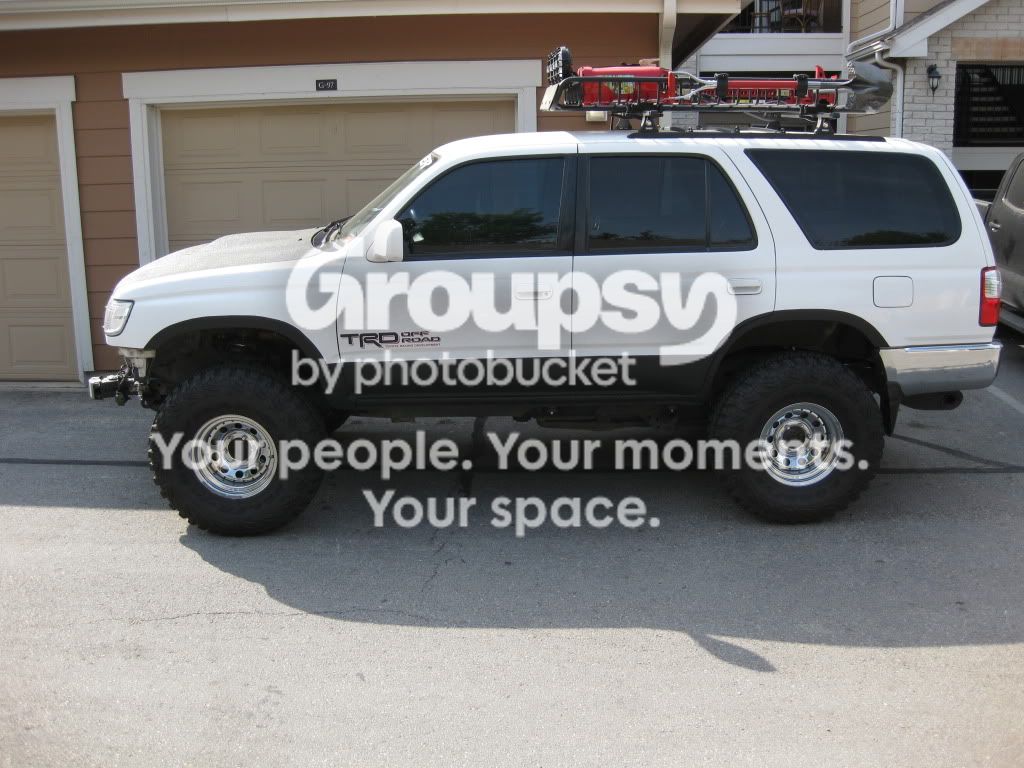
I'm starting to piece together all the suspension parts I need, so far found the 3" OME lift kit (rear springs & front spacers). Just looking to get the front shocks/springs and rear shocks so I can install all at once ha. Always looking for deals though

Yeah you have to start somewhere. I spent a ton of time on CL (and still do..) looking for parts/upgrades.

Great build you have going there.
Also gave me a great idea for a new intake.

Thanks!

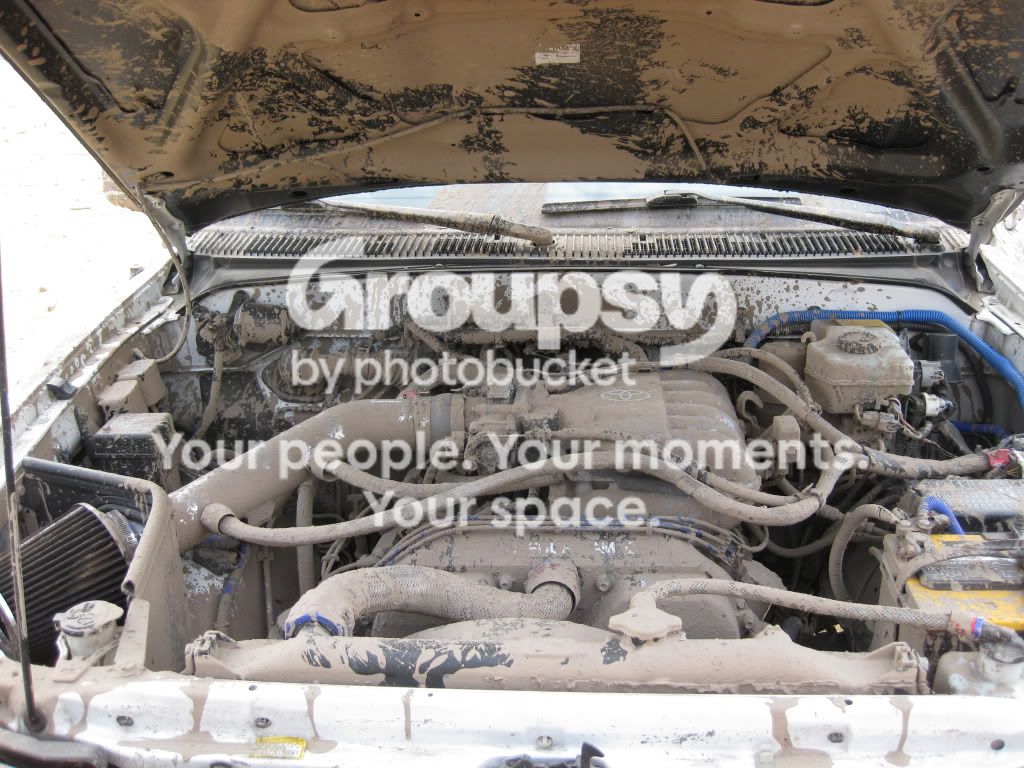
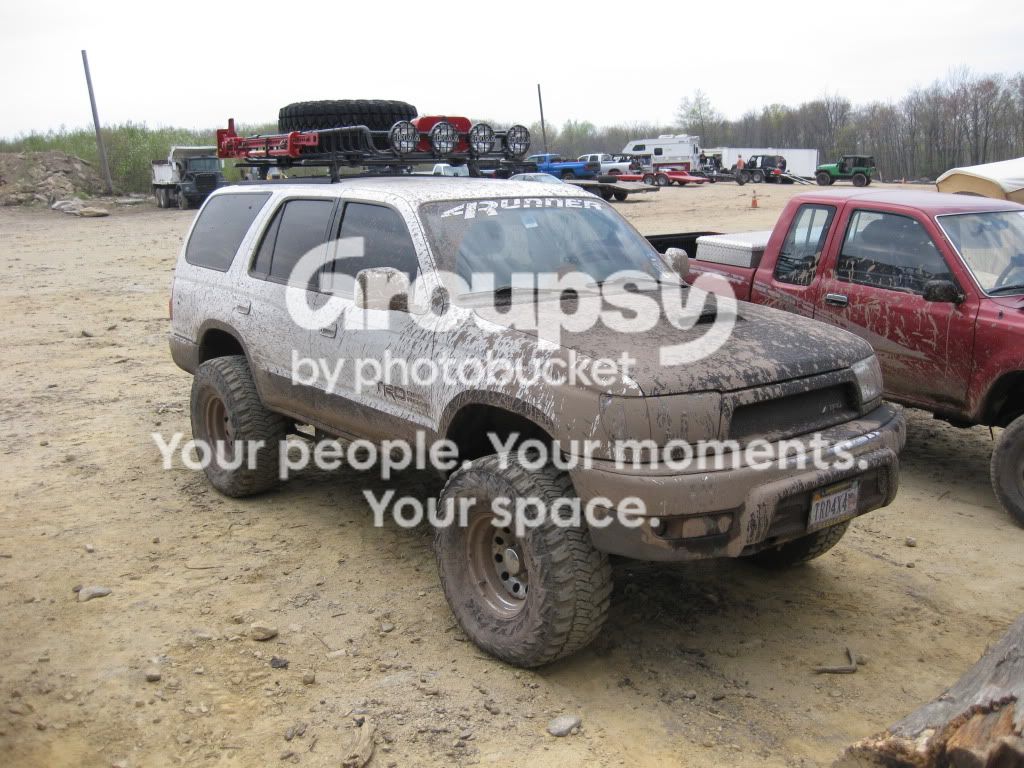
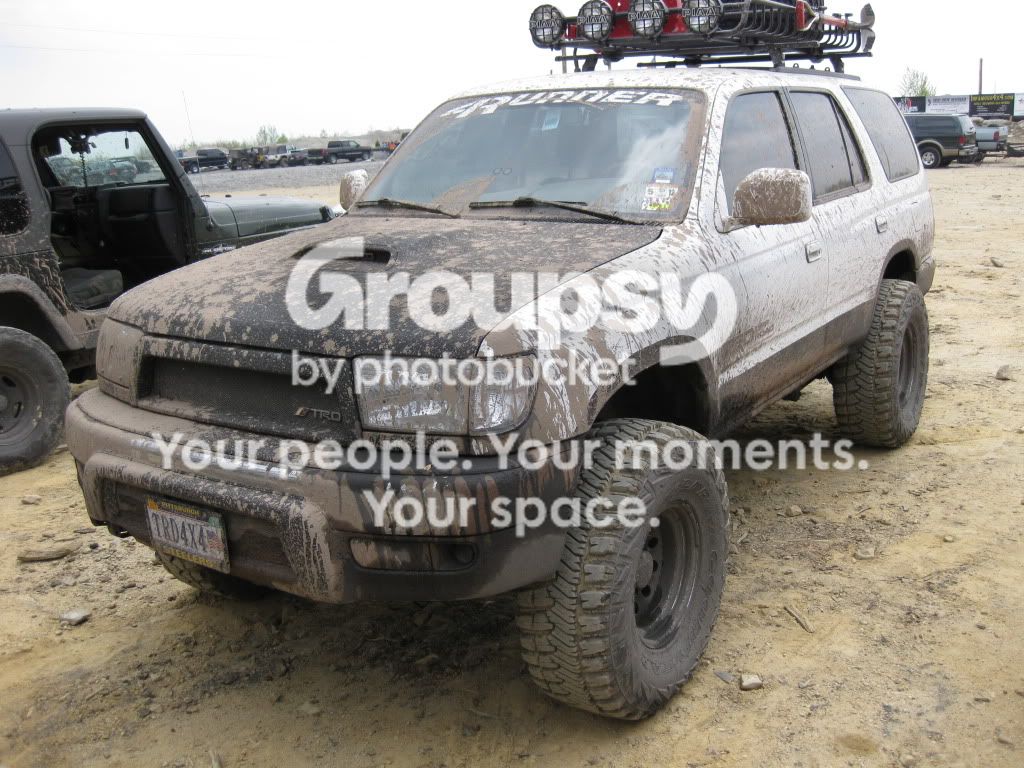
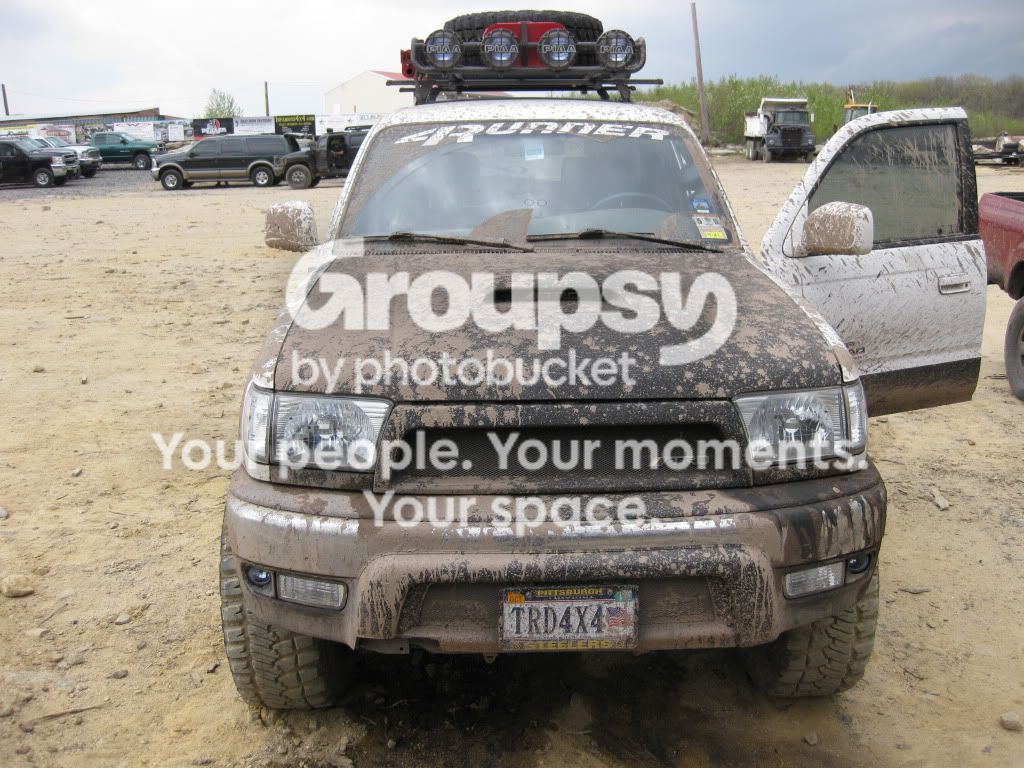
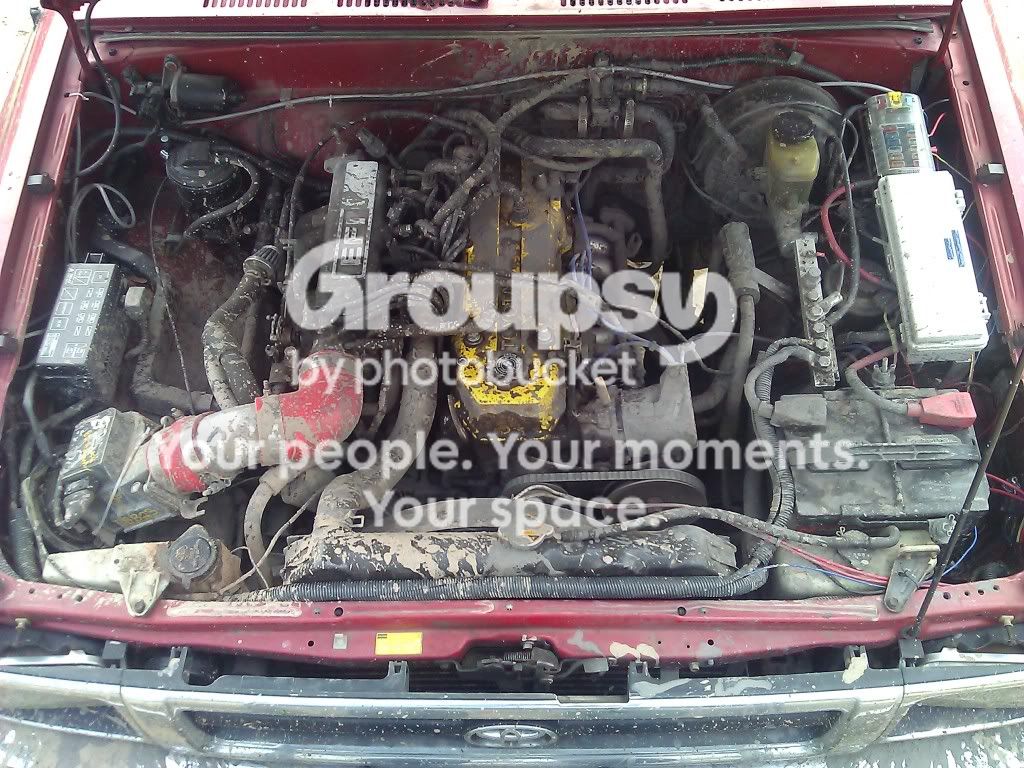
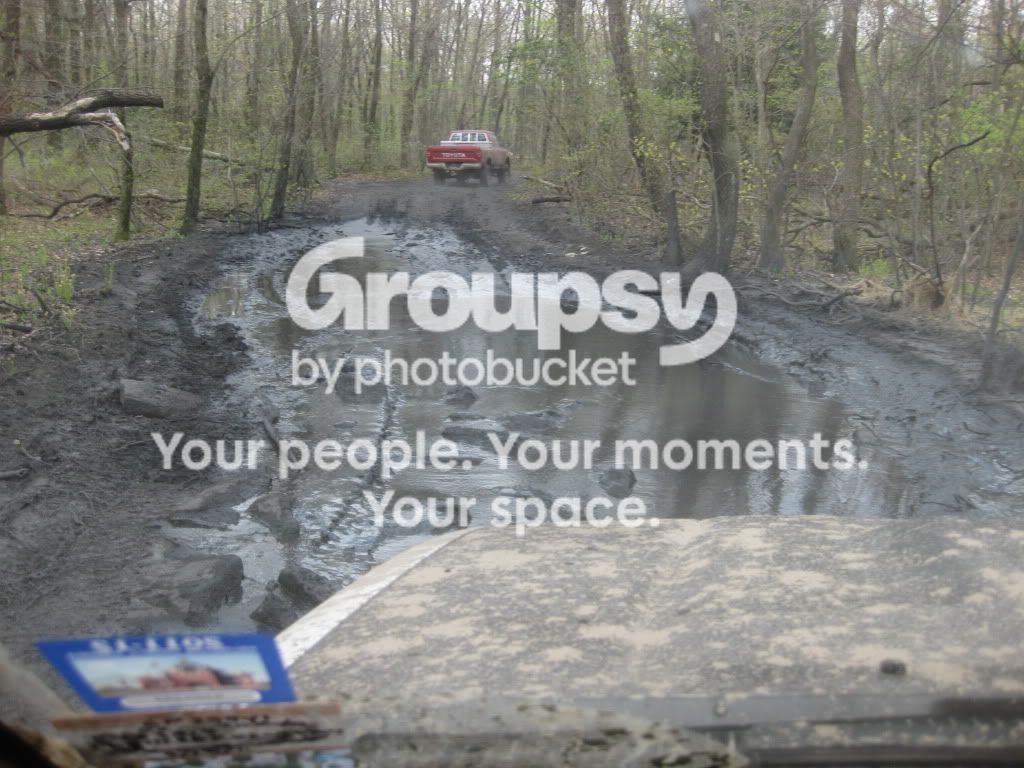
If you are interested, my cold air intake will be for sale soon....Long story short, I moved from a desert climate to a much wetter climate where they actually get rain and mud. On a recent wheeling trip to PA it downpoured one of the nights we were there and made for some muddy wheeling the next day. After a day of wheeling my engine compartment looked like this:
IMG_0429.jpg~original

It made me really nervous because I could have easily gotten mud and/or water in my engine and hydrolocked it. So, I am going to be going back to the factory airbox, and eventually getting a snorkel.
 
More incoming updates:

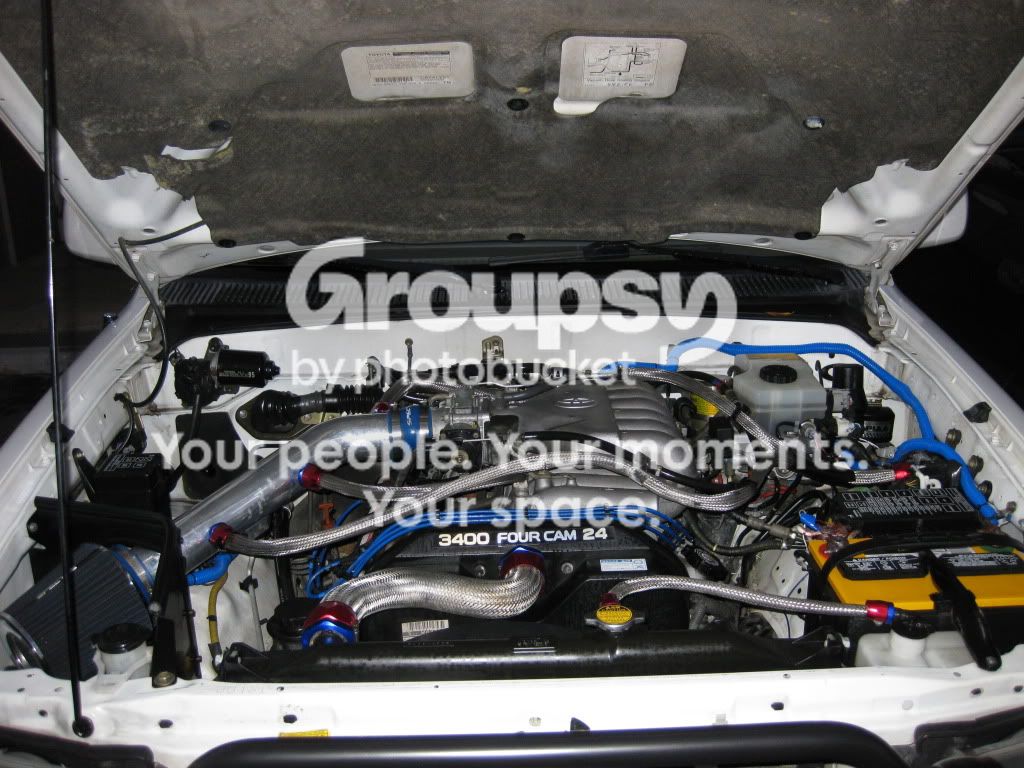
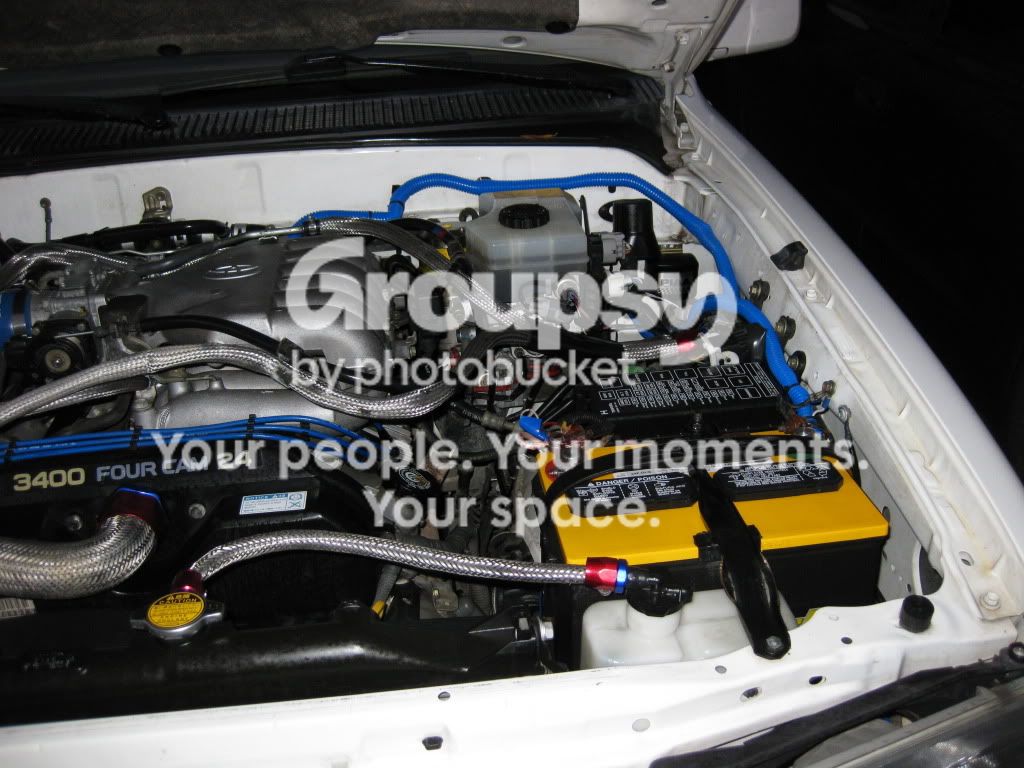
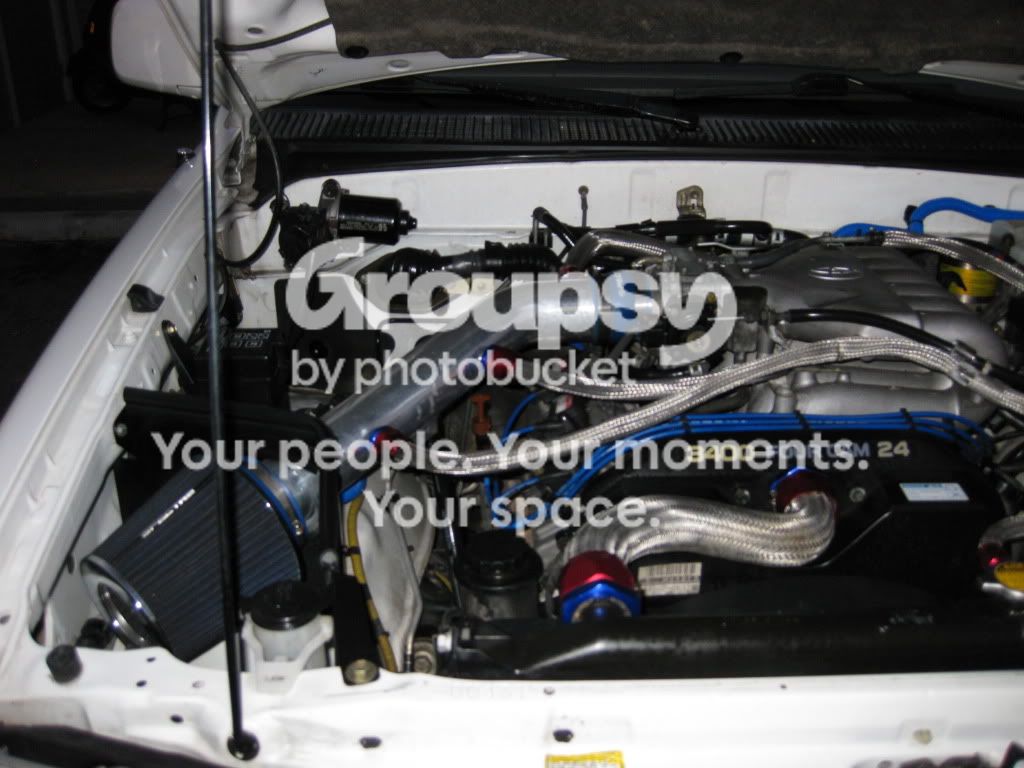
So I got sick of the blue vacuum tubes under the hood so I picked up a Spectre braided steel wire sleeve kit and covered the radiator hose and some of the vacuum lines. While I was at the auto parts store I also picked up a can of engine cleaner and engine detailer. I know it won't last very long, but the engine looks nicer than I have ever seen it. I really like the look of the braided steel hoses and I think it came out pretty good.
IMG_0603.jpg~original

IMG_0606.jpg~original

IMG_0605.jpg~original


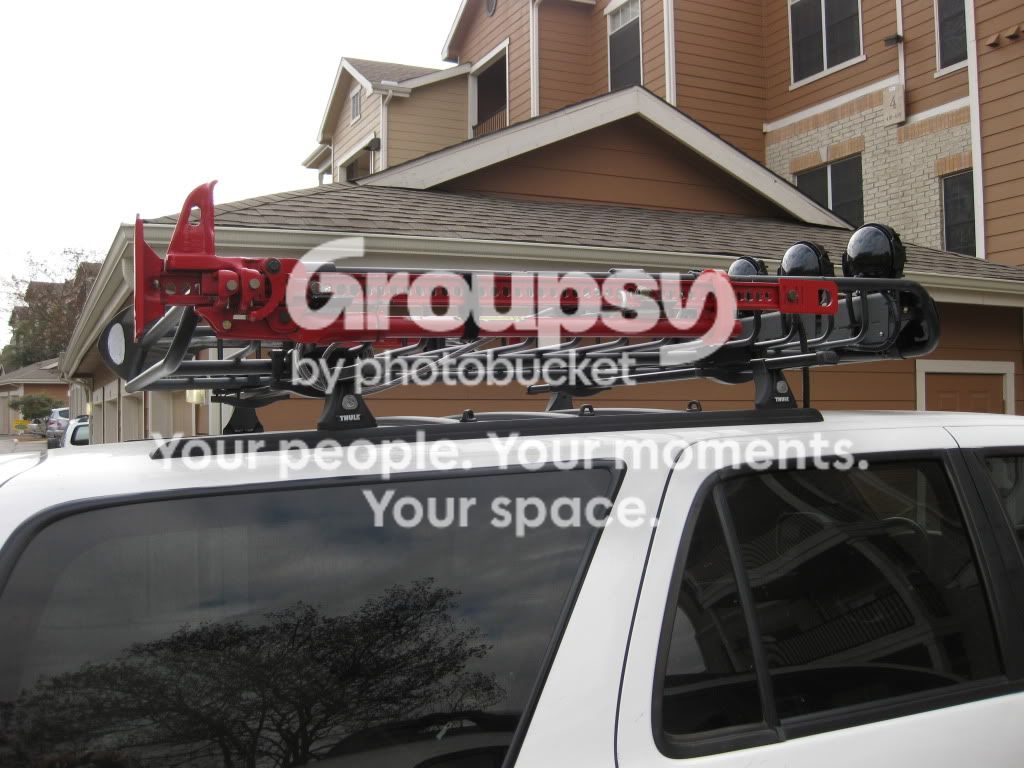
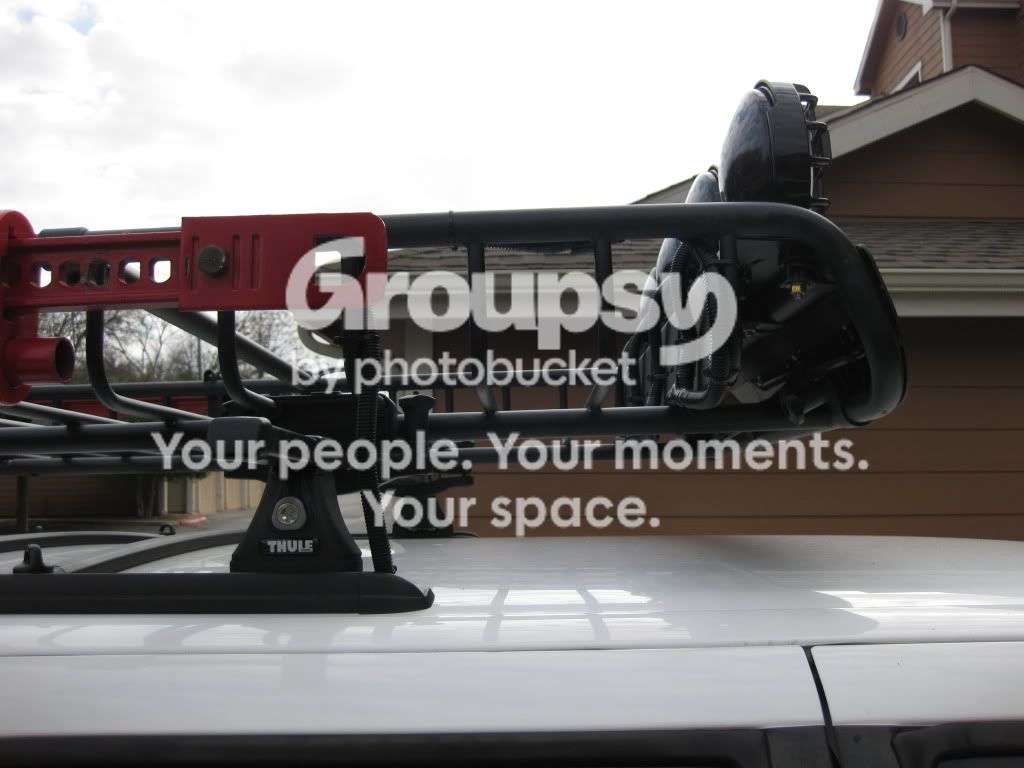
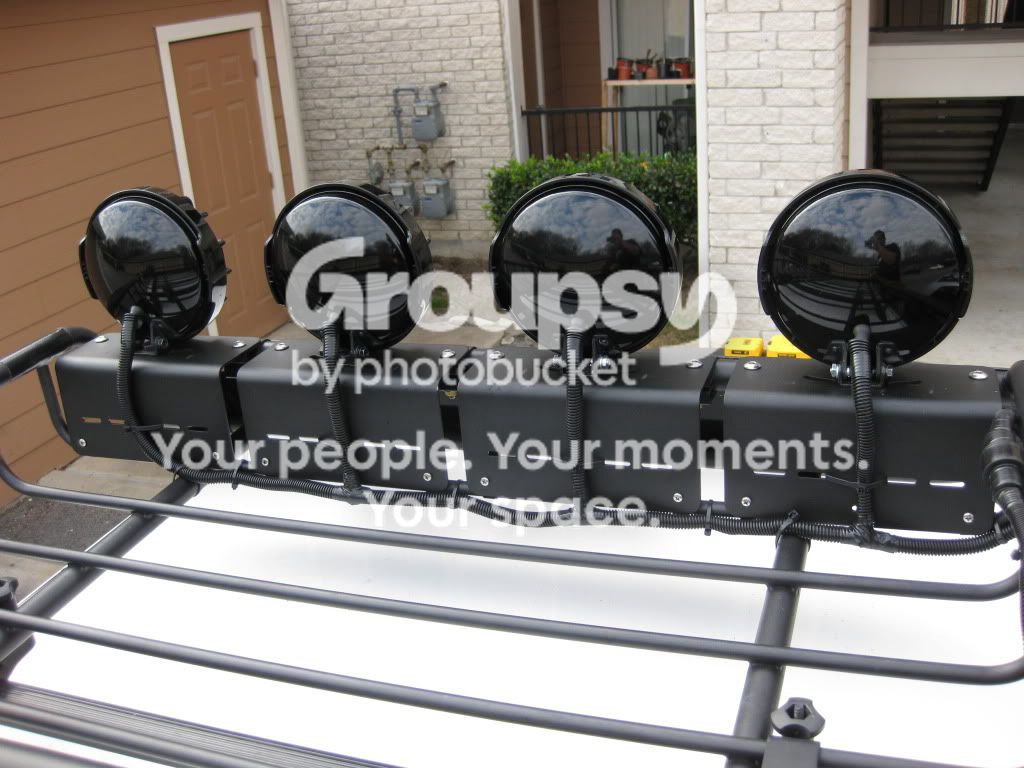
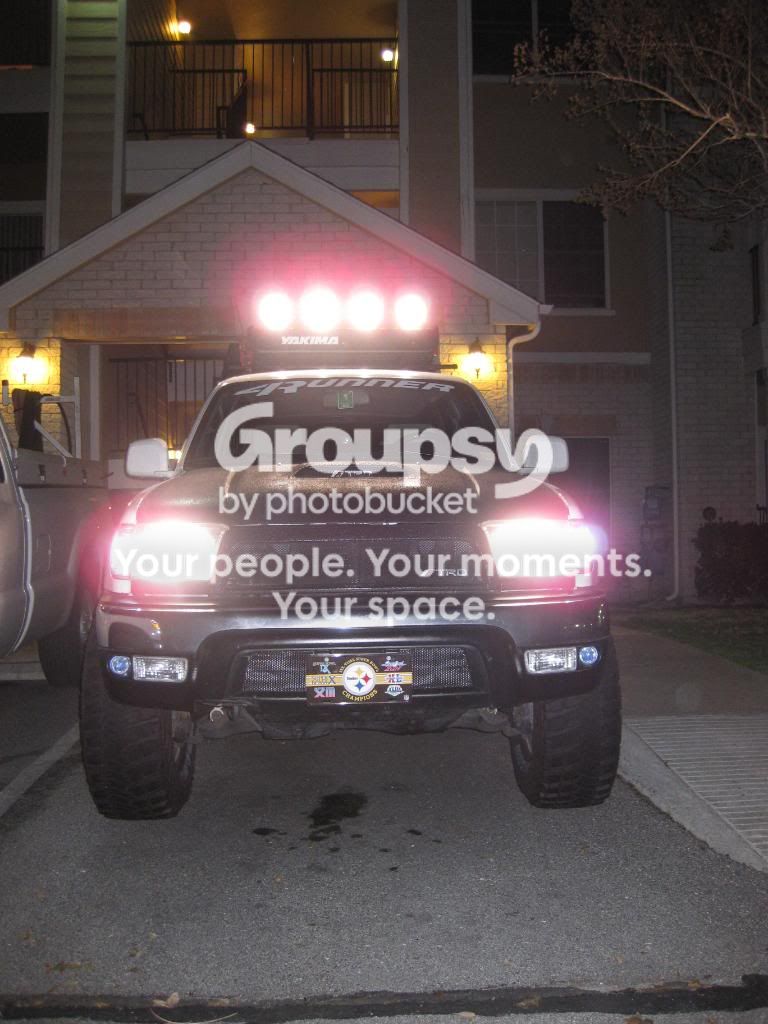
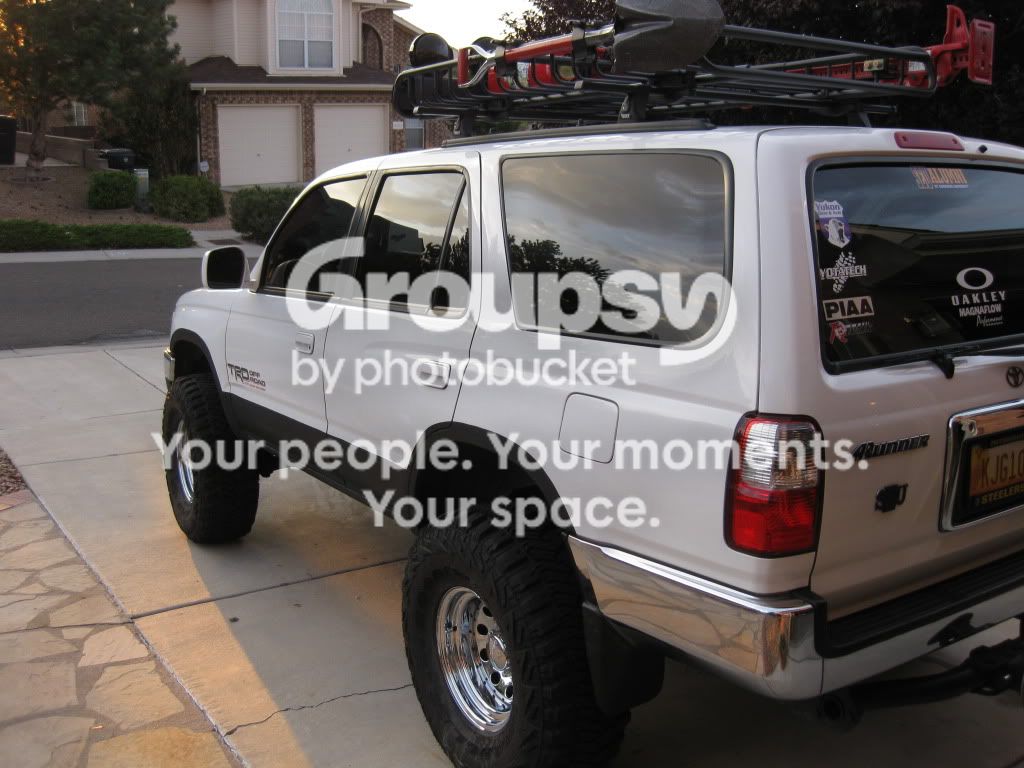
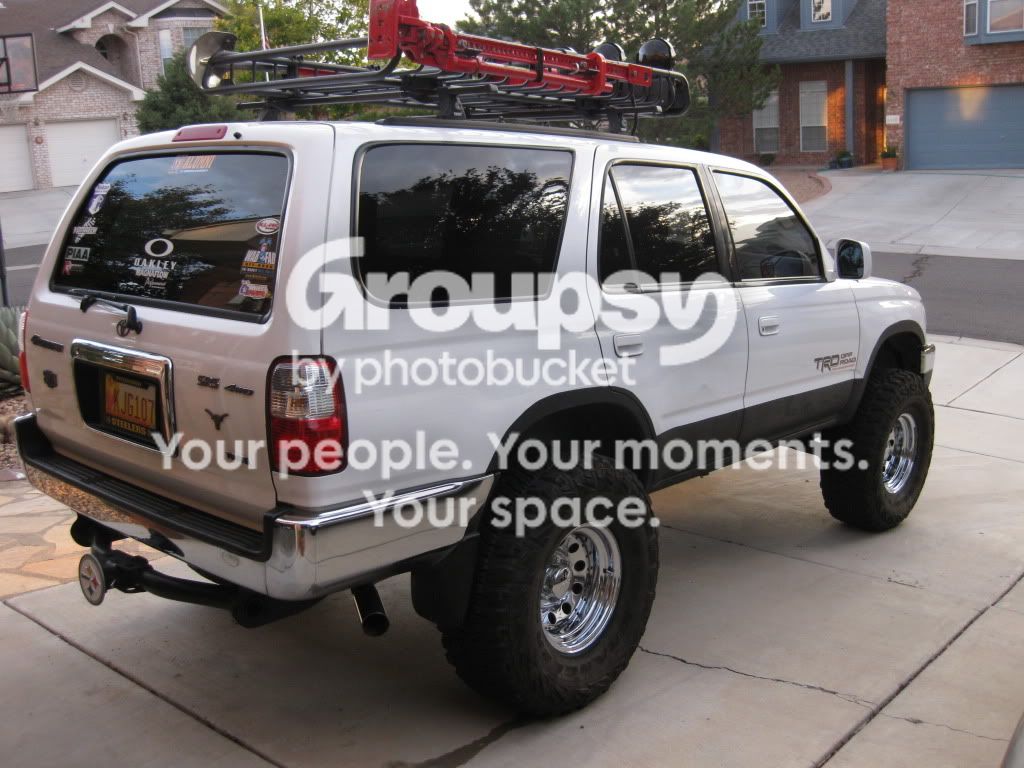
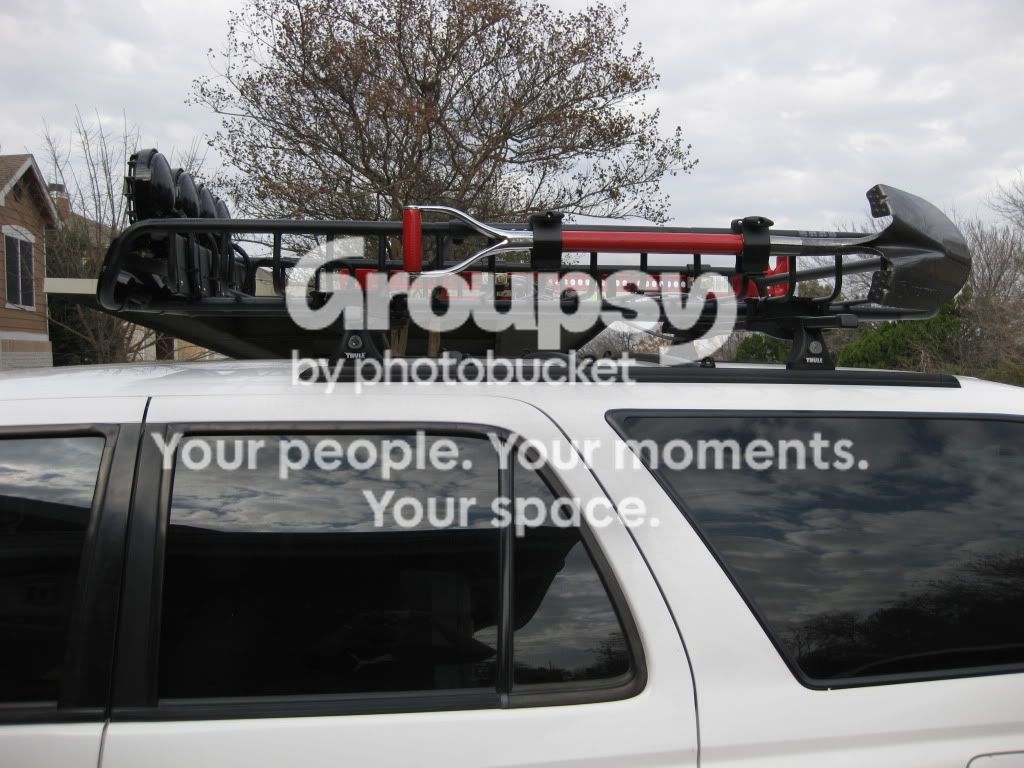
Then I pieced together a cargo roof rack system. I was able to find most of the parts and components on craigslist but I did have to pay full price for some of the components. Here is a thread that I started that has more detailed information about the build: Yakima LoadWarrior "Build" Thread - YotaTech Forums

Pics:
IMG_0019.jpg~original

IMG_0020.jpg~original

IMG_0021.jpg~original

IMG_0022.jpg~original

IMG_0015.jpg~original

IMG_0014.jpg~original

IMG_0016.jpg~original

IMG_0017.jpg~original

IMG_0027.jpg~original


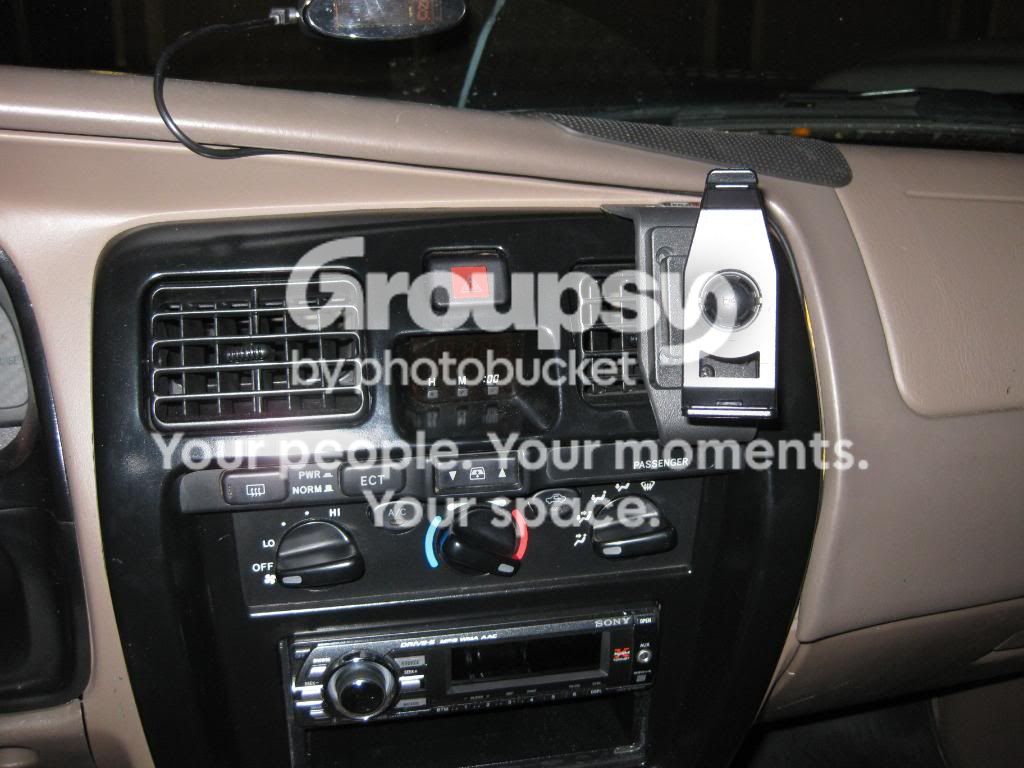
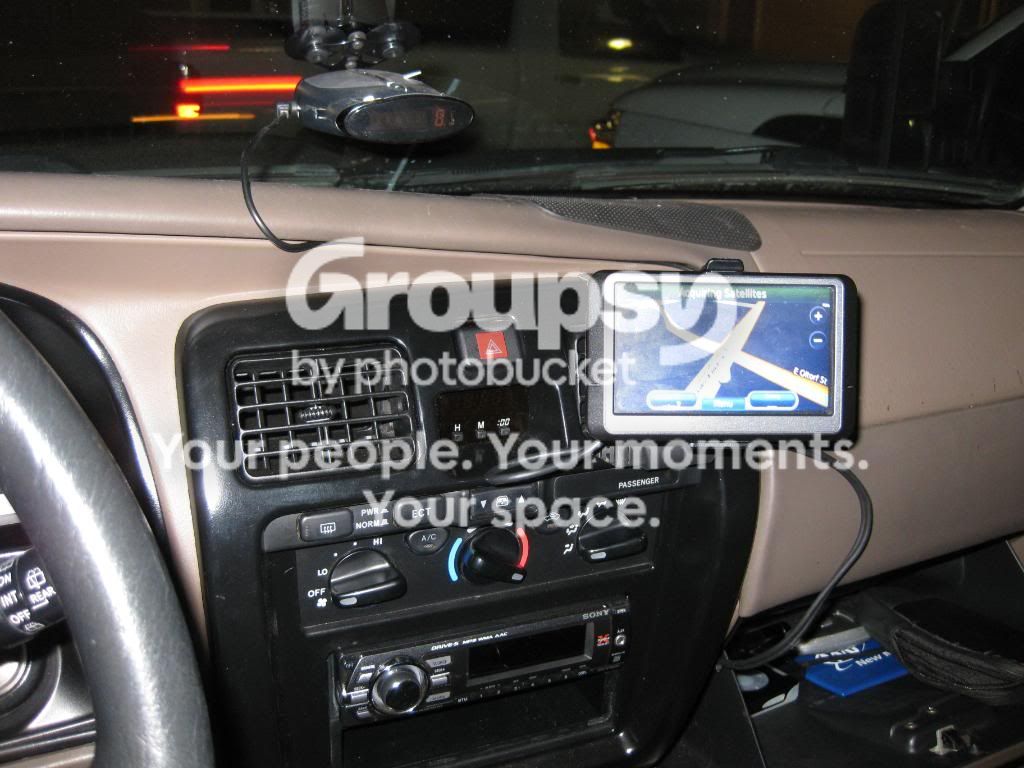
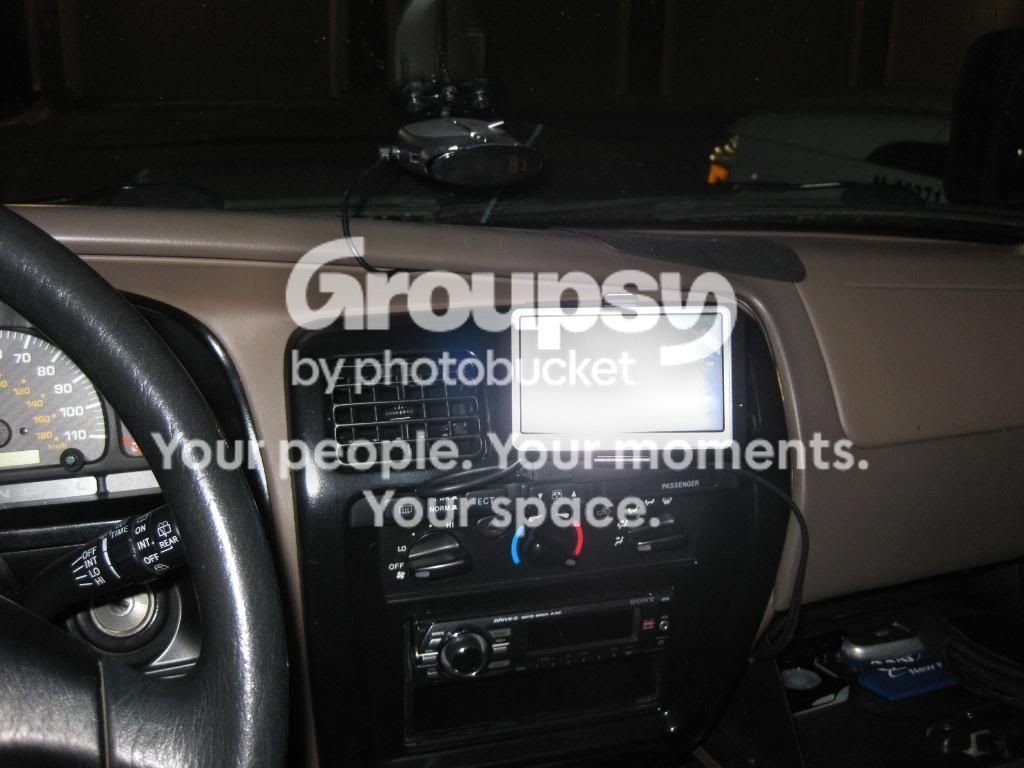
I also wanted to install a better mounting system for my Garmin GPS because I was getting sick of having to remove the suction cup mount every time I wanted to put up a sunshade. I wanted to get a ProFit vehicle specific mount because I have seen a couple guys on here that had them and they are pretty sweet. Unfortunately I didn't see the product available on their website and came to find out that they stopped making a vehicle specific mount for 3rd generation 4Runners due to lack of sales interest. So, after some research I was able to find a different mounting system. I went with a ProClip mount which I really like so far because it is not as permanent as the ProFit mount and it can either be moved along the dash bezel or removed all together.

Pics:
IMG_0036.jpg~original

IMG_0038.jpg~original

IMG_0039.jpg~original
 
So I was finally able to get my 1.5" body lift installed this weekend. I must admit that I was a little hesitant to install it myself, but the directions that 4Crawler provided were very clear and easy to follow, so I had no problems whatsoever. It took me the better part of an afternoon (approximately 4 hours) from start to finish.

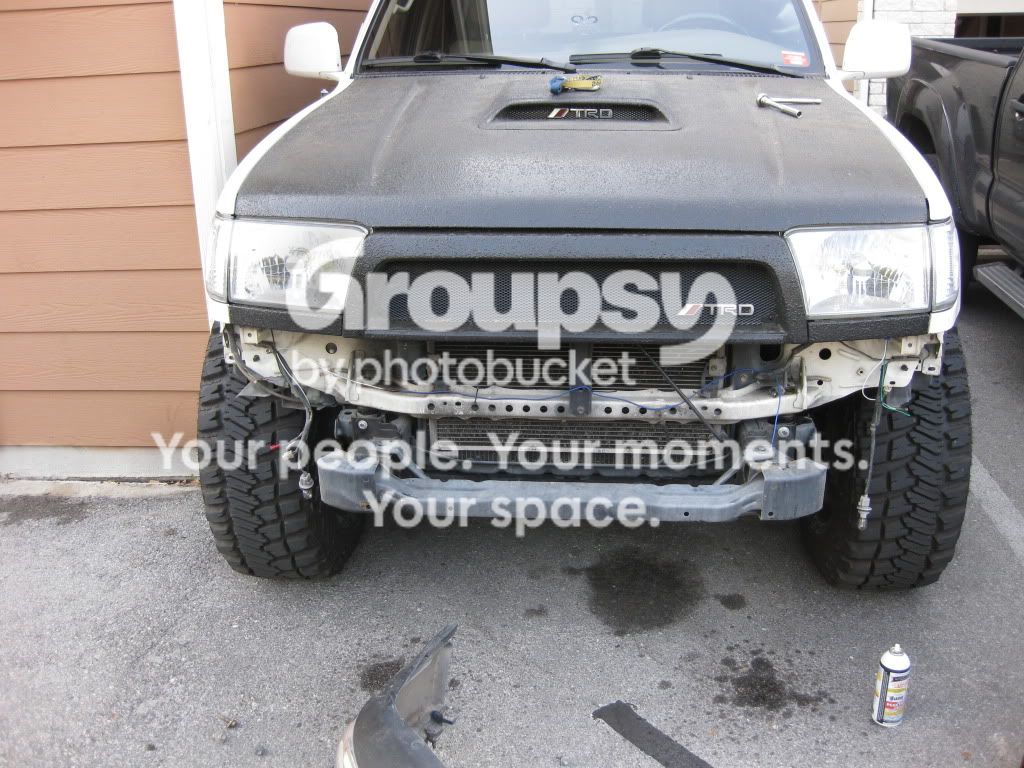
On Friday I removed the front bumper and took a closer look at it and decided that I wanted to repaint it while I had it off the truck. I have been keeping up with a different build thread and the guy coated his bumper and other trim pieces with Plasti Dip and it came out great so I decided to give it a try.

Bumper removed
IMG_0042.jpg~original


Before:
IMG_0050.jpg~original

IMG_0051.jpg~original

IMG_0052.jpg~original

IMG_0043.jpg~original


After:
IMG_0056.jpg~original

IMG_0057.jpg~original

IMG_0054.jpg~original


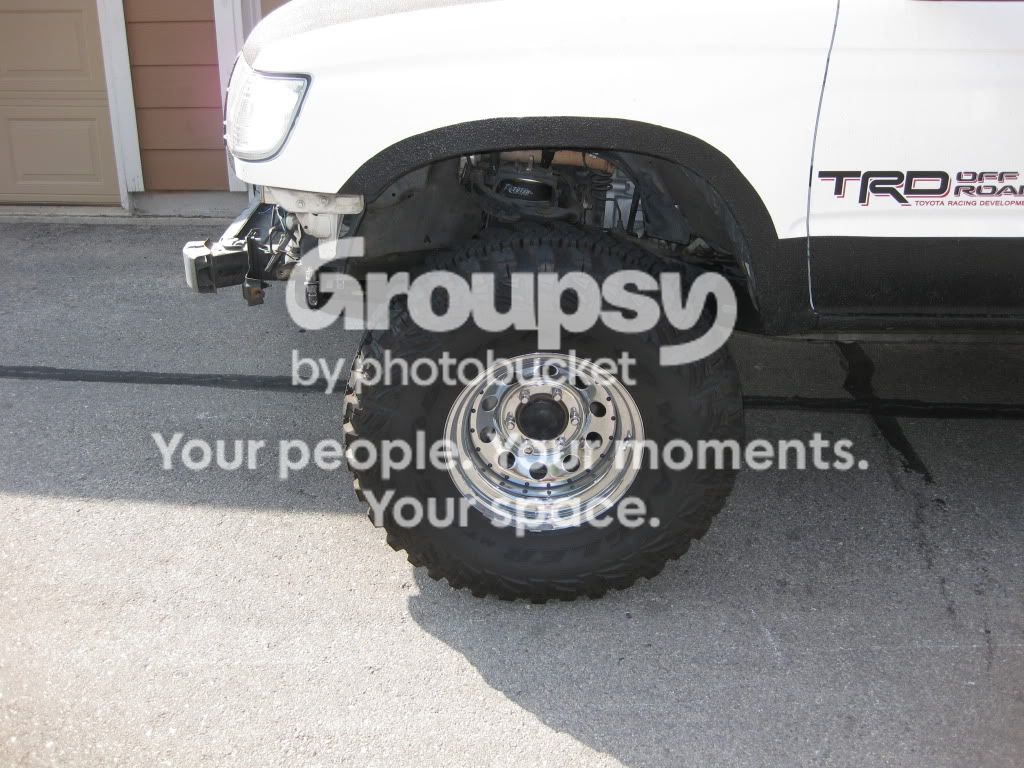
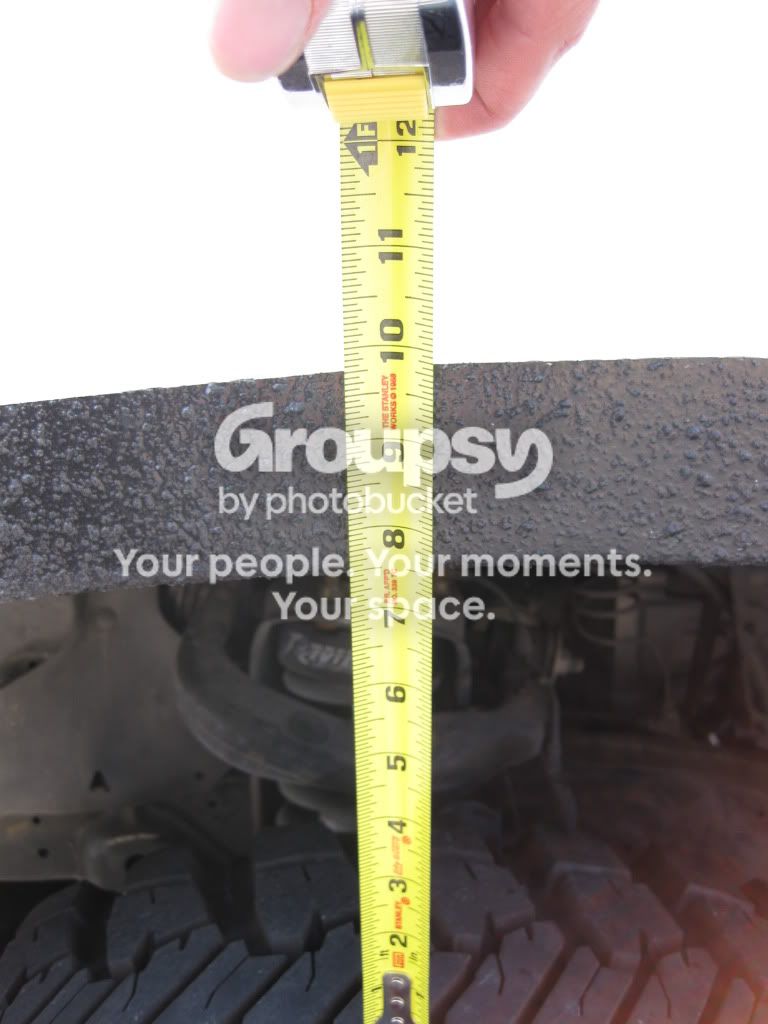
NOTE: The pictures show that I only got about 1" of lift, but in reality I got the full 1.5" of lift. The missing 0.5" of lift in the pictures is due to the camera angles and inconsistent measuring. More pics of the newly painted bumper to come...


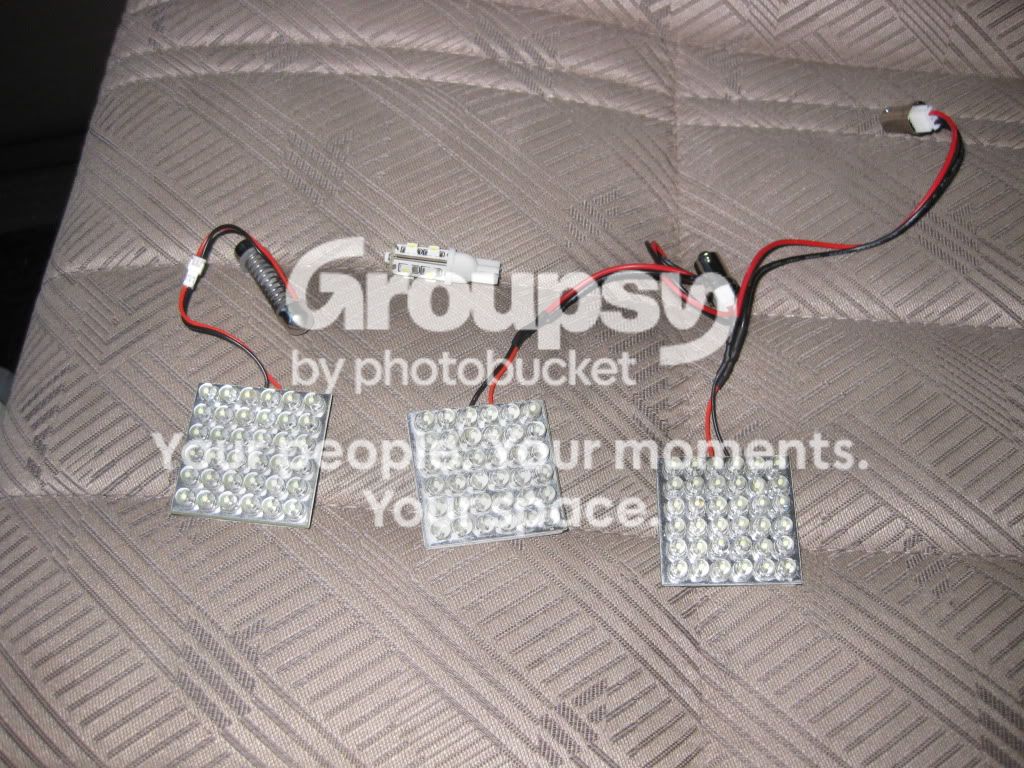
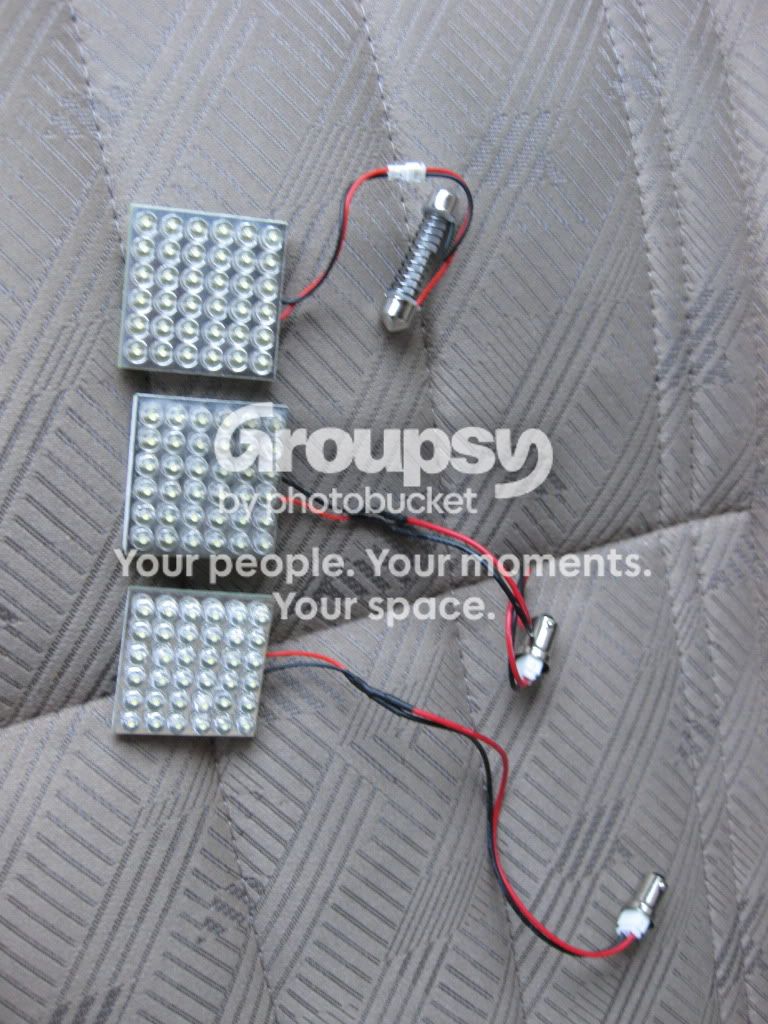
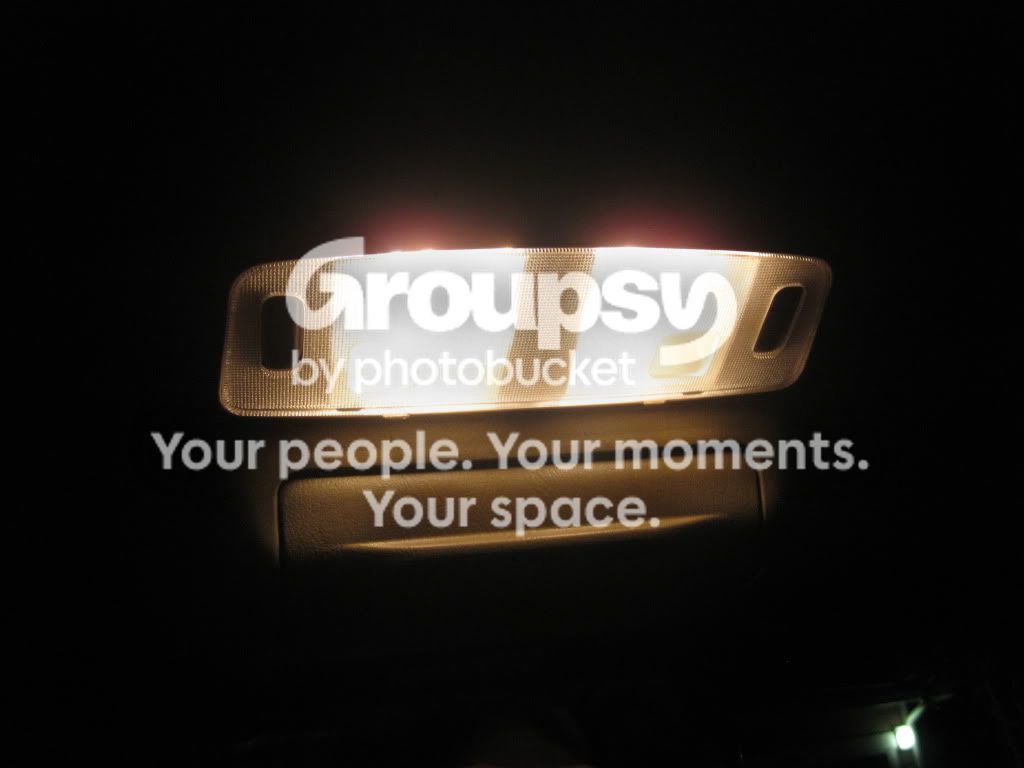
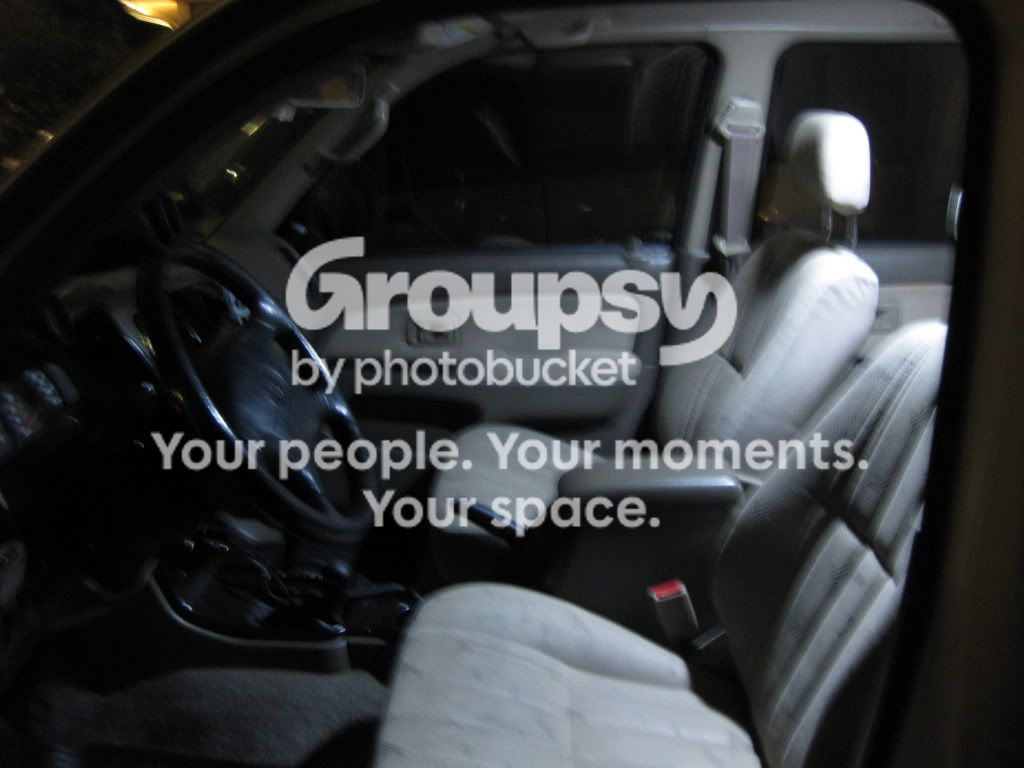
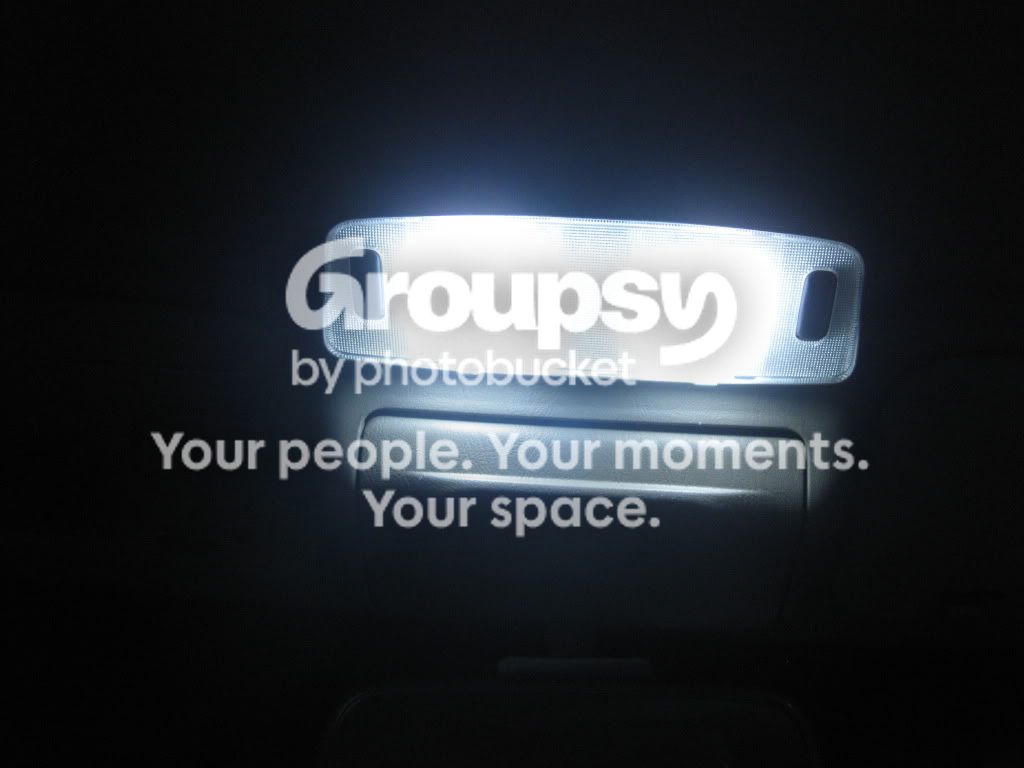
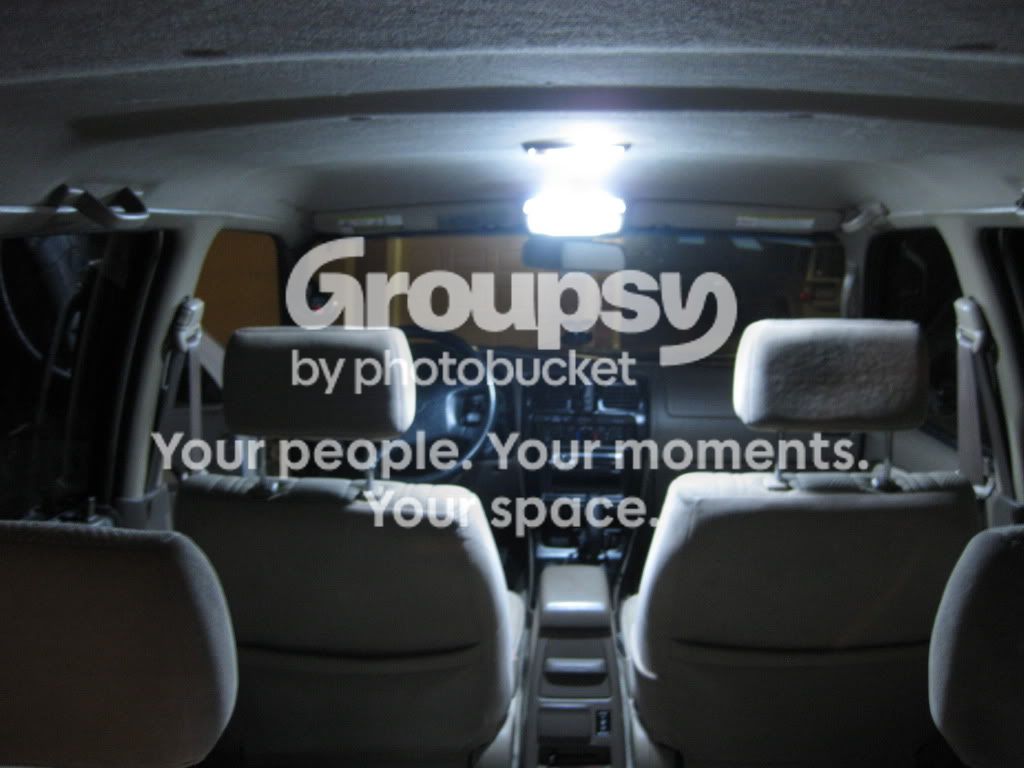
So I finally got the LED's that I ordered earlier this week and got them installed. The new LED's are much brighter than the stock bulbs in the map lights and the smaller LED's I had in the dome lights.

Here is what I went with:
IMG_0093.jpg~original

IMG_0092.jpg~original


BEFORE:

Dome Light
IMG_0103.jpg~original

IMG_0107.jpg~original

IMG_0108.jpg~original


Map Light
IMG_0105.jpg~original

IMG_0104.jpg~original


AFTER:

Dome Light
IMG_0146.jpg~original

IMG_0142.jpg~original

IMG_0141.jpg~original


Map Light
IMG_0145.jpg~original

IMG_0144.jpg~original
 
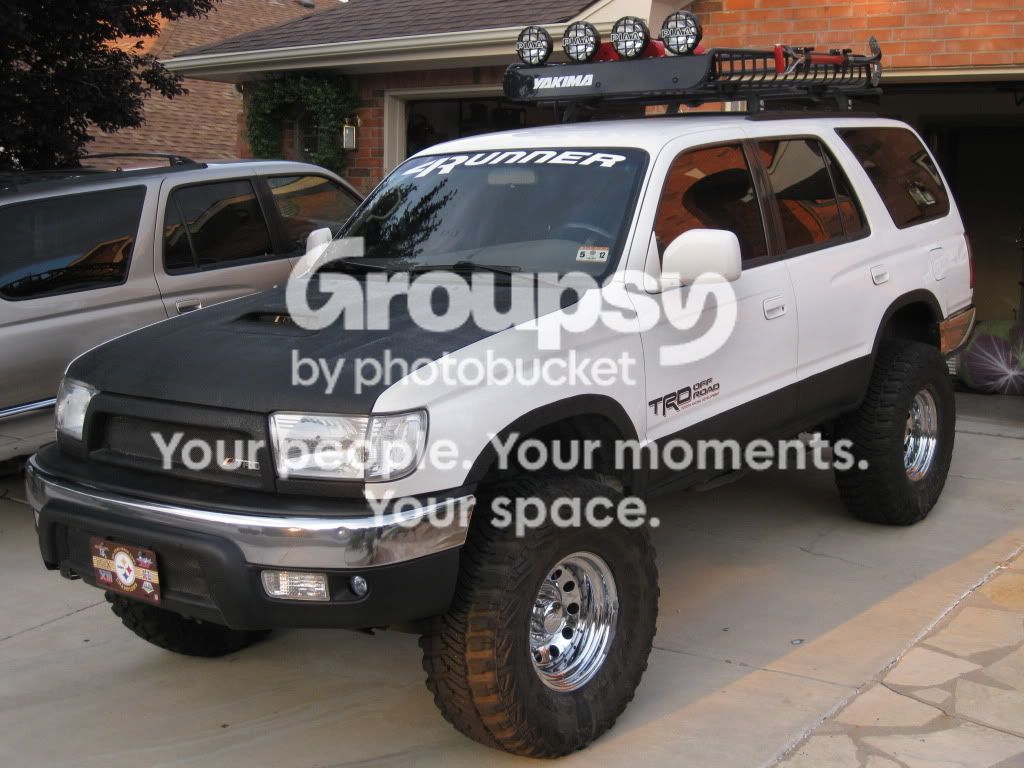
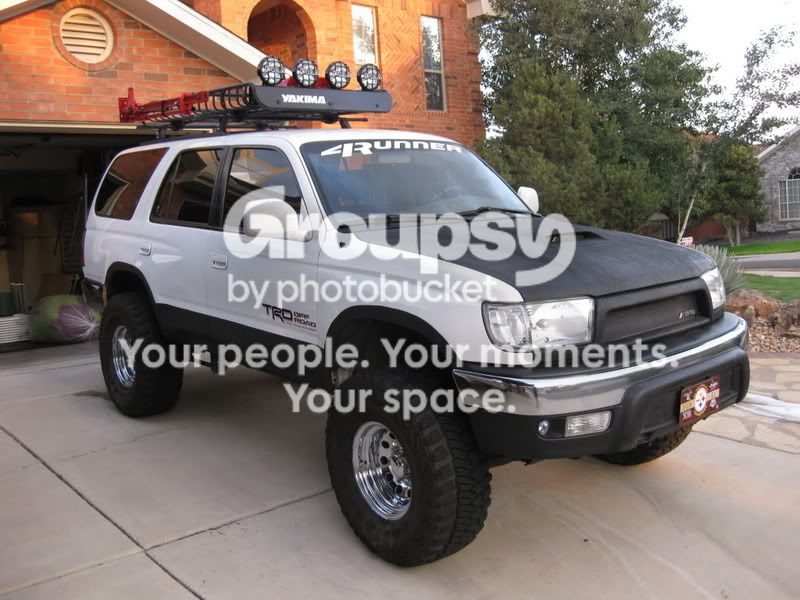
My opinion on what your truck needs;

Remove the windshield banner.
Black out all the chrome on your front and rear bumper.
Remove the TRD emblem in the hood scoop.
Paint that hood! If it can even be saved since it has bedliner.


Coming together though!
 
My opinion on what your truck needs;

Remove the windshield banner
Black out all the chrome on your front and rear bumper.
Remove the TRD emblem in the hood scoop.
Paint that hood! If it can even be saved since it has bedliner.


Coming together though!

1) I might, but if I did I would probably replace it with a different one.
2) That's a good idea, but I want to get aftermarket bumpers so I don't know if its worth the effort to paint them.
3) Nope. I like the TRD emblem, it unique and it ties the hood to the satoshi grille.
4) It would be nice to get it color matched but at this point it is probably more trouble than its worth plus the bedlined hood has been awesome! The trails out here are cut through pretty thick forests with so I never have to worry about it getting scratched or damaged when I go wheeling.
 
More updates:

This weekend I was able to get my full-sized spare tire mounted on the spare wheel that I picked up earlier last week. While I was at it, I had them balance and roate all my tires so I could have the spare rotated in and so they could install the new hub caps. I currently have the spare mounted up using my Yakima spare tire mount that I got for Christmas in anticipation of getting a full-sized spare. I am definitely not planning on keeping it up there for daily driving, but I have just been lazy so I haven't taken it down yet.
IMG_0150.jpg~original

IMG_0149.jpg~original


Before - No hub caps
IMG_0588.jpg~original

IMG_0587.jpg~original


After - With hub caps. I am really glad that I finally got some because I think the wheels look much better and more complete with them on.
IMG_0152.jpg~original

IMG_0151.jpg~original


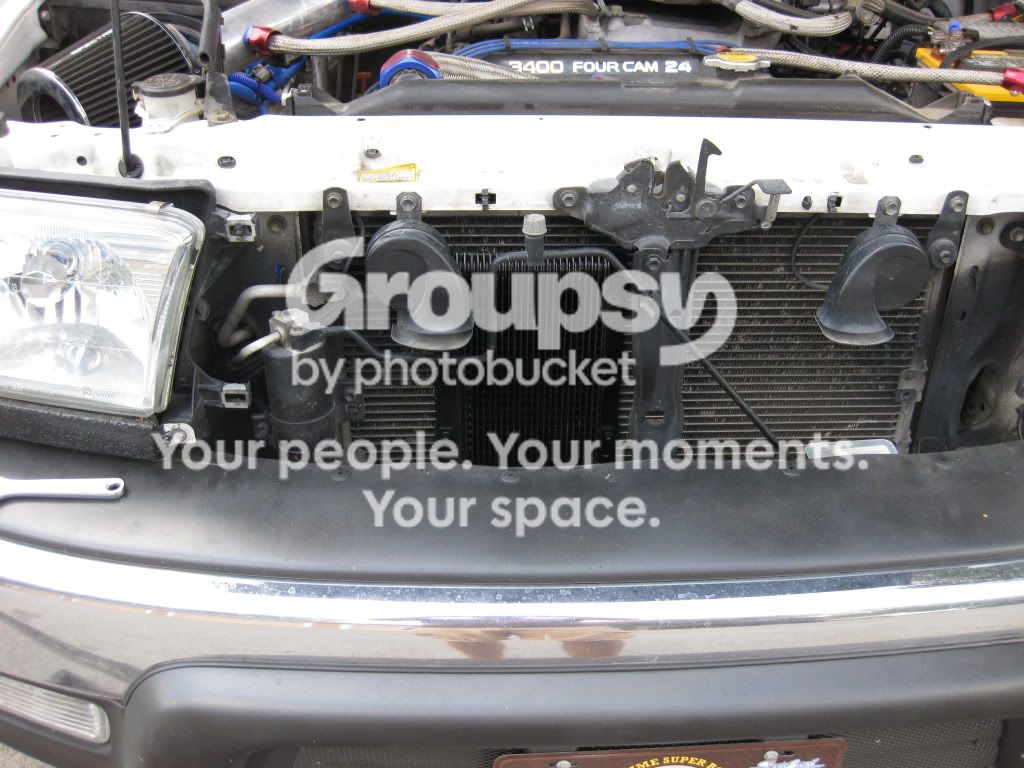
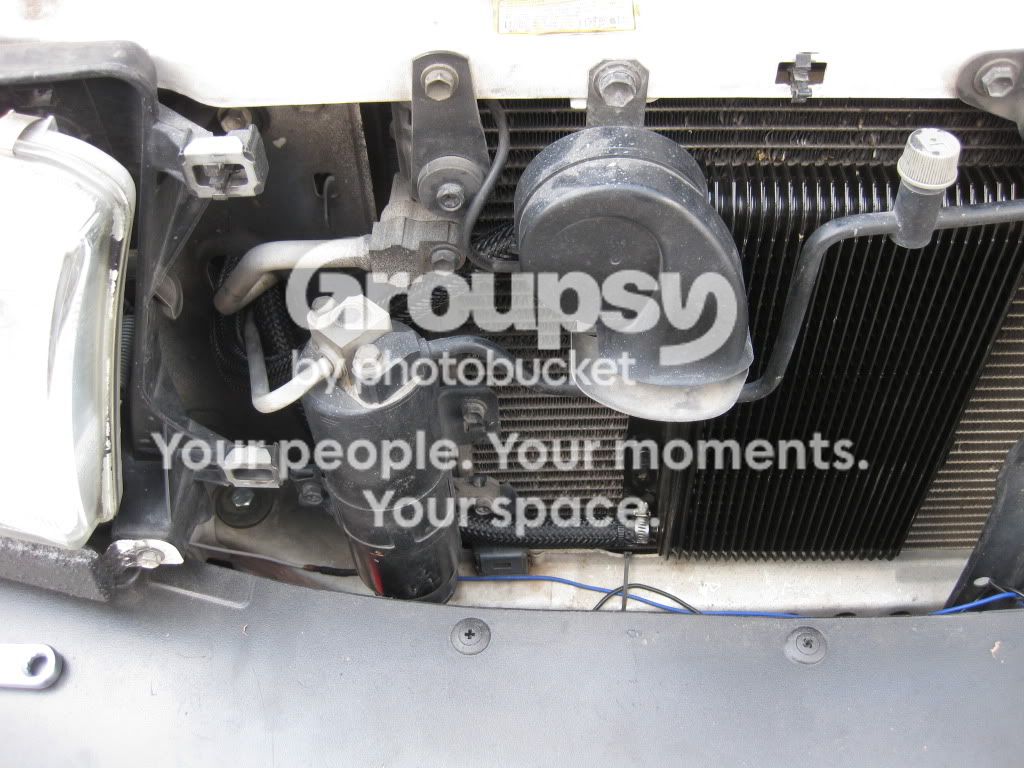
I just ordered this transmission cooler: Summit Racing Equipment | 1-800-230-3030 and I am thinking that I might actually completely bypass the stock transmission cooler all together and just cool the transmission using the aftermarket transmission cooler. I have read a couple of threads where guys have done this without any issues. Here is the thread that I got this idea/information from: http://www.toyota-4runner.org/3rd-ge...l-3rd-gen.html

So after looking at some of the threads on here about bypassing the stock transmission cooler I decided to go with a slightly different setup that I originally planned...

Since I will be towing a trailer, I don't think that the B&M 70268 would be big enough so I returned it and went with the B&M 70264 instead. The 70264 is twice as thick and should provide the extra cooling power I need for towing and wheeling.

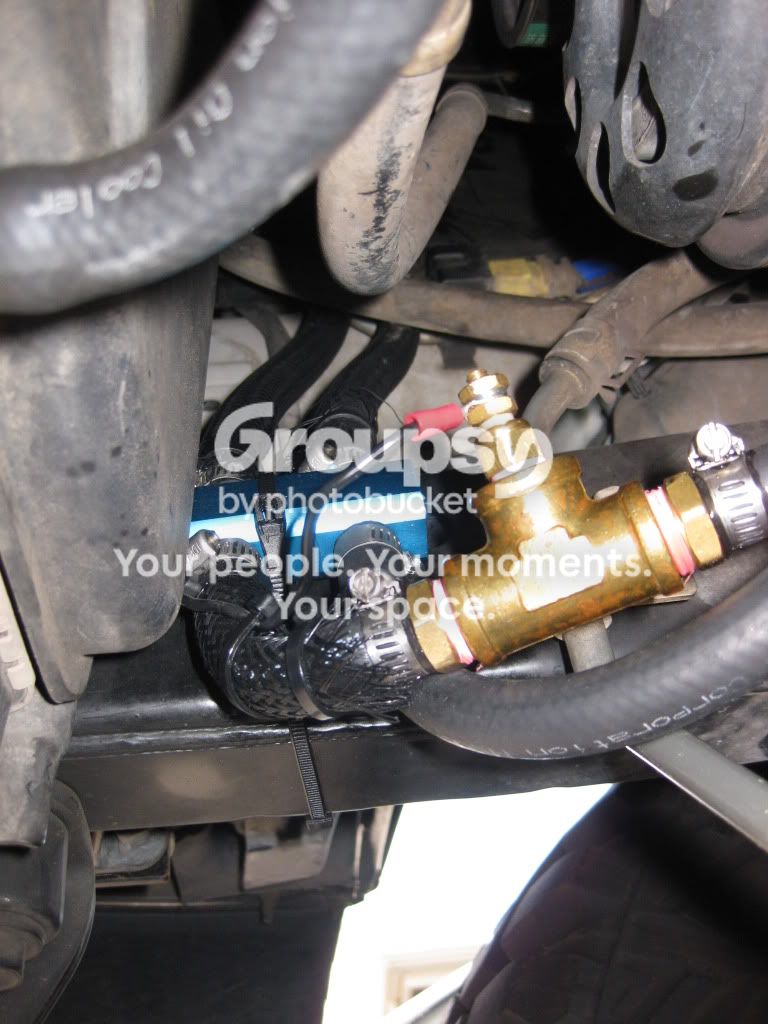
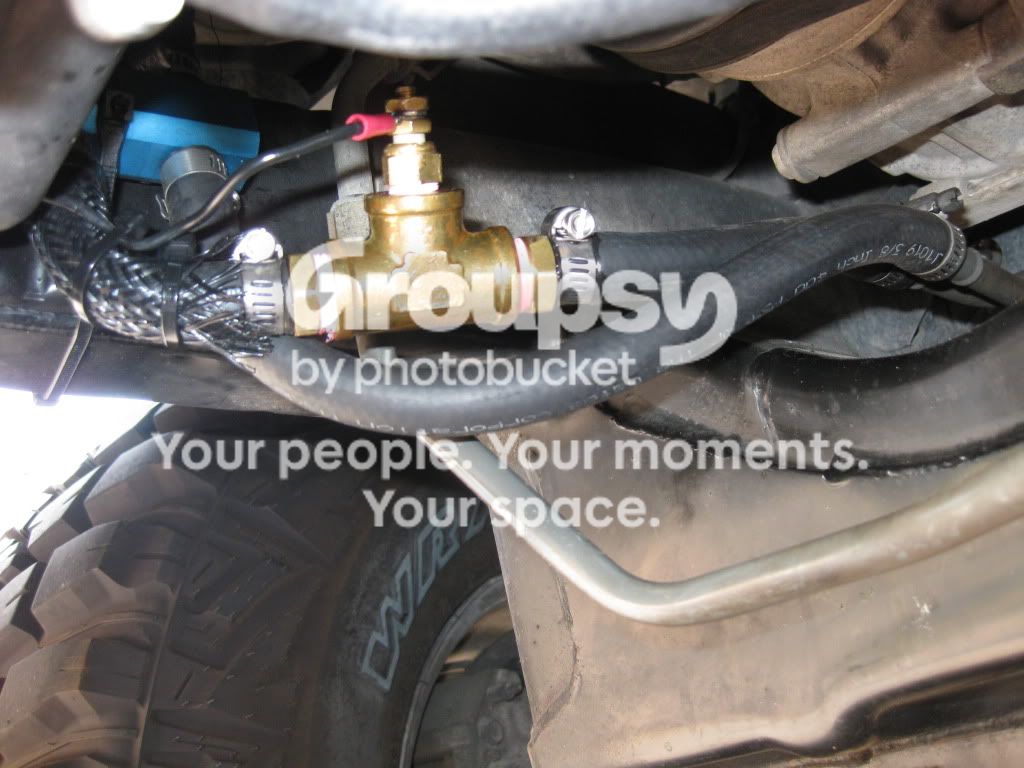
Since I will be moving to Washington DC where it gets pretty cold in the winter, I decided to install an external thermal bypass. In cold weather the thermal bypass sends the transmission fluid back into the transmission (completely bypassing the cooler) until it is warmed up. The bypass opens slowly as the fluid temperature rises but does not open completely until the fluid temperature reaches 180*. This will allow the transmission fluid to warm up quicker in cold weather while still allowing maximum cooling power on hot days, when wheeling, or when towing.

Link to the tranny cooler: Summit Racing Equipment | 1-800-230-3030
Link to the external thermal bypass: Transmission Parts Cooler Service Products Remote external thermal bypass
Link to external tranny cooler thread: Bypass the OE tranny cooler? - YotaTech Forums

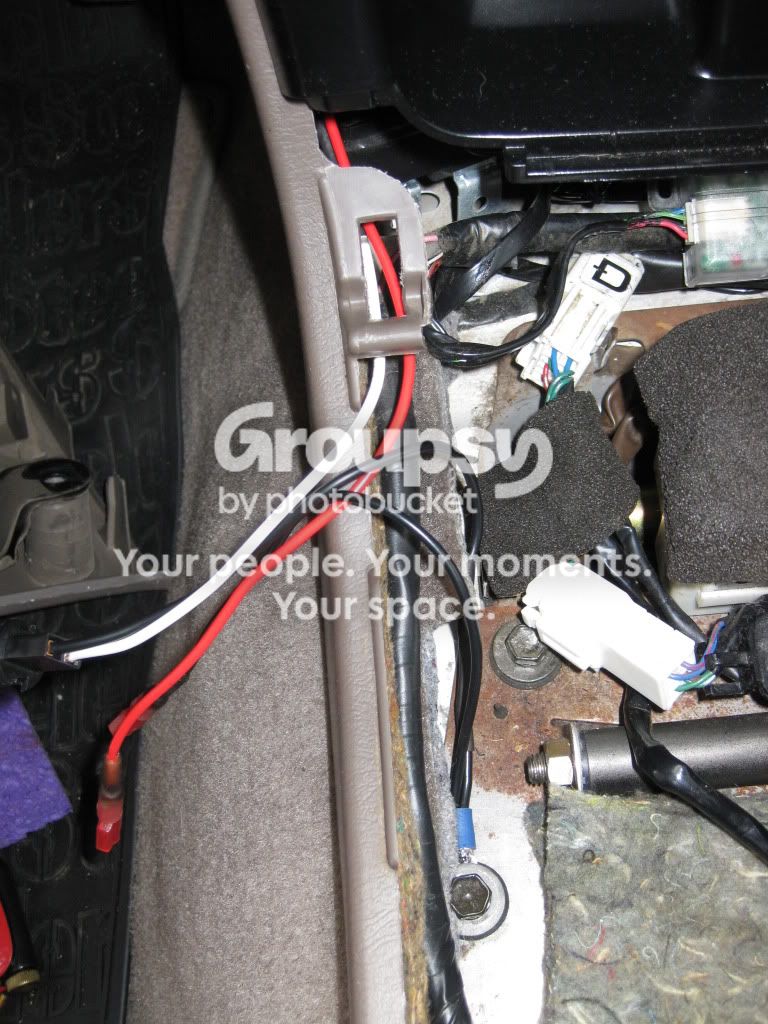
As promised, here are some pictures. These show the setup before I added the ground wire but I will try to take some more that show what I did with the ground wire.

IMG_0233.jpg~original

IMG_0234.jpg~original


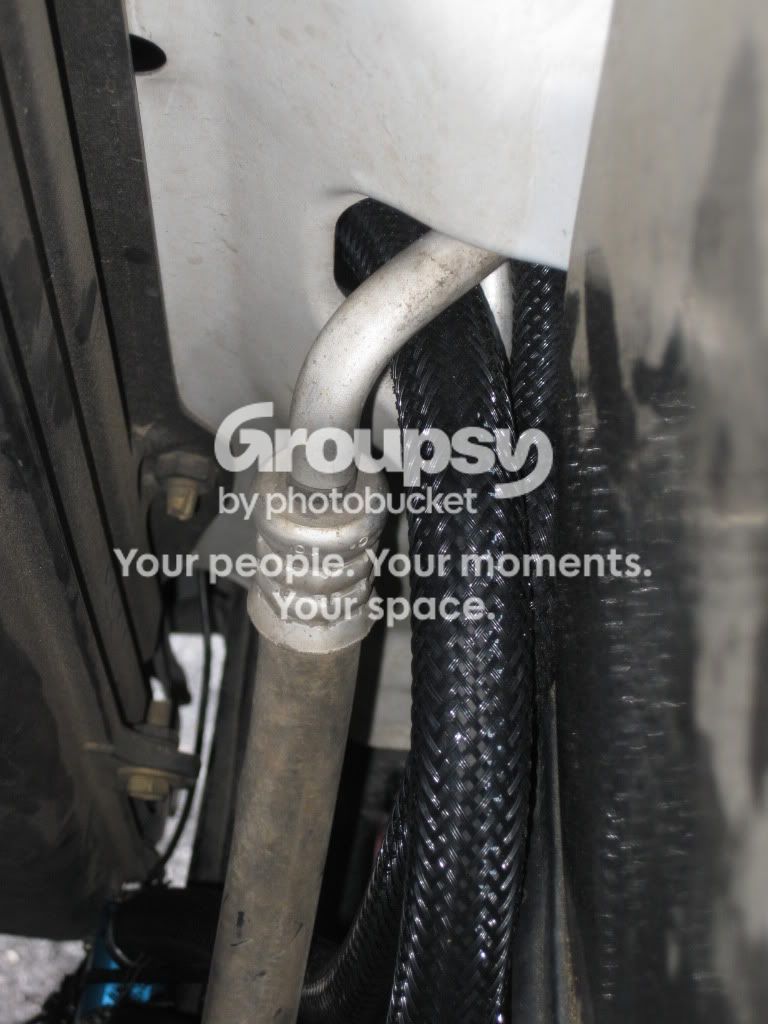
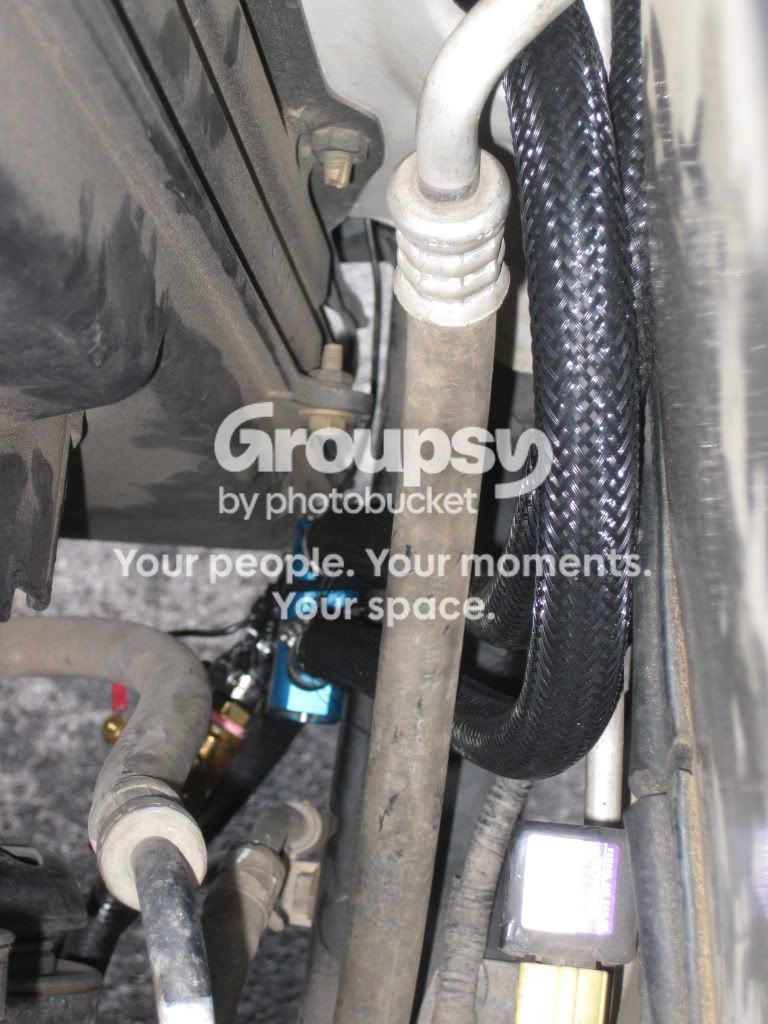
Here is where I ran the hoses
IMG_0231.jpg~original

IMG_0232.jpg~original


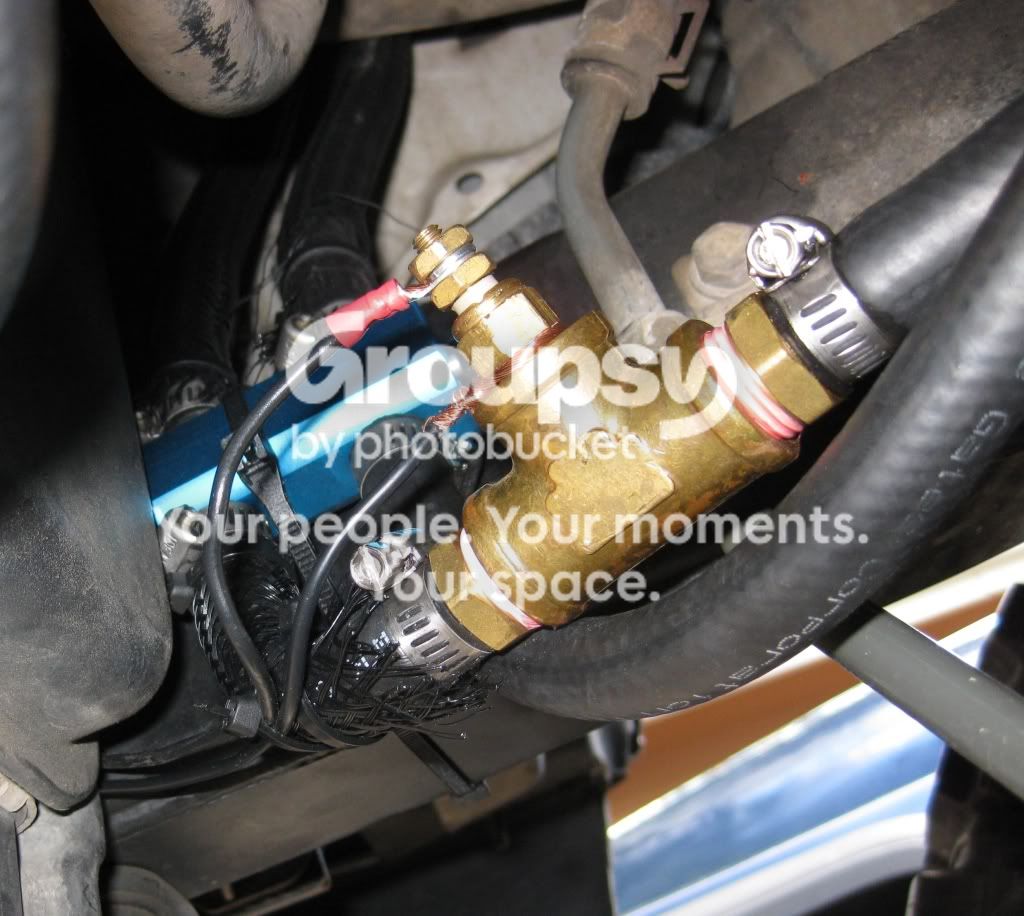
Here you can see the thermal bypass and the T-fitting for the temperature gauge.
IMG_0239.jpg~original

IMG_0240.jpg~original


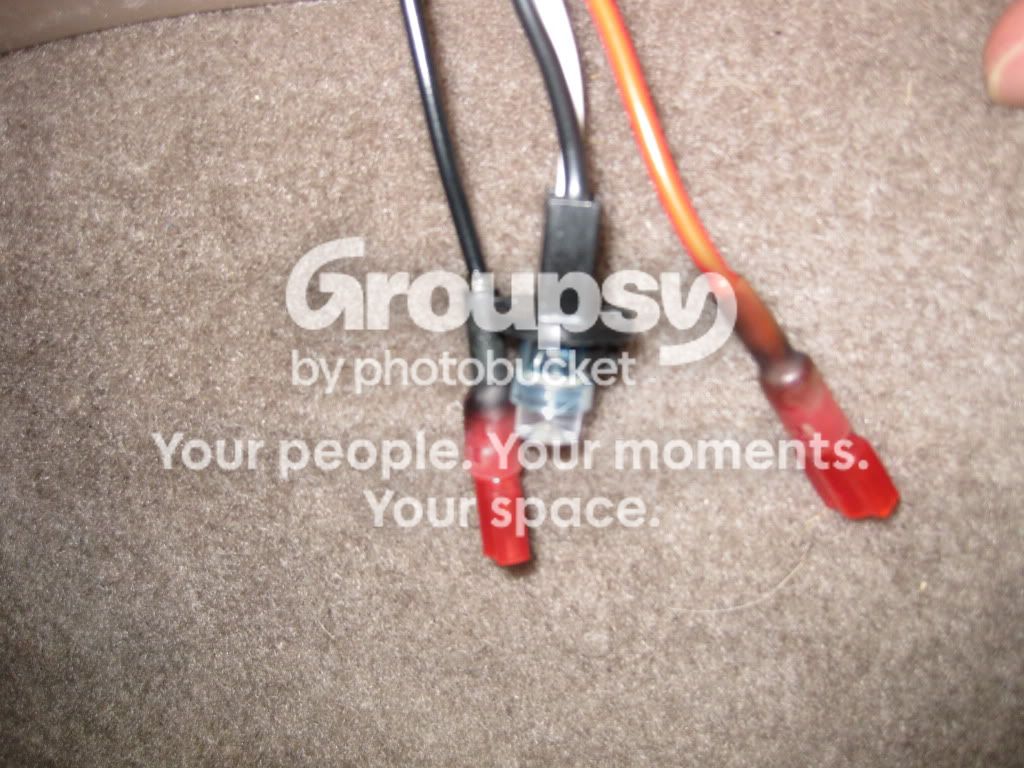
Finally, here is an updated picture of my transmission temperature sensor setup with the ground wire.
IMG_0245.jpg~original
 
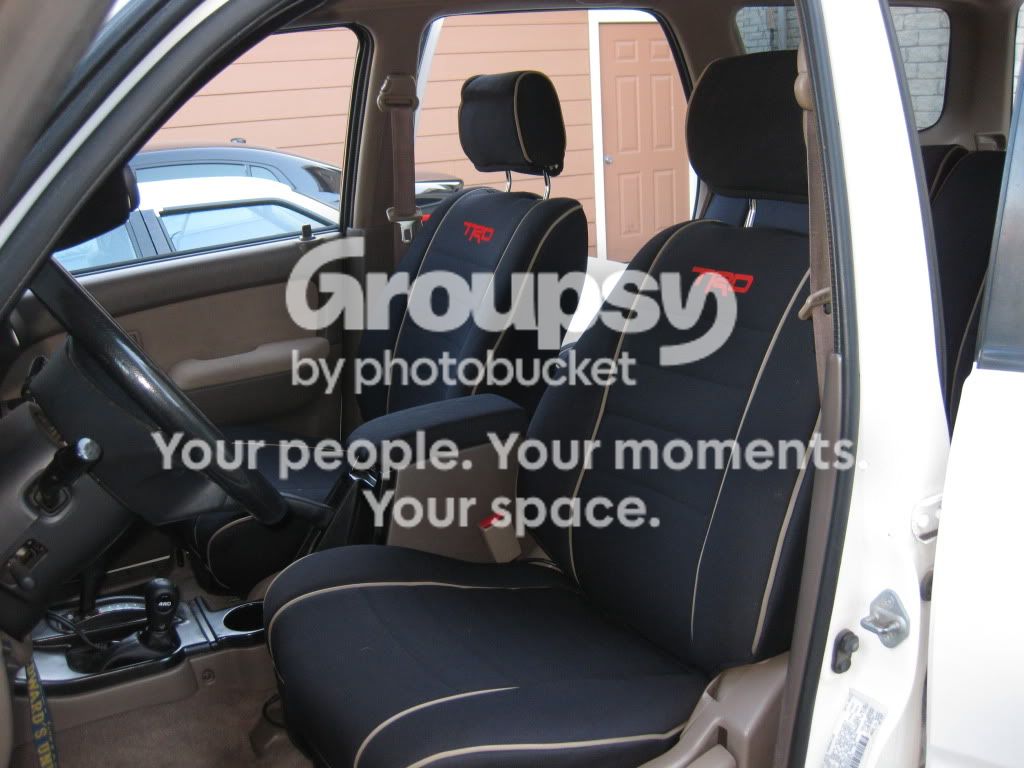
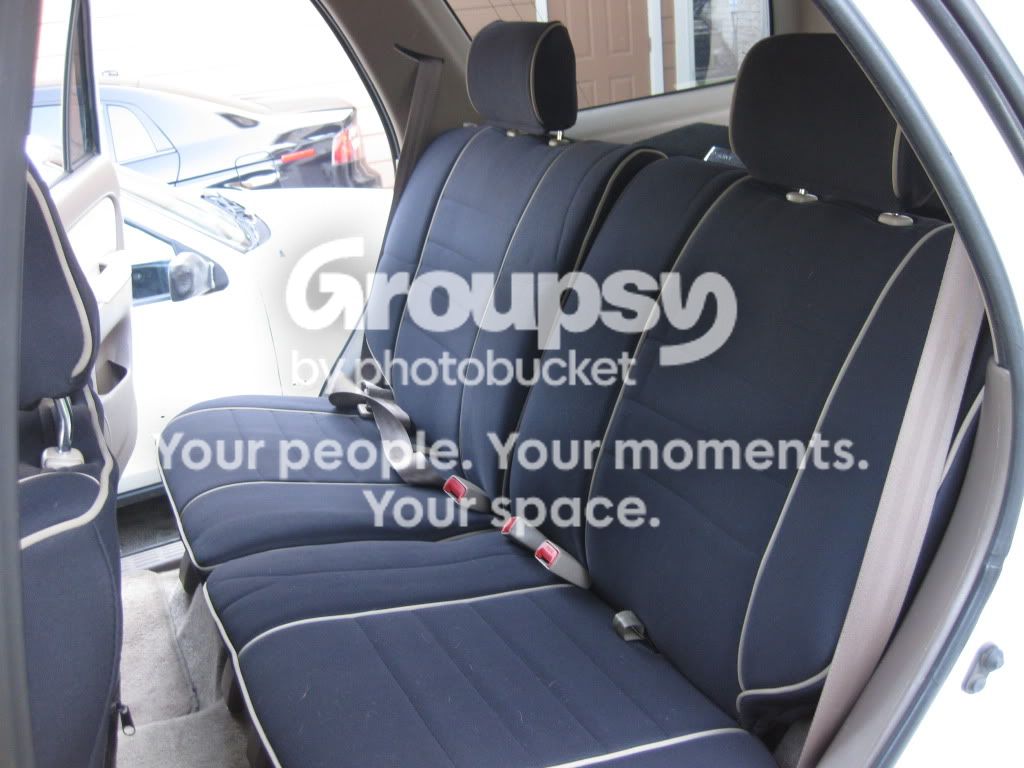
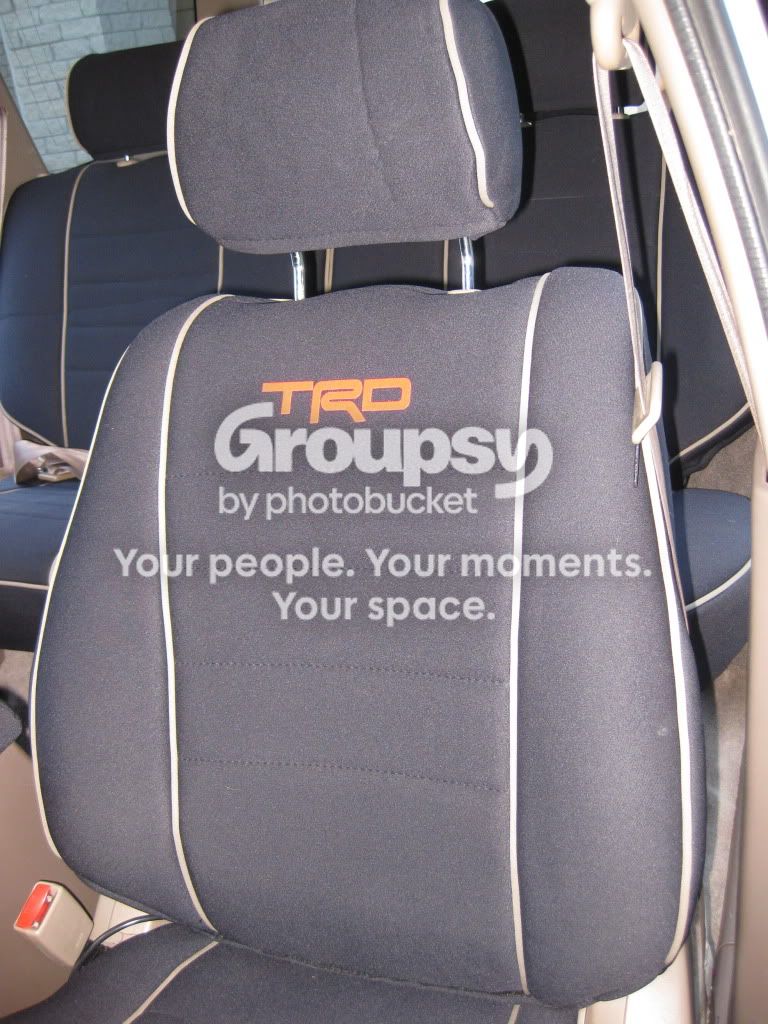
Update: I got my Wet Okole seat covers yesterday and got them installed. It took me a little over an hour because the front seats take a little while to get just right. I must say that my first impression of these is amazing! They are really comfortable and you can just tell that they are high quality, hopefully they will hold up in the long run but I don't see any reason why they wouldn't.

IMG_0248.jpg~original

IMG_0251.jpg~original

IMG_0249.jpg~original


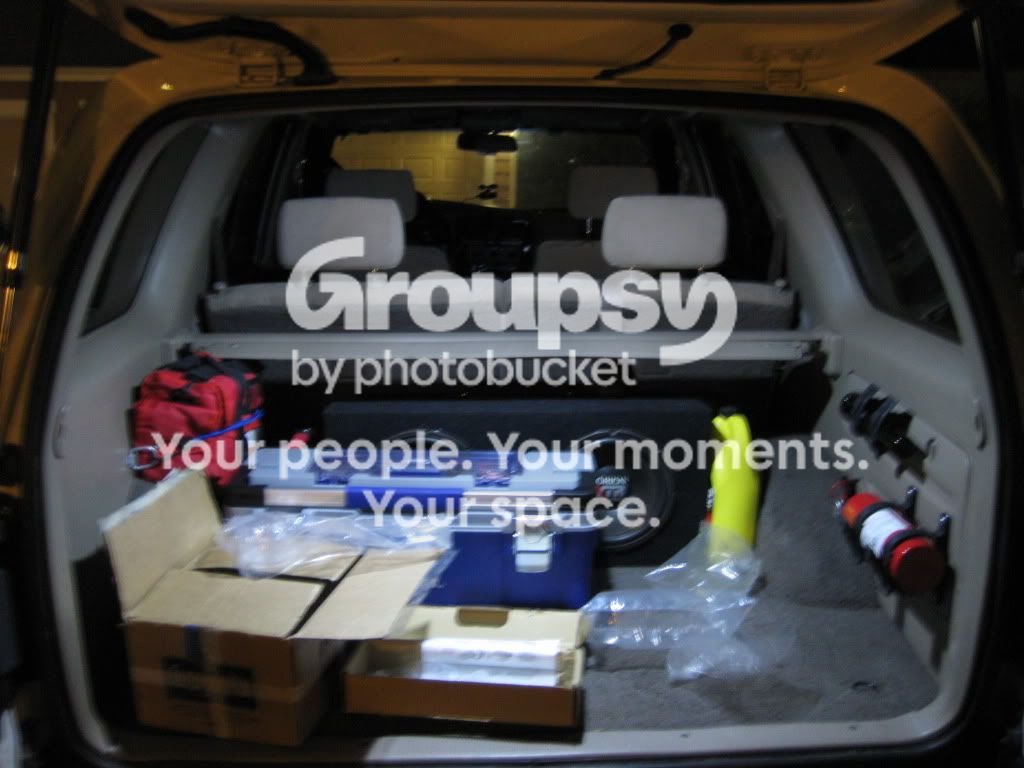
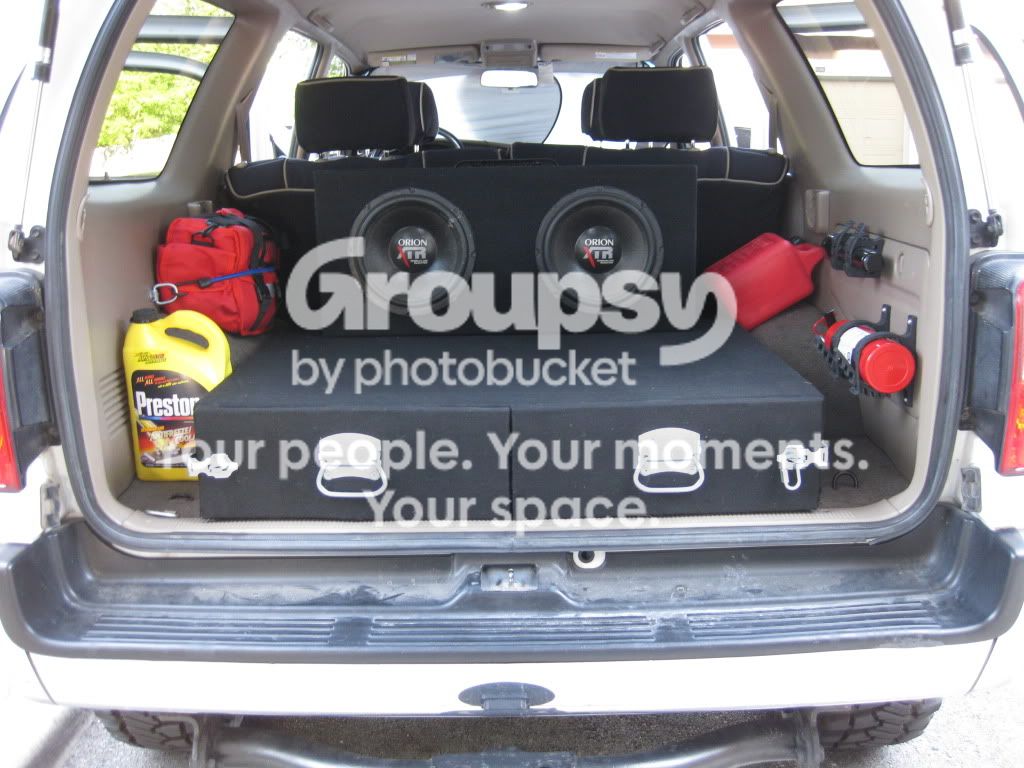
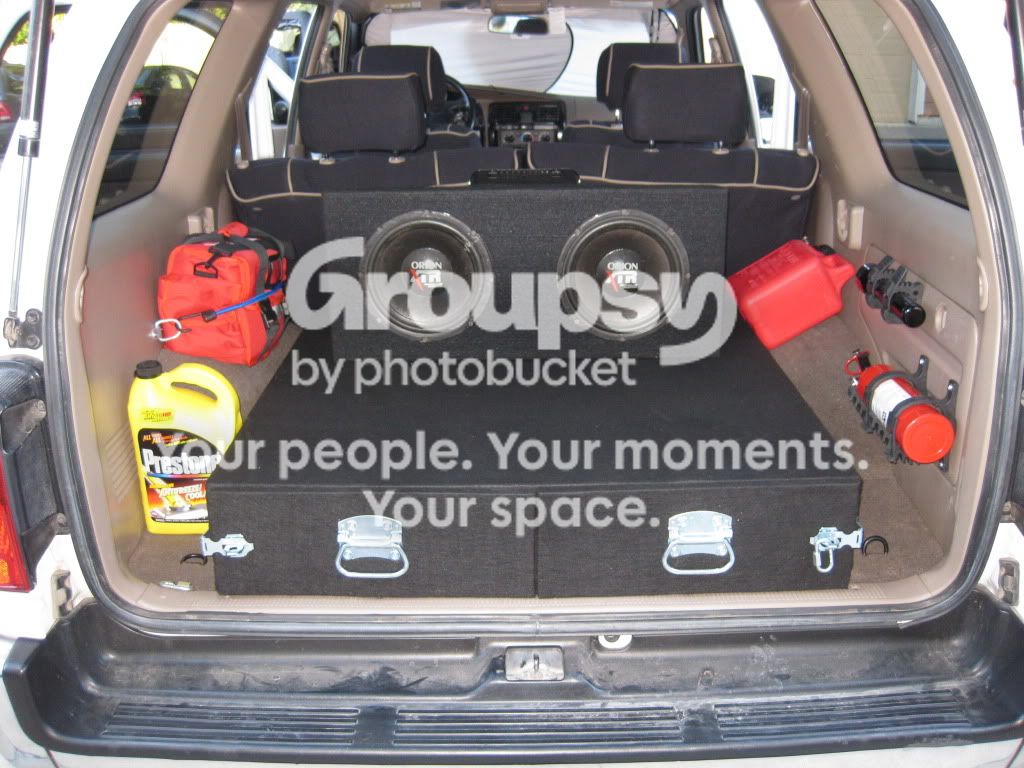
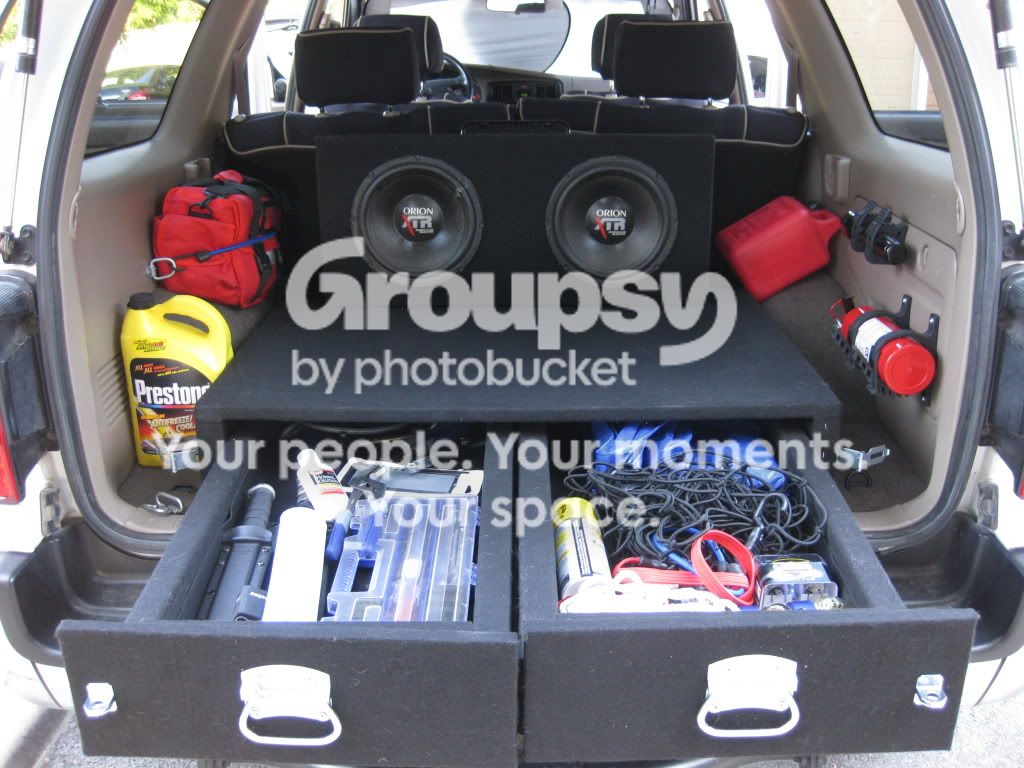
After looking at some of the treads on here, I decided that I wanted to build a rear storage box to hold my tools, recovery gear, tie down straps, etc. So last weekend I made a trip to the hardware store and bought some materials. After two full days of work over the weekend and some intermittent work during the week I was able to get it finished today. Sorry I don't have any pictures of the actual build process but I wanted to get it done as quickly as I could....

I used 3/4" plywood for the top and bottom because I chose not to use a center support and the 3/4" plywood is really strong and can hold a lot of weight on its own. As you can see in the pictures, I have my 2-10" subs sitting on top of it and it is not bending/flexing whatsoever.

I chose to cover all the surfaces in felt because I didn't want to look at a bunch of plywood. It just so happened that the felt matches my sub box pretty well. The felt is held in place by spray adhesive and some staples.

The drawers are not on any sort of tracks or rails, they just slide on the bottom of the storage box, which works really well with the felt. Here are some of the overall specs:
Length (front to back): 40.5"
Width: 38"
Height: 7"
Box materials used: 3/4" plywood and 2X6's
Drawer materials: 1/2" plywood and 2X4's

Let me know if you have any other specific questions.
IMG_0253.jpg~original

IMG_0252.jpg~original

IMG_0254.jpg~original

IMG_0255.jpg~original


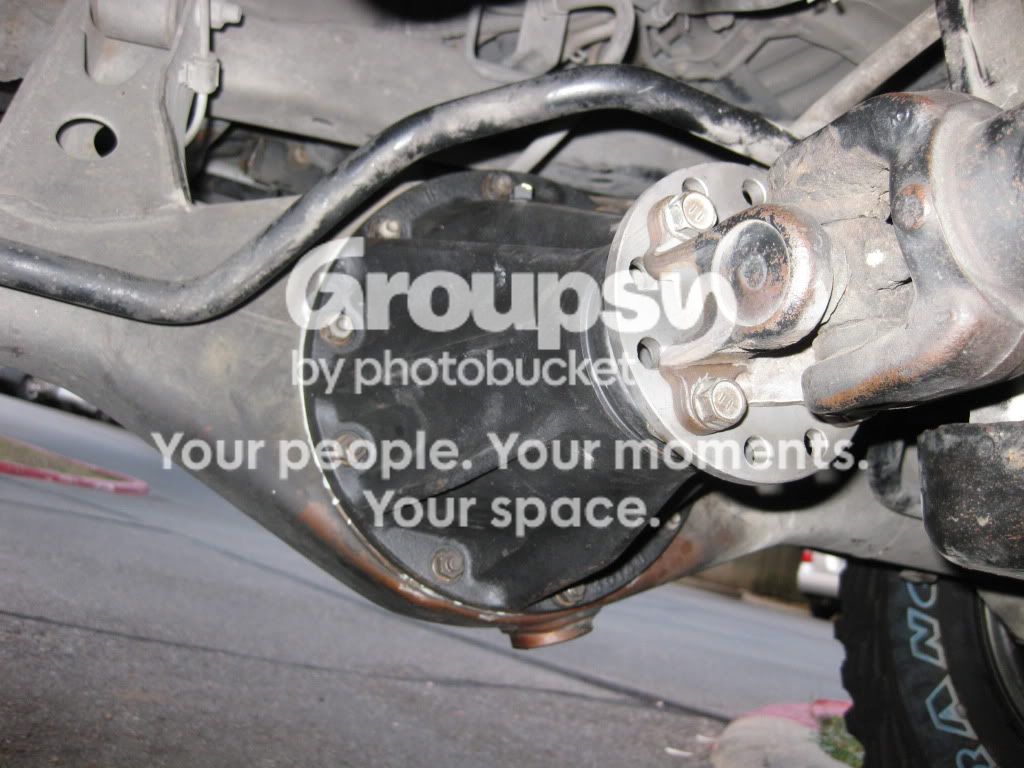
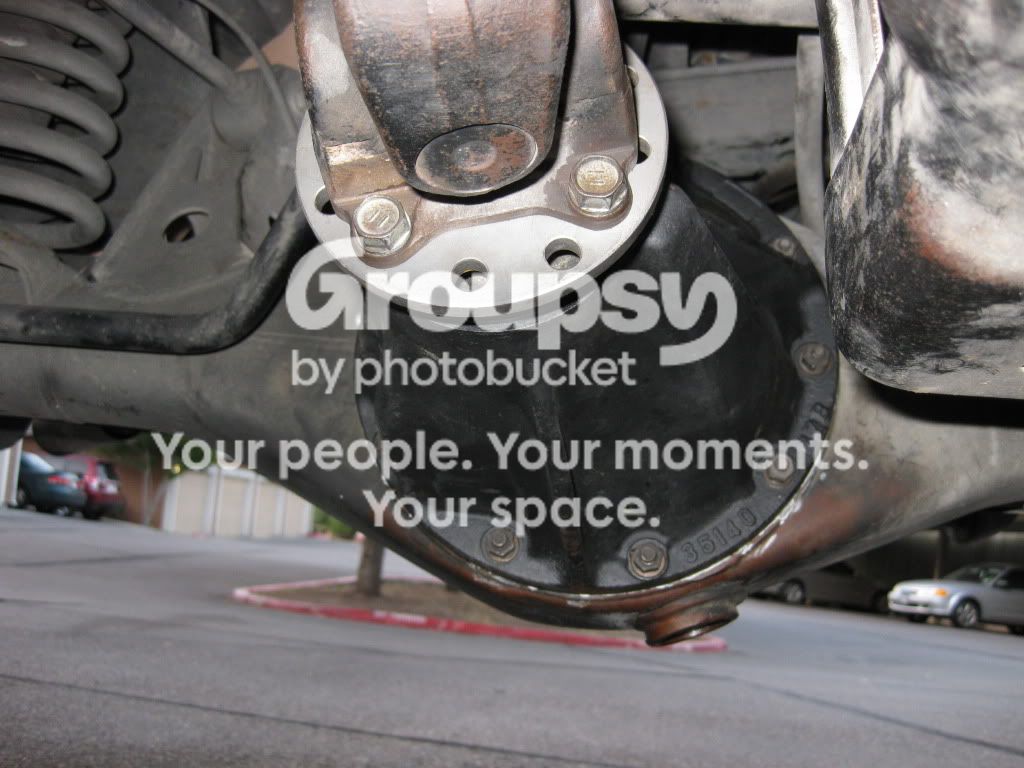
Today I got the rear differential installed. It was my first time ever tearing into the rear axle like this so it took me about 5 hours start to finish. Part of the reason that it took so long is because I ran into a couple of minor problems.

The first problem was trying to get my damn locking lugnuts off! :pop: I ended up just giving up and took my truck to Discount Tire and had them remove the locking lugnuts and replace them with standard lugnunts so I will never have to deal with them again.

The second problem that I ran into was how to disconnect the parking brake cable. After about a half-hour of looking everything over I was able to get it figured out and taken off so I could remove the axles.

The only thing that I have left to do is bleed the brakes, but I took it for a test drive and the brake pedal is still responding pretty well so I think it should be okay for a couple of days until I have time to do it. Just after a short test drive, I can already feel that I have my power back which is definitely a good feeling. I can't wait to get the front installed and wheel it! Stay tuned...

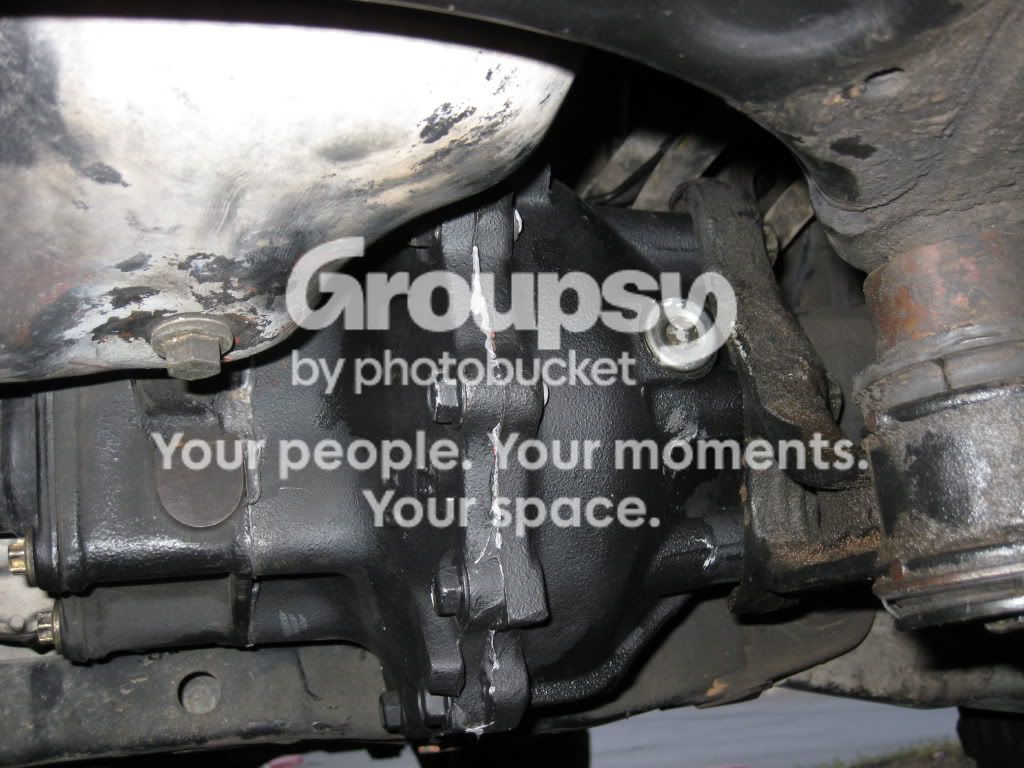
Regear to 4.88's is complete! Yesterday afternoon I took my truck to Krawltex and had them install the new front differential. The guys there are really cool and let me watch the whole process and even help out a little (they couldn't let me do too much because of liability/insurance issues). They do good work and were even nice enough to inspect the rear to make sure that I did everything correctly. Sorry no pics yet but I will try to snap some today.

Rear Differential
IMG_0265.jpg~original

IMG_0262.jpg~original


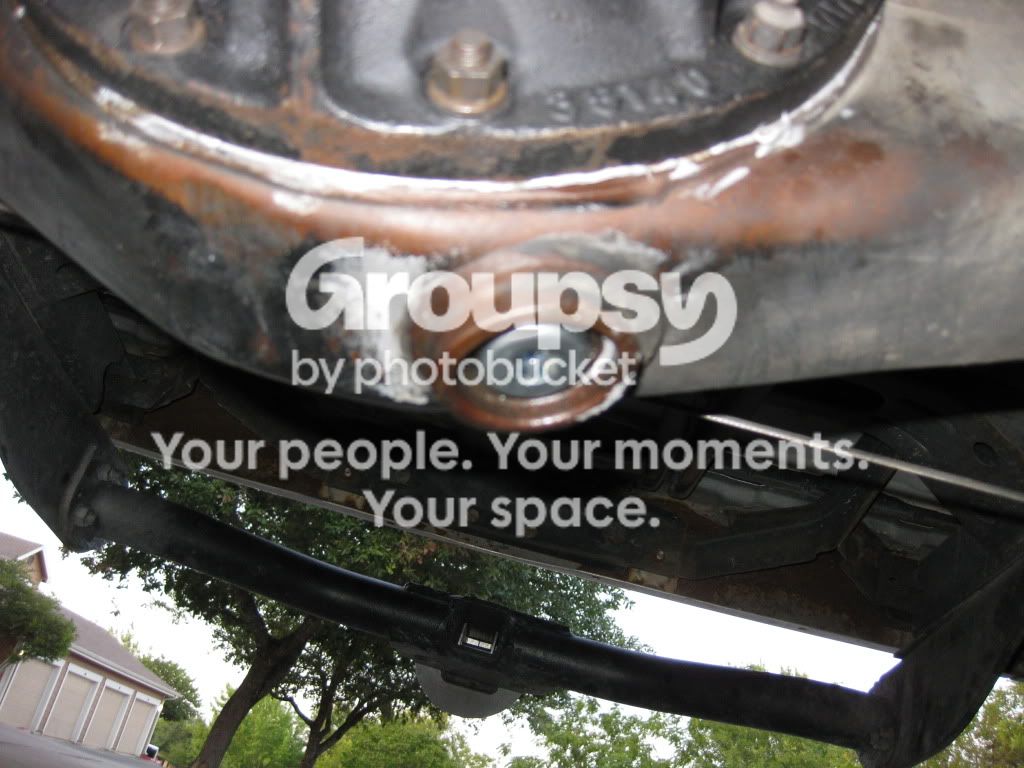
New low profile magnetic drain plug
IMG_0267.jpg~original


Front Differential
IMG_0268.jpg~original


And for some additional horsepower and traction....a Yukon sticker :rockin:
IMG_0258.jpg~original


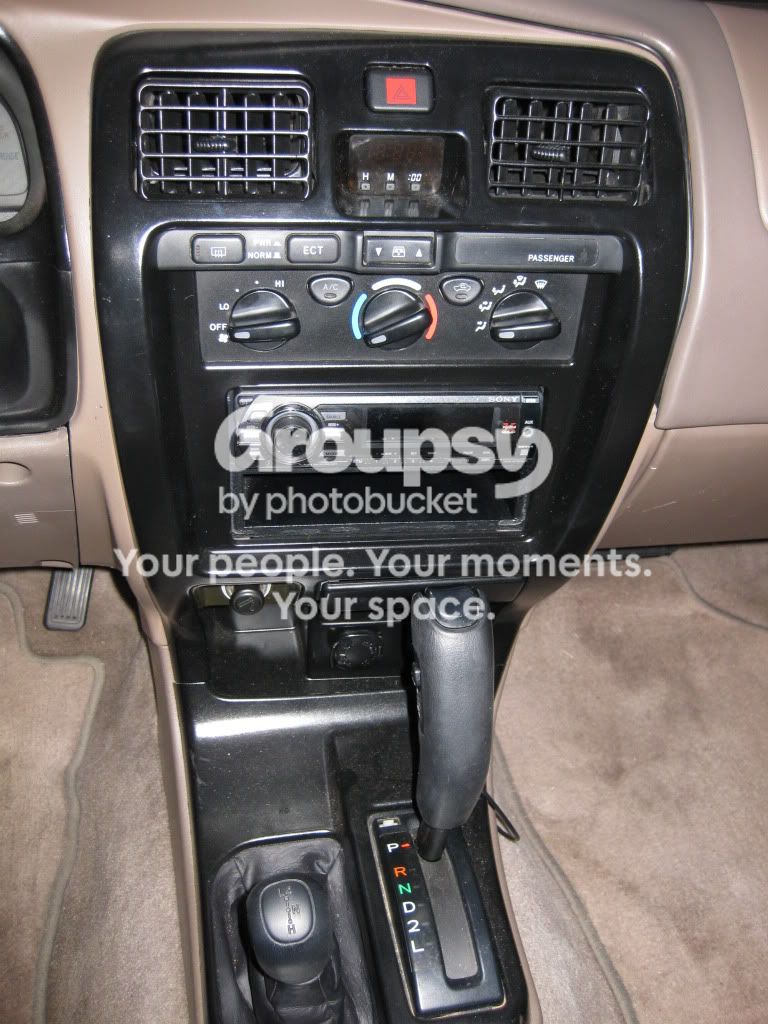
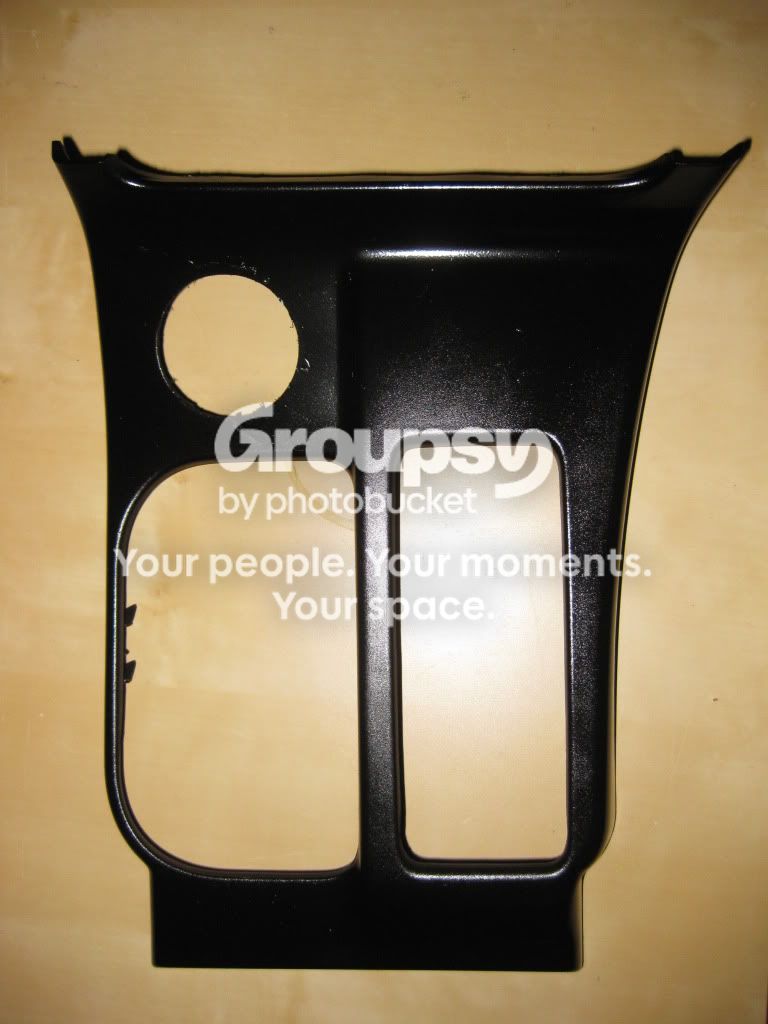
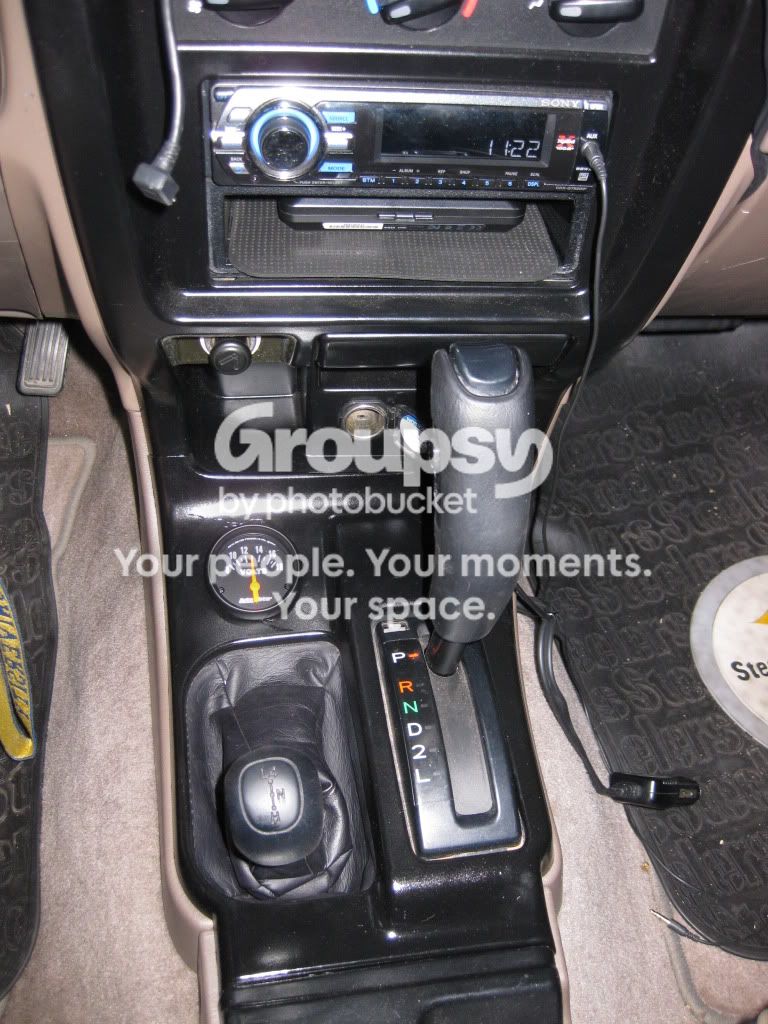
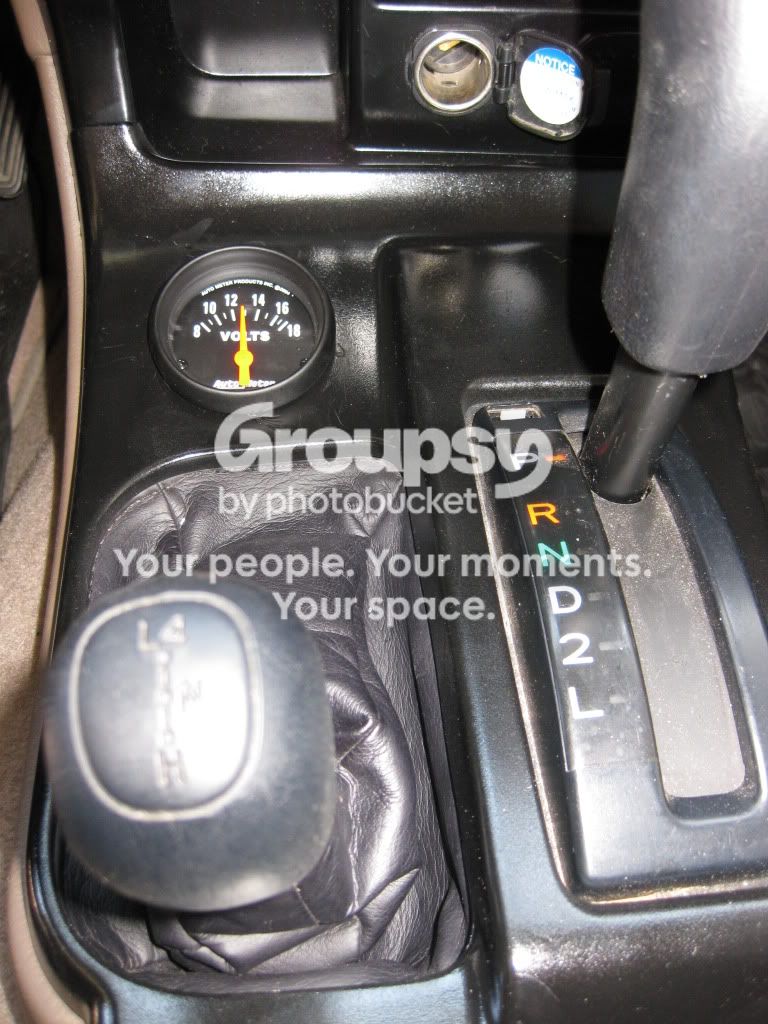
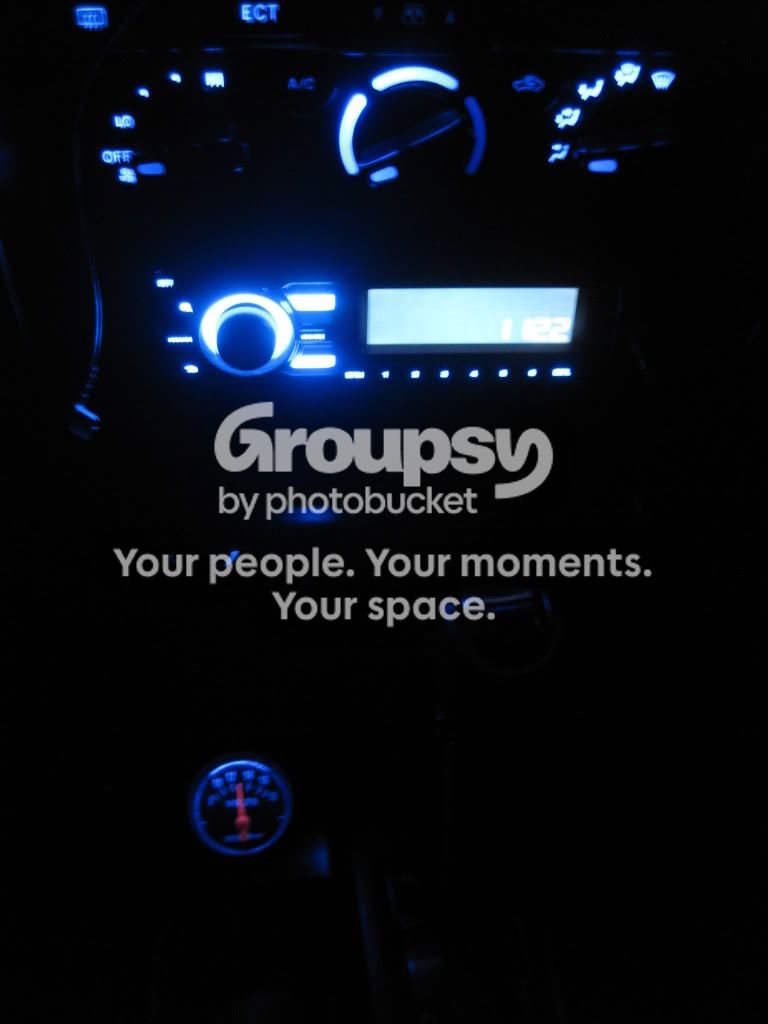
Since I installed my external transmission cooler, I had to remove my voltmeter in order to make room for my transmission temperature gauge. I was kind of bummed because I had a $50 gauge just sitting around, so I tried to find a good place to mount it so I could actually use it. Thanks to BigFishAllDay, I found the perfect location...

Before:
IMG_0593.jpg~original


During:
The hole saw got away from me a little bit...I might have to pull the piece of the bezel off use some bondo to fill in the scratches and repaint it...
IMG_0270.jpg~original

IMG_0275.jpg~original

IMG_0274.jpg~original


After:
IMG_0284.jpg~original

IMG_0277.jpg~original

IMG_0286.jpg~original


Thanks again BigFishAllDay!
 
Your interior came along way in the past couple days. That rear storage is awesome and the felt tops it off perfectly, might have to do something like this myself.
 
hey man everything you did looks great. Especially the tool boxes. Way cool.

Thanks! The tool boxes definitely come in handy and allow me to carry all the tools and spare parts I may need when I hit the trails.

Your interior came along way in the past couple days. That rear storage is awesome and the felt tops it off perfectly, might have to do something like this myself.

Thanks man! I have been trying to maintain the balance between a comfortable daily driver and a capable wheeling rig and the few interior mods definitely make it more comfortable.
 
Updates - Continued

Not a whole lot going on with the build as of now, but I did get to wash her last weekend. I almost forgot how good she looks when she is clean.

IMG_0318.jpg~original

IMG_0317.jpg~original

IMG_0315.jpg~original

IMG_0314.jpg~original


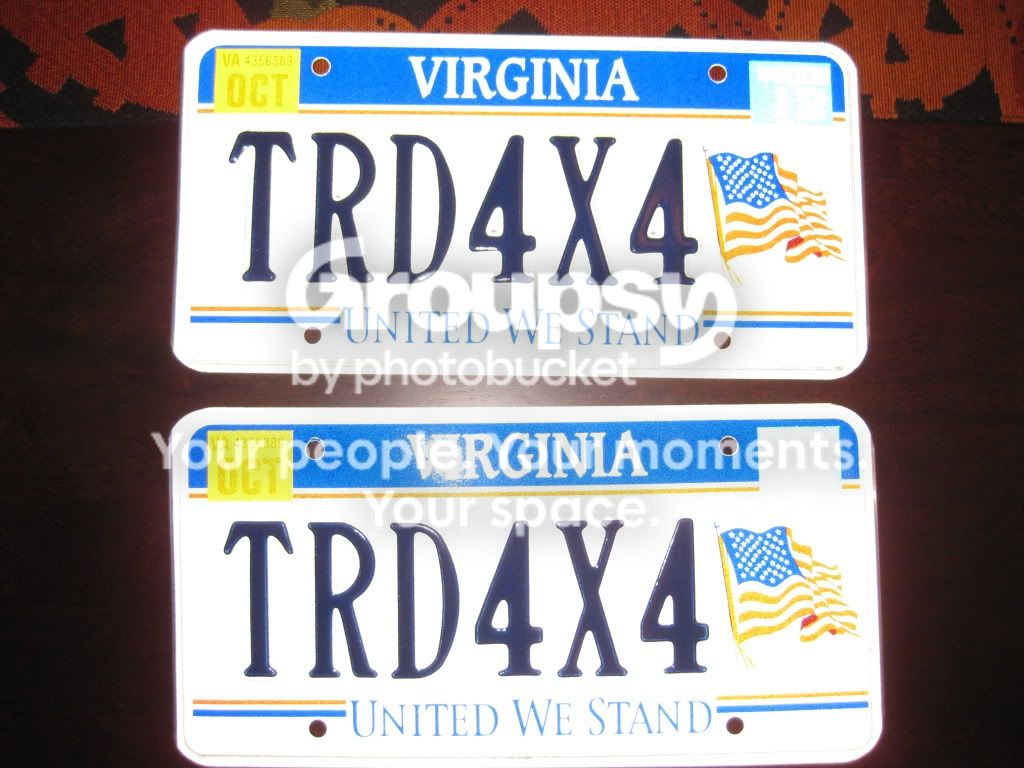
Finally got my new plates: Toyota FTW!
IMG_0392.jpg~original


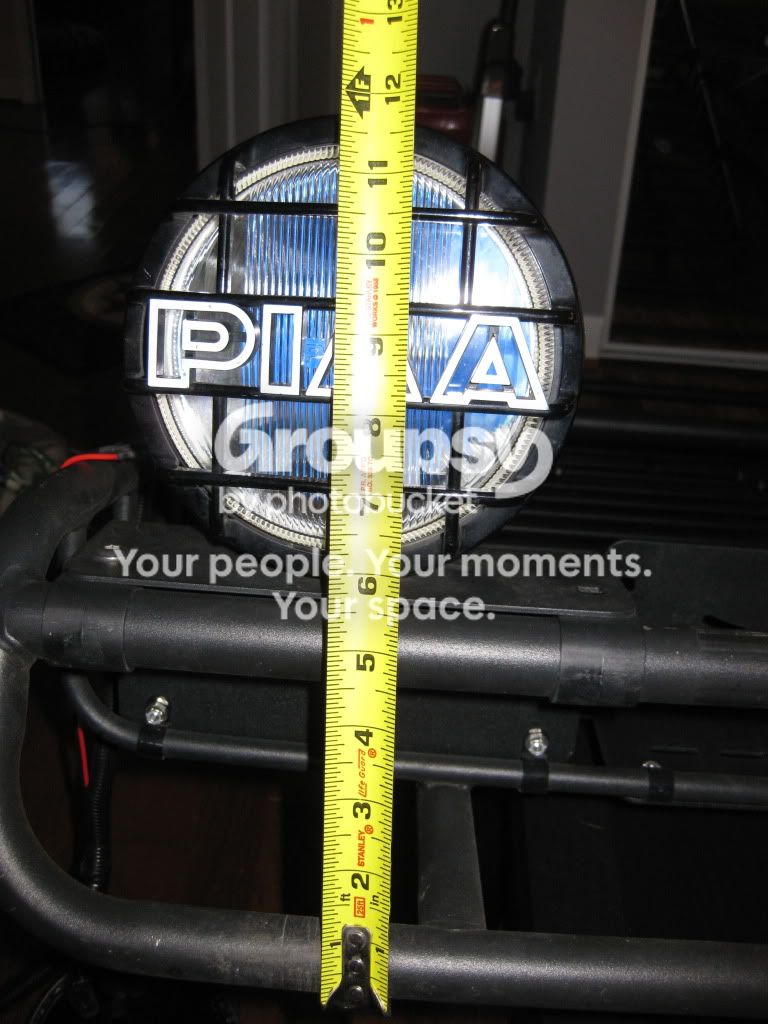
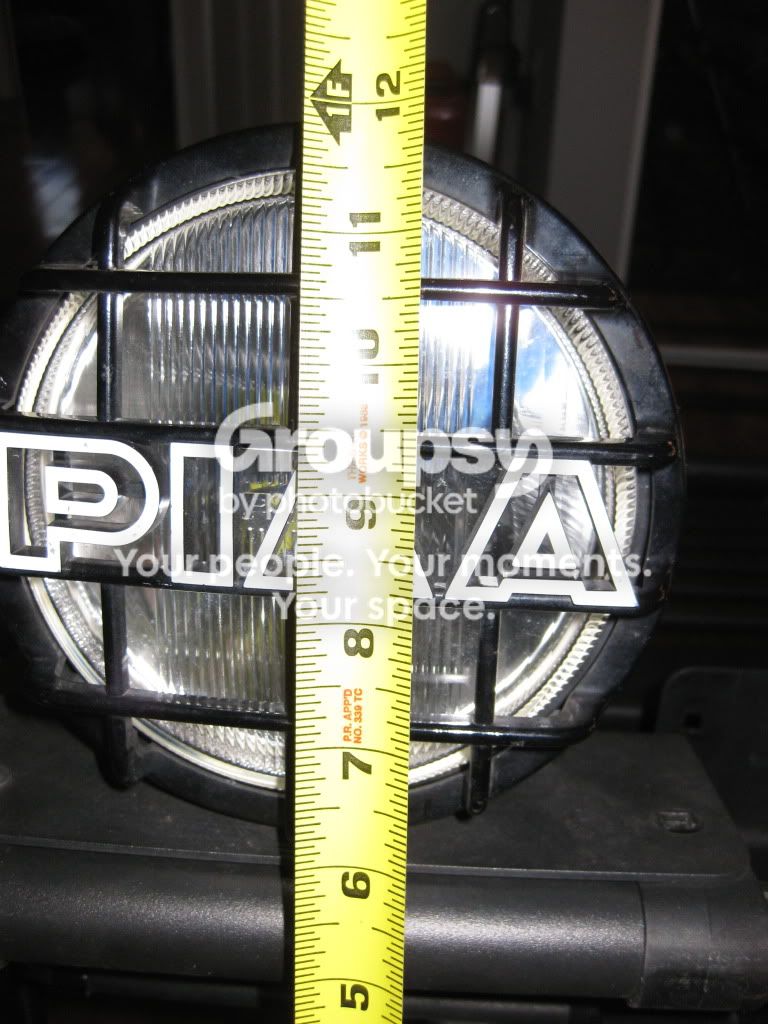
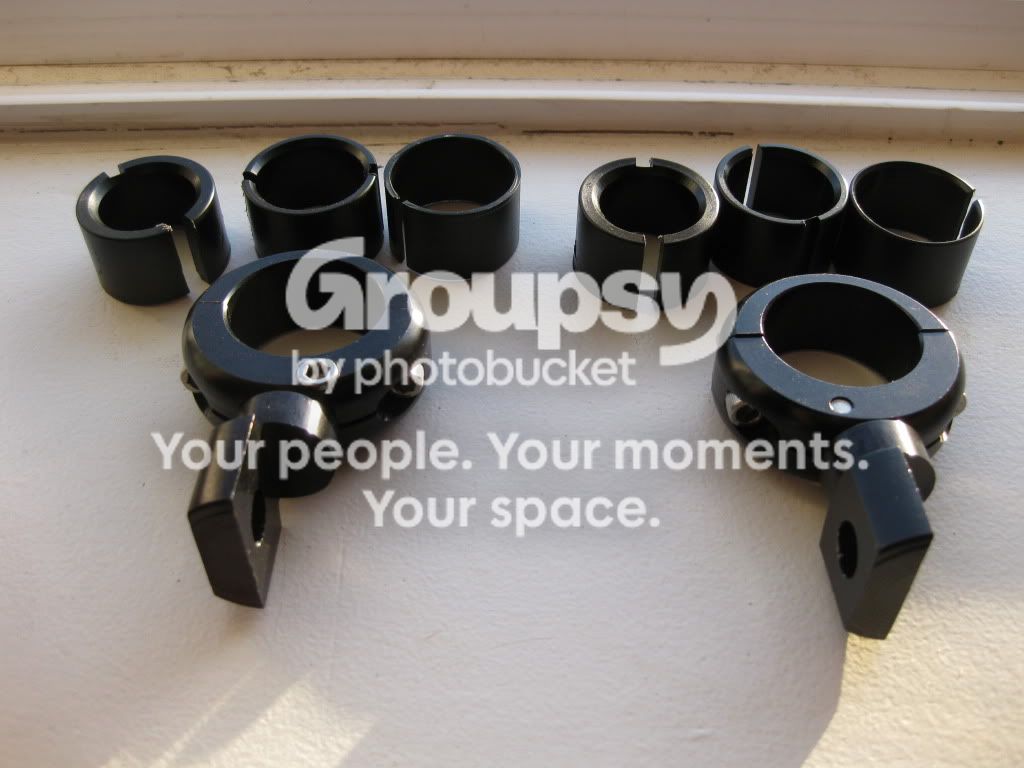
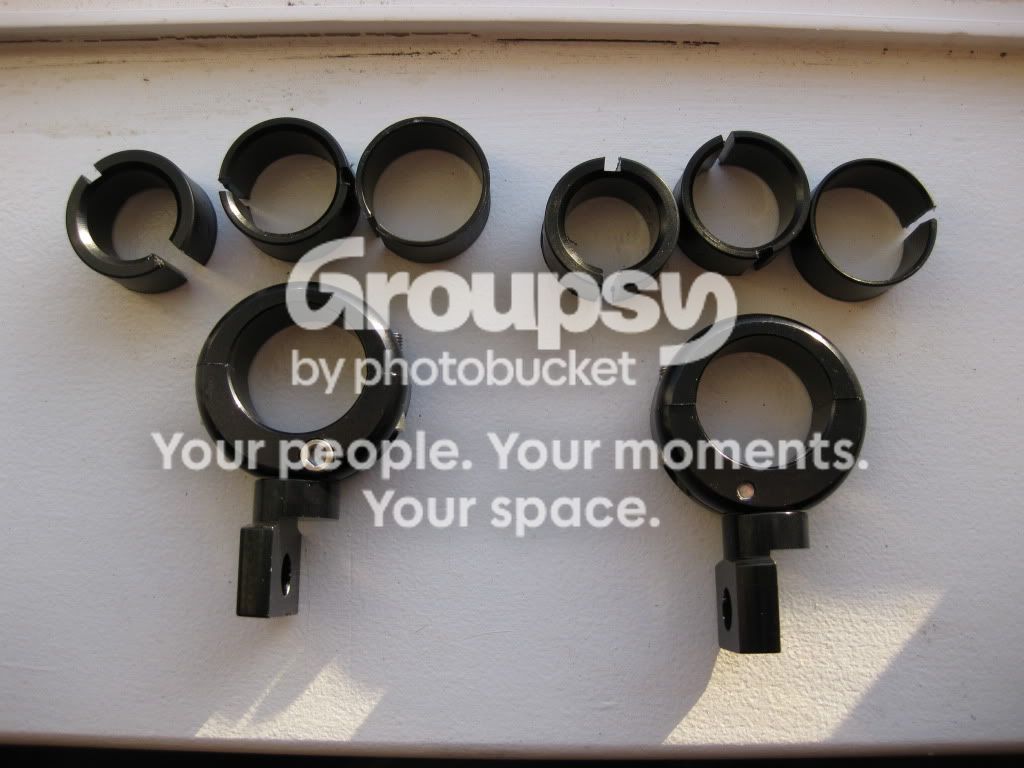
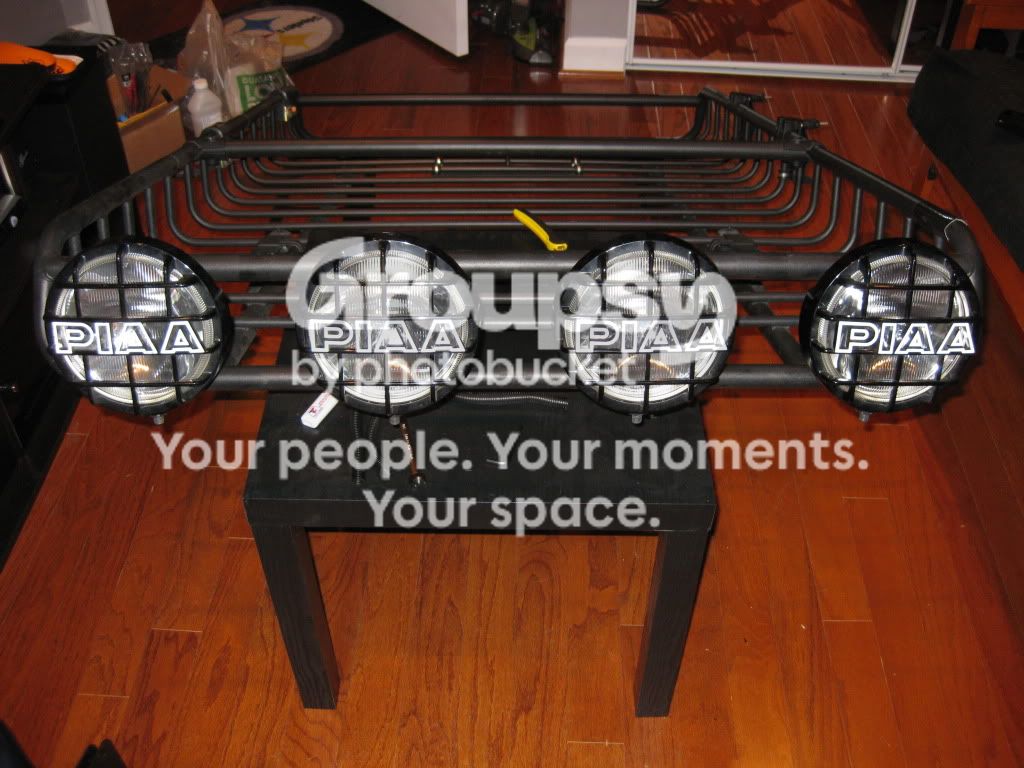
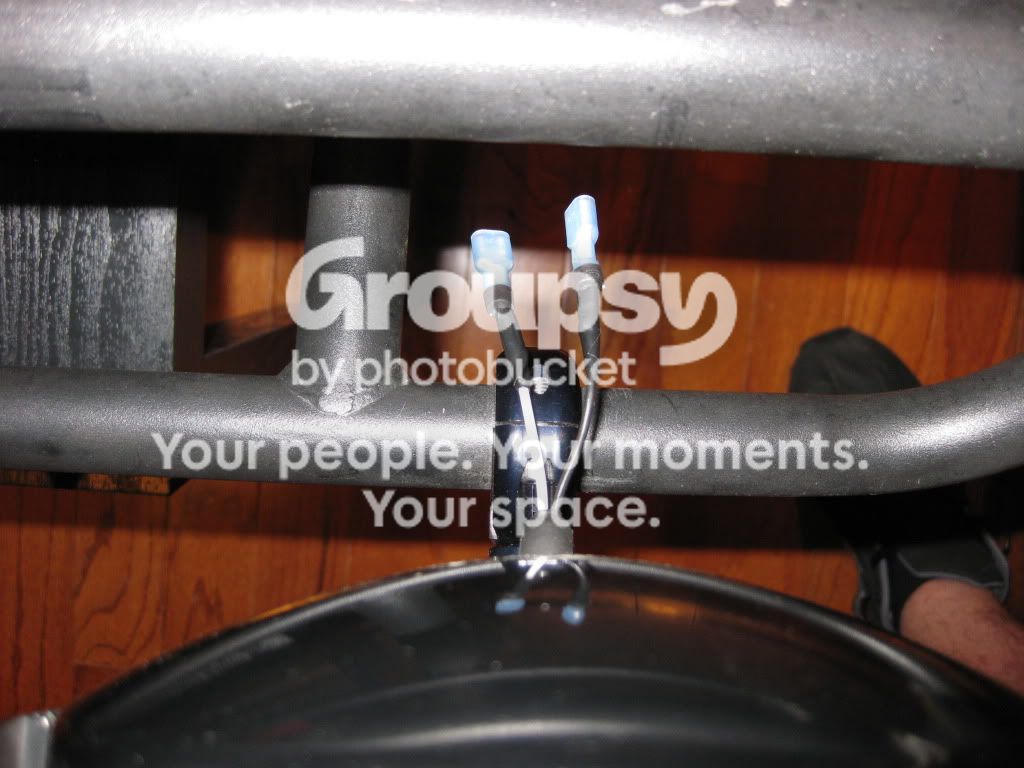
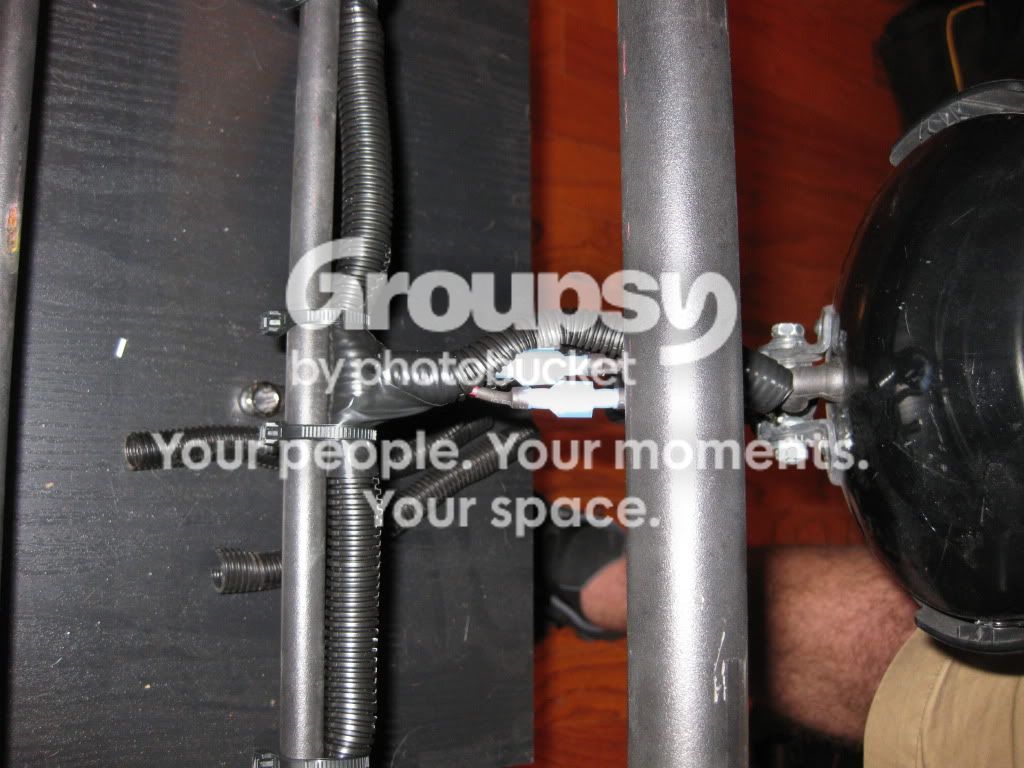
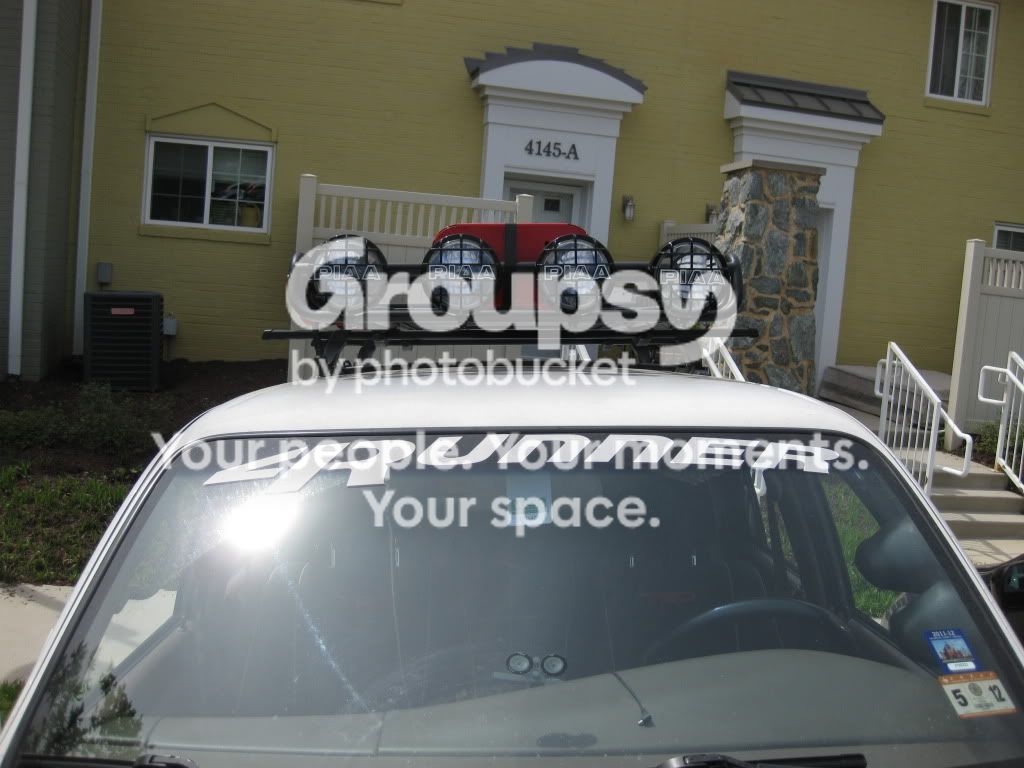
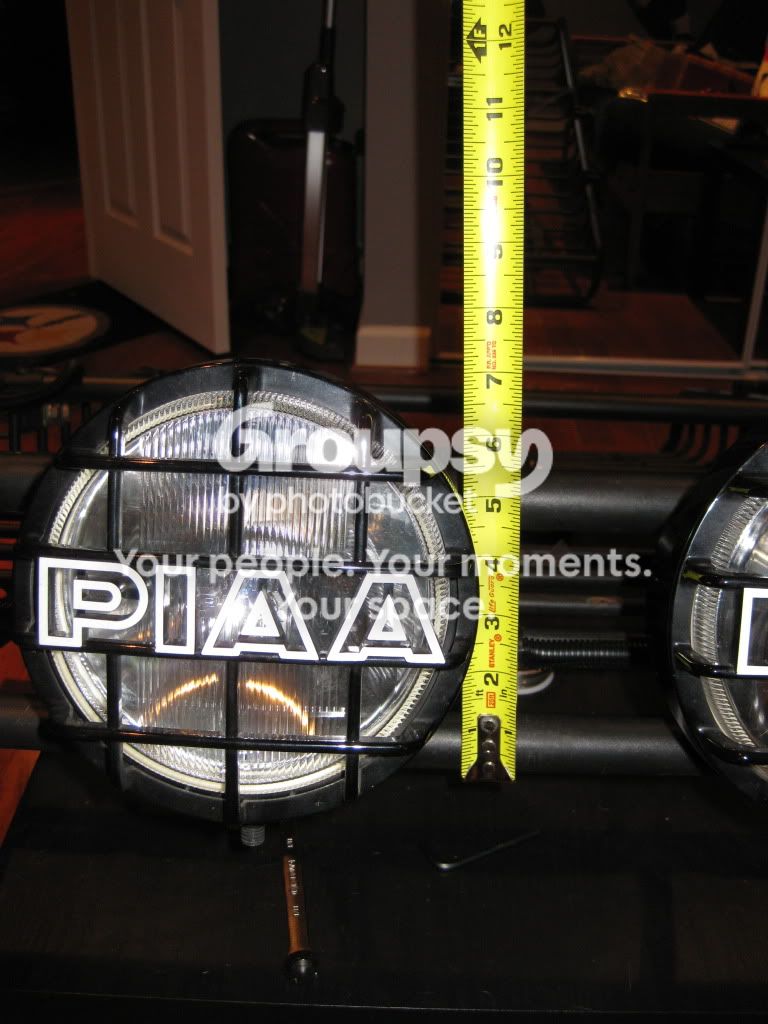
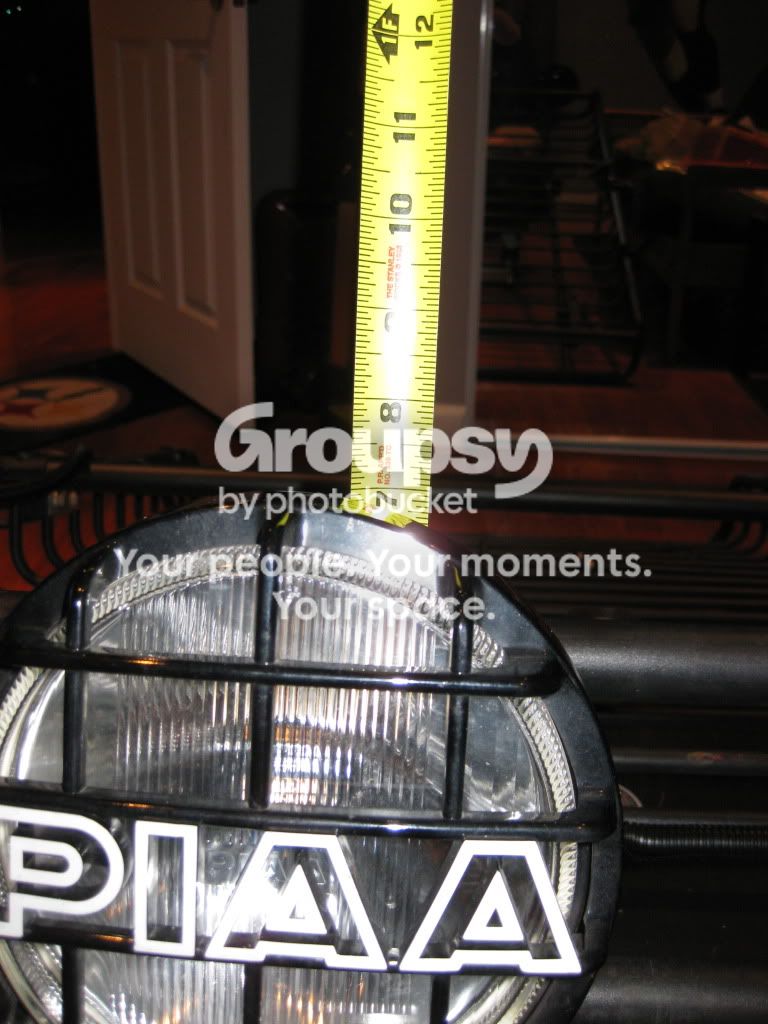
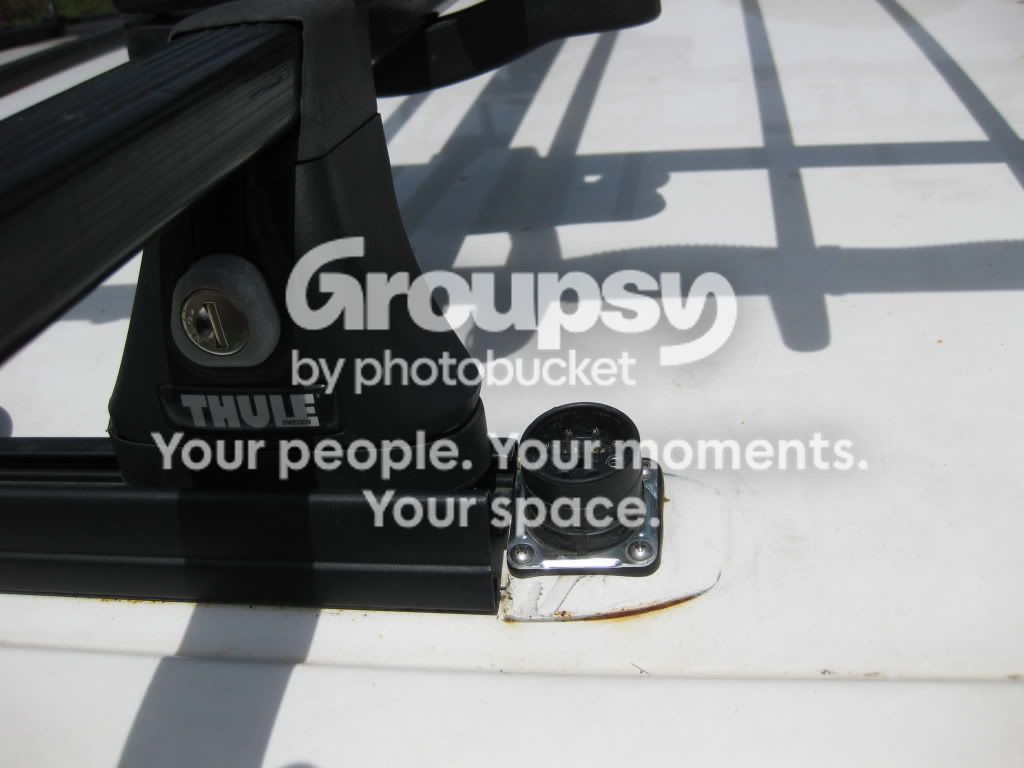
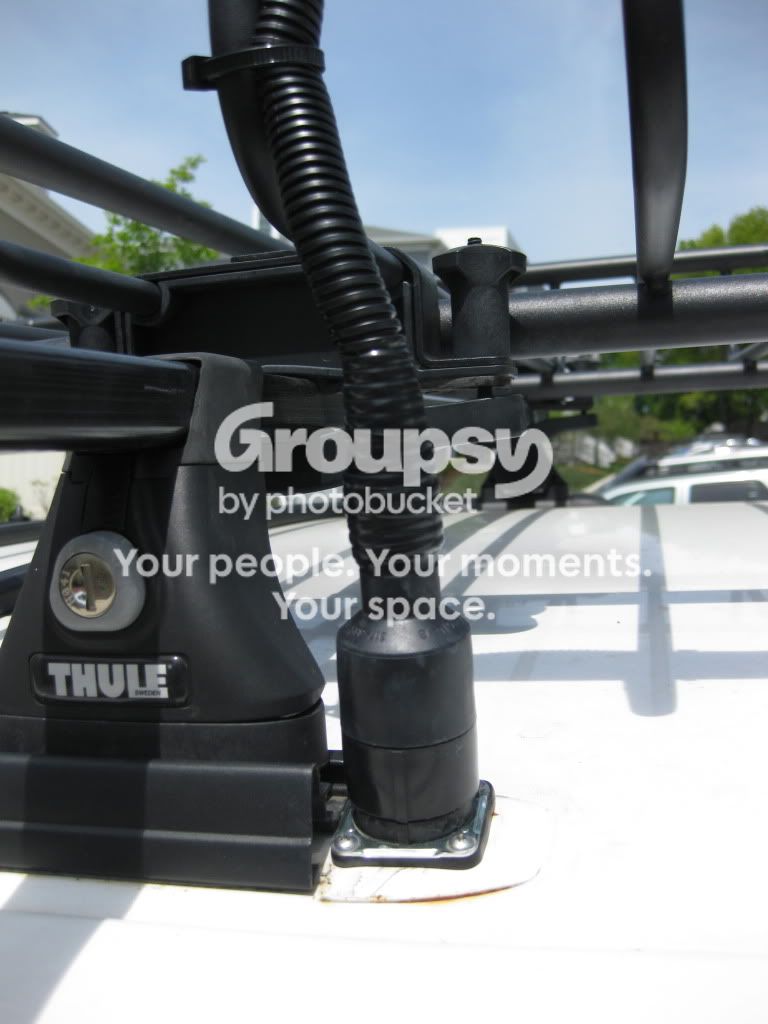
As planned, I was able to get my lights remounted with the new PIAA light mounts. It would have been a fairly simple process, but, as usual, I decided to take it a step further and make it a little more difficult. I made it more difficult by installing a new Sure Seal weatherproof plug and receptacle and completely replacing all the wiring to account for the new plug and receptacle. I went with a new receptacle that is mounted flush to the roof and secured with a rubber gasket and screws which allows for a much cleaner install and a much better waterproof seal.

Before:
IMG_0022.jpg~original

IMG_0019.jpg~original


The total height of the rack with the old mounts: 12"
IMG_0403.jpg~original

IMG_0404.jpg~original


New mounts:
IMG_0406.jpg~original

IMG_0405-1.jpg~original


In progress:
IMG_0407.jpg~original


I also added some quick disconnects right after the lights in case I need to replace a bulb or remove one for any reason:
IMG_0408.jpg~original

IMG_0410.jpg~original


After:
IMG_0416.jpg~original

IMG_0417.jpg~original


Total height of the rack with the new mounts: 7" for a total reduction of 5", much better!
IMG_0411.jpg~original

IMG_0412.jpg~original


Finally, new Sure Seal plug and receptacle, much cleaner install:
IMG_0414.jpg~original

IMG_0415.jpg~original
 
Final round of updates

So after this post my build thread will be caught up and up to date.

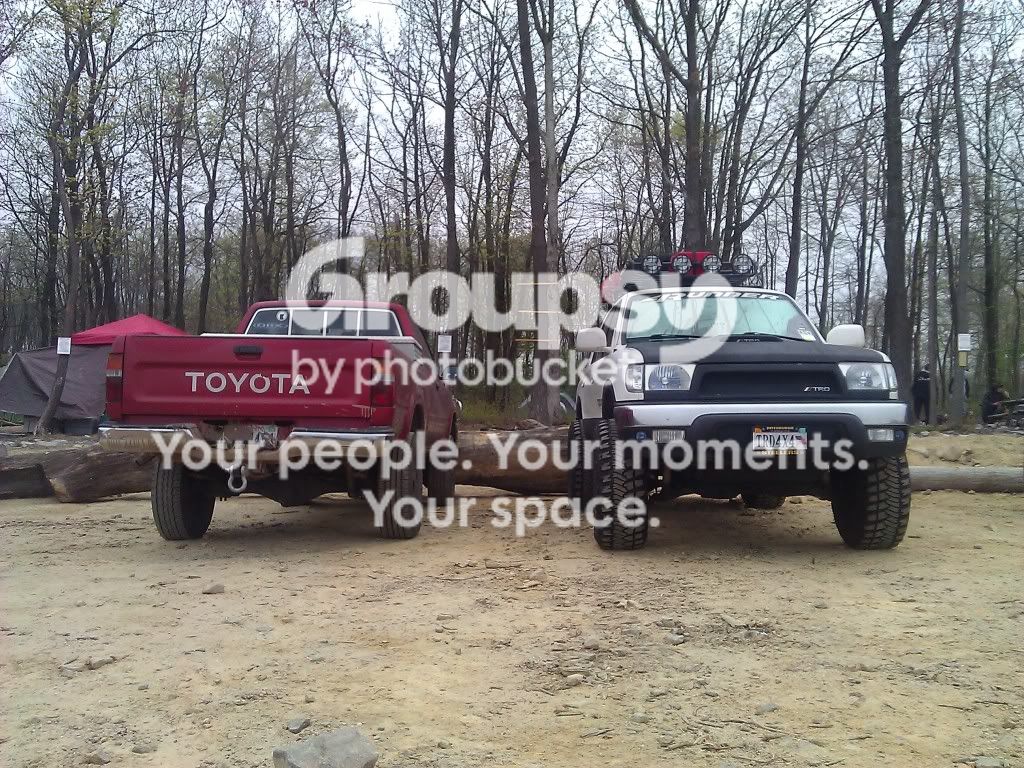
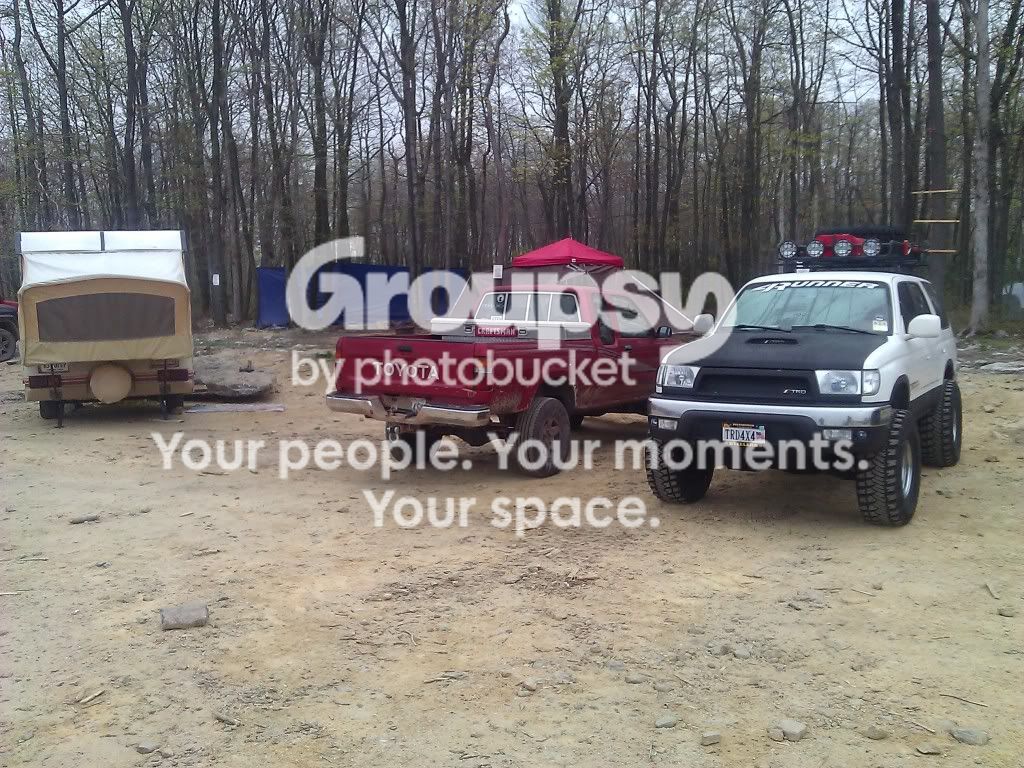
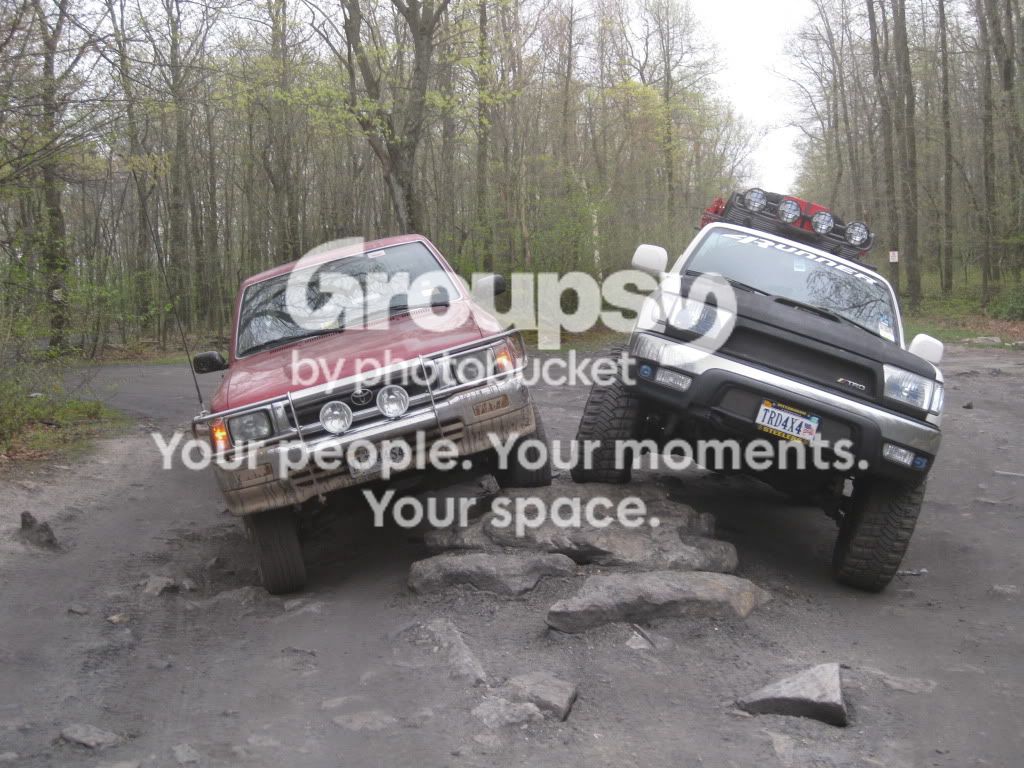
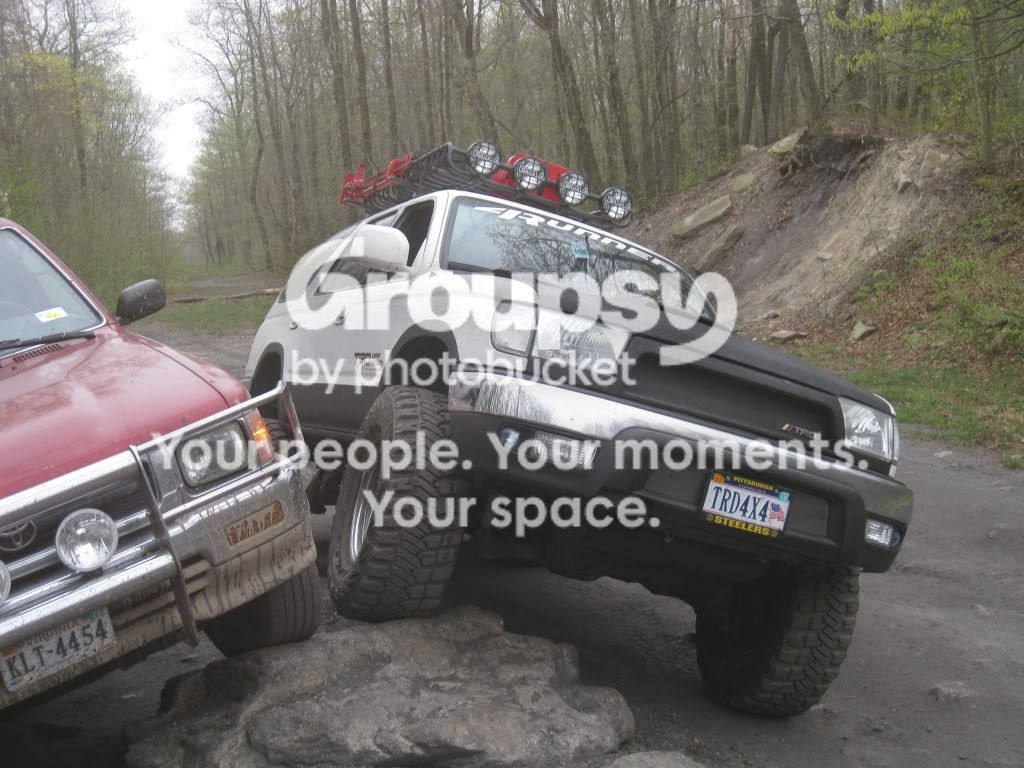
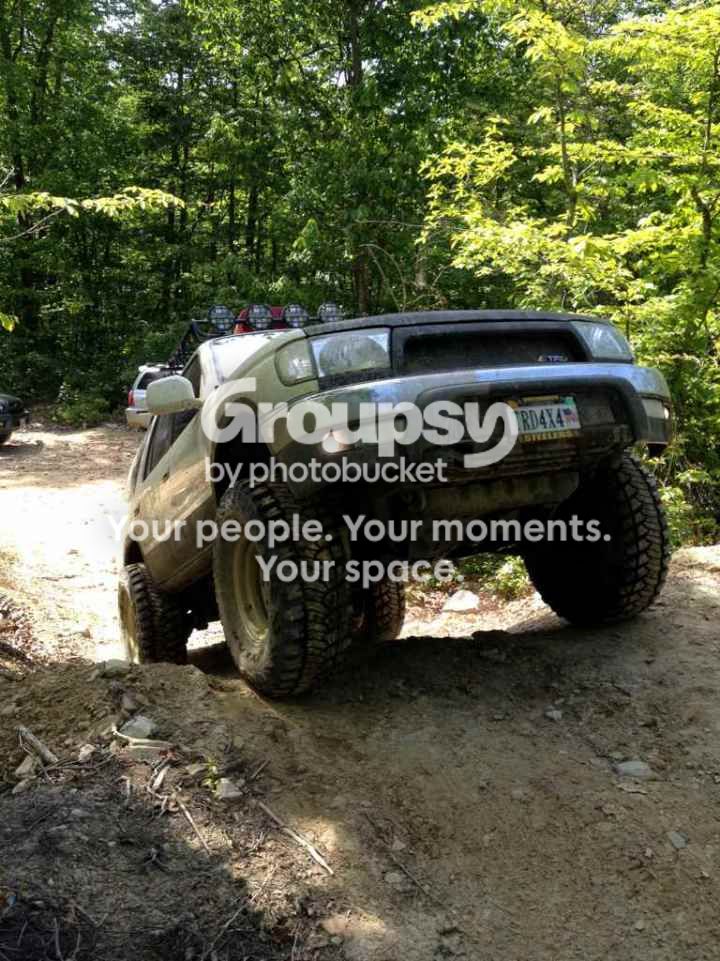
This weekend I went up to Rausch Creek with Ian (irab88) from YotaTech and we had a blast! They are definitely in a dryspell and the trails were pretty dry but we did manage to find some mud. We were even able to go in the mud pit that is normally a red-black rating. I didn't take a ton of pictures because I was having too much fun on the trails but Ian did a great job of being the resident photographer and videographer so I'm sure there will be more to come. On to the pics...

Camp setup/before pics:
temporary-2448.jpg~original

temporary-1748.jpg~original


Flexin' it out:
IMG_0418.jpg~original

IMG_0419.jpg~original

IMG_0420.jpg~original


Gotta love that IFS flex :great:
IMG_0421.jpg~original


Couple of trail action shots:
4Runner @ Rausch Creek - 4/21/12 - YouTube
IMG_0428.jpg~original

IMG_0426.jpg~original

IMG_0425.jpg~original


Mud pit:
FILE0555.MOV - YouTube
IMG_0422.jpg~original


The carnage:
IMG_0423.jpg~original

IMG_0424.jpg~original

IMG_0430.jpg~original

IMG_0429.jpg~original

temporary-1454.jpg~original

temporary-701.jpg~original


I also have to give a huge shout out to Ian! When I moved to DC, I couldn't move everything and unfortunately my camping gear was one thing that had to stay behind, but Ian was nice enough to let me take the other bed in the trailer. I can vouch for Ian's craftsmanship and work on the trailer, it held up to a downpour of rain and even some hail and didn't leak at all! Thanks and awesome job Ian, we will have to do it again soon.

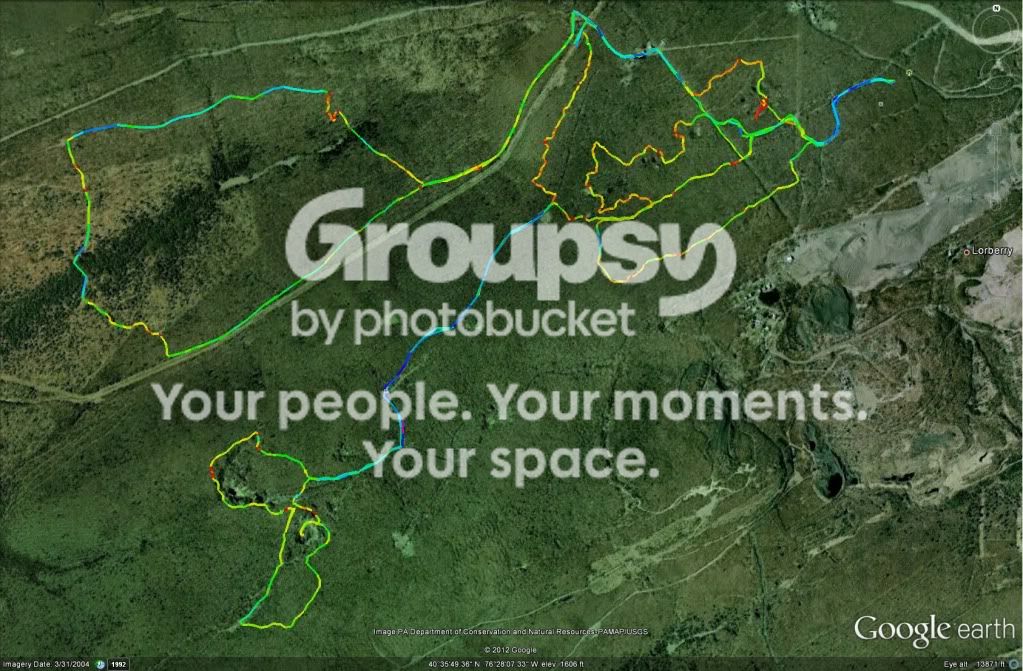
Ian had a pretty cool ap on his phone that allowed him to track our progress and speed. Here is a map of the trails that we hit on Saturday. Thanks Ian!
rctrack01.jpg~original
 
So I have had a couple of people PM me asking about the Sure Seal connector that I used so I though that I would post up the part numbers of everything that I used. Here is their website: Sure Seal Connectors Are Sealed Connectors but you can't order parts from them directly, so I orgered all of the Sure Seal pieces from here: Connectors - Power Supplies - Amphenol - ITT Cannon - Emerson - Glenair - Deutsch - Lemo - Military - Aviation - Medical - Industrial.

Here are the part numbers for everything that I used:
- 8 circuit flanged plug: 120-8552-305 (I had to get an 8 circuit plug because I have a total of 5 circuits (4 power + 1 ground) and the 8 circuit plug is the smallest one that will fit everything.
- 8 circuit receptacle: 120-1866-000 (I ended up ordering 2 and filled one with blanks to keep the connection waterproof when I don't have the Yakima rack on)
- Boot: 317-8657-002 (boot for the receptacle)
- Mounting plate: 066-8516-002 (top plate to secure the flange)
- Nut plate: M85528/2-18A (bottom plate to secure the flange)
- 6X Mounting plate screws: R440-1/2 (You only need 4, but I ordered 2 extras, and they definitely came in handy because I stripped one during install)
- 20X Wire hole fillers: 225-0093-000 (used to fill in the blank circuits that are not used to ensure that the plug remains weatherproof, again I ordered extras)
- 10X loose pins: 030-2196-001 (I ordered extras)
- 10X loose sockets: 031-1267-001 (Again, I ordere extras)

All together it ended up costing about $50 with shipping included. A little pricey, but the plug is awesome and has been completely waterproof!

NOTE: In order to assemble the plug you will need a pair of open barrel crimping pliars. I didn't have any luck finding them at a local hardware/specialty tool store, so I ended up ordering some off the internet.
 
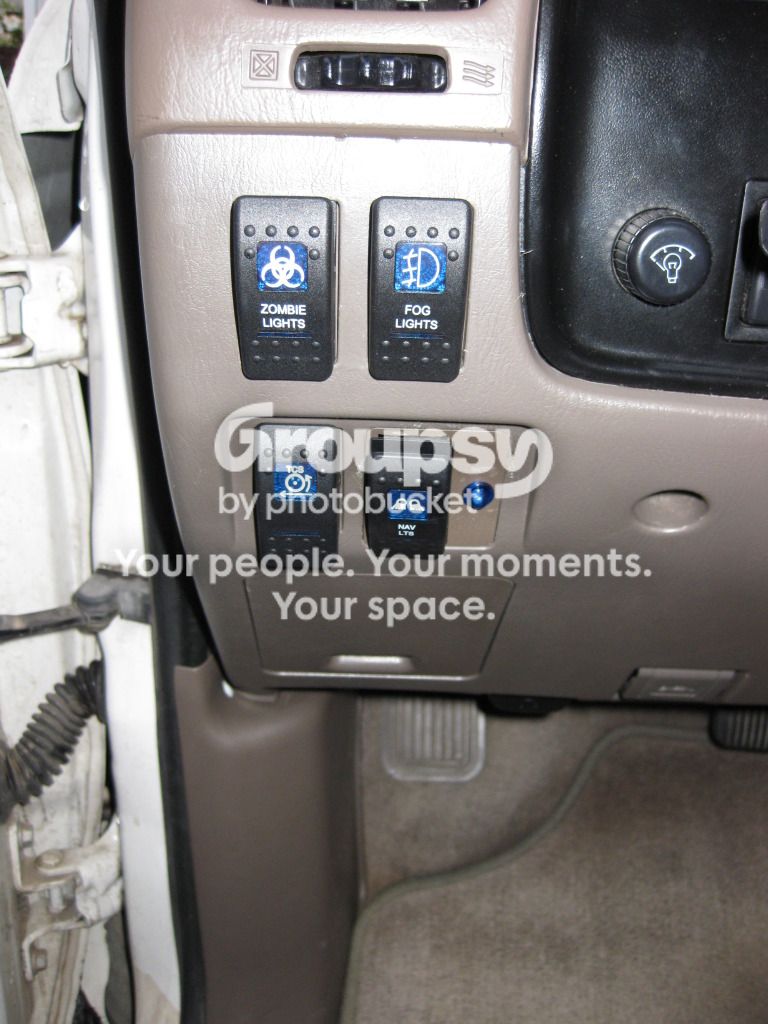
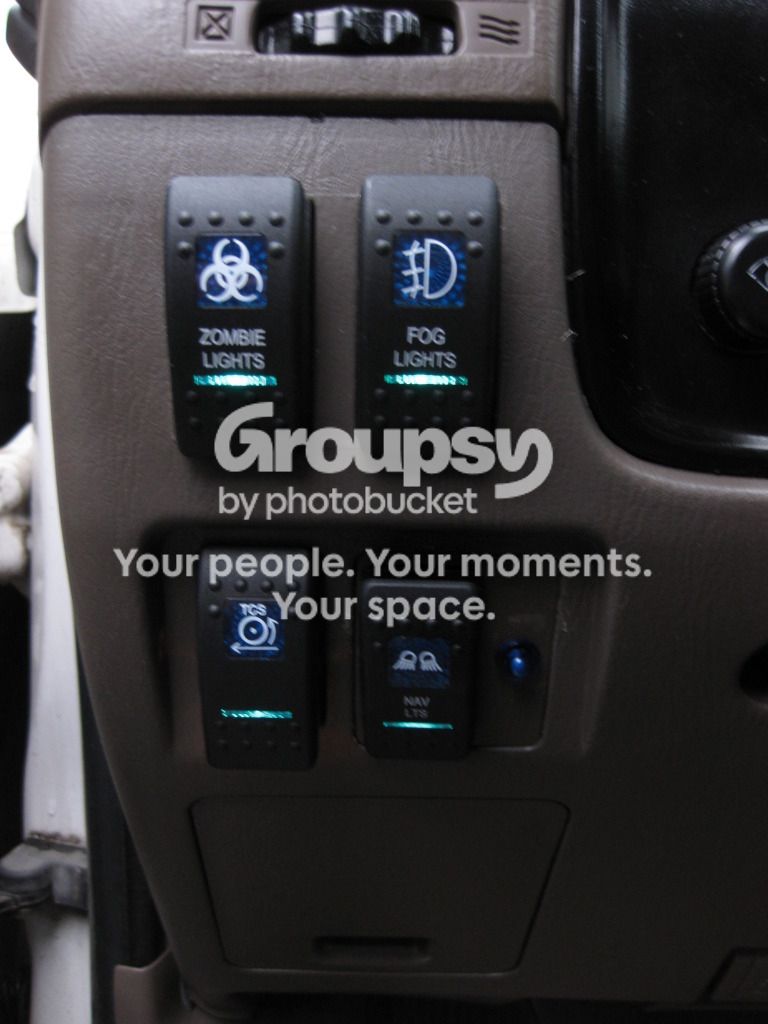
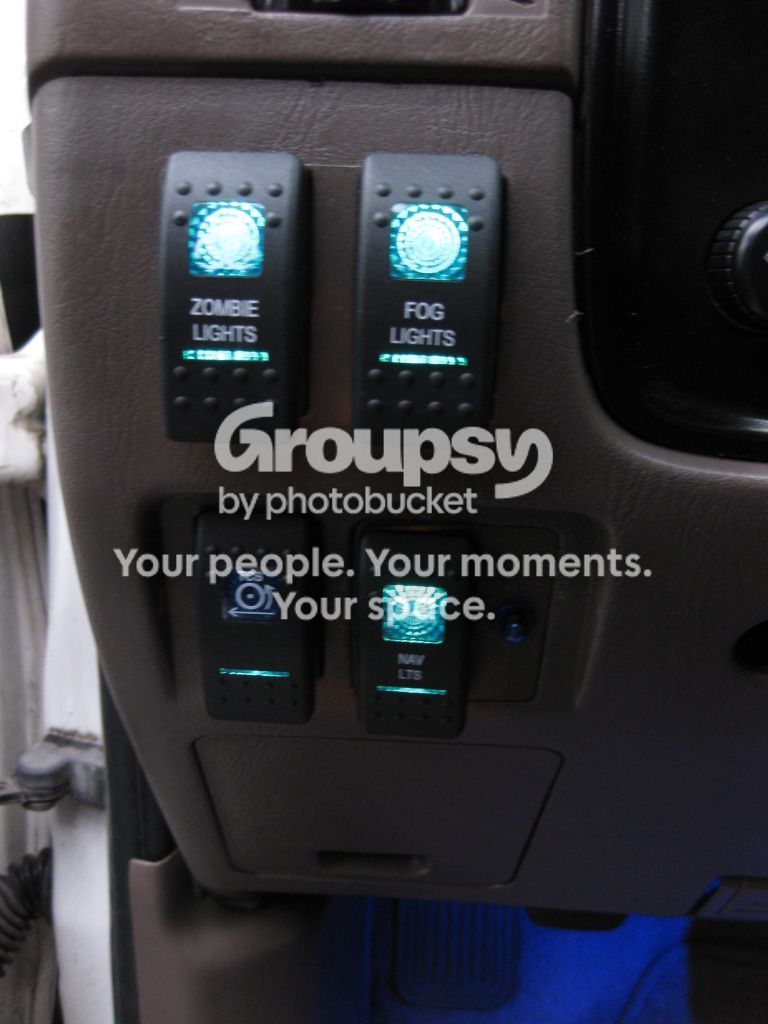
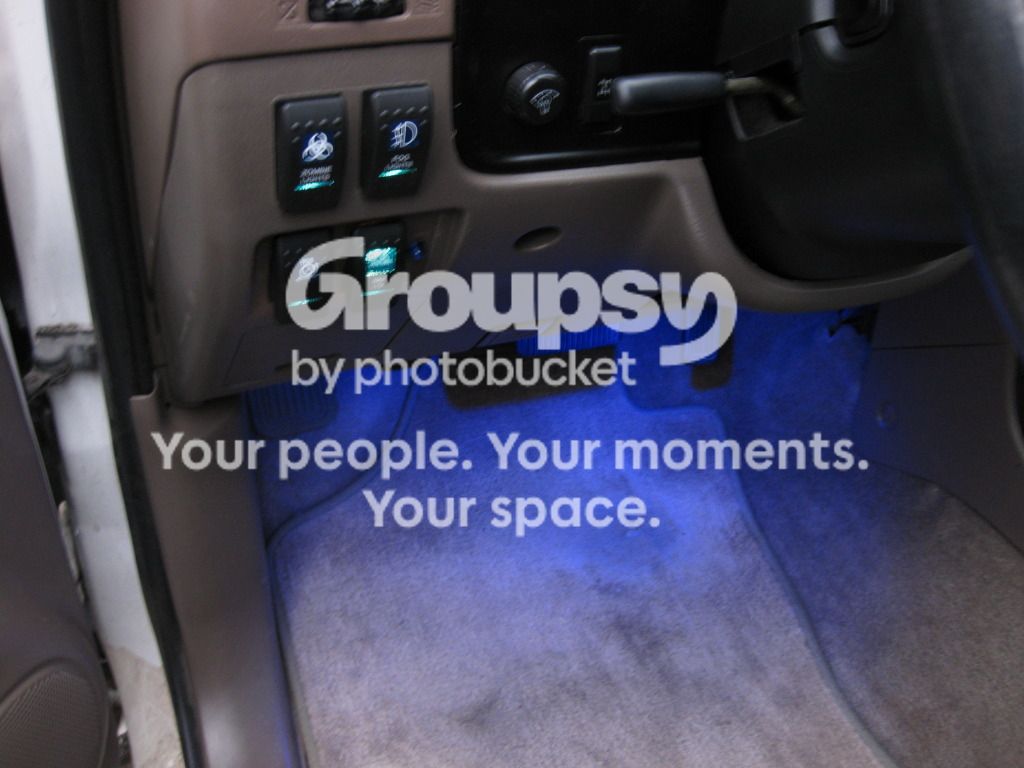
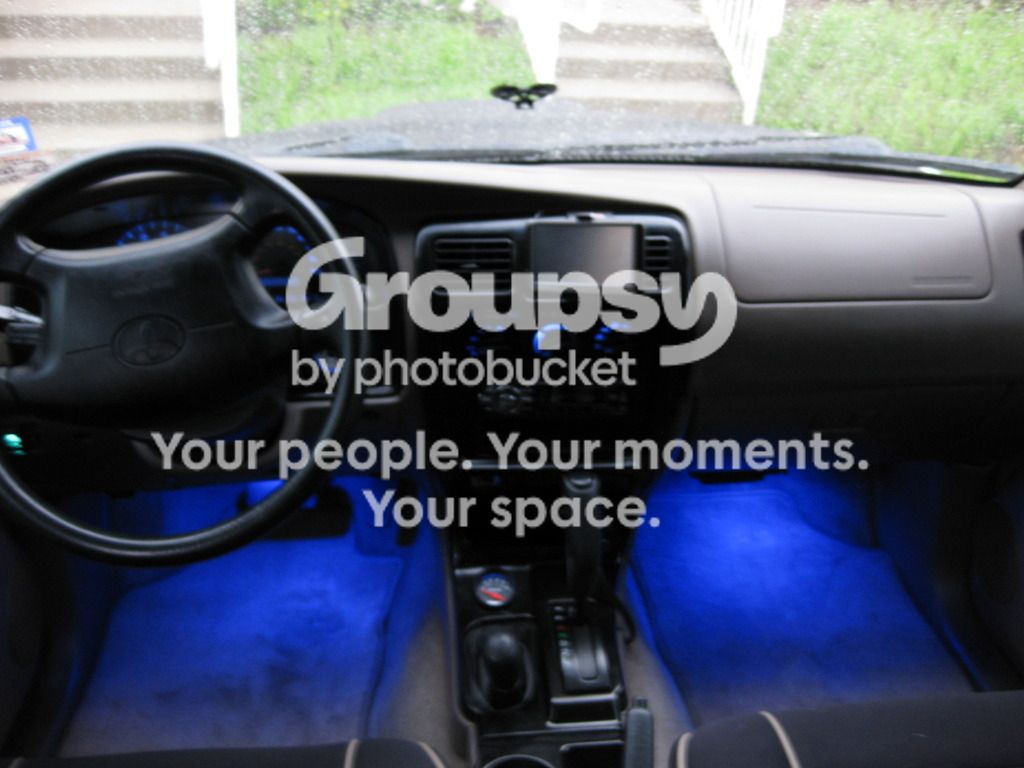
Thursday of last week I ordered some Contura II switches to replace my factory switches. I had some time this weekend so I decided to at least run the extra wires for the bottom lights of the switches. Also, a while back I ordered some LEDs for that I was going to use as "feet lights", but I just never got them installed, so I decided to wire those up as well. I was just about to call it quits for the day when the USPS guy showed up with my switches! So I was able to get everything installed and wired up. I love the Contura II switches! They look great and they fit perfectly in the factory cut outs.
The switches:
IMG_0434.jpg~original

IMG_0436.jpg~original

IMG_0441.jpg~original


Here are the LED feet lights. I went back and forth about how to wire them up, but ended up wiring them on an independent switch so I can turn them on an off as I please. The lights are controlled by the "Nav Lights" Contura switch.
IMG_0437.jpg~original

IMG_0440.jpg~original
 
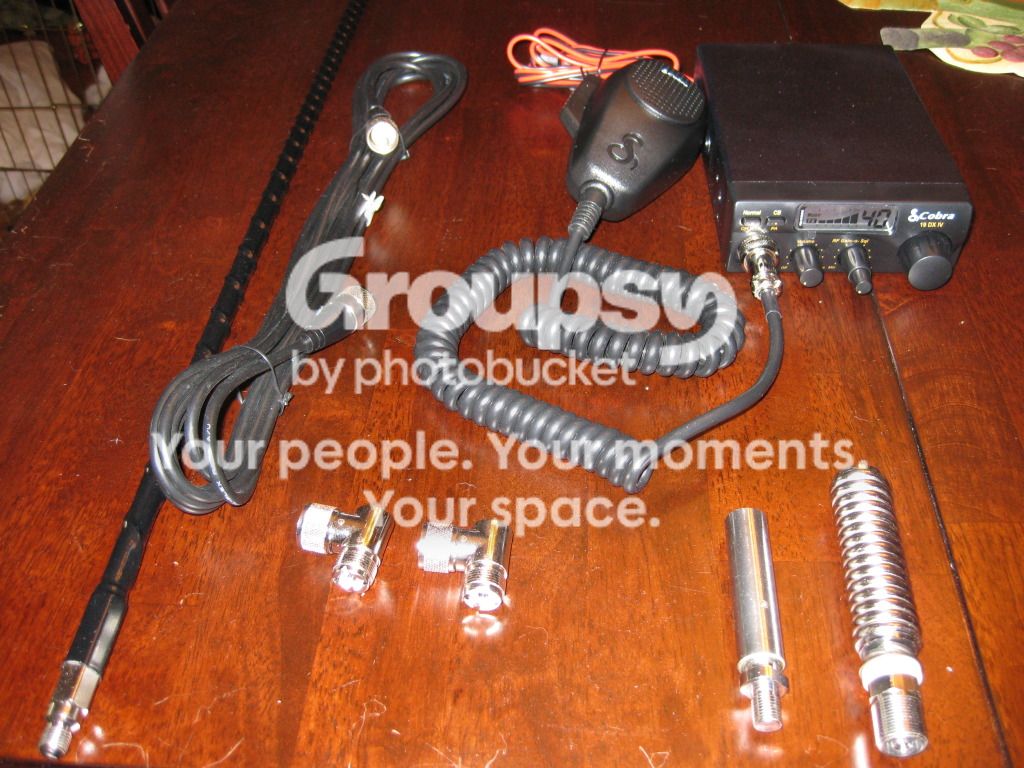
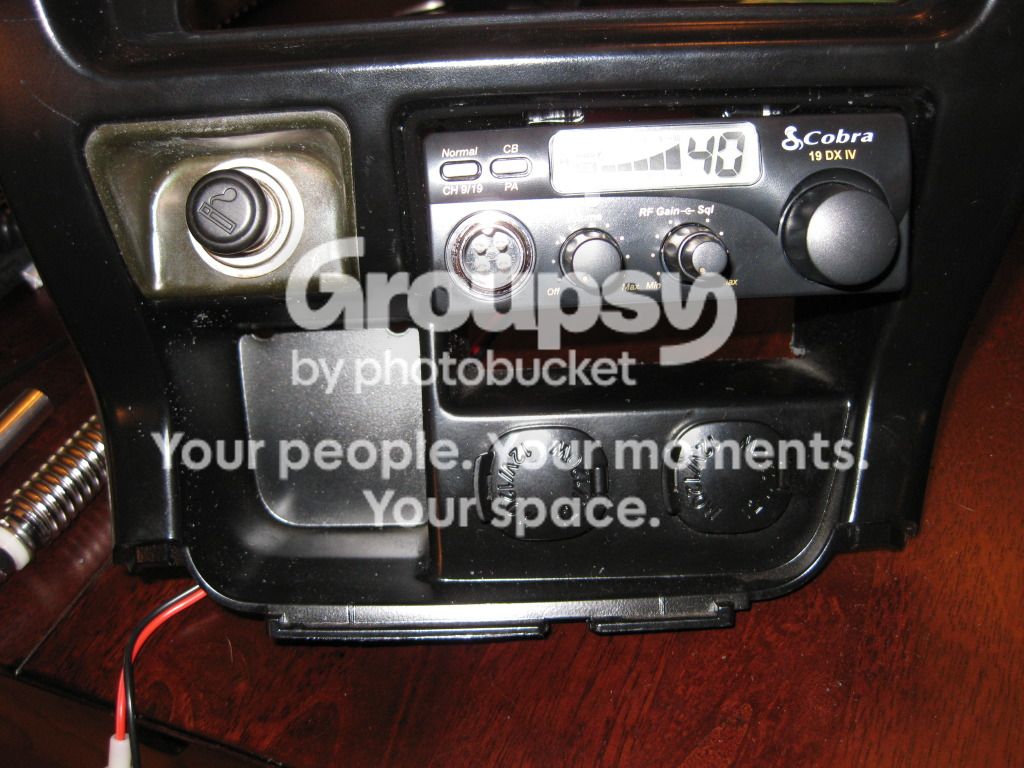
On the last couple wheeling trips I went on, I felt like I was the only guy without a CB radio and I didn't have a way to talk to the other guys...This gets really frustrating if you need help picking out a line, get stuck, etc. So I decided I had enough and ordered a CB radio. I did some research and settled on the Cobra 19DXIV because it will suit my needs and is small enough to be mounted where the ash tray currently sits allowing for a clean install. Here is a list of everything that I ordered, I was able to find everything except the antenna mount on Amazon:
1) Cobra 19DXIV - Amazon.com: Cobra 19DXIV 40 Channel Mobile Compact CB Radio: Car Electronics
2) FireStik 4' Tunable Tip Antenna - Amazon.com: 4' FIRESTICK II TUNABLE TIP BLACK: Electronics
3) FireStik K-8A 18' Single Antenna Coax Cable - Amazon.com: FireStik K-8A 18 foot single antenna coax cable: Electronics
4) FireStik SS-34AH Combination "SS" Heavy Duty Spring & Stud Mount - Amazon.com: FireStik K-8A 18 foot single antenna coax cable: Electronics
5) FireStik K-1A Push-n-Twist Quick Disconnect - Amazon.com: FireStik K-1A Push-n-Twist quick disconnect: Electronics
6) 2 - Roadpro 90 Degree L Connector-PL-259 To SO-239 Right Angle Male-Female - Amazon.com: Roadpro 90 Degree L Connector-PL-259 To SO-239 Right Angle Male-Female Excellent Performance: Electronics
7) Outdoor Logic Driver Side Antenna Mount - Outdoor Logic - Antenna Mounts. Currently Outdoor Logic has a T4R group buy going so I got my mount for $38.50 shipped, pretty sweet deal if you ask me! Here is the thread in case anyone is interested: http://www.toyota-4runner.org/3rd-gen-t4rs/114566-fresh-batch-drifter-mounts-ready-ship.html. I must add that the guys at Outdoor Logic are awesome! I tried to use the coupon code but it wasn't working properly so I contacted them and they sent me an invoice for the discounted price. Great customer service! Thanks ODL!
 
Last edited:
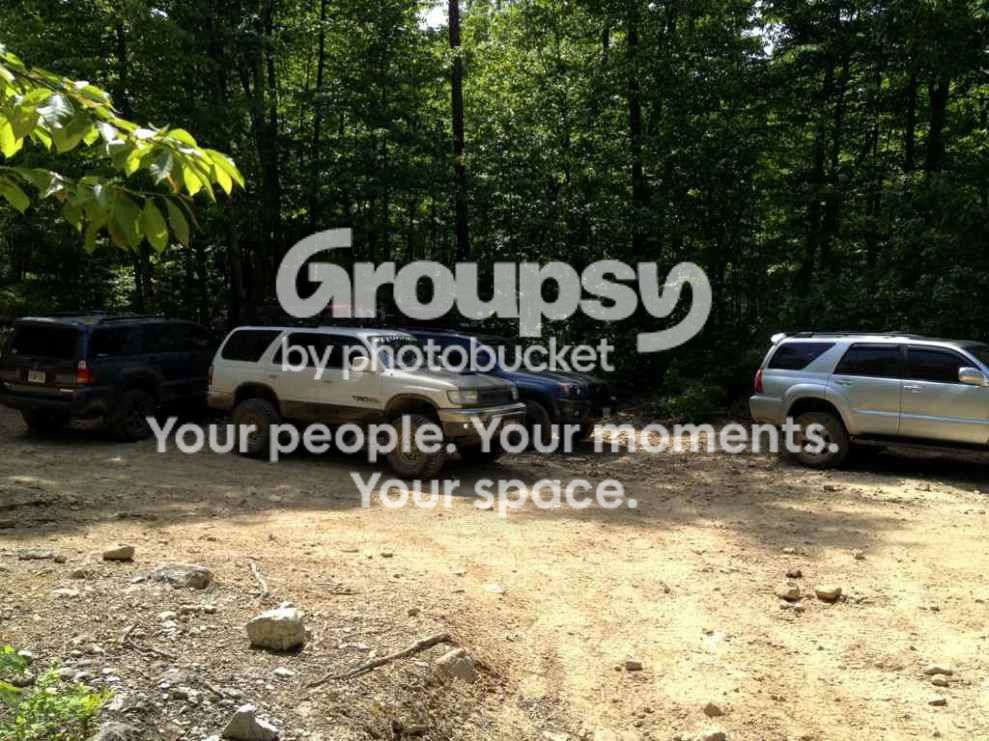
Yesterday I went over to the George Washington National Forest and did the Peters Mill Run trail with TheTruckerTaxi, jpless, and miklohakim. It wasn't a terribly difficult trail, but it was still a lot of fun and it was the perfect trail for a day-trip. We all forgot our cameras but did get a couple cell phone pics. Please so excuse the poor quality.
ad4ff6b4-4cb5-30cc.jpg~original

ad4ff6b4-4ca8-678c.jpg~original


In other news, I have been on the lookout for some new rear coils and my search finally paid off. I found a guy on here selling some LX450 9 wrap coils, so I picked them up for $80. In the near future I will be ordering some Tokico GE4095 to go along with them. They should help lift the rear and help me clear 35's when the time comes. Now I just need to find some coil overs for the front and I will be ready to take on anything, or almost anything :banger:
 
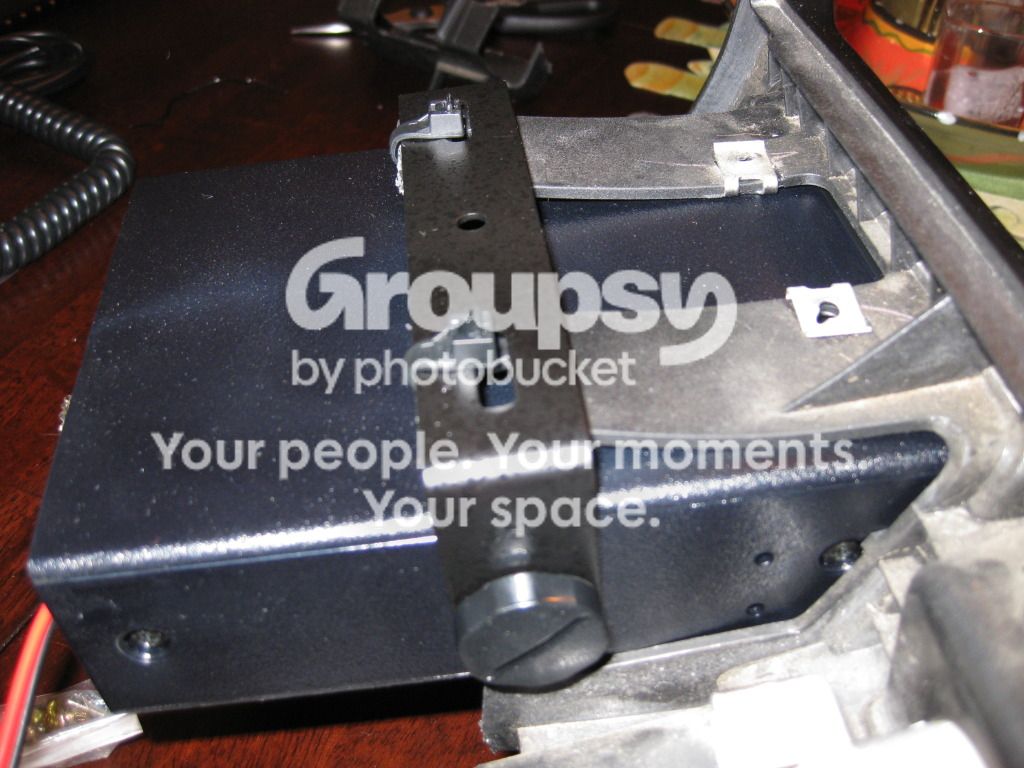
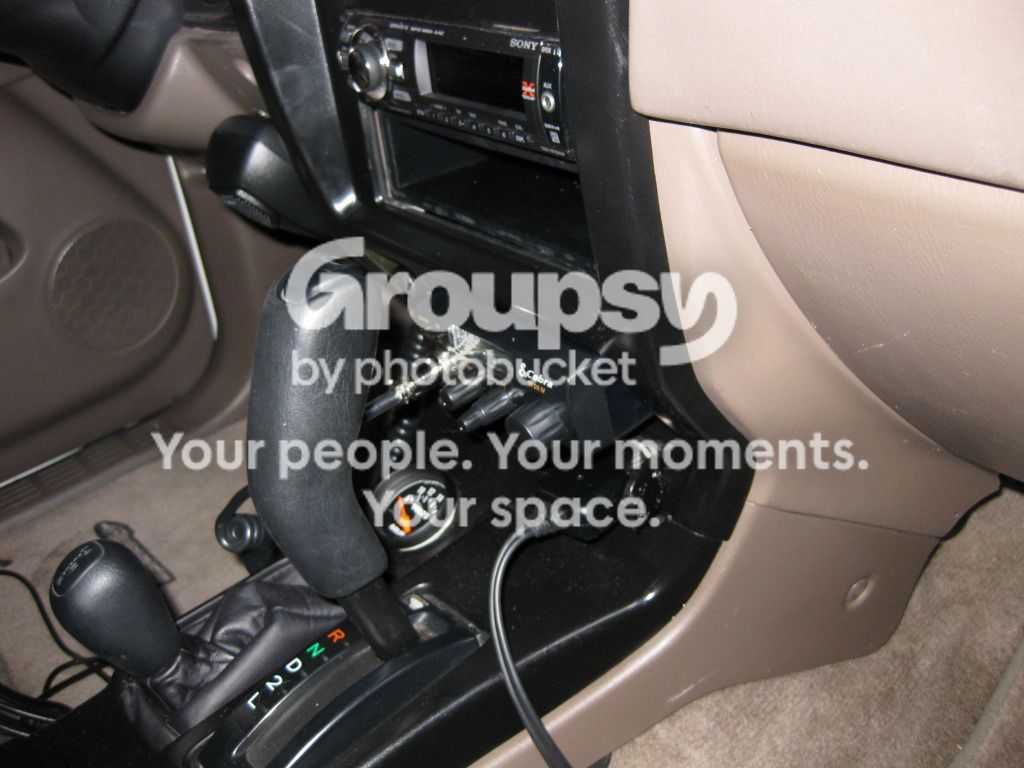
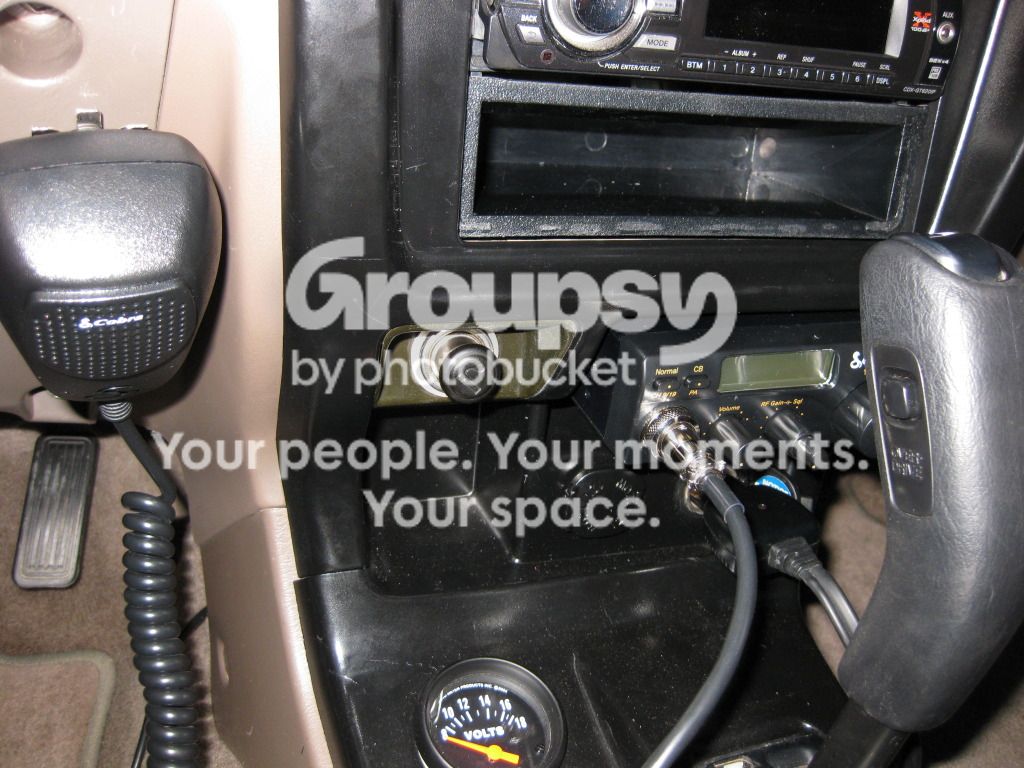
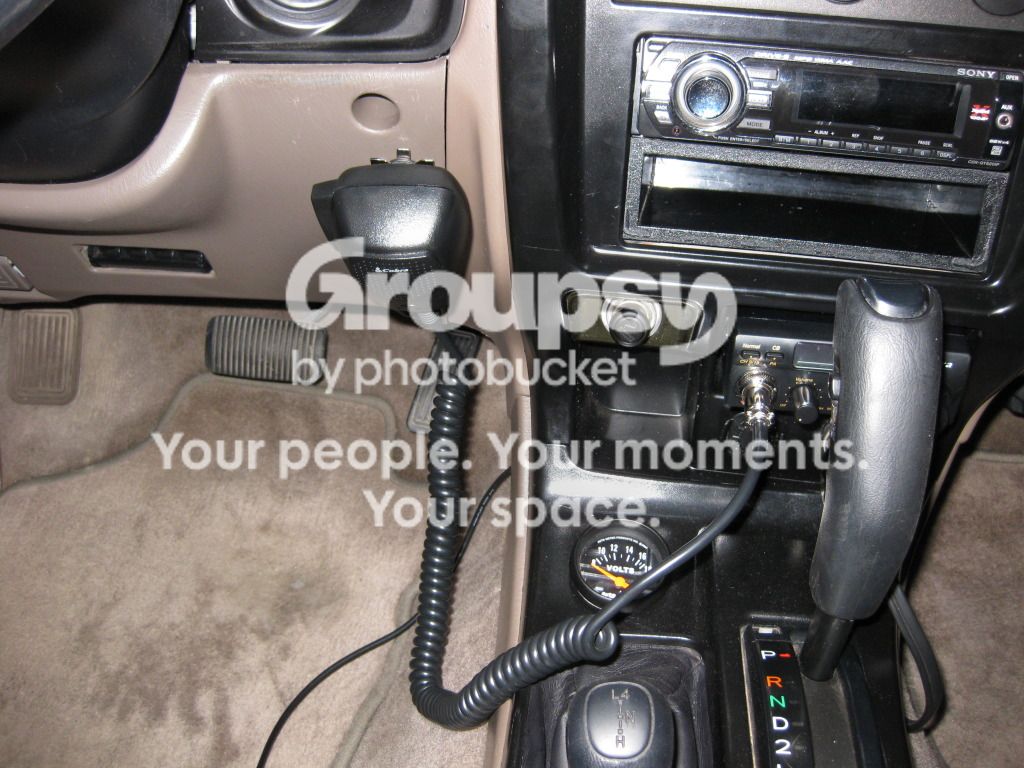
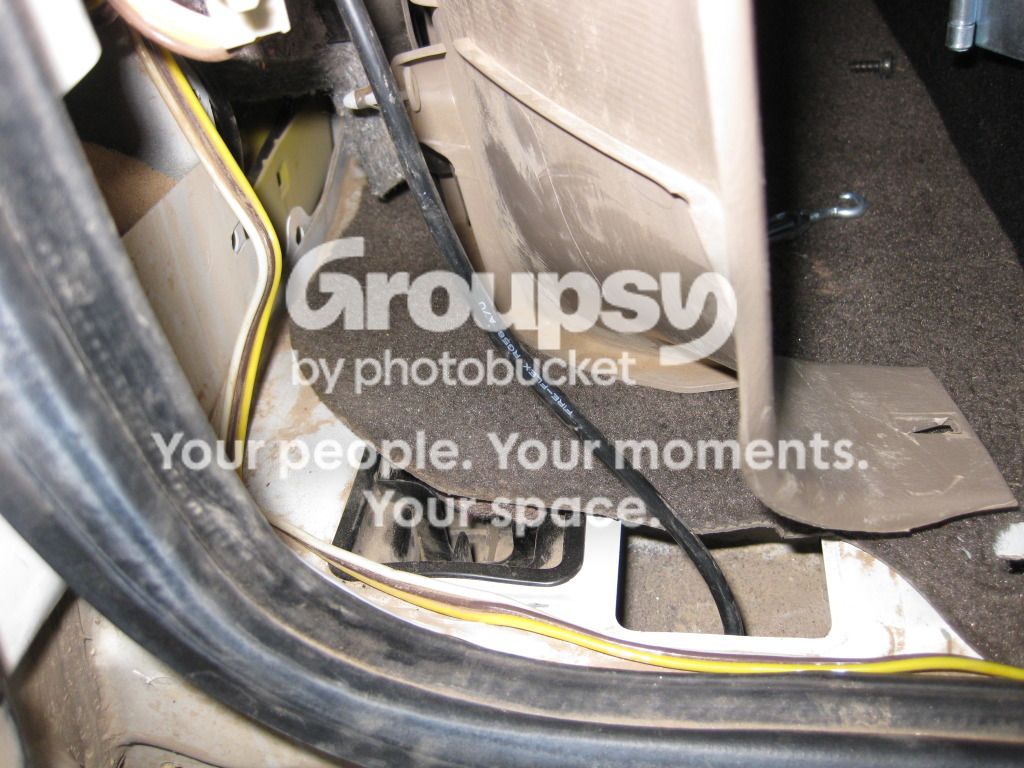
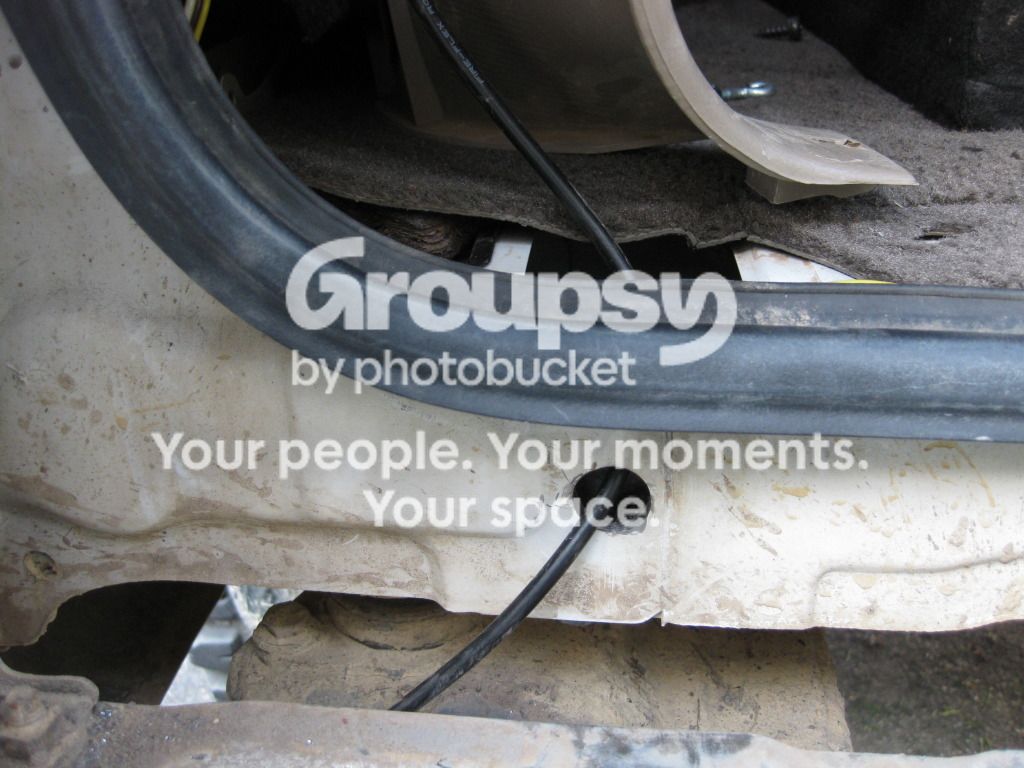
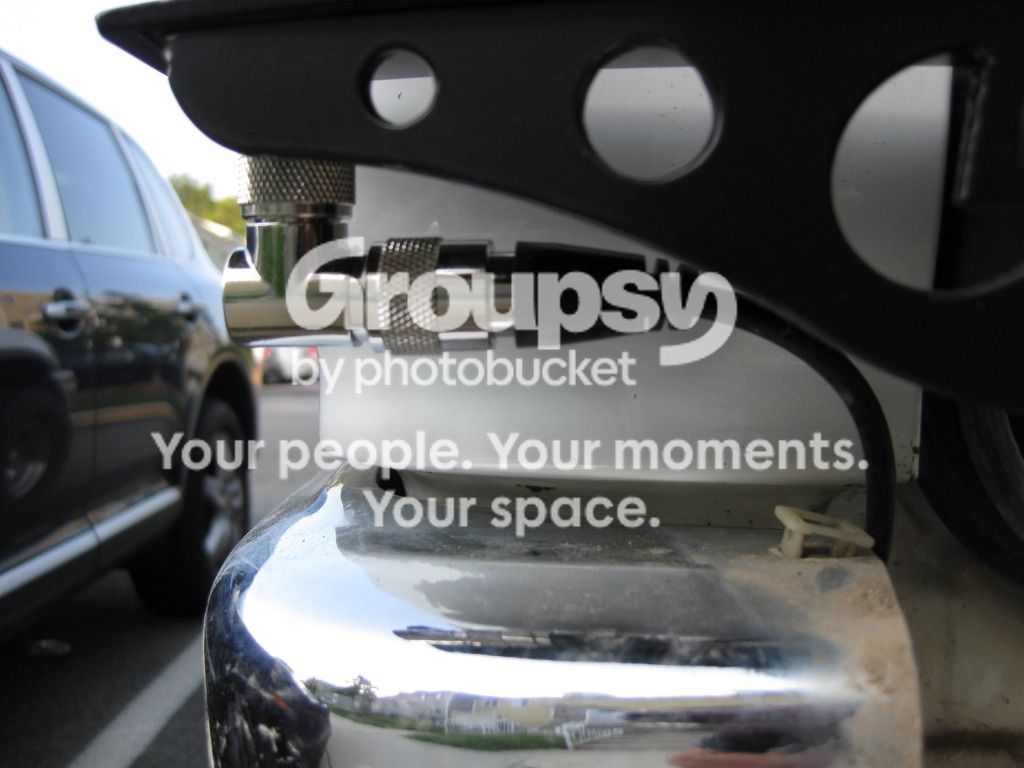
Since I'm not really going anywhere for Memorial day weekend, I had some time to get my CB installed today. It went pretty smoothly and I was able to get everything done in about 2 hours. Here are some pics of the install.

All the parts
IMG_0448.jpg~original


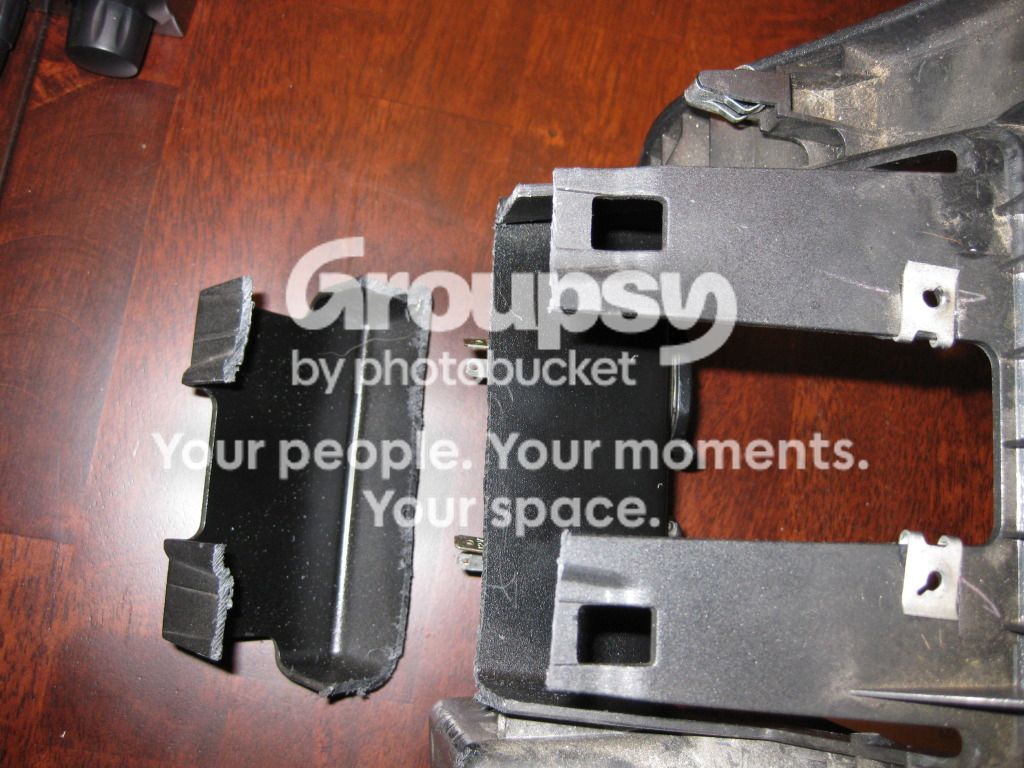
Cut off the back of the ash tray mount
IMG_0449.jpg~original


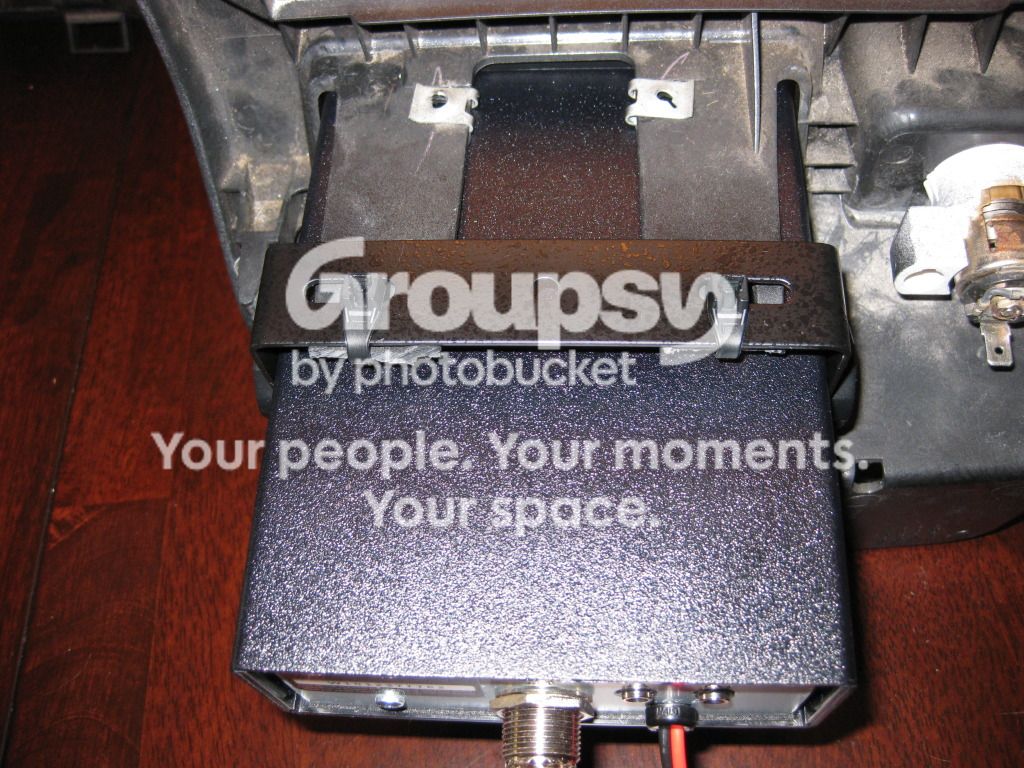
Mounted the CB with some zip ties
IMG_0450.jpg~original

IMG_0451.jpg~original


Front view
IMG_0452.jpg~original


In the truck
IMG_0454.jpg~original

IMG_0455.jpg~original


Where I mounted my handset
IMG_0456.jpg~original


Here is where I ran the coax cable out the back
IMG_0457.jpg~original

IMG_0458.jpg~original


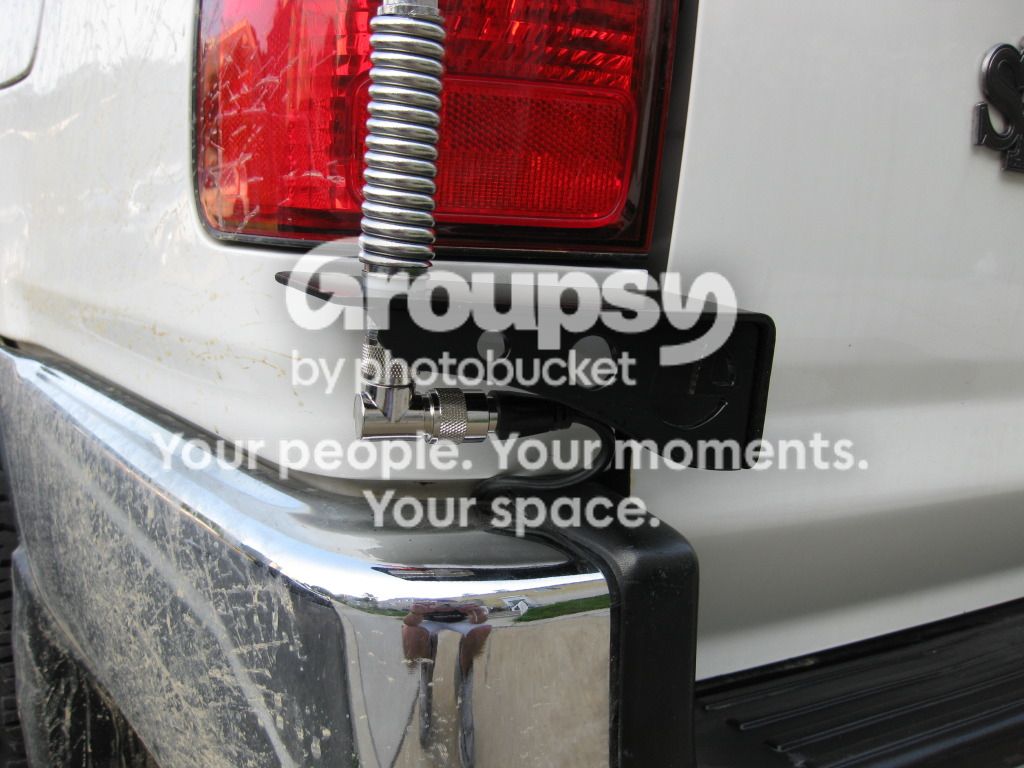
The Outdoor Logic mount, this thing is great!
IMG_0459.jpg~original

IMG_0460.jpg~original


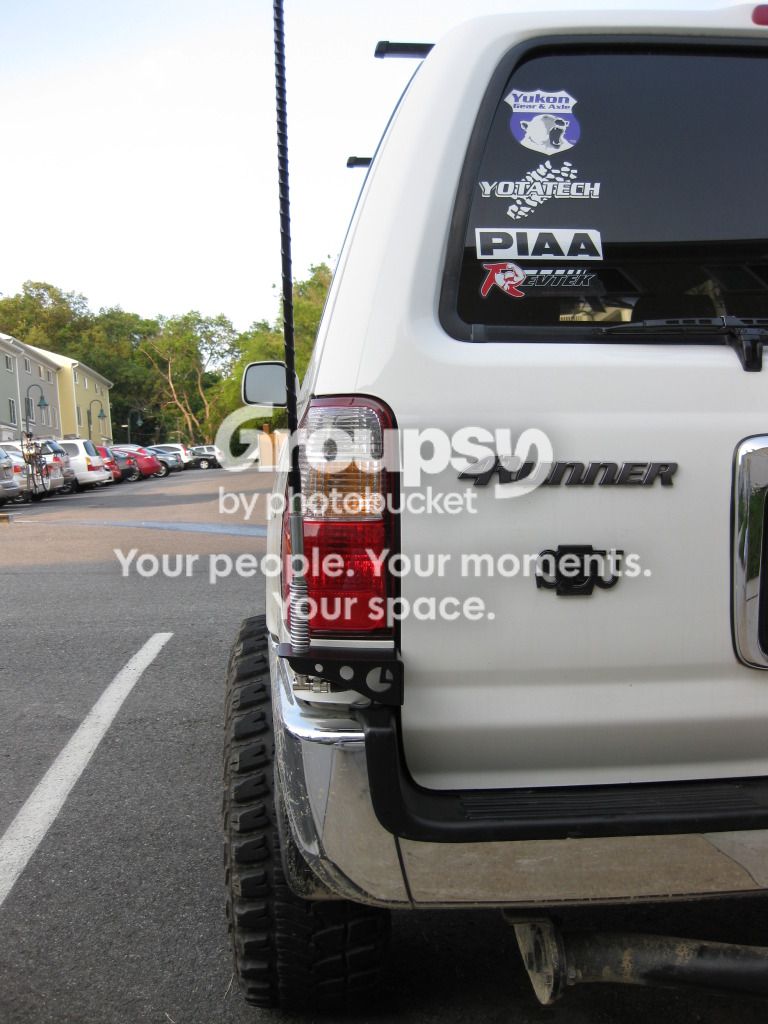
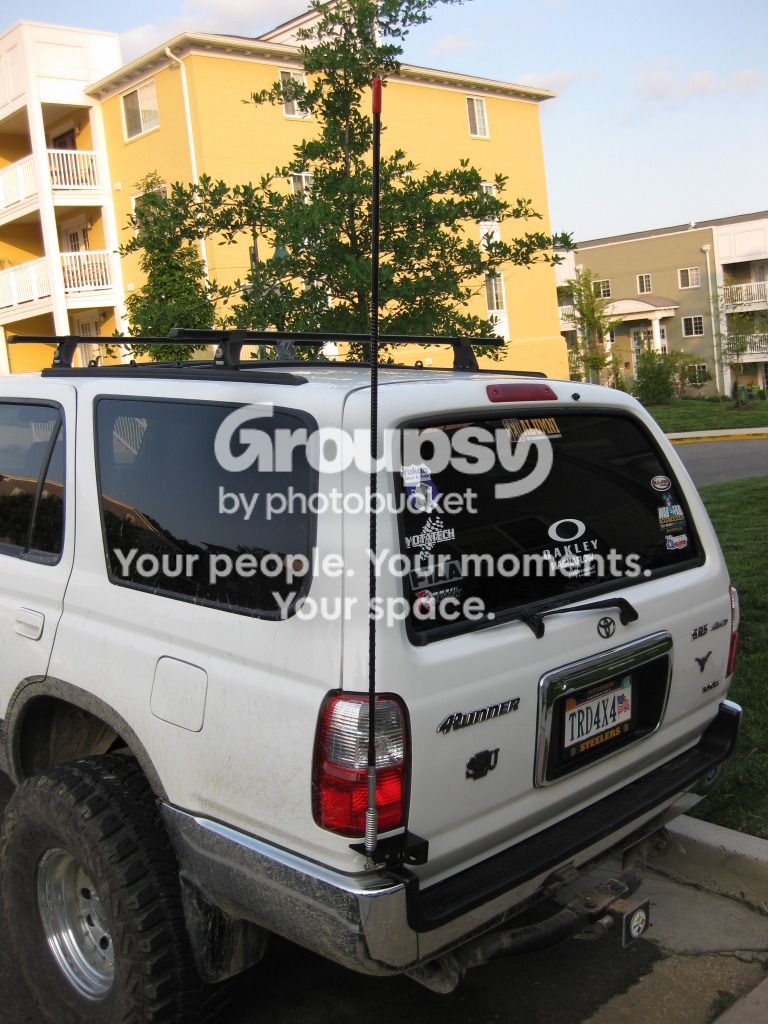
All mounted up!
IMG_0462.jpg~original

IMG_0463.jpg~original
 
I should warn you that the medium duty spring isnt good for higway/windy conditions. i would sugest that you get a heavy duty spring. http://www.amazon.com/Firestik-SS-3...LC9M/ref=sr_1_2?ie=UTF8&qid=1338085676&sr=8-2 then you would need the stud mount, Amazon.com: Firestik Stud With Screw-On Coaxial Termination for Antenna Mirror Mounts - Firestik K-4A: Car Electronics
This works very well in both conditions! but for the trails keep the medium duty spring so it can move more and its less likely to snap.
 

Members online

No members online now.

Forum statistics

Threads
278,310
Messages
3,554,079
Members
248,016
Latest member
Advally Service

Trending content

Back
Top