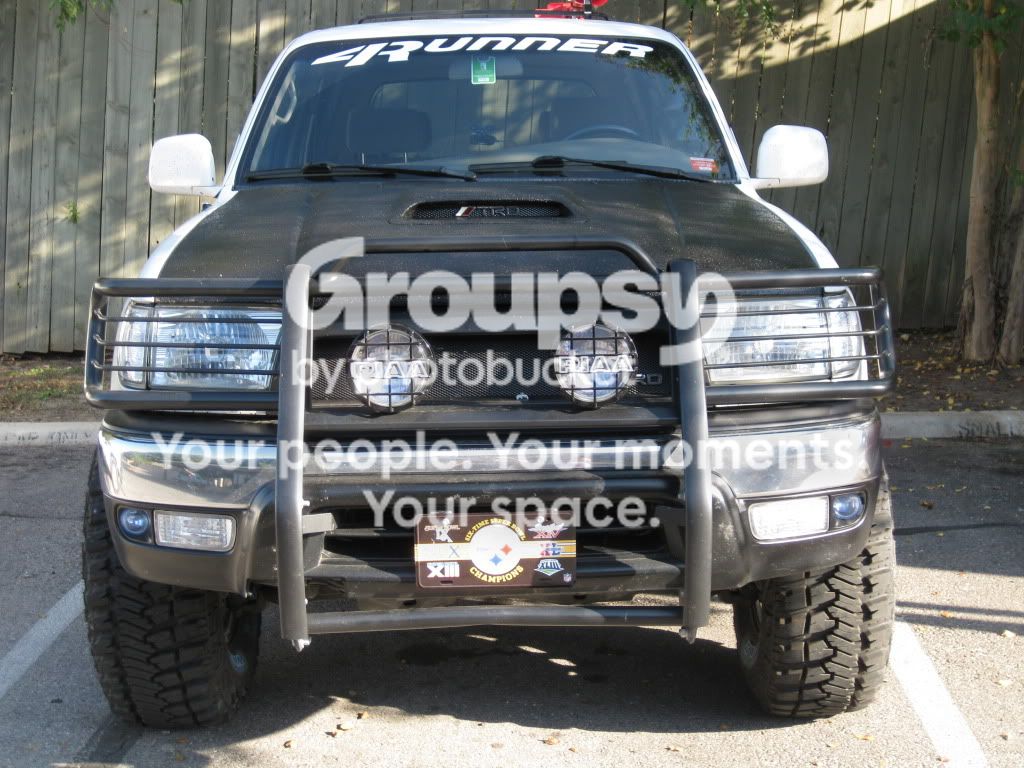
4ever4running's 2002 4Runner Build

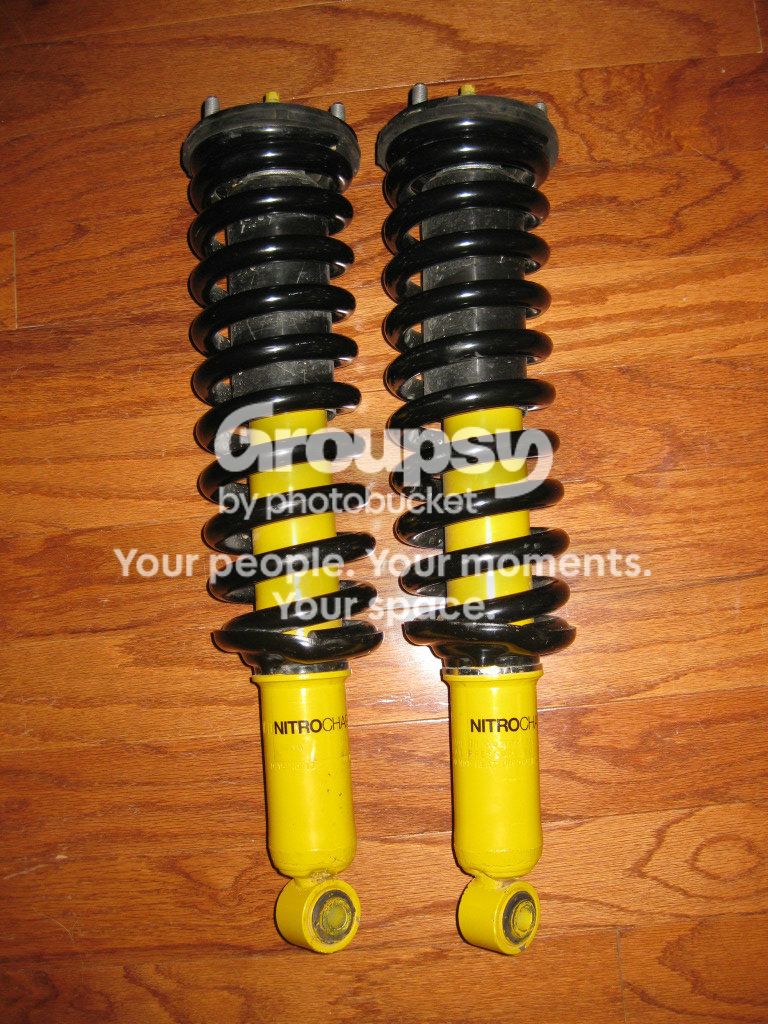
While browsing some threads, I came across a member selling some pratically brand new assembled OME 882 coils with Nitrocharger 90004 struts. http://www.toyota-4runner.org/sale-suspension-wheels-tires/116813-ome-882-90004-assembled.html. I have been wanting to replace the crappy spacer lift so I pulled the trigger on them. We ended up agreeing on $325 shipped, which is a pretty good deal considering the parts alone cost about $375 new.

I know that I won't be able to install them until I get a bumper and possibly a winch, but since I was planning on getting rid of the spacer lift eventually anyway, I will just have to move the bumper/winch to the top of the list.

Just out of curiosity, has anyone tried running these with a stock setup/no additional weight up front? I can only assume that the ride would be ridiculously stiff.
 
Last edited:
I just got these beauties in the mail yesterday!

IMG_0478.jpg~original


Although I really wanted to wait and save for coilovers, these will suit my needs just fine, they are in really good shape, and they are already assembled.
 
I have enough saved up for a bumper, or sliders, or skids but idk what to do?? any other ideas?

Now that is a tough question...I think it depends on what you do with your truck and the kind of terrain and trails you are running. If they are particularly rocky, I would definitely get skids first, then sliders, then a bumper. If they don't have a lot of rocks then it is kind of up to you and what you think will provide you the most value as of now. I am a firm believer that any additional protection you can provide, especially to the vitals, is money well spent.

My plan was to get skids and sliders first, then bumpers last because the trails out here are pretty rocky and I would rather have the vitals (engine, transmission, transfer case, etc.) be protected instead of the front end. However, since I found those 882's and Nitrochagers, I have to have the additional weight of a bumper and possibly a winch up front before I can install them. So, I am going to move a bumper to the top of the list so I can complete my "new" and much better quality lift installed with the 882's in the front and the LX450's in the rear.
 
yeah im not much for putting my truck in those positions that i would need them but i know i will want to! now that im in the position to get these things its so hard to choose!
 
yeah im not much for putting my truck in those positions that i would need them but i know i will want to! now that im in the position to get these things its so hard to choose!

Haha I had the exact same mindset when I first started my build. Needless to say, that changed pretty quickly after my first wheeling trip; I went with some guys who had some pretty sweet rigs and I saw the trails they were doing and was immediately hooked.

Haha yeah I am in the same boat. The mod list continues to grow but the cash flow can't keep up. It's definitely about prioritizing the mods that you need to take your truck to the next level and the mods you want.
 
A while back I took a trip up to Rausch Creek with Ian (irab88) from YotaTech. He brought his Contour wide angle camera and we were able to shoot some videos.


Last edited:
In my opinion to make that look so sick would be to paint the front and rear bumper in Berliner to make the Berliner lines look clean all around the 4runner, I think that would look so sick
 
In my opinion to make that look so sick would be to paint the front and rear bumper in Berliner to make the Berliner lines look clean all around the 4runner, I think that would look so sick

I have been thinking about doing that ever since I did the hood and rocker panels....The only thing that is holding me back is the fact that eventually I will be upgrading to aftermarket bumpers, so I don't know if it is worth the hastle to do the stock bumpers....


sweet videos dude! why so little sound?

Thanks man! I'm not sure why the sound is so low, probably because its a small camera and has a small microphone...
 
Thanks man!

Haha I don't know about "favor", it downpoured the second night we were there so everything was pretty wet and muddy.
 
Hey man! I haven't dropped a line in your build thread since you came over here, but your truck continues to progress nicely.

Congrats on finally getting rid of the spacers and moving on to a more functional lift. Nice work as always, and I'll be watching to see what bumper you end up with.
 
Sick build dude. Loving the Steeler's bling too!

Thanks man!

If you like that, you would really like my man cave:bravo:. I'll see if I can find a pic somewhere.

Hey man! I haven't dropped a line in your build thread since you came over here, but your truck continues to progress nicely.

Congrats on finally getting rid of the spacers and moving on to a more functional lift. Nice work as always, and I'll be watching to see what bumper you end up with.

Hey BigFish it has been a while. Thanks! I will be so much happier once those crappy things are gone.

Your timing is impeccable...At work our performance year ends at the end of the month and business this year has been good so I just got word today that I will be getting a pretty substantial bonus. It looks like I will be getting my bumper, or at least ordering it, a lot sooner than I expected! I am almost 100% sure I am going to go with a ShrockWorks but the only thing holding me back is that I am really impatient and I have heard that their turnaround time is not the greatest...I will probably give them a call and talk with them directly to see how bad it is and go from there.
 
OBA compressor mod update

6/25: Received my air compressor, pressure switch/relay, air hose/tire filler, and 4ga power wire with inline fuse from Amazon. I opened everything up only to find that the air compressor was missing all the extra parts/accessories. It was supposed to come with mounting hardware, a remote air filter, remote air filter hose, extra filters, etc. but none of it was included. I called Amazon and explained the situation and they were extremely helpful! They apologized for the mistake and inconvenience and said they would send me a new one and to just return the other one. I was able to print out a return shipping label and get it to UPS the same day.

6/26: Received 2 emails from Amazon. The first said that they received a shipping confirmation from UPS that the old compressor was in transit to them. The second was a shipment notification for the new compressor. I couldn't believe that they would send out a replacement before receiving the returned one first! Way to go Amazon!

6/29: Received the new compressor from Amazon. I opened this package and found the exact same thing as I did with the first, no extra parts/accessories! :ybrick:.

After thinking about it for a little while and looking at the Viair website, I decided to keep this one and just order a few extra parts. Rather than ordering a remote air filter assembly (like the one that would have come with the compressor), I ordered a direct air filter that screws right into the compressor and 4 pack of extra air filters. All said and done the extra parts only set me back about $15 plus shipping, nothing to make a big fuss over.

6/30-6/31: I spent the weekend gathering some of the various parts (mounting hardware, air hose, hose connectors, T-fittings, etc.) that I will need to get everything installed.

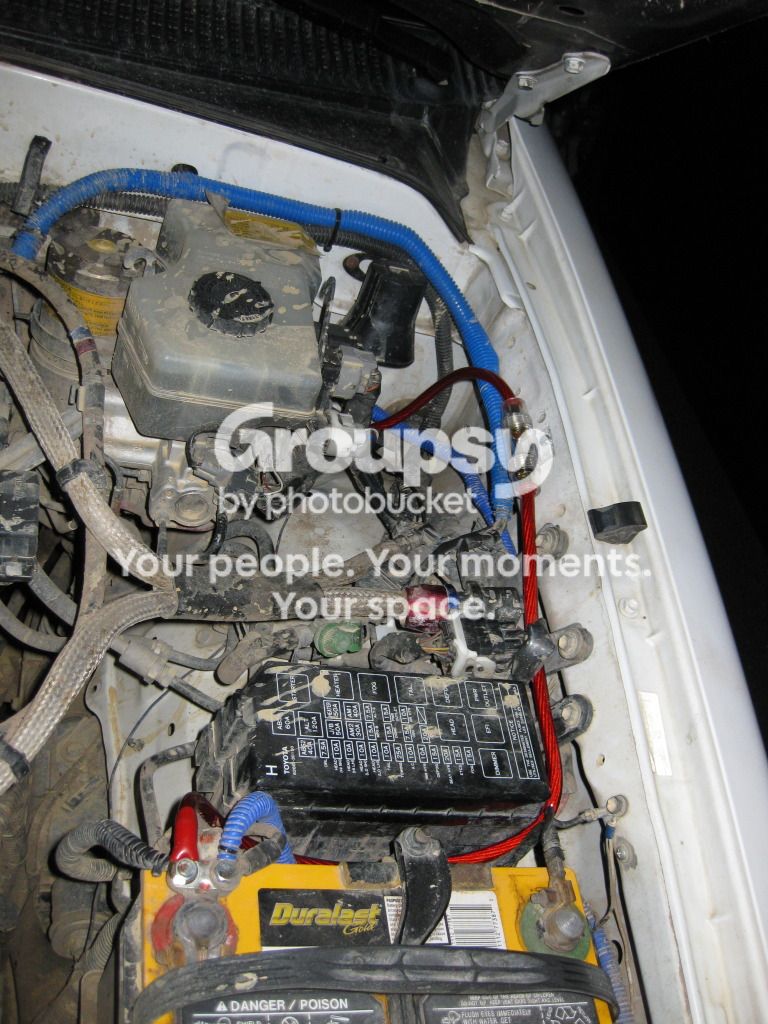
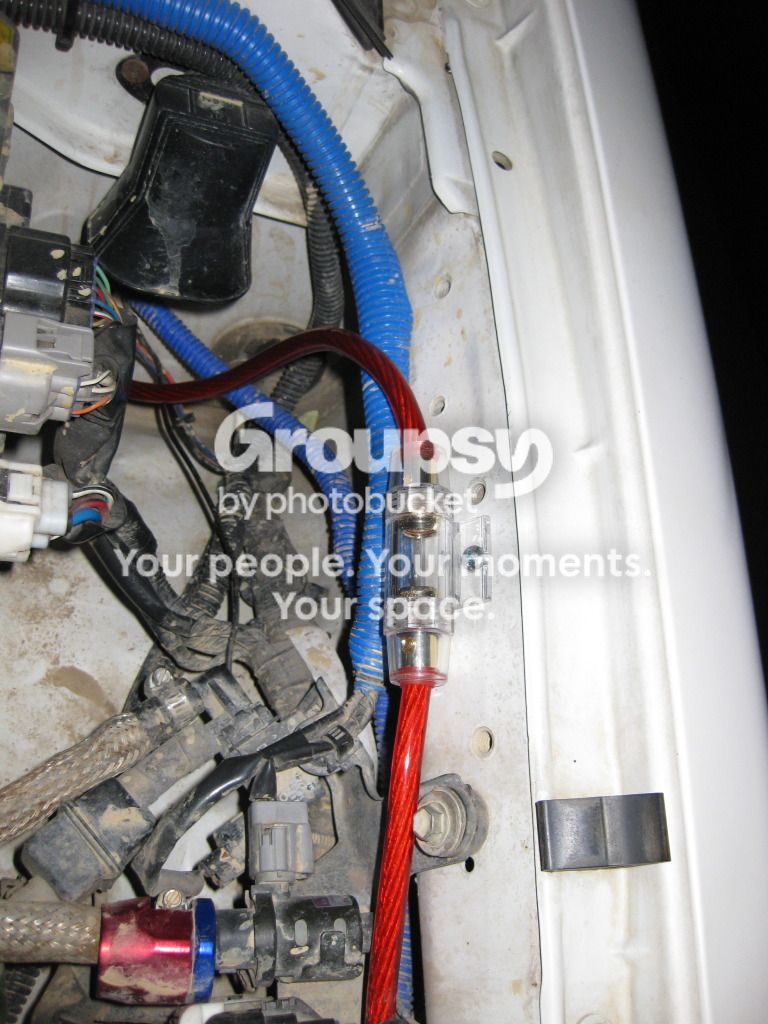
I also had some time to start the wiring process. Previously I had an 8ga fused 12+ power wire running from the battery back to my amp to power my subs. I removed the 8ga wire and replaced it with the new 4ga wire. I also ran a 14ga "relay" wire that will run from the rocker switch to the relay/pressure switch.

New 4ga power wire and 40amp fuse
IMG_0485.jpg~original

IMG_0486.jpg~original


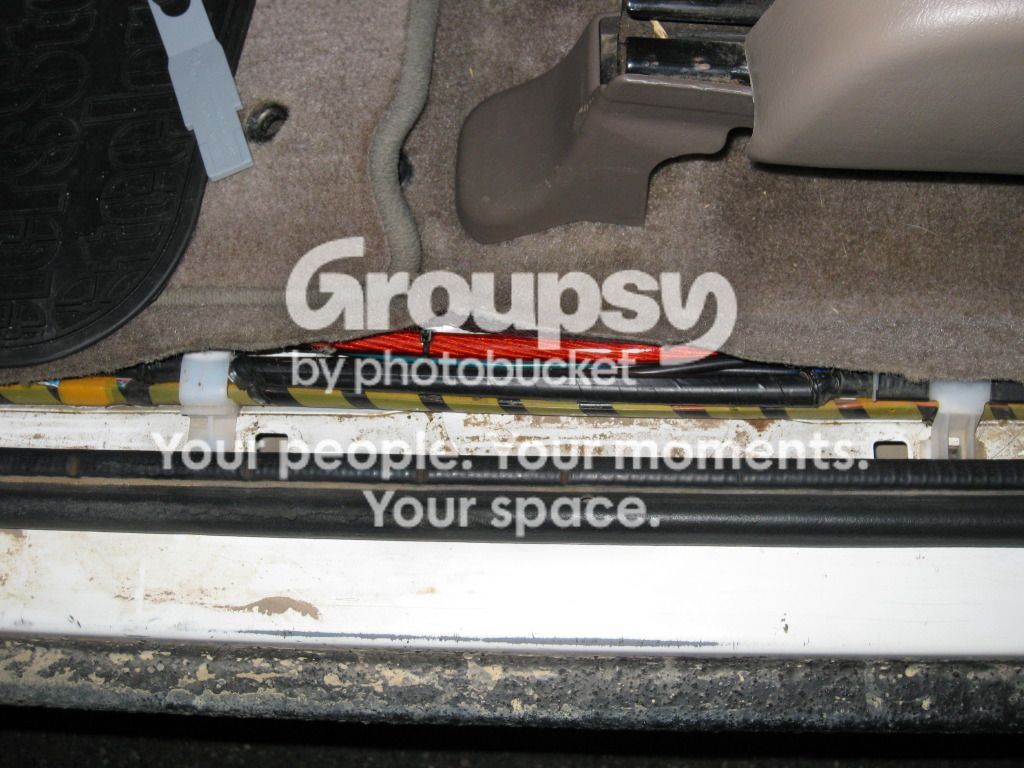
Ran the power wire and relay wire under the plastic floor panels on the driver side
IMG_0487.jpg~original


I installed a power distributor block with 1 - 4ga input and 4 - 8ga outputs. This will allow me to use the 4ga power wire to power my sub amp and air compressor. It also leaves me 2 additional outputs for any additional components in the future, i.e. another amp when I upgrade my component speakers.

(Pic will go here)

It was waaaaayy to hot out to do any more than that so more updates to come...

 
Last edited:
Compressor is installed!

I was fortunate enough to have the 4th-6th off work so I had time to get the compressor install completed. It has been ridiculously hot here so I was only able to work for about 2 hours at a time.

I still have a little work left to get the exterior connection point where I want it, but other than that it's good to go.

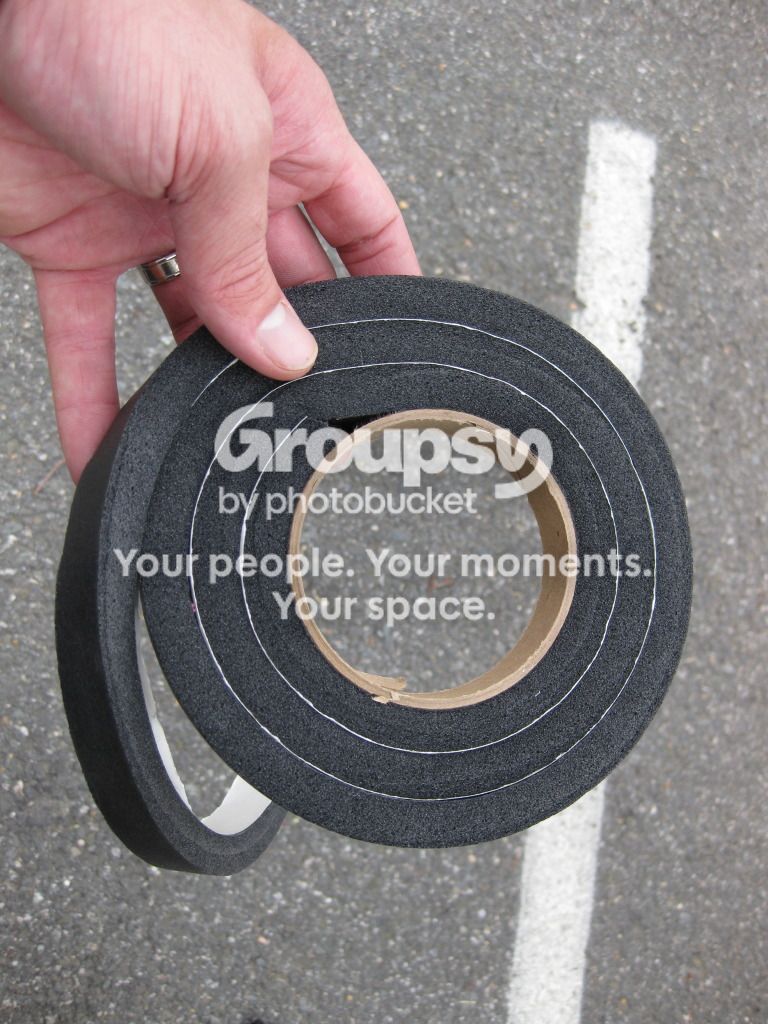
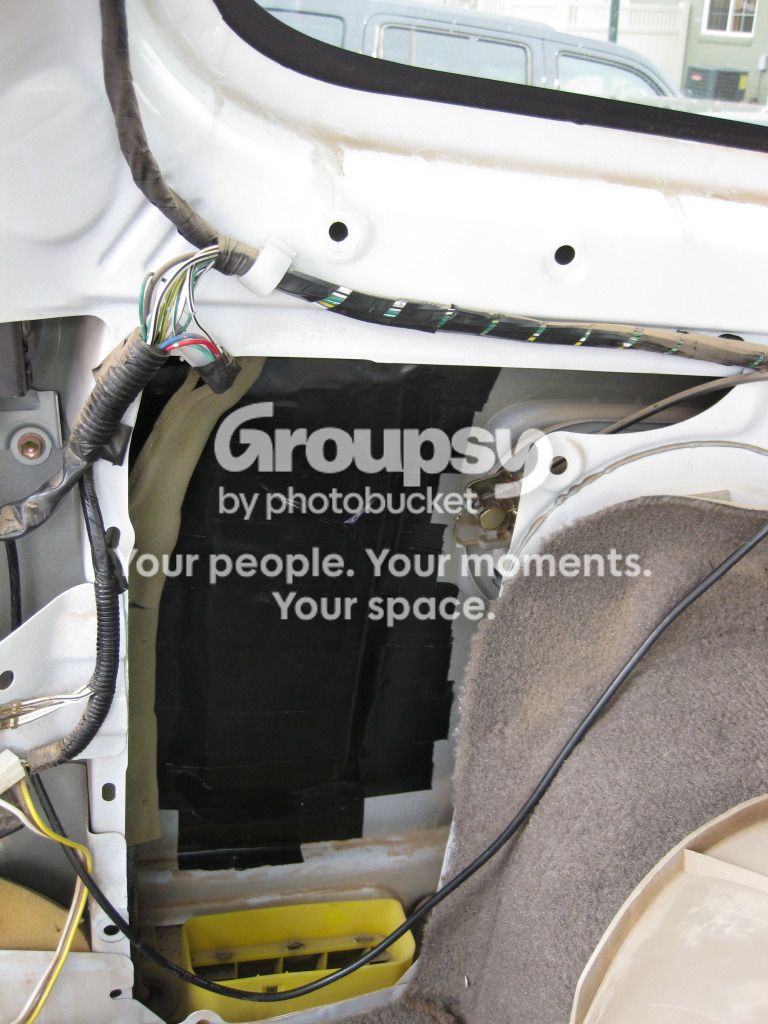
Before I installed the compressor, I put down some foam weather stripping and gorilla tape to keep the compressor from rattling on the body panel. It also helped to dampen the noise.
IMG_0481.jpg~original

IMG_0480.jpg~original


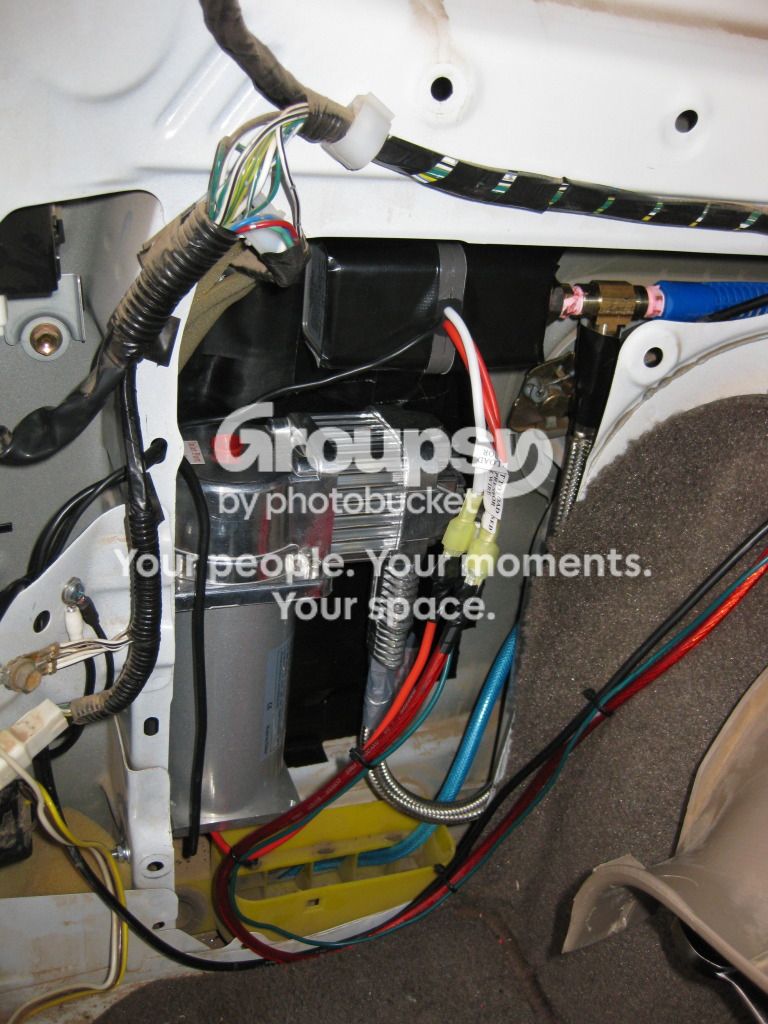
Installed! The leader hose from the compressor runs to a T-fitting. On the left side of the fitting is the pressure switch/relay and on the right side of the fitting is a polyurethane (blue) air hose that runs to the exterior mounting point.
IMG_0482.jpg~original


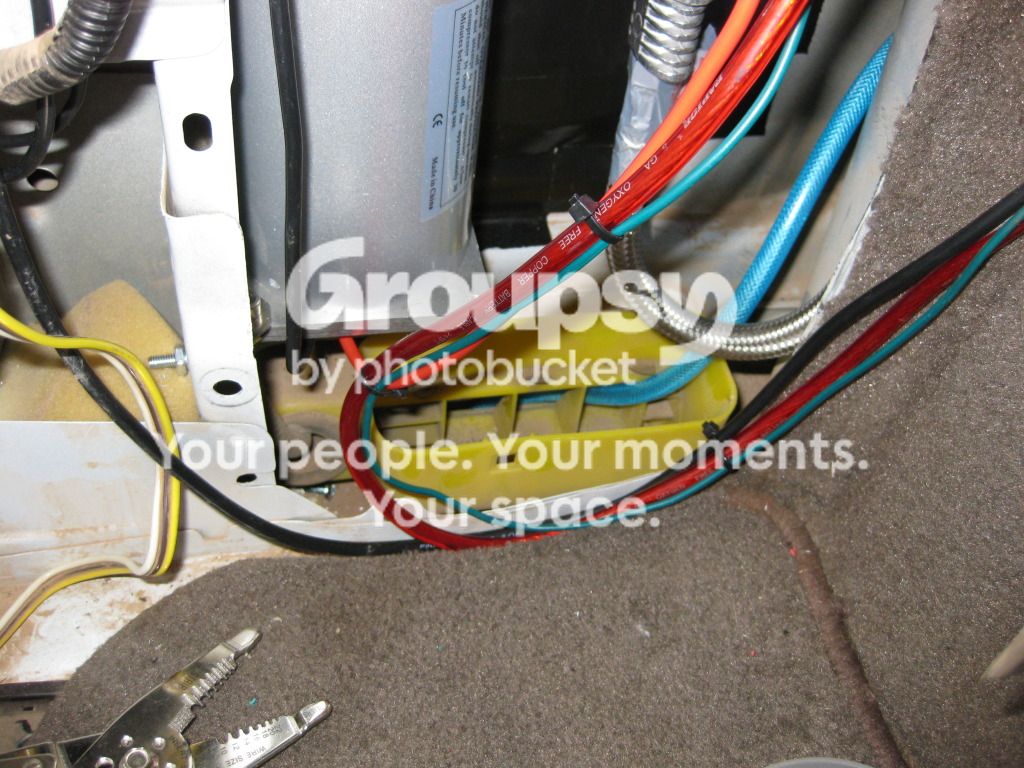
I used removable connectors to make all the wire connections just in case the compressor needs to be removed. You can also see the polyurethane hose that runs to the exterior.
IMG_0484.jpg~original


Other notes:
1) The pictures do not show the metal Viair air filter. The metal filter screws into the hole at the top of the compressor (in the pictures, the hole is covered with a red plug).
2) Before I put the trim panels back on, I covered all the exposed wires in plastic wire conduit to protect them from heat/damage.
3) In order to get the compressor to fit in this location, you have to remove the plastic baffle that covers the air vents on the trim panel. I used more weather stripping and gorilla tape on the trim panel where the baffle used to be in order to keep the noise down as much as possible.
4) With where the compressor is mounted, only 2 of the 4 mounting holes are able to be used. In order to keep the compressor from rattling around, I fed the non-securing side of a long zip tie with a washer through the second mounting hole on the top compressor mount. The washer keeps the zip tie securing side from pulling through the compressor mounting hole I then fed the zip tie through a miscellaneous hole in the "body" panel that the compressor is mounted to. I secured the zip tie with a washer and the securing part of another zip tie.

Overall I am extremely happy with the results! The Viair compressor is amazing and after initial tests, it lives up to all the claims. I am also really happy with this mounting location because it will keep the compressor protected from damage and I didn't have to give up any storage space at all, truly a win-win in my mind.
 
Last edited:

Members online

Forum statistics

Threads
278,310
Messages
3,554,078
Members
248,016
Latest member
Advally Service

Trending content

Back
Top