4RunAmok

More Goose Attachments!

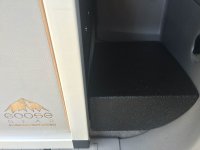
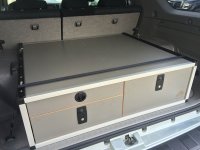
I'm still mulling over a few ideas on how to secure the drawer side of the box to the 4Runner to make removing the box without tools possible. Going through McMaster-Carr with a fine tooth comb!

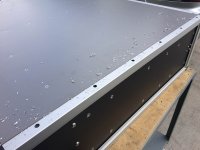
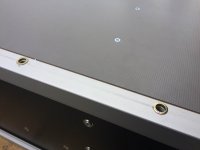
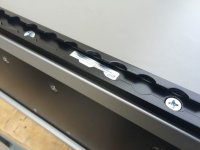
In the meantime, I needed a cargo control solution for anything we put on top of the box. The Goose Gear framing is surprisingly strong for being extruded aluminum, not withstanding I didn't want to just use self-tapping screws to attach the tracks ("Core Uni Trax 1000" to be specific) to the frame. So to utilize the frame strength, I drilled holes to install some nutserts.

17.jpg

There are a few nutsert tools out there, but I like to use the old school serrated spacer and crank it down with my Makita Impact. Make sure to use a Grade 8 bolt with plenty of anti-seize!

18.jpg

1/4-20 countersink bolts hold the track in place, six bolts per side.

19.jpg

Back inside the 4Runner, ready to hold down camping gear!

20.jpg

Now I just need to get rid of that strap and finish my "drill-less" installation!
 

Attachments

  • 17.jpg
    17.jpg
    115.7 KB · Views: 2,395
  • 18.jpg
    18.jpg
    78 KB · Views: 2,375
  • 19.jpg
    19.jpg
    90.2 KB · Views: 2,364
  • 20.jpg
    20.jpg
    111.4 KB · Views: 4,292
We're getting ready for a camping trip this coming weekend, the first overnight camp trip with the new 4runner. Very excited to say the least, however still anxious, since there is a lot that is still missing.

For example, the Artec Group 31 battery box was just dropped at the powder coater last Friday (Shout out to ECP/El Cajon Powdercoating) and won't be ready before the trip. So the Hawker G31 (Enersys/Odyssey) still can't go in, which means no fridge.

The rack I've been waiting for is almost ready for production, but won't be ready for the trip. This means I have to put my CVT Mt. Thielsen on the Sport Edition rack, then remove it, install the new rack, and re-install the RTT again.

Ugh. So much to do.

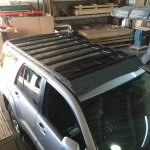
Oh, and since he's put it up on his instagram, I guess the cat is out of the bag. I present to you, sans powdercoat, the 4th Gen 4Runner roof rack from Prinsu Design Studios...
prinsu.jpg

If you're not following Prinsu on Instagram, you should be!

That's not my 4Runner, and it looks like bare aluminum as opposed to black, but it's looking great so far! Zach has put a lot of time and work into this rack!
 

Attachments

  • prinsu.jpg
    prinsu.jpg
    42.5 KB · Views: 3,146
Nice additions, love the rack and the drawers.
Thanks!

I hope to have the rack soon, that one is on Zach's donor vehicle so he could dial in the fit.

There's a final update on the drawers coming soon. I finally finished the installation!
 
Ya know, considering how many nutserts I've nutserted into the Goose Gear frame, I guess I can't say "drill-less" installation without clarification.

To complete the installation into the 4Runner, I did not drill a single hole into the 4runner itself. Which to me is important, if I wish to remove the Goose Gear drawers, there are no modifications to the body of the 4Runner. The only real mod was cutting the piece behind the seats, and that is easily replaceable. Some other folks with Goose Gear in their 4Runners chose to remove that piece entirely.

Anyways, the installation is completed. Thank gawd! Because it slid all over the place under the strap during our camping trip last weekend! On to the pics!

So here we are, in full use in Big Bear this last weekend, French Toast cooking over there, that blasted strap underneath!
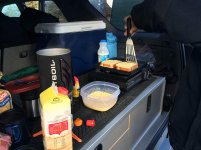
21.jpg

Something had to be done about the strap. Inertia is a powerful thing, and even though that strap was pulled as tight as I could pull it, it wasn't enough. I knew this early on, but complacency is a witch with a capital B!

A nice piece of 80-20 (2"x1/2"x50") secured to the floor using the D-Ring mounts. I trimmed the corners off to avoid the interior panel curves.
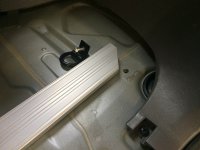
22.jpg

With the 80-20 secured, a couple more nutserts to hold down the angle aluminum that will attach to the Goose Gear frame.
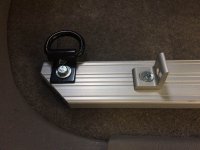
23.jpg

Another nutsert into the Goose Gear on each side, and a couple bolts with lock-washers, and we're finished!
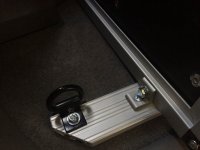
24.jpg

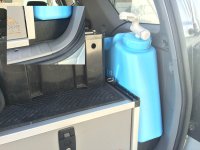
Now that the strap is gone, I can place the platform I made to hold our Living Overland Onboard water pump, which is made to go inside of a Scepter MWC (Military Water Can). It tilts the can back so that it rests against the wheel well on the interior panel. A couple more Core Trax tie downs will secure the can to the drawer box. The platform is covered in Line-X, waterproof! :)
25.jpg

Water system installed and powered!
20.jpg

Its hard to believe that this whole drawer system can be removed by taking out two bolts, and only two more if I want to remove the crossbar as well.

So that's that! It's done! Nothing more to post about it! Yeah right! I'm still looking for a non-slip surface to cover the top of the box with, I'm leaning towards Loncoin (look it up! :)), just something to protect the top of the box and also keep things in place under the Stratchit straps (FrontRunner product).

I've also done a little electrical work. I installed the Hawker battery to serve as the primary battery for the moment, just so I could camp with the Fridge. You might also notice a 12v Outlet here, this is where the CVT Mt Thielsen tent plugs in (motorized deployment)
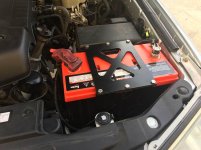
Photo Oct 28, 4 14 43 PM.jpg

To get power into the back for the water system, fridge and other future items, I ran some power wire and put a fuse block in the rear cubby. Hidden, yet easily accessible.
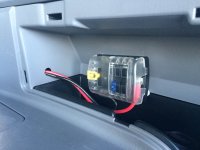
Photo Oct 29, 4 30 48 PM.jpg
 

Attachments

  • 24.jpg
    24.jpg
    109.1 KB · Views: 2,311
  • 25.jpg
    25.jpg
    104.7 KB · Views: 2,237
  • 21.jpg
    21.jpg
    119.2 KB · Views: 2,172
  • 22.jpg
    22.jpg
    125.2 KB · Views: 2,266
  • 23.jpg
    23.jpg
    130.3 KB · Views: 2,271
  • 20.jpg
    20.jpg
    121.8 KB · Views: 2,224
  • Photo Oct 28, 4 14 43 PM.jpg
    Photo Oct 28, 4 14 43 PM.jpg
    120.8 KB · Views: 2,118
  • Photo Oct 29, 4 30 48 PM.jpg
    Photo Oct 29, 4 30 48 PM.jpg
    125.7 KB · Views: 2,252
Last edited:
CVT Mt. Thielsen

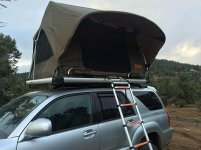
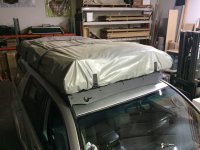
Oh yeah, almost forgot! We mounted our tent to the 4runner just in time for our Big Bear camp trip!

I'm still going to need to remove it again to put the Prinsu rack on, but that didn't get here before the trip!

So here it is!

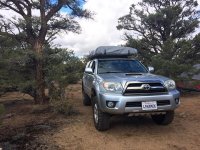
It's got a pretty low profile for such a large tent! 2 or 3 inches lower at least compared to a clamshell tent.
1.jpg

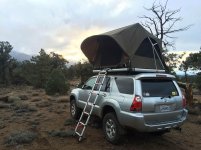
Deployed, with the press of a button, I might add! :D
2.jpg

A little closer look
3.jpg

Having put a memory foam mattress in it just before this trip, made it the most comfortable RTT I've ever used!
 

Attachments

  • 1.jpg
    1.jpg
    148.3 KB · Views: 2,152
  • 2.jpg
    2.jpg
    134.4 KB · Views: 2,166
  • 3.jpg
    3.jpg
    111.1 KB · Views: 2,150
OP,

why did you do with the SCION HU? I'm in the market for a new audio system and I'm trying to compare everything out there.
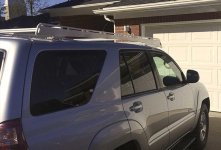
BTW, that Blue Bronco looks bad ass.

 
OP,

why did you do with the SCION HU? I'm in the market for a new audio system and I'm trying to compare everything out there.

BTW, that Blue Bronco looks bad ass.

That's my buddy's 71 Bronco, new Ford Racing 5.0 in it! :)

I went with the Scion HU because it's factory(ish), price I got the HU for, etc. Turns out now I'd rather have something with CarPlay for my iPhone. The initial reason for the upgrade was to get handsfree calling back, and the ability to dial by voice/screen.

Looking back, I should have waited for the double din Carplay radios to come down, they're below 500 now.
 
Pelfreybilt 4th Gen Sliders!

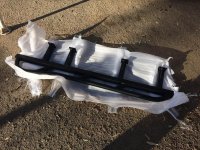
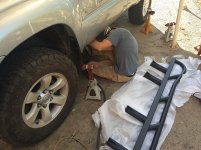
Tyler at Pelfreybilt Offroad let us know our sliders were ready to pick up, so it was off to Poway to pick them up and then to Vista to get them installed!

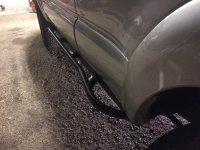
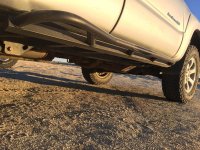
Perfect fit and the design with the kickout is perfect! A huge help when dealing with the RTT cover.

Huge thanks to Tyler and Satin at Pelfreybilt for the customer service and getting these done for us before our trip out to the desert this weekend! They didn't connect with anything this time!

1.jpg

2.jpg

3.jpg

4.jpg

My wife is quite happy to have her foot rest back for when she's sitting with the door open! :D
 

Attachments

  • 1.jpg
    1.jpg
    150.6 KB · Views: 1,243
  • 2.jpg
    2.jpg
    136.6 KB · Views: 1,263
  • 3.jpg
    3.jpg
    140.1 KB · Views: 1,274
  • 4.jpg
    4.jpg
    152.8 KB · Views: 1,232
Prinsu Design Studio Roof Rack!

Zach at Prinsu Design Studios has been working hard to finish the design of the 4th Gen 4Runner rack! All the waiting has paid off!

We looked at a LOT of racks before deciding to wait and see what Prinsu came up with before we purchased. He's a busy guy, it took a while, but I can assure you, it was worth the wait!

The goal for what we wanted was an extension of the 4runner, we did not want something that looked like it was adapted to fit, ignoring the contour of the 4runner. We also needed a flat top, our CVT Mt. Thielsen RTT is no small tent, and it consumes every inch of space this rack provides!

Brian at Goose Gear and I received the first two production pieces of this rack, and we installed both of them this weekend!

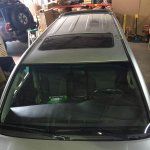
We got the Sport Edition rack removed, poor thing looks so naked!
1.jpg

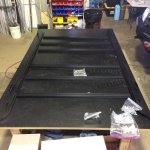
I got all the pieces laid out and started assembling the rack
2.jpg

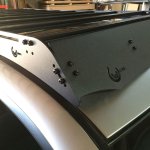
Assembled and installed, the lines are so clean and sexy! :D
3.jpg

The full rack!
4.jpg

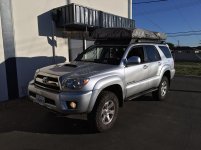
And with the Mt. Thielsen installed, you almost can't see the rack anymore!
5.jpg

Wind noise caused by the tent actually went down quite a bit, very pleased with that!

The rack is a bit heavier than the stock, as expected given its' size/coverage, but so much more stout! Brian had no issues walking around the rack while we drilled the holes to mount the tent, he was even able to stand in the middle of a single crossbar without much flex! Seriously strong!

I'm not one to bicker about price. Price is soon forgotten, Quality is not. But with this rack, priced well below the competition for similarly sized racks, there's nothing to squabble about! Win-Win!

What's next?
Offroad Only's LiteSPOTS Rock Lights
SwitchPro's power distribution
And a Pelfreybilt Aluminum front bumper!
...as soon as we recover from this month! haha
 

Attachments

  • 1.jpg
    1.jpg
    127.6 KB · Views: 1,233
  • 2.jpg
    2.jpg
    127.9 KB · Views: 1,220
  • 3.jpg
    3.jpg
    127.4 KB · Views: 1,232
  • 4.jpg
    4.jpg
    128.1 KB · Views: 1,283
  • 5.jpg
    5.jpg
    135.8 KB · Views: 1,248
Last edited:
Excellent observations and ideas. The caps are already ordered. I honestly thought they were in the box. Interestingly, the rear shocks came with boots.

I'm considering the neoprene covers for the front coil-overs. They probably won't hurt, dunno if they'll help keep them in better shape.

Is this something new that icon ships the rear shocks with?

My icon 2.0 shocks never shipped with boots.
 
Is this something new that icon ships the rear shocks with?

My icon 2.0 shocks never shipped with boots.

I'm not sure. They were in the box with each shock. They're just the simple rubber accordion looking things, black in color.
 
Remember those little switches from an earlier post?

I finally got around to installing them this weekend!

cubby light.jpg

They work perfect! If I leave the switch on, the light operates as it should, on when the door is open, and off when it's closed.

If I turn off the switch, the light stays off until I turn the switch back on!

No more annoying bugs at my door when camping!
 

Attachments

  • cubby light.jpg
    cubby light.jpg
    127.3 KB · Views: 1,055
The Prinsu rack is awesome, I love the flat-top design!

My tent is just the right and wrong size, it fits the rack perfectly, but that also makes it just a bit tough to reach the straps at the corners.

So it needed raising just a bit, 1" in my case.

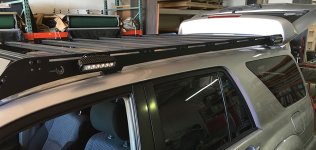
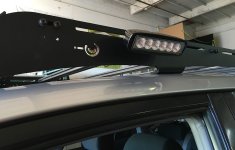
While I had the tent off, I took the opportunity to install some scene lighting for camping. The lights are nothing special, just Amazon specials, but I also didn't want anything crazy bright that I would have to add a dimmer to just to have some convenience lighting.

scene lights.jpg

It came out a lot nicer than I thought they would. I was sure they'd protrude much further than I would like, but they are a nice fit.

scene light detail.jpg

All finished up, tent back on, ready to head back home!

finished.jpg

What's next?

Photo Jan 30, 2 12 56 PM.jpg
 

Attachments

  • scene lights.jpg
    scene lights.jpg
    125.4 KB · Views: 2,028
  • scene light detail.jpg
    scene light detail.jpg
    111.6 KB · Views: 1,066
  • finished.jpg
    finished.jpg
    108 KB · Views: 1,071
  • Photo Jan 30, 2 12 56 PM.jpg
    Photo Jan 30, 2 12 56 PM.jpg
    98.6 KB · Views: 1,056

Members online

Forum statistics

Threads
278,307
Messages
3,554,049
Members
248,016
Latest member
Advally Service

Trending content

Back
Top